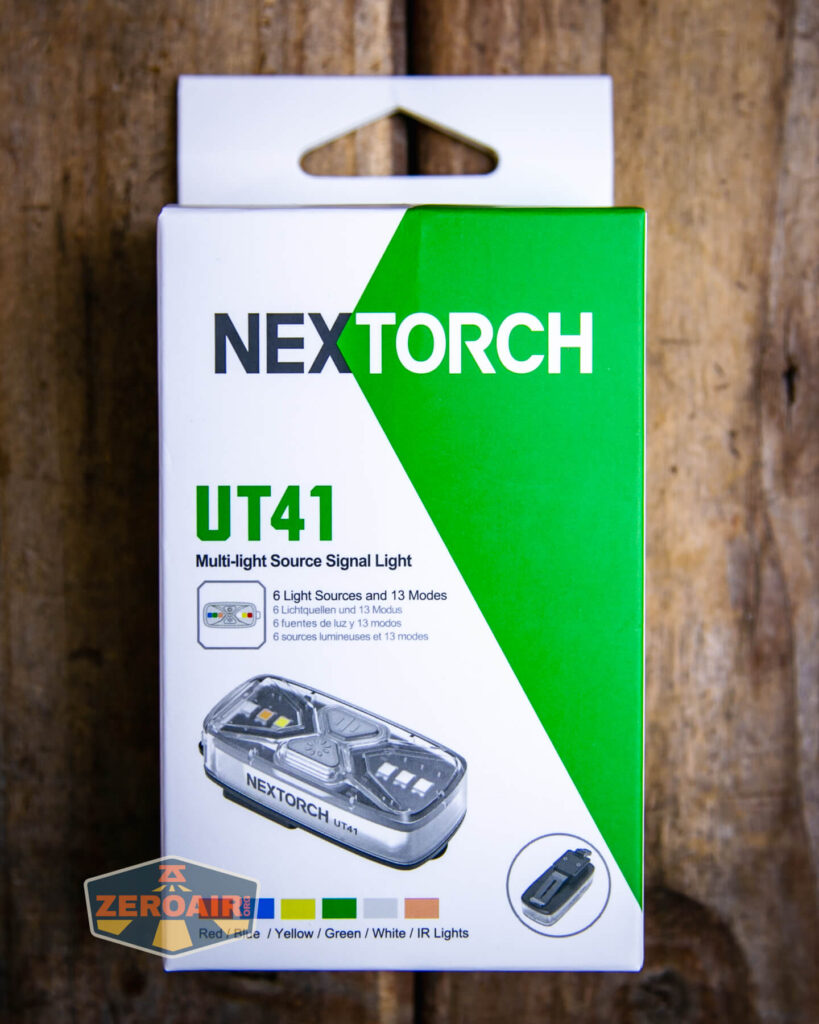
Nextorch UT41 Signal Flashlight Overview
Here’s an overview of the Nextorch UT41 signal flashlight that has many emitters as well as USB-C charging. Read on for more thoughts!
Official Specs and Features
Here’s a link to the Nextorch UT41 signal flashlight product page.
Versions
I believe there’s just one version of the UT41.
Price
MSRP for the Nextorch UT41 Signal flashlight is $24.95. That seems to be the street price. Buy yours at nextorch.com!
Short Review
The Nextorch UT41 is a neat flashlight, probably useful for signaling and things like that. I don’t anticipate using it much because I like to avoid UV (it’s not actually UV, it’s IR), and overall it fits a need that I don’t have often. It’s well-built though, and the USB-C charging seems to work just great.
Long Review
What’s Included

- Nextorch UT41 Signal Flashlight
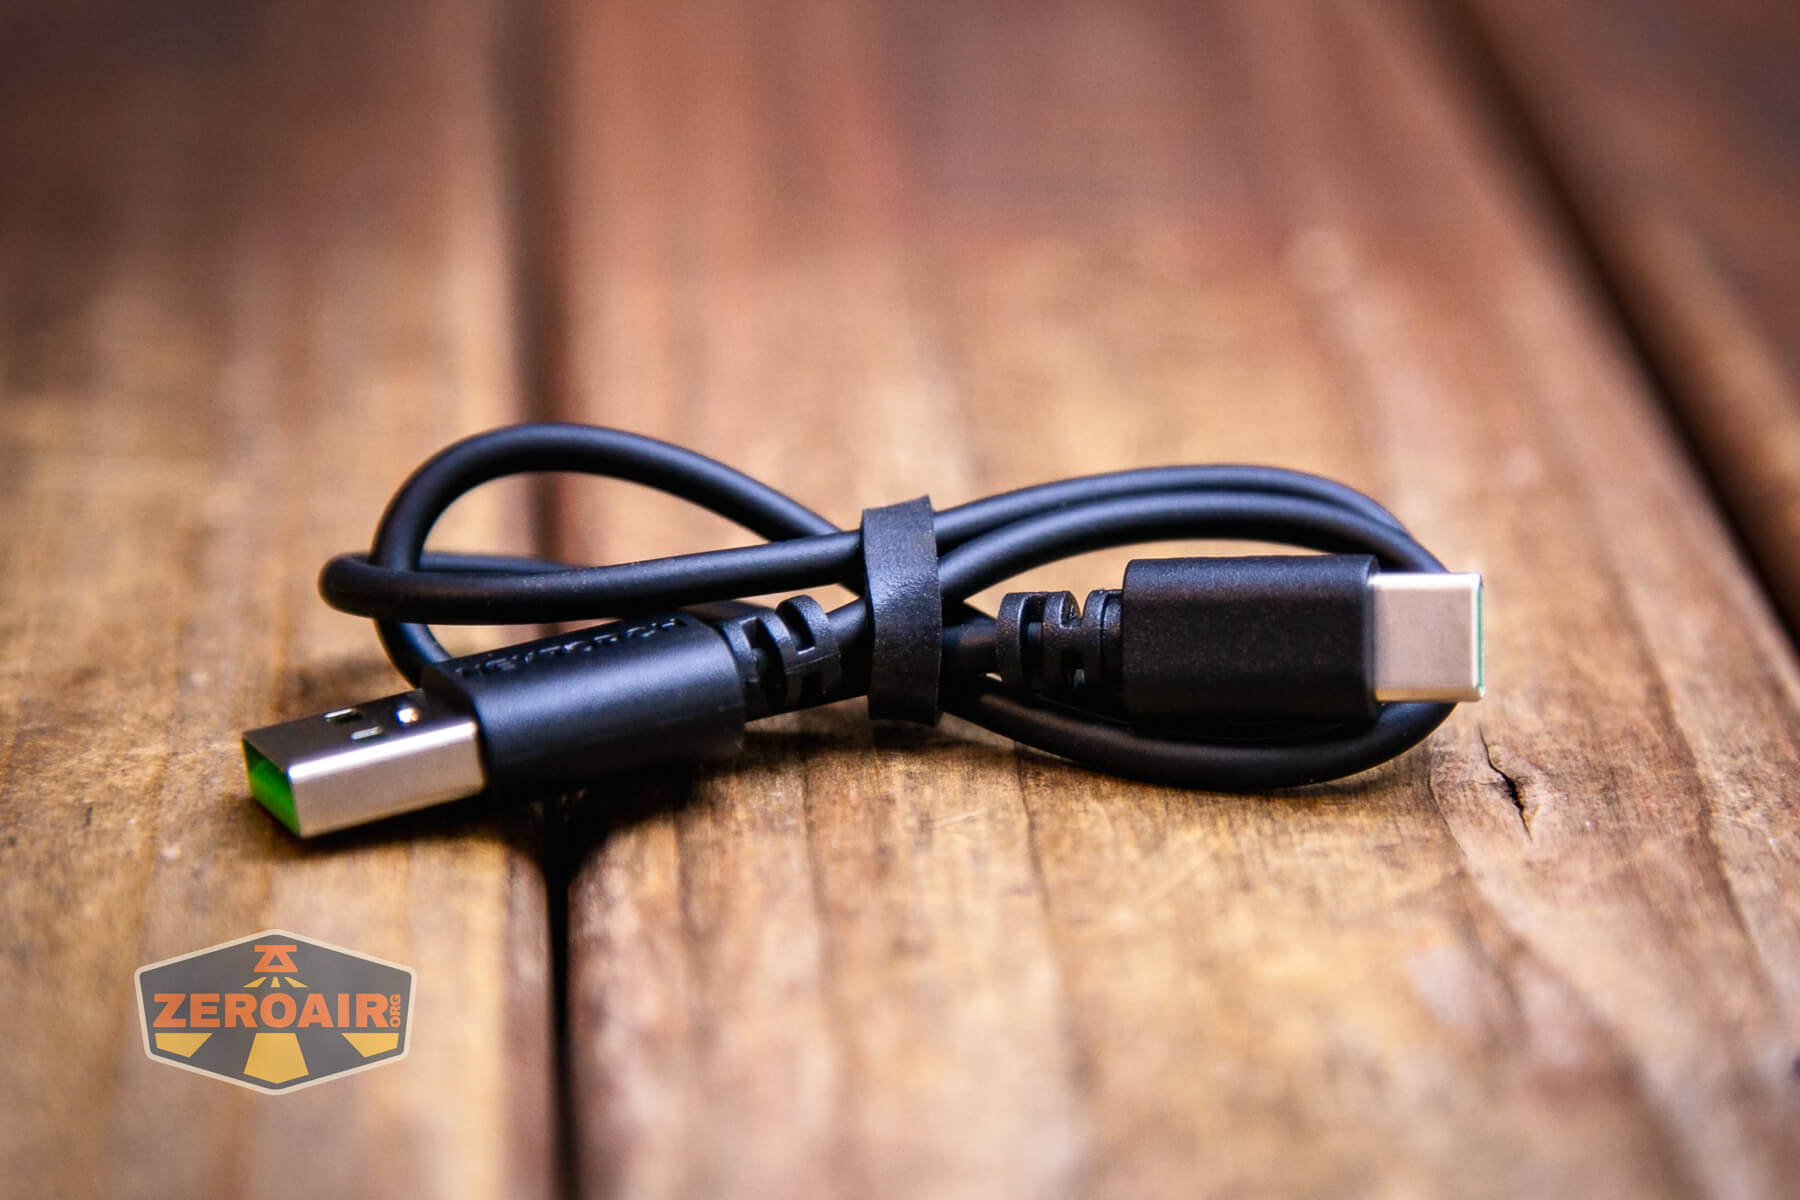
- Charging cable (USB to USB-C)
- Manual etc
Package and Manual
Build Quality and Disassembly

I should say somewhere in the text that this is more of an overview of the Nextorch UT41 than it is a “review” – because there’s not a ton of testing to be seen here.
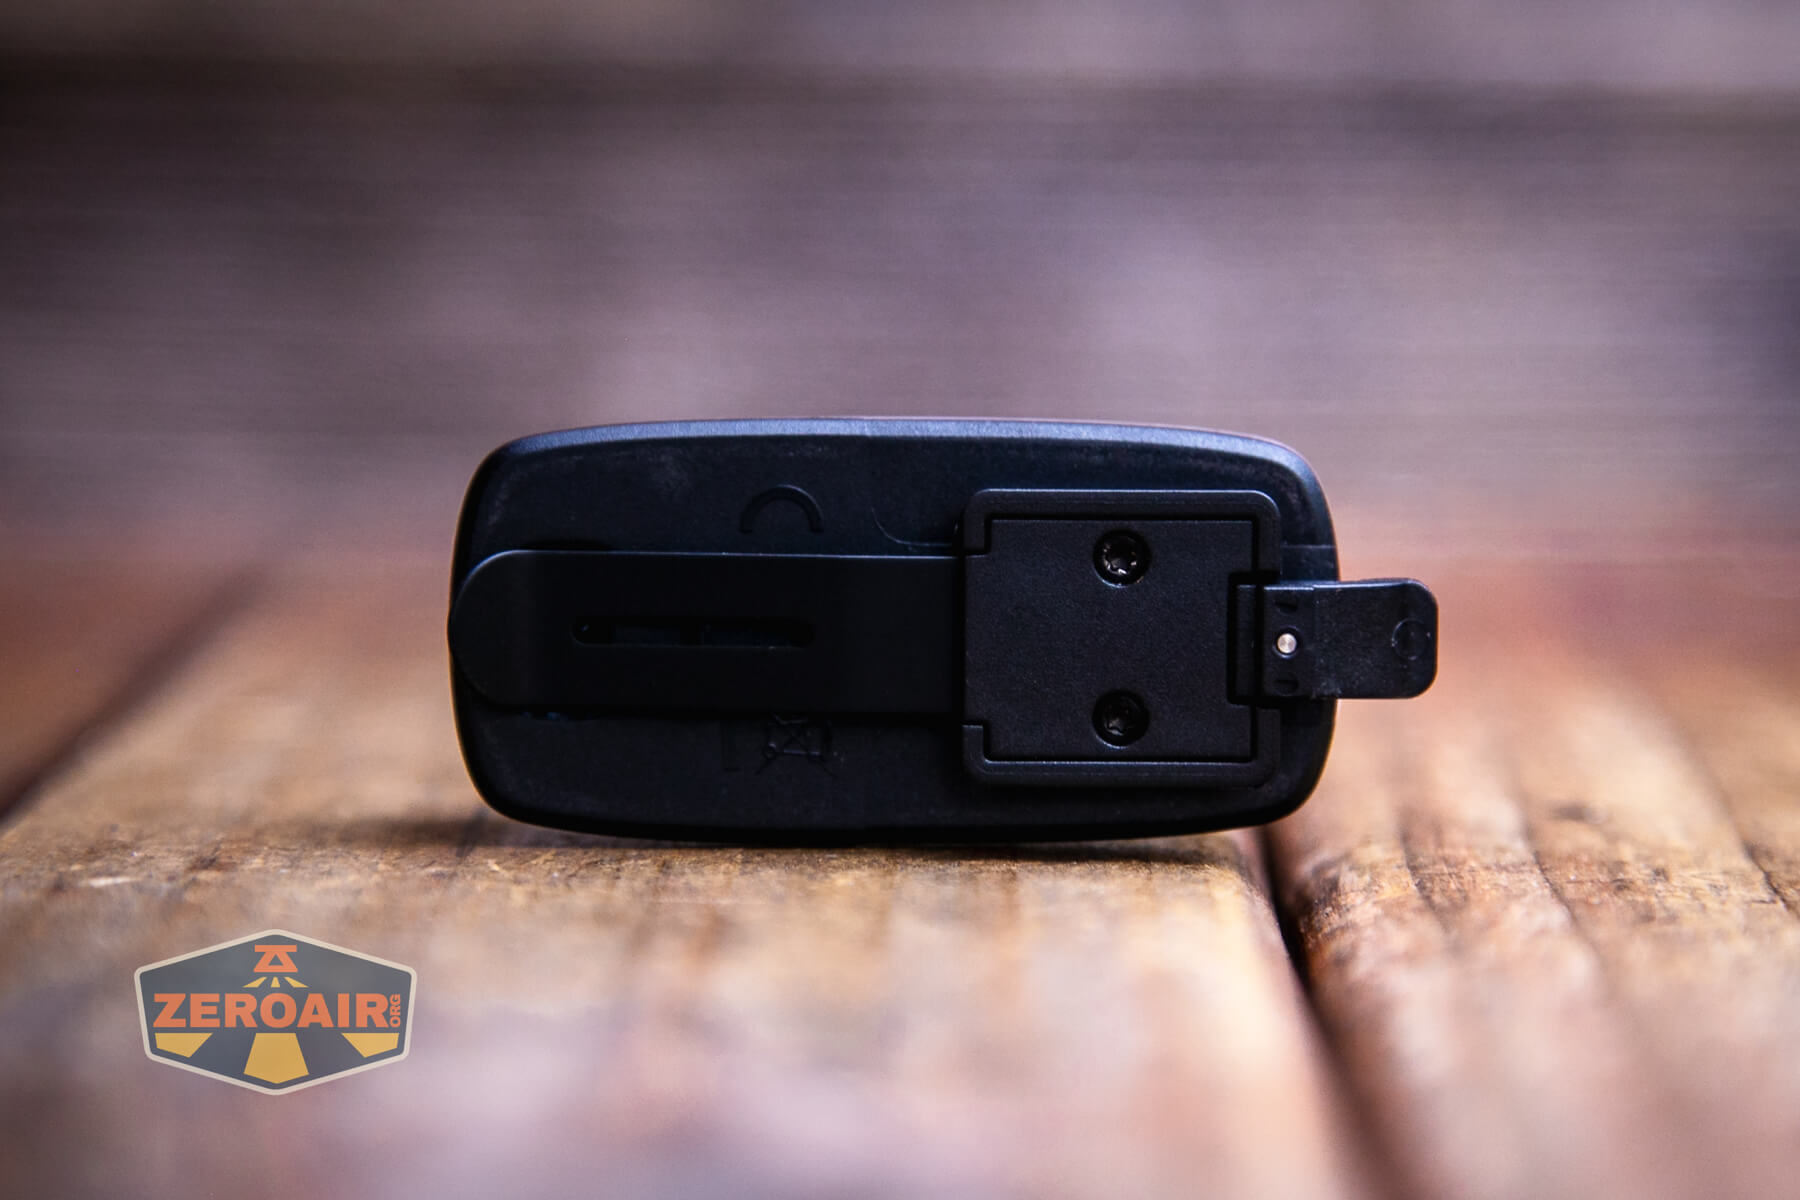
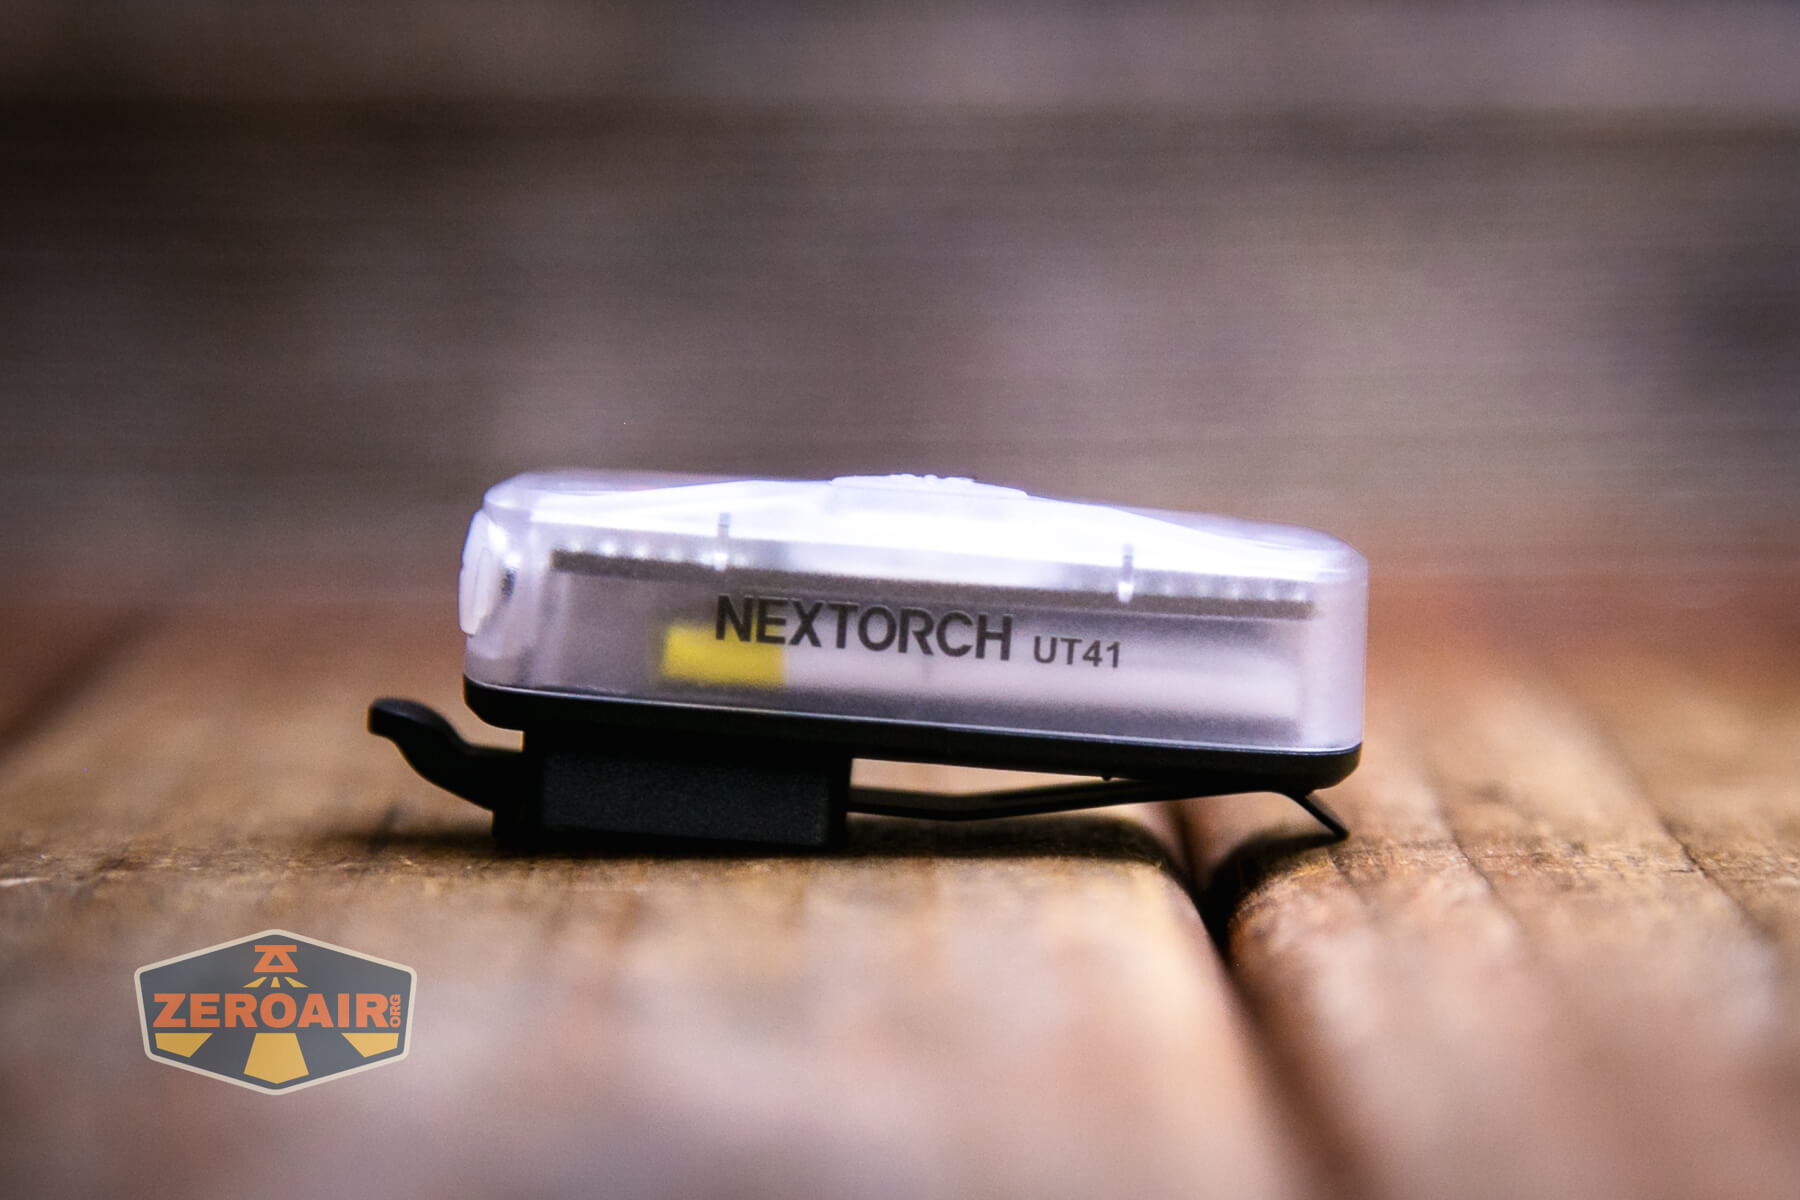
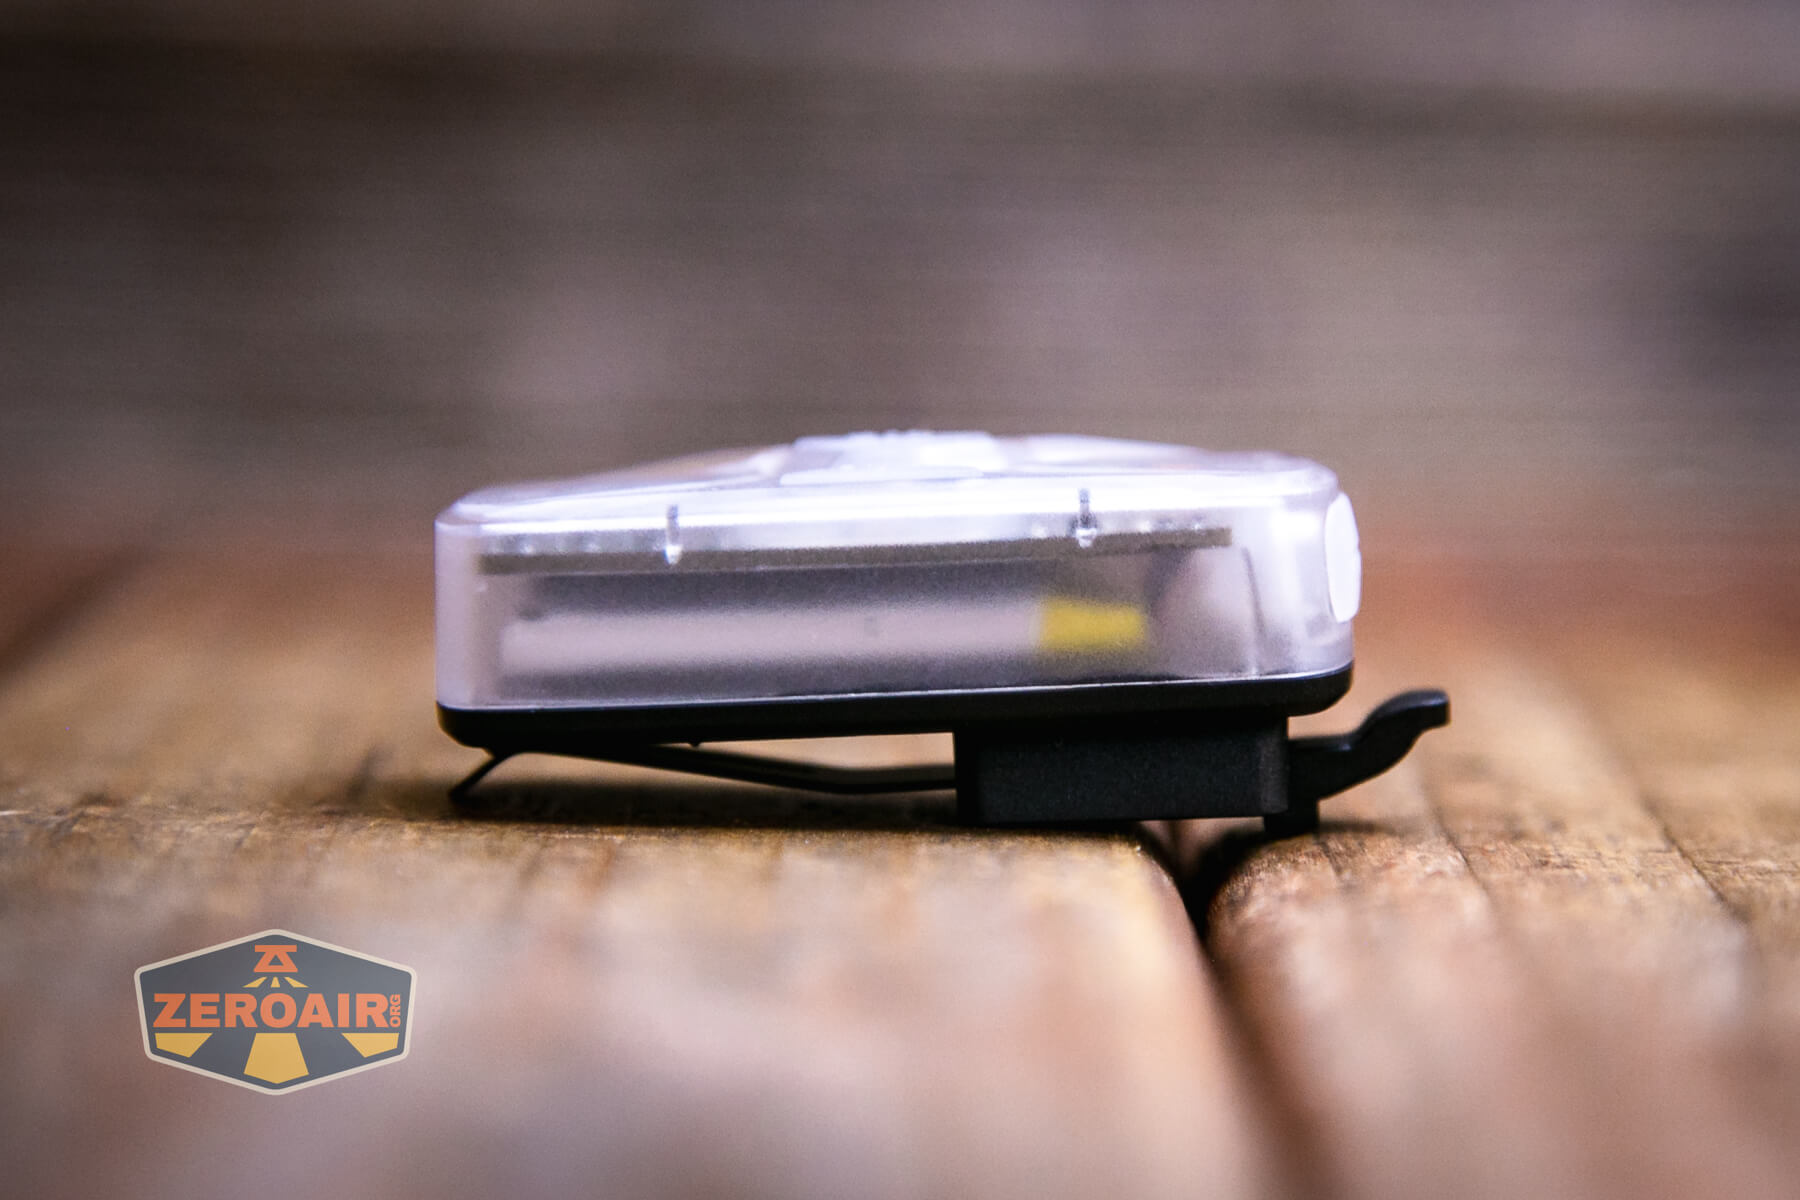
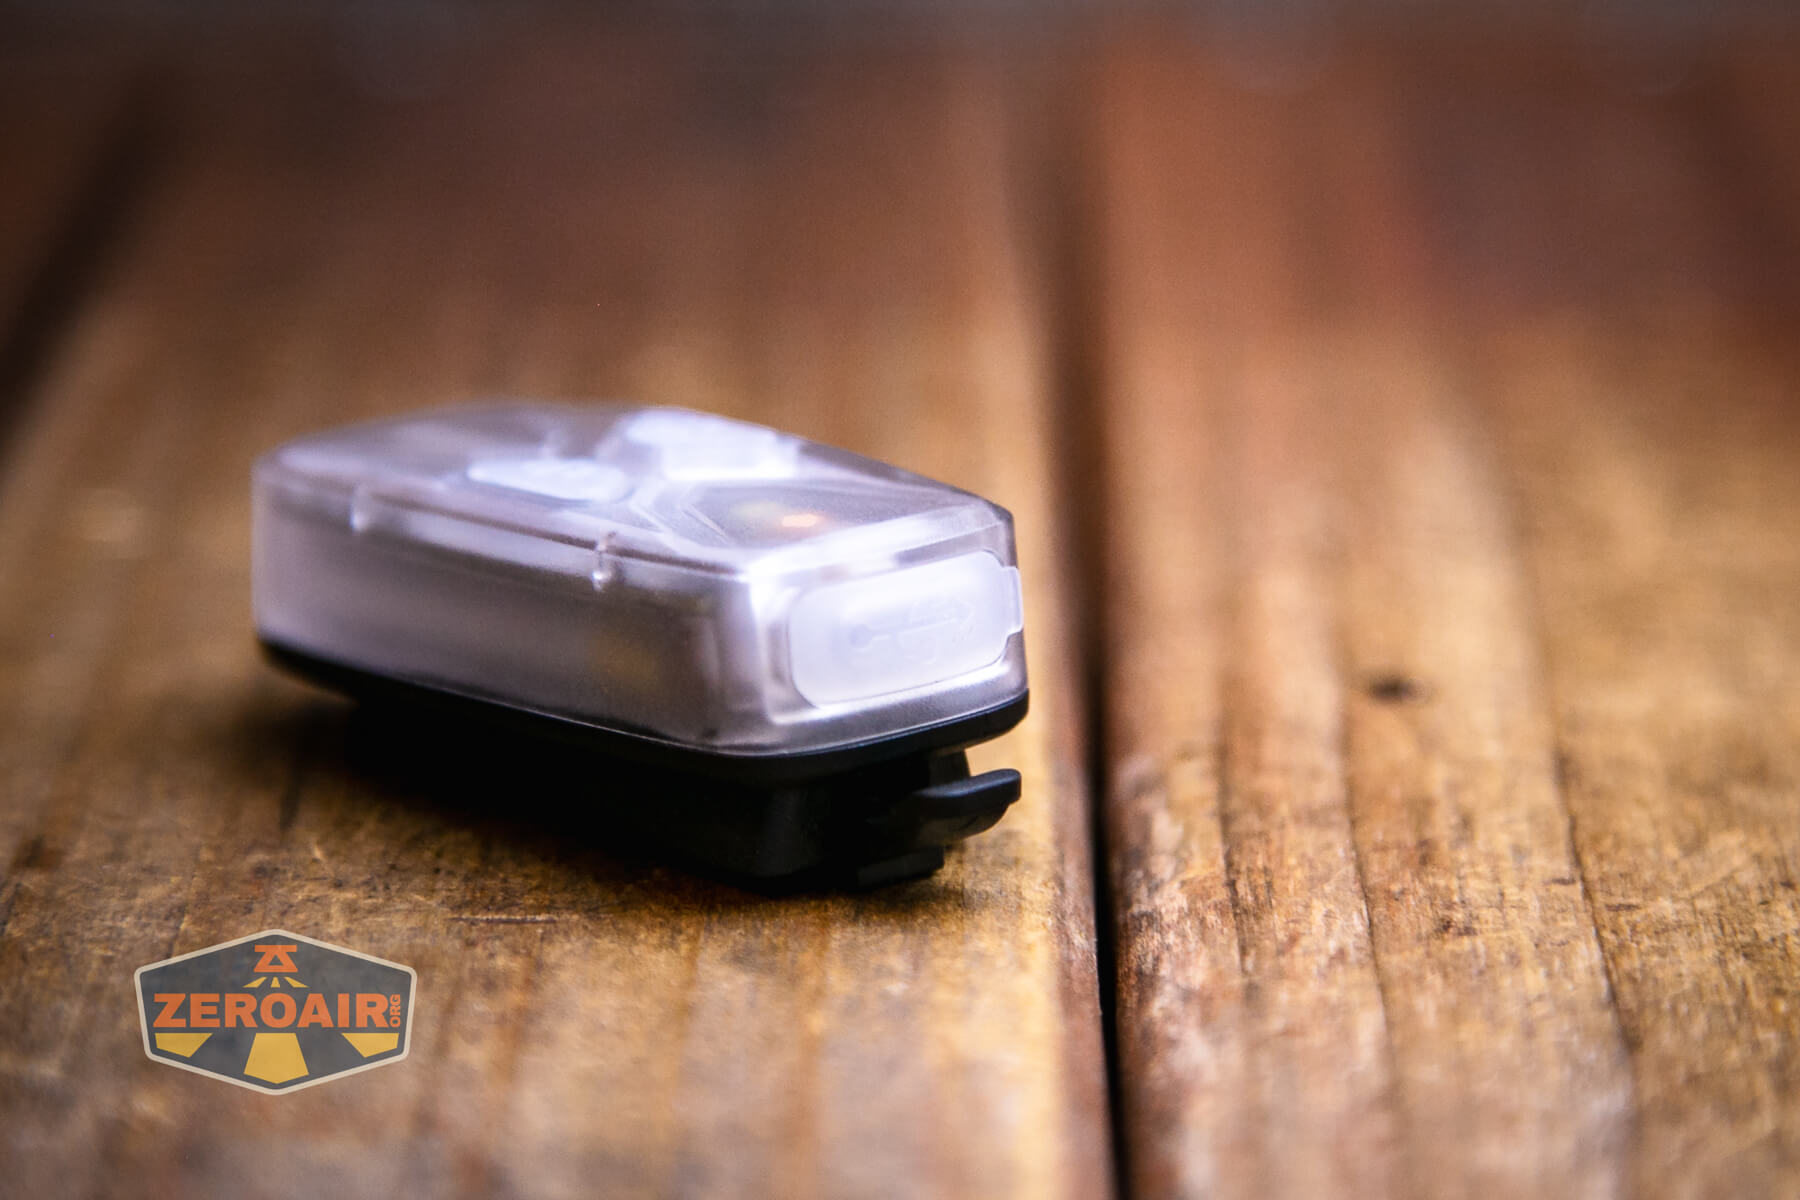
Build quality is good. The whole light (other than the clippy part) is plastic.

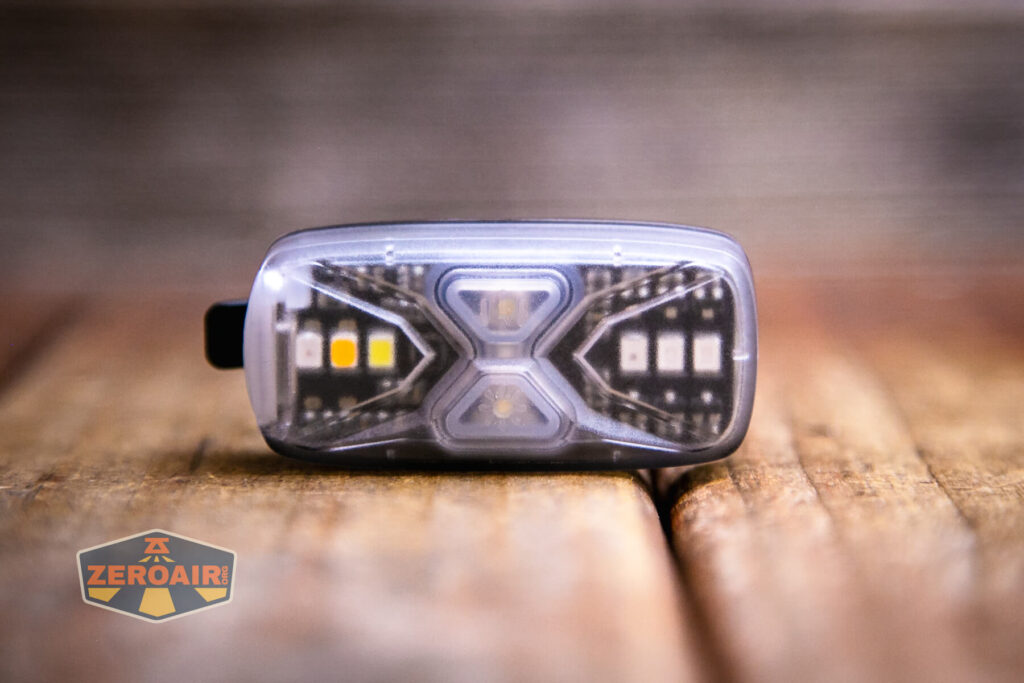
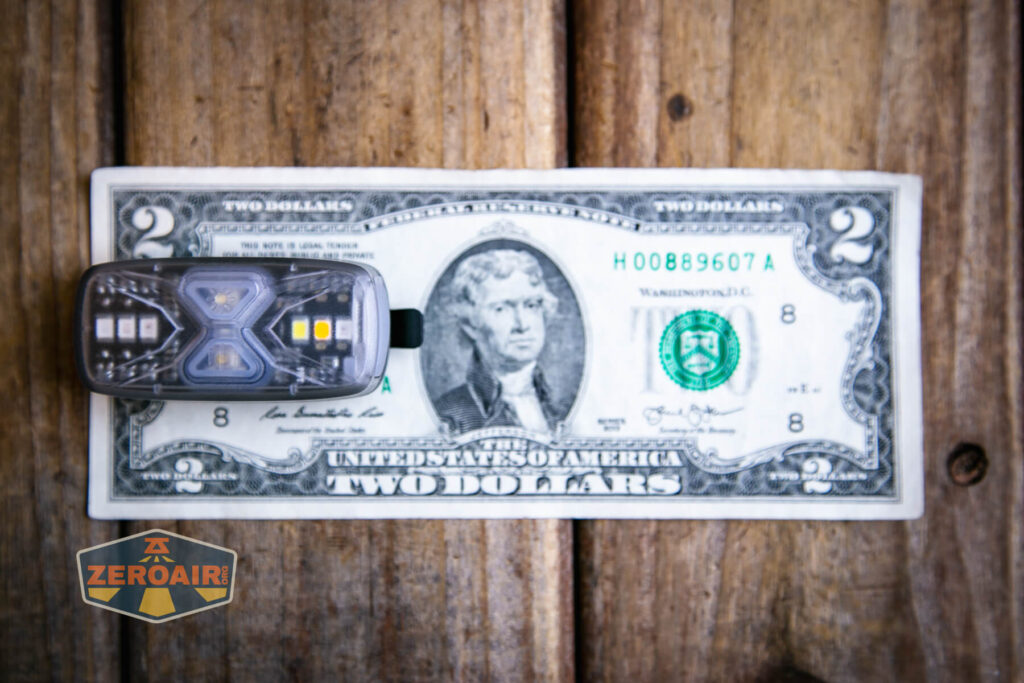
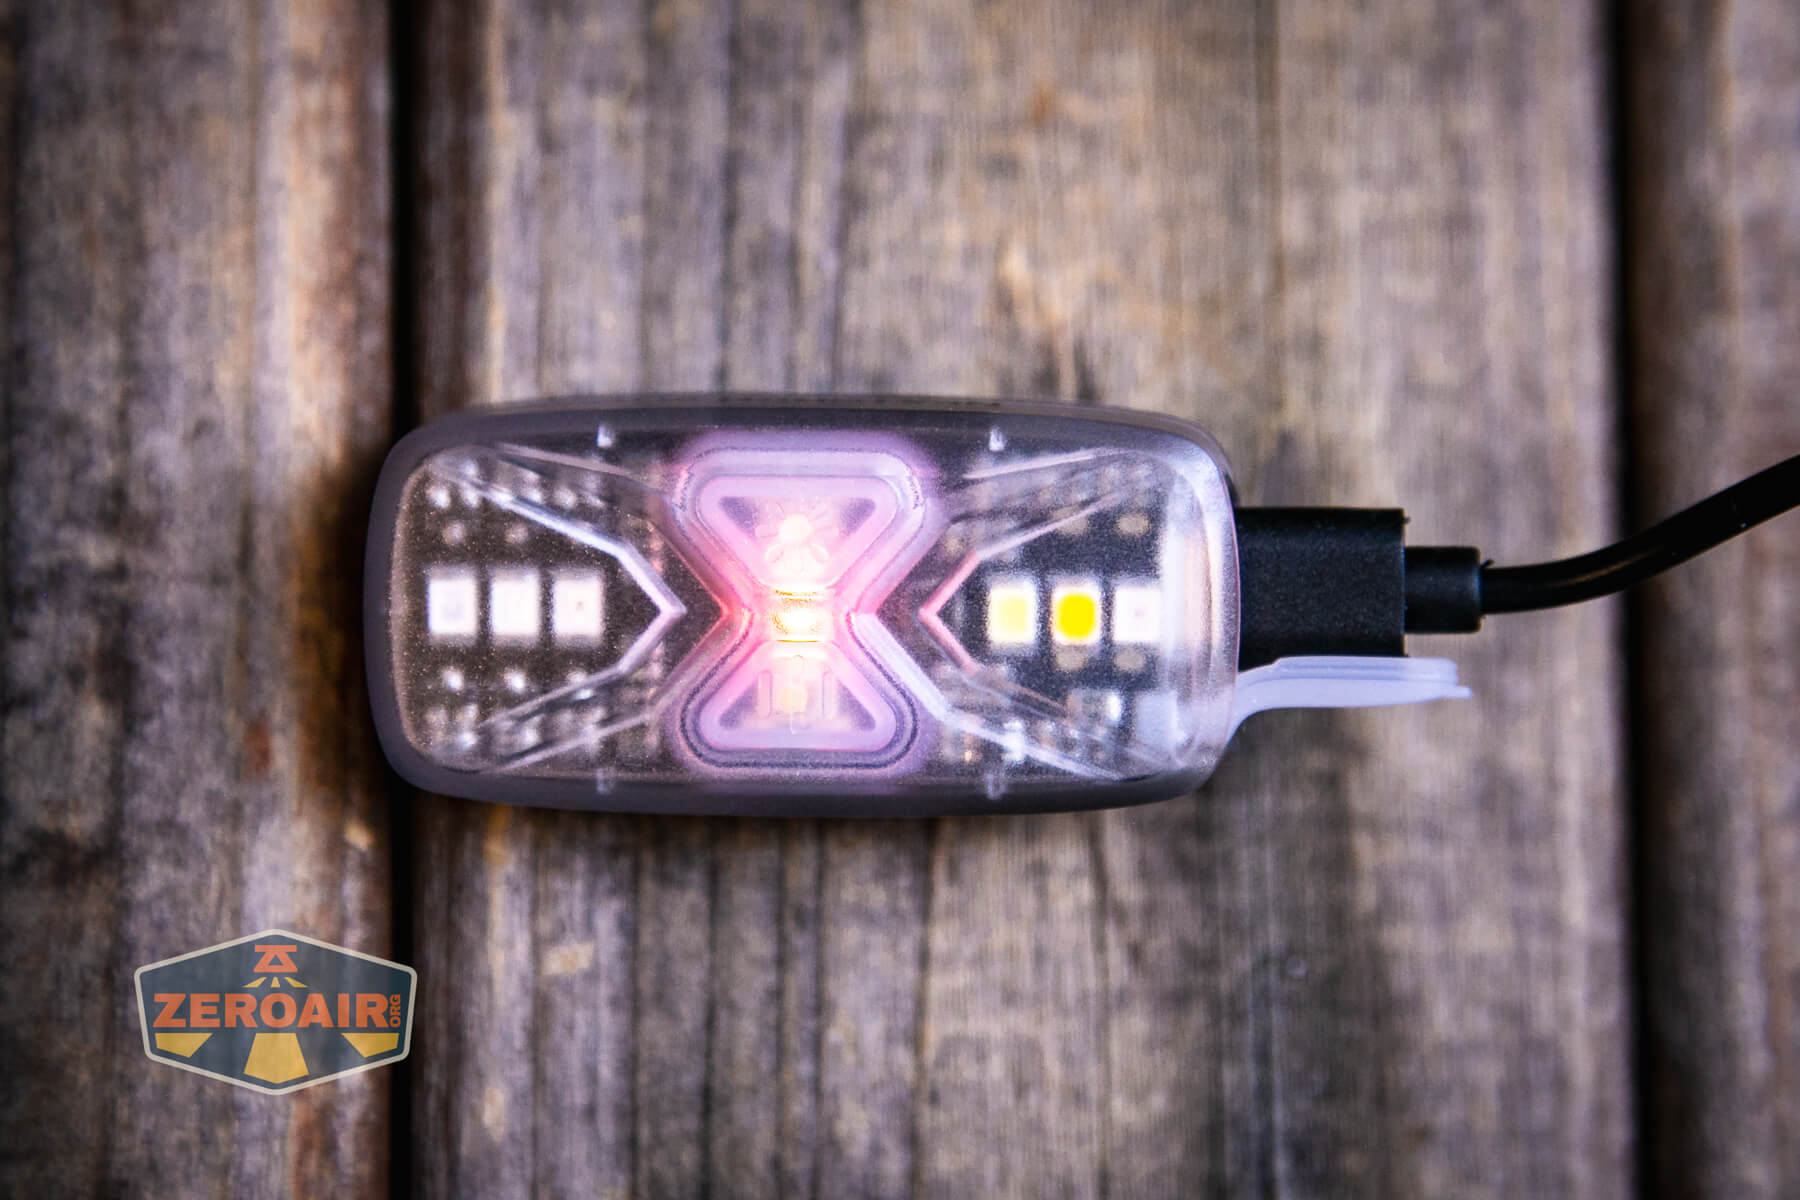
The front parts are all translucent or clear, which is nice since the front has many emitters, too.


The light doesn’t come apart easily (or at all, at least intentionally).

There’s minimal branding, and even what there is is on the side.
Size and Comps
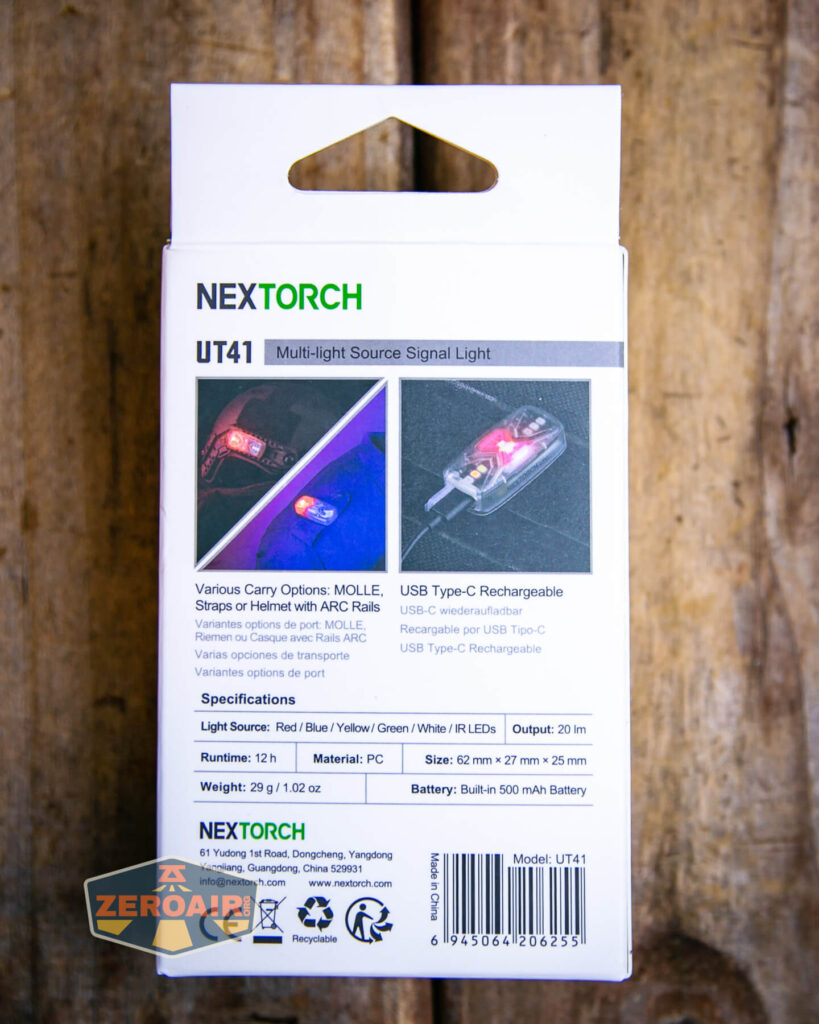
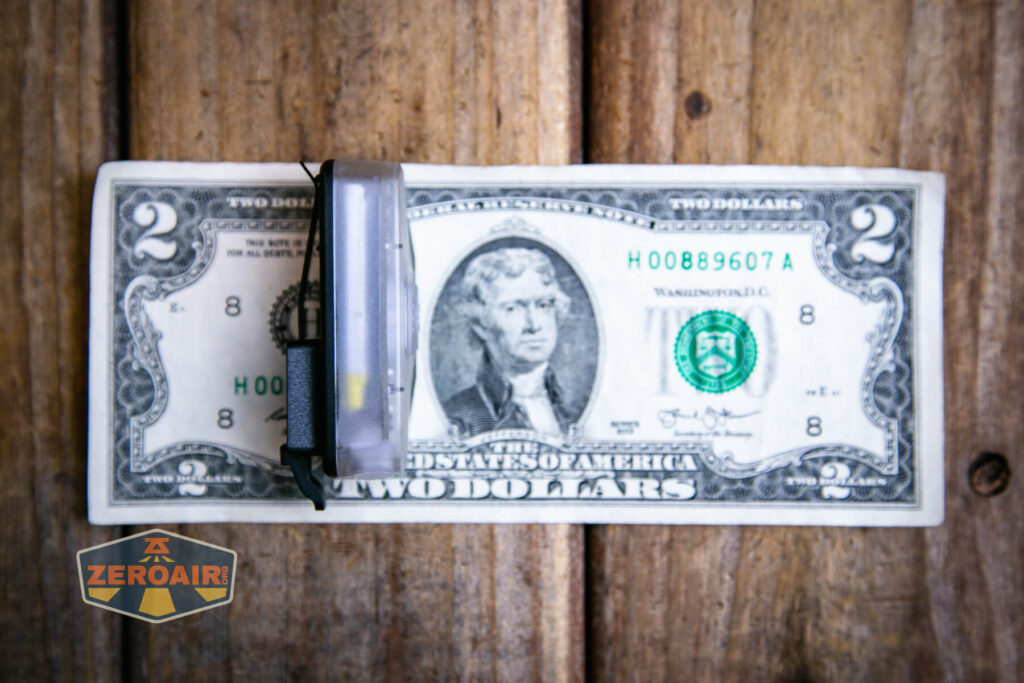
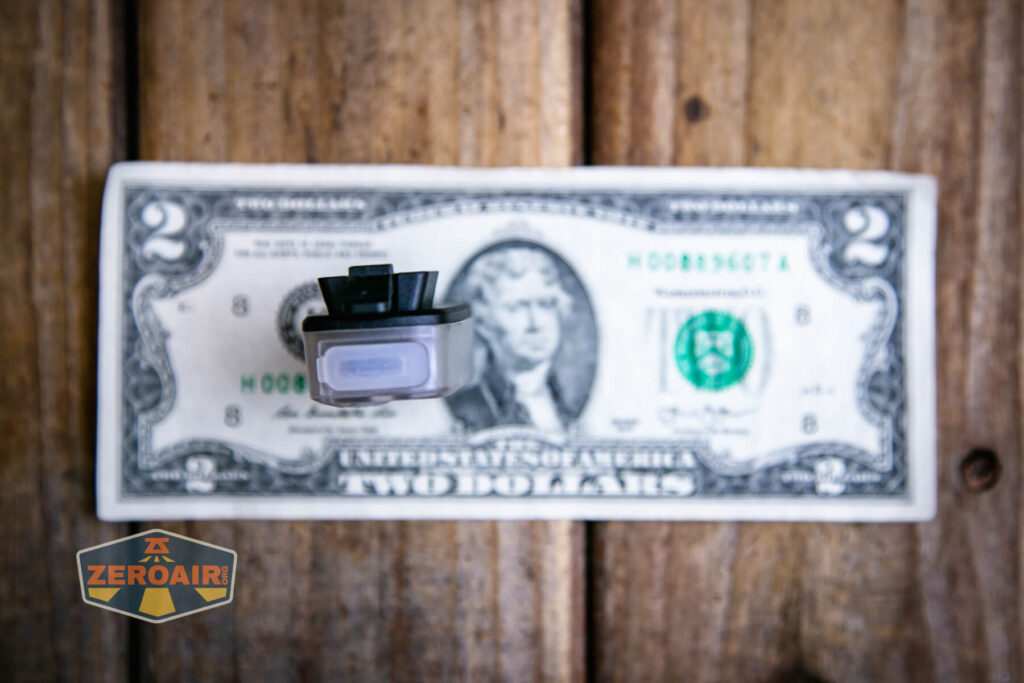
The Nextorch UT41 is 62mm x 27mm x 25mm and 29g.
If the flashlight will headstand, I’ll show it here (usually the third photo). If the flashlight will tailstand, I’ll also show that (usually in the fourth photo).


Here’s the test light with the venerable Convoy S2+. Mine is a custom “baked” edition Nichia 219b triple. A very nice 18650 light!
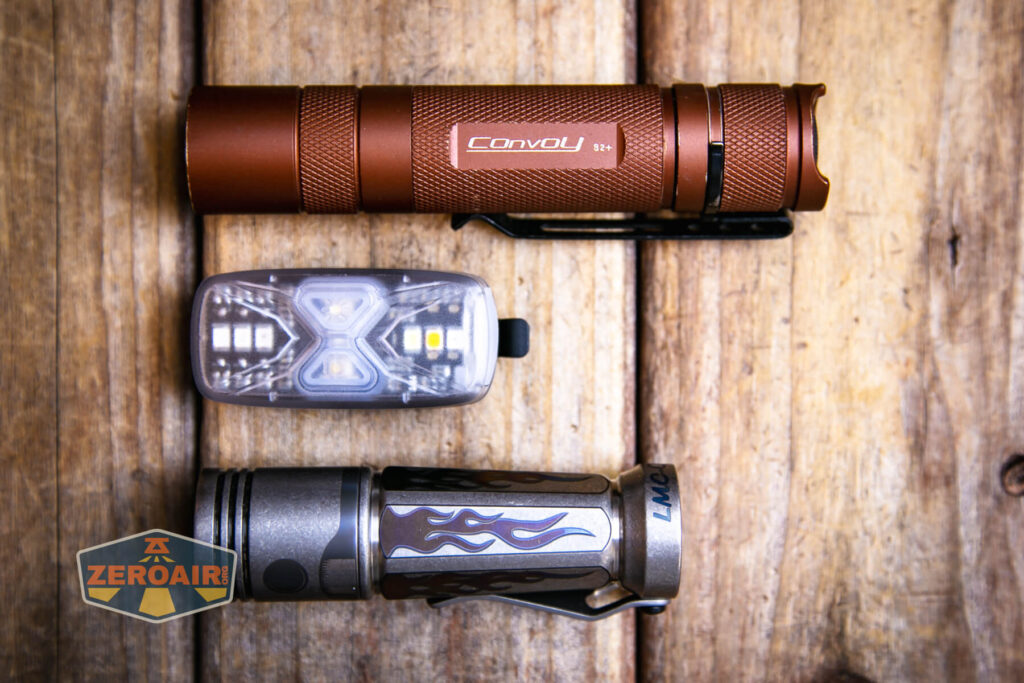

Also above on the left is a new feature light!! Laulima Metal Craft sent this titanium Todai for some size comparison photos like the ones above. Laulima has a bunch of incredible items. I’ve tested one (the Laulima Metal Craft Hoku) (the official site for Hoku is here) that was a Friend Fund Friday review. I was impressed enough by that Hoku that I bought a Laulima Metal Craft Diamond Slim (also in tumbled aluminum) (review is upcoming!) These lights by Laulima have impeccable build quality and not only that, they’re quite configurable. There are some (great, actually) default configurations, but Joshua Dawson (of Laulima Metal Craft) is open to ideas and emitter options and the like. I haven’t reviewed this Todai, but I have to say, it feels absolutely fantastic and I love it thus far. (Notably, I love how warm and eggy those emitters look through the TIR.)
Retention and Carry
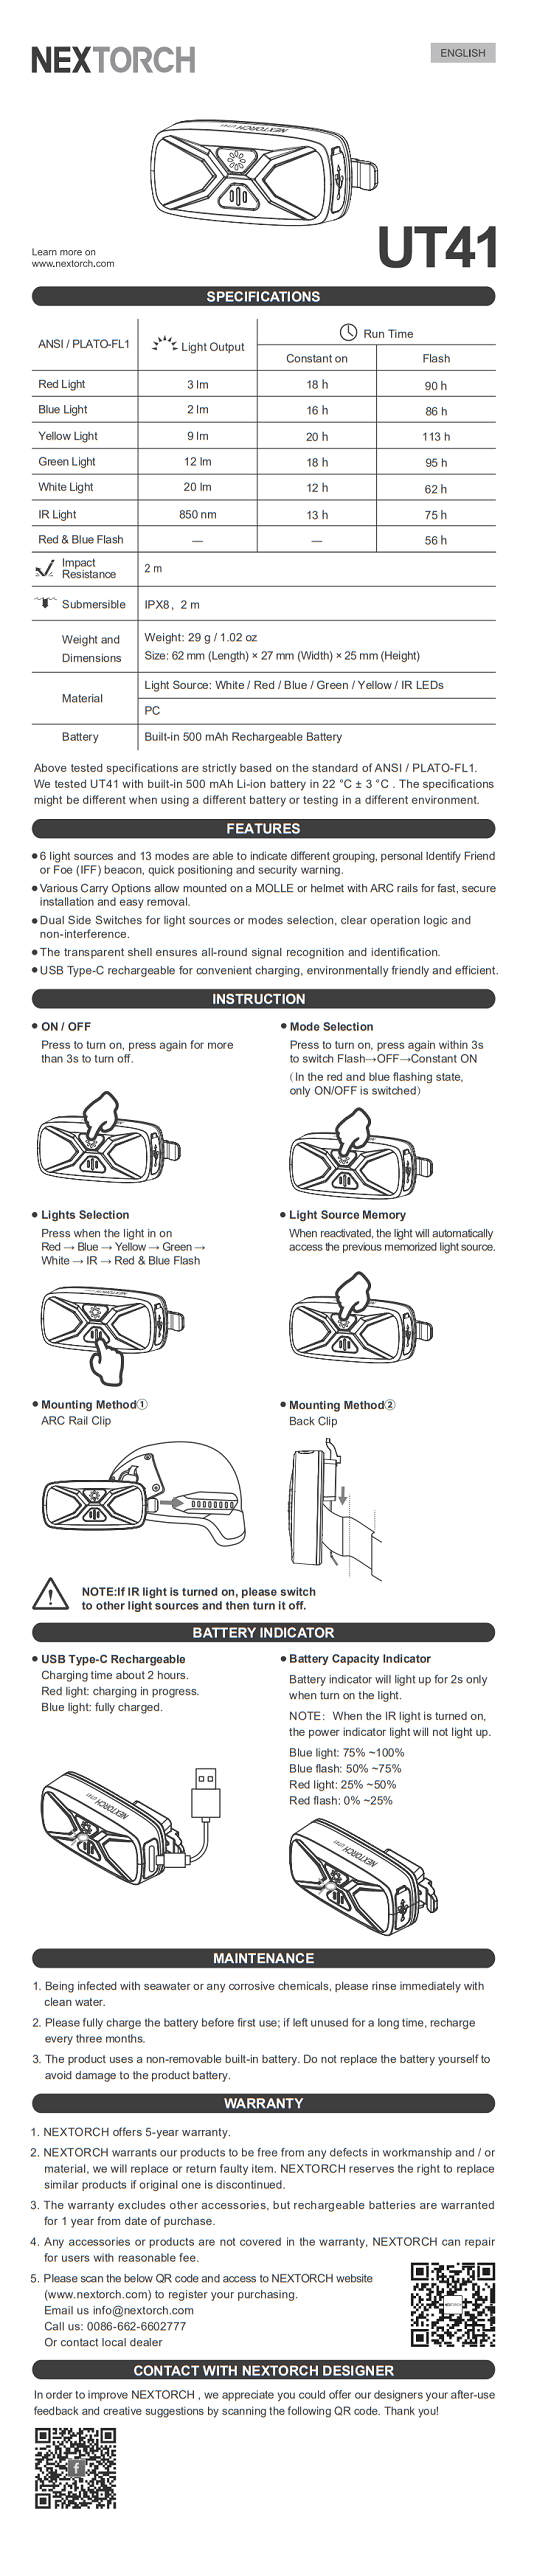
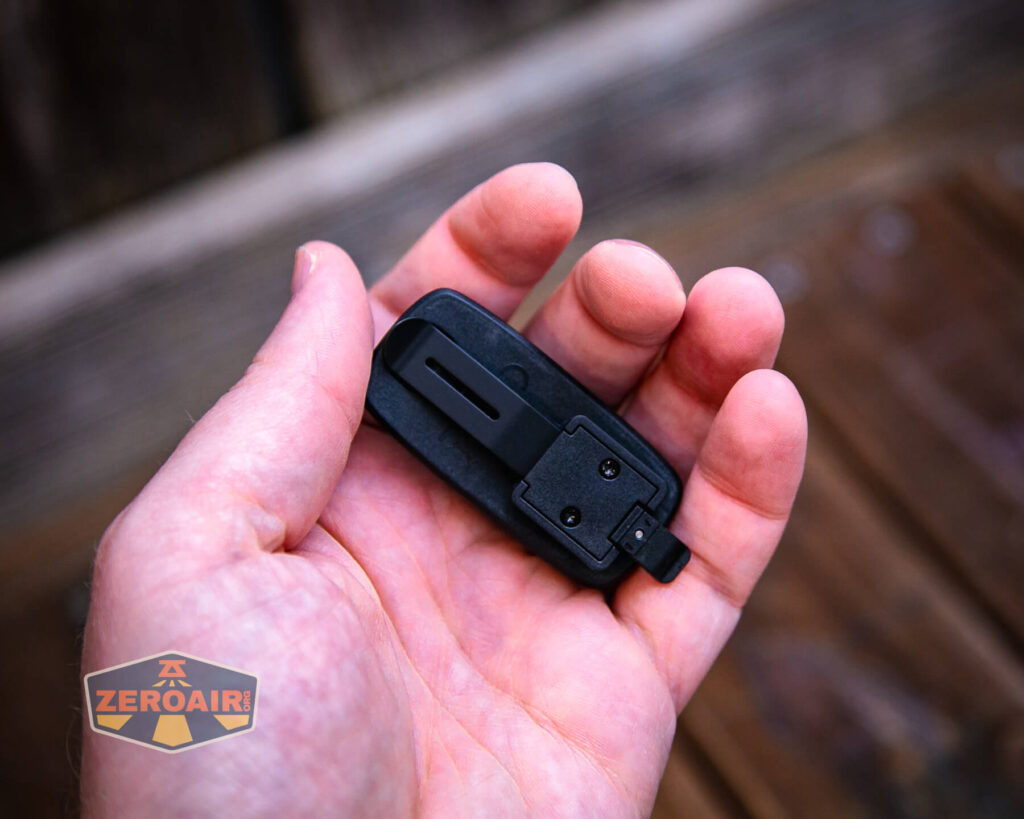
On the back, as seen below, is a metal pocket clip. It’s really intended as a MOLLE mount, and that makes the most sense for this light. It’s a signal light, after all.
There’s nothing else included. The back doesn’t have a magnet.
Credit where it’s due, though: this mounting mechanism is a specific type of mechanism that’s suitable for both MOLLE (mentioned above) and also “ARC Rails” – I think you’d see those on caving helmets and the like.
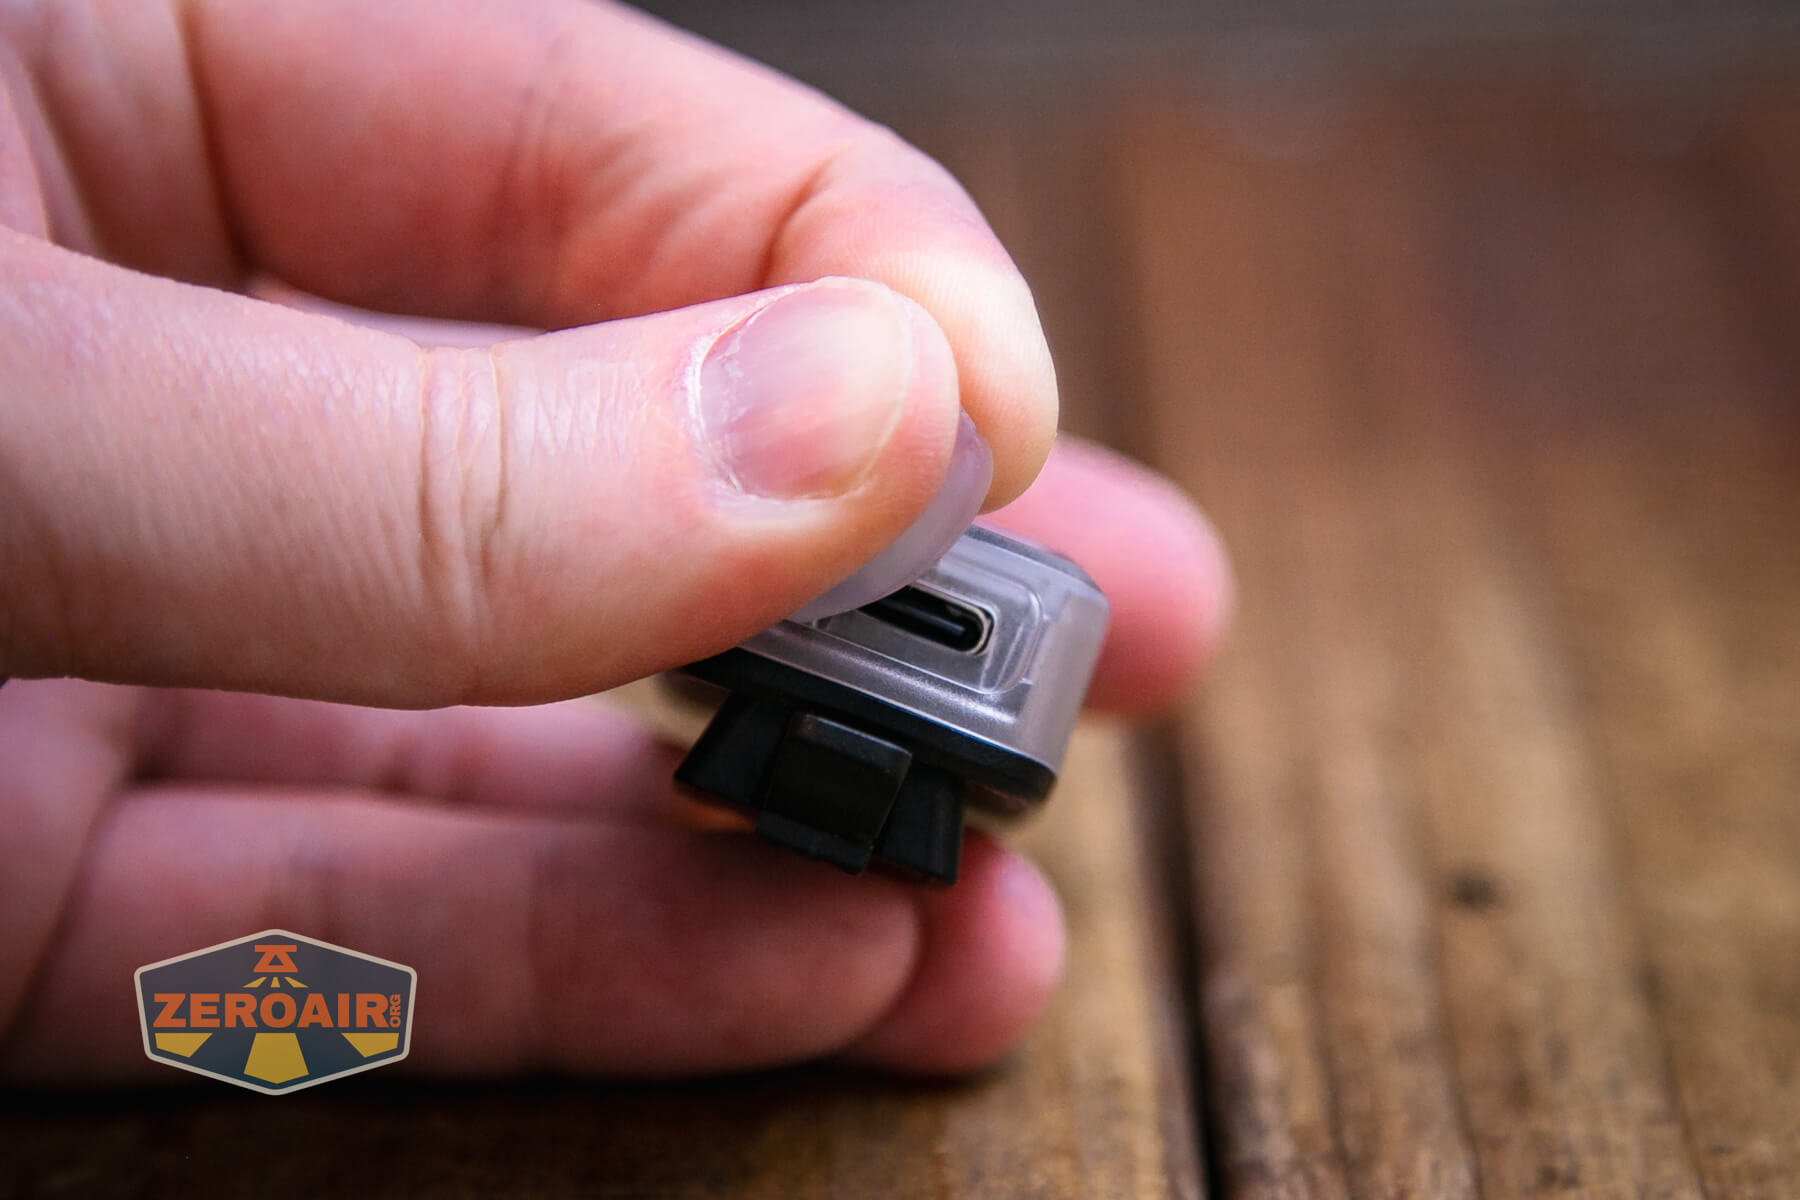
Charging
Charging of the internal 500mAh LiPO is by way of a USB-C charging port on one end (the “top end” if you will).
There’s a press-in cover and it seems quite secure.
An appropriate cable is included – USB to USB-C. This has the Nextorch special green color accents (which I love.)
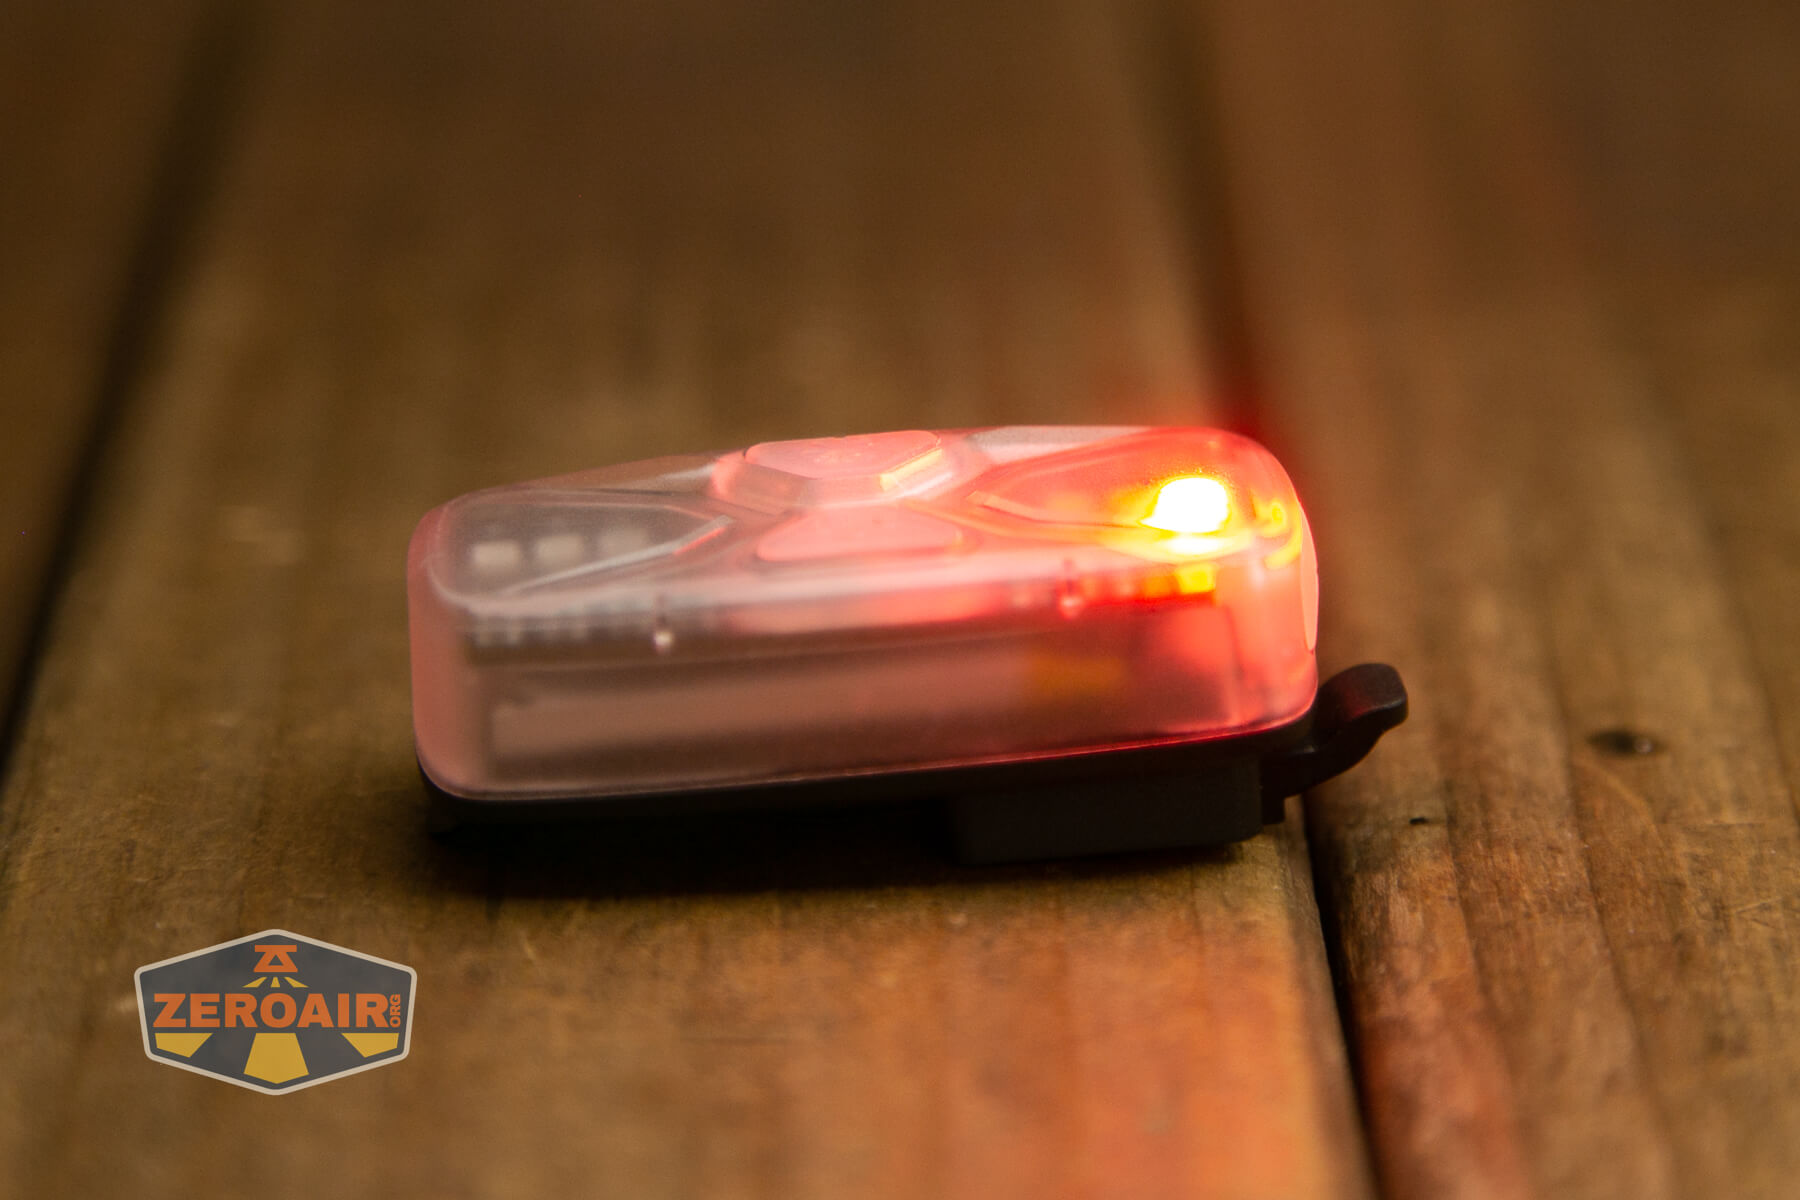
There’s a battery level indicator that lights while charging is happening – below it can be seen in red. The indicator can do more than indicate while charging, though – during use it can indicate as follows:
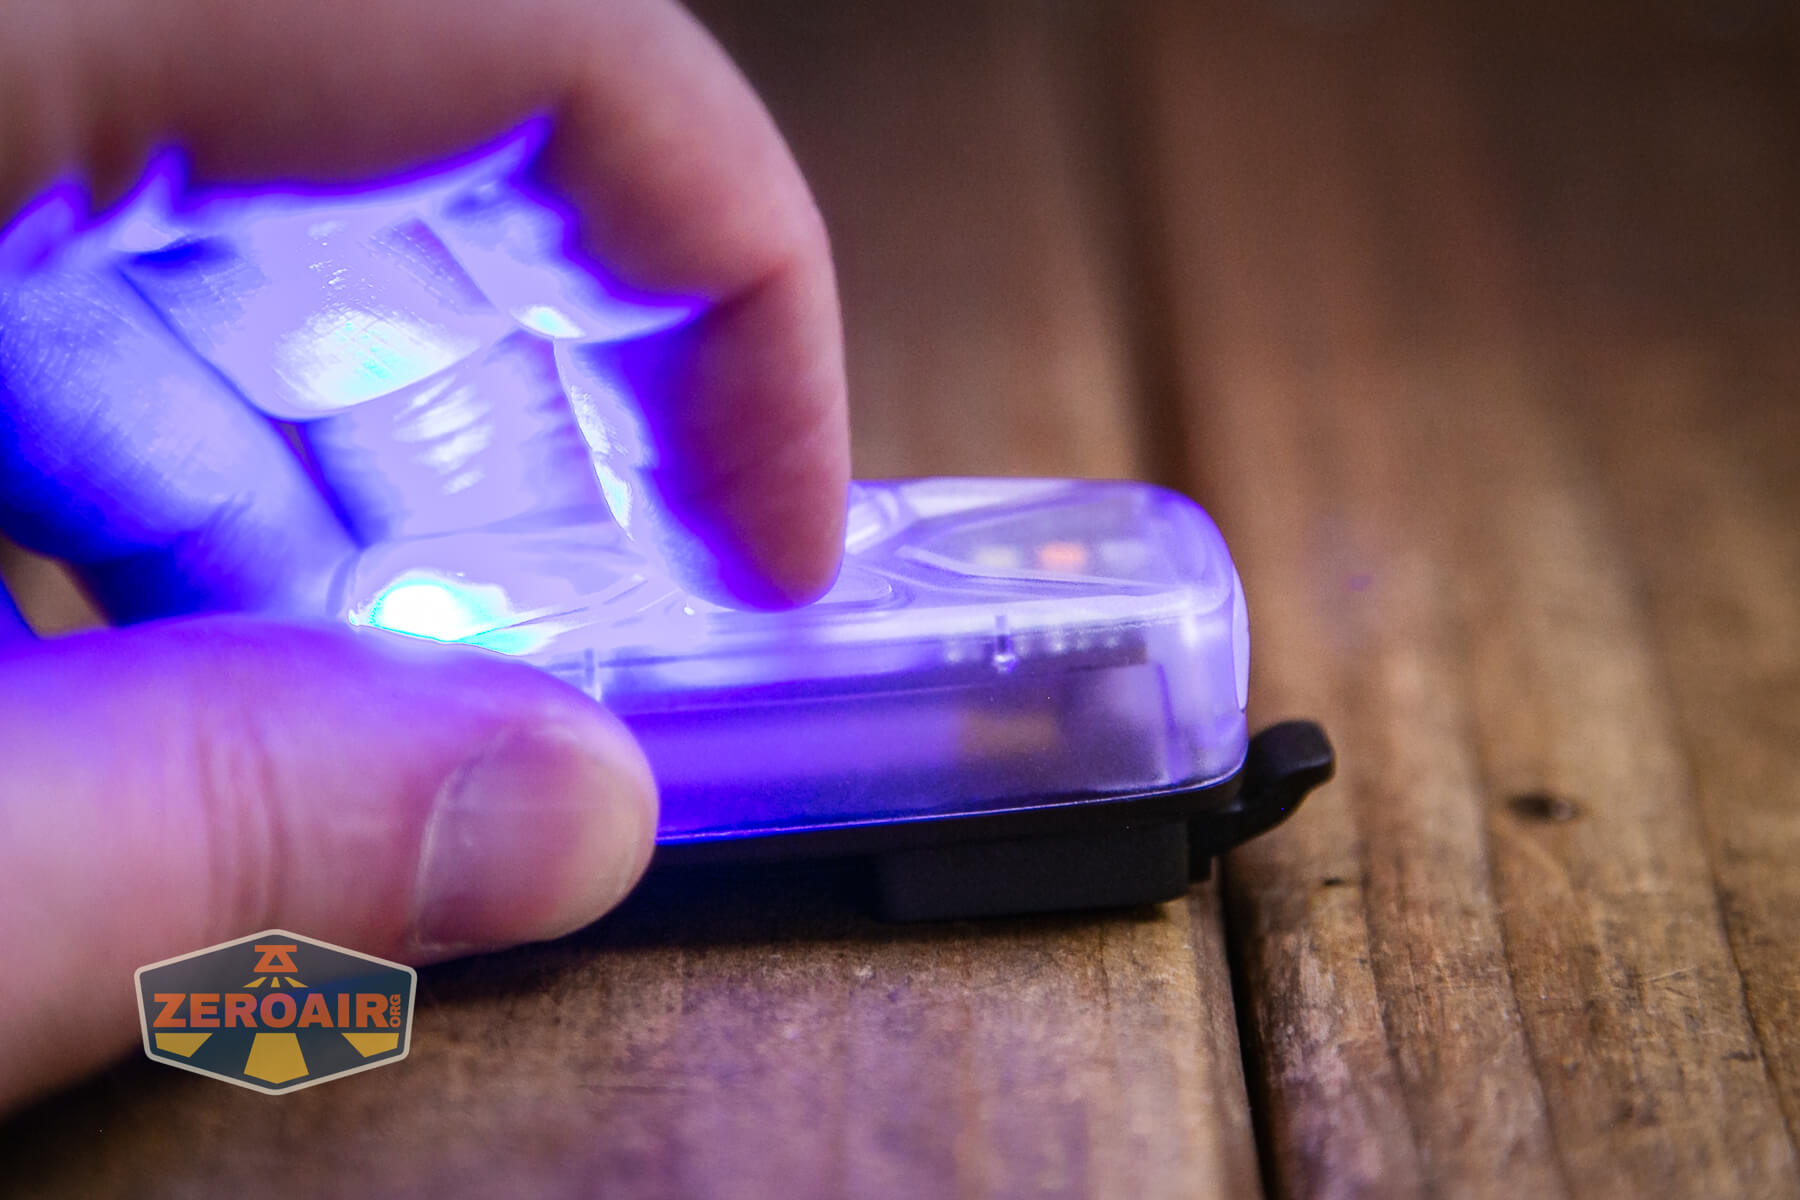
Blue: 75-100% power
Blue flashing: 50-75% power
Red: 25-50% power
Red flashing: 0-25% power
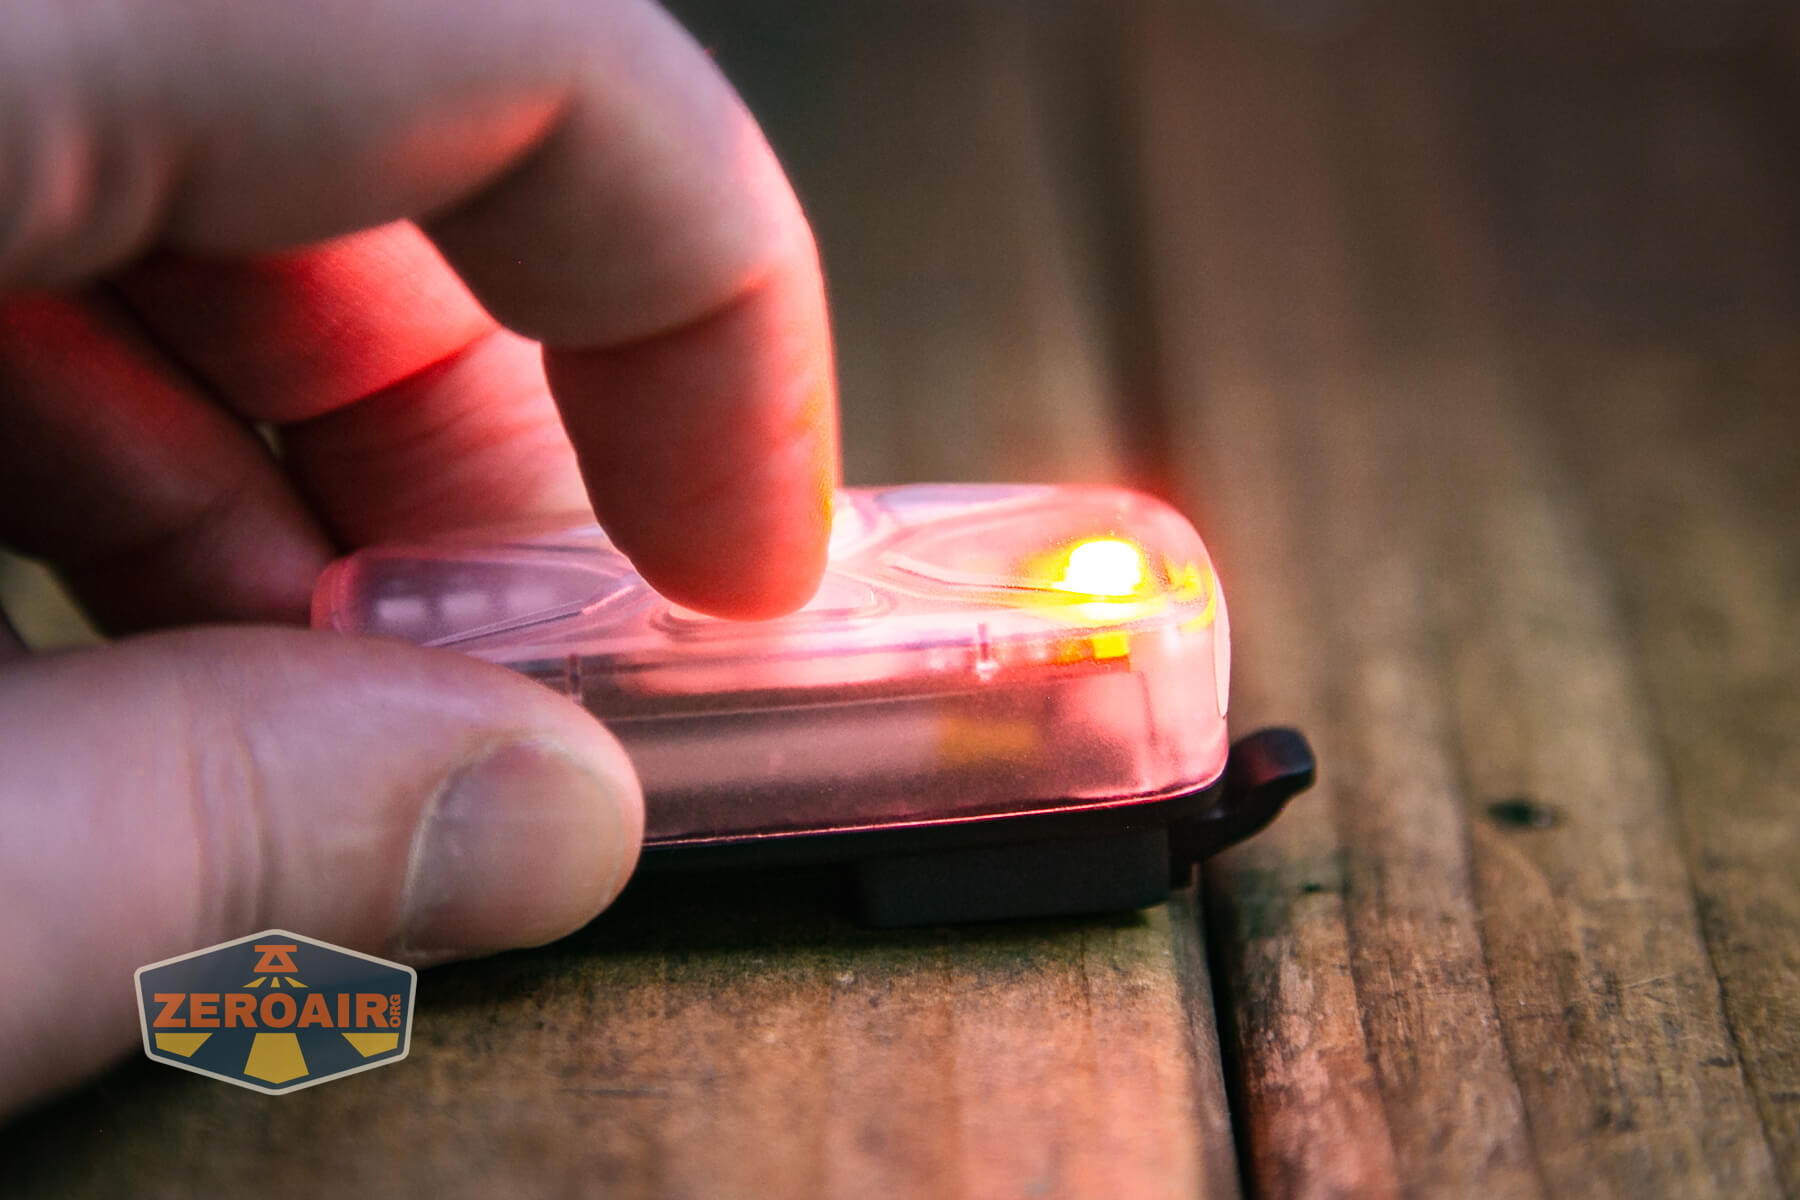
User Interface and Operation
Two switches control the Nextorch UT41 signal flashlight. There’s a power switch and a mode switch.
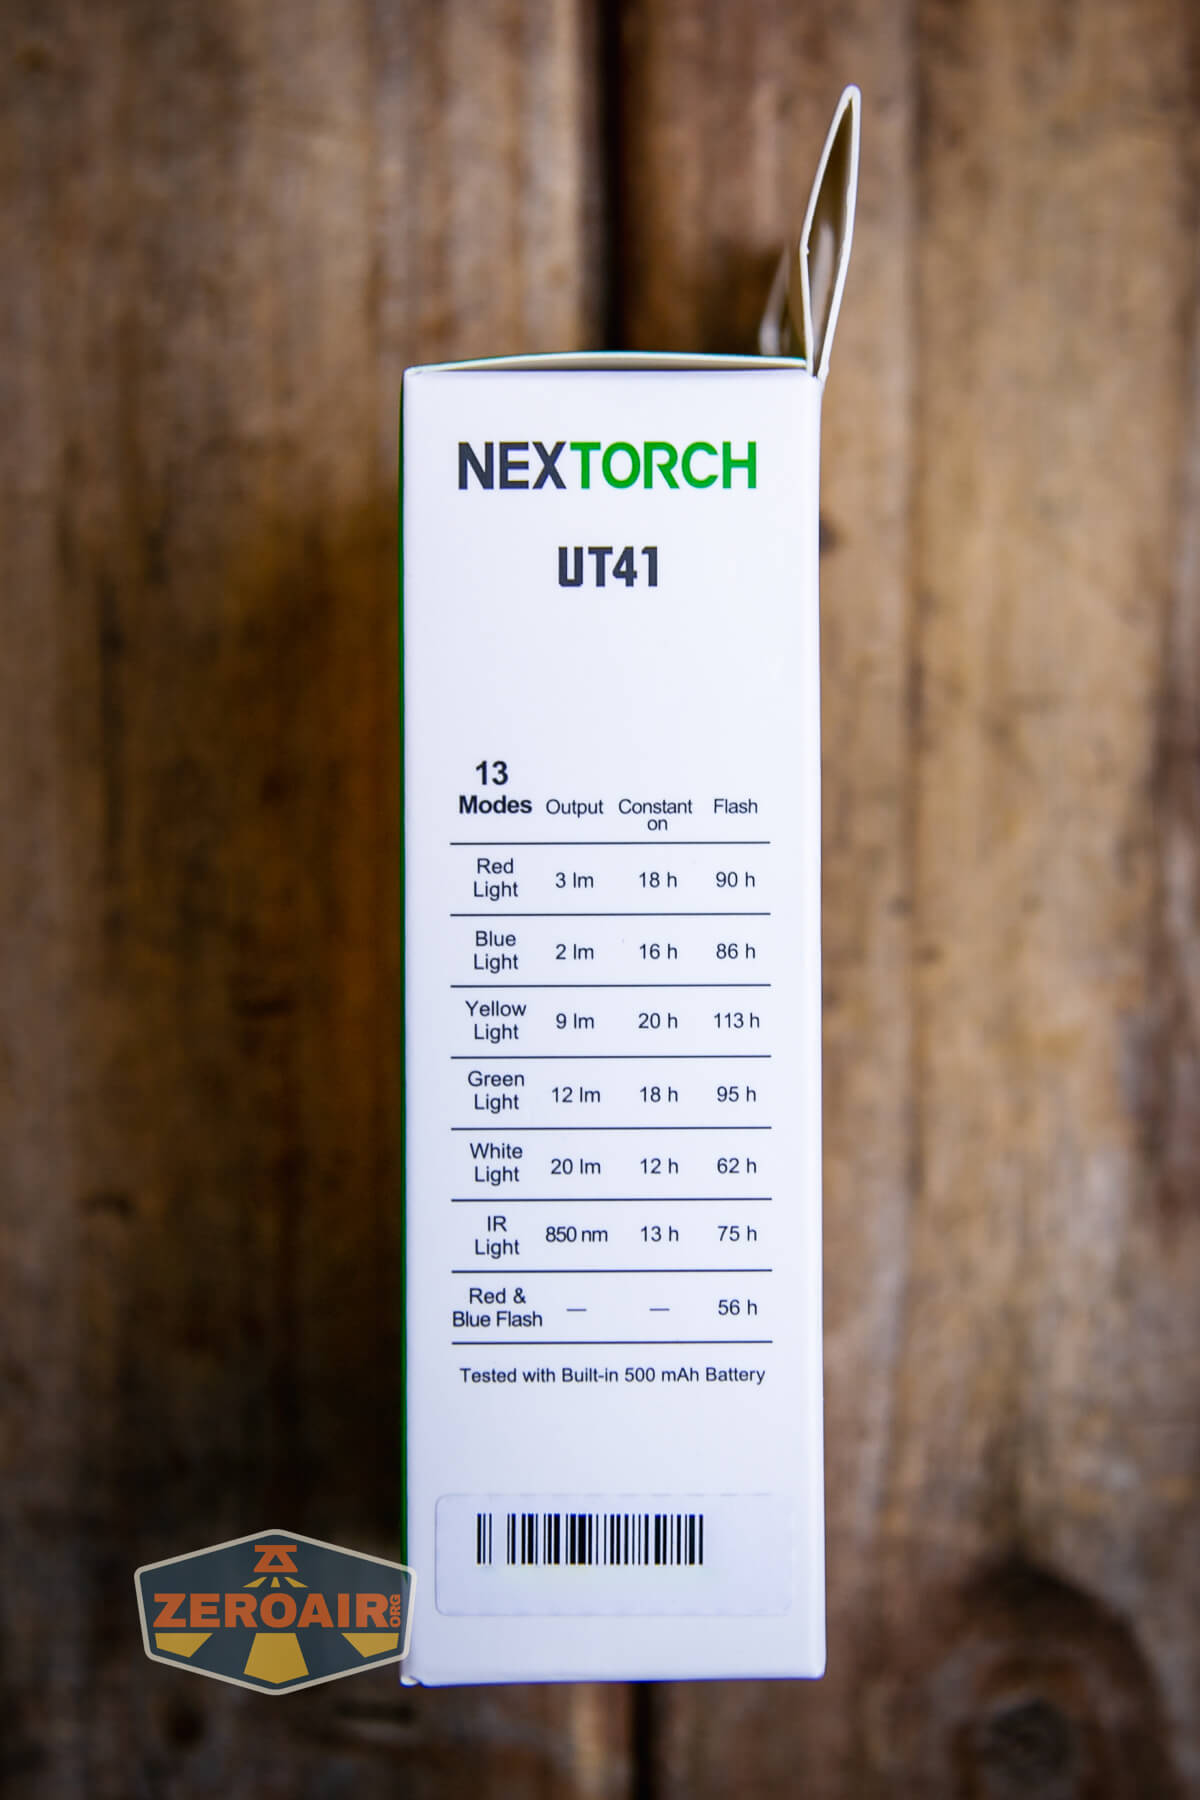
The light has 13 modes total! Some of those are mixed modes between multiple emitters.

Here’s a user interface table! I’m not really certain that the manual names the two switches. But one has a little sun-like icon (I’ll call that the power button) and the other has three lines (I’ll call that the mode button).
| State | Action | Result |
|---|---|---|
| Off | Press Power | On (Mode memory) |
| On | Hold Power | Off |
| On | Press Power | Mode advance (Red>Blue>Yellow>Green>White>IR>Red/Blue Flash) |
| On | Press Mode | Advance modes for selected emitter (Flash>Off>Constant On) |
The user interface is simpler than it seems in hand.
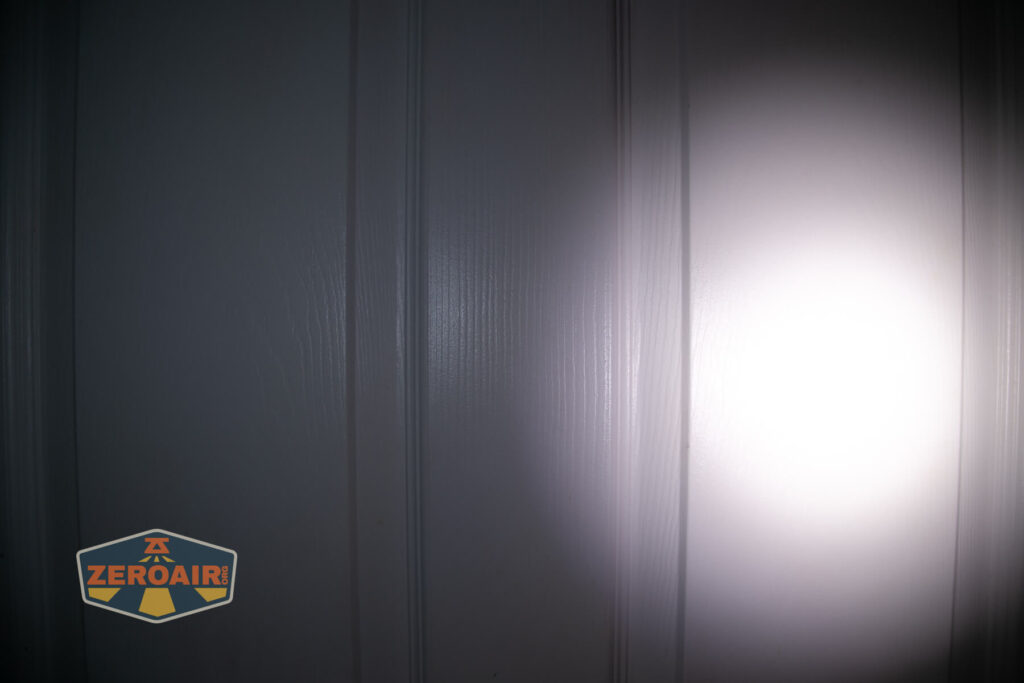
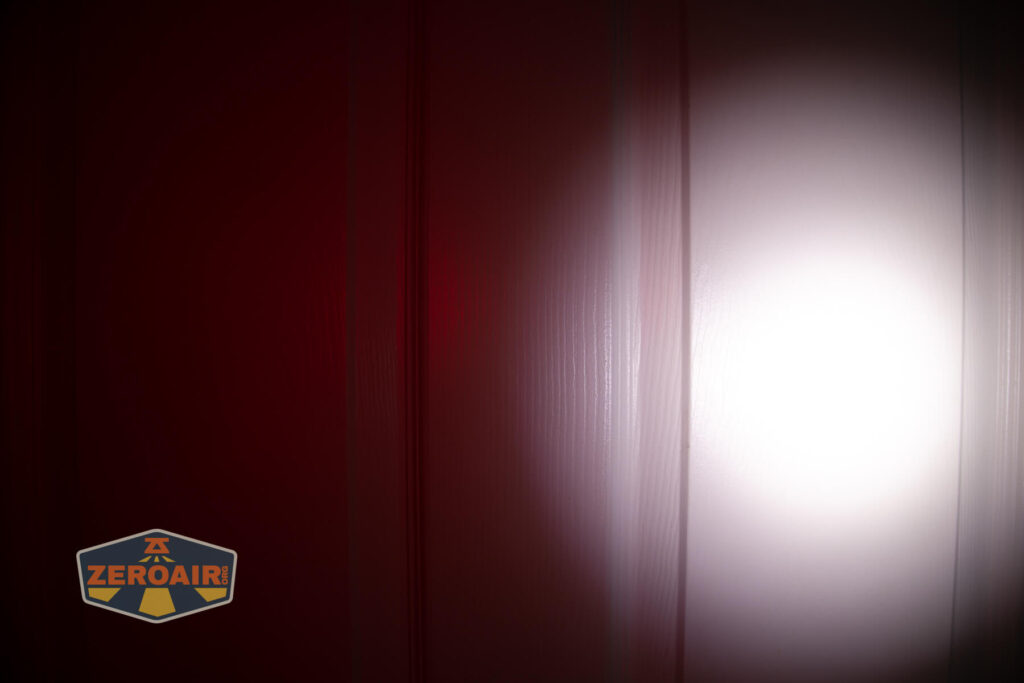
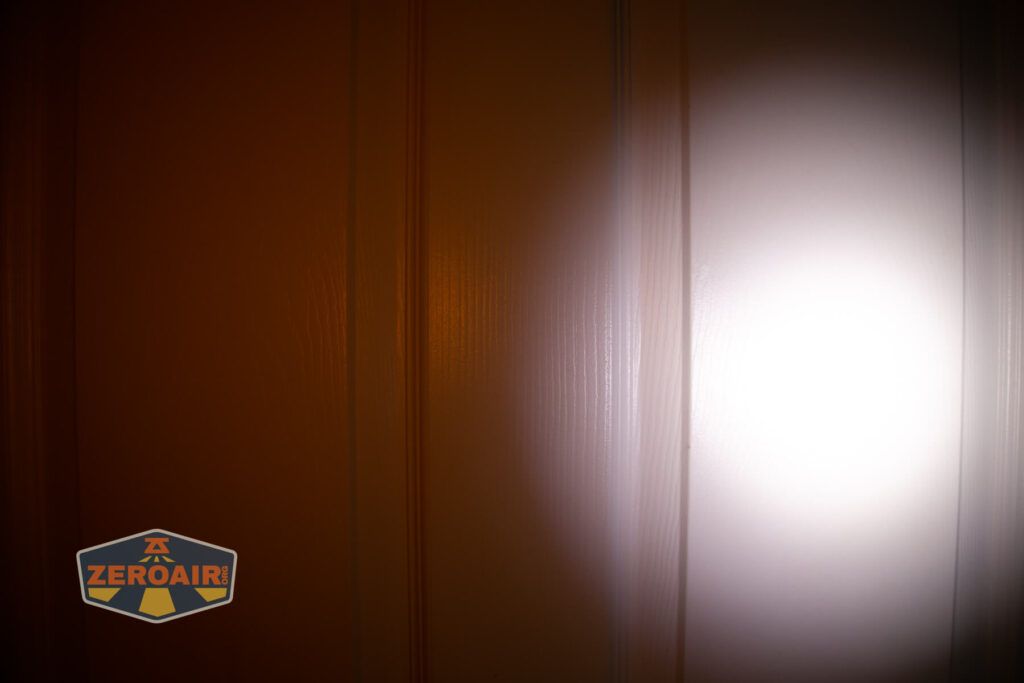
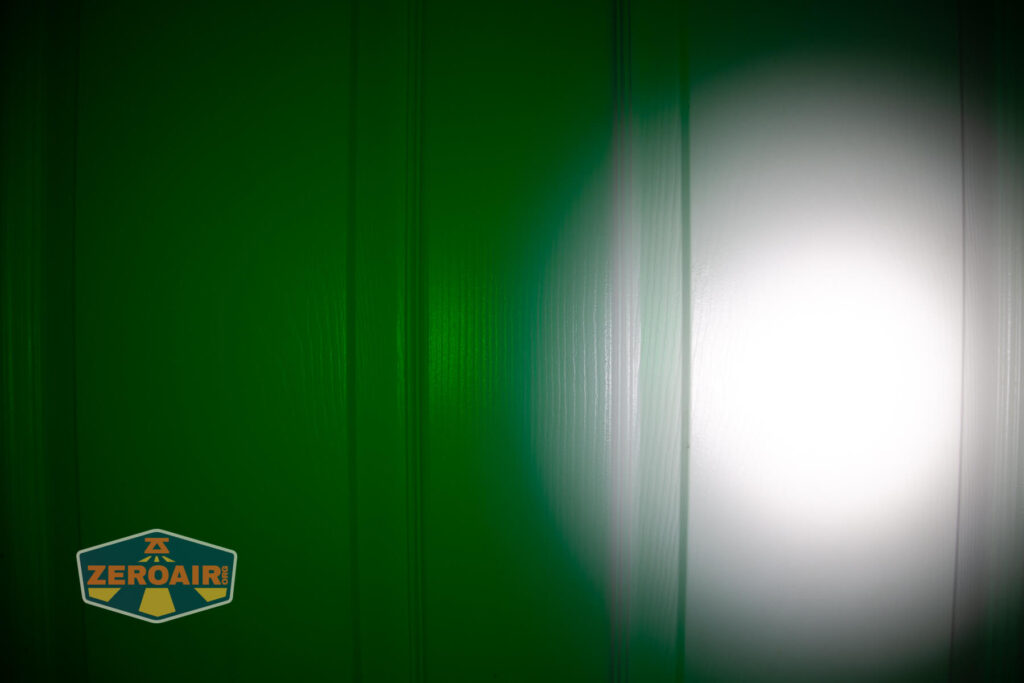
LED and Beam
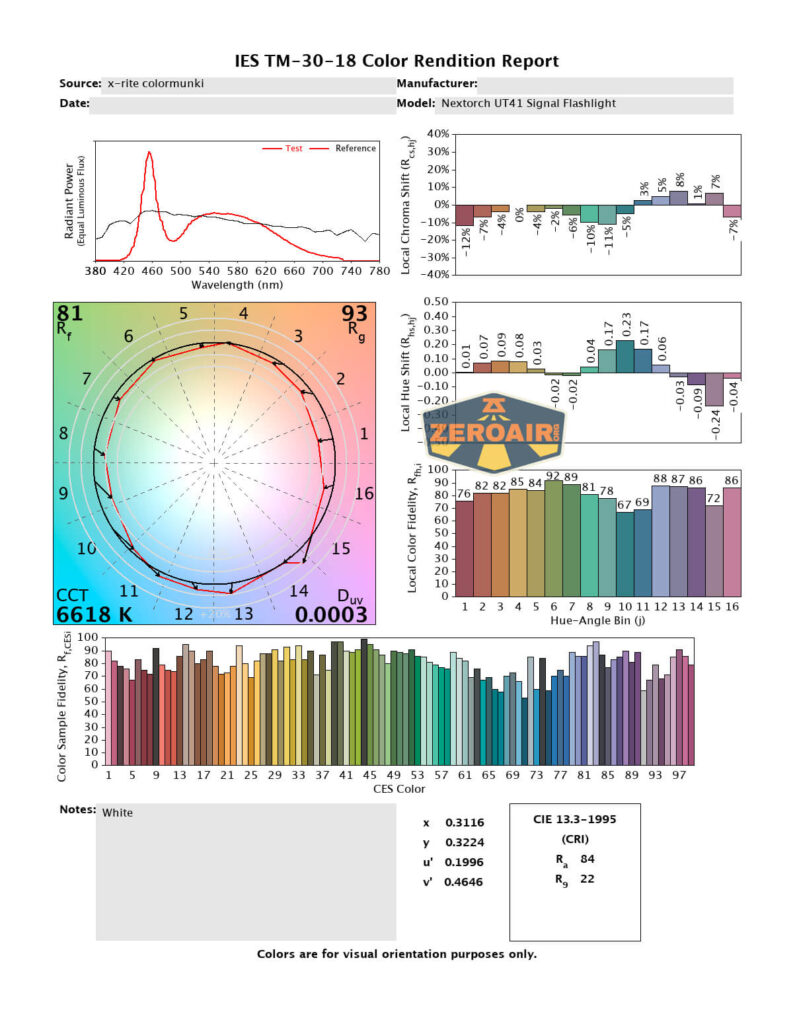
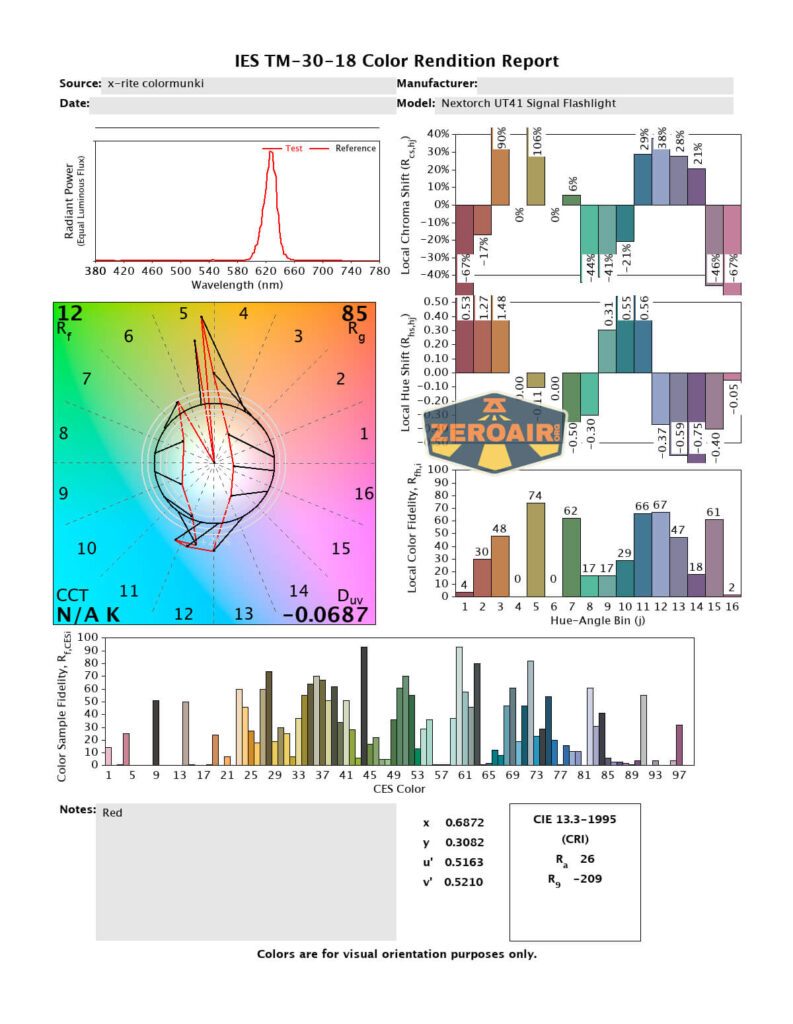
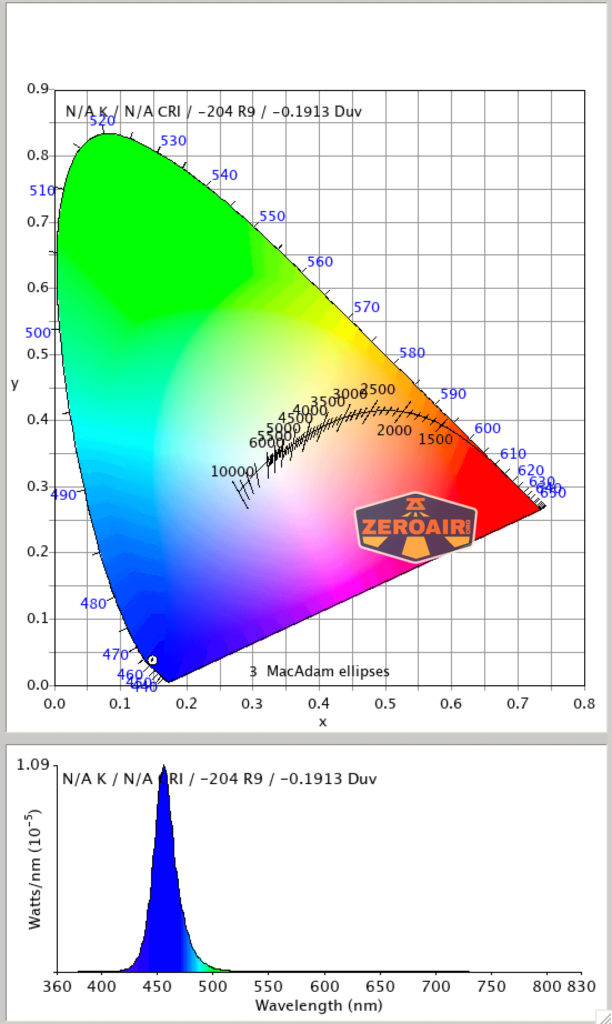
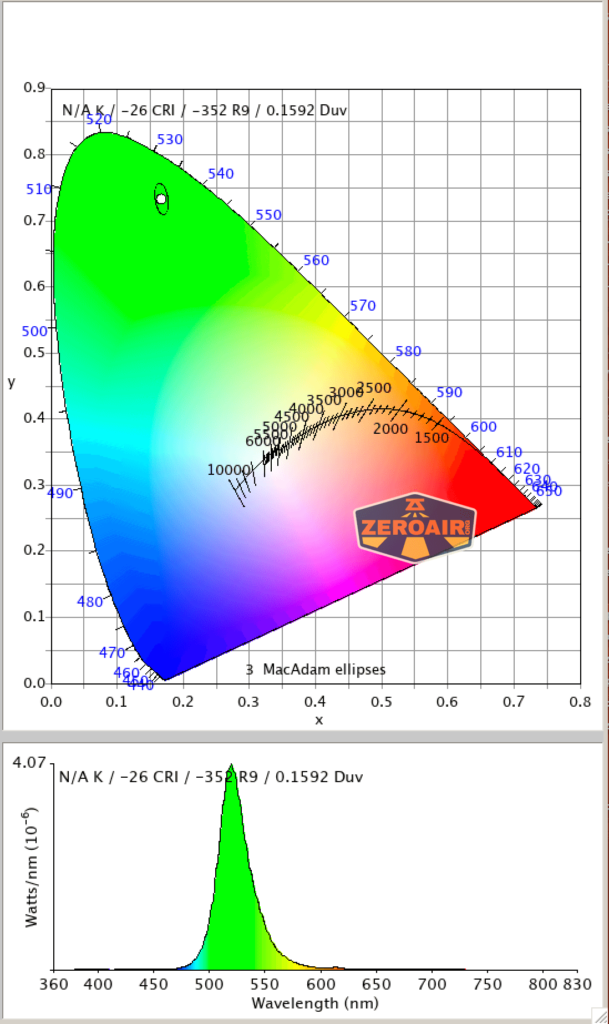
While I don’t believe Nextorch states what all 6 of these emitters are specifically, they are all different. There’s red, blue, yellow, green, white, and IR.
Below you can see the outputs.


LED Color Report (CRI and CCT)

Beamshots
These beamshots always have the following settings: f8, ISO100, 0.3s shutter, and manual 5000K exposure. These photos are taken at floor level, and the beam hits the ceiling around 9 feet away. Going all the way up to the ceiling is too far to really see any output, so these all look dark.


Tint vs BLF-348 (KillzoneFlashlights.com 219b version) (affiliate link)
I keep the test flashlight on the left and the BLF-348 reference flashlight on the right.

I compare everything to the KillzoneFlashlights.com 219b BLF-348 because it’s inexpensive and has the best tint!
Conclusion
What I like
- Good build quality
- Low cost
- Many emitters
- USB-C charging
What I don’t like
- Very specific use scenario
- Switches are very similar
Notes
- This content originally appeared at zeroair.org. Please visit there for the best experience!
- Please use my Amazon.com referral link to help support zeroair.org!
- Please support me on Patreon! I deeply appreciate your support!
Discover more from ZeroAir Reviews
Subscribe to get the latest posts sent to your email.