
Honeycomb Engraved Convoy S2+ Flashlight Review
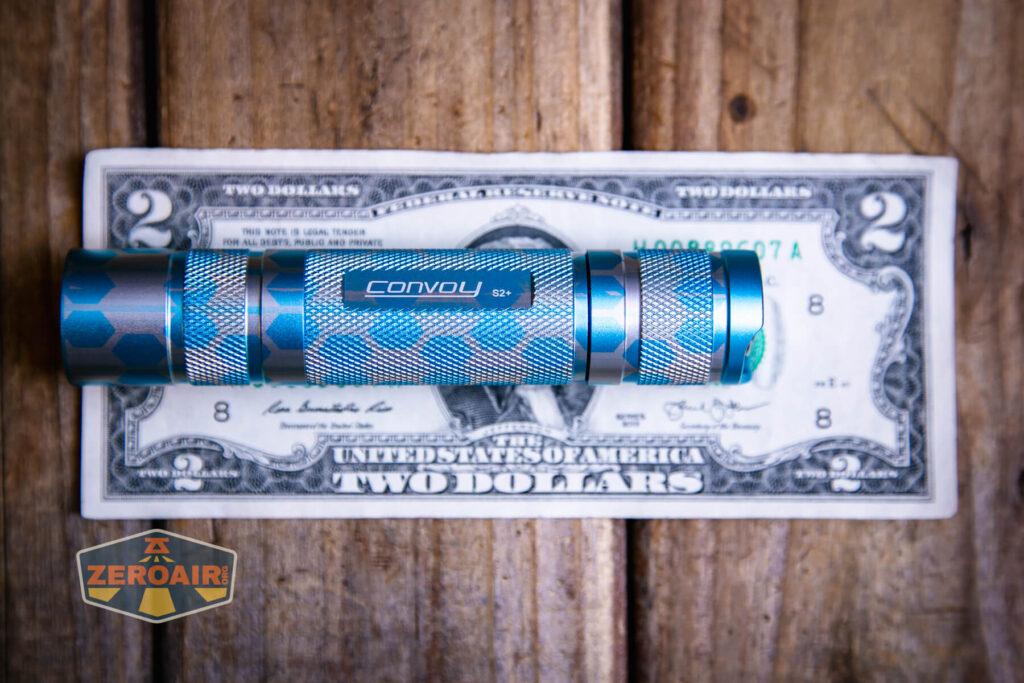
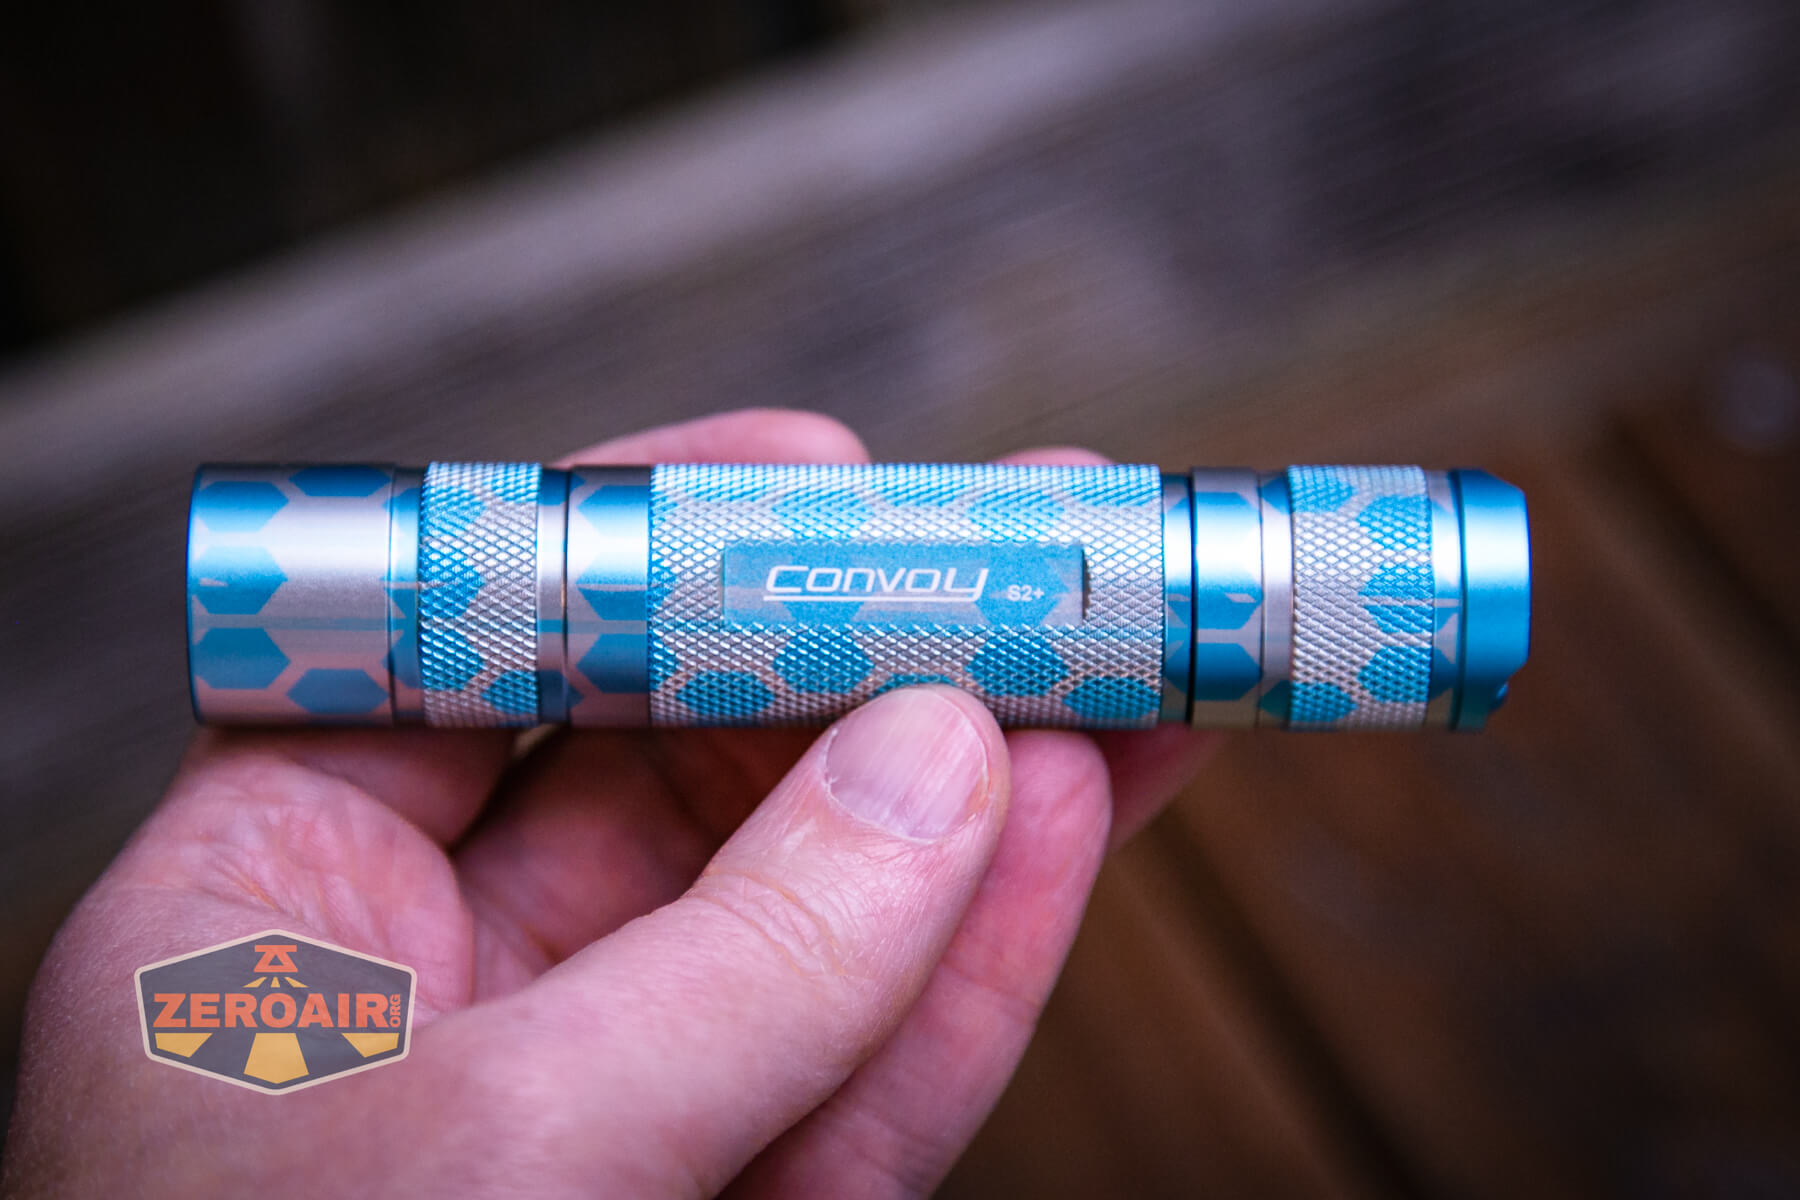
The Honeycomb Engraved Convoy S2+ flashlight by GadgetConnections features a laser-engraved pattern. This one uses a Nichia 519a, too! Read on for more!
Official Specs and Features
Here’s a link to the Honeycomb Engraved Convoy S2+ product page.
Versions
While there are many versions of the Convoy S2+, this post particularly covers the engraved aspect of that flashlight. Of the engraved options by GadgetConnections, there are quite a few choices. Those are: Mandala, Circuit, Honeycomb (seen here), Snake Skin, Wavy, Weave, TriSquCircle, EyeTrick, and FlowerPower. As I understand it, these are produced at the time of order. Thus, you should be able to get any pattern in any body color (if the host is in stock.) There are many emitter options, too. Mainly just the CCT range of Nichia 519a, but also a few options of Luminus SST-20. Any of those are good choices!
Price
At the time of this writing, these Honeycomb Engraved Convoy S2+ flashlights are going for $32.99. I think that’s an introductory price, though, so this might go up. Probably best to get one now!
Short Review
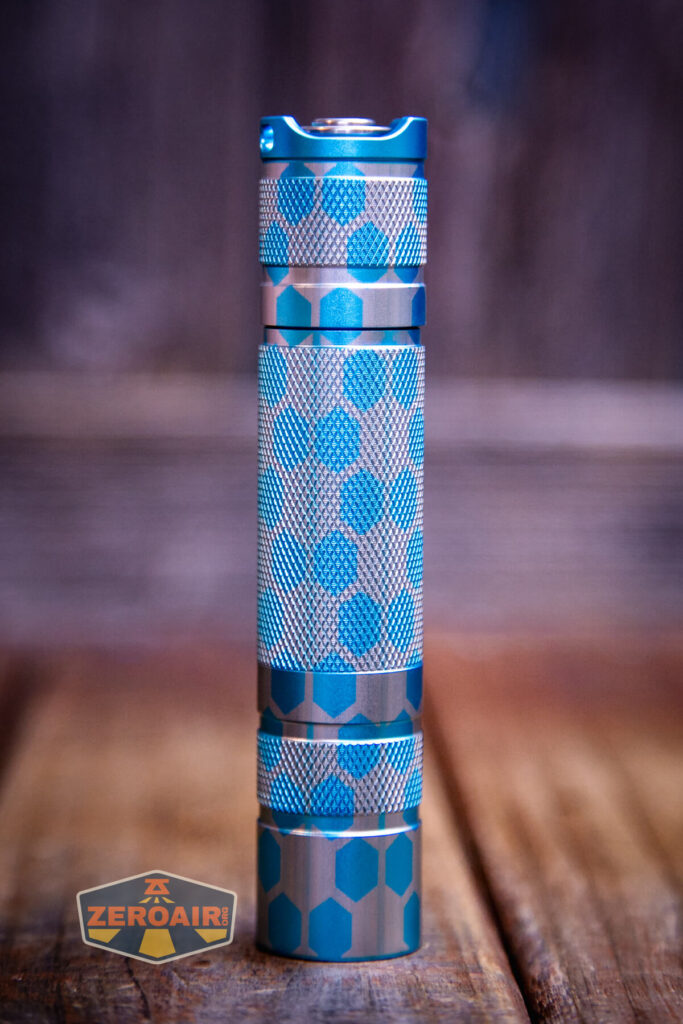
It’s fairly well-documented that I love the Convoy S2+. That shouldn’t come as a surprise! I do think everyone should own one or a few… They’re around $15-20, provide a great playground for mods, and are also easy to sell if you want to try something new. Since this light is $33, we can say the engraving adds $15-20. Do I like this engraving $15 or $20 worth? Yes, absolutely – I think it’s very cool. Aside from the engraving pattern specifically, I like this blue-on-silver, too!
Long Review
The Big Table
| Honeycomb Engraved Convoy S2+ Flashlight | |
|---|---|
| Emitter: | Nichia 519a |
| Price in USD at publication time: | $32.99 at GadgetConnections.com |
| Cell: | 1×18650 |
| Runtime Graphs | |
| LVP? | |
| Switch Type: | Mechanical |
| On-Board Charging? | No |
| Claimed Lumens (lm) | – |
| Measured Lumens (at 30s) | 747 |
| Candela per Lumen | 7.16 |
| Claimed Throw (m) | – |
| Candela (Calculated) in cd (at 30s) | 227lux @ 5.278m = 6324cd |
| Throw (Calculated) (m) | 159.0 |
| Claimed CCT | 4000 |
| Measured CCT Range (K) | 3900-4100 Kelvin |
| Item provided for review by: | Gadget Connections |
| All my Convoy reviews! | |
^ Measurement disclaimer: Testing flashlights is my hobby. I use hobbyist-level equipment for testing, including some I made myself. Try not to get buried in the details of manufacturer specifications versus measurements recorded here; A certain amount of difference (say, 10 or 15%) is perfectly reasonable.
What’s Included
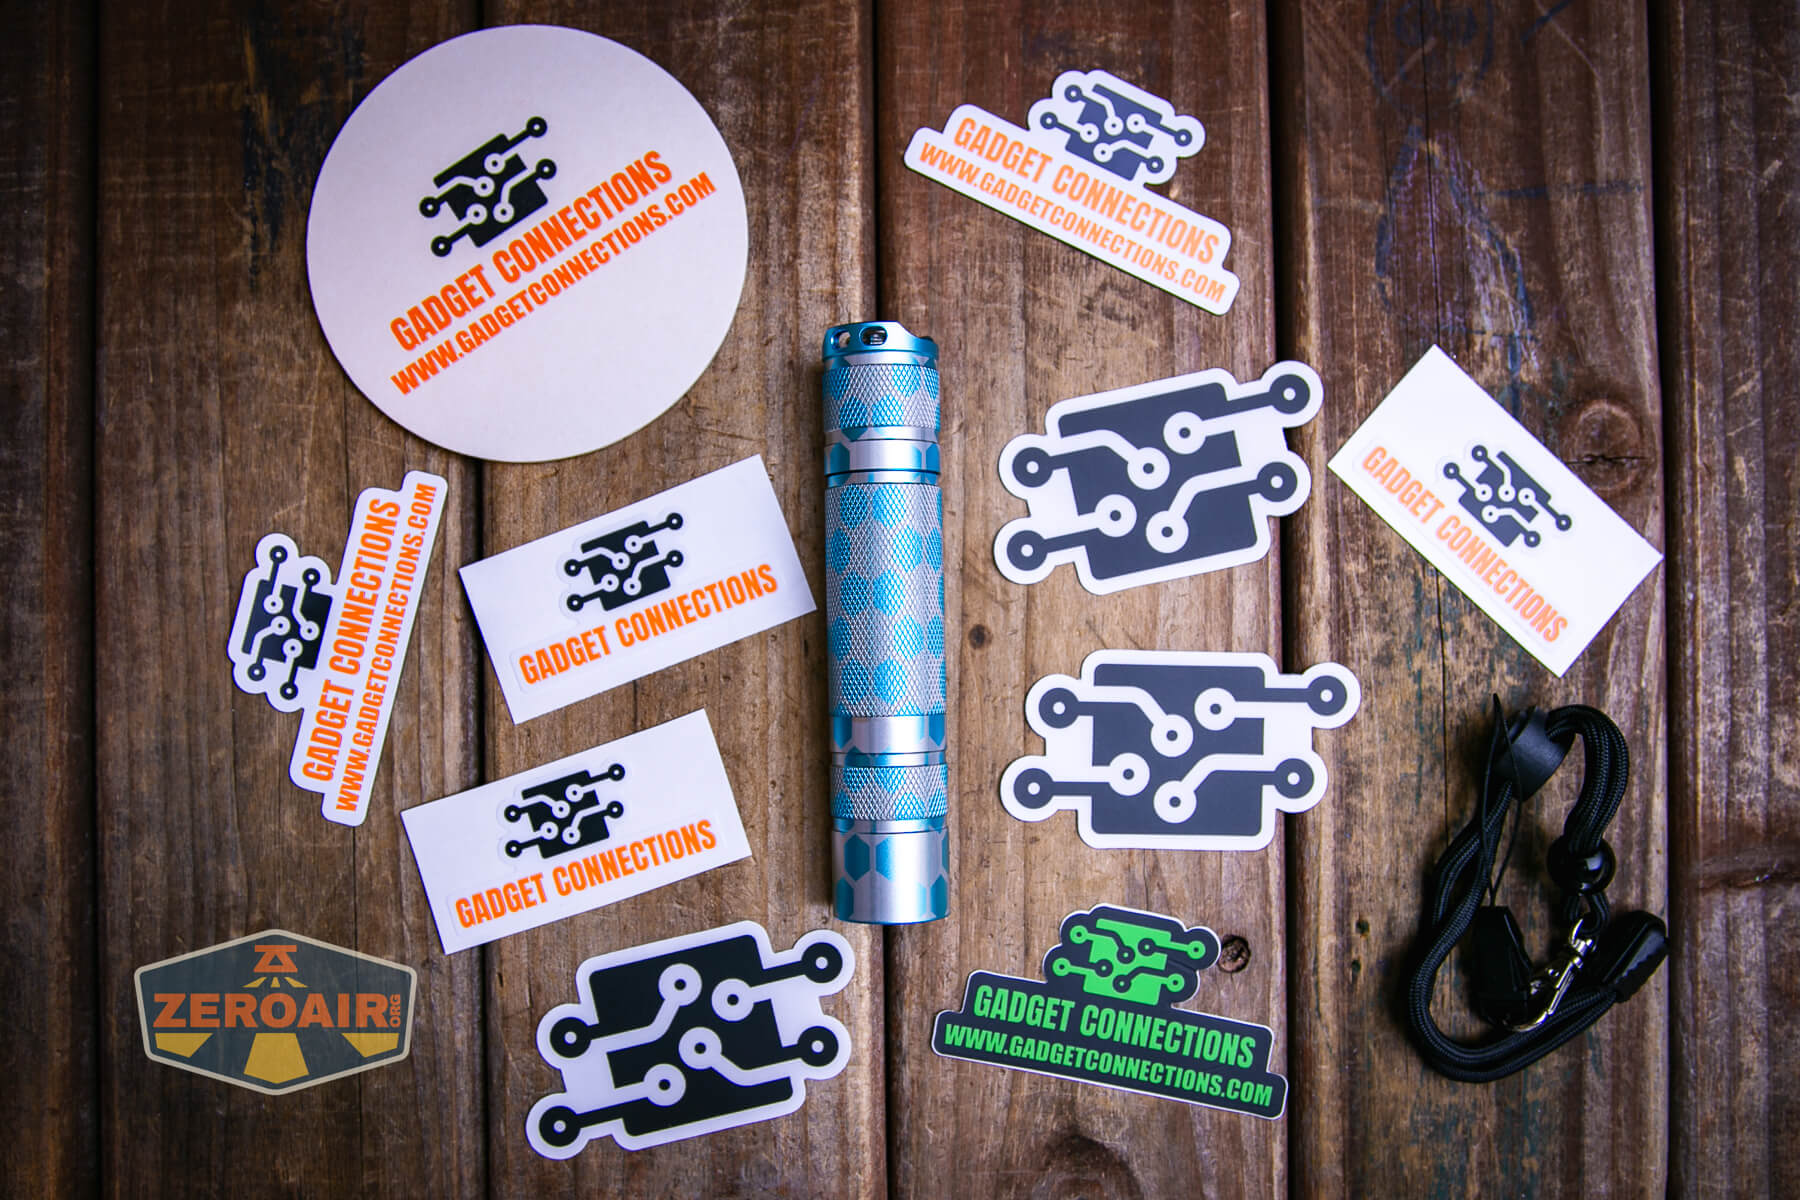
I have received a couple of packages from GadgetConnections, and both had various stickers and magnets and even one coaster. I’m not sure exactly what you’ll get, but I would expect at least one sticker (the stickers are on the white rectangle, above). I love stickers, so this is great. I do think GadgetConnections has begun to standardize the package so that all S2+ lights will ship with a lanyard (as seen below). If that lanyard is specifically important to you, ask when you purchase!
As for what you get in the light package specifically:
- Honeycomb Engraved Convoy S2+ Flashlight
- Lanyard
Package and Manual

There is no manual.
Build Quality and Disassembly
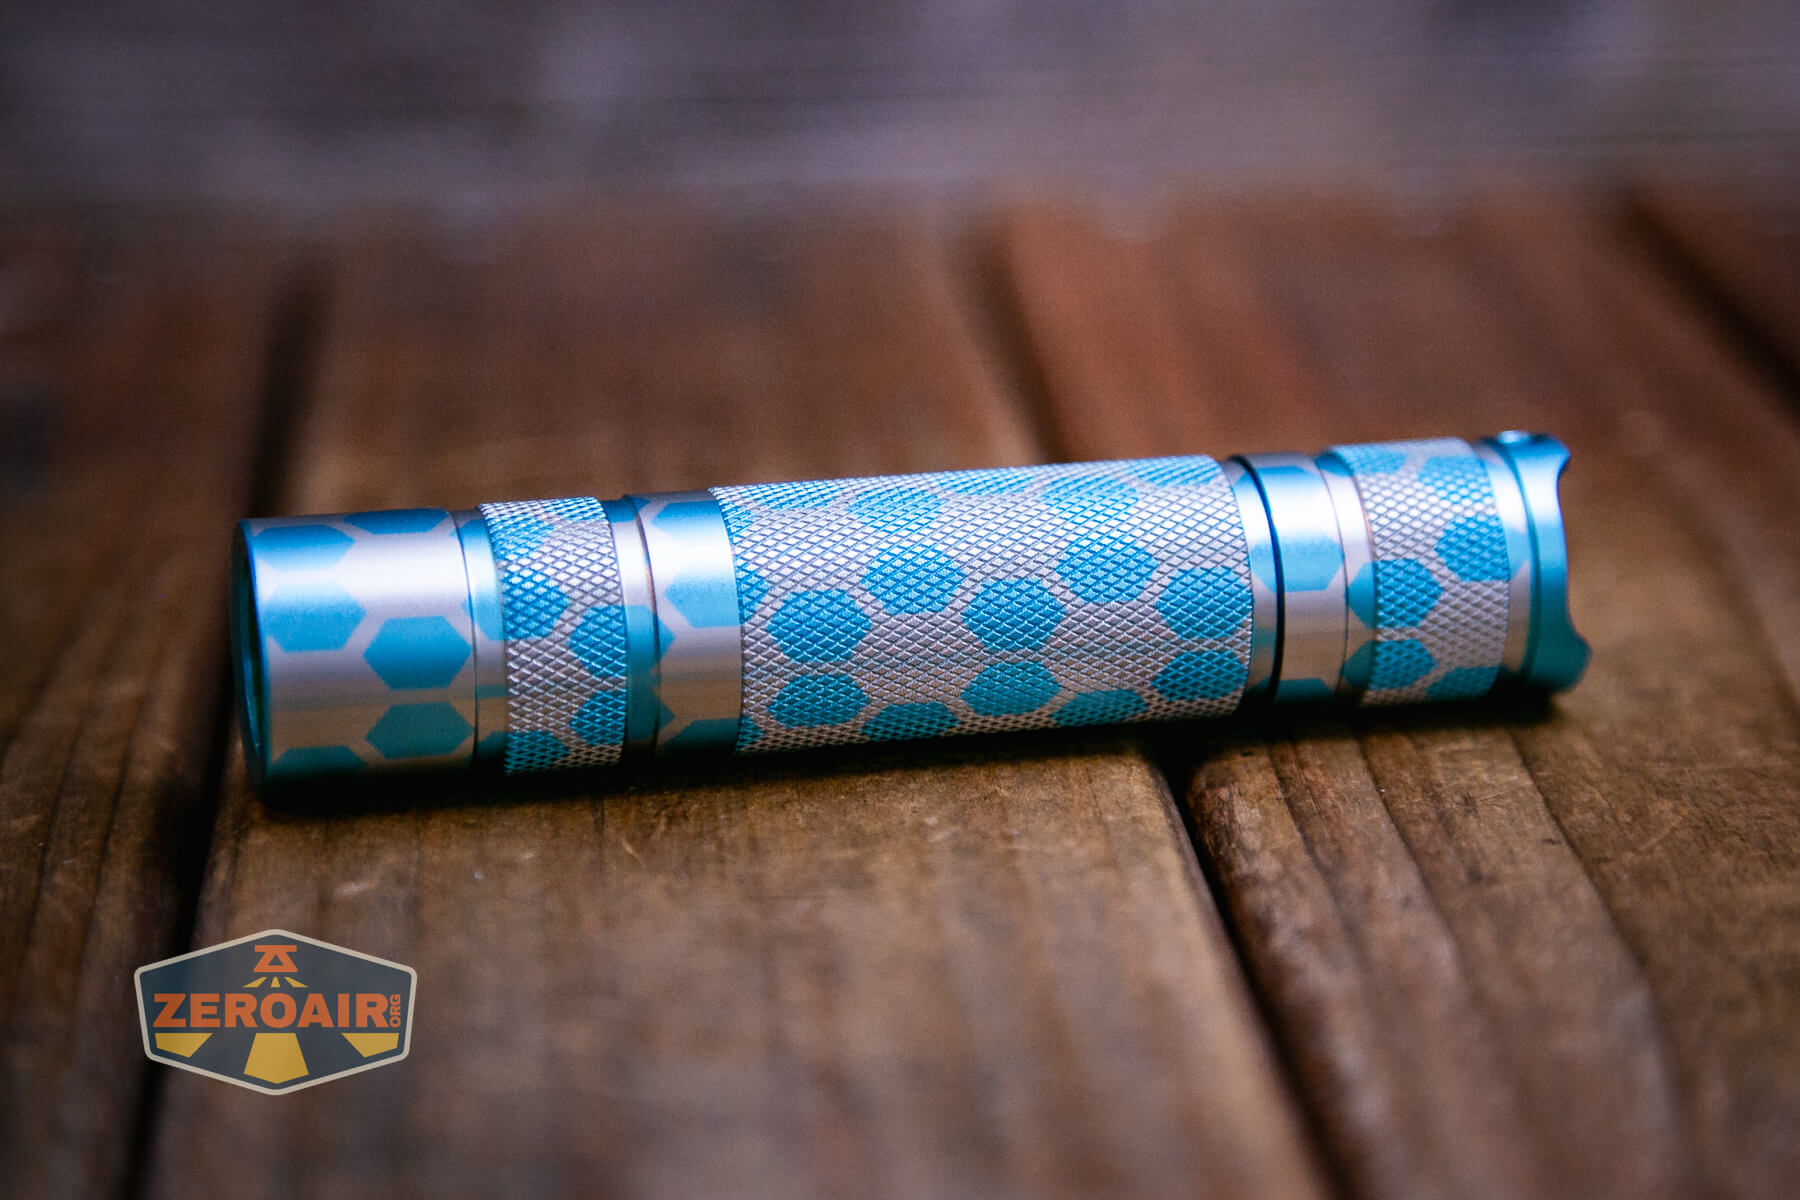
Convoy is very highly regarded by flashlight enthusiasts for having great build quality and low prices. This Convoy S2+ Nichia 519a is no exception. It’s great! As stated above, I’ve tested the Convoy S2+ before (a couple of times, actually) and even once in this orange color. I did fully test this version with output and all that, but this post is mostly about the engraving of the light. So basically, view the testing if you want specific info on the 4000K Nichia 519a, but really just drink in this engraving! (Yes, I have even tested another engraved S2+ in 4000K… if I had thought about it I’d have dedomed this 4000K and tested the light that way, but alas, I did not think about it. If there’s interest, I can circle back!)

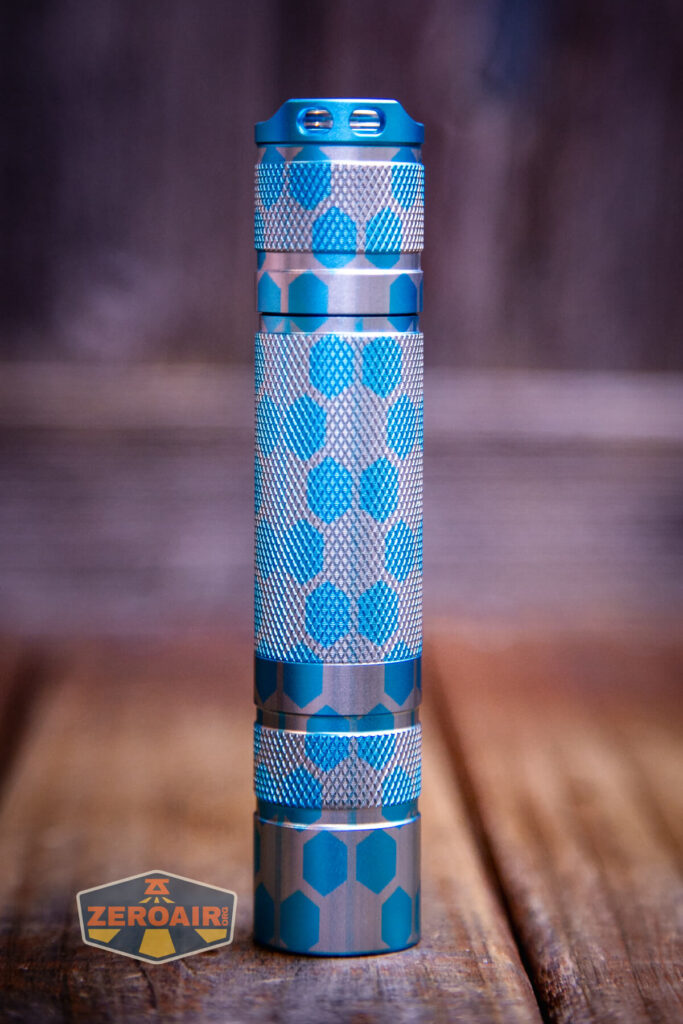
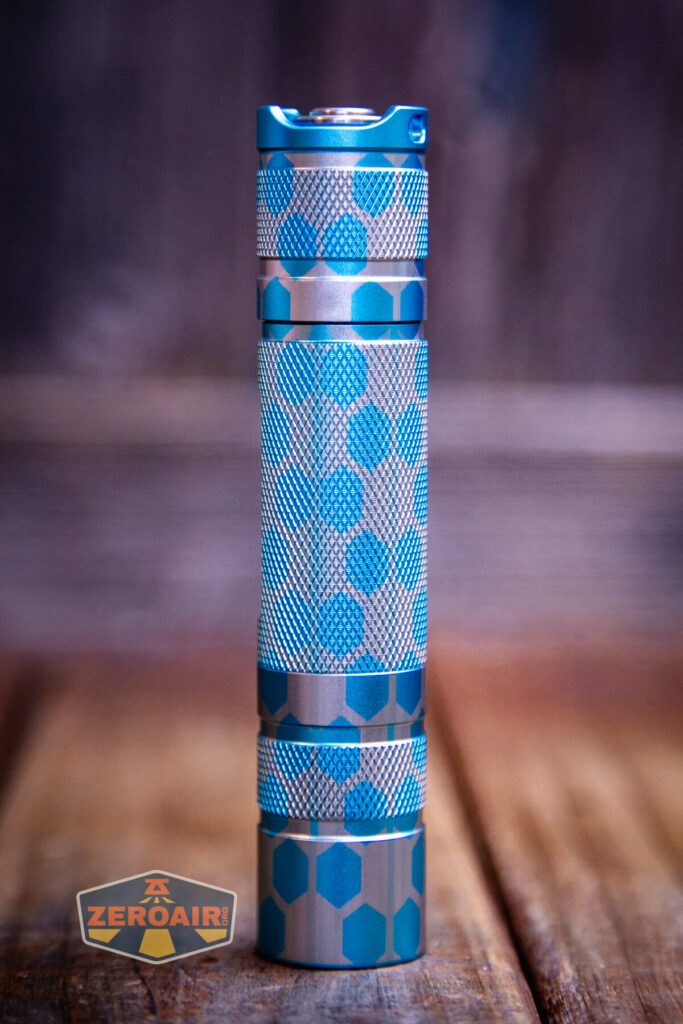
One thing you’ll note about the engraving: it does go straight over the Convoy labeling. That might strike you as an interesting choice, but I think it’s the right way; it definitely works.
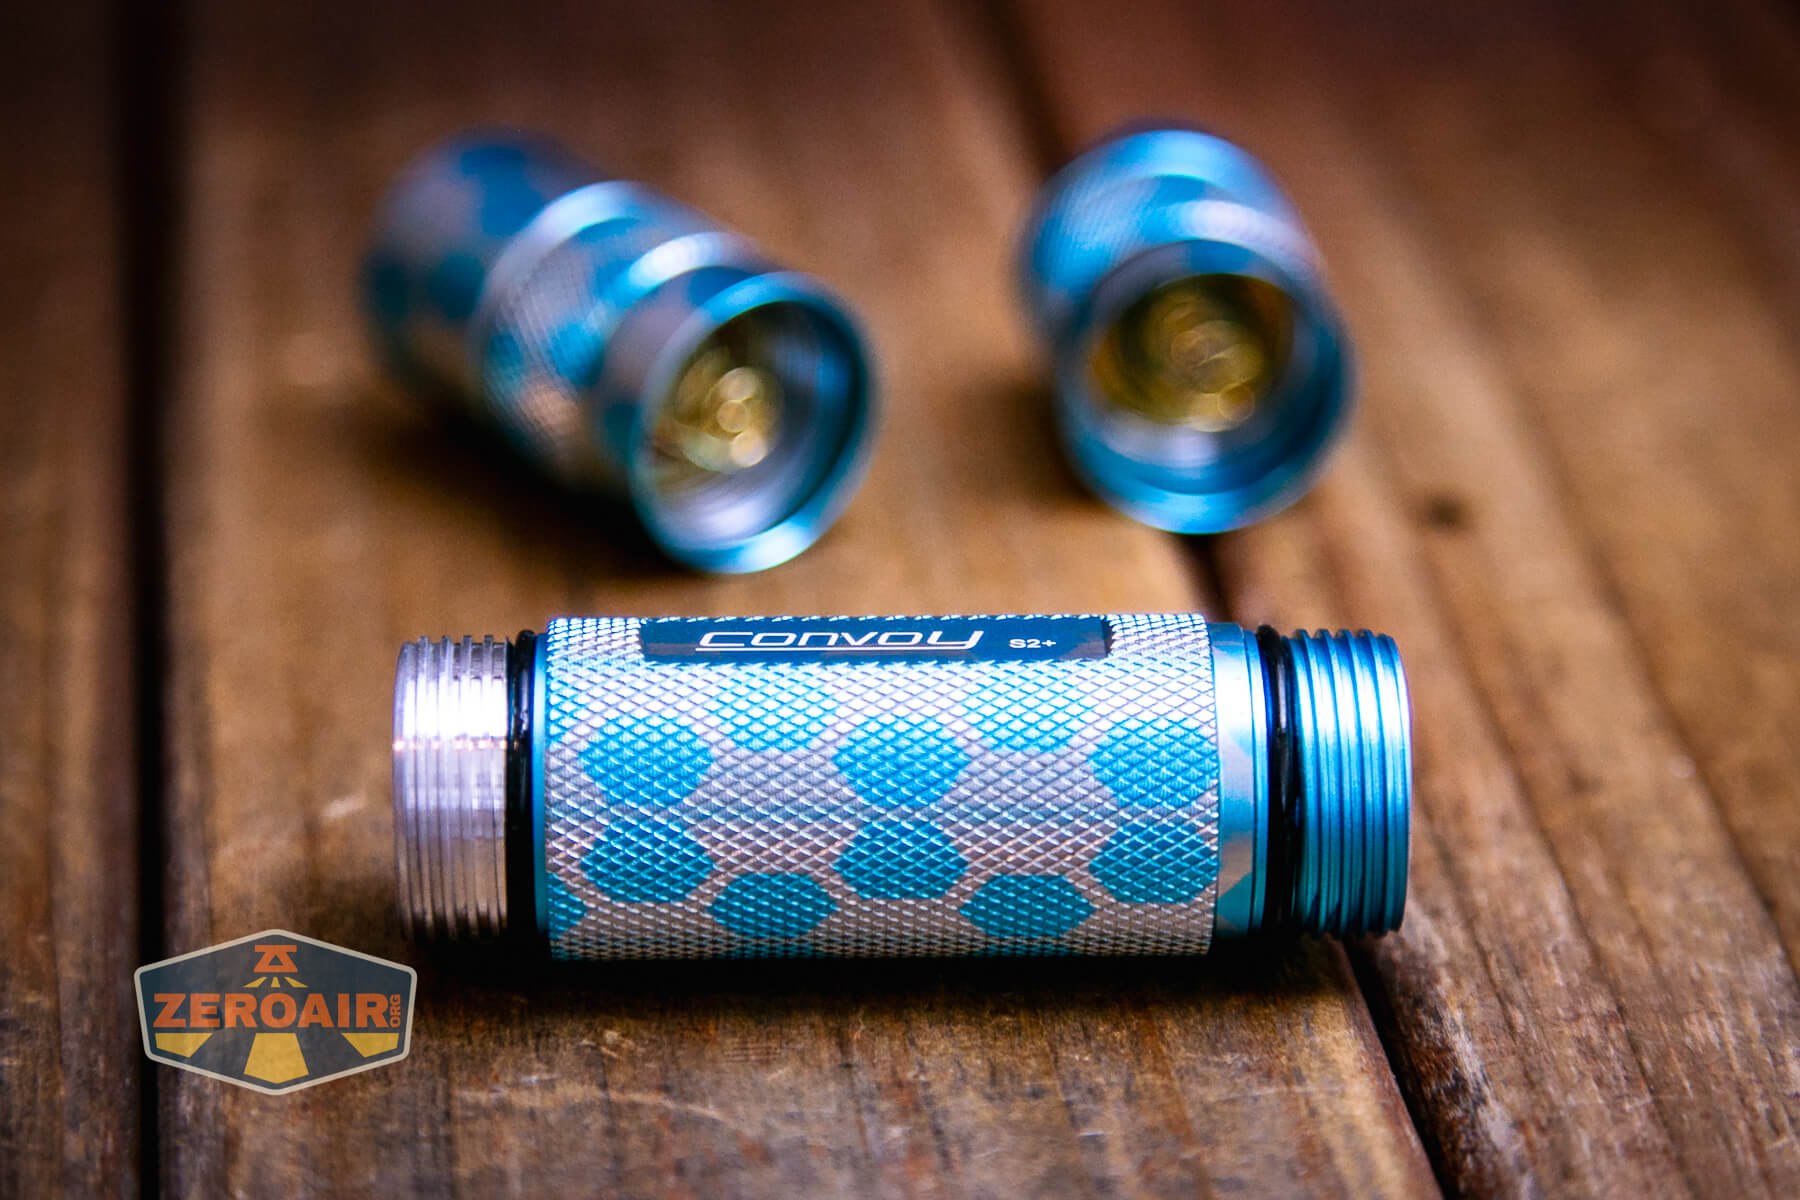
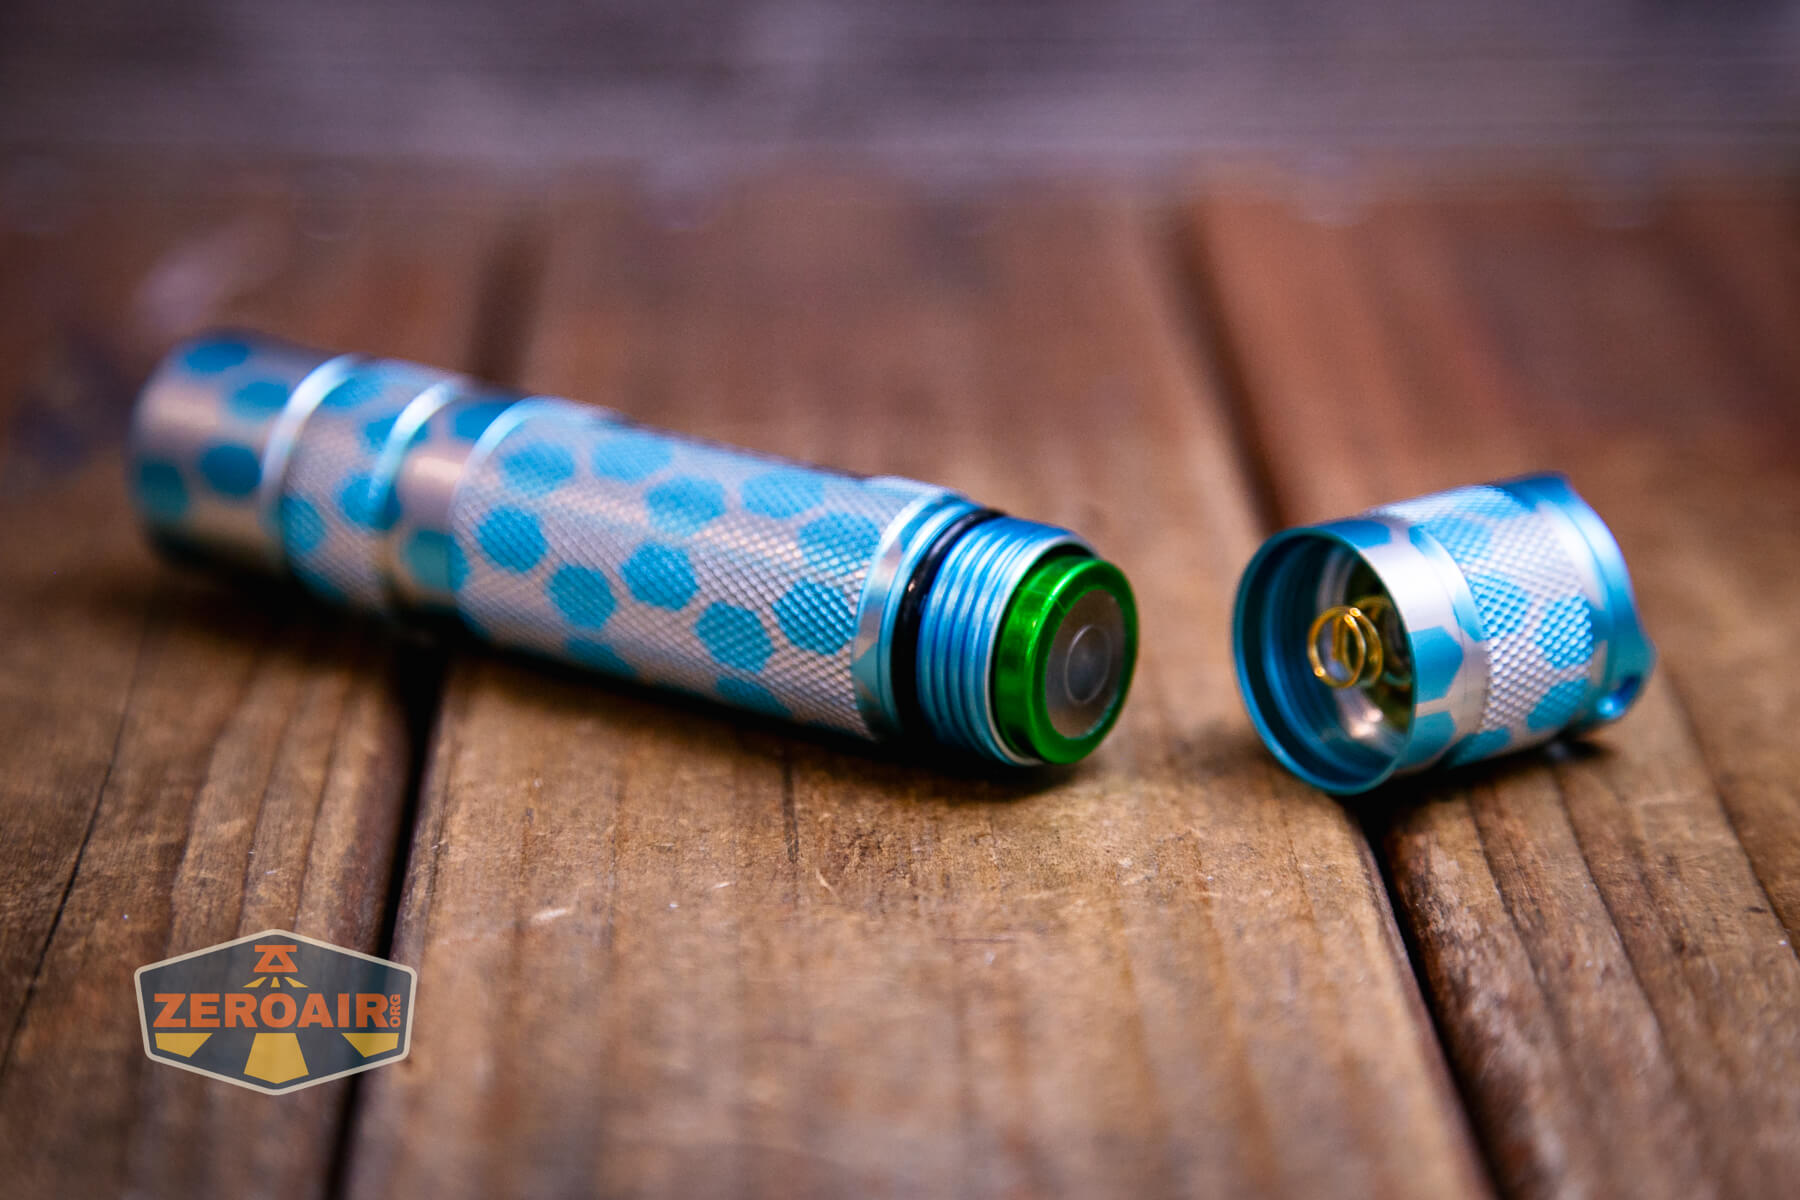
Both head and tail come off the light. The tail parts are held in place by a brass retaining ring.
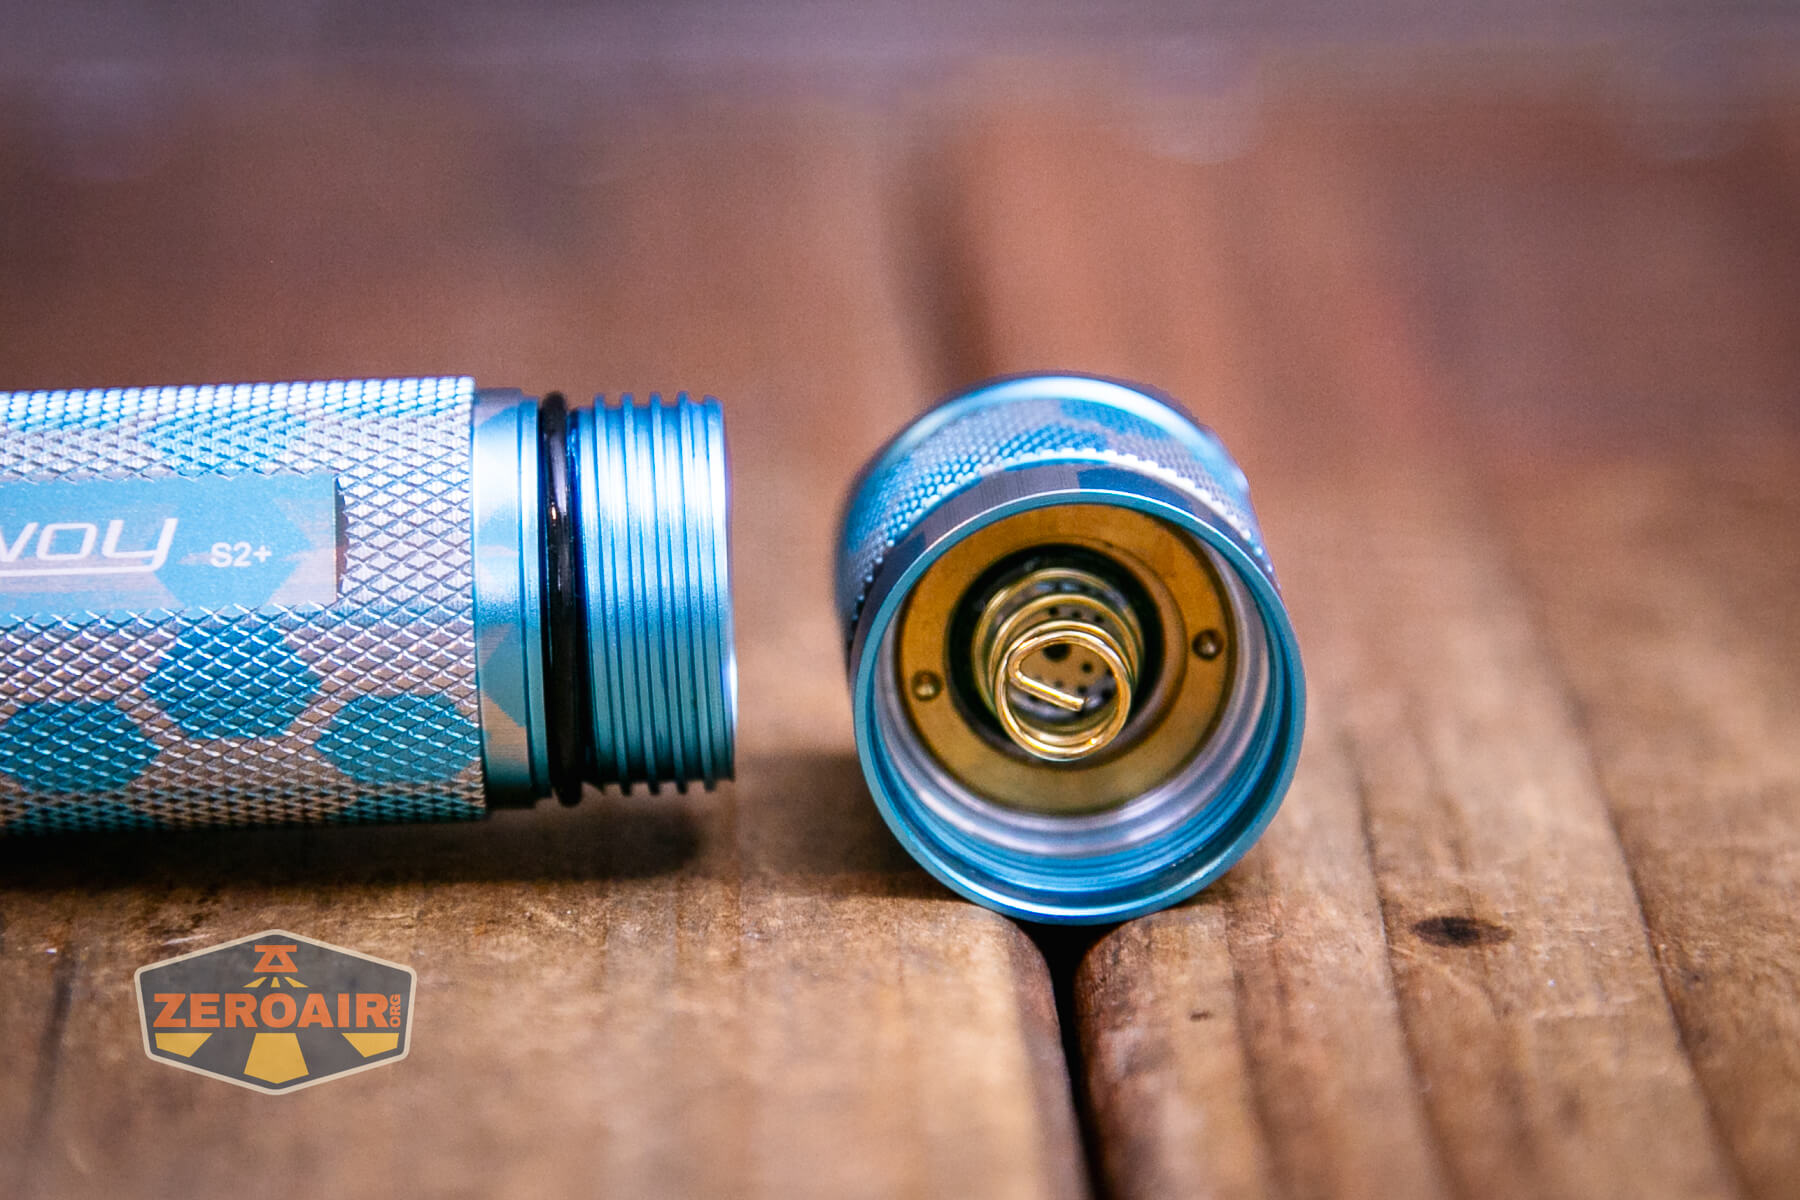
The driver is visible – note how the driver is not soldered to the retaining ring on this version. I’m not sure if that’s a special feature of the 519a version or if it’s the way Convoy ships them all now.

The cell tube is not reversible. One end is anodized, and one is unanodized. The anodized end is the tail end. Also, both bodies have their own o-rings.
One point to make about the pattern – you can see where the pattern wraps. I’ve talked to the owner of GadgetConnections and I know patterns are being worked on all the time. But just so you know it and see it, this Honeycomb pattern does have somewhat of a seam. Other options may not – some may repeat perfectly. In practice, I don’t really notice this very much.
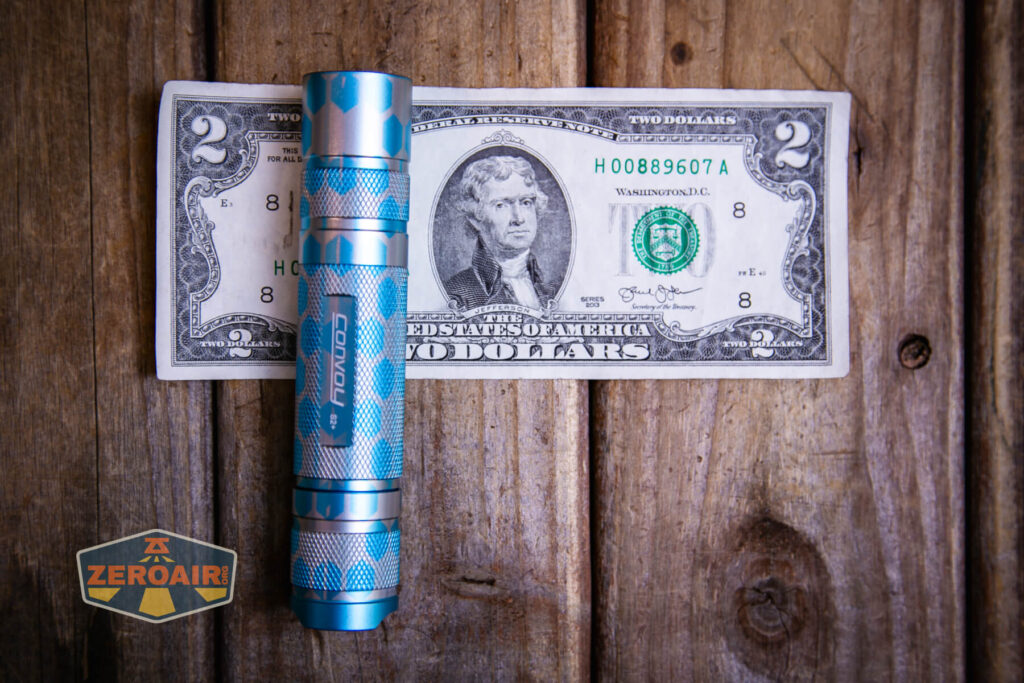
Size and Comps
Length: 118.9mm
Width: 24.1mm
If the flashlight will headstand, I’ll show it here (usually the third photo). If the flashlight will tailstand, I’ll also show that (usually in the fourth photo).

Here’s the test light with the venerable Convoy S2+. The version you see below is an orange Convoy S2+ host that’s been laser engraved by GadgetConnections.com. I did a full post on this light right here! Or go straight to GadgetConnections.com to buy your Convoy S2+ now! One thing I toyed with leaving in or taking out – the wavy orange light below does not have a driver or emitter – I left the shot in because it’s good information; if you buy a S2+ without driver/emitter, that’s what it’ll look like!
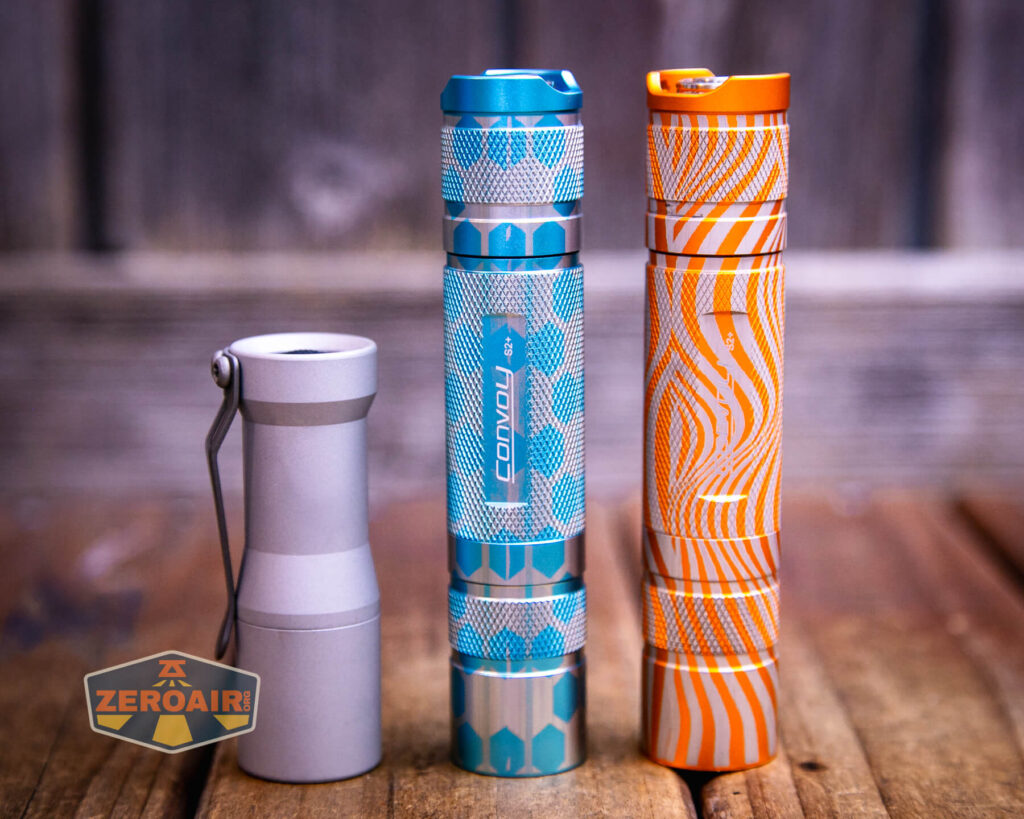

Also above is the light beside a new standard 18350 light! It’s not one I’ve reviewed yet but this is the CWF Arcadian Peanut in aluminum. This one is stonewashed and has the new Quantum Dragon driver – a whole new product! Stay tuned for a full review of this tiny powerhouse!
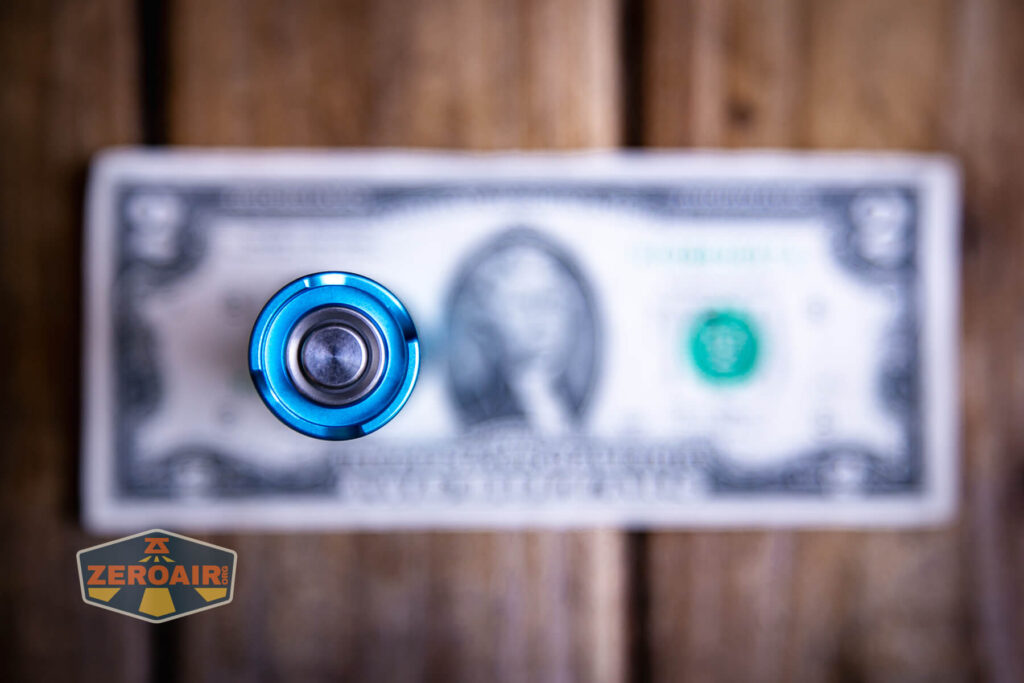
Retention and Carry
There are three main ways to carry the S2+. The first is a pocket clip, which is a separate purchase. I happened to have a few on hand. Absolutely you should buy one with the light, though. I failed to do so.  You can see the pocket clip in my other Convoy S2+ reviews, though.
With the pocket clip, this light can be carried either orientation and deeper or shallower, depending on preference.
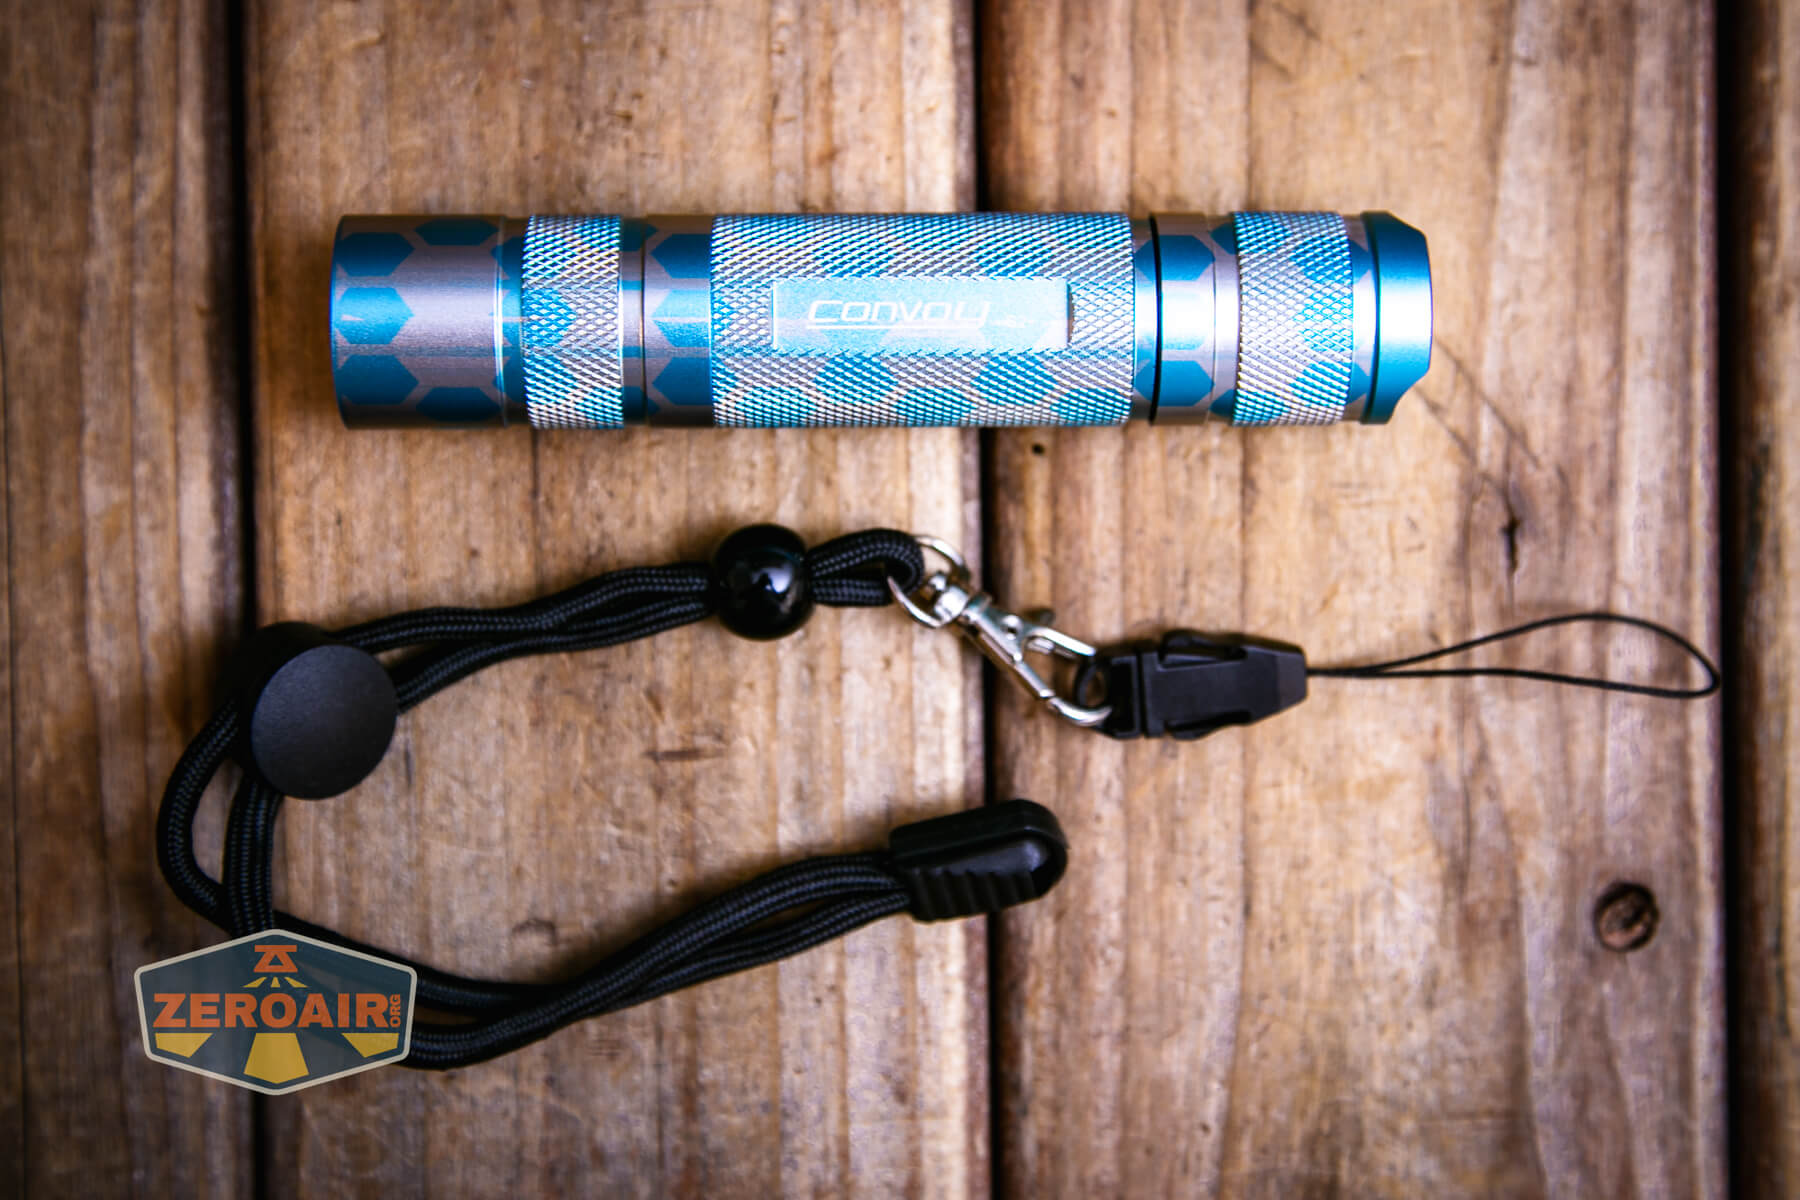
Also available is a lanyard, which in this case is included. The lanyard fits through two holes on the tailcap. Note that the holes are only on one side of the tail, so really the lanyard and screw clip can’t be used together unless actually attaching the lanyard to the clip. I don’t know if the clip will withstand that type of use, though (it’s fairly thin).
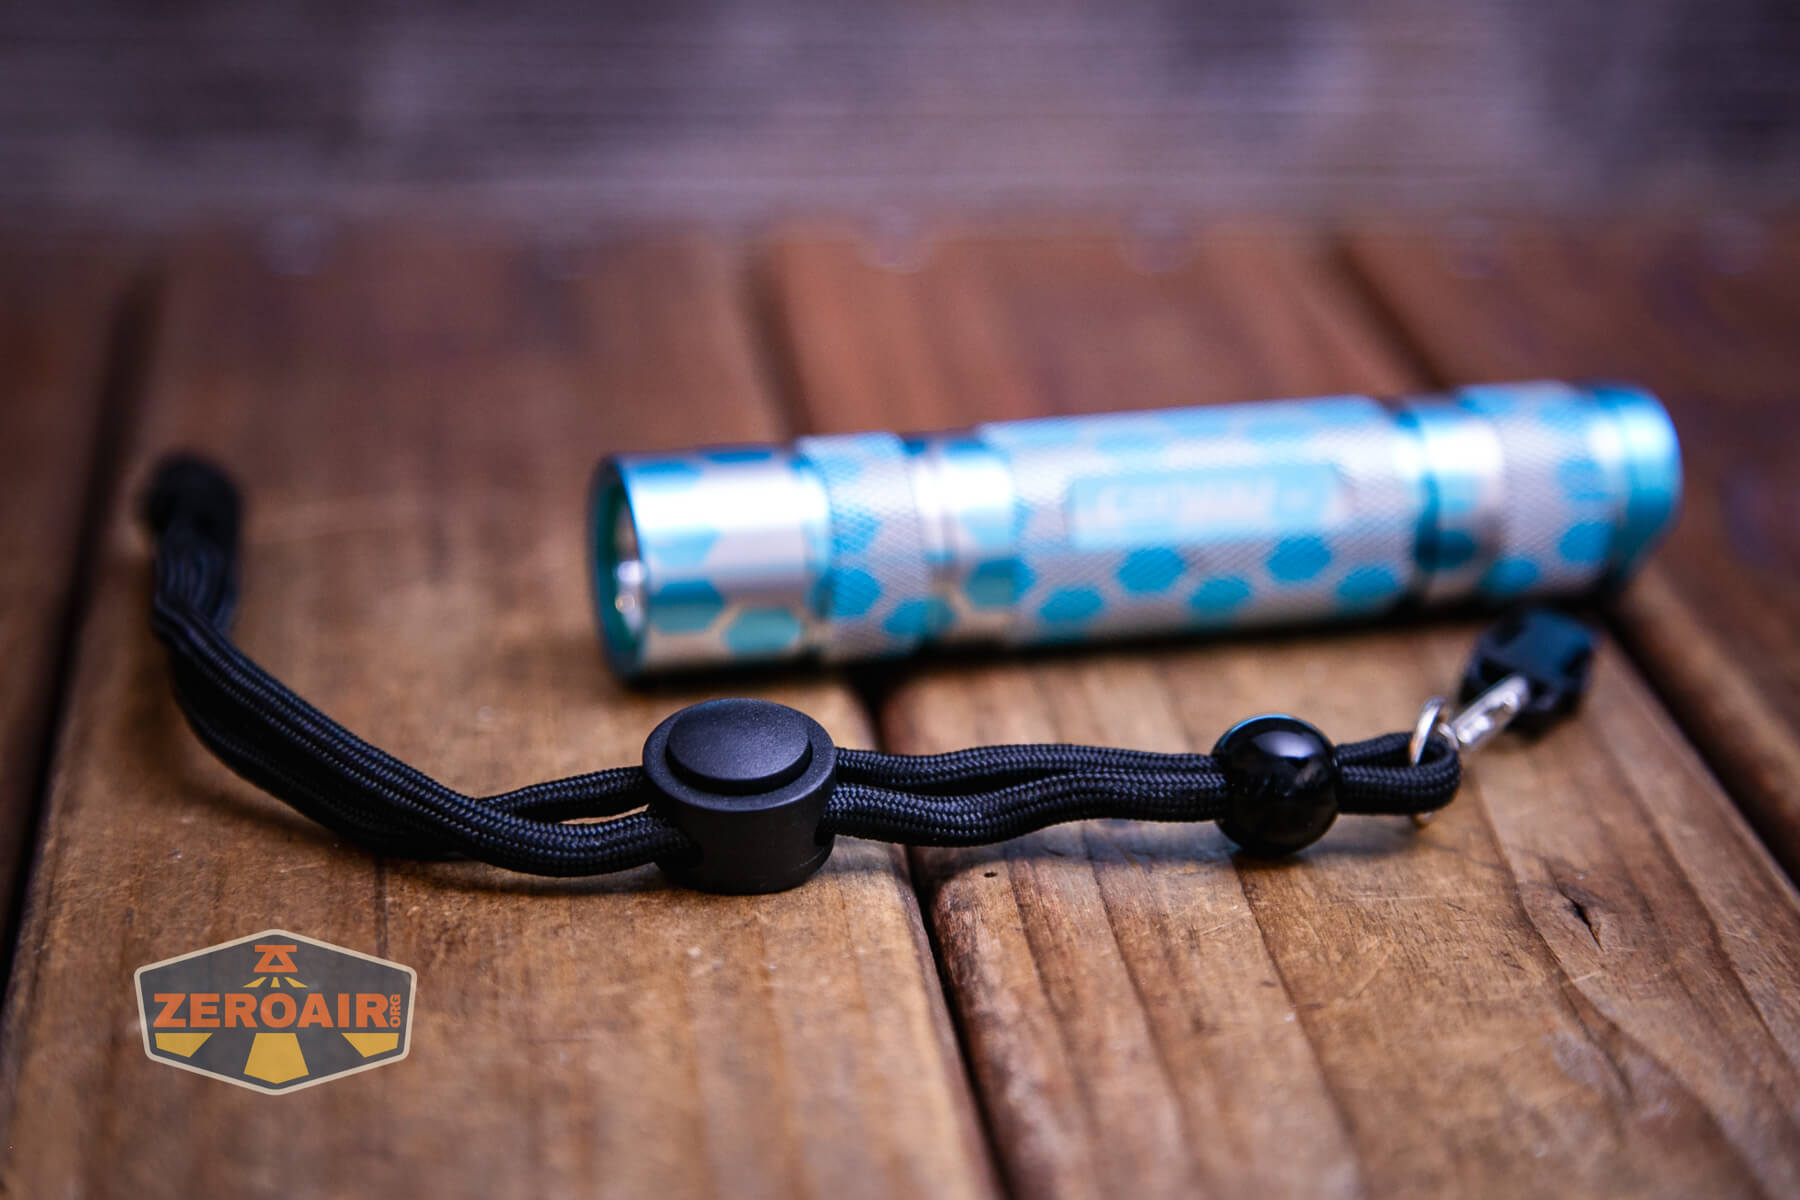
Some packages of S2+ from GadgetConnections do include a lanyard (I know because this is the one!). If a lanyard is super important to you, you should check to be sure what’s included with the color host you are ordering.
Power and Runtime
The Convoy S2+ is powered by a single lithium-ion cell. The default tube supports a single 18650 cell. The accessory tube supports a single 18350 cell. In the case of the Honeycomb Engraved Convoy S2+ flashlight, there’s not a matching 18350 body. This is another thing I know GadgetConnections is working on – an engraved pattern that allows the use of both bodies.

The cell goes into the light in the normal direction – positive end toward the head.
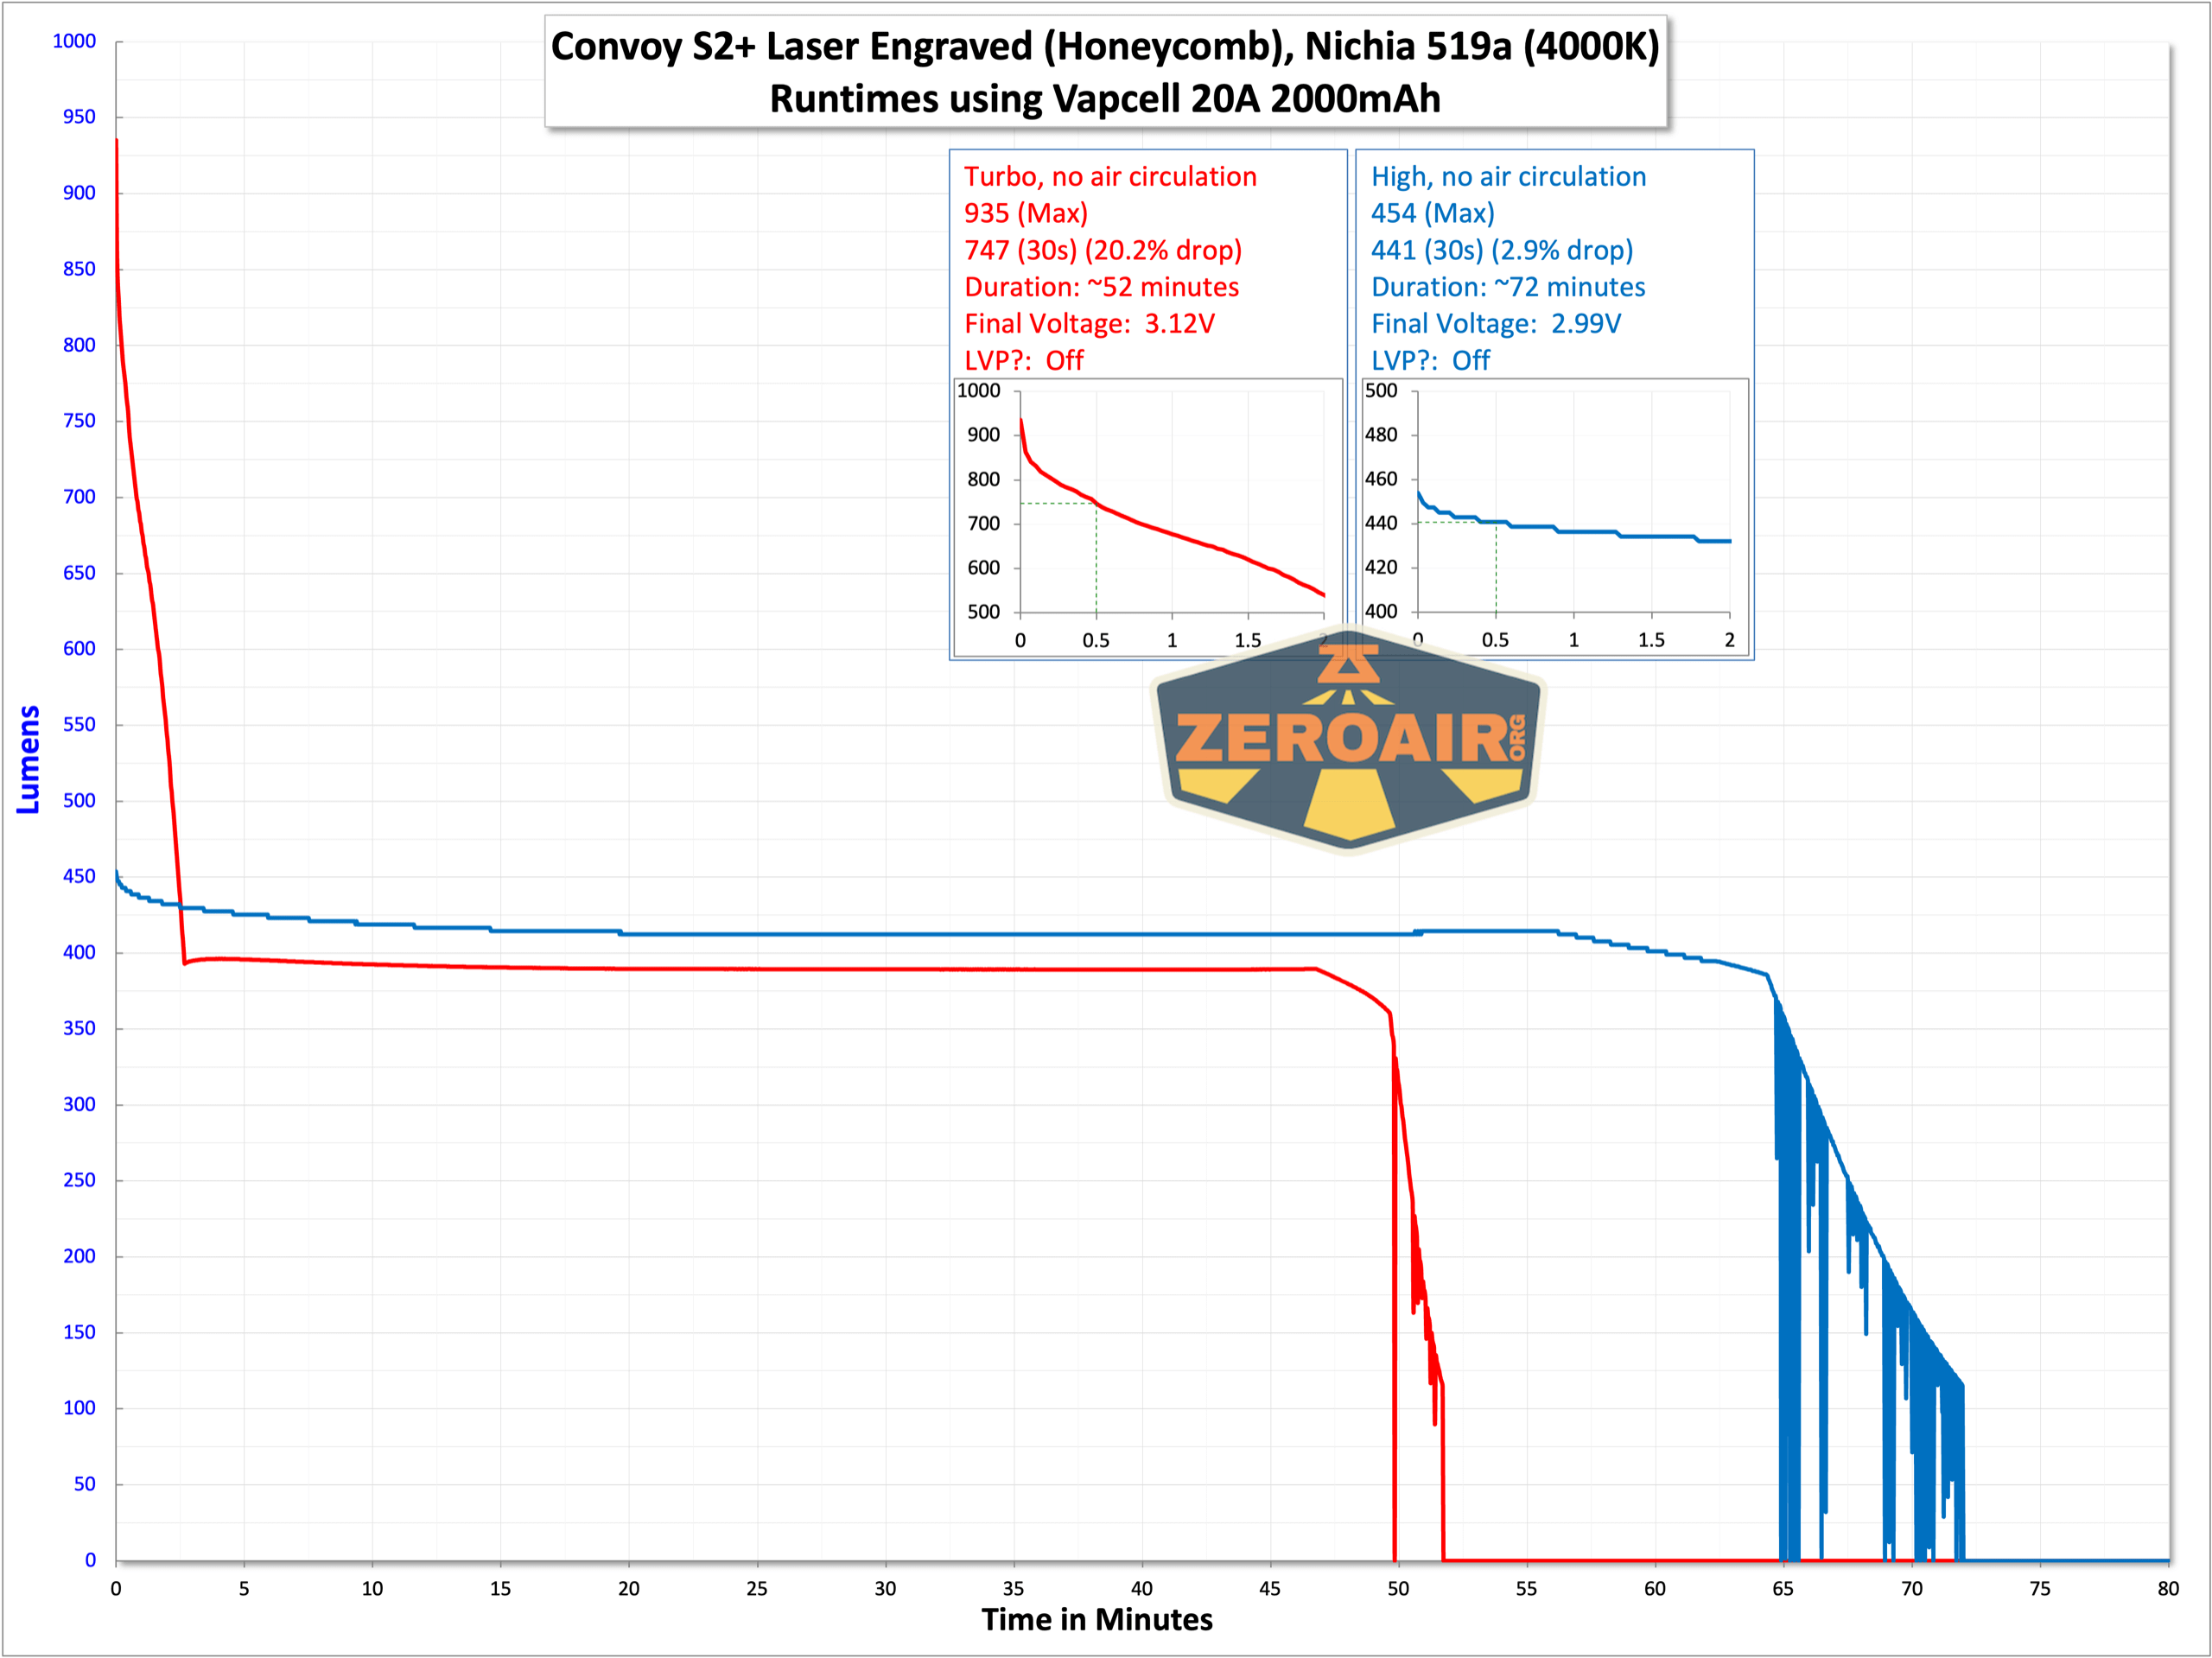
Here are a couple of runtimes for the 18650 setup. The light does have low voltage protection, and on bench power seemed to shut off electronically at around 2.6V. That’s just a shade low, but still acceptable.
The outputs are defined as percentages, so the “second from highest” mode is “35%”. There is a 50% output, but that’s in a different group. There isn’t a group that has 100%, 50%, and also 35%.


Modes and Currents
| Mode | Mode Claimed Output (lm) | Claimed Runtime | Measured Lumens | Tailcap Amps |
|---|---|---|---|---|
| 100% | – | – | 935 (0s) 747 (30s) |
5.67 |
| 35% | – | – | 441 | 1.97 |
| 10% | – | – | 144 | 0.55 |
| 1% | – | – | 11 | 0.04 |
| 0.1% | – | – | 0.50 | [low] |
Pulse Width Modulation
This version of the S2+, unlike some previous versions, does not seem to use PWM!


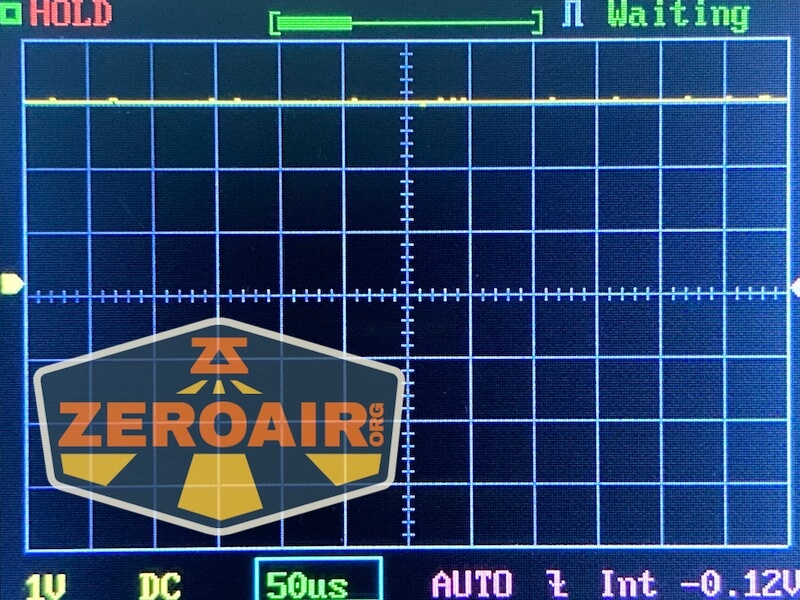
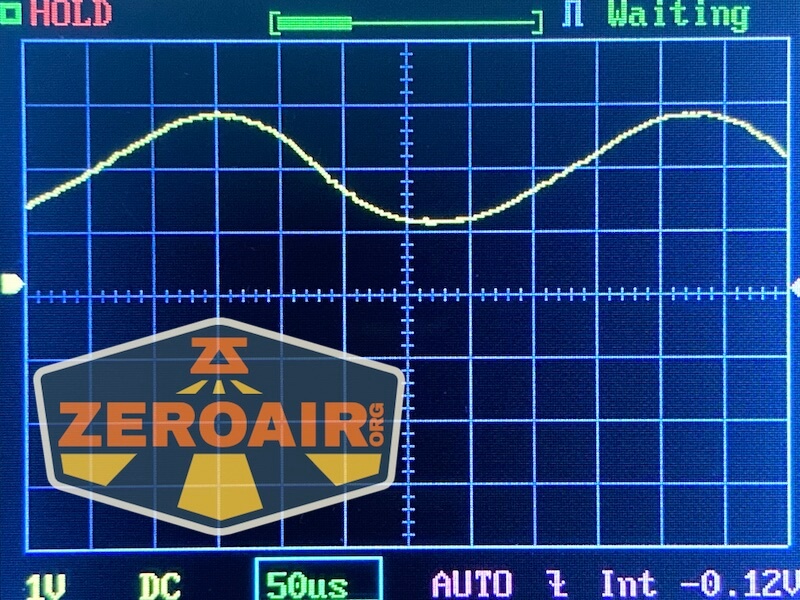
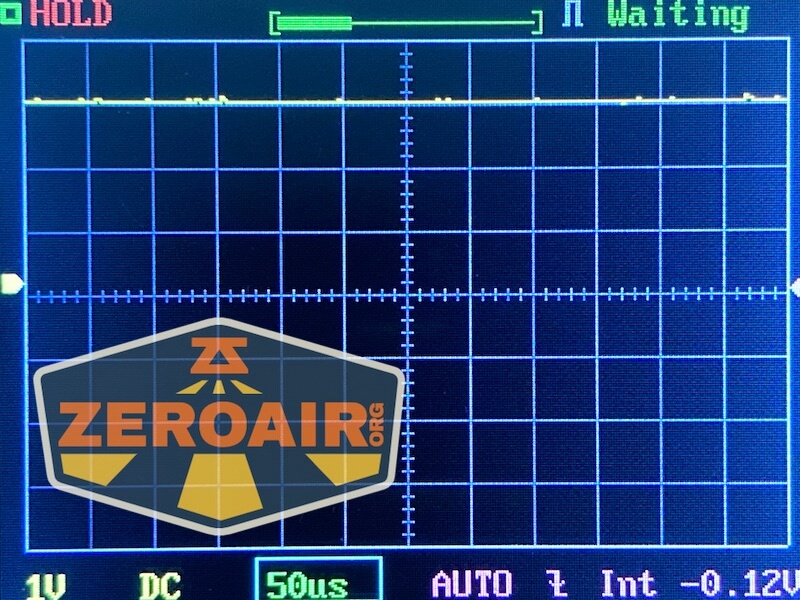
Here you can see a “baseline” – a chart with almost no light hitting the sensor. Then there’s the Ultrafire WF-602C flashlight, which has some of the worst PWM I’ve seen. It’s so bad that I used a post about it to explain PWM! Here are multiple timescales (10ms, 5ms, 2ms, 1ms, 0.5ms, 0.2ms) to make comparing this “worst” PWM light to the test light easier. That post also explains why I didn’t test the WF-602C at the usual 50us scale.
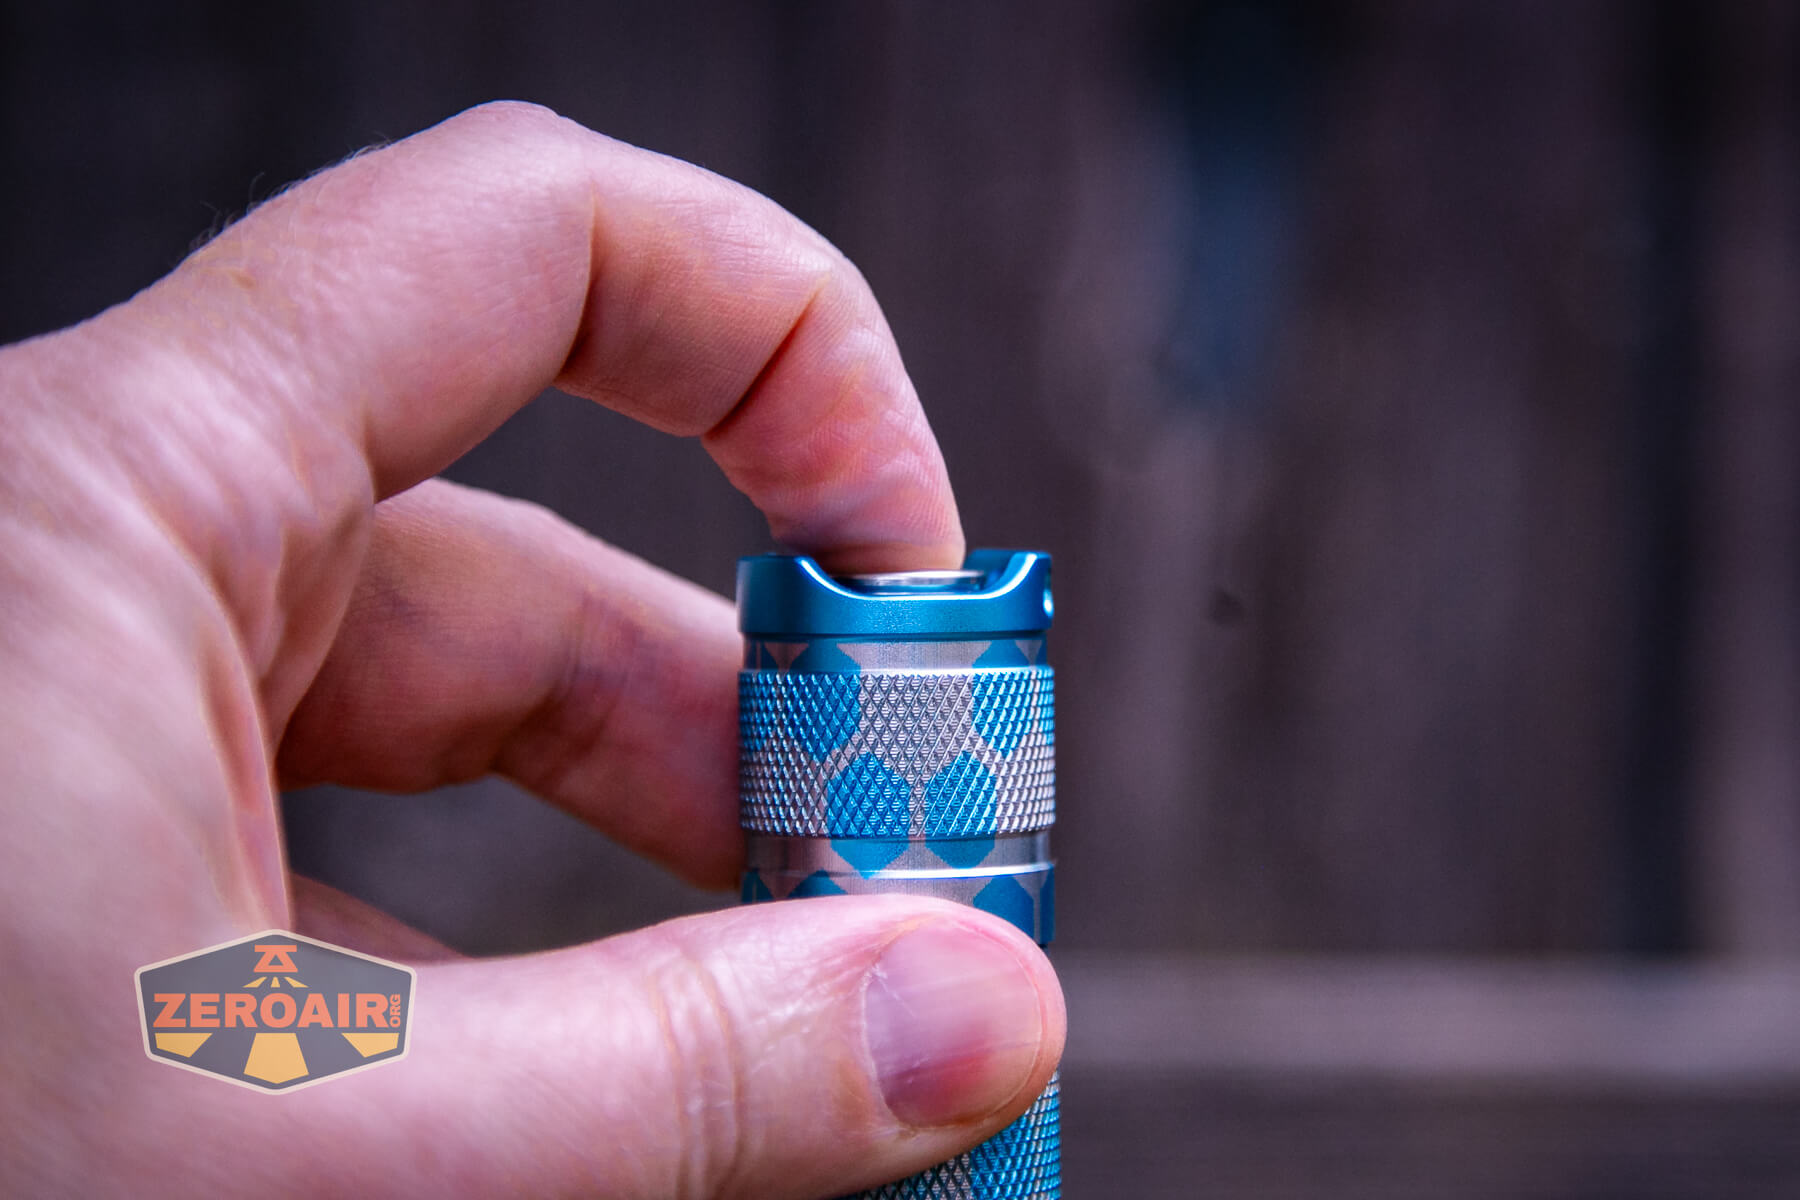
User Interface and Operation
There’s a single switch on the Convoy S2+. This is a reverse mechanical clicky. A reverse clicky has the benefit of allowing mode changes while the light is on. But this also means that the switch does nothing until it is on – no momentary action whatsoever.


The action on these metal switches is fantastic. It’s like clicking a good Bic Clic Stic pen – just a rewarding action.
This driver is known as “Biscotti” and has a bunch of mode groups. Actually, this is reportedly not true Biscotti – that’s why I called it “Fauxcotti” above. It’s nearly the same though. Mode memory can be turned on or off (yay!), and programming is easy! But there are simply too many possibilities for me to list the user interface in a table as I usually do. Here is Simon’s flow chart for the UI.
Here’s the official guide for the Biscotti firmware:
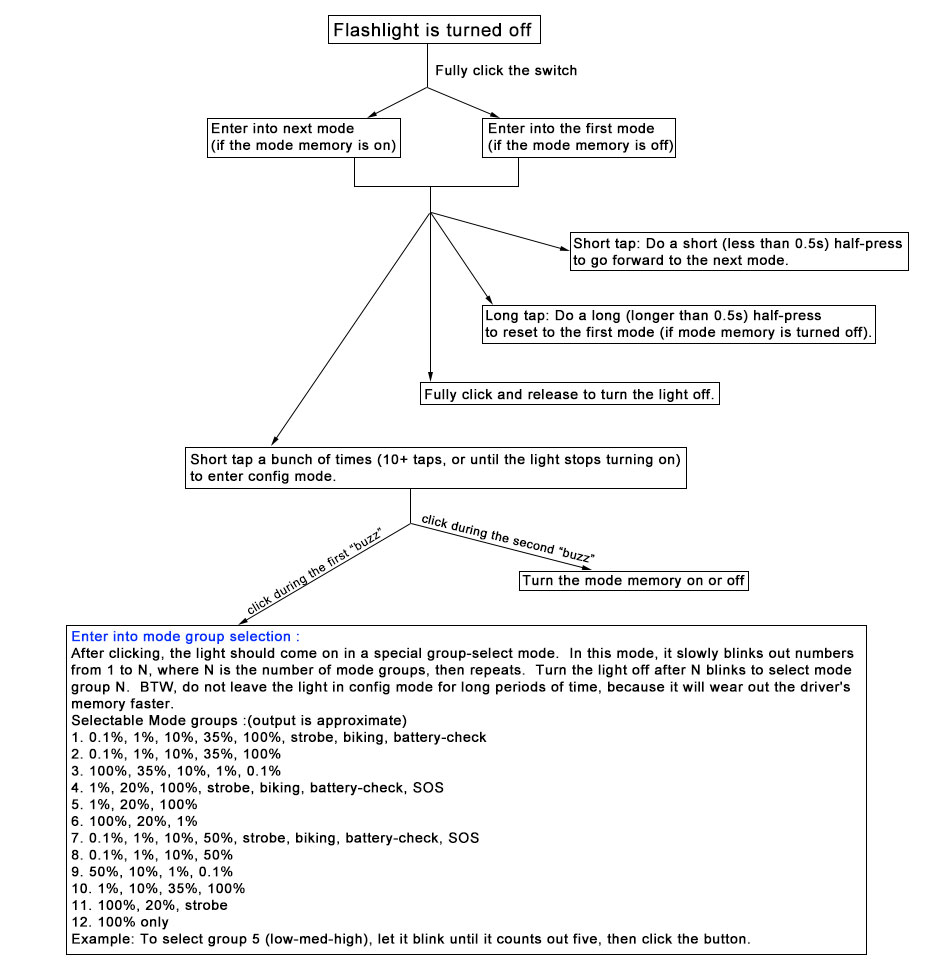
From the mode group selection above, the light ships in mode group 1. You’ll want to switch it to mode group 2 quickly, of course.  And I always turn off memory if possible (and it’s possible here!). I made a first pass at my own flow chart, which you can see below.

If something’s wrong (or even just “unclear”) in there, please let me know!
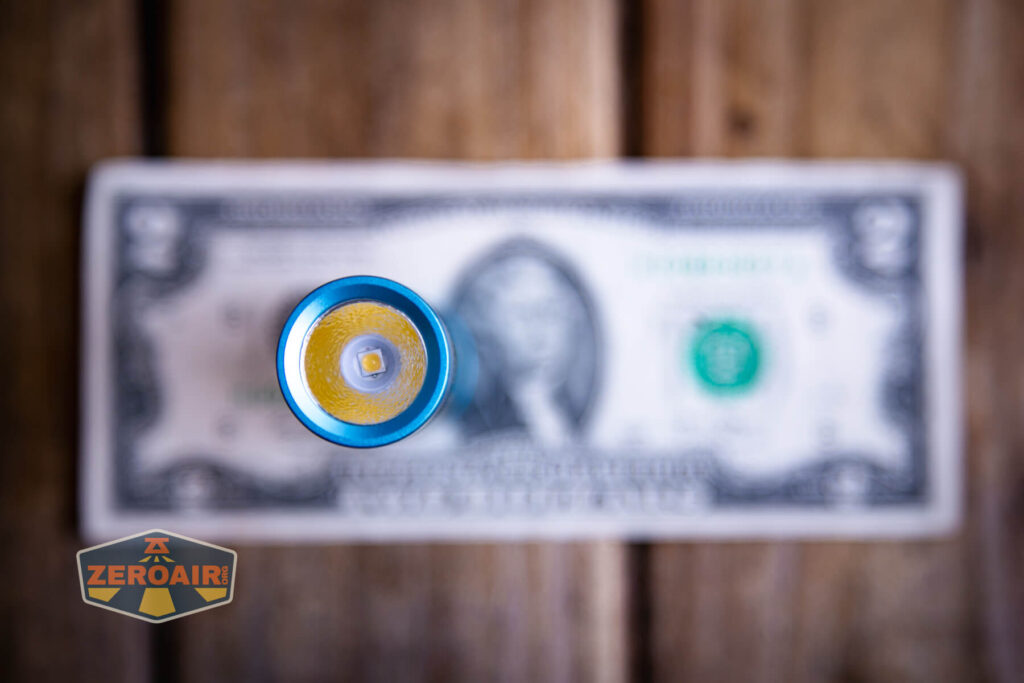
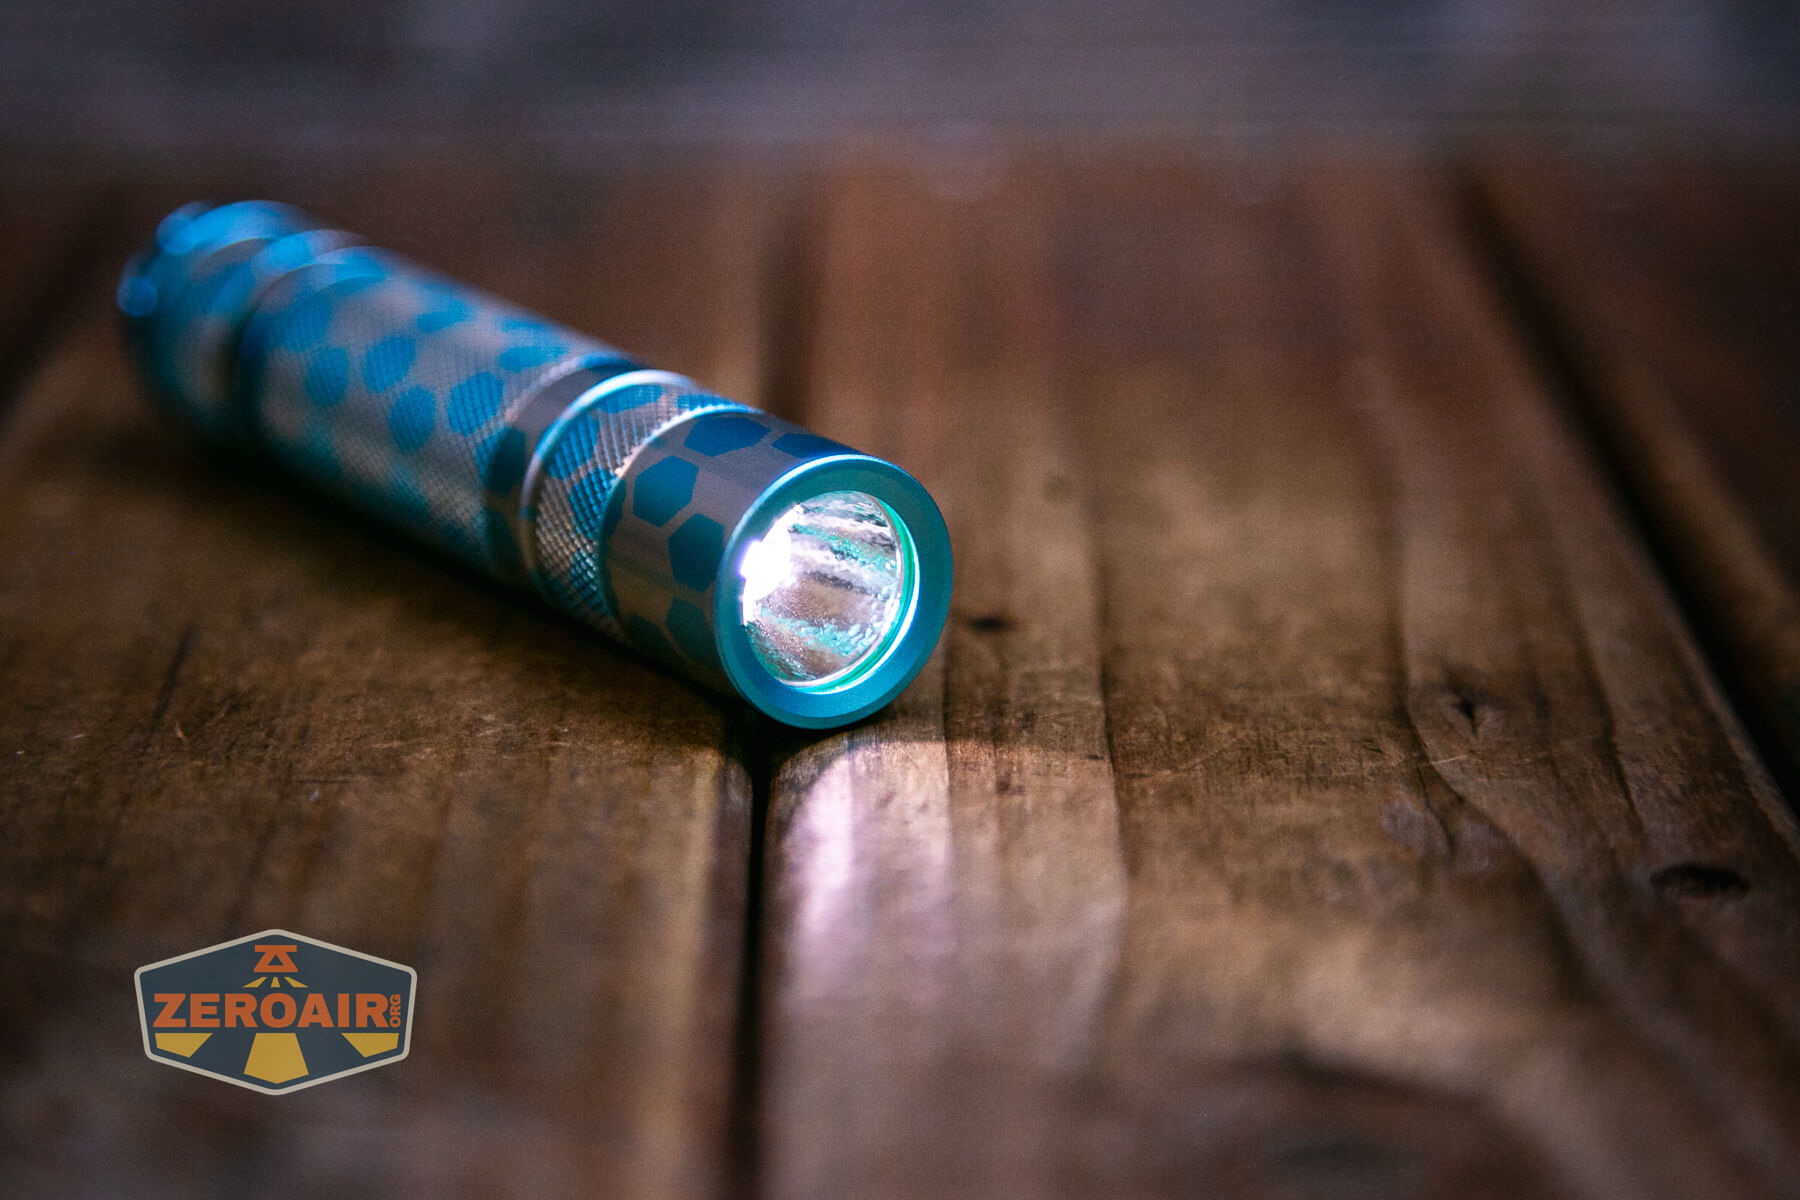
LED and Beam
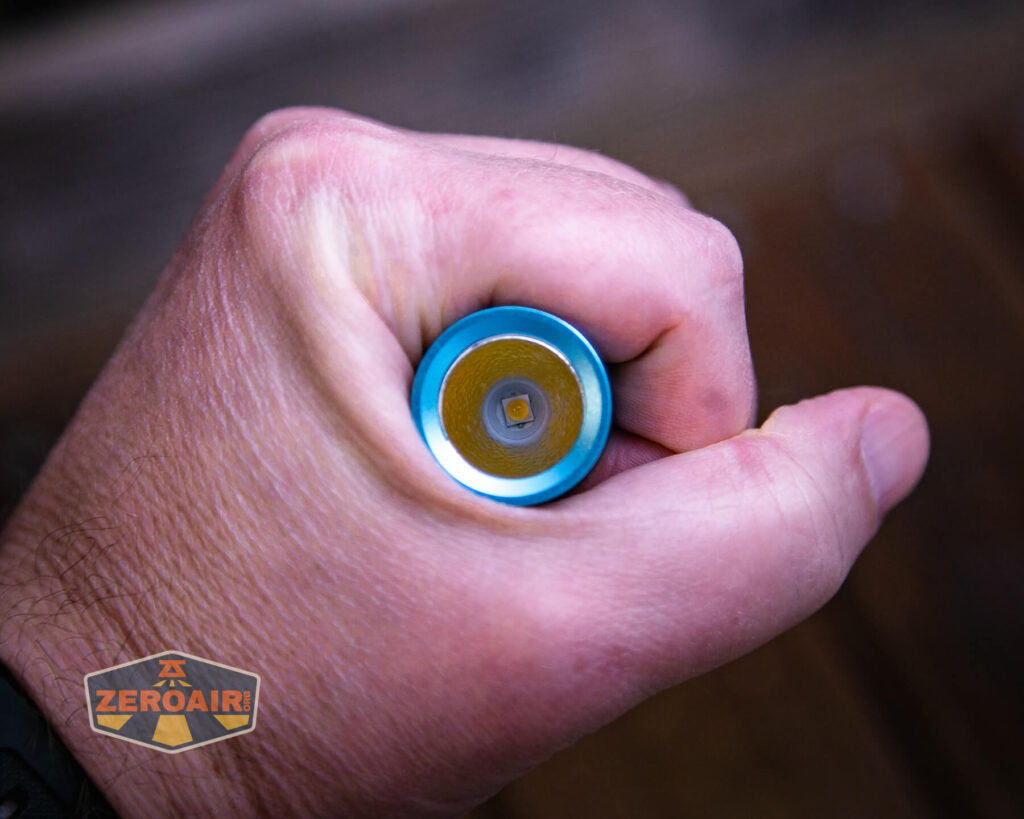
This copy of the Convoy S2+ has a Nichia 519a emitter. That emitter is all the rage lately, and if you continue reading I think you’ll see why. But the summary is that it has great output with great CCT and great CRI – it’s just a great emitter.

A notable difference between my Honeycomb Engraved Convoy S2 flashlight and the orange S2+ with (4500K) Nichia 519a I reviewed a while back is that this one has an orange peel reflector, while the other one has smooth. You can judge from the beam photos which you’d rather have. I suspect GadgetConnections would be able to swap in either if you ask nicely (and they have either in stock).
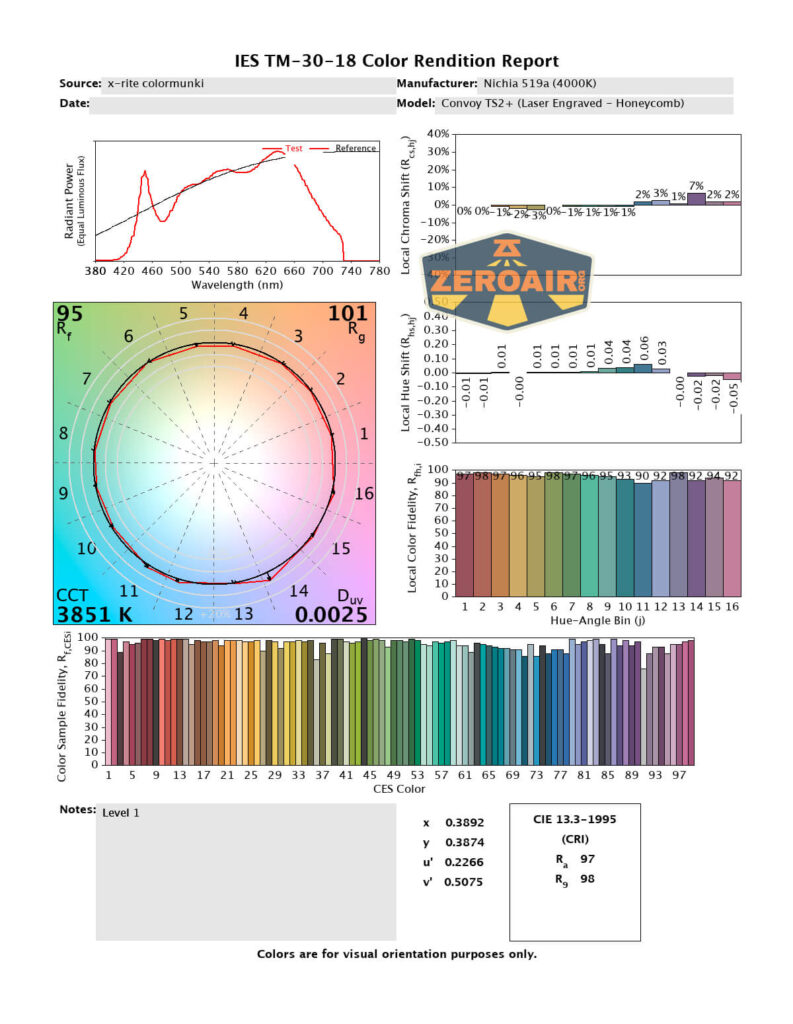
LED Color Report (CRI and CCT)
Without even zooming in or clicking those images below you should be able to get a good idea – look at the circles, to start with. See how nearly the red circle matches the black circle? The black circle is essentially “perfect.” That means that the Nichia 519a is “nearly perfect” – in fact, it’s practically as perfect as we can get in a flashlight. Now translate that into CRI – the CRI is above 94 in every output level. At the lower levels (when not being driven very hard) the CRI is hitting 98!


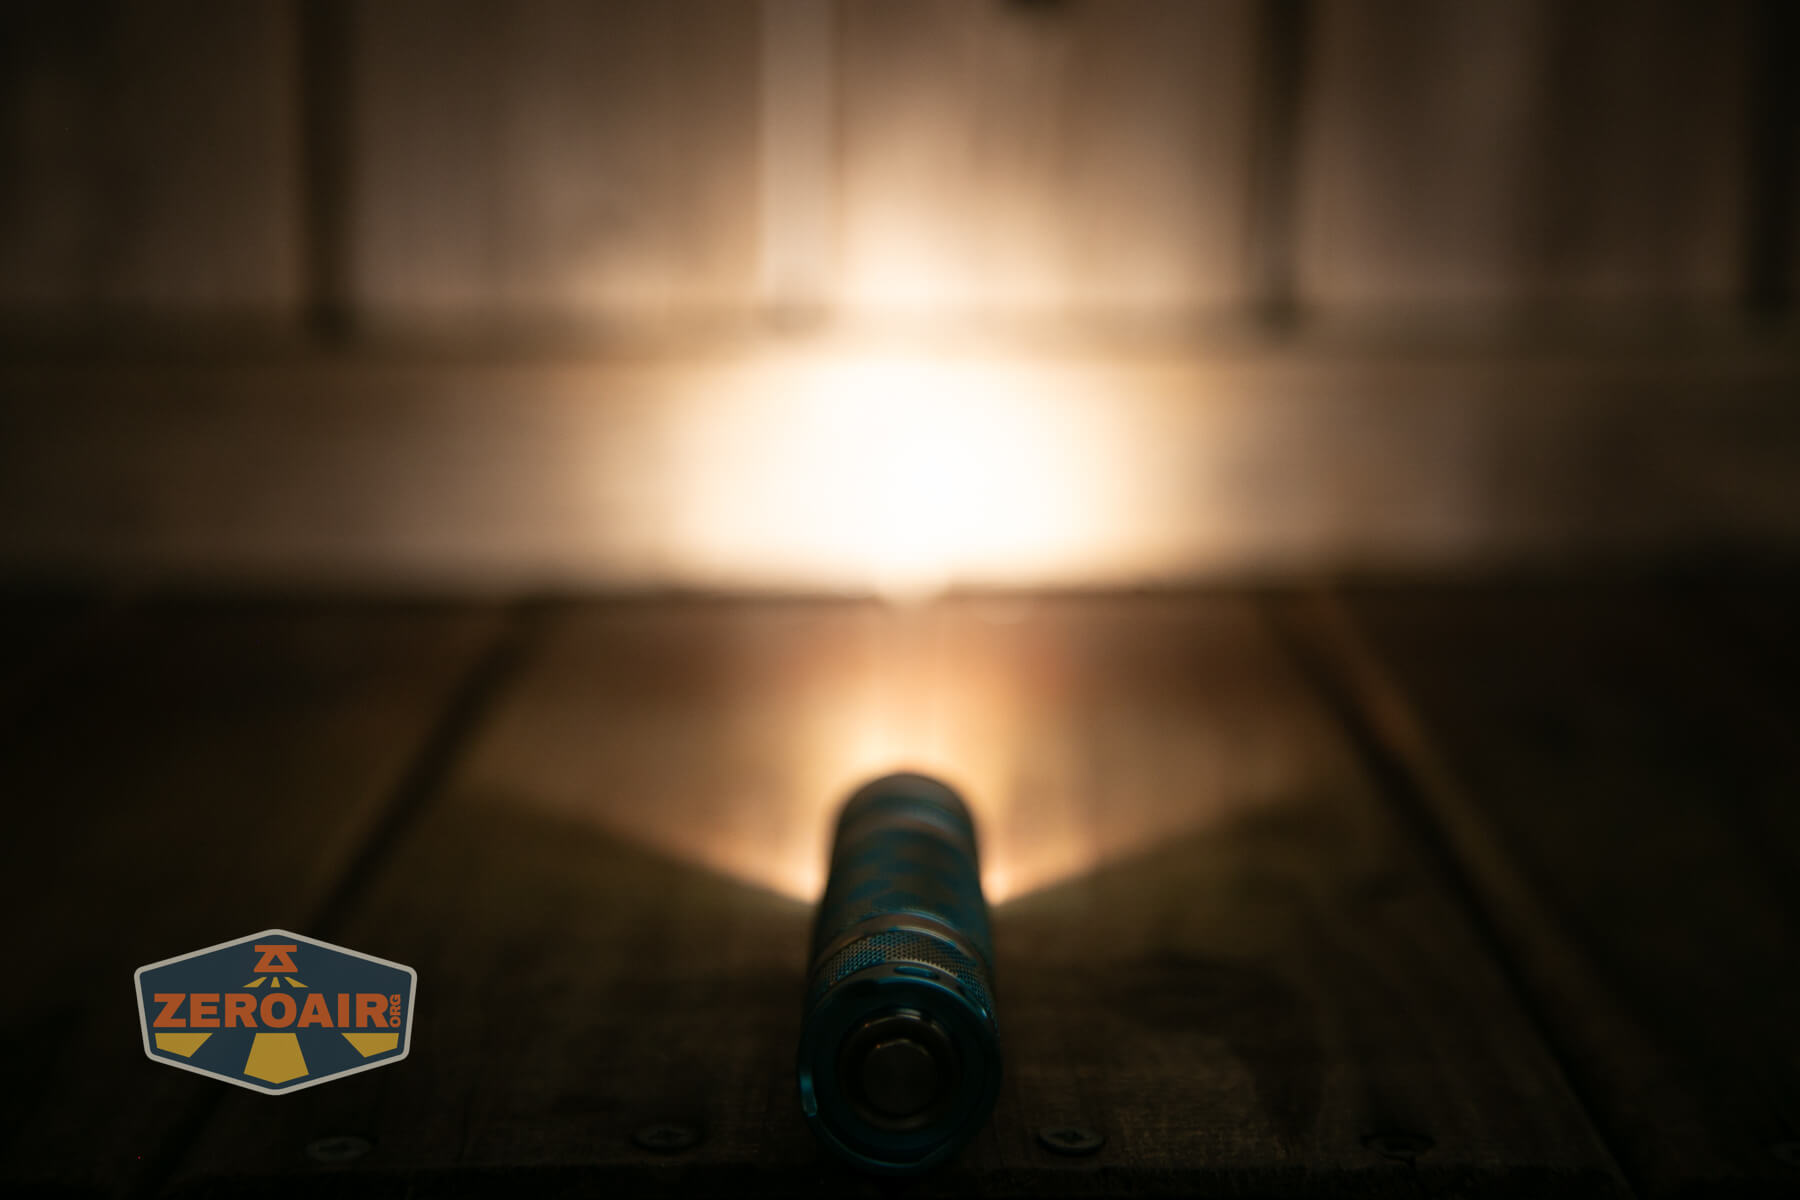
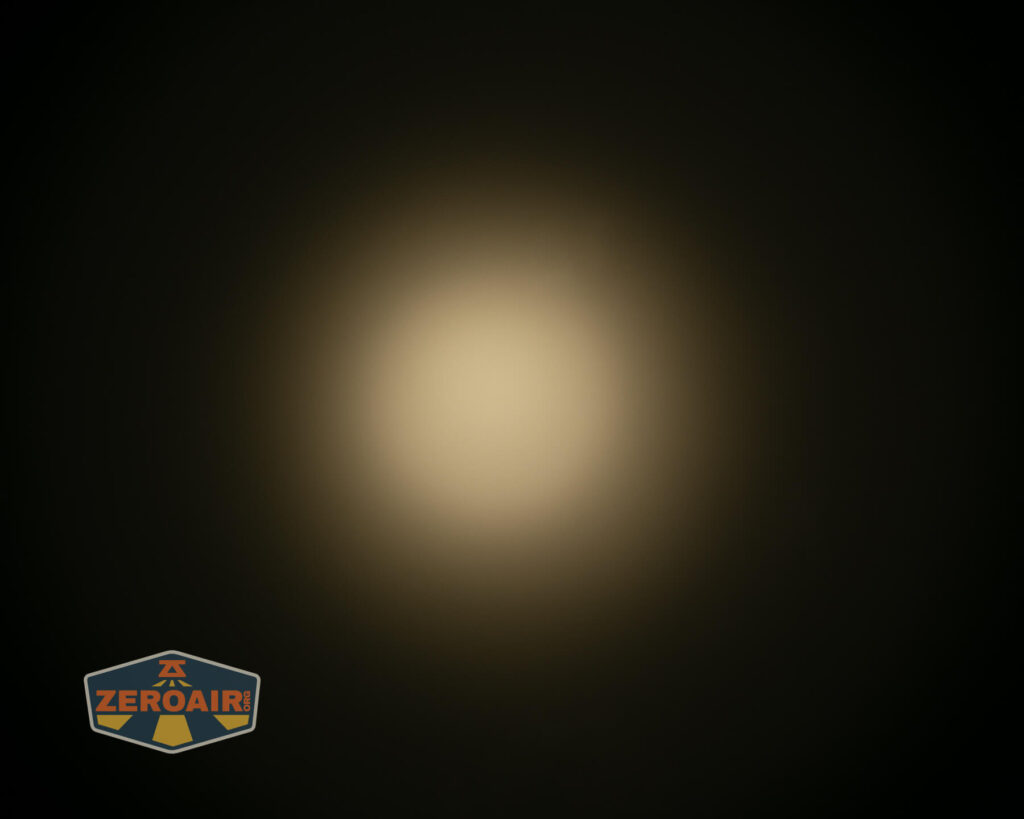
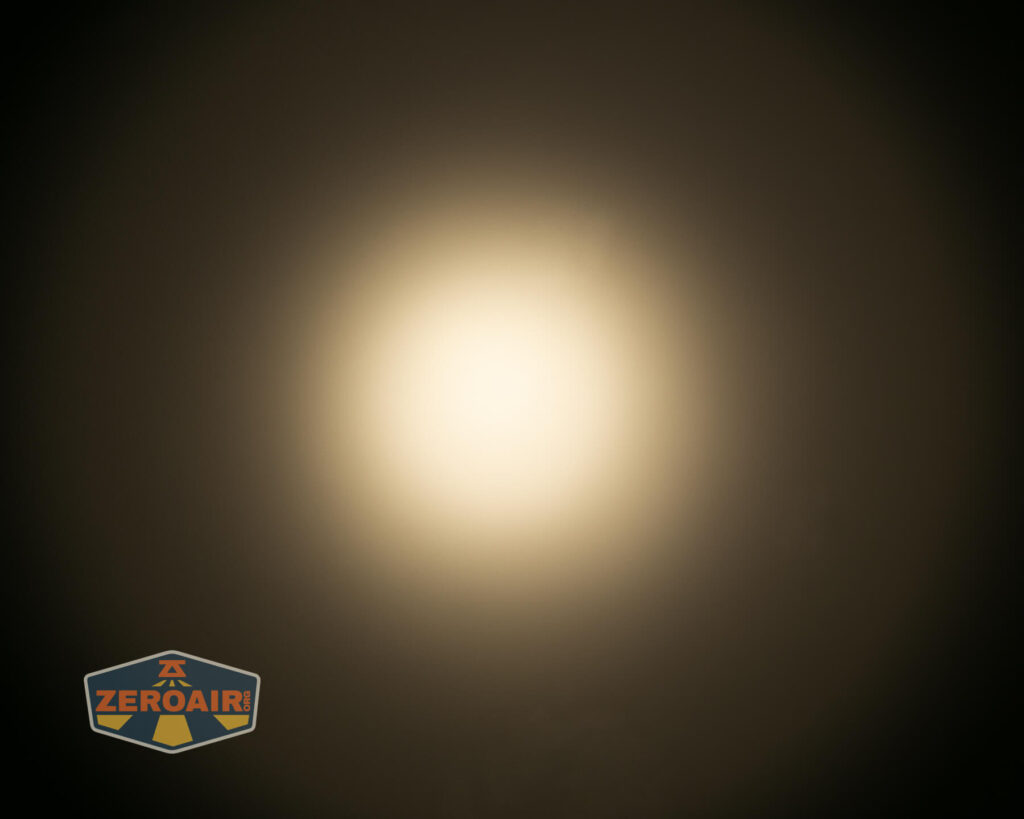
Beamshots
These beamshots always have the following settings: f8, ISO100, 0.3s shutter, and manual 5000K exposure. These photos are taken at floor level, and the beam hits the ceiling around 9 feet away.


Tint vs BLF-348 (KillzoneFlashlights.com 219b version) (affiliate link)
I keep the test flashlight on the left and the BLF-348 reference flashlight on the right.

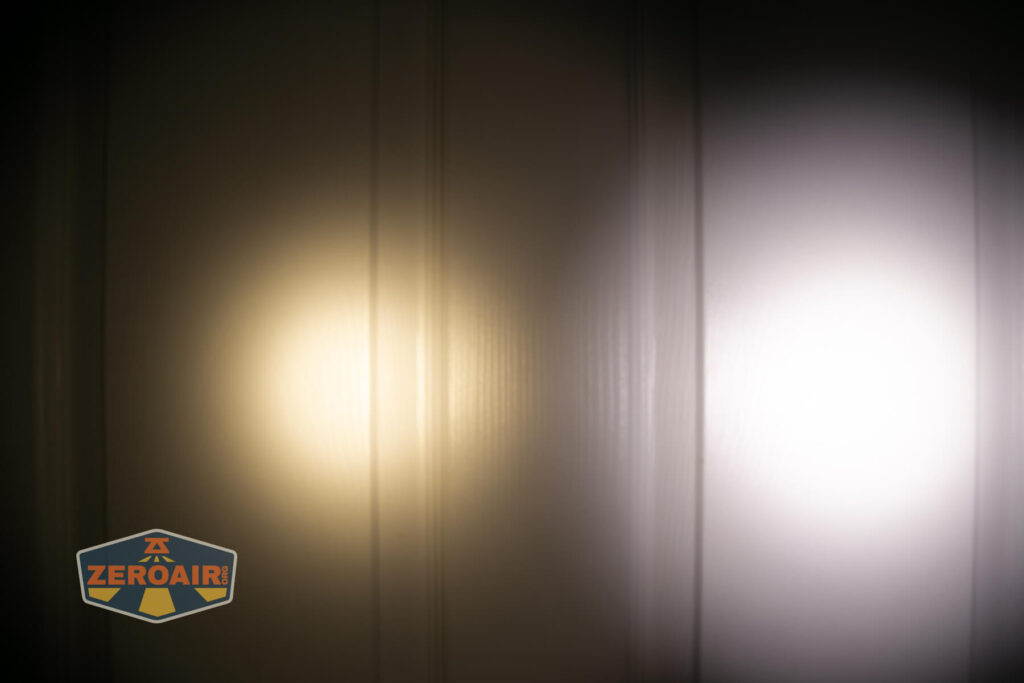
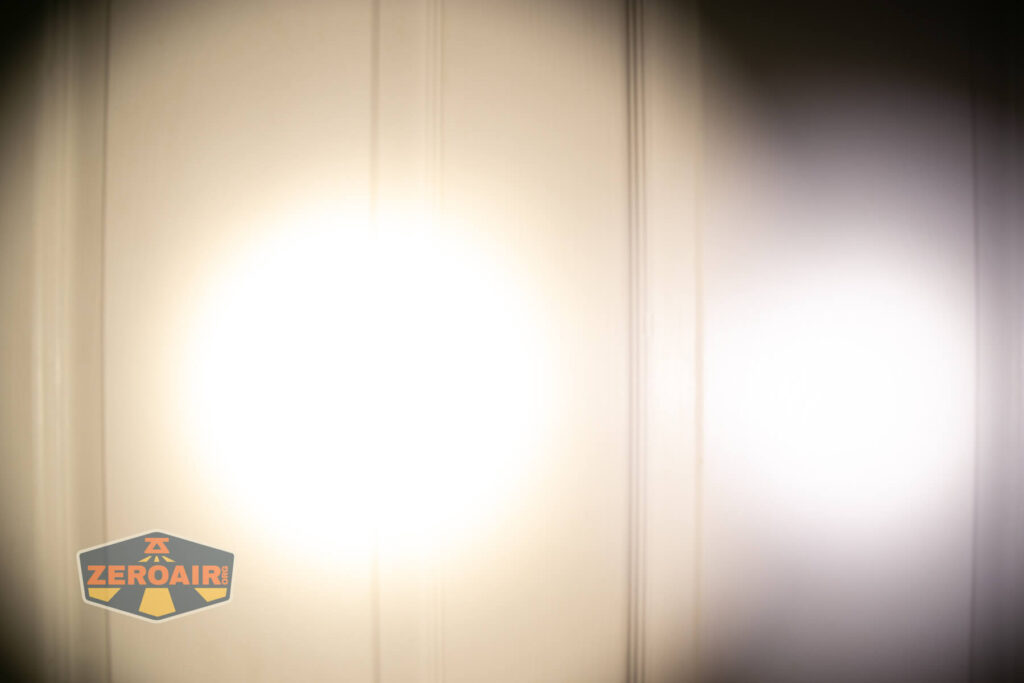


I compare everything to the KillzoneFlashlights.com 219b BLF-348 because it’s inexpensive and has the best tint!
Conclusion
What I like
- The engraving by GadgetConnections is very cool
- Low price (especially when considering the engraving!)
- Great way to get a Nichia 519A emitter in the CCT of your choice
- Build quality is great, especially for such a low-cost light
- TONS of build-out options. (different clips, bodies, etc)
- Highly modifiable (drivers, emitters, etc).
What I don’t like
- This is more of an “indifferent” or an “I get it but” – I’d really love for the pattern to wrap cleanly. I do expect that to be a feature of future versions!
- I’d love a pattern-matched 18350 body, too! Even offering a blank or color-matching body might be a good option.
Notes
- This content originally appeared at zeroair.org. Please visit there for the best experience!
- For flashlight-related patches, stickers, and gear, head over to PhotonPhreaks.com!
- Please use my Amazon.com referral link to help support zeroair.org!
- Please support me on Patreon! I deeply appreciate your support!