
Nitecore P17iX Customizable Tactical Flashlight Review
The Nitecore P17iX customizable tactical flashlight features a dual tail switch, side e-switch, and USB-C charging. There are beam options, too! Read on!
Official Specs and Features
Here’s a referral link to the Nitecore P17iX customizable tactical flashlight product page.
Versions
There’s just one version of the Nitecore P17iX customizable tactical flashlight.
Price
The Nitecore P17iX customizable tactical flashlight is available from NitecoreStore.com for $129.95.
What’s Included
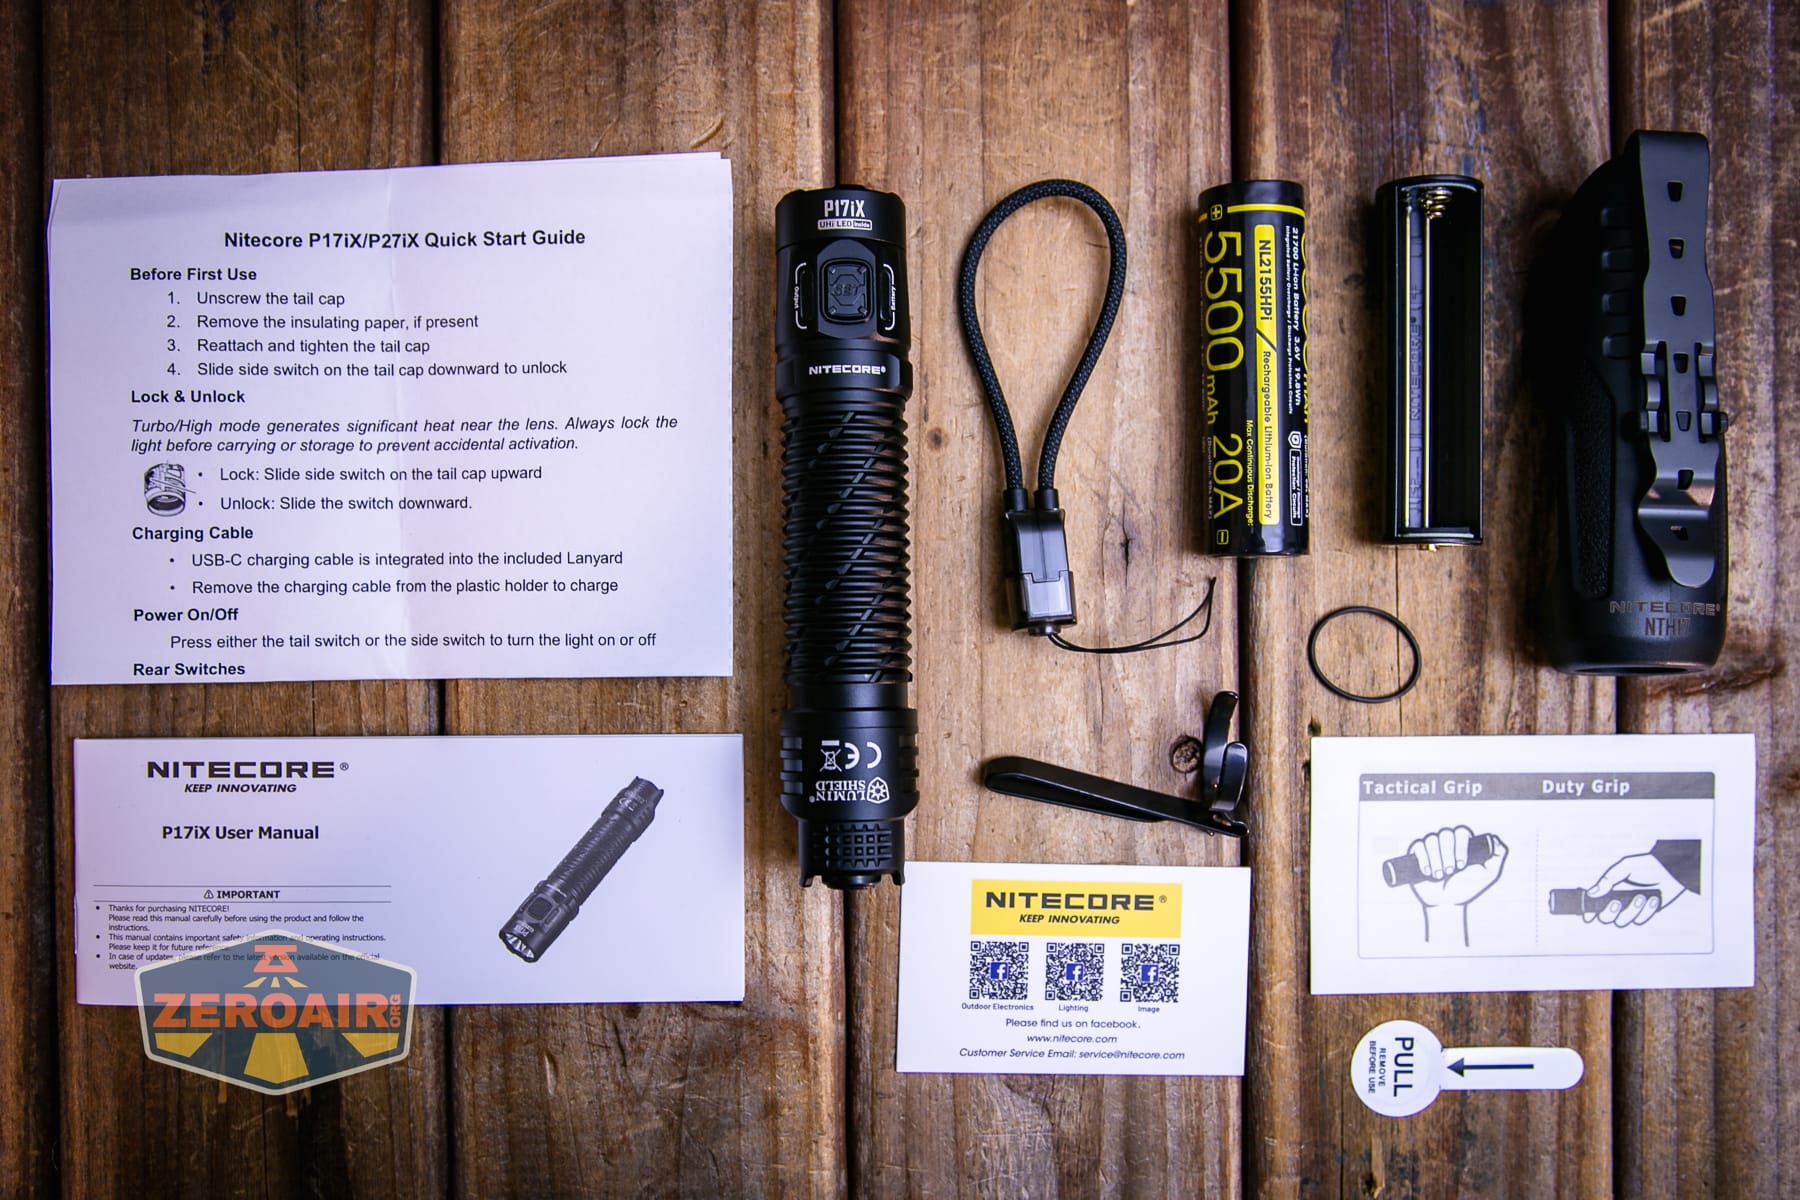
- Nitecore P17iX customizable tactical flashlight
- Hard belt holster
- 5500mAh 21700 (non-standard)
- Lanyard/charging cable
- Pocket clip
- Cell adapter
- Spare o-ring
- Manual, etc.
Package and Manual
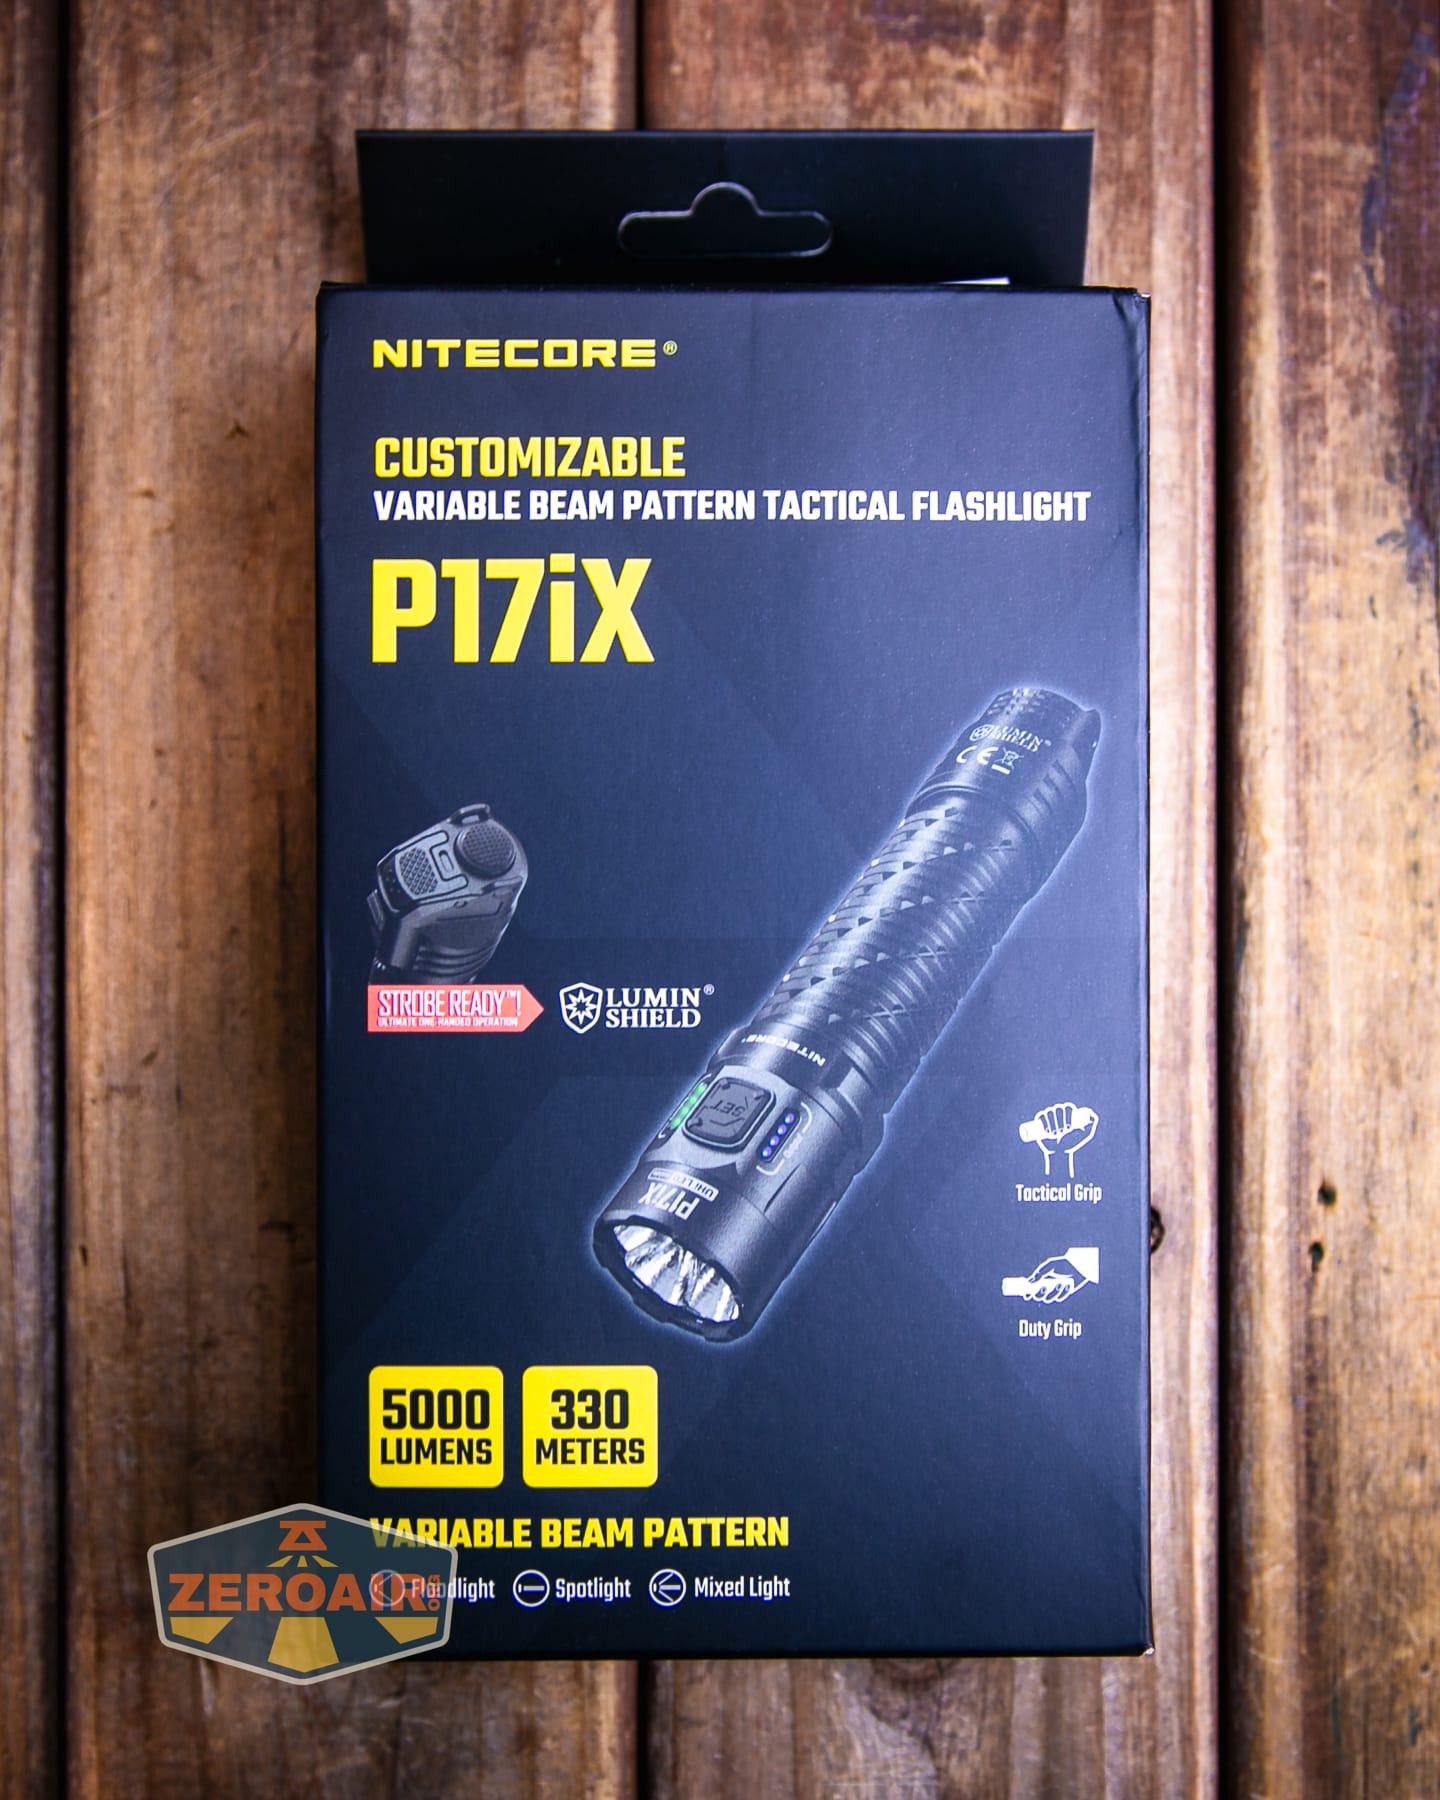
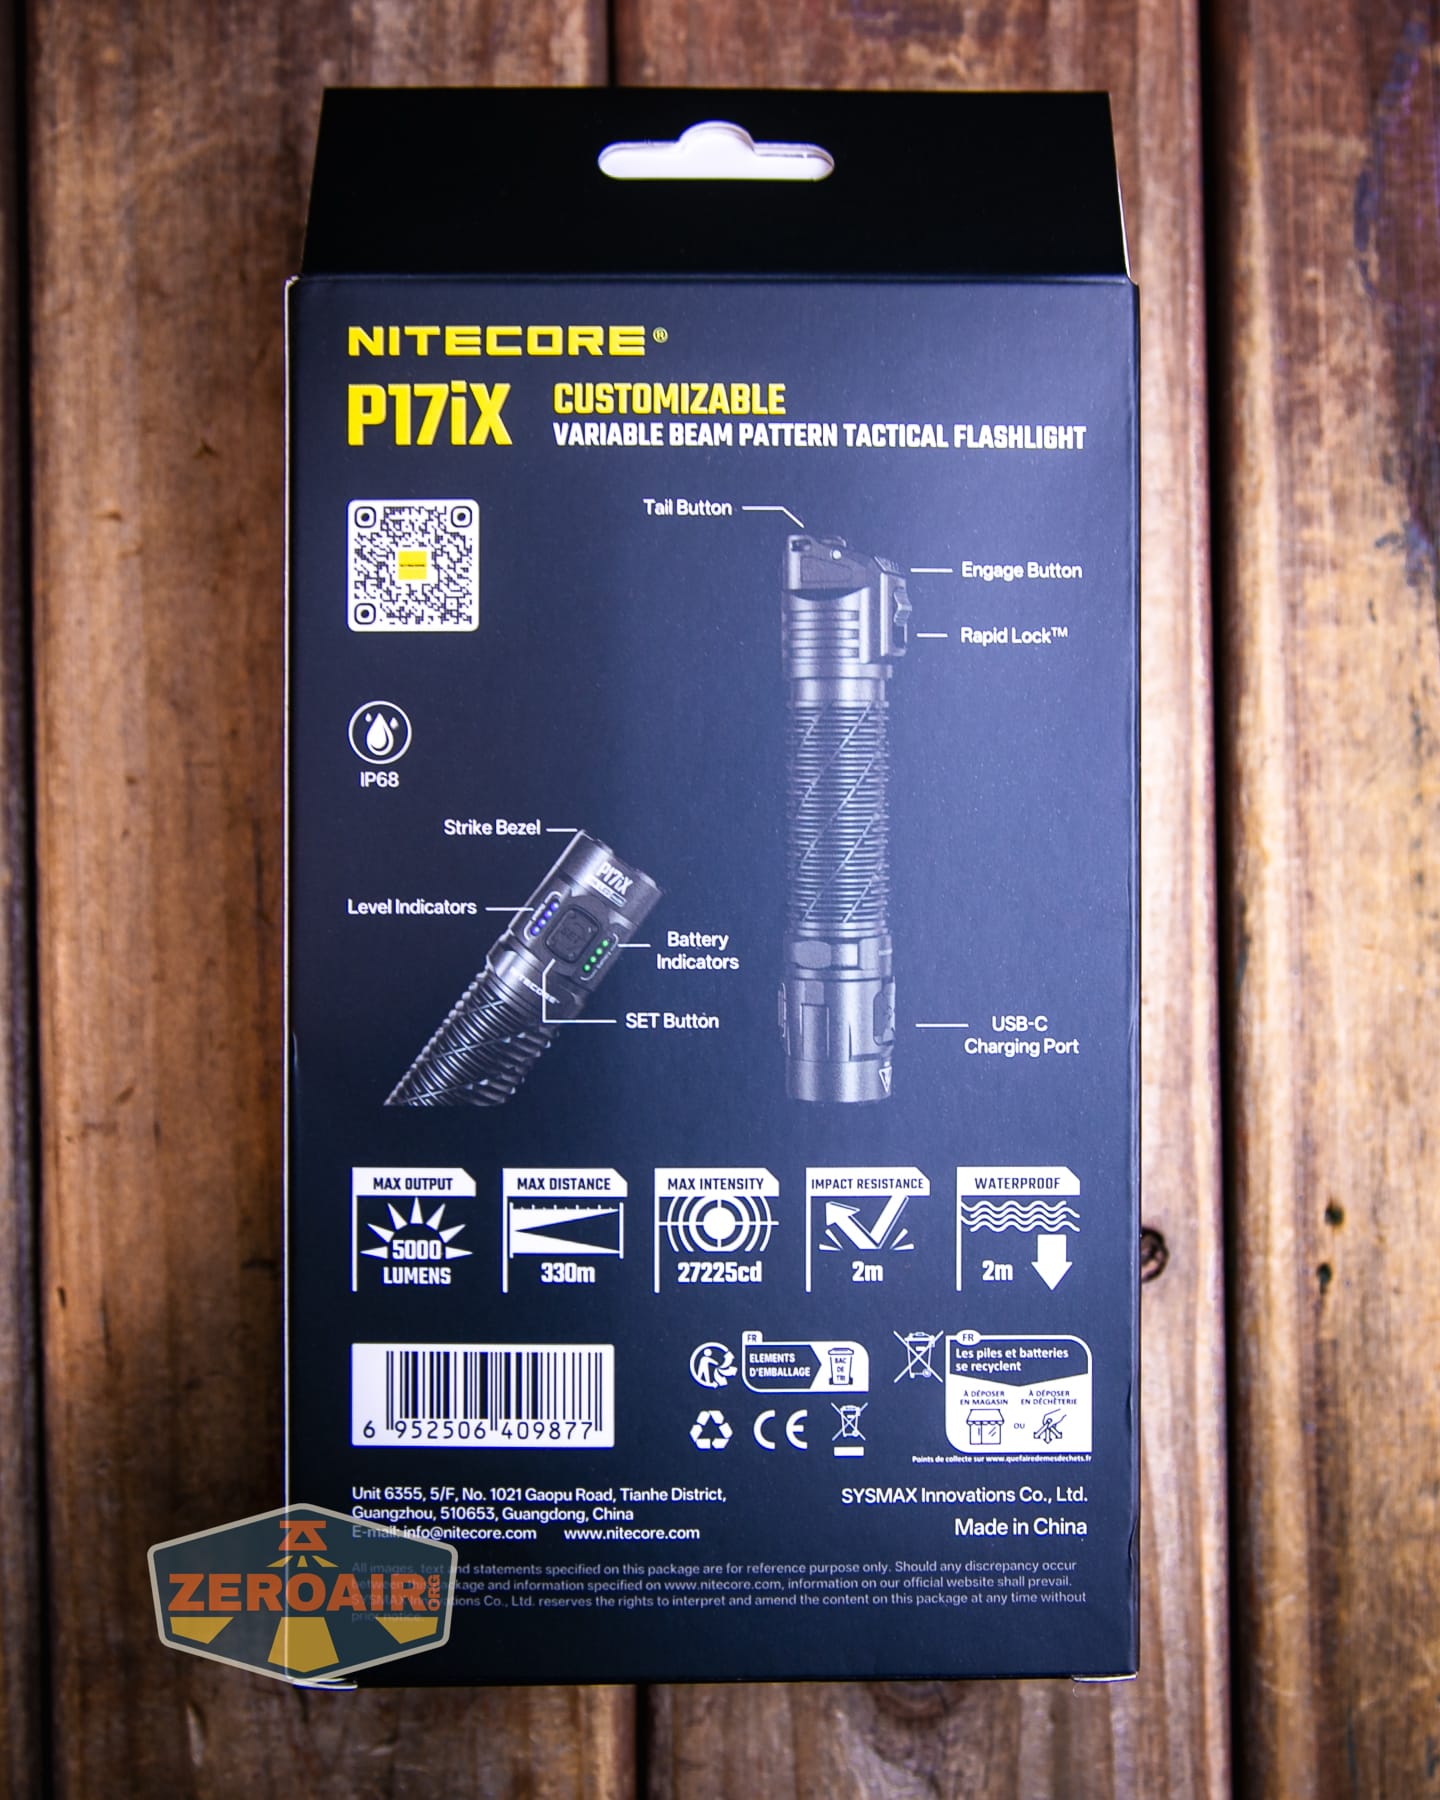
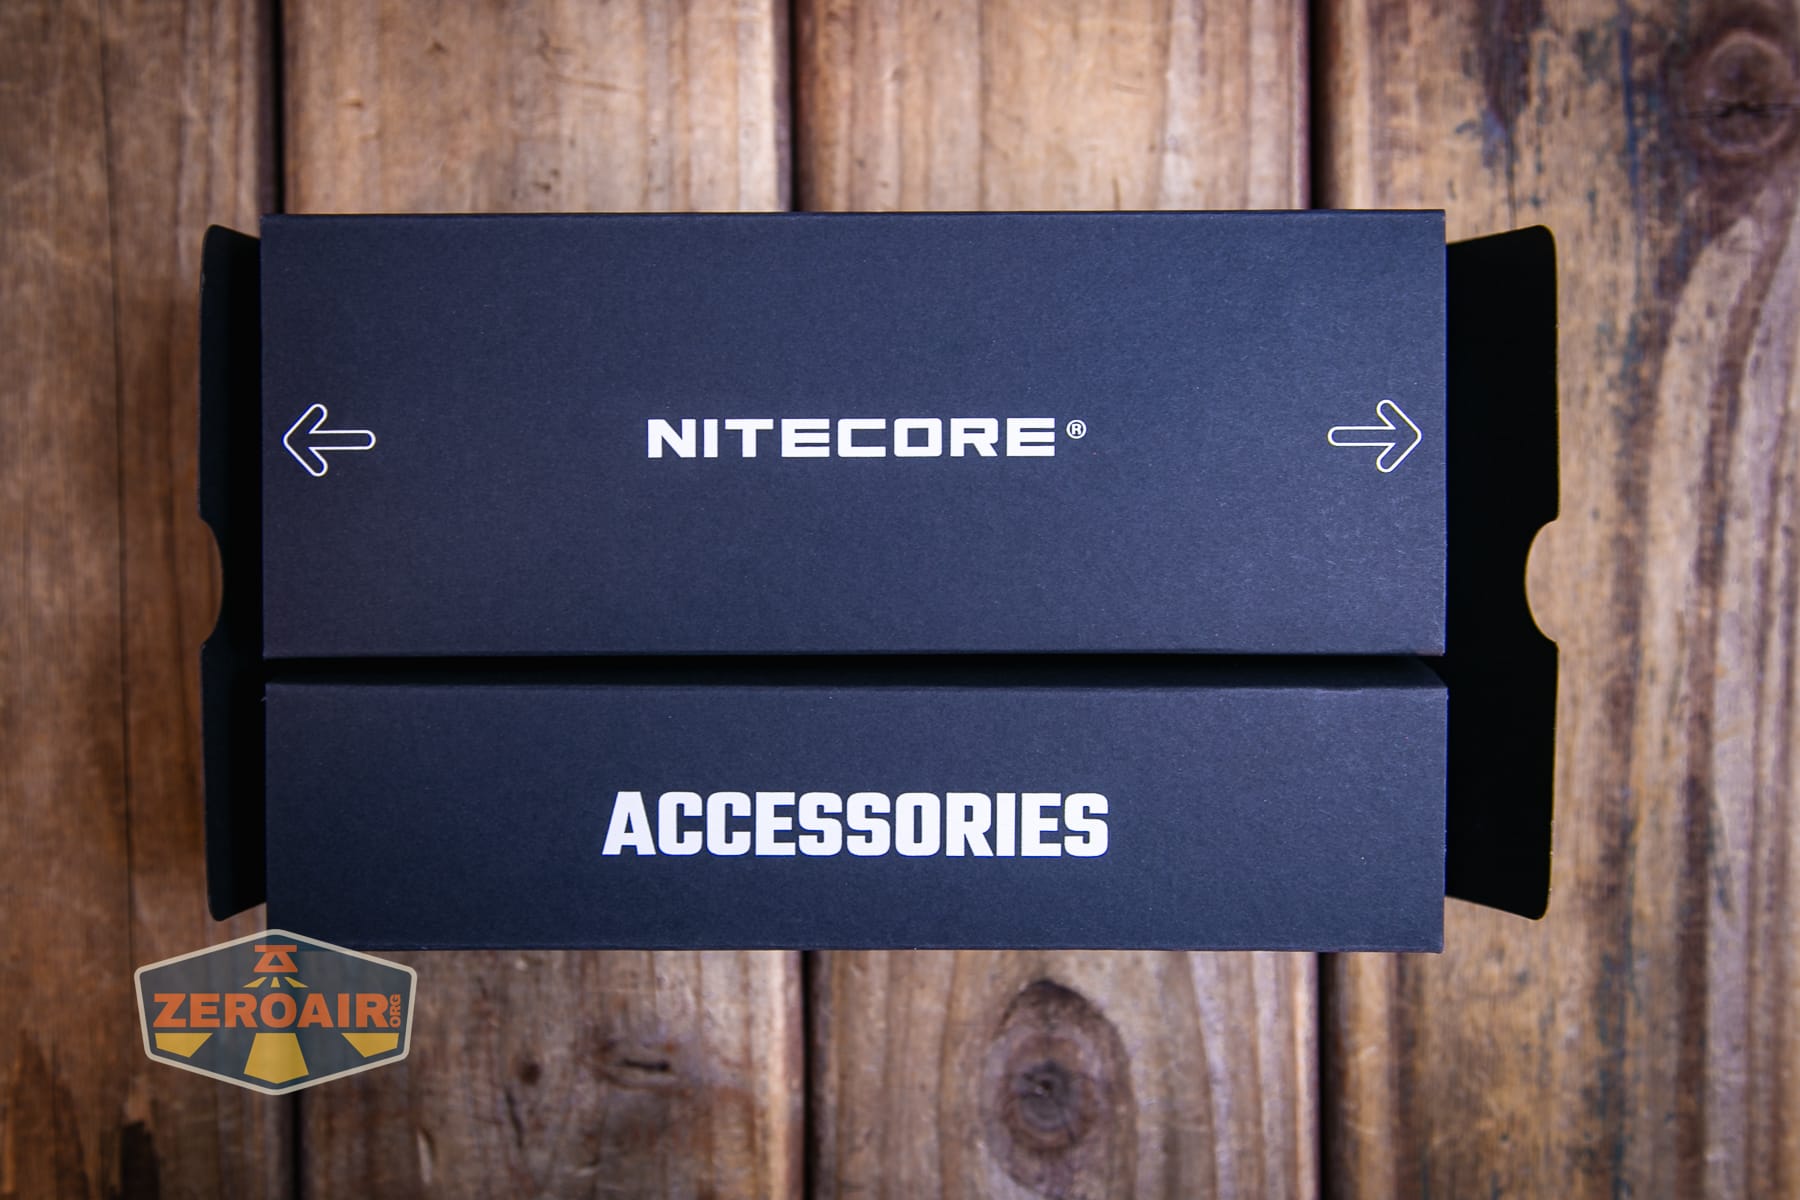
For now, here’s a link to the PDF manual.
Build Quality and Disassembly
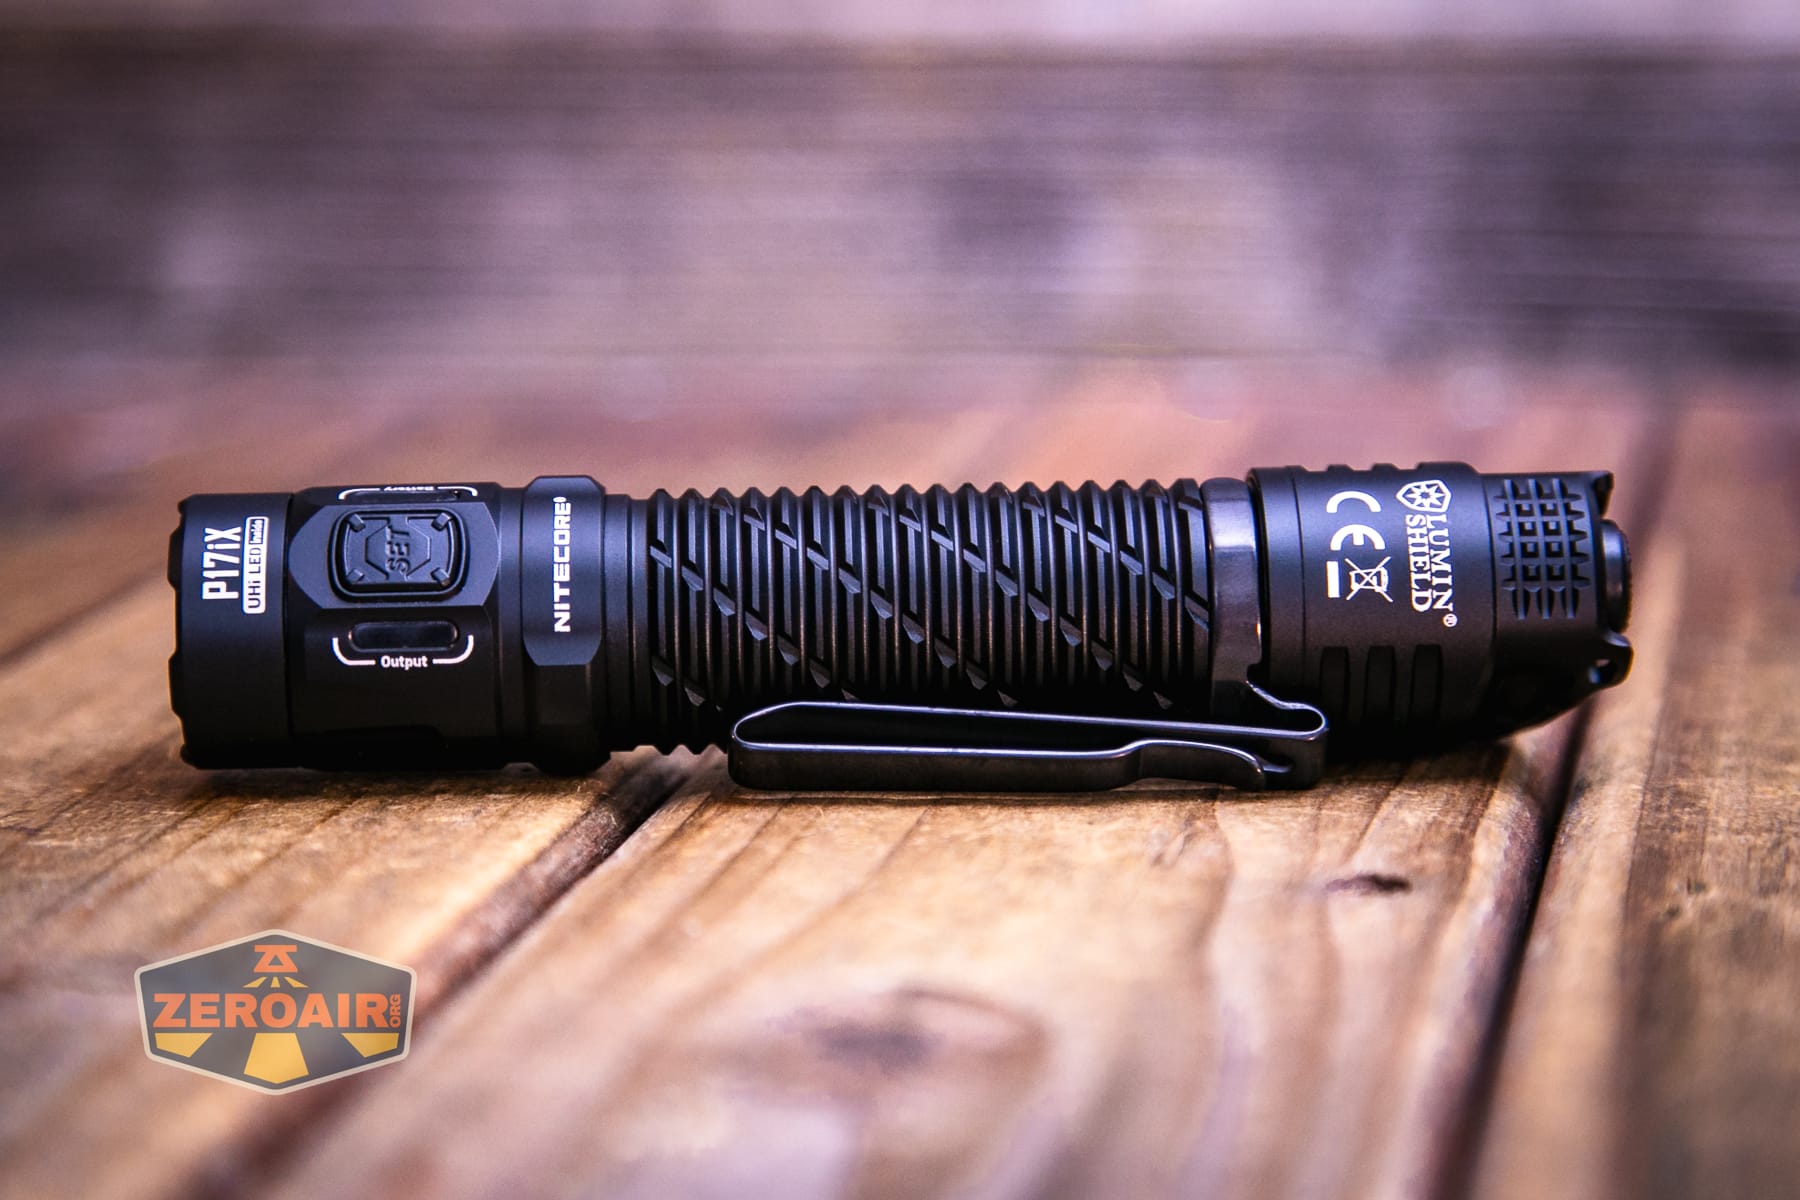
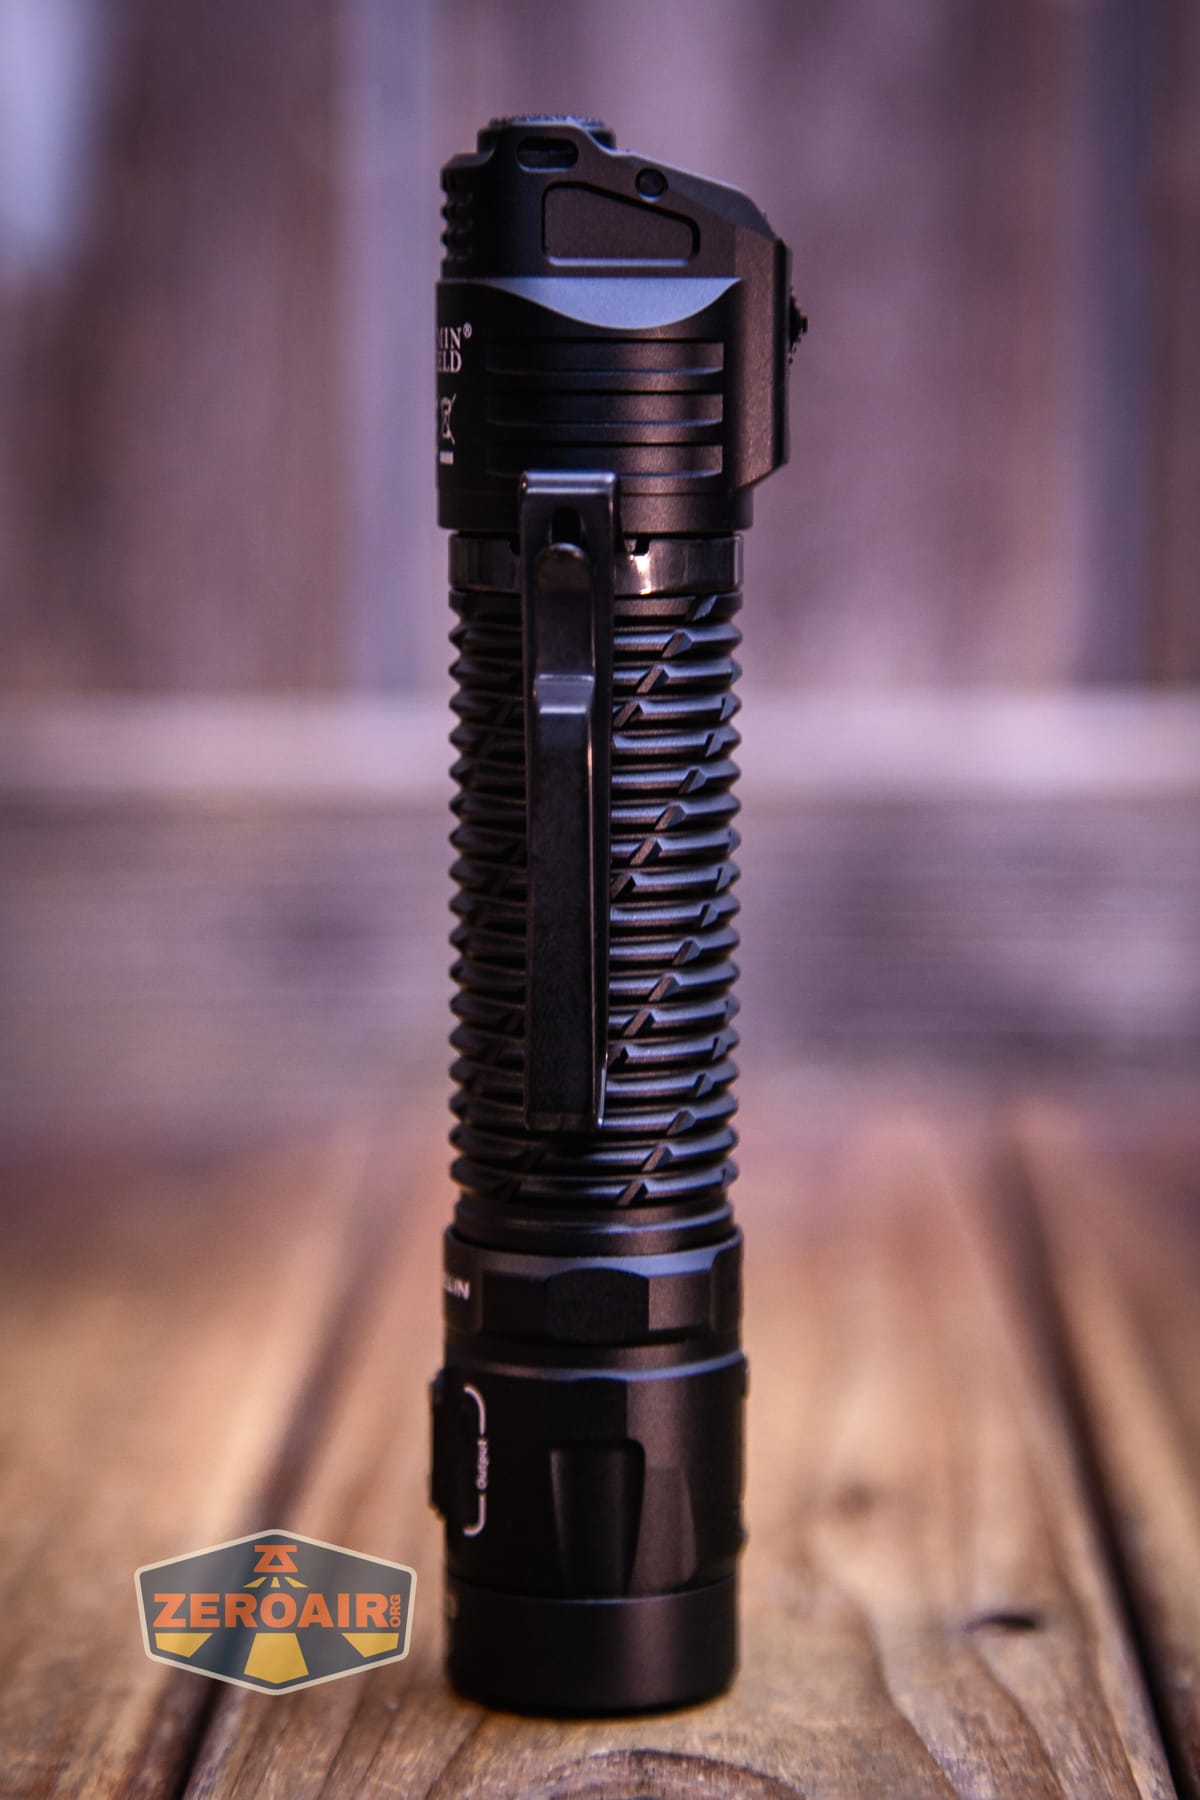
The Nitecore P17iX customizable tactical flashlight has a very nice build quality. A lot is going on with the light. A lot of body design, a bunch of switches, charging, etc. It’s a lot! But it’s nice in a way, because it means the light has “identifiable” positions in your hand. Less guessing is always good!
The Nitecore P17iX customizable tactical flashlight is essentially just a more pocketable version of the bigger P27ix. As far as I can tell, they’re functionally the same.
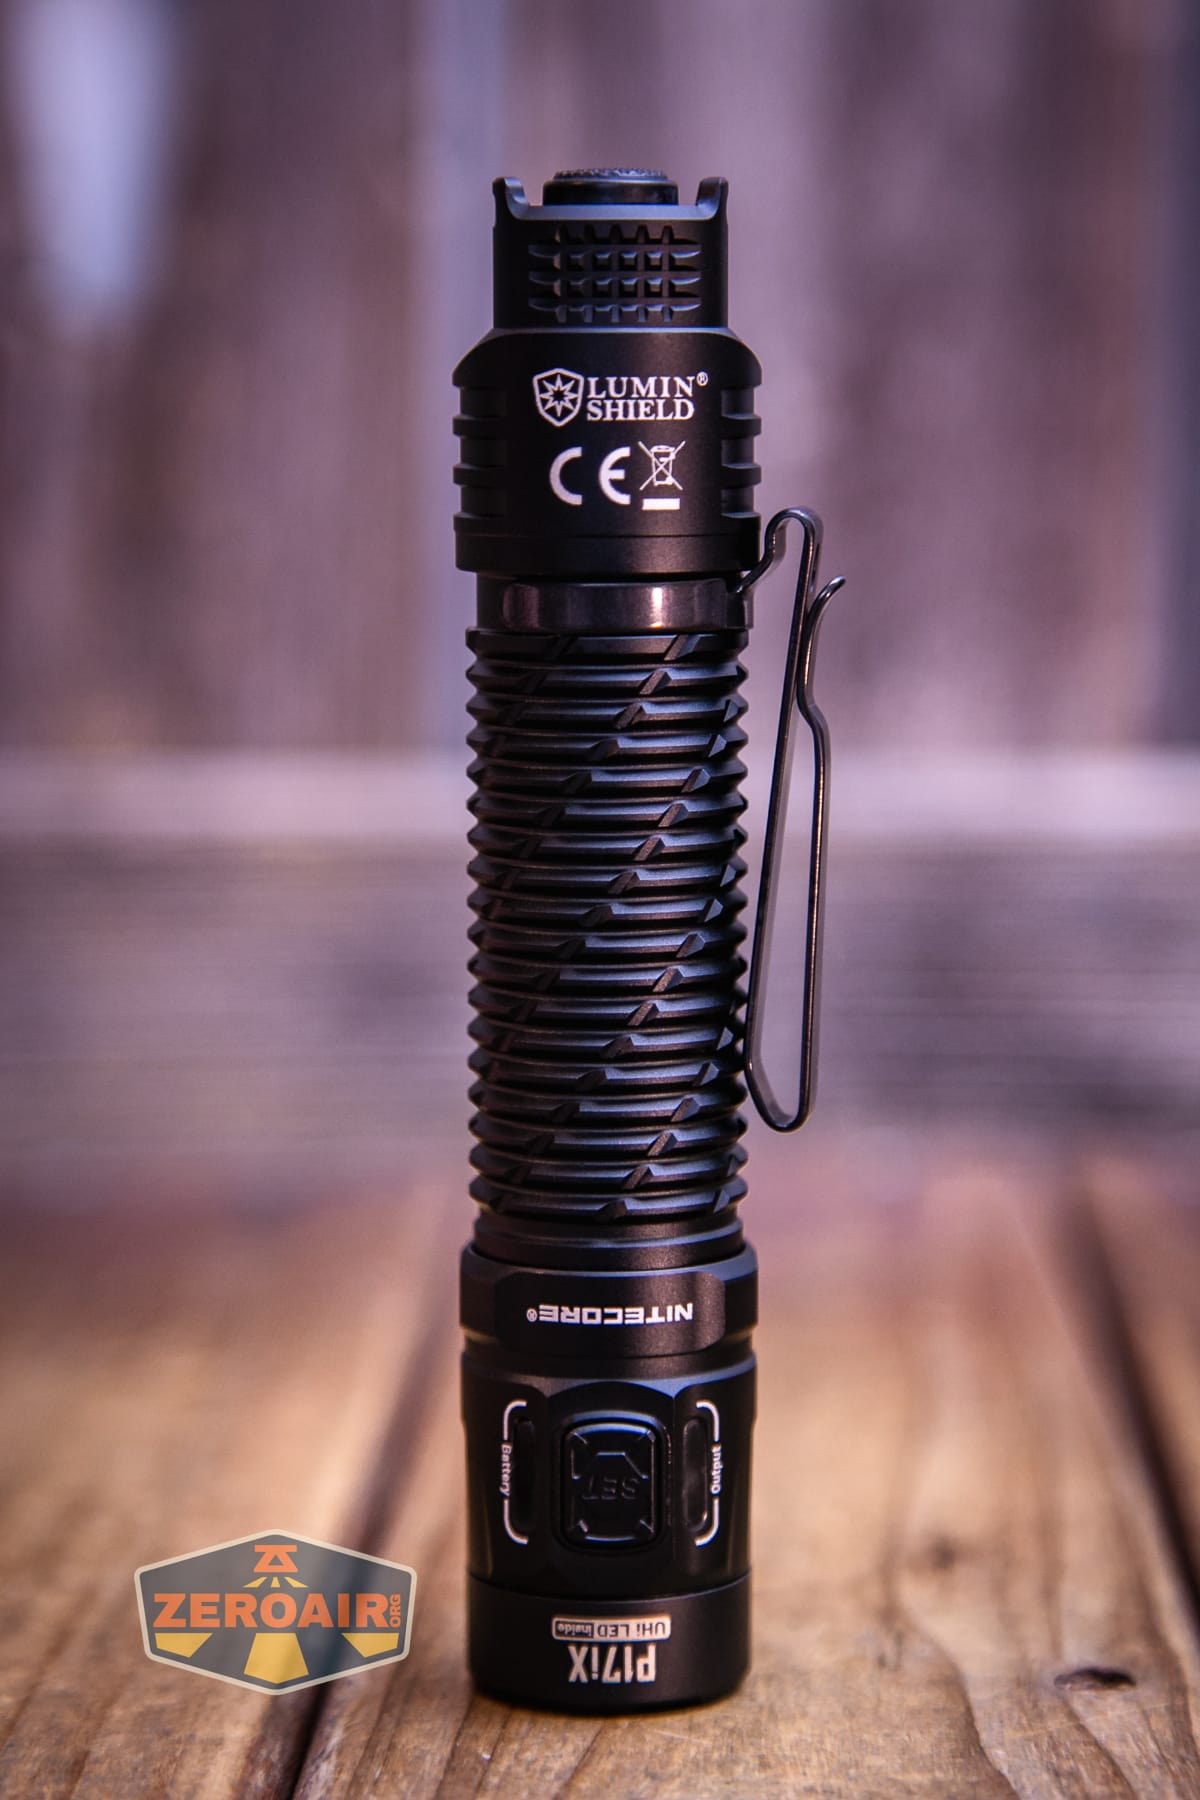
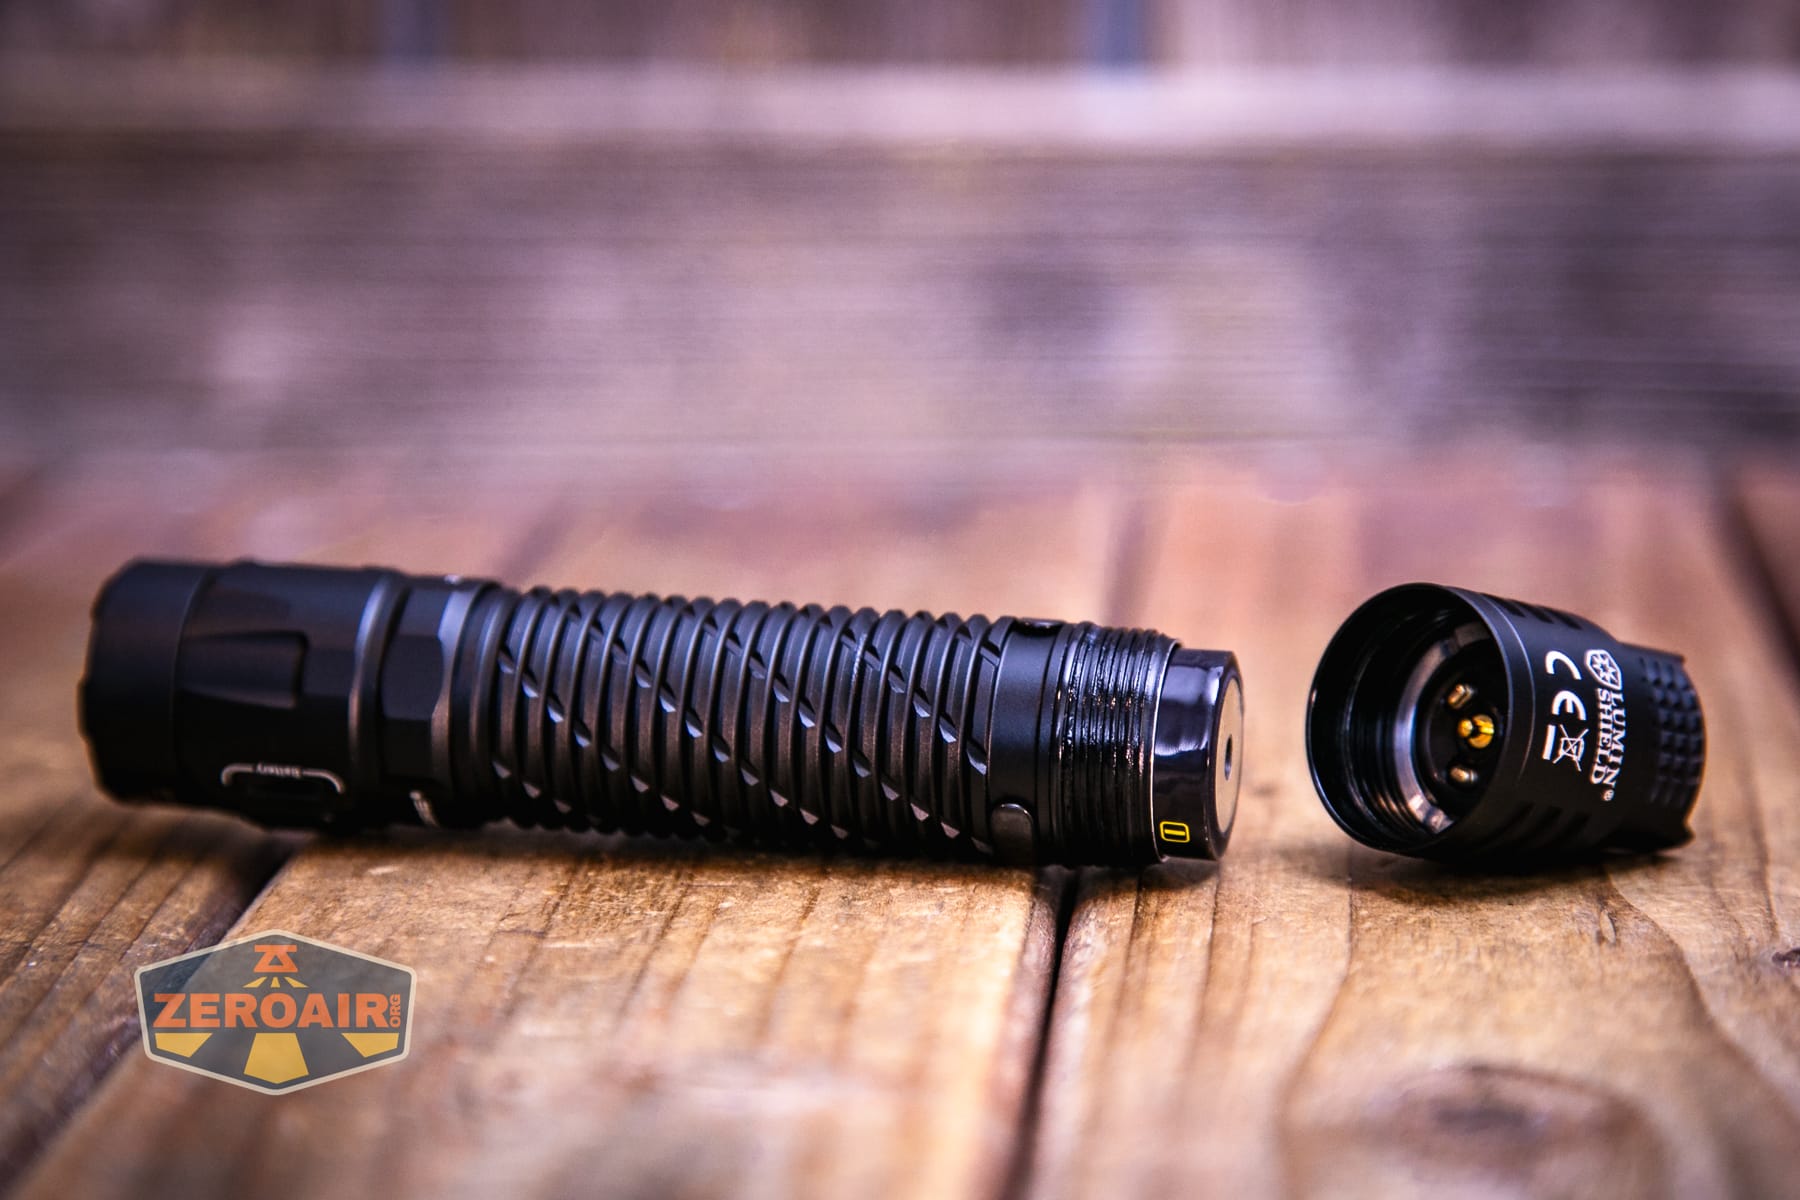
We’ll talk more about the cell in a bit, but for now, you can see the cell contacts – both positive and negative inside the cell tube.
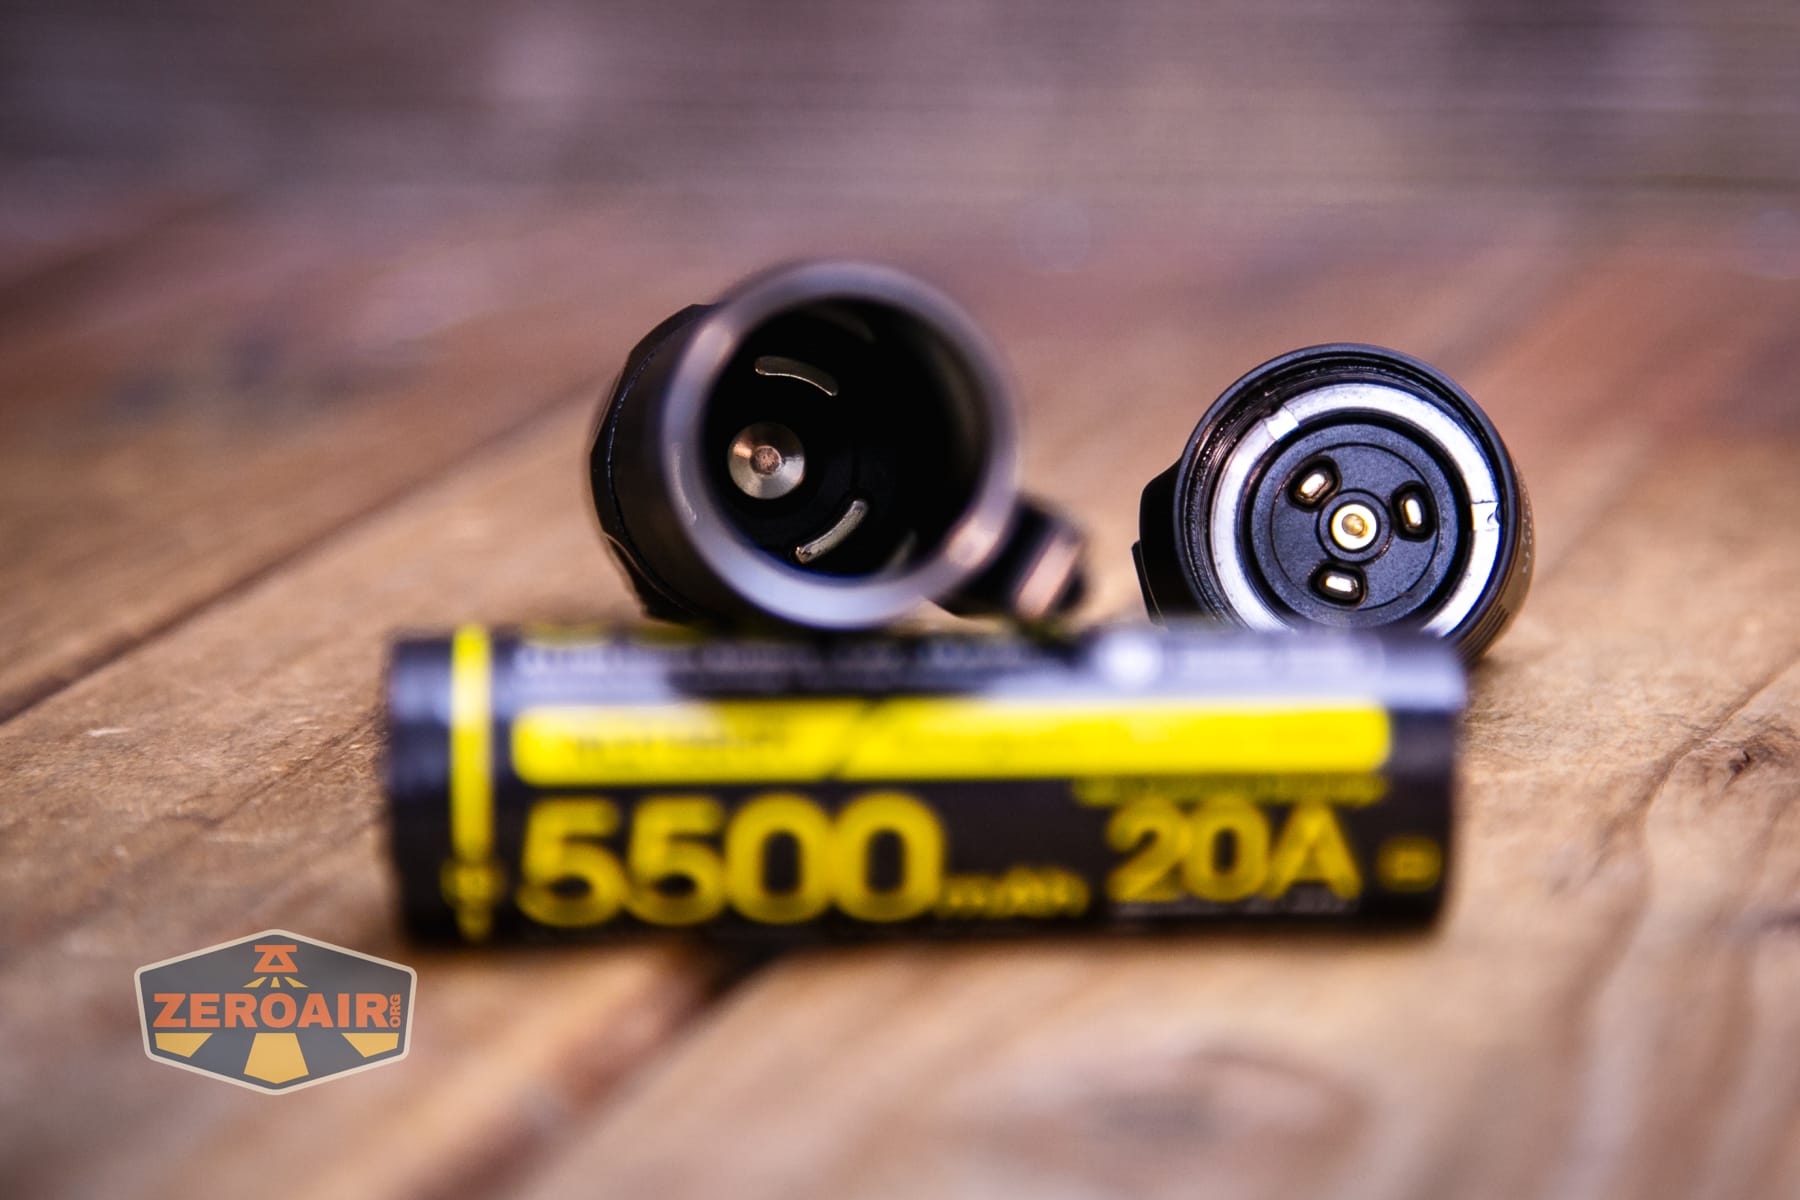
The tailcap has separate connections for two terminals on the cell, too.
Size and Comps
Dimensions L-5.51″ x W-1.06″ x H-1.30″
Weight 3.56 oz
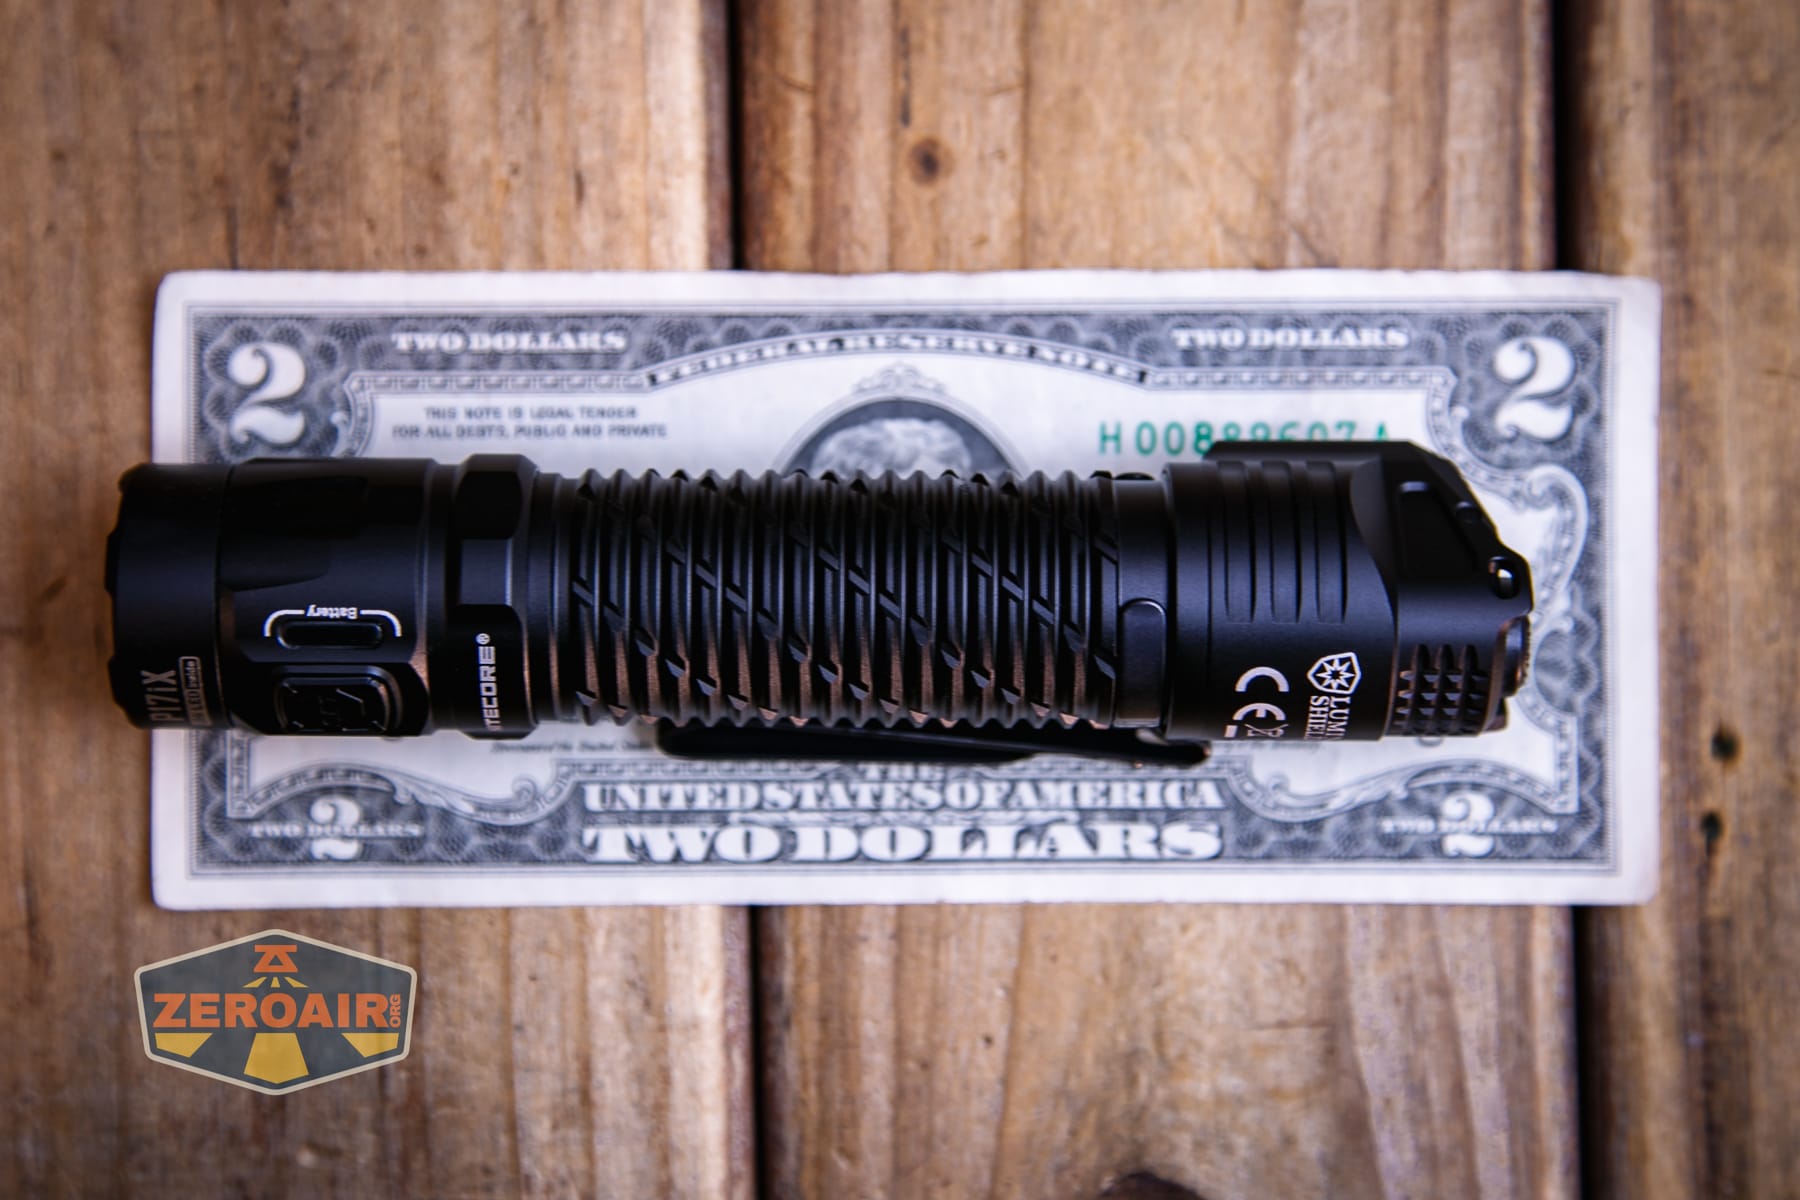
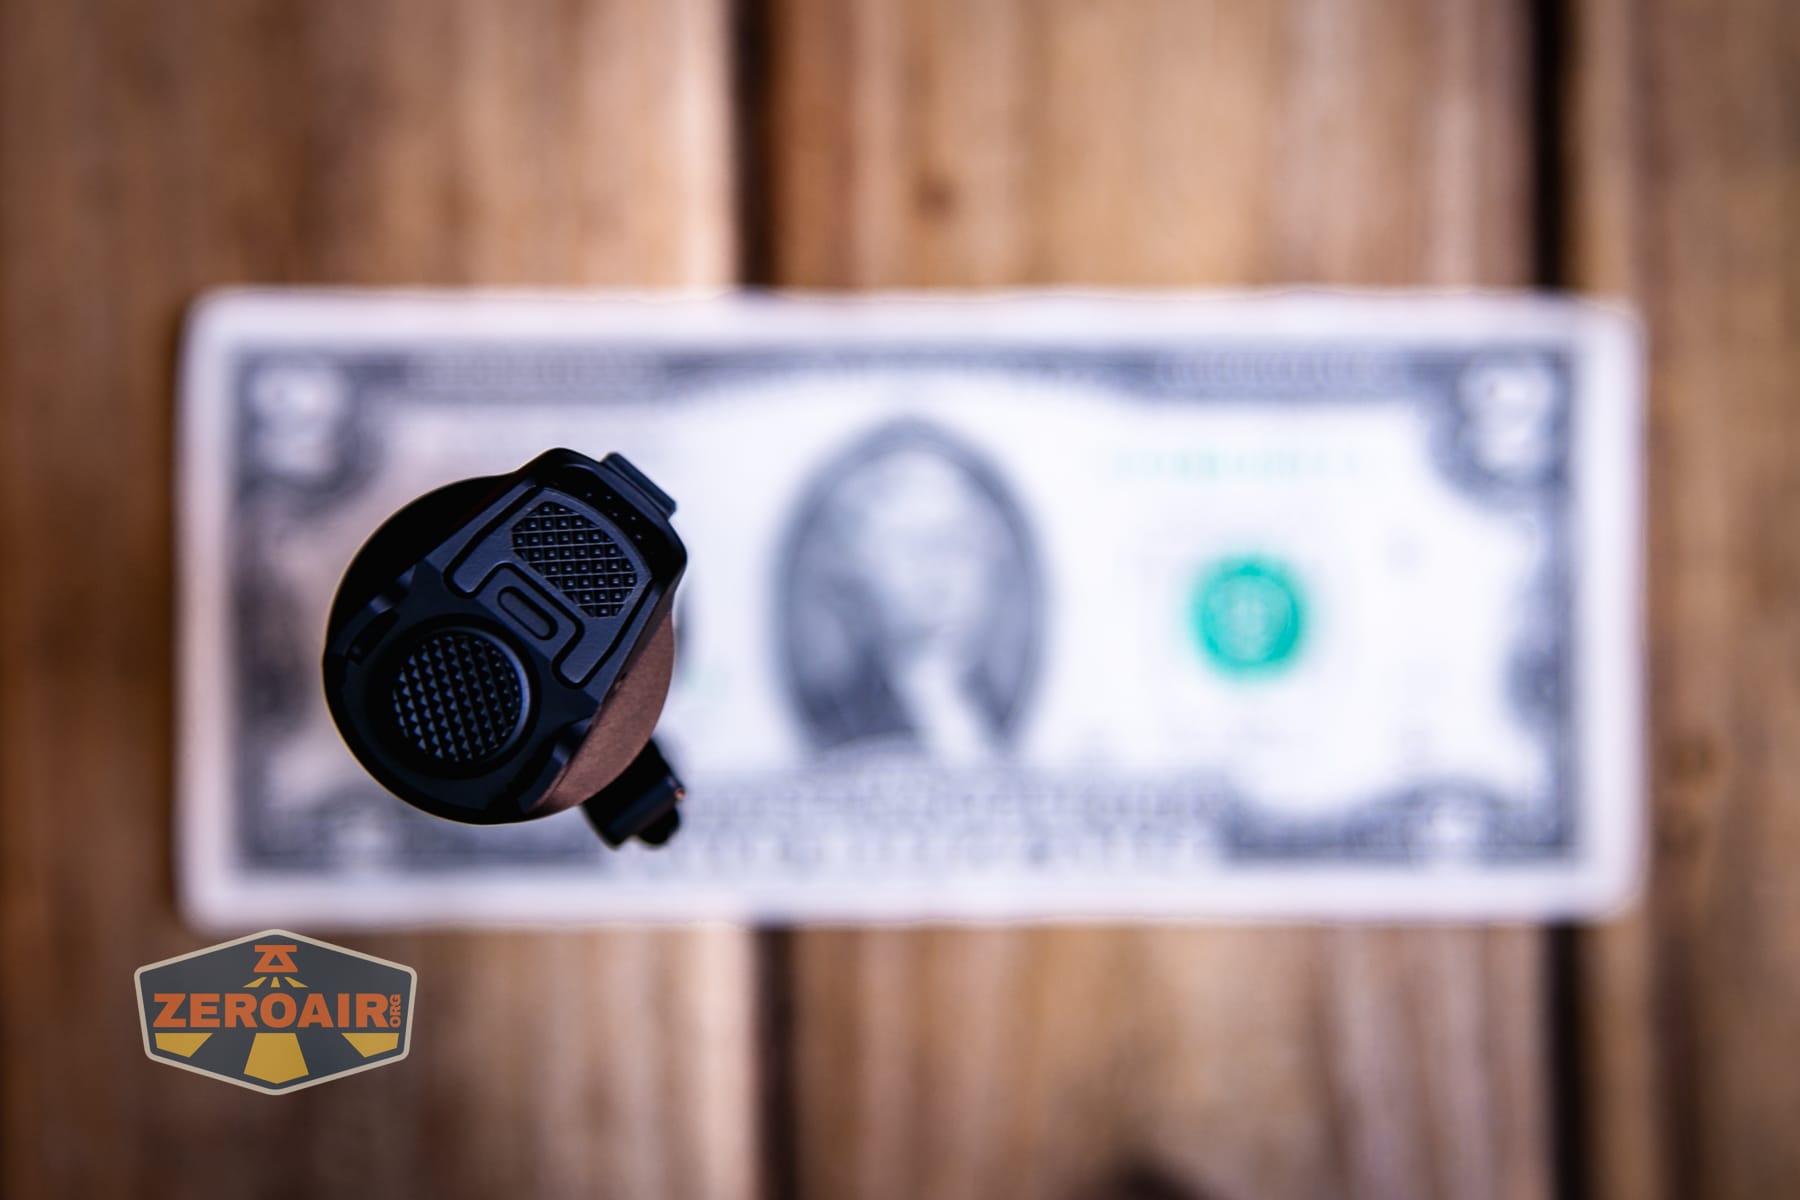
Here’s the light in hand:
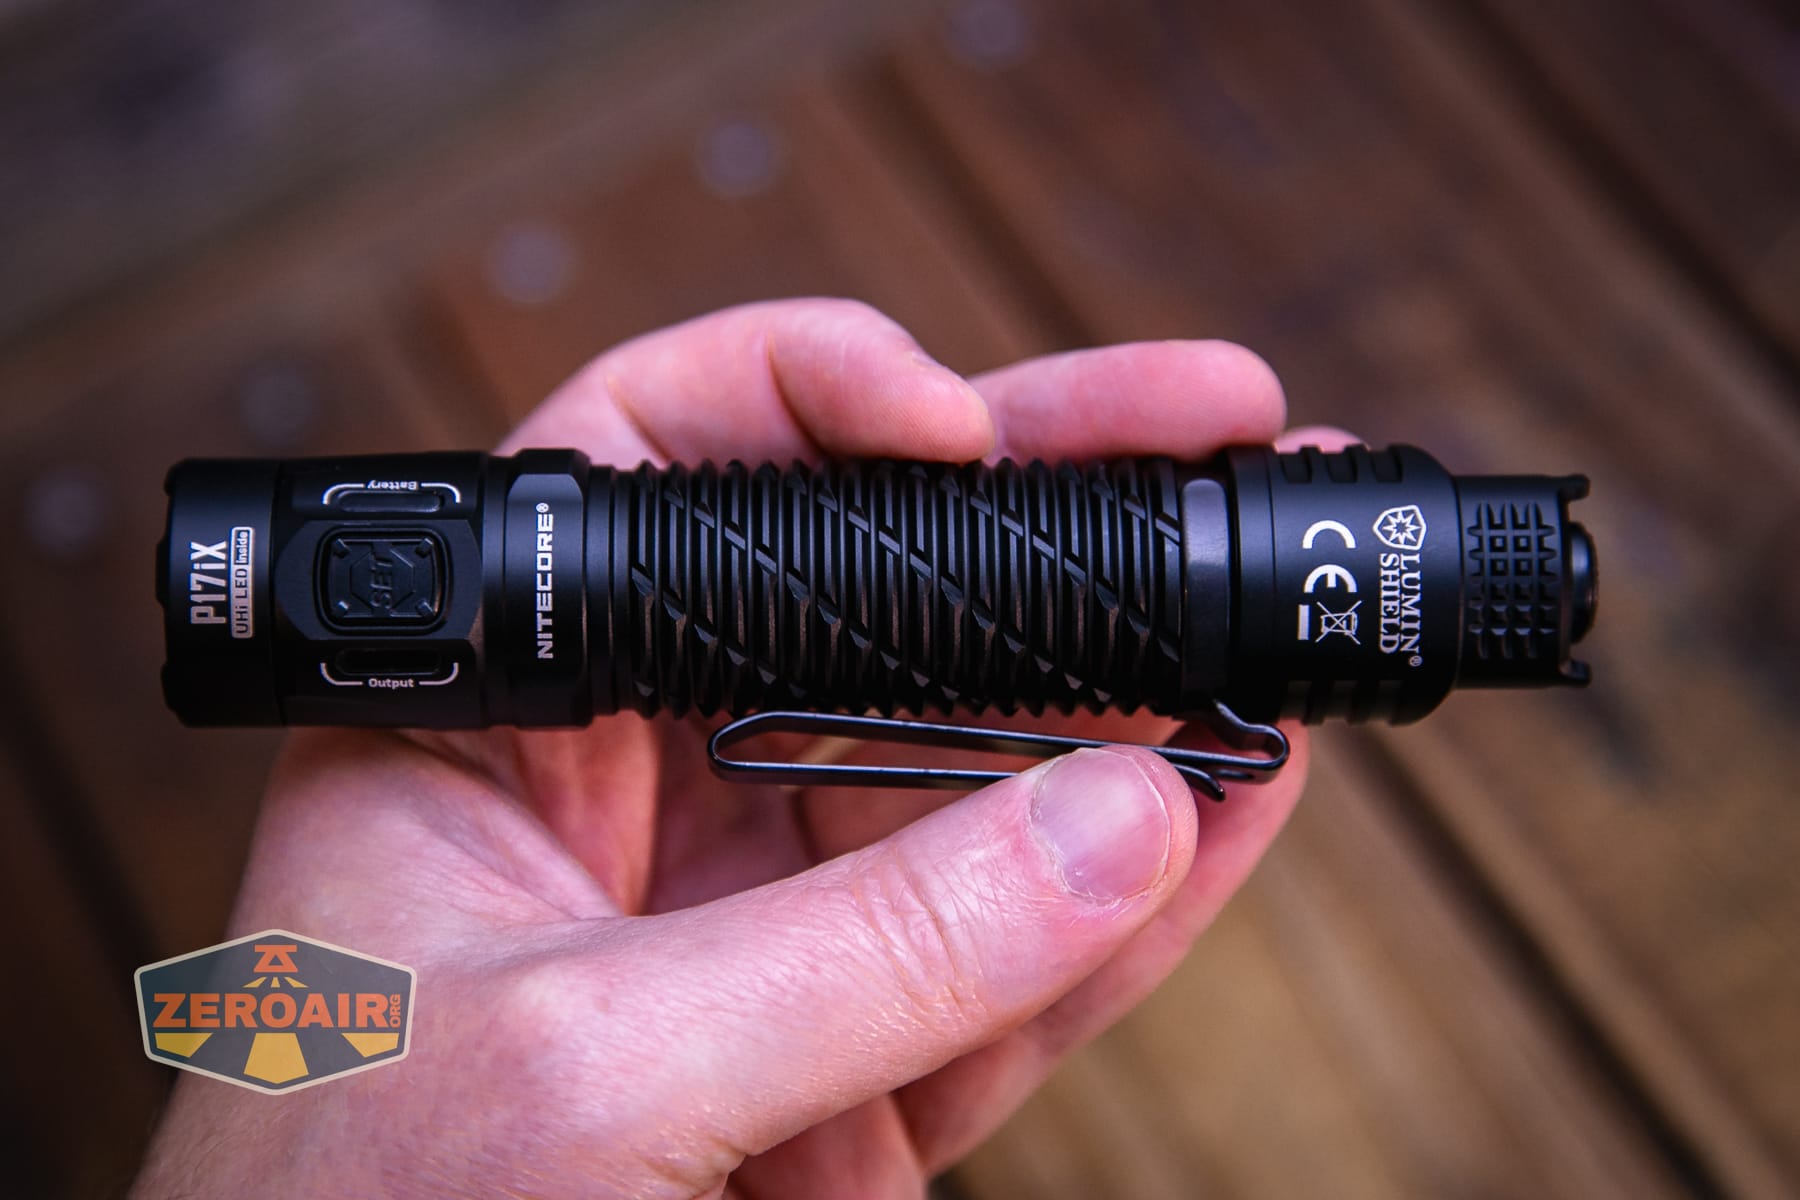
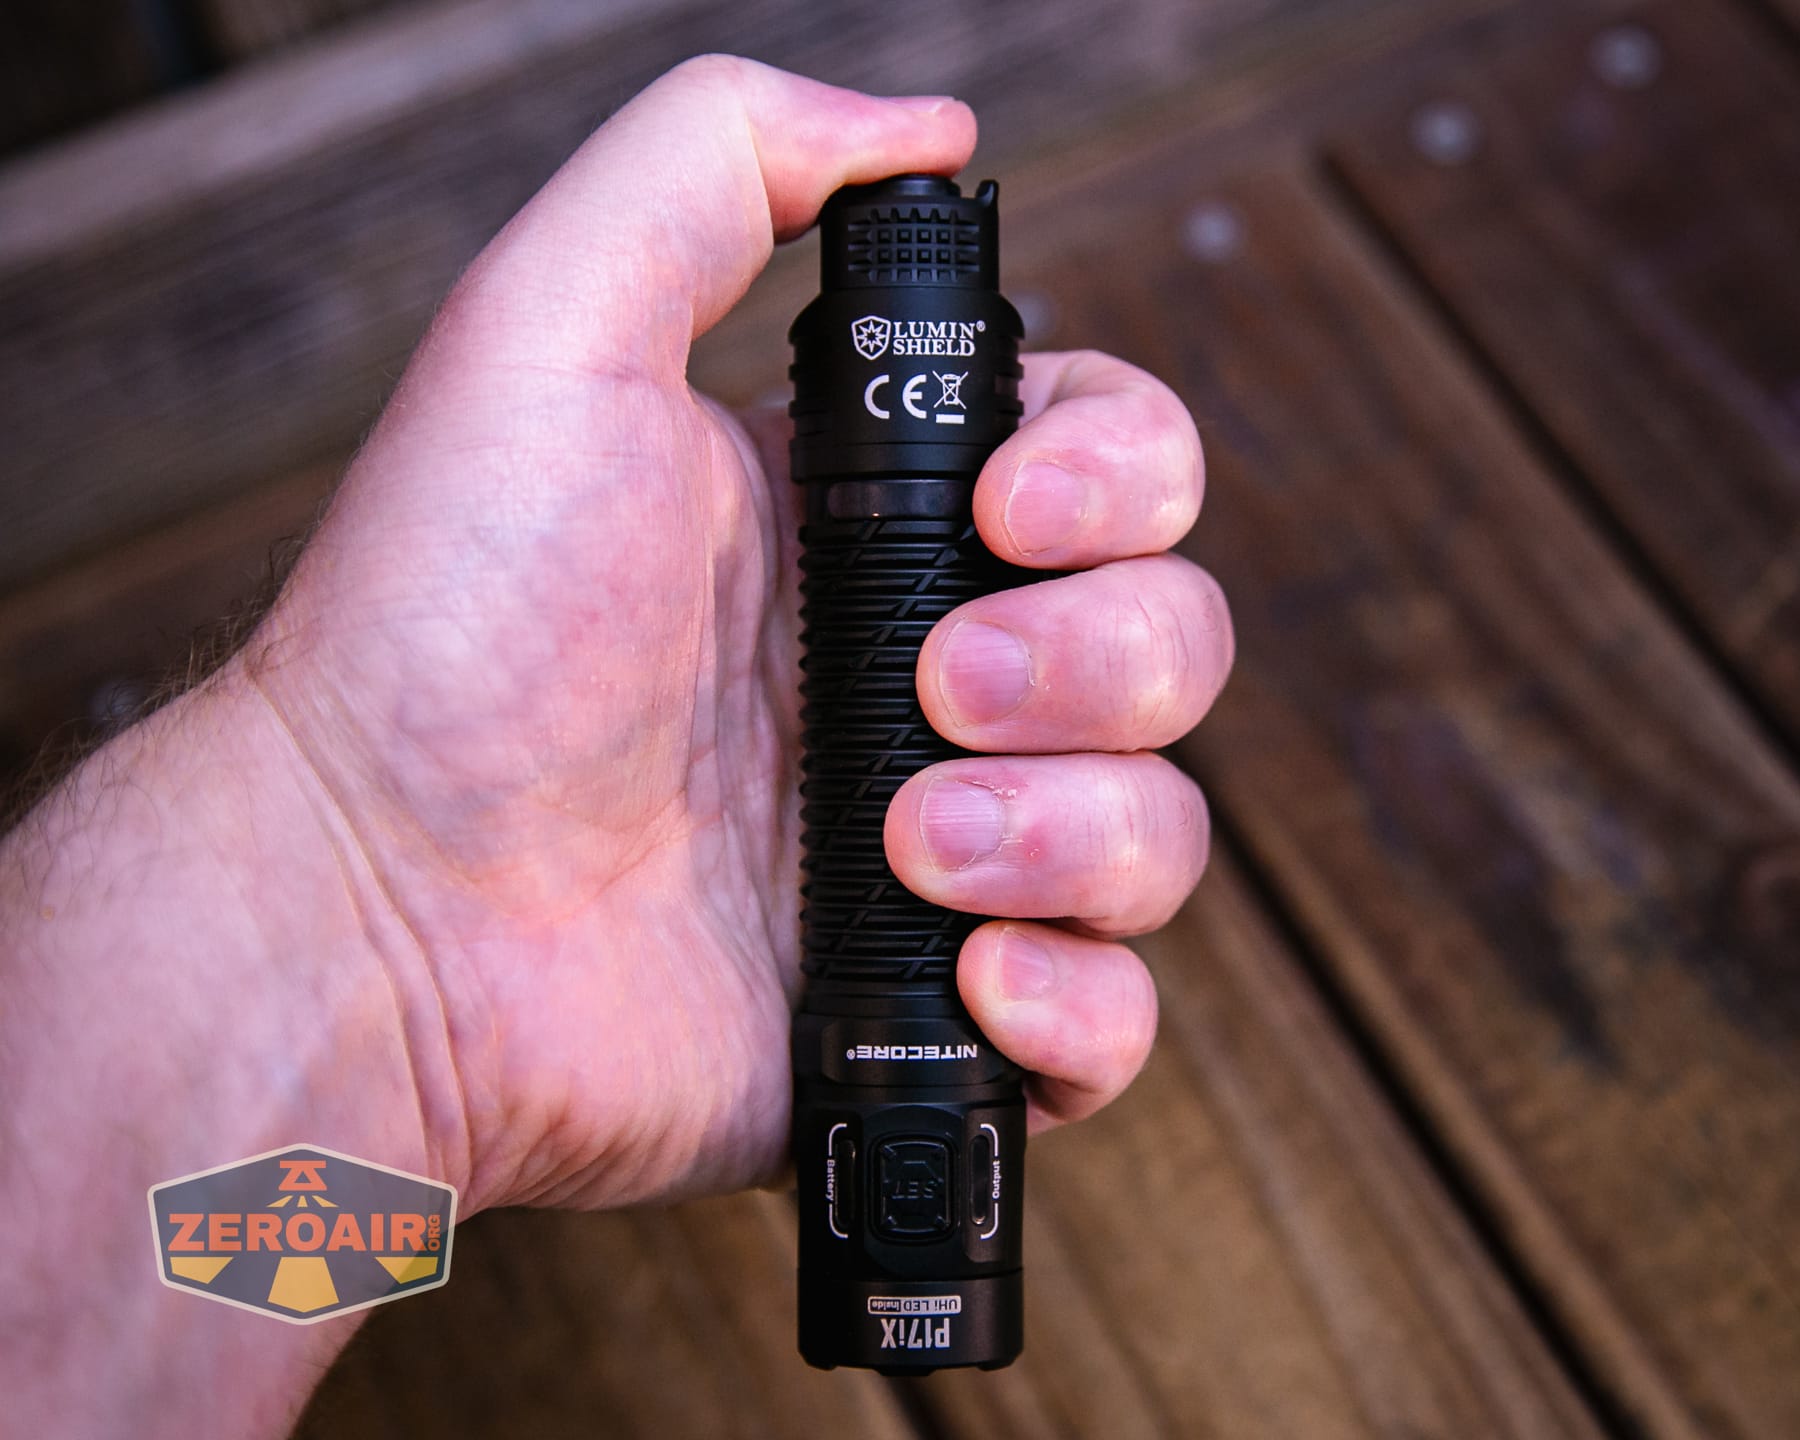
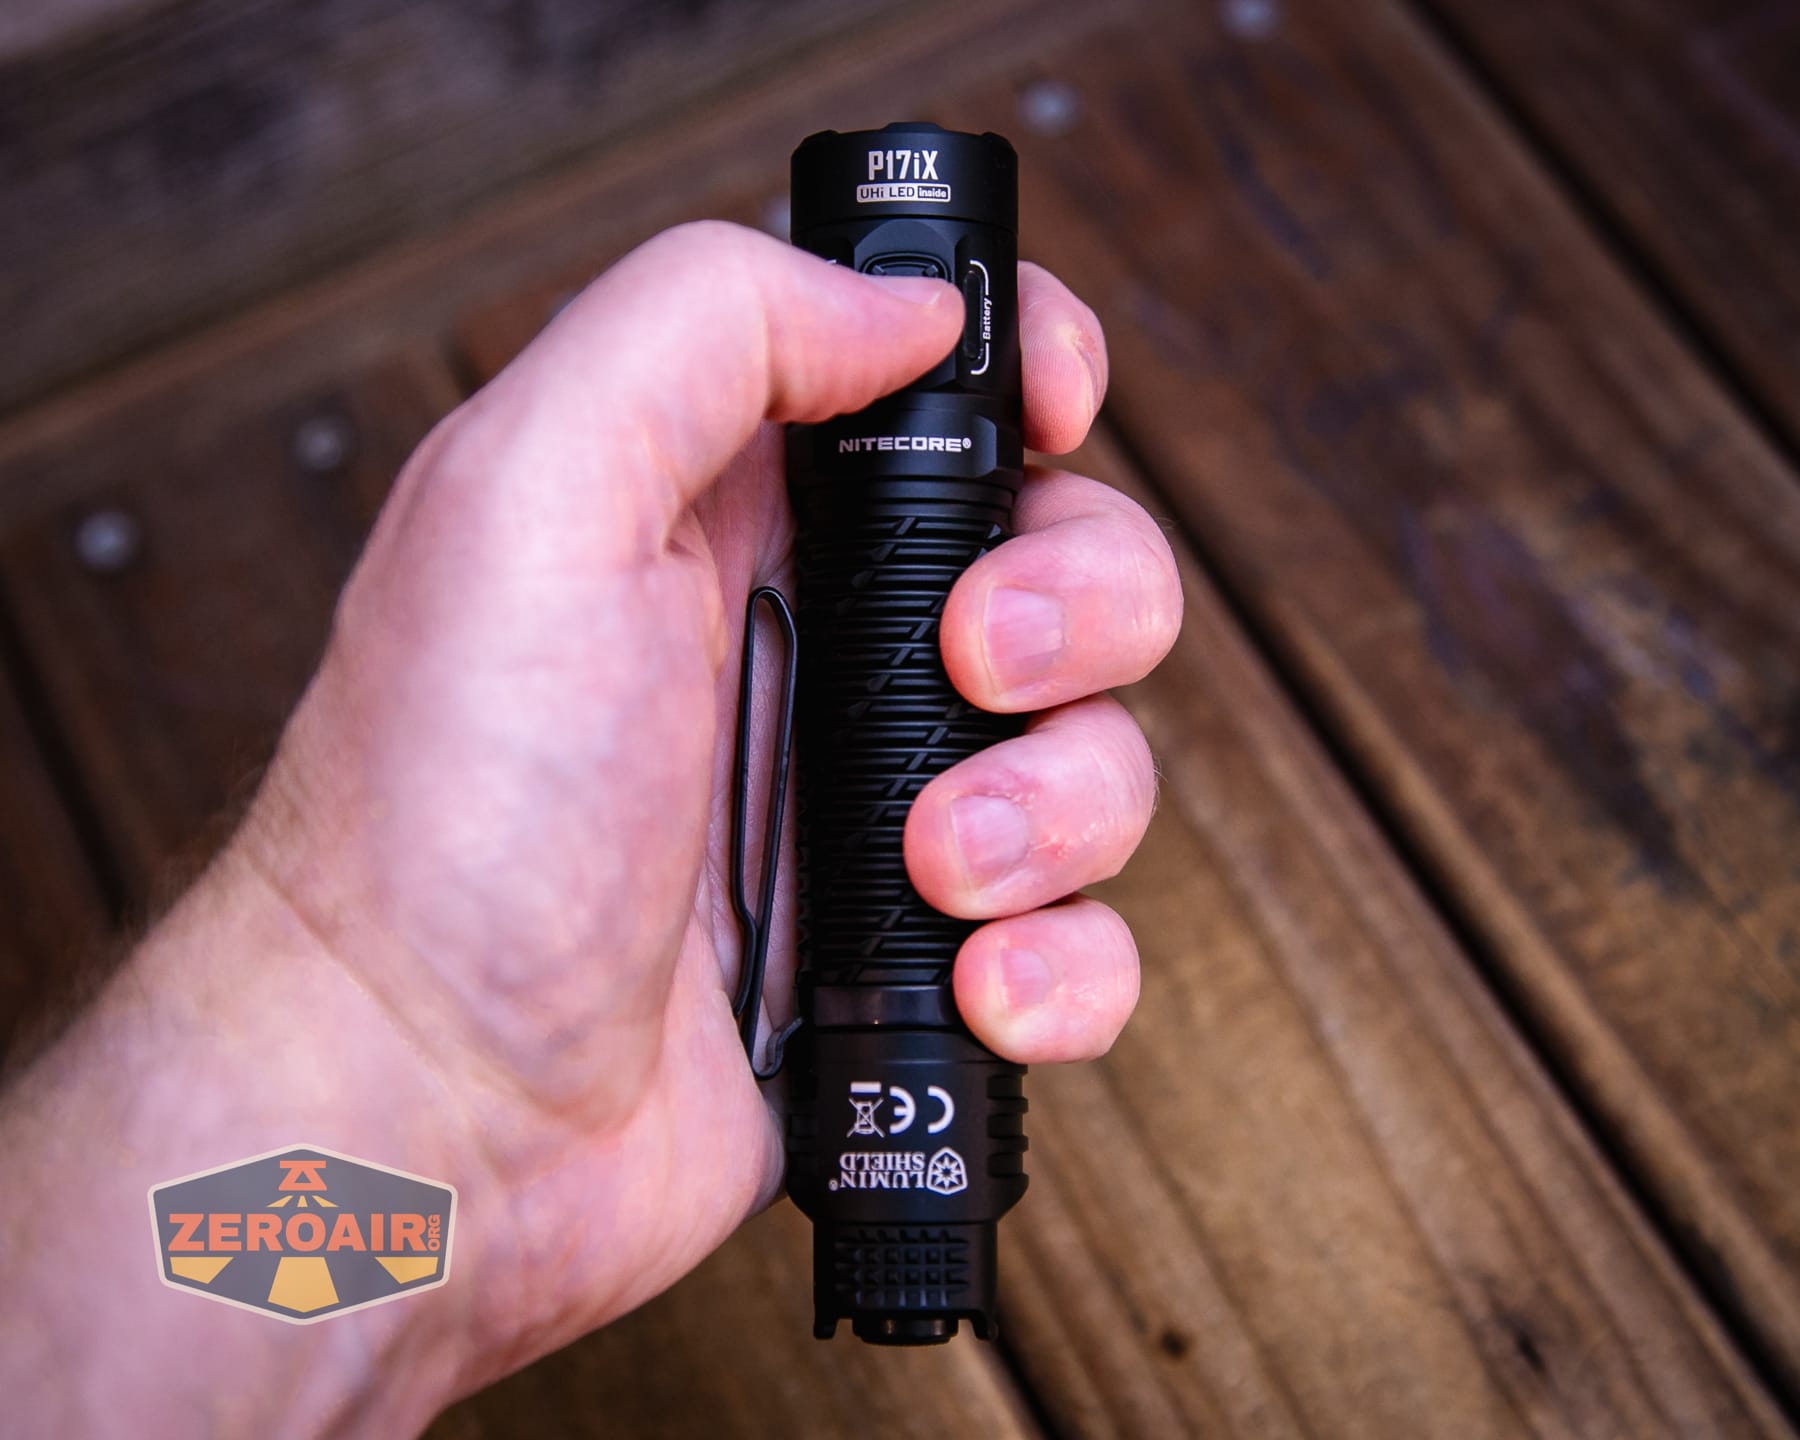
Here’s the test light with the venerable Convoy S2+. The version below is a custom laser-engraved Convoy S2+ host by GadgetConnections.com. I did a full post on an engraved orange host right here! Or go straight to GadgetConnections.com to buy your Convoy S2+ now!
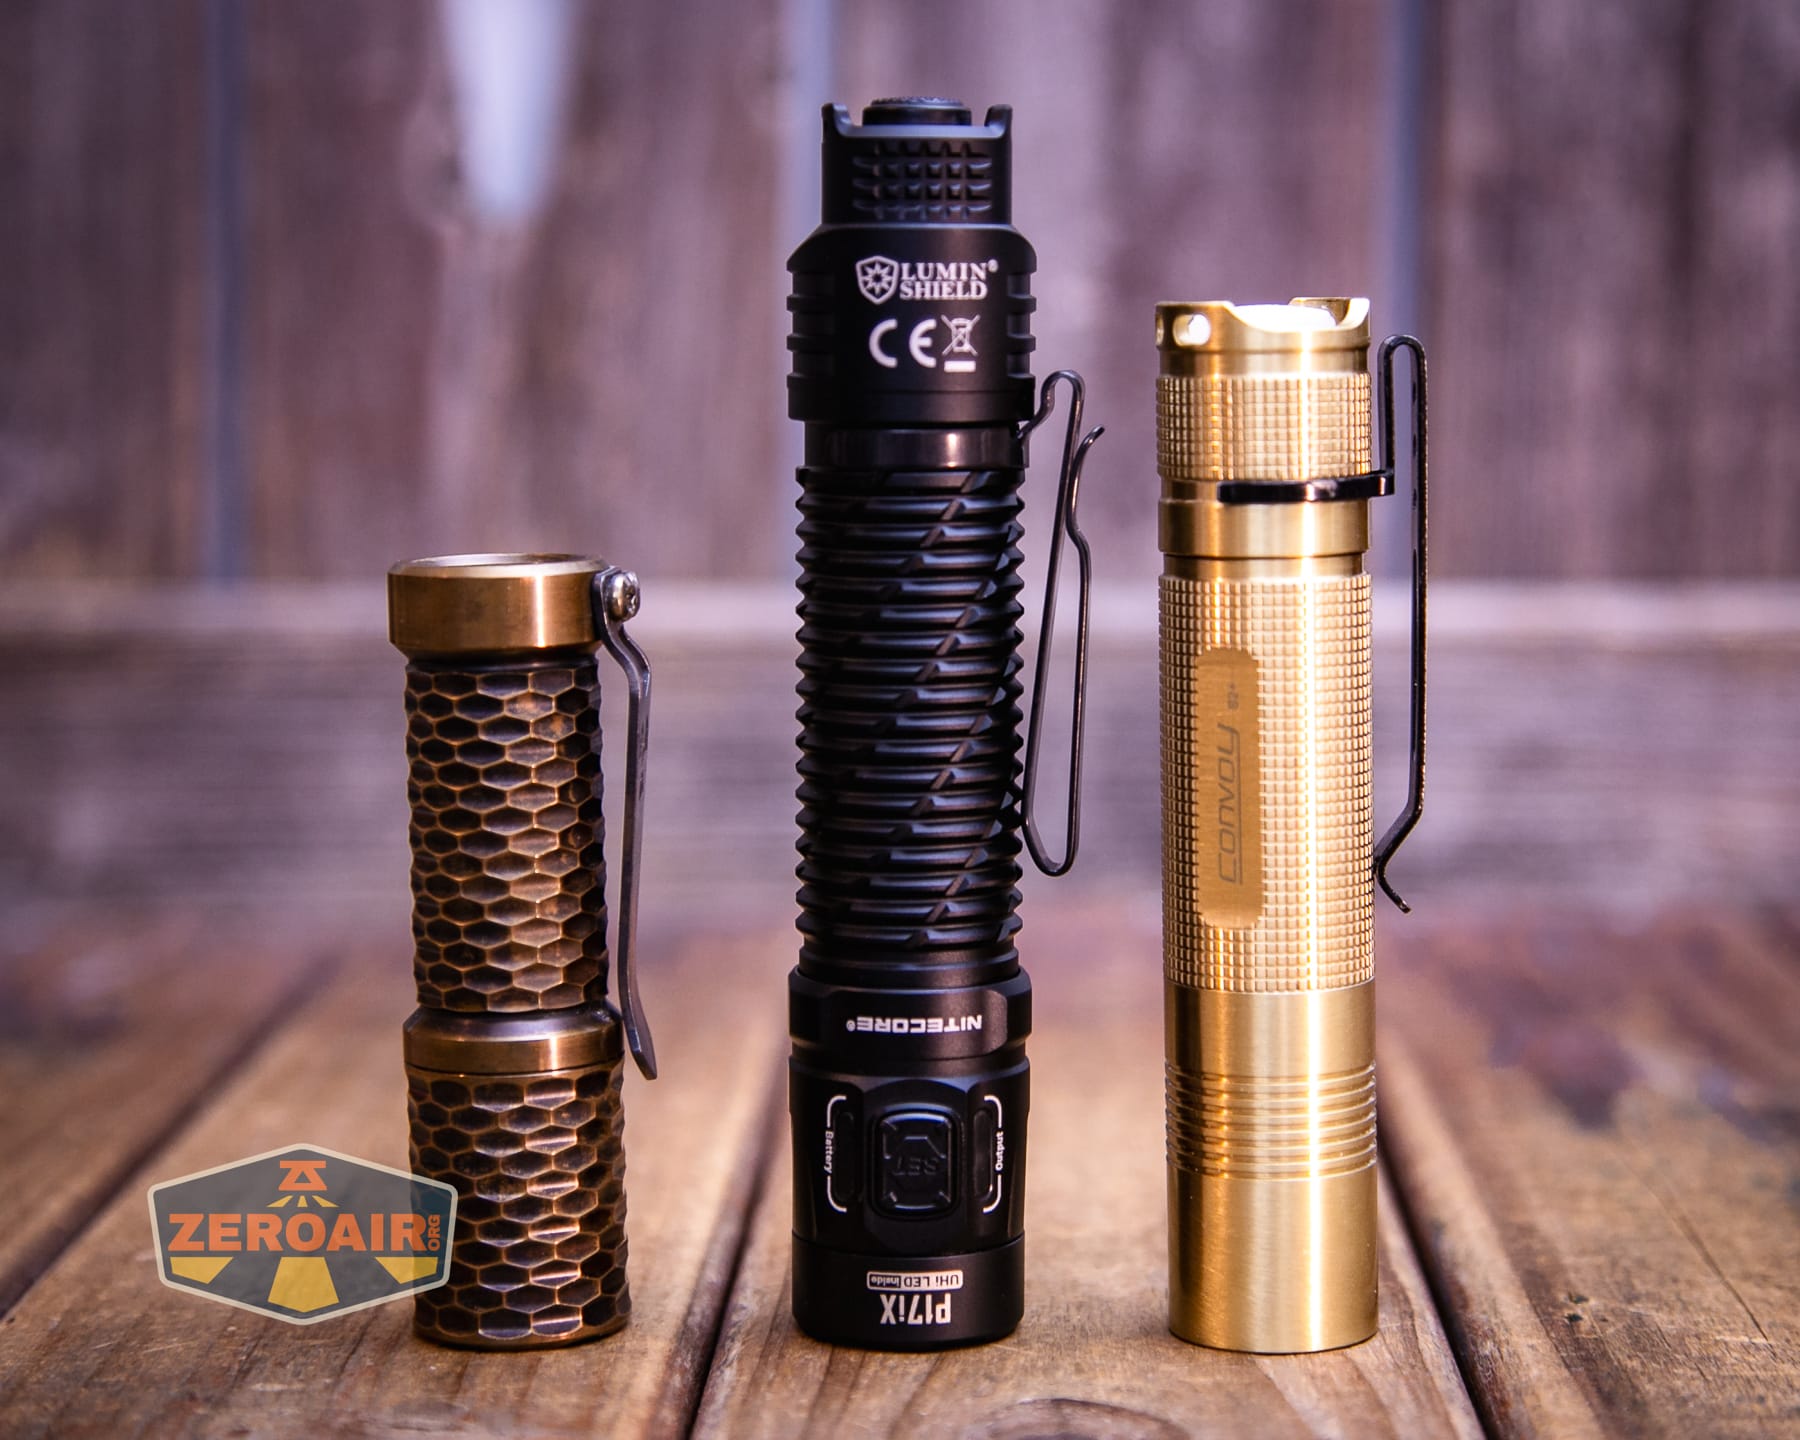
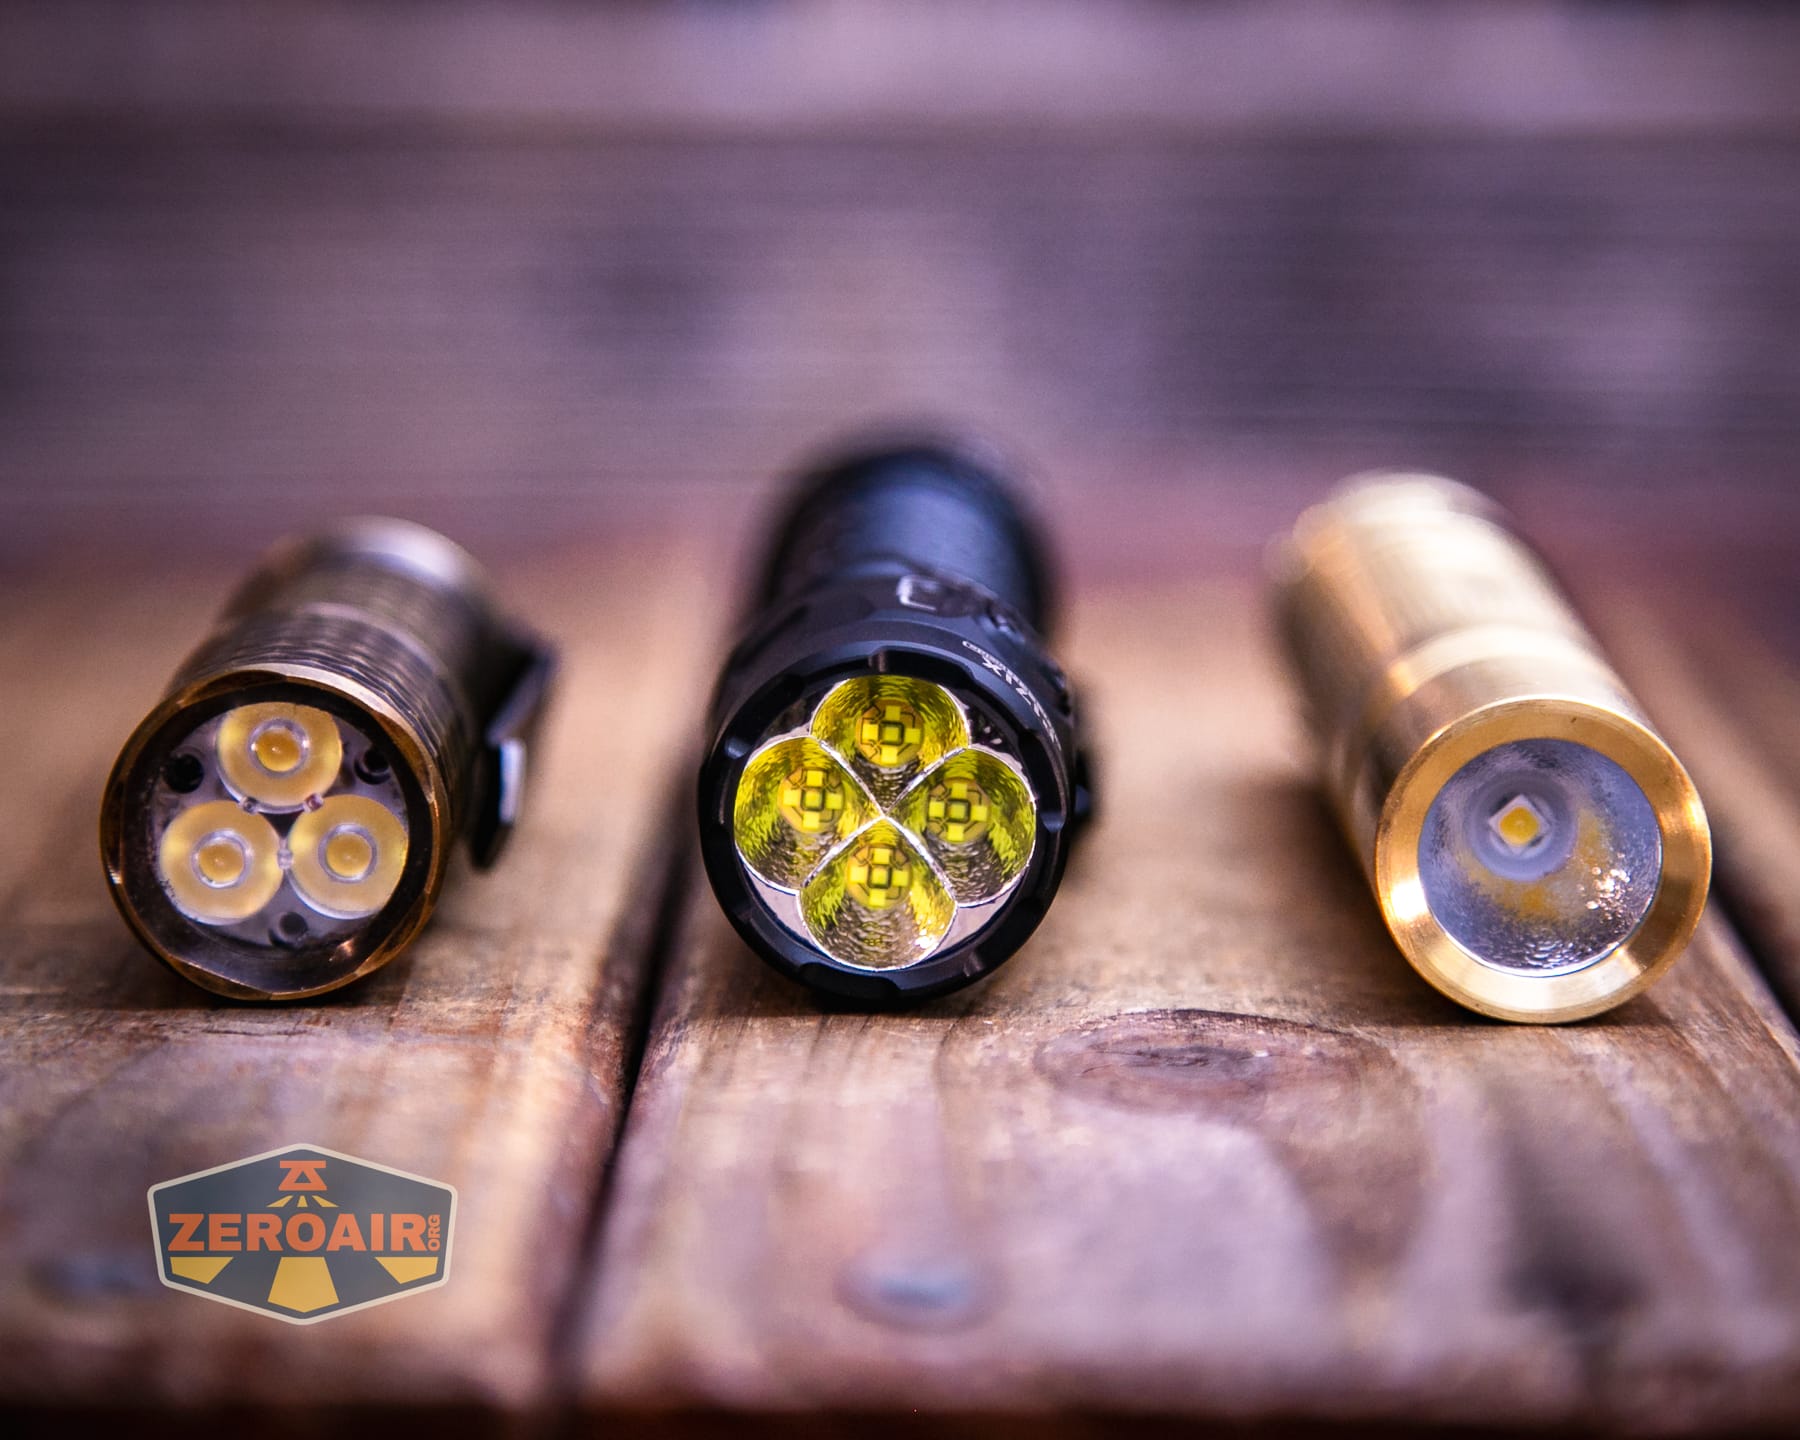
Also in the photo above, my Standard Reference Material (SRM) flashlight is the Hanko Machine Works Trident, an 18350 light. While I have not reviewed or tested the Gunner Grip version seen here, I have tested a Hanko Machine Works Trident Total Tesseract in brass. I love the Trident, and it’s a striking contrast to the inexpensive Convoy S2+, another great SRM.
Retention and Carry
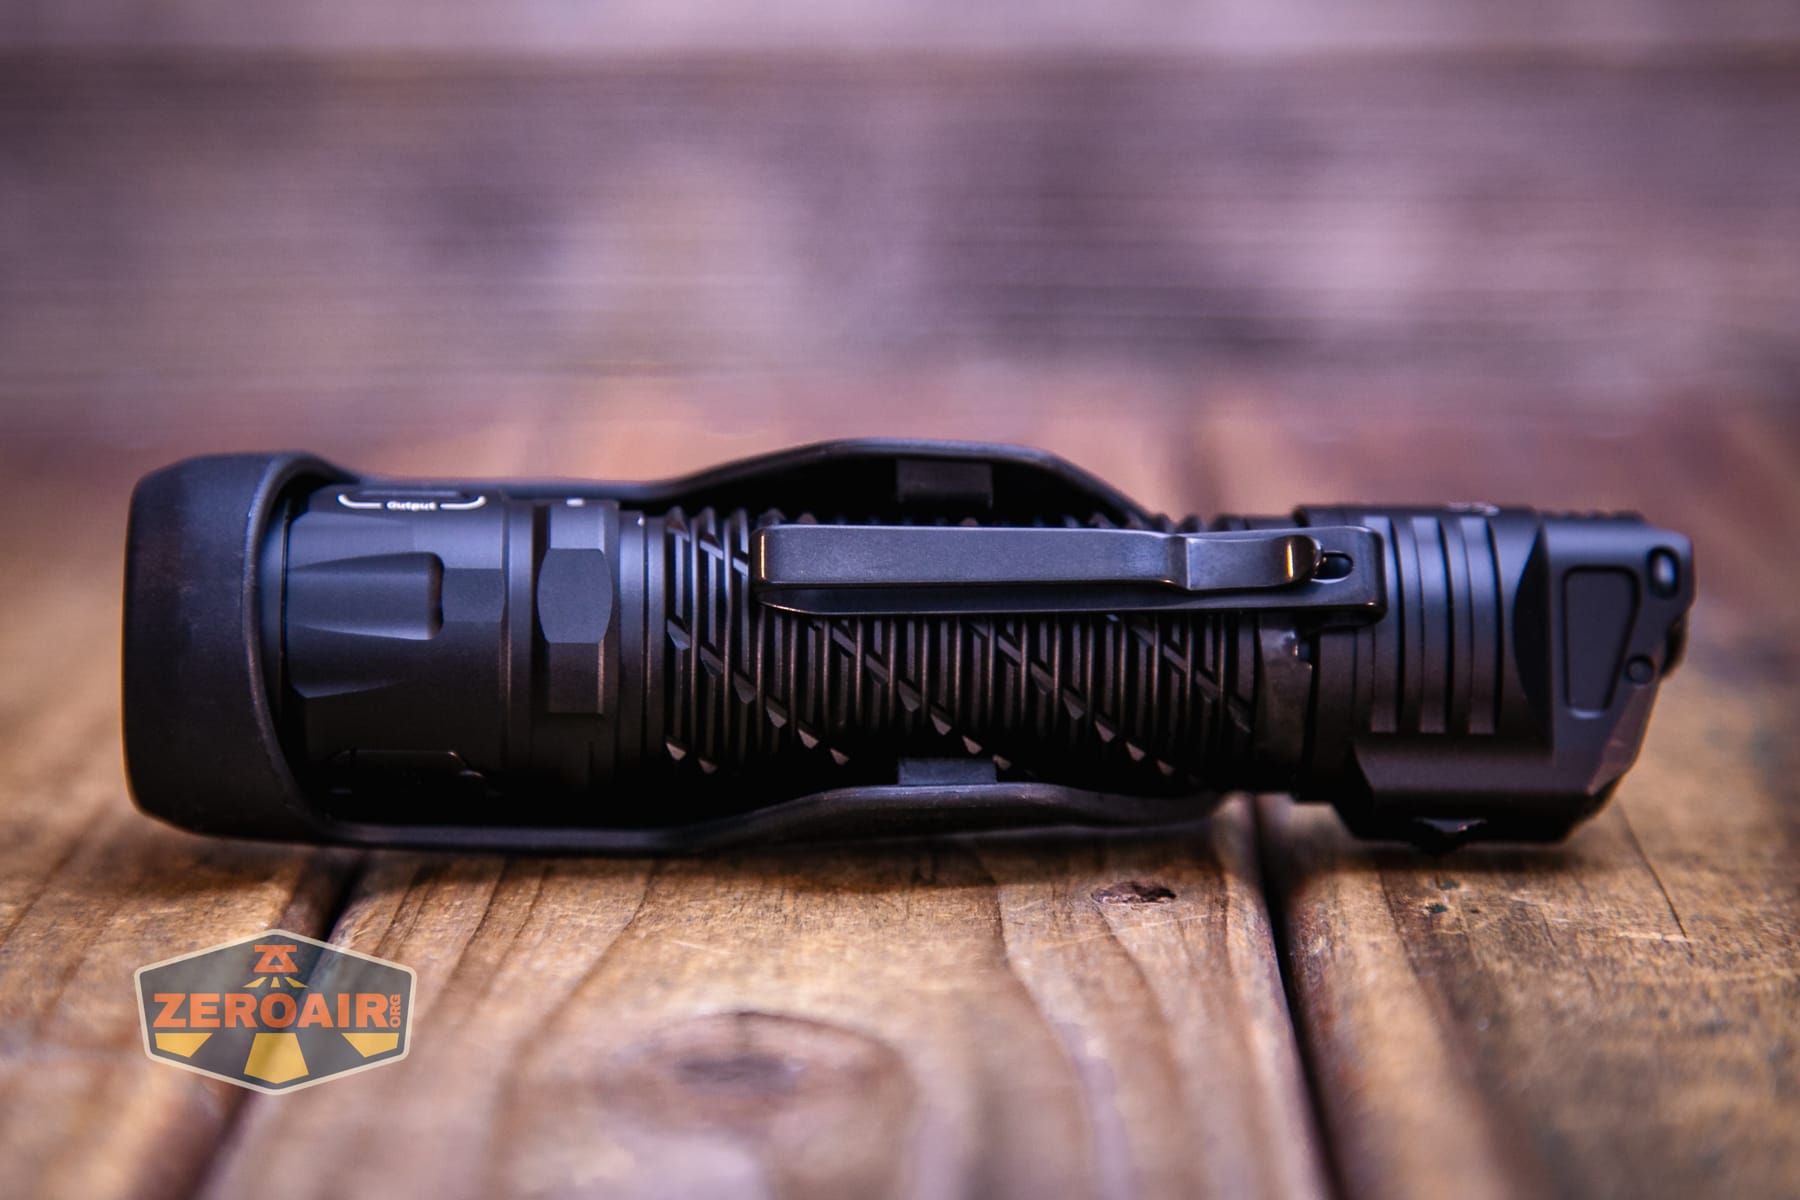
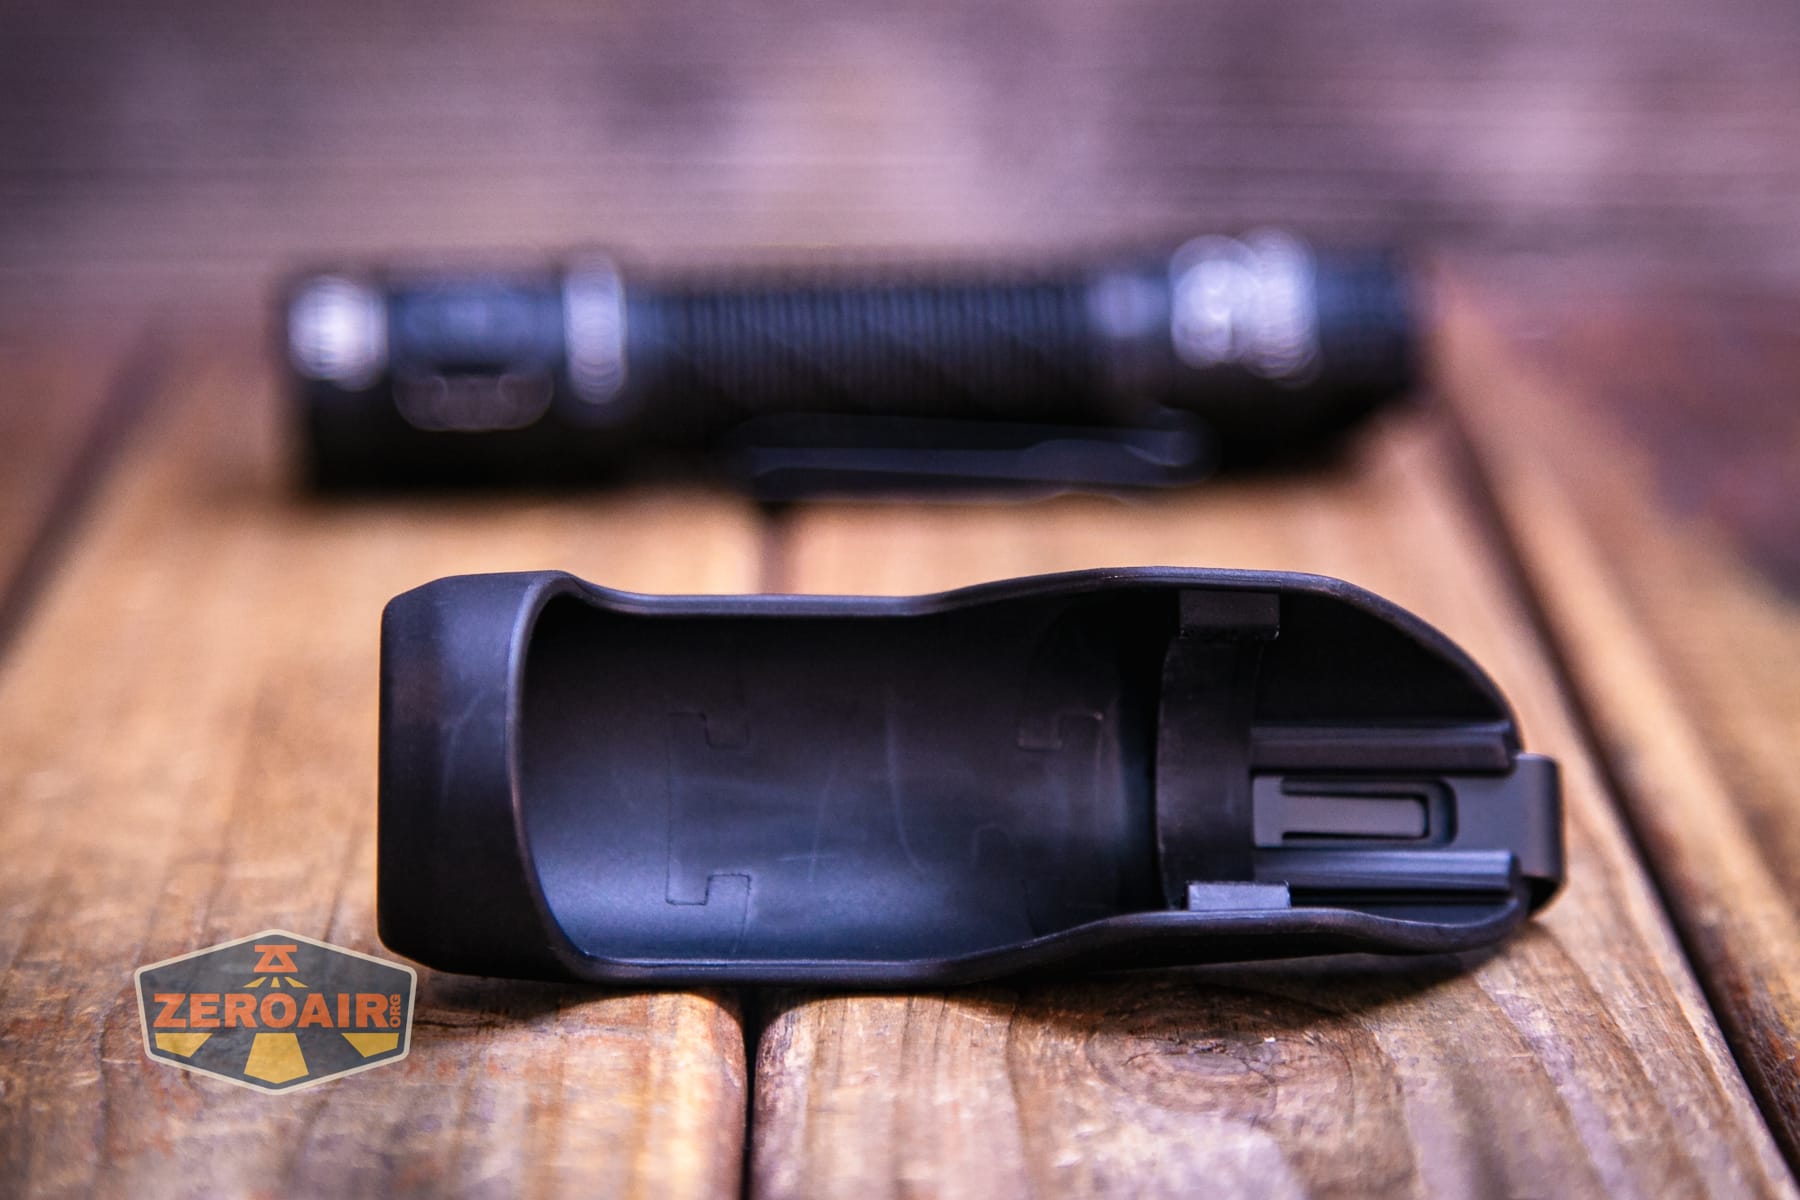
The Nitecore P17iX customizable tactical flashlight includes a holster suitable for belt (and probably more) attachment.
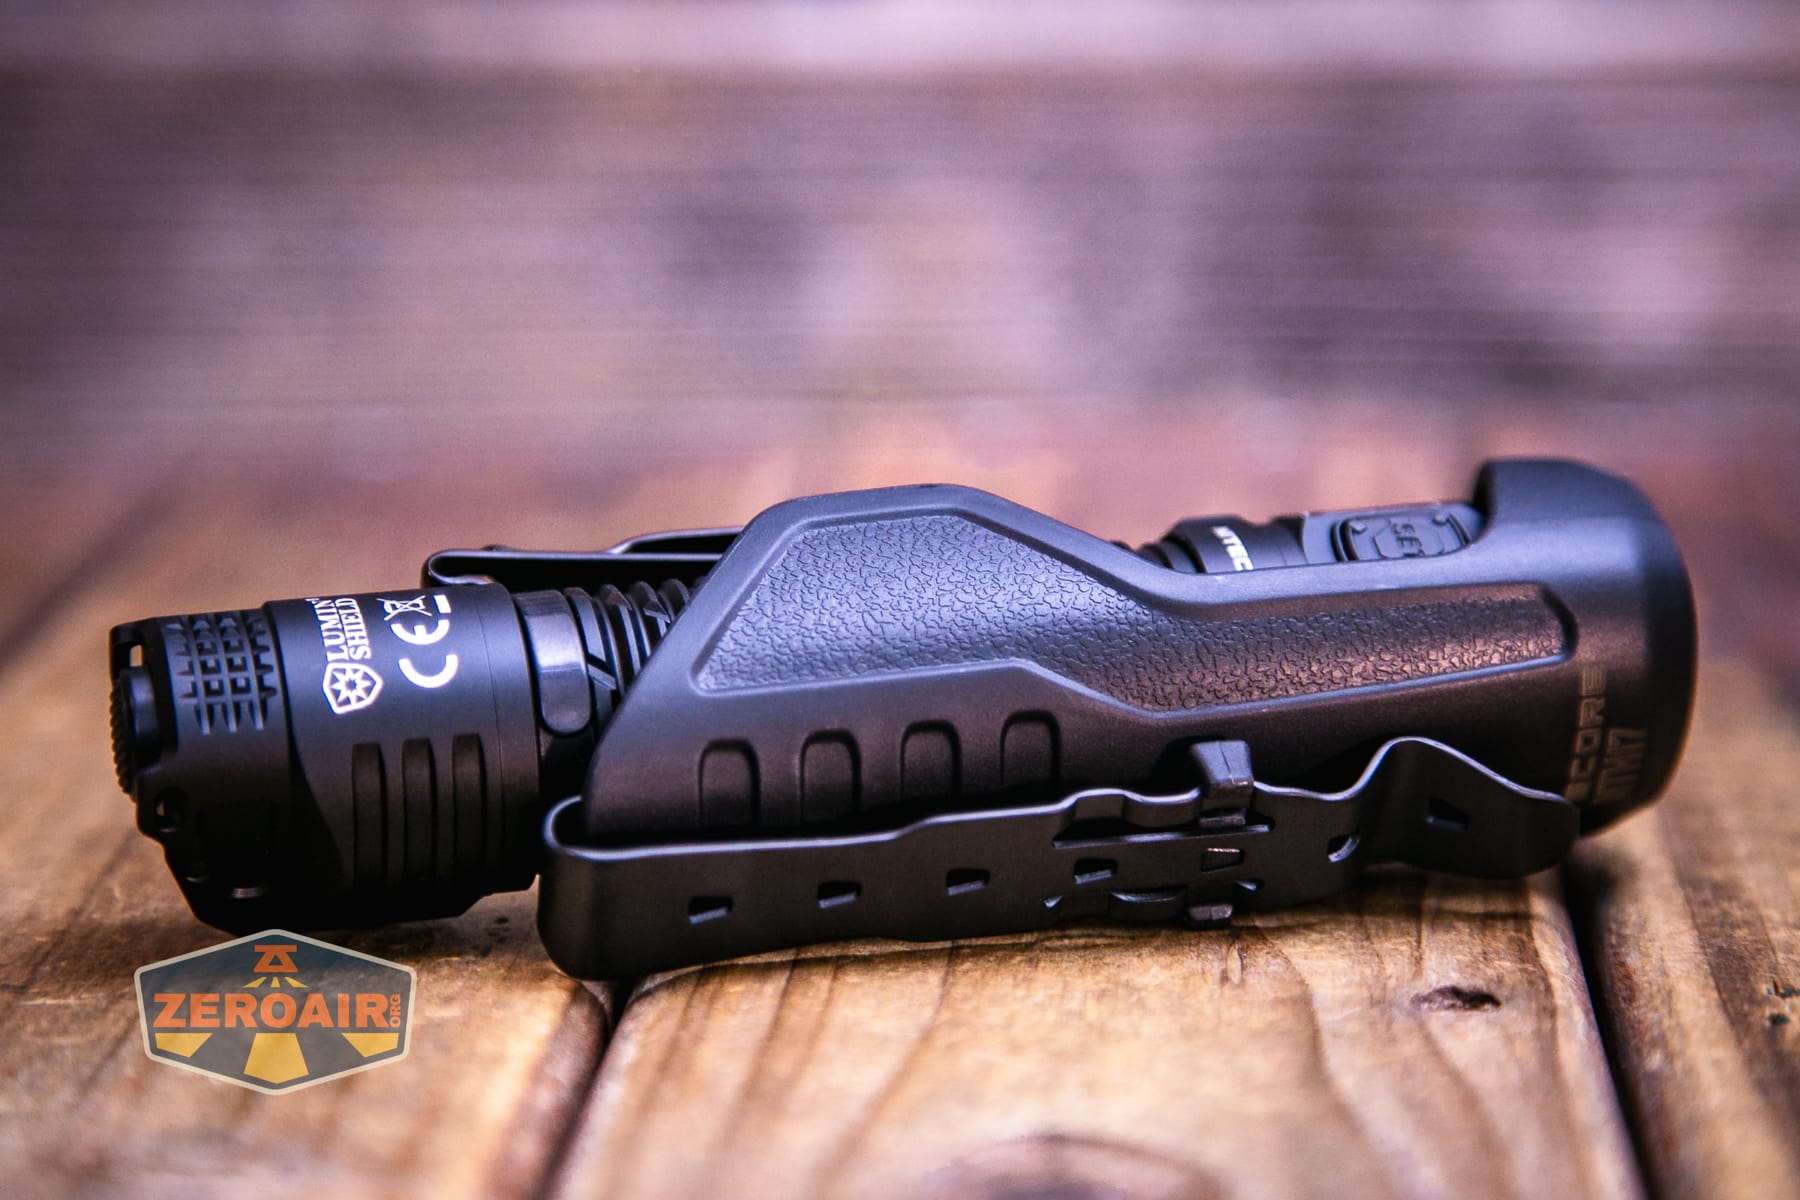
The head isn’t covered while the light is in this holster, and the switch is still fully accessible. So you could probably use the light while it’s in this holster, but you can’t charge it in there.
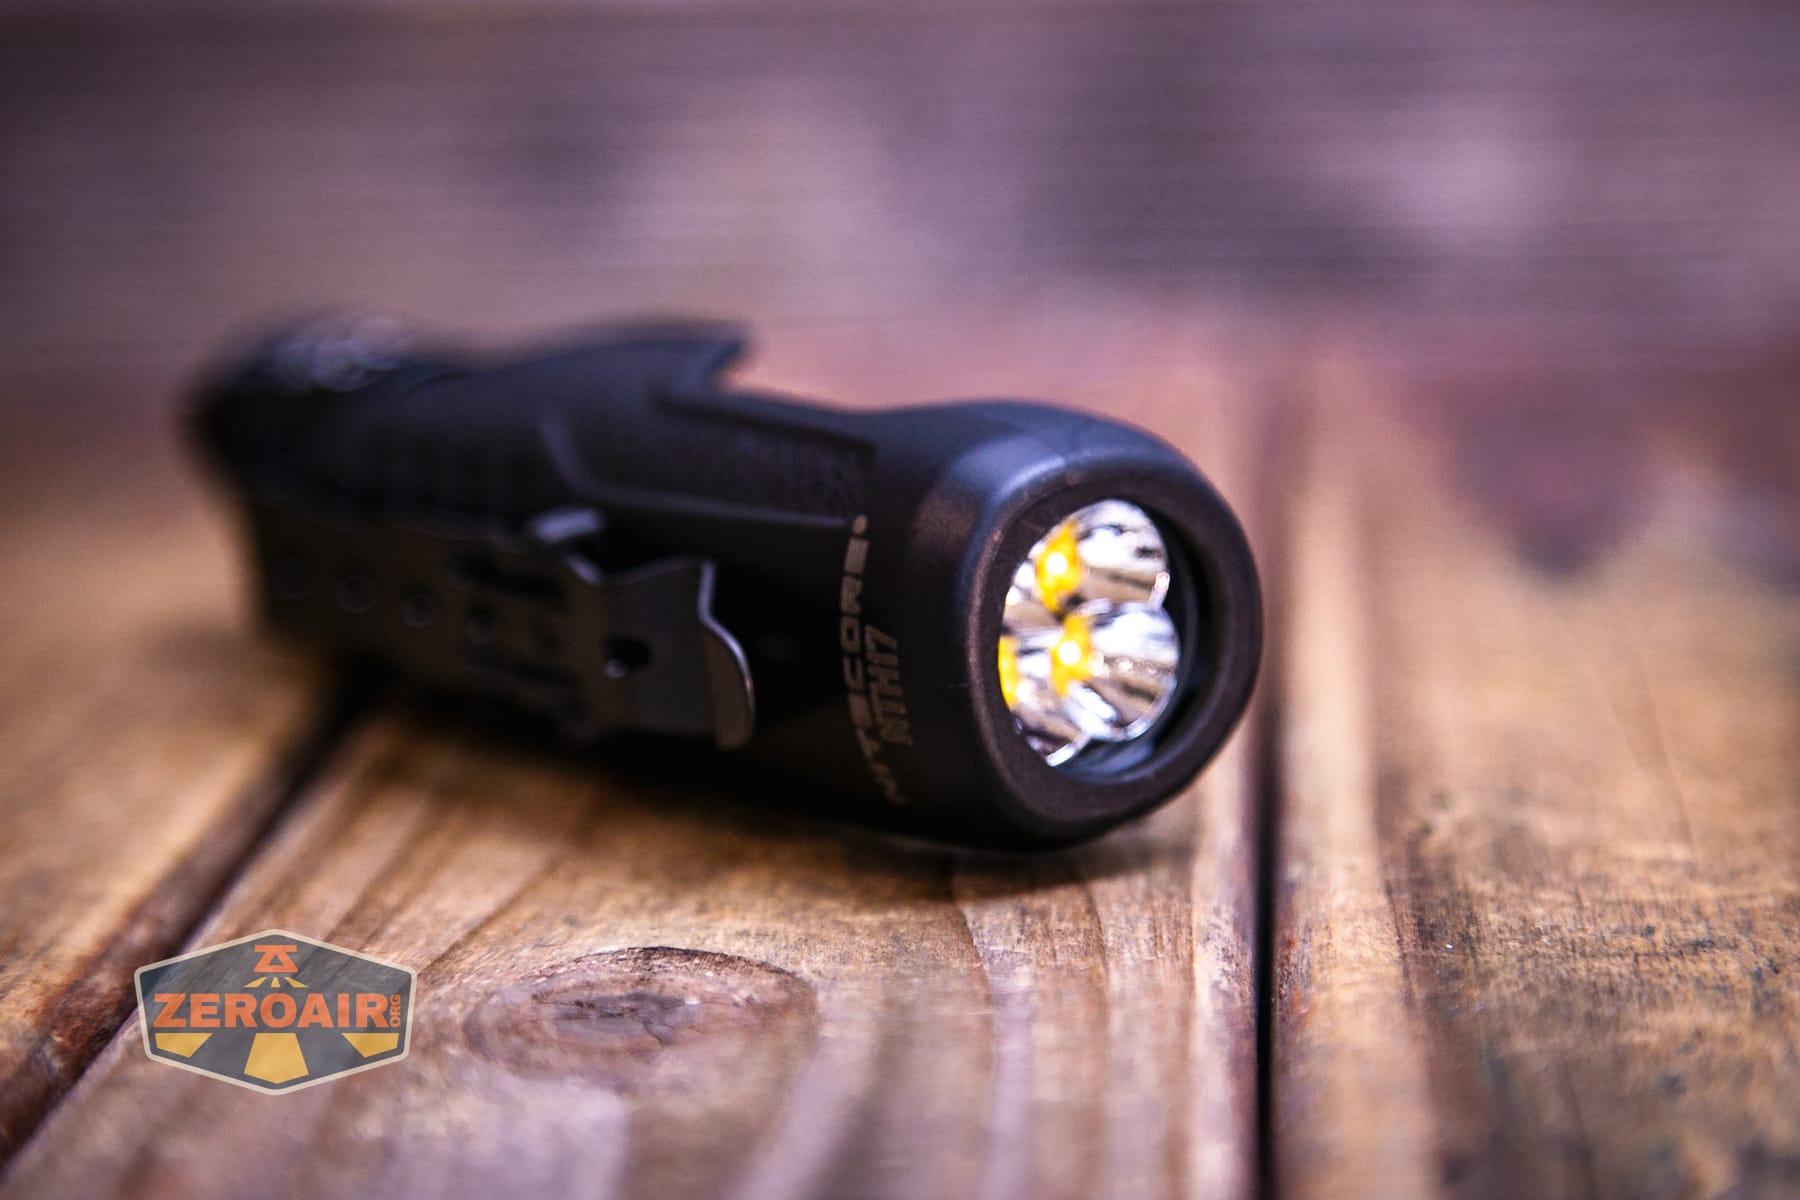
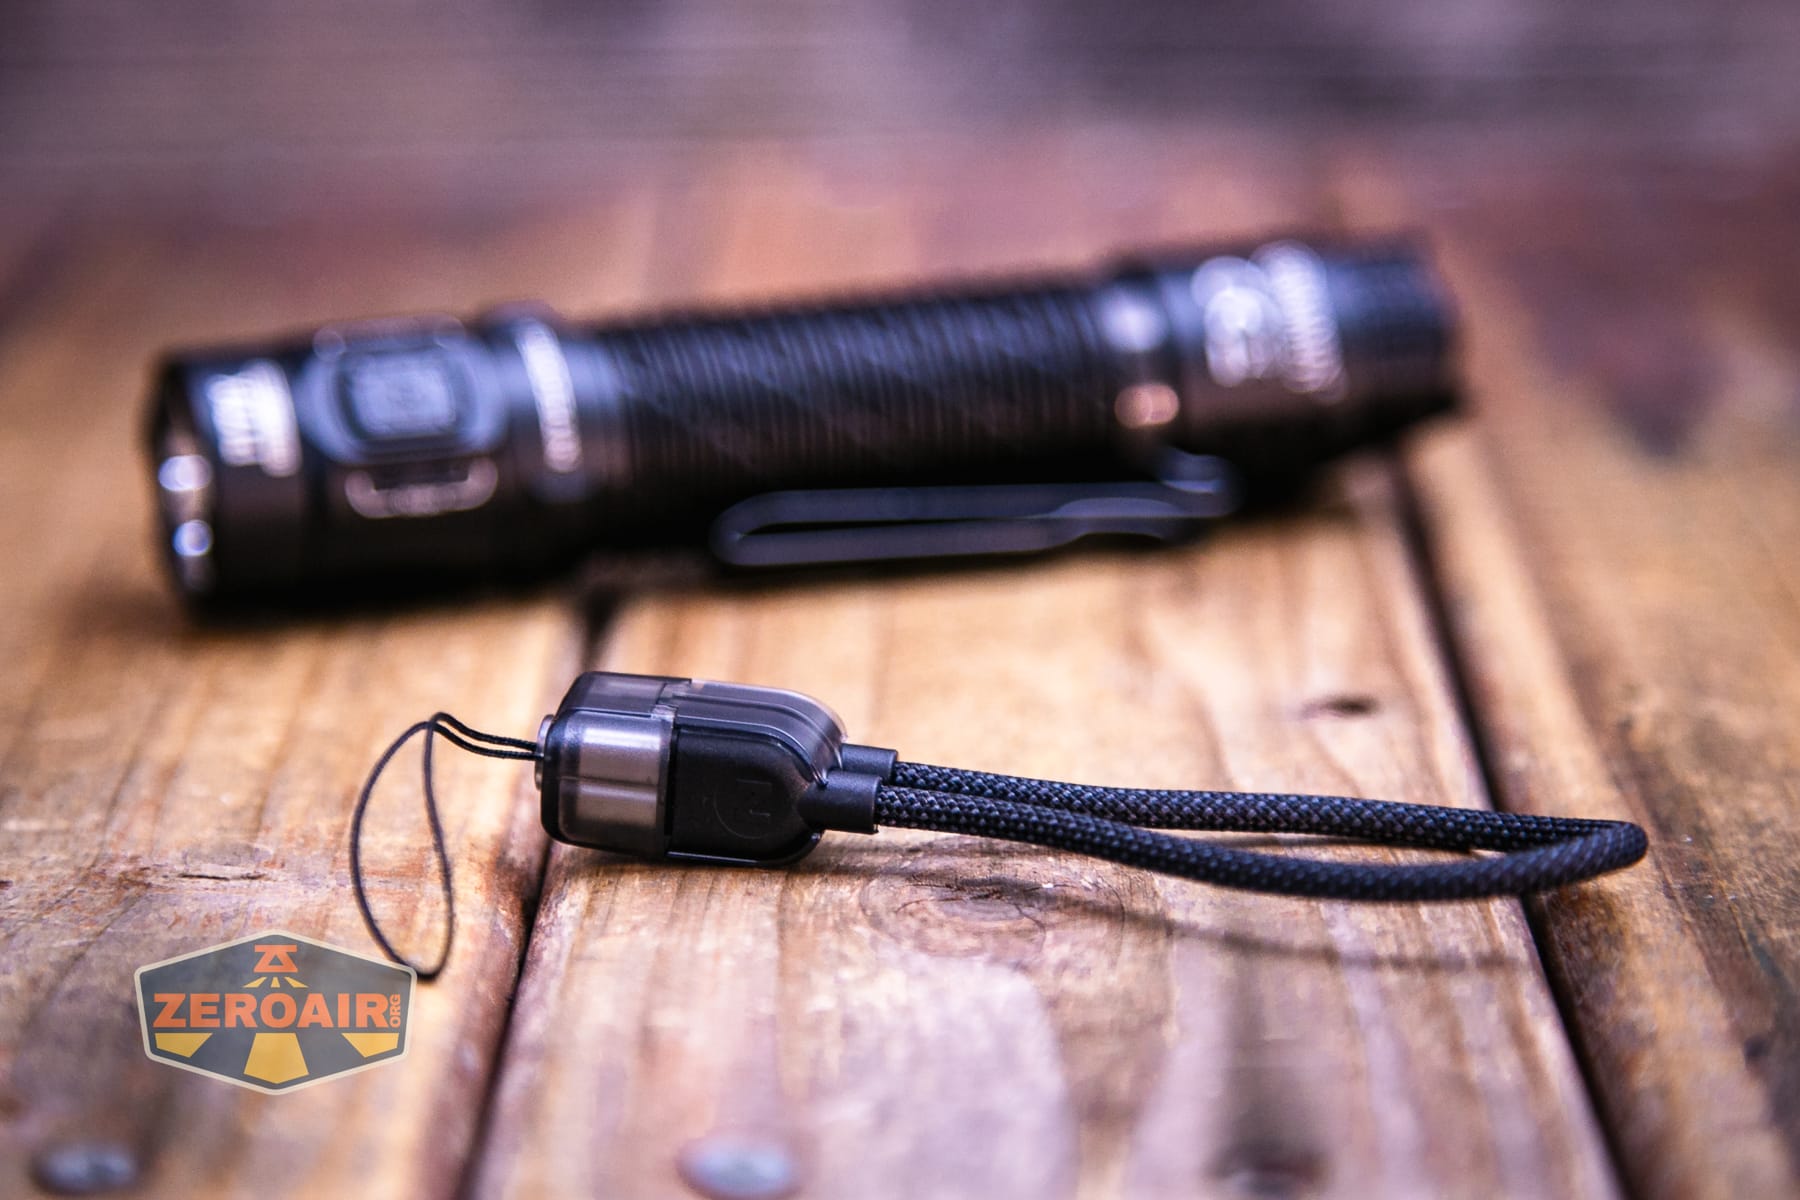
A lanyard is included, too. This lanyard could be attached to a number of places. The pocket clip, for example. But there are a couple of loops in the tail switch area that would be the best place. There’s a lot more to this lanyard, though!
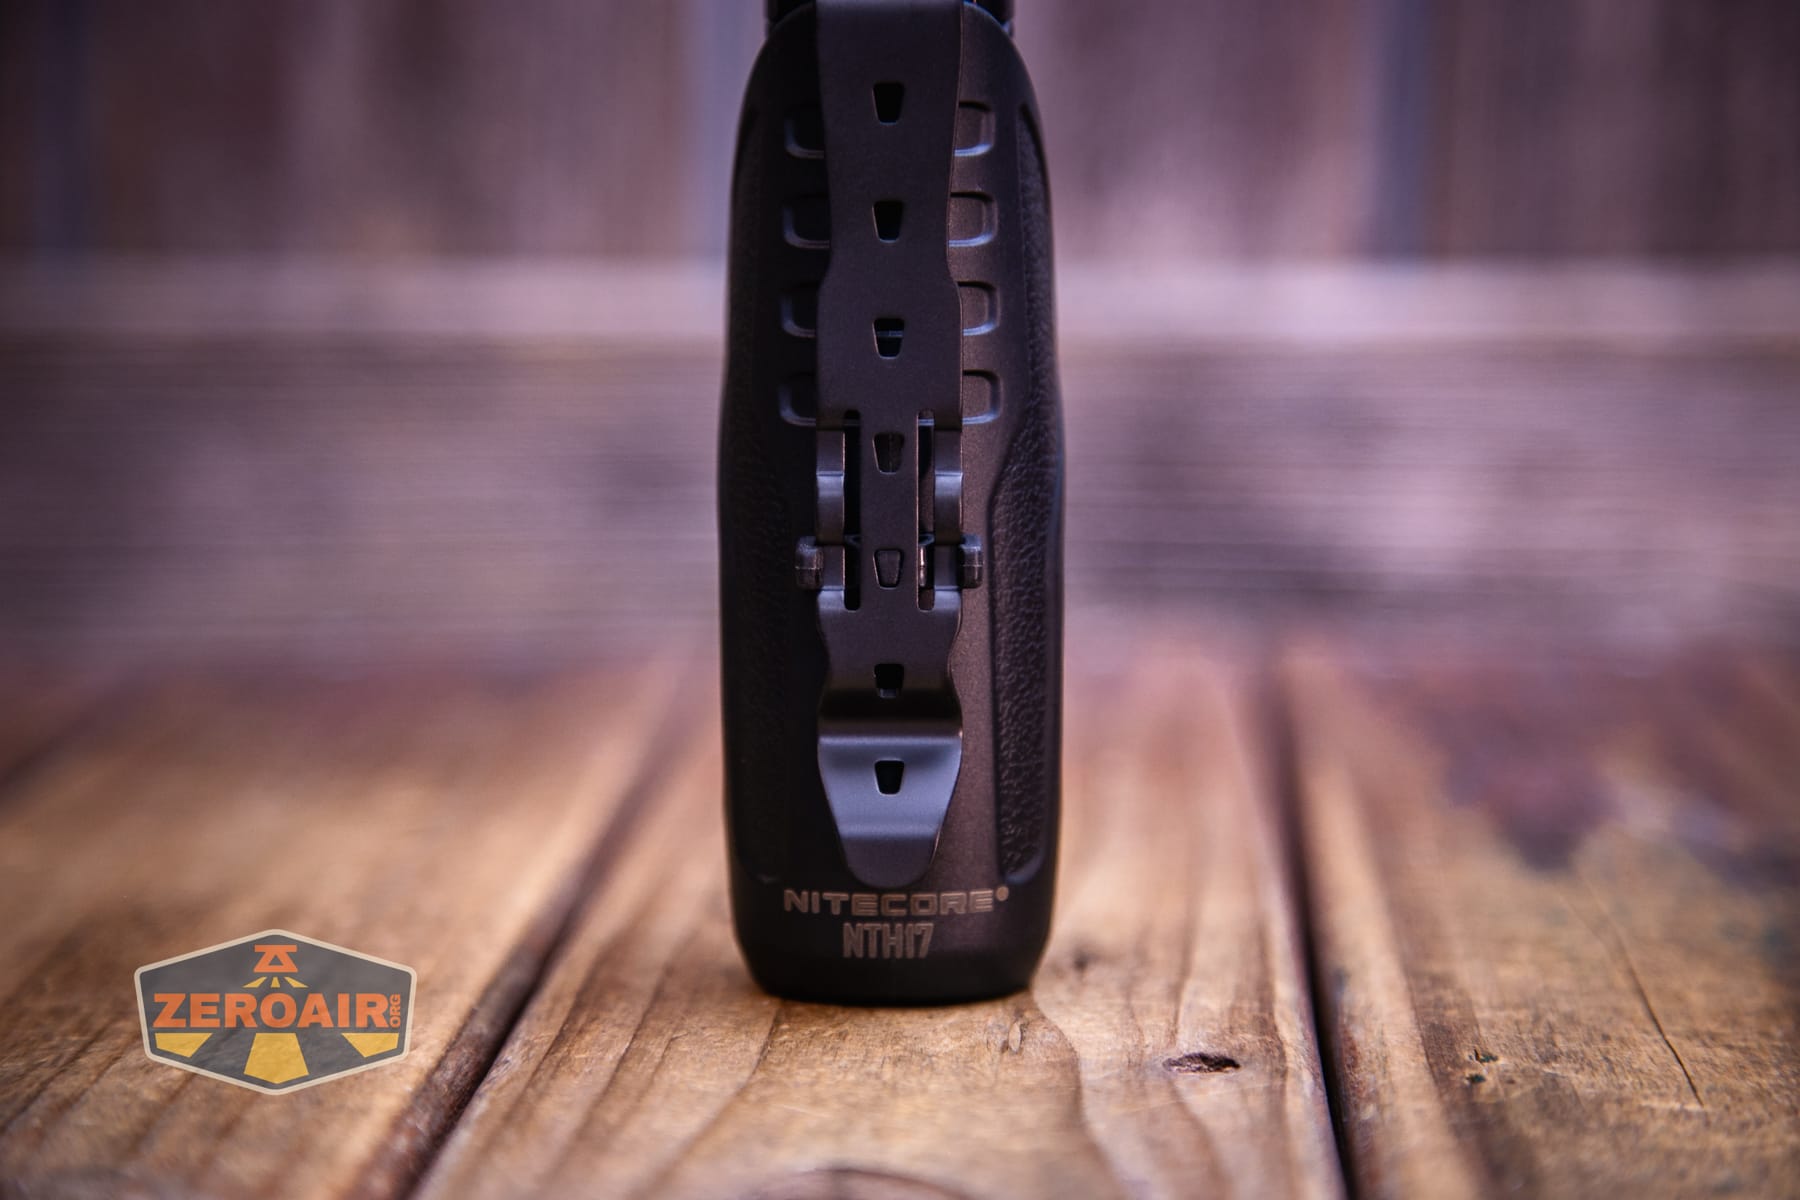
And finally, there’s a pocket clip. The clip can be attached only on the tail end, as seen below. It’s a two-way clip, though.
Power and Runtime
The Nitecore P17iX customizable tactical flashlight runs (and includes) one 5500mAh “21700” cell. That’s in quotation marks because the included (and required) cell is non-standard. It has positive and negative contacts on both ends. This type of connection is required.
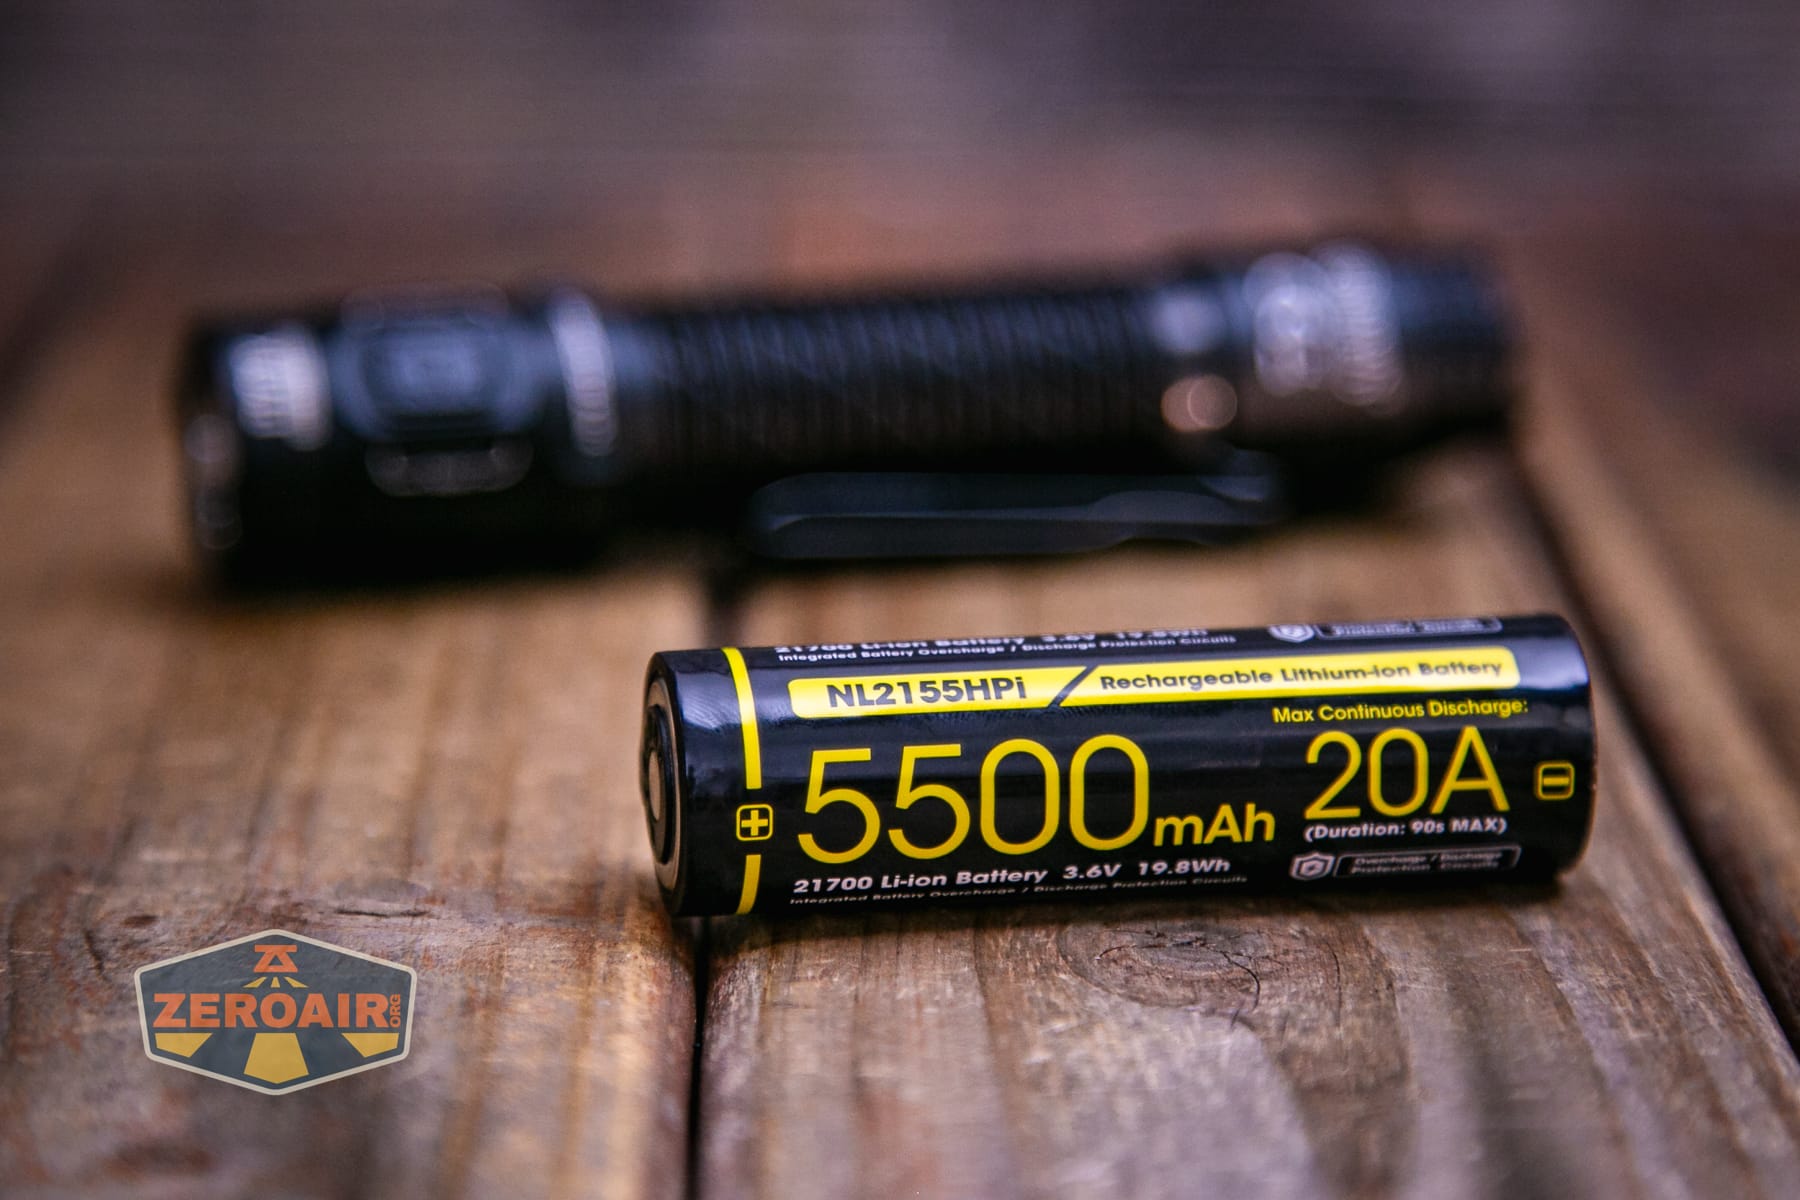
The cell goes into the Nitecore P17iX customizable tactical flashlight in the usual way (despite being non-standard).
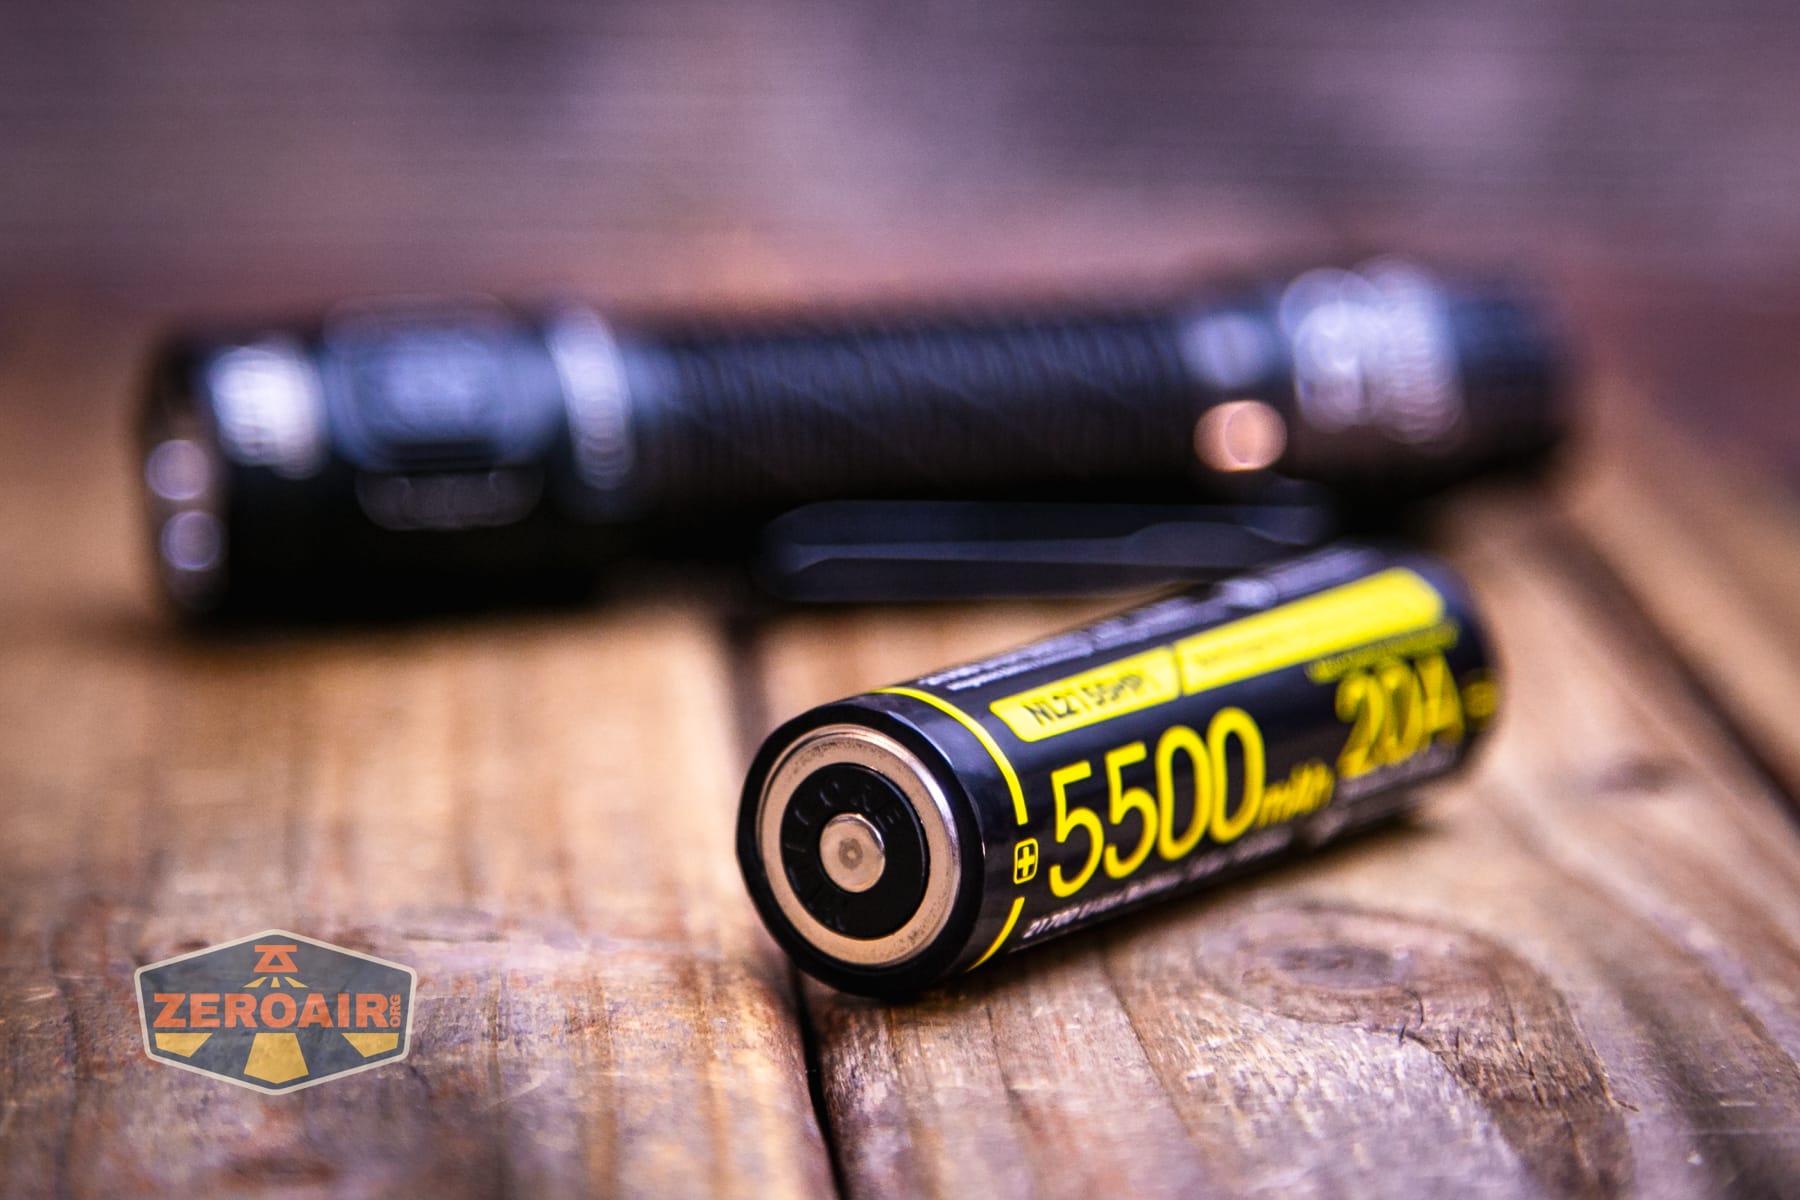
The positive terminal goes toward the head.
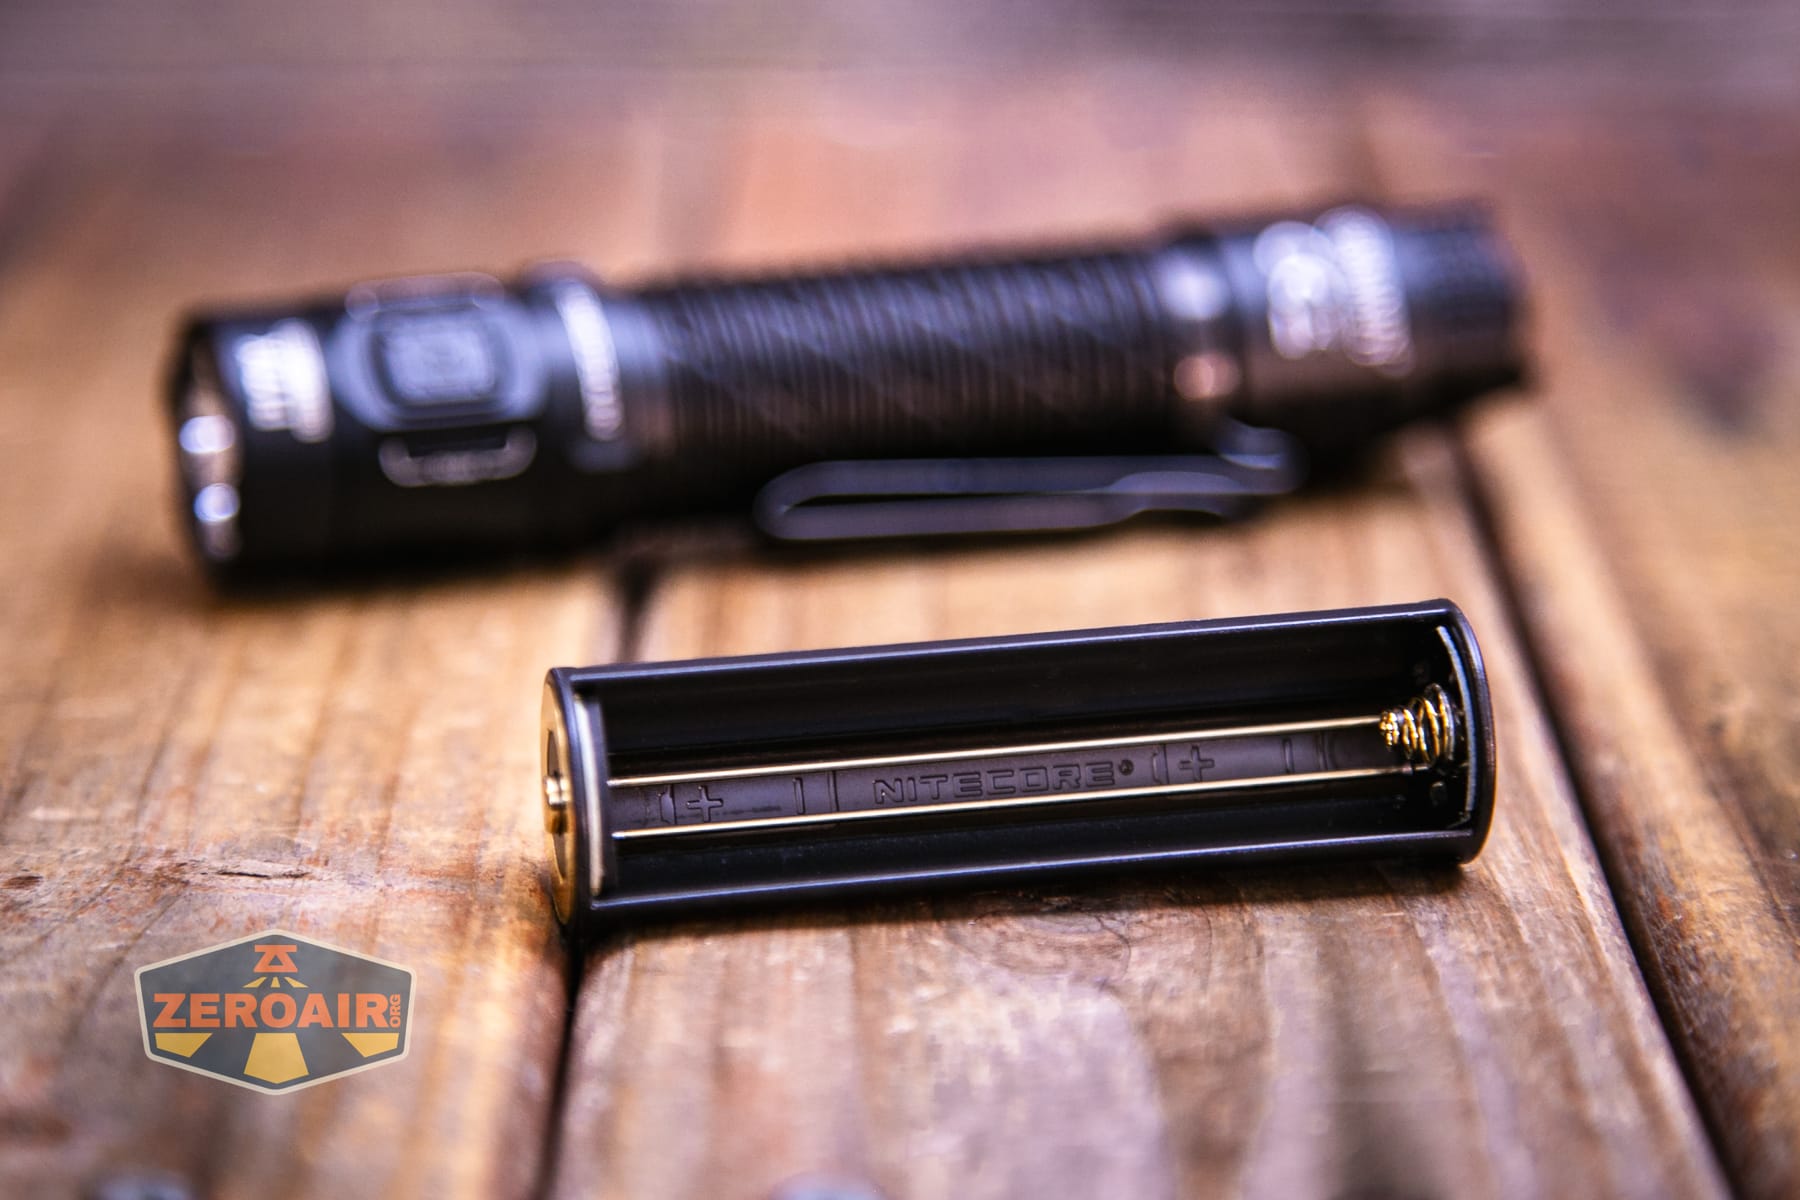
If you want to use a standard cell, you do have that option. You’ll have to use two CR123 cells and install them into this (included) battery carrier. I could not get a single 18650 to fit in this carrier. Even an unprotected flat top is just a tiny bit too long.
Below you can see a bunch of runtime tests for non-momentary modes. (So no runtimes for “Lumin Shield” or “Search.”)
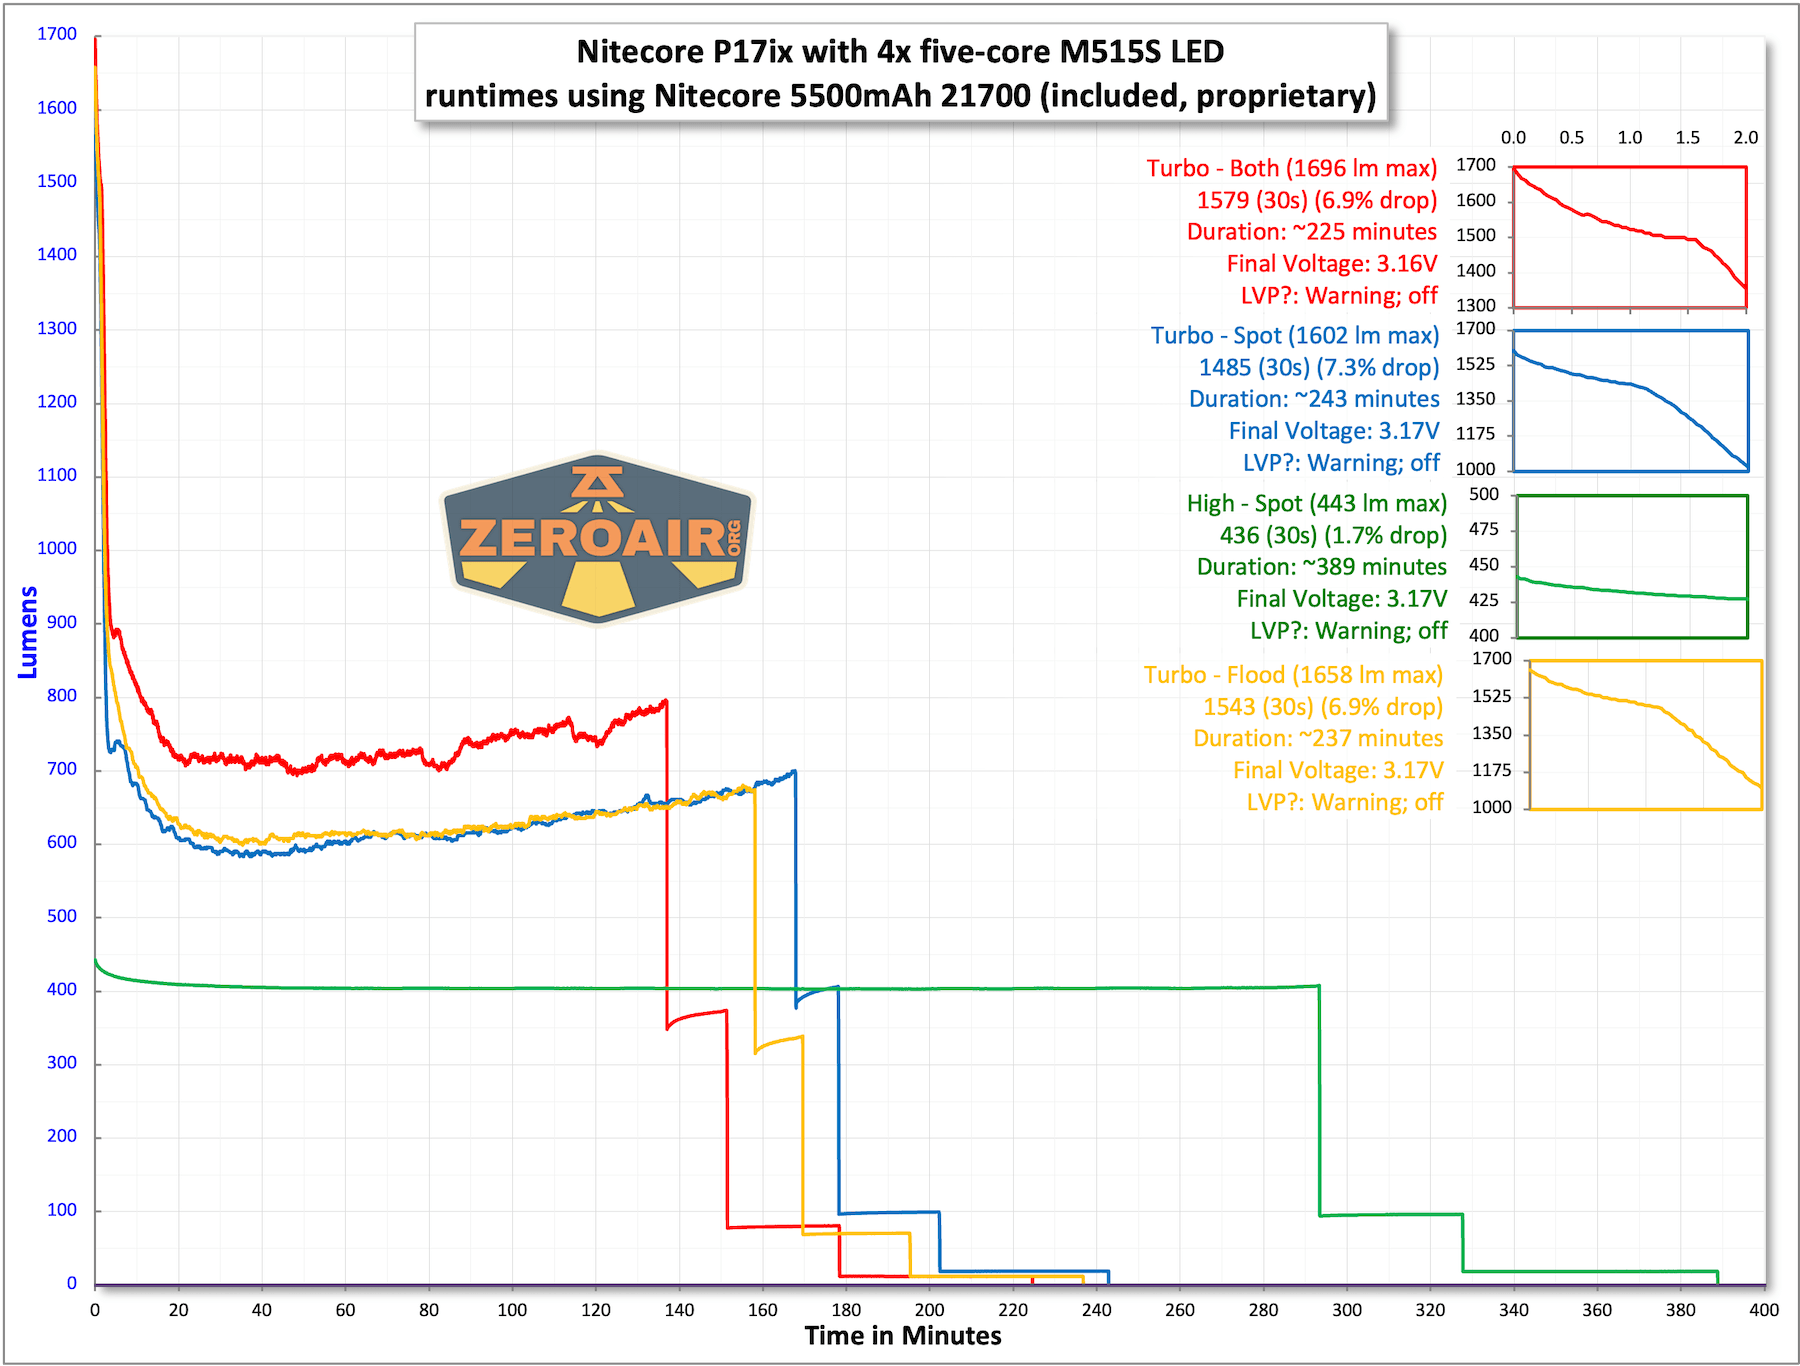
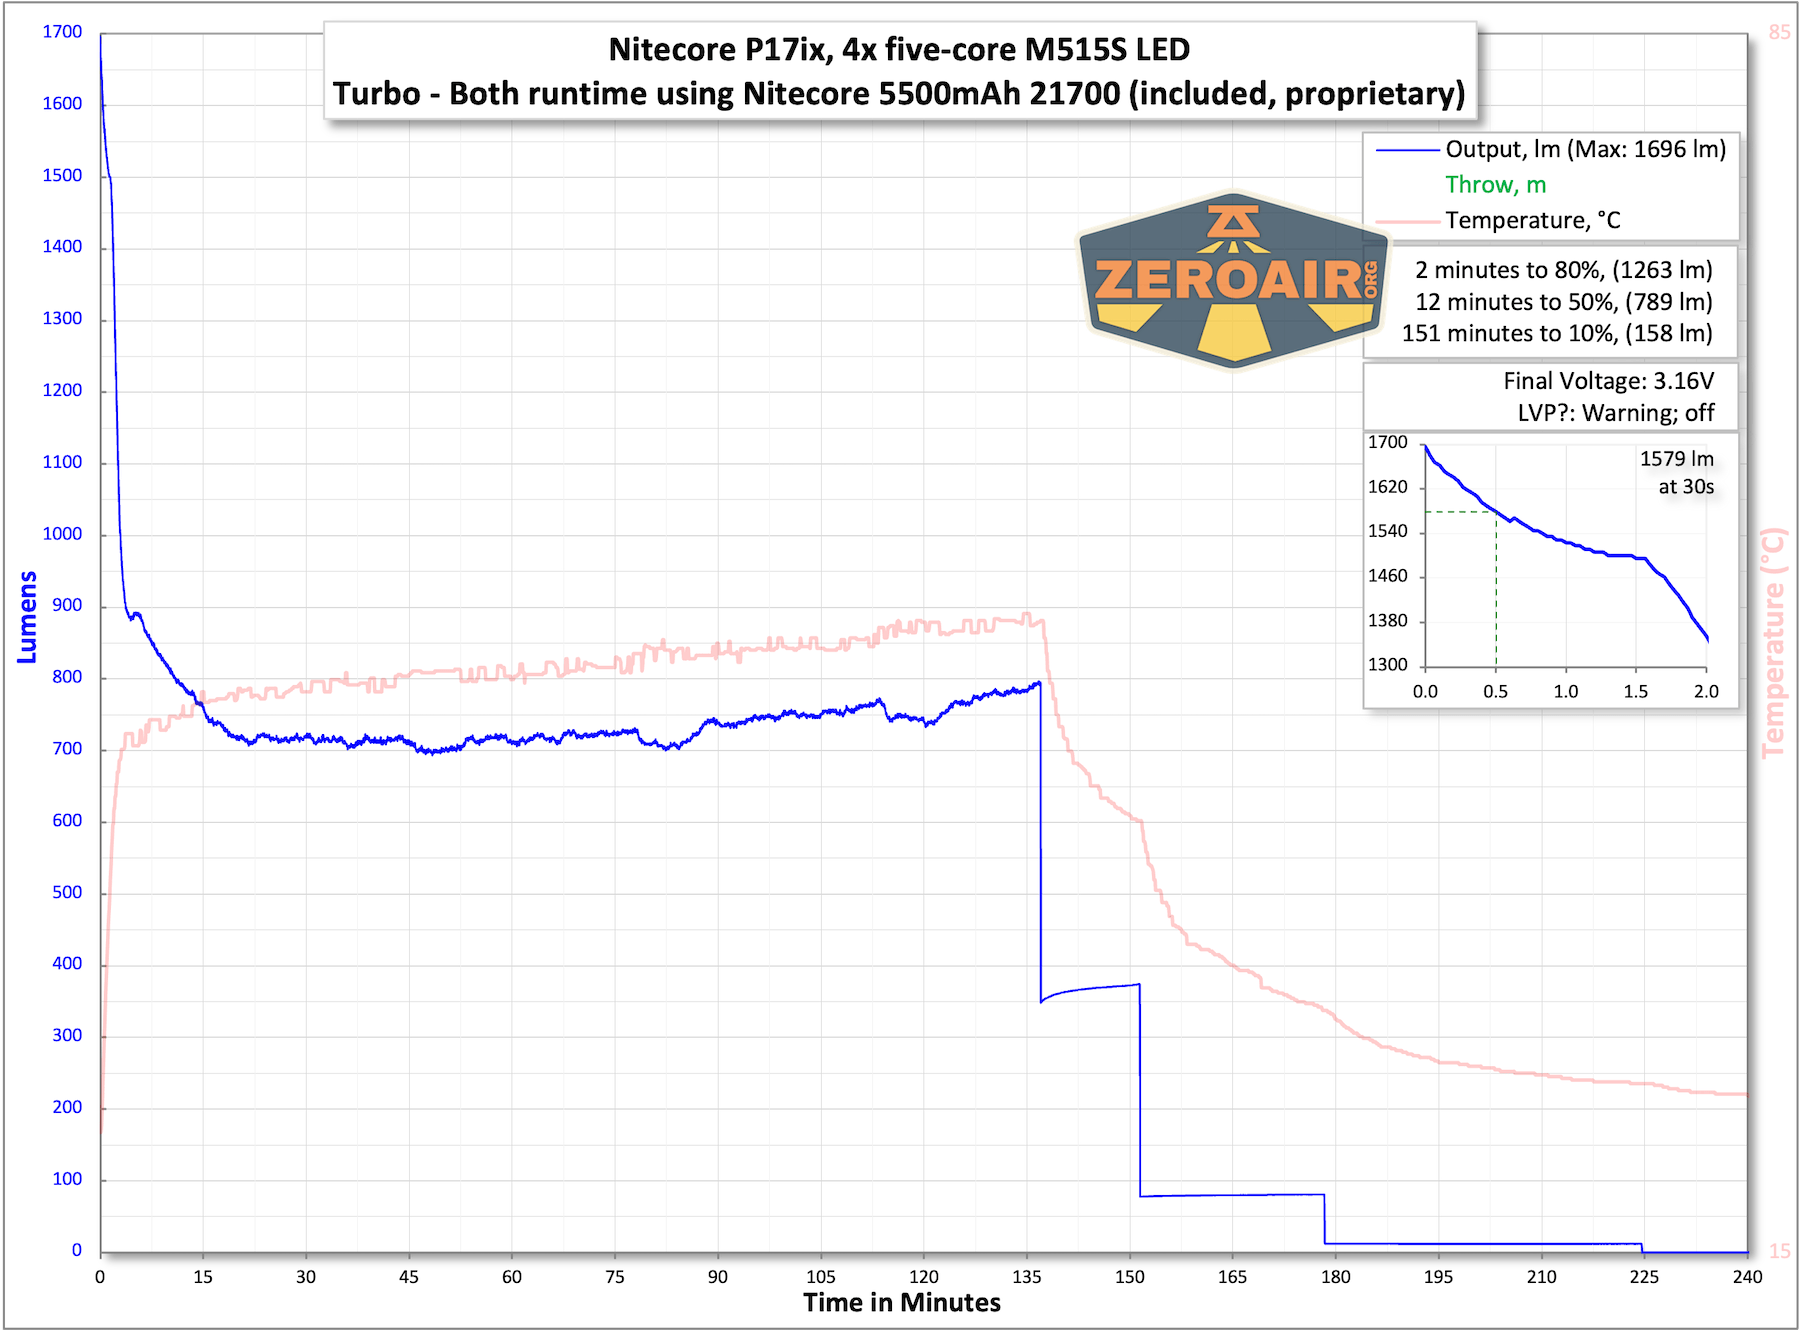
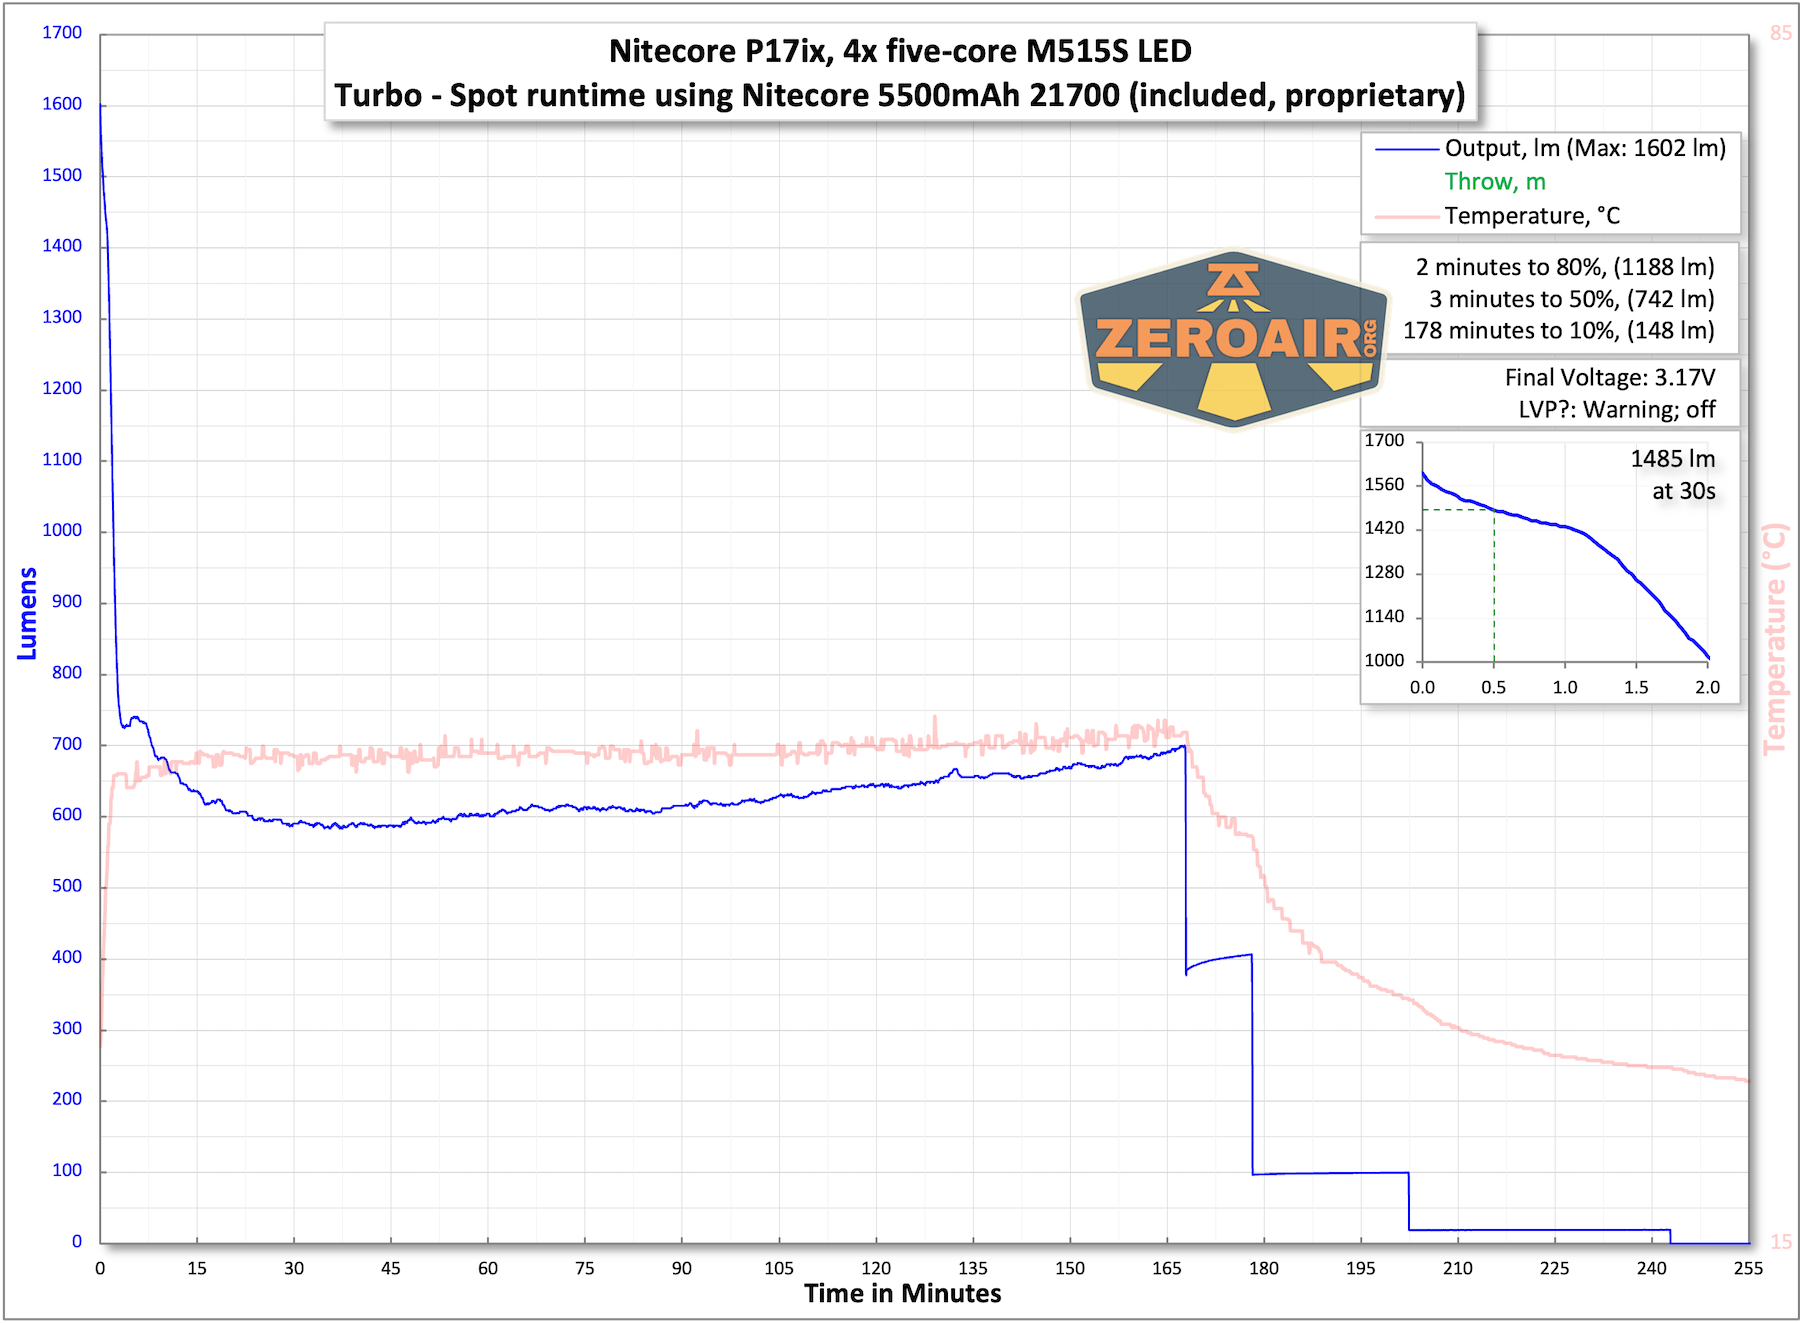
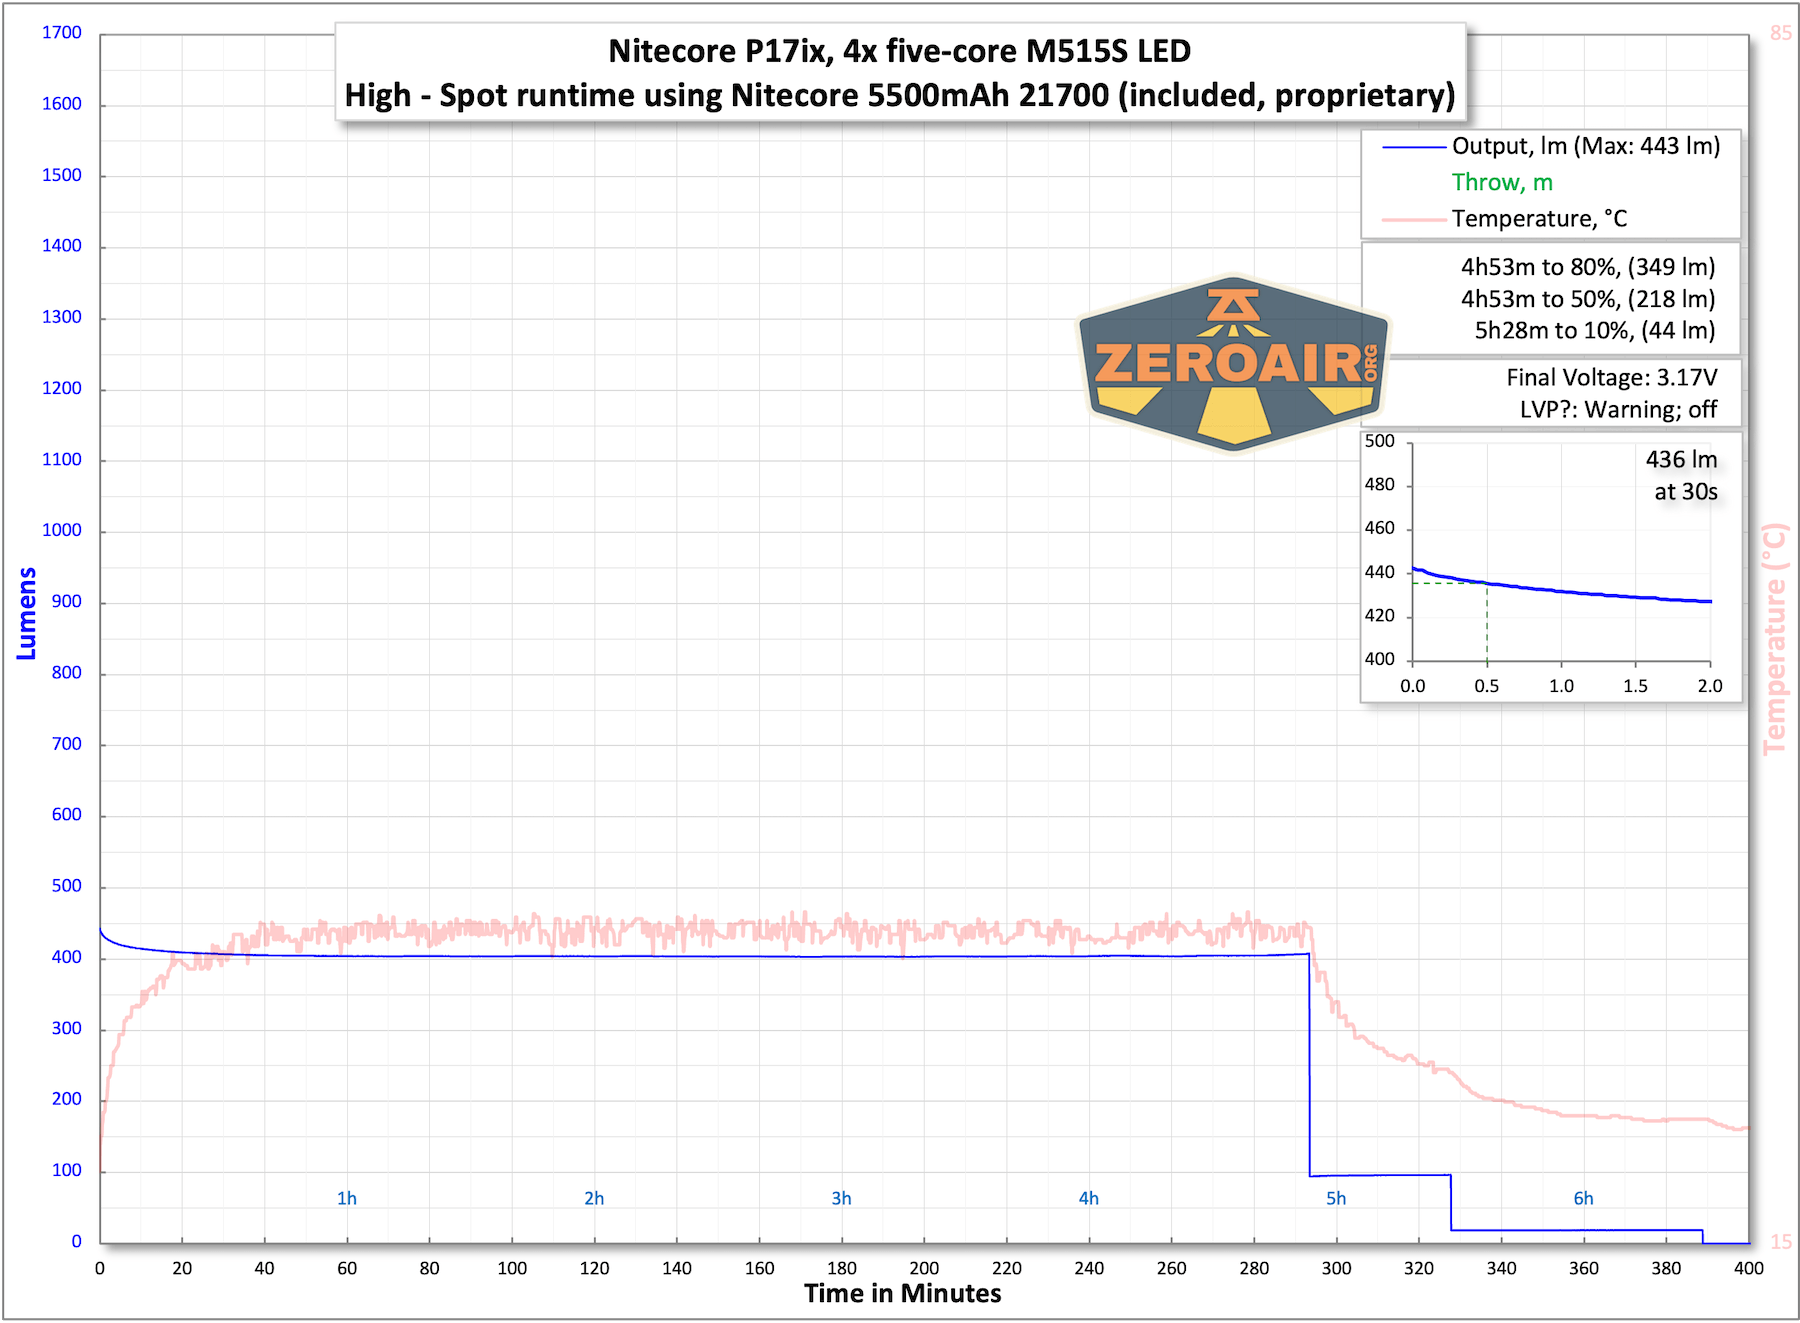
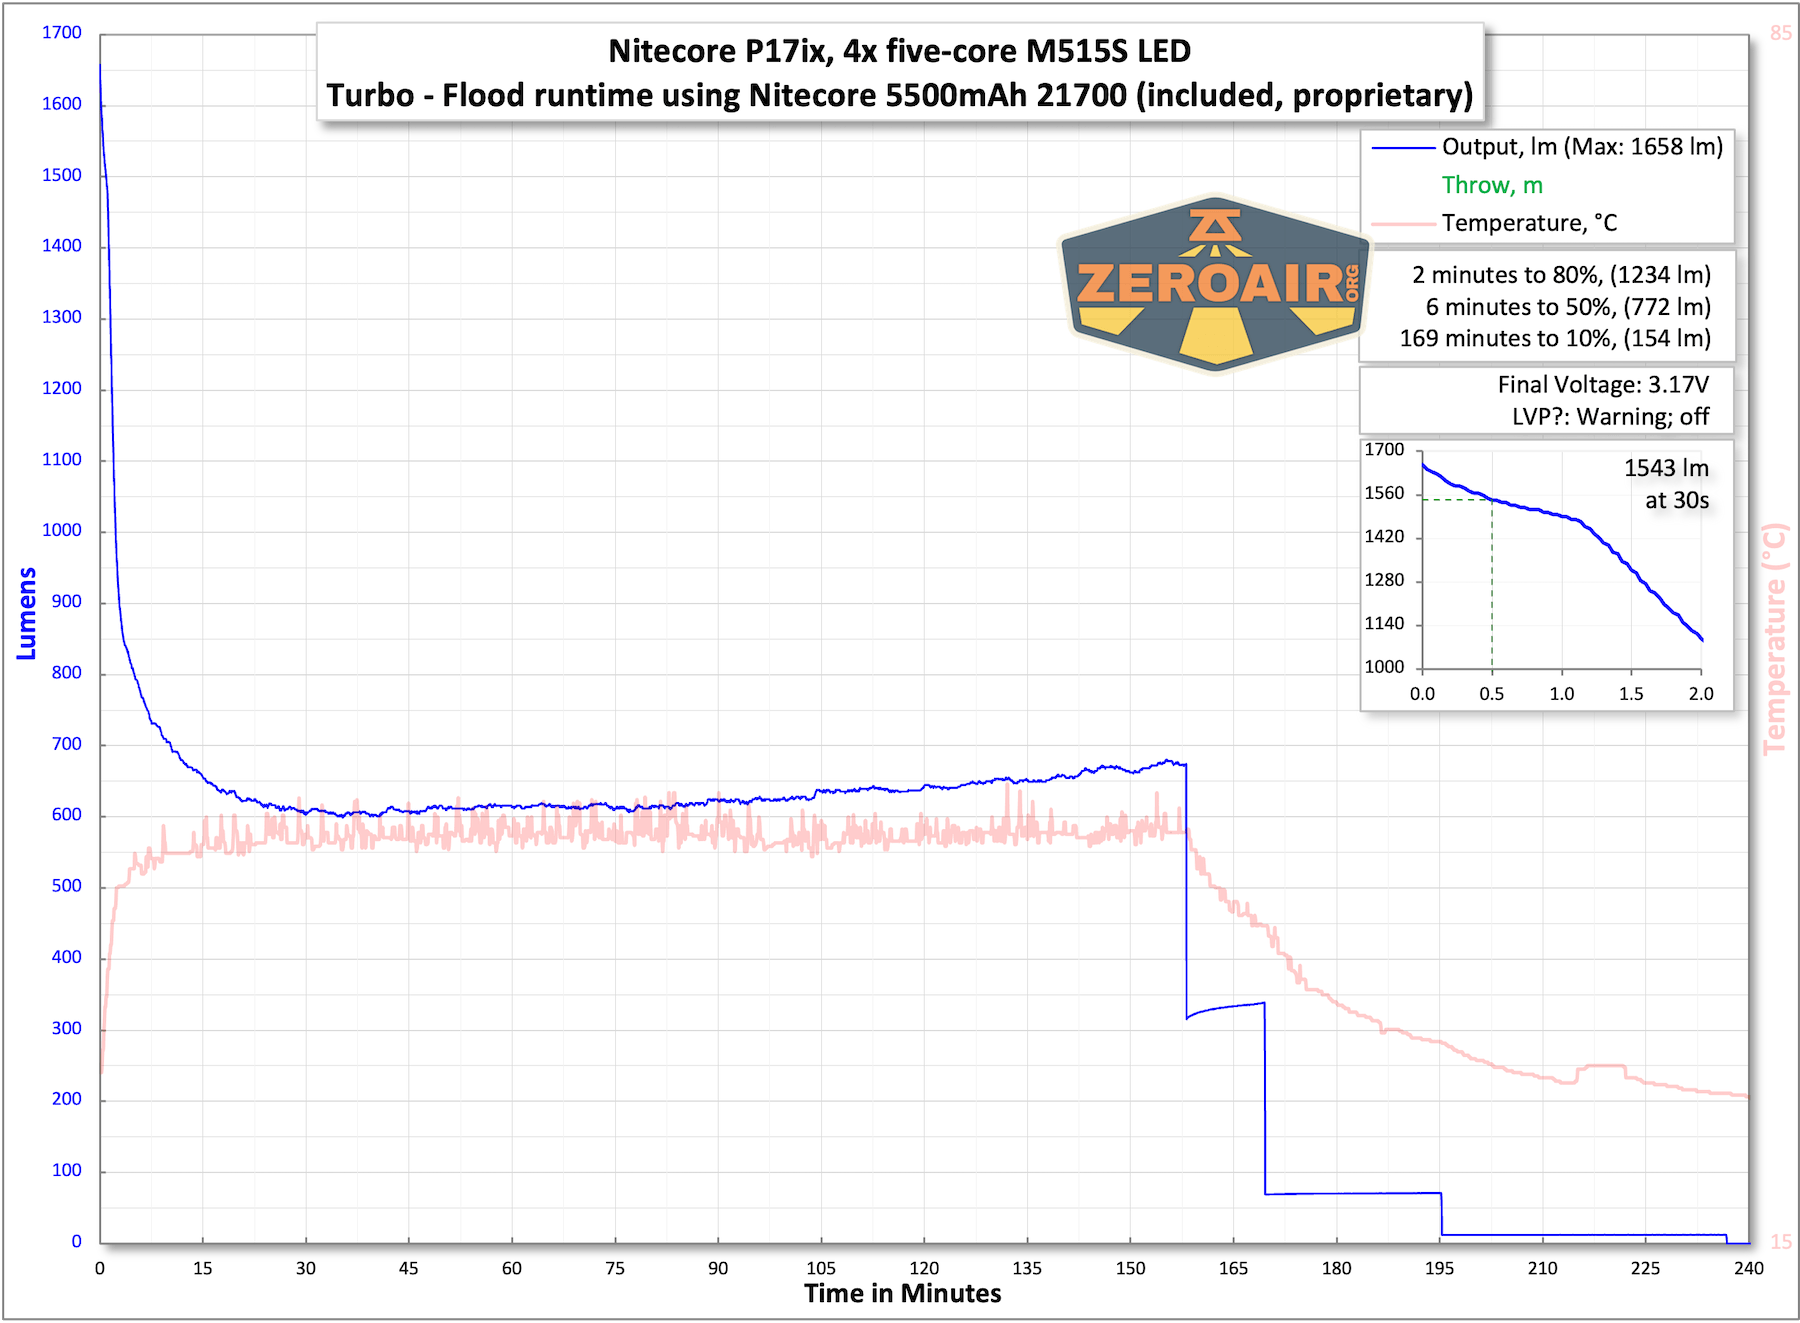
The temperature lines in these charts are included as general context, not precise measurements. The values represent the range (min to max) during testing, but should not be taken as exact readings. A temperature sensor is not always attached to the bezel (or even the hottest spot, assuming that could be defined). Even with ideal placement, too many variables affect temperature to definitively state a specific max value.
Charging
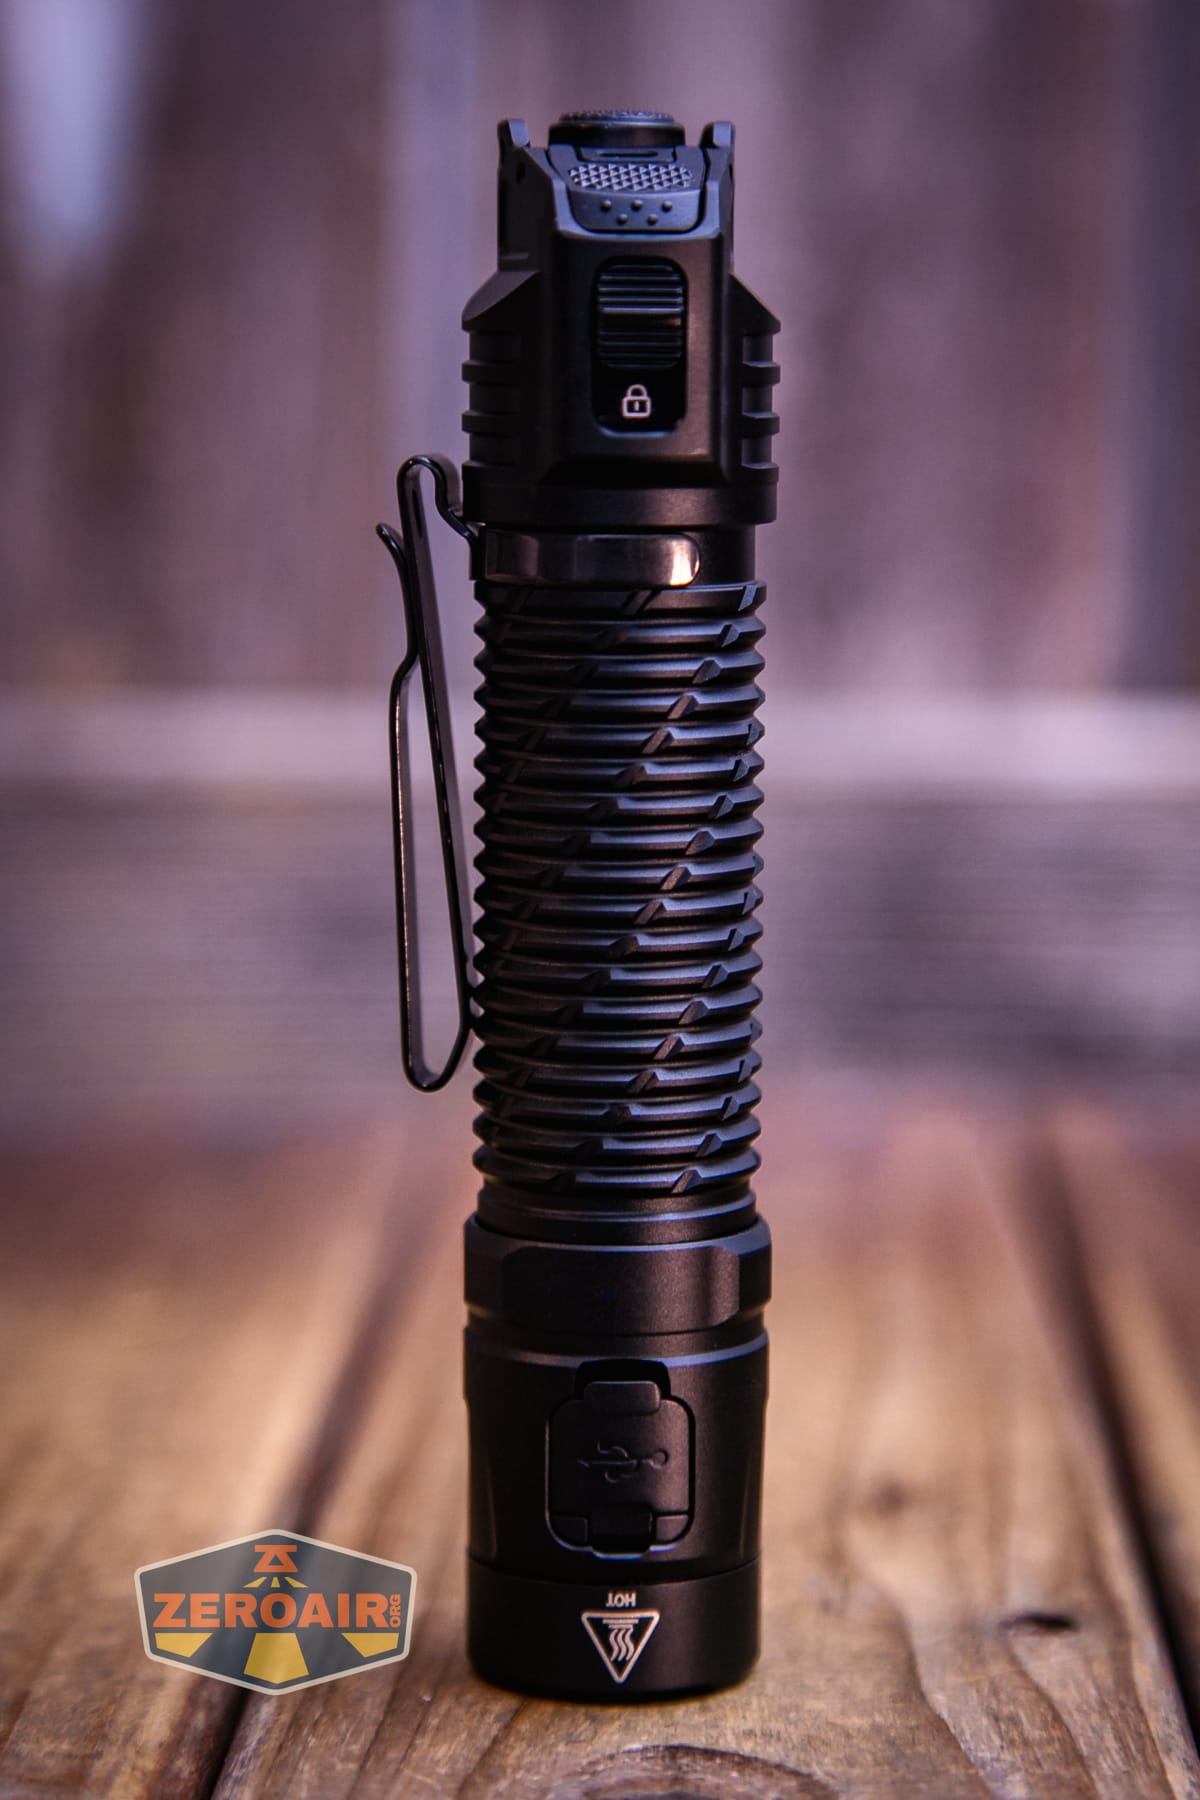
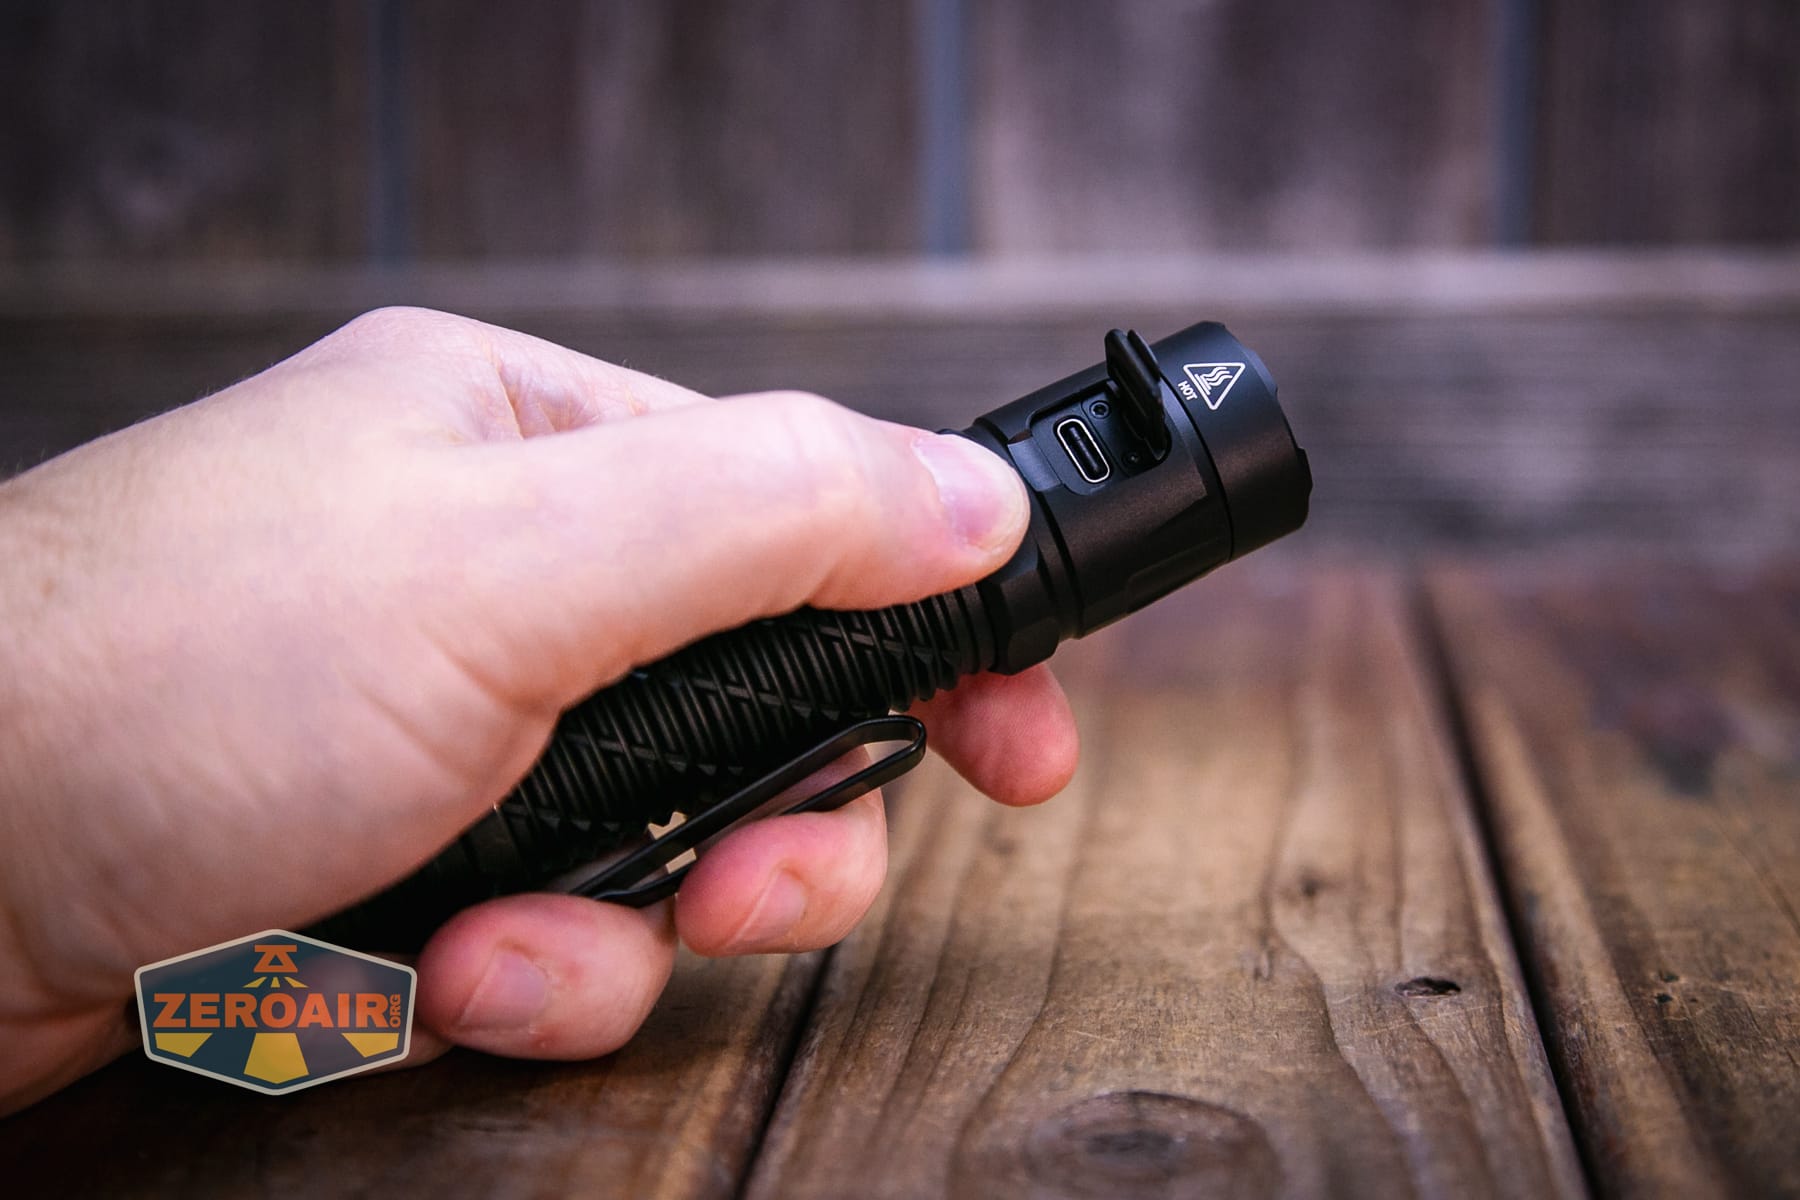
The Nitecore P17iX customizable tactical flashlight has a USB-C charging port on the head. This cover isn’t soft, and it is hinged. I really like these!
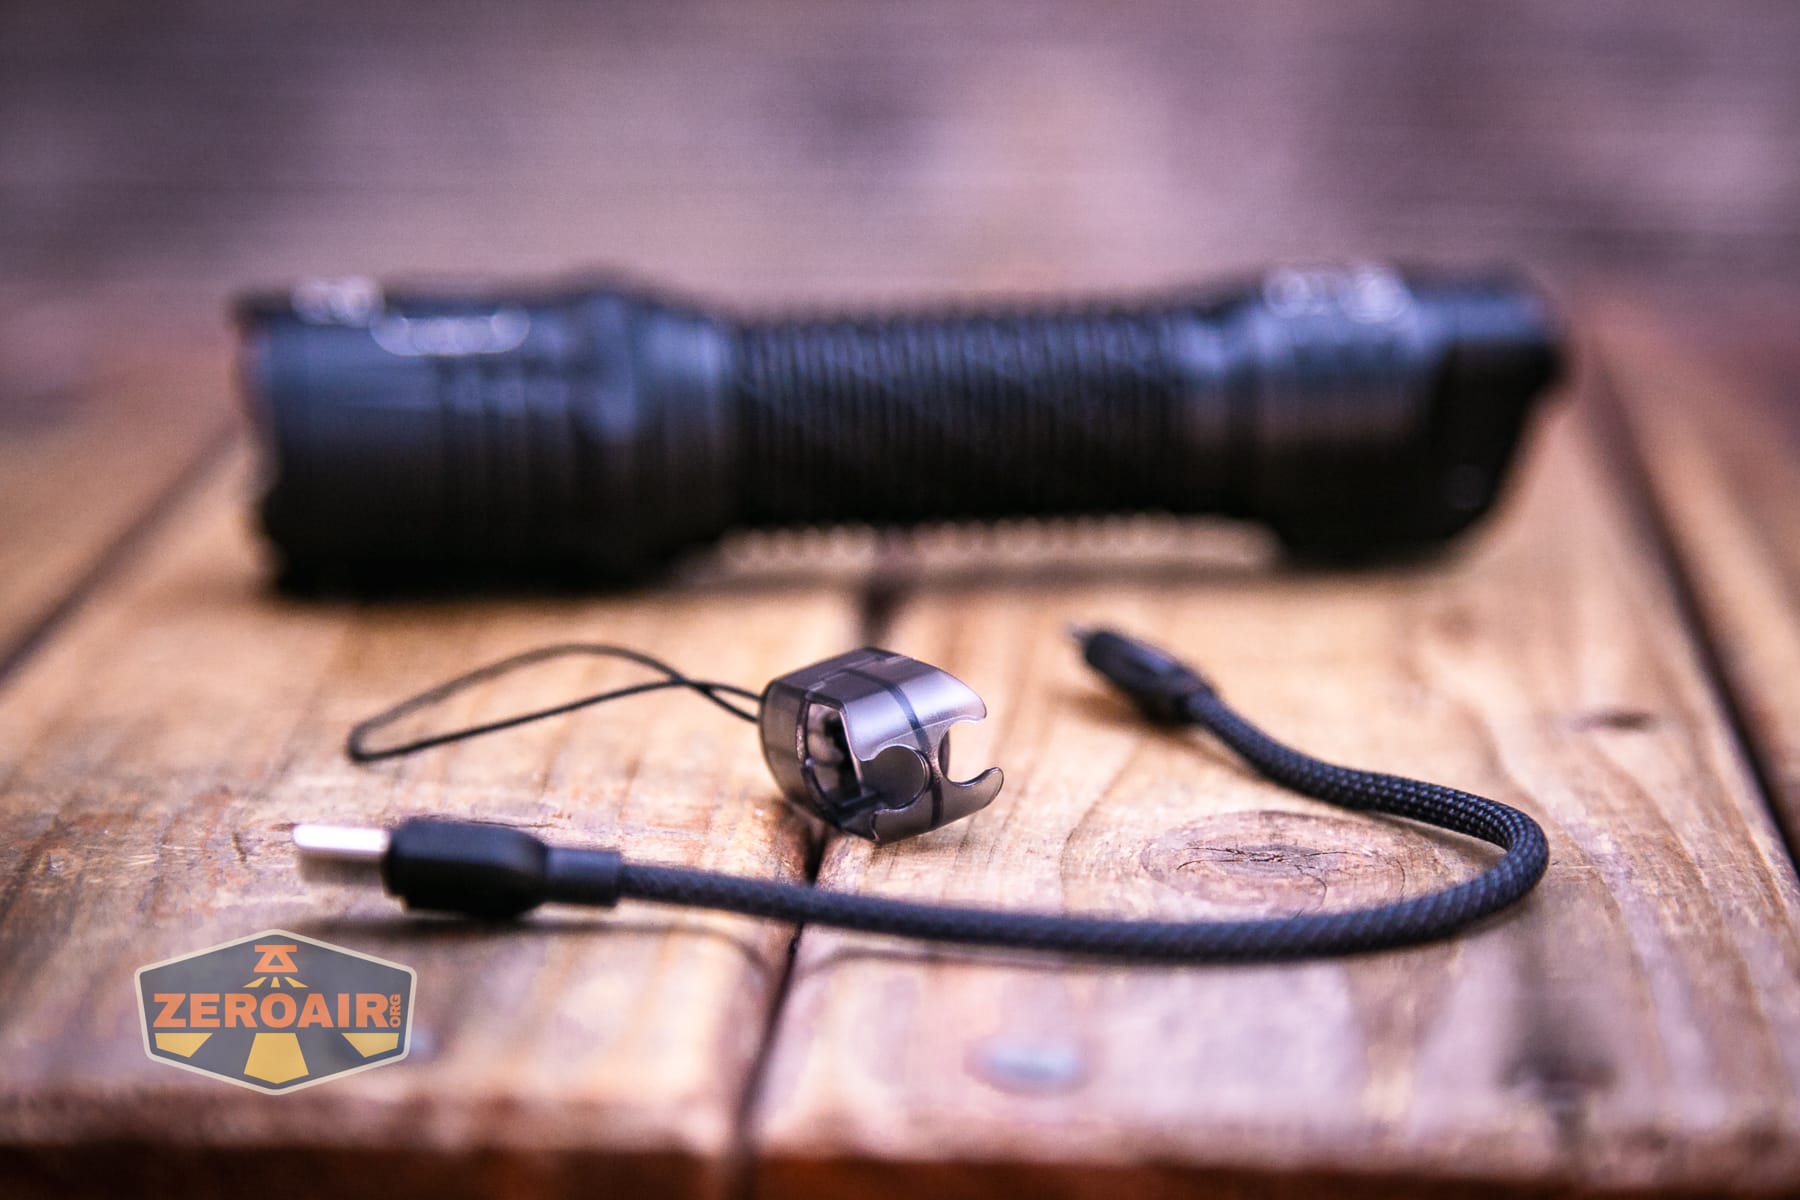
Now, more about that lanyard mentioned above. This lanyard doubles as a charging cable! It’s USB-C to USB-C, and at first it is a little confusing to remove from the plastic case.
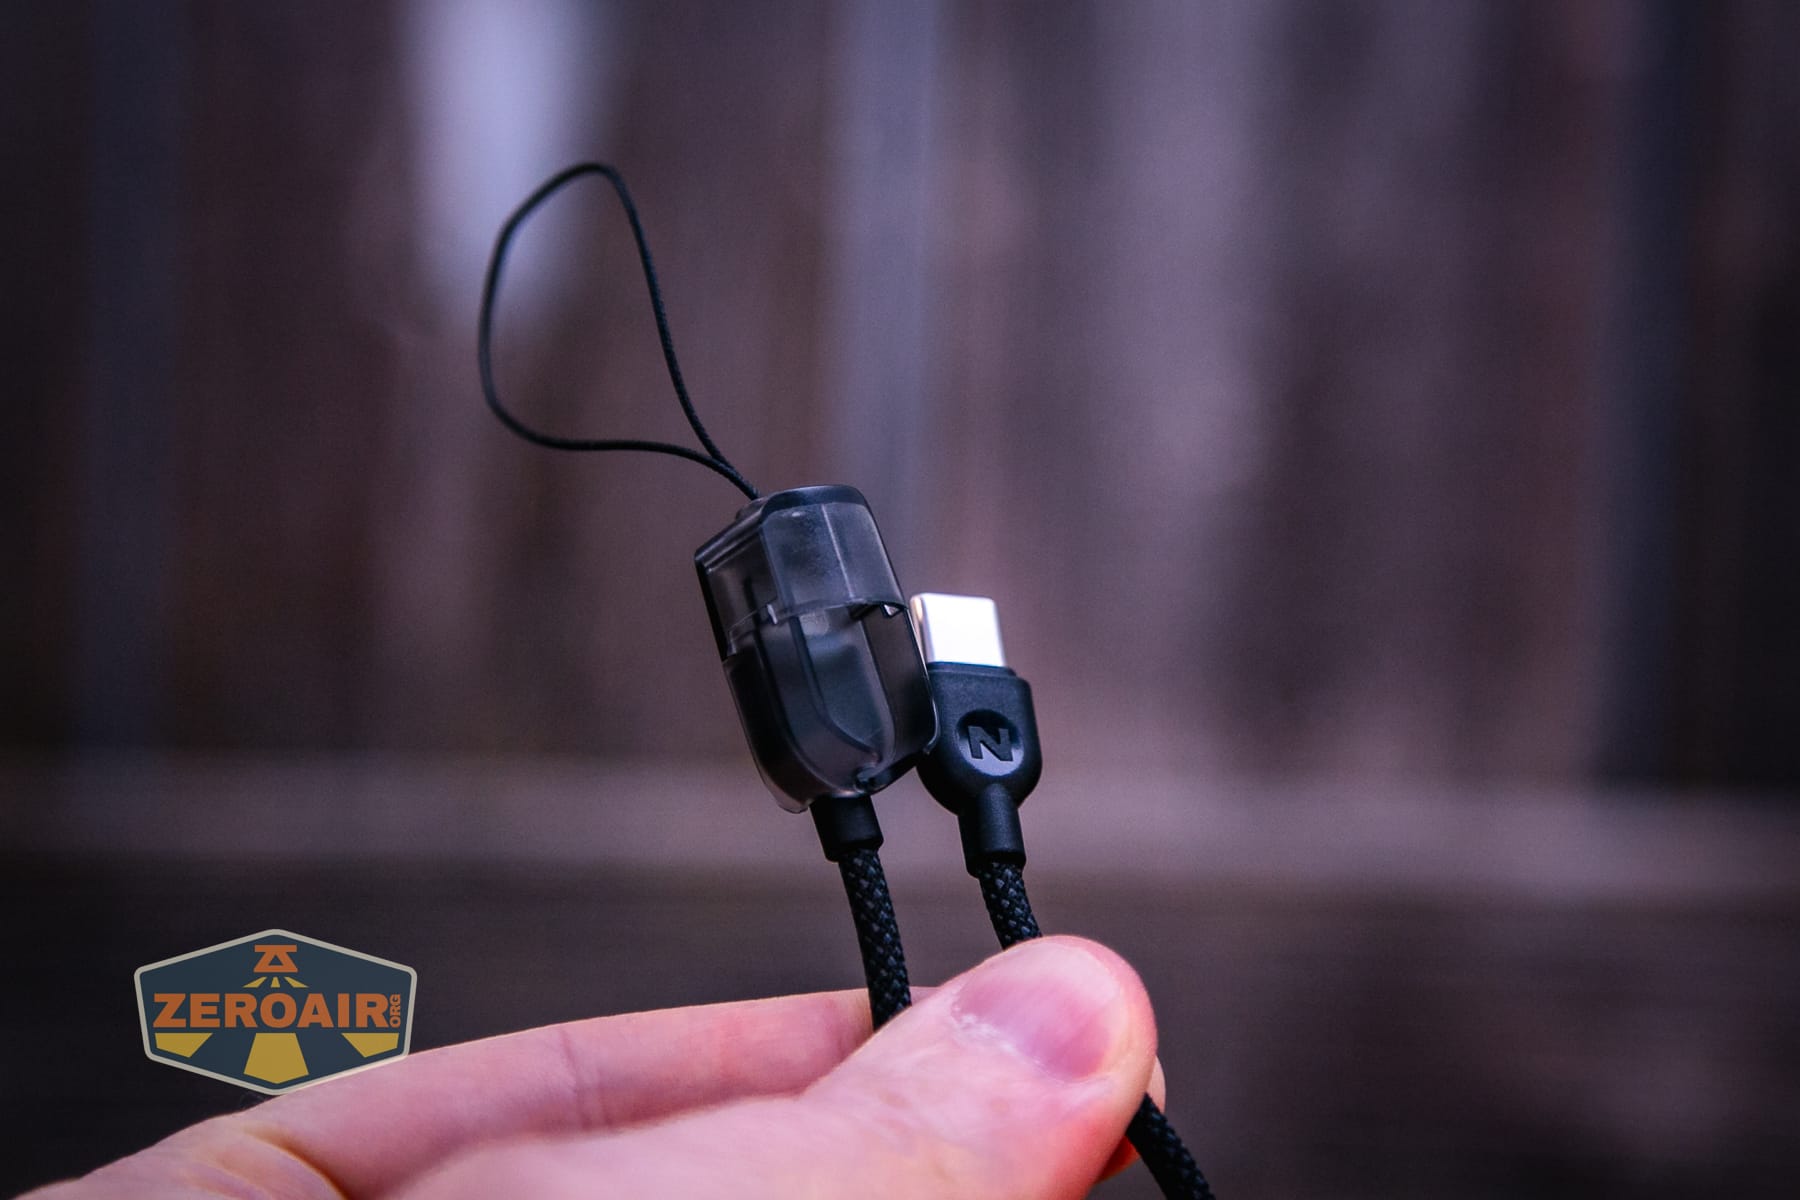
But this photo should give you the best idea of how to remove the plugs from the housing. First, you need to detach the cable, then the plug slides out. Once you know, it’s easy. Until you know, you’ll try many ways that don’t work.
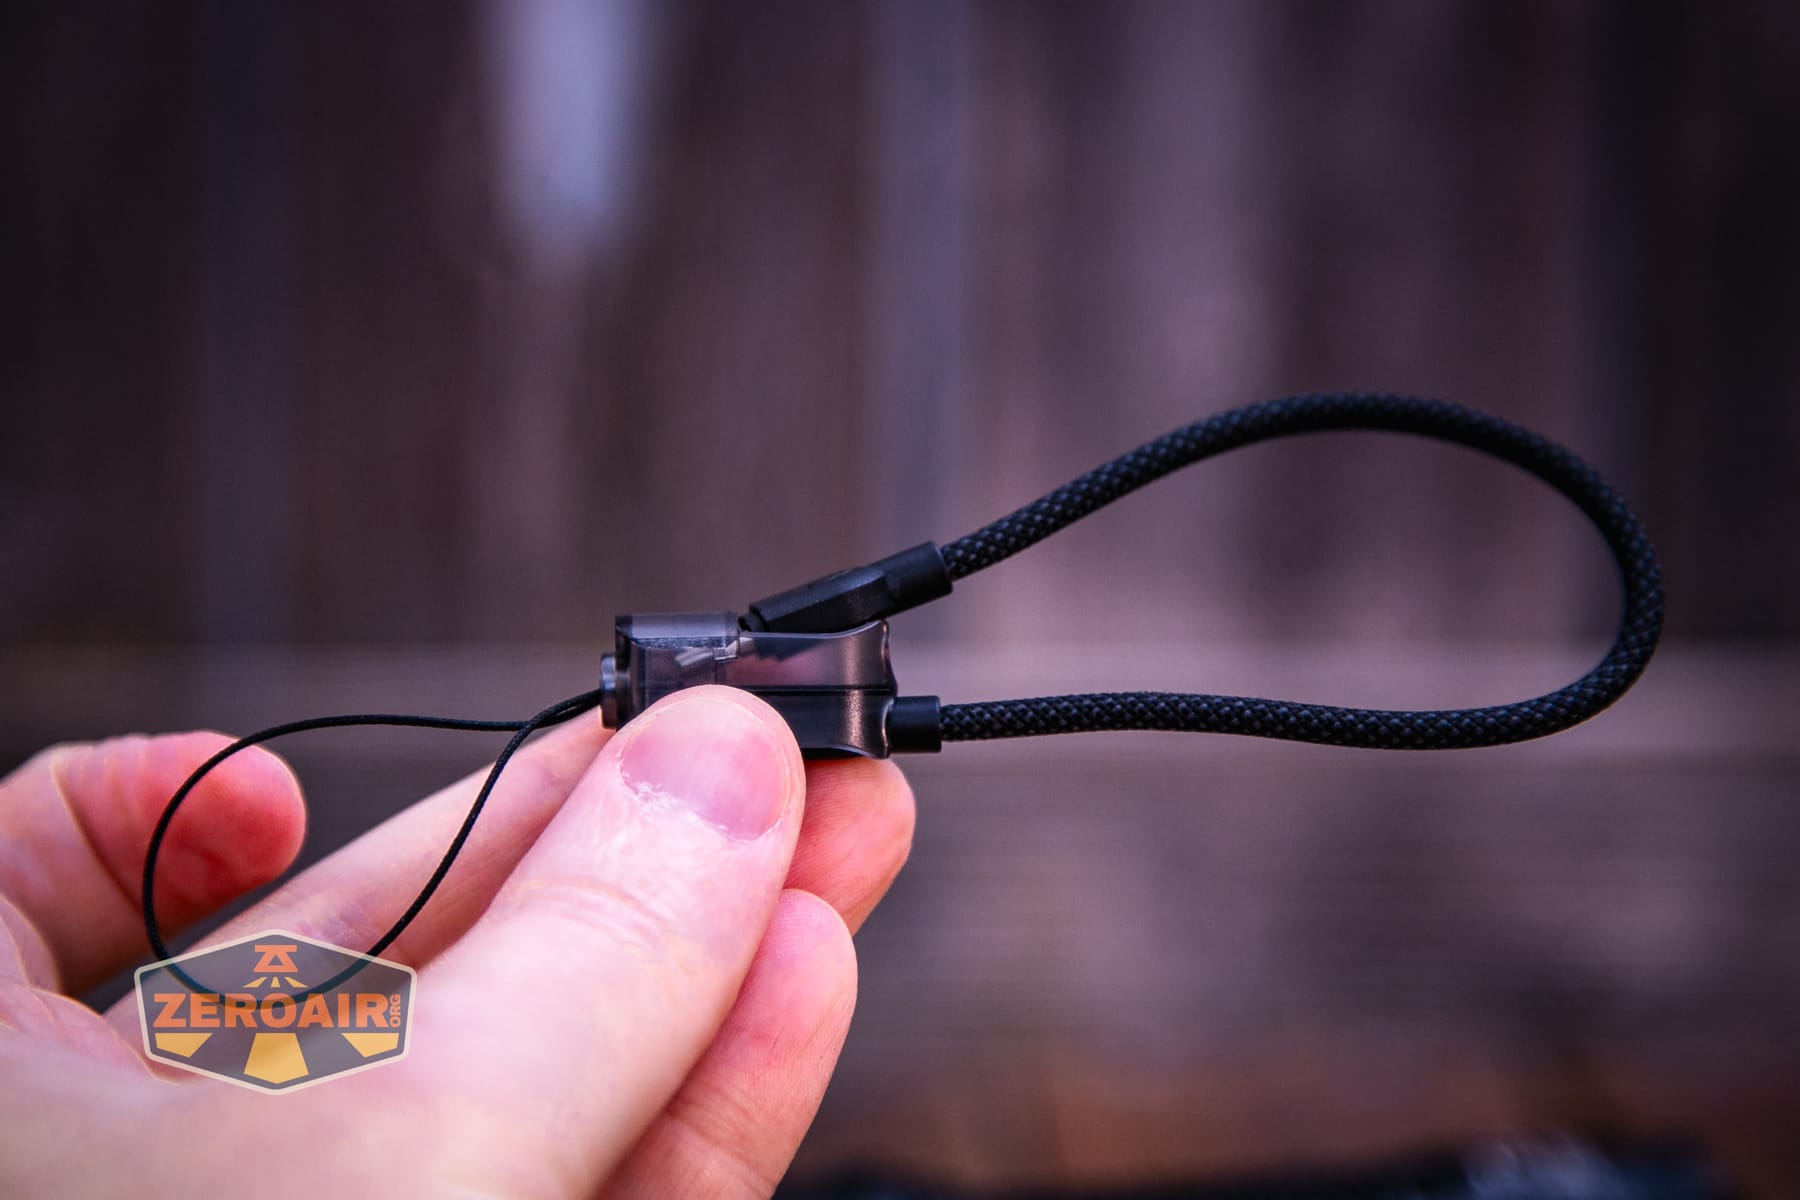
The cable comes fully out of the housing.
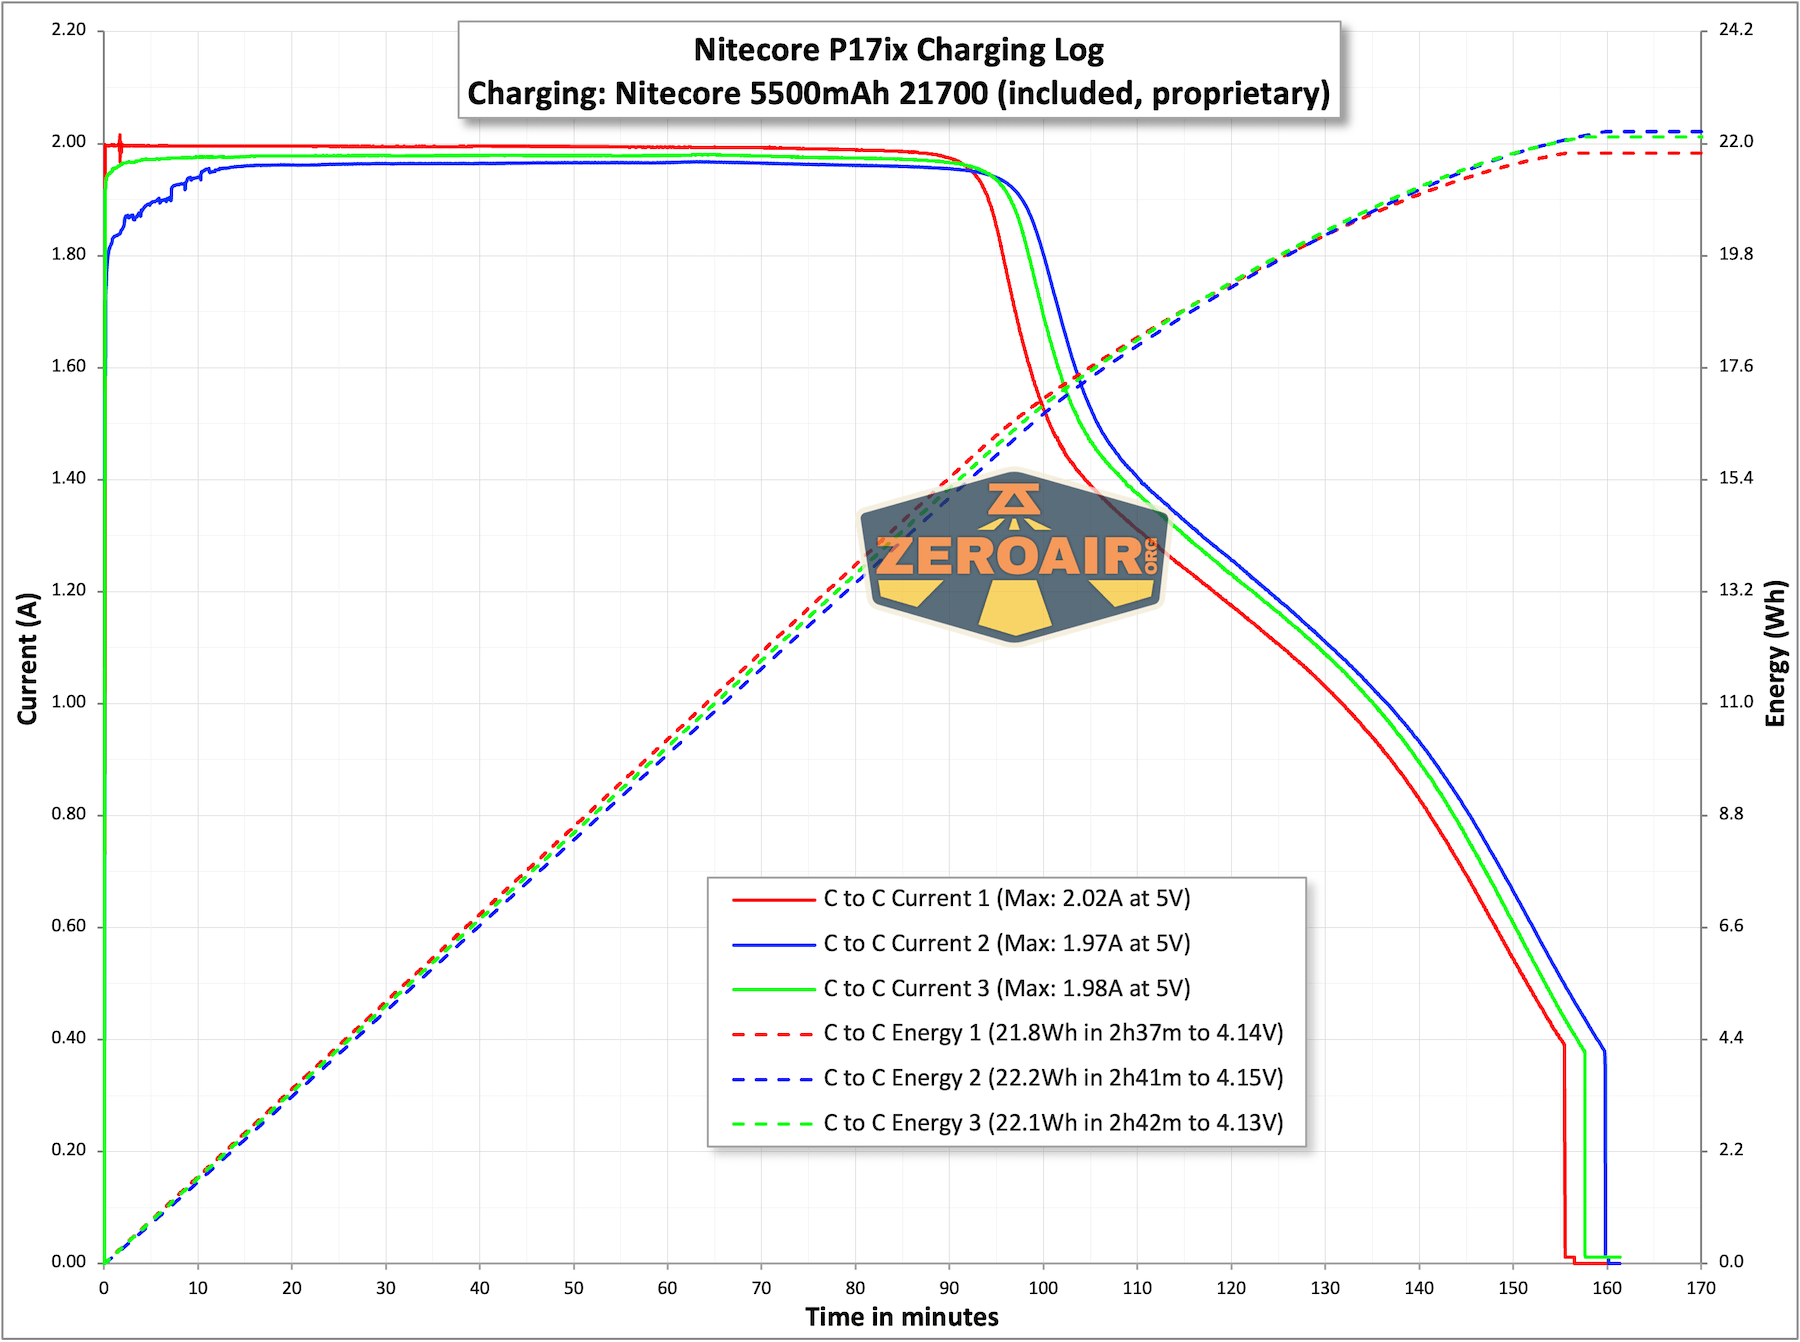
Charging looks great. It’s consistent with A to C and C to C as well.
Modes and Currents
Note that the P17ix and P27ix have the same output specifications! And in fact, my measurements for the P17ix show it to be just a bit brighter!
| Mode | Mode Claimed Output (lm) | Claimed Runtime | Measured Lumens |
|---|---|---|---|
| Lumin Shield | 5000 | – | 4639 (0s) – (30s) |
| Search | 2500 | – | 2425 (0s) – (30s) |
| Turbo – Floodlight | 1500 | 2h30m | 1658 (0s) 1543 (30s) |
| High – Floodlight | 400 | 6h | 427 |
| Mid – Floodlight | 80 | 25h | 88 |
| Low – Floodlight | 15 | 100h | 14 |
| Turbo – Mixed | 1500 | 2h30m | 1696 (0s) 1579 (30s) |
| High – Mixed | 400 | 6h | 400 |
| Mid – Mixed | 80 | 25h | 78 |
| Low – Mixed | 15 | 100h | 14 |
| Turbo – Spotlight | 1500 | 2h30m | 1602 (0s) 1485 (30s) |
| High – Spotlight | 400 | 6h | 443 (0s) 436 (30s) |
| Mid – Spotlight | 80 | 25h | 92 |
| Low – Spotlight | 15 | 100h | 11 |
Pulse Width Modulation
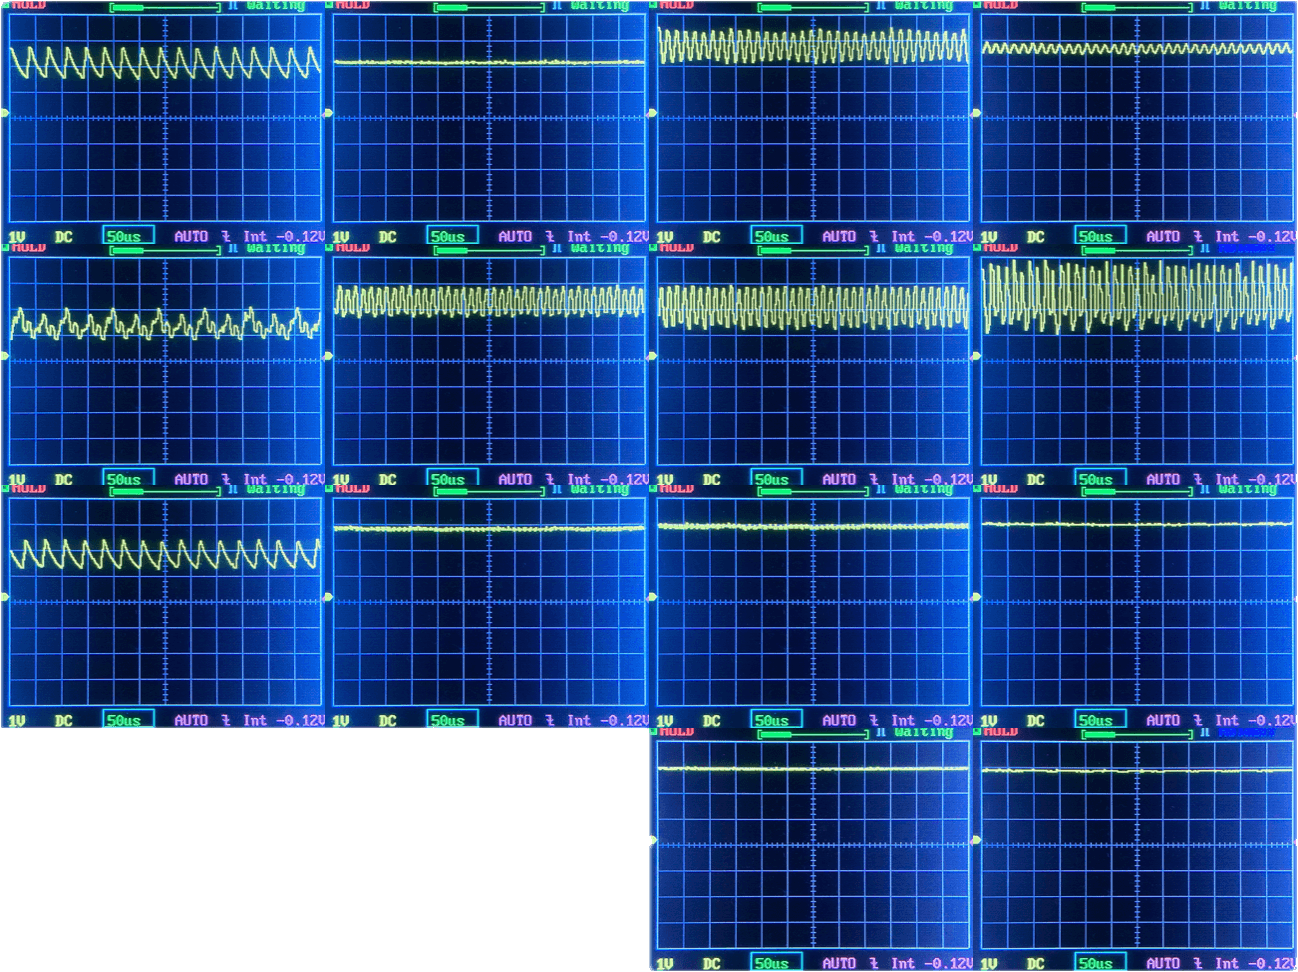
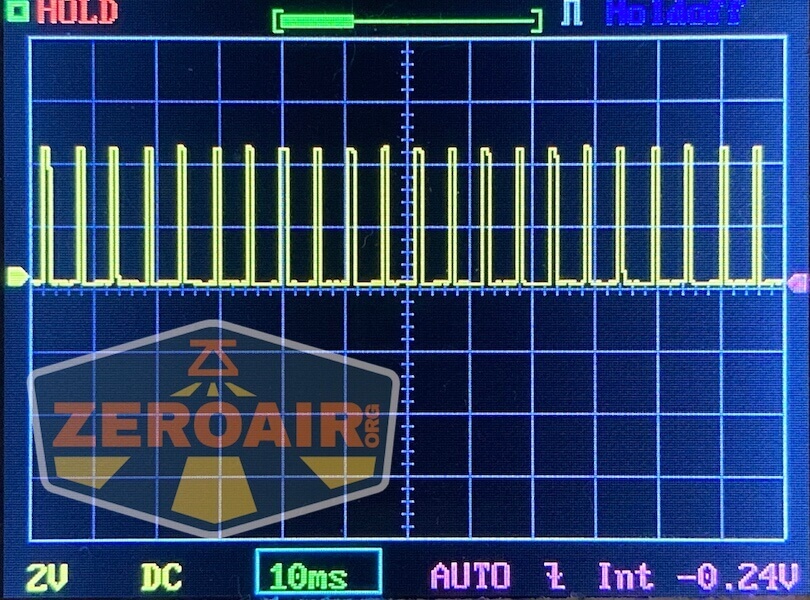
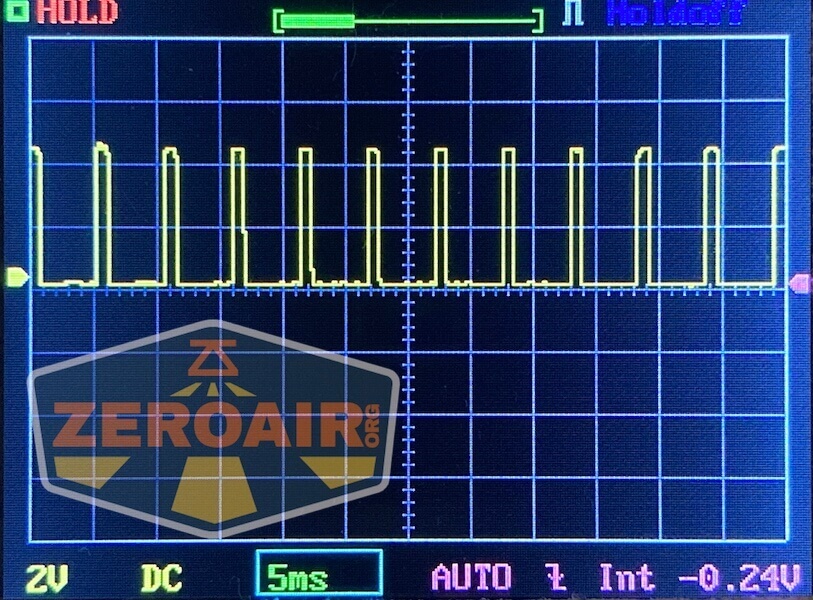
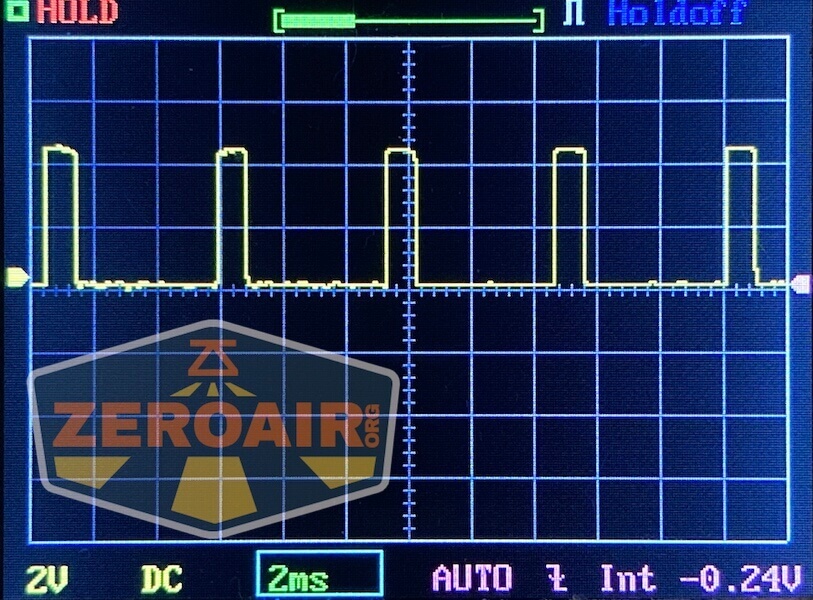
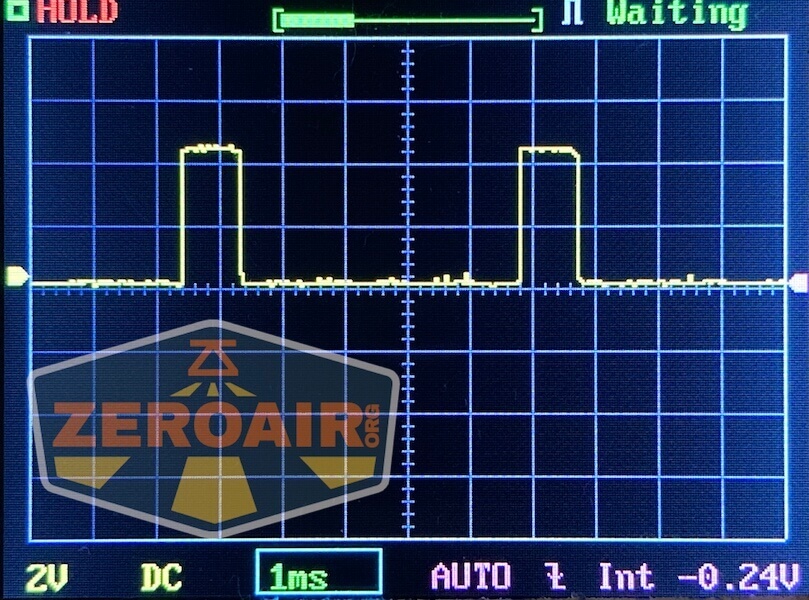
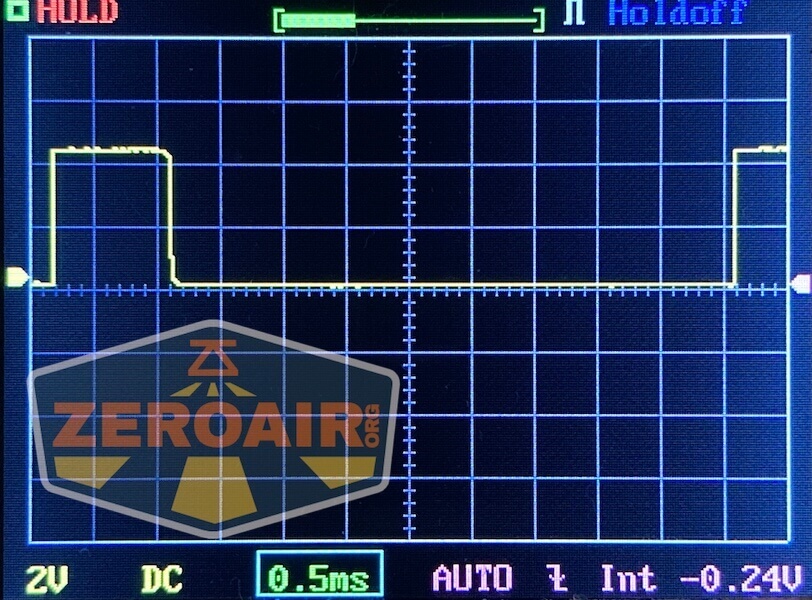
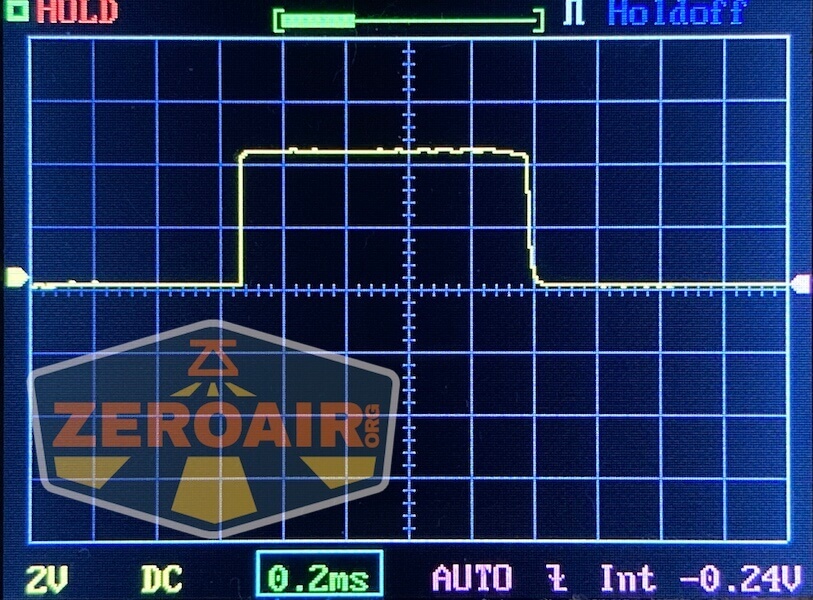
None of the modes exhibit PWM, but many have SMS ripple. The middle row is “Mixed” and the last row has the two momentary levels.
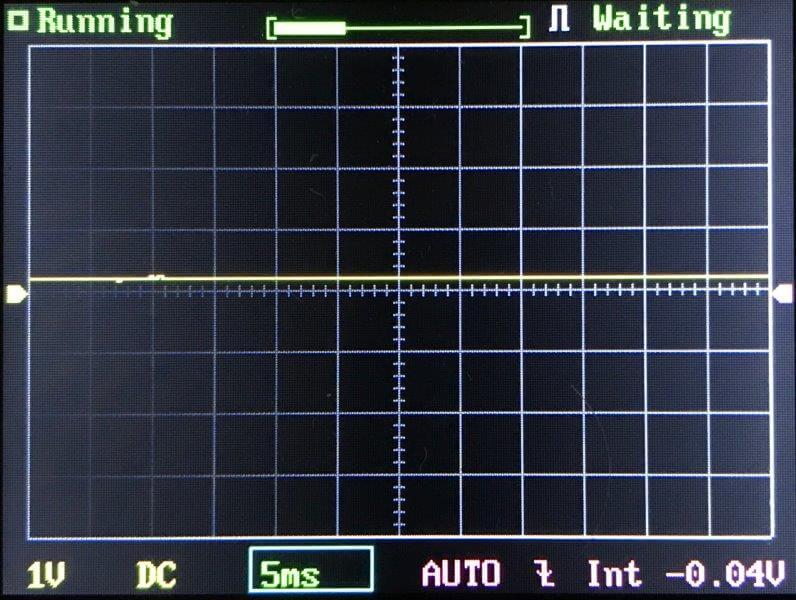
Click here to see a “baseline” – a chart with almost no light hitting the sensor.
Then there’s the Ultrafire WF-602C flashlight, which has some of the worst PWM I’ve seen. It’s so bad that I used a post about it to explain PWM! Here are multiple timescales (10ms, 5ms, 2ms, 1ms, 0.5ms, 0.2ms) to make comparing this “worst” PWM light to the test light easier. That post also explains why I didn’t test the WF-602C at the usual 50us scale.
User Interface and Operation
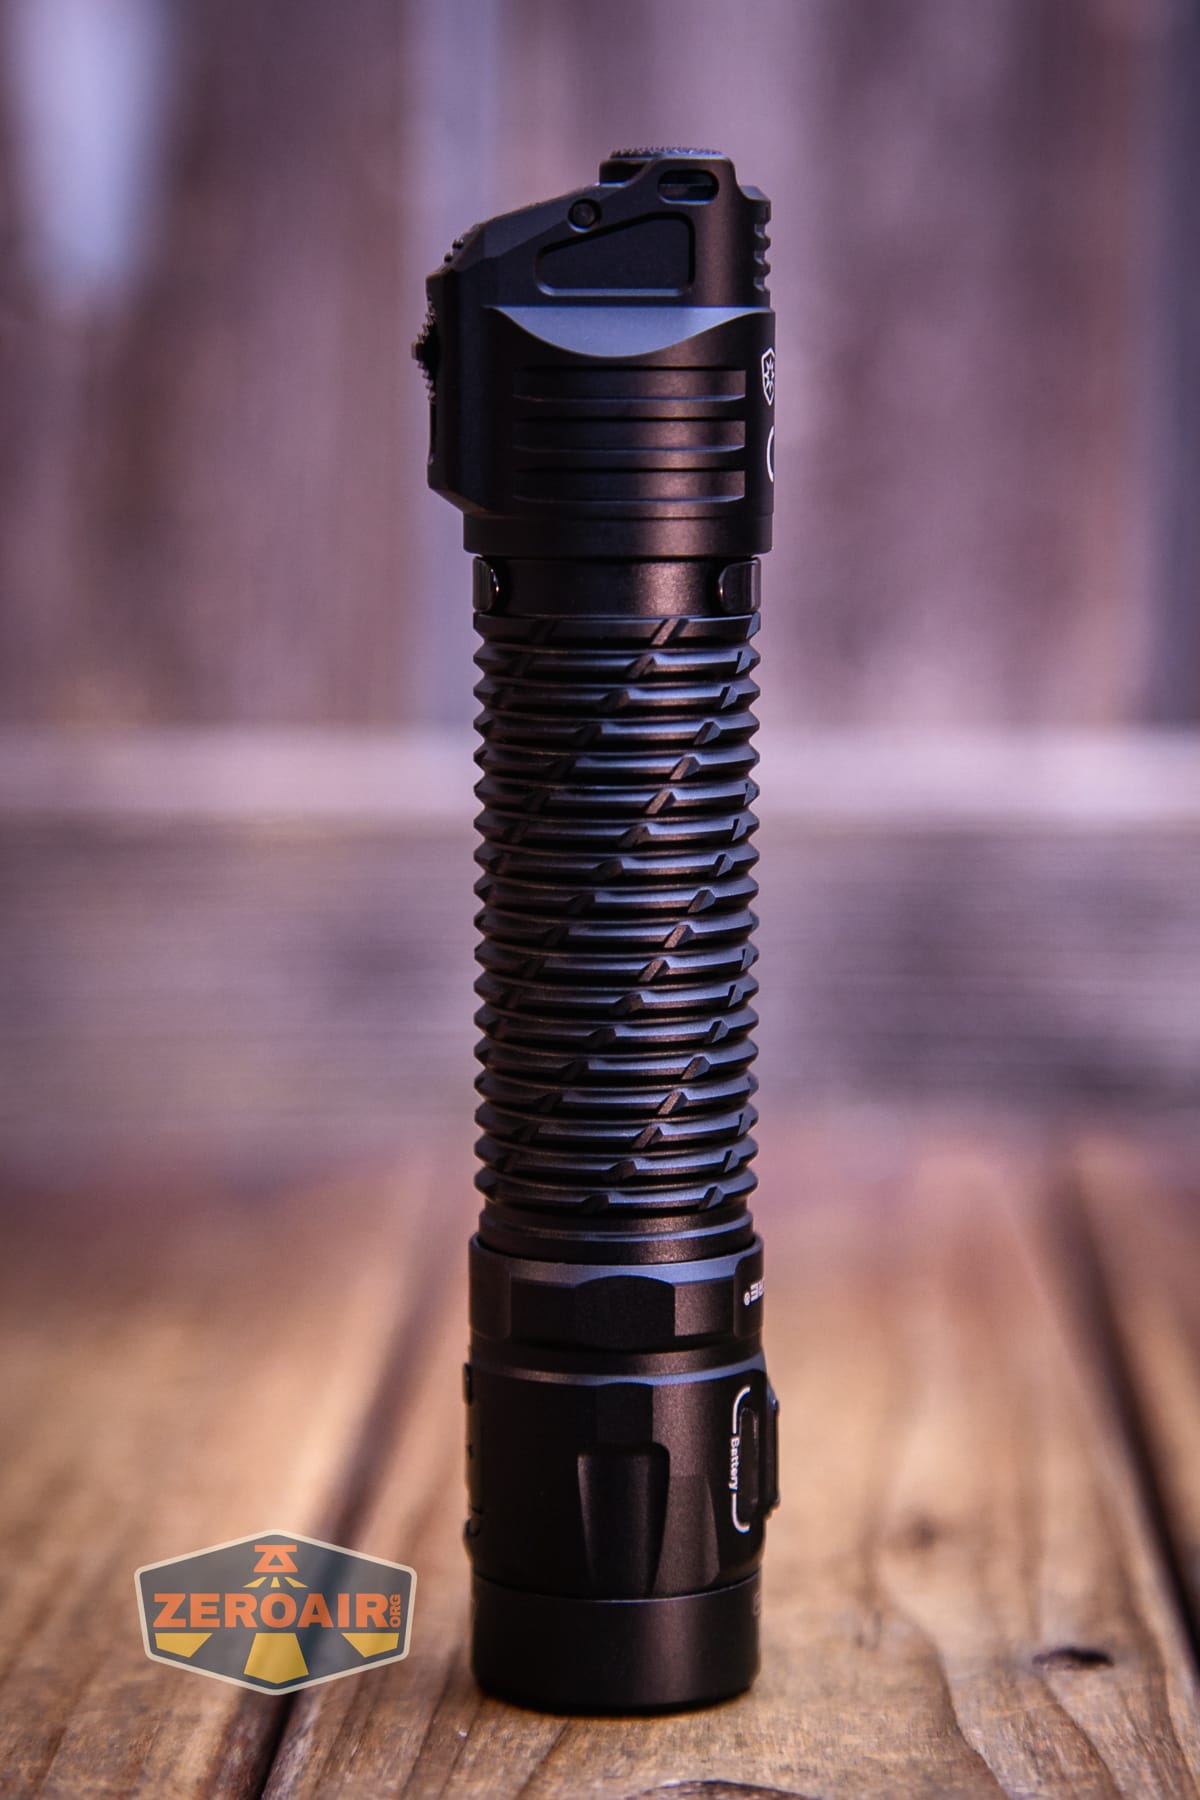
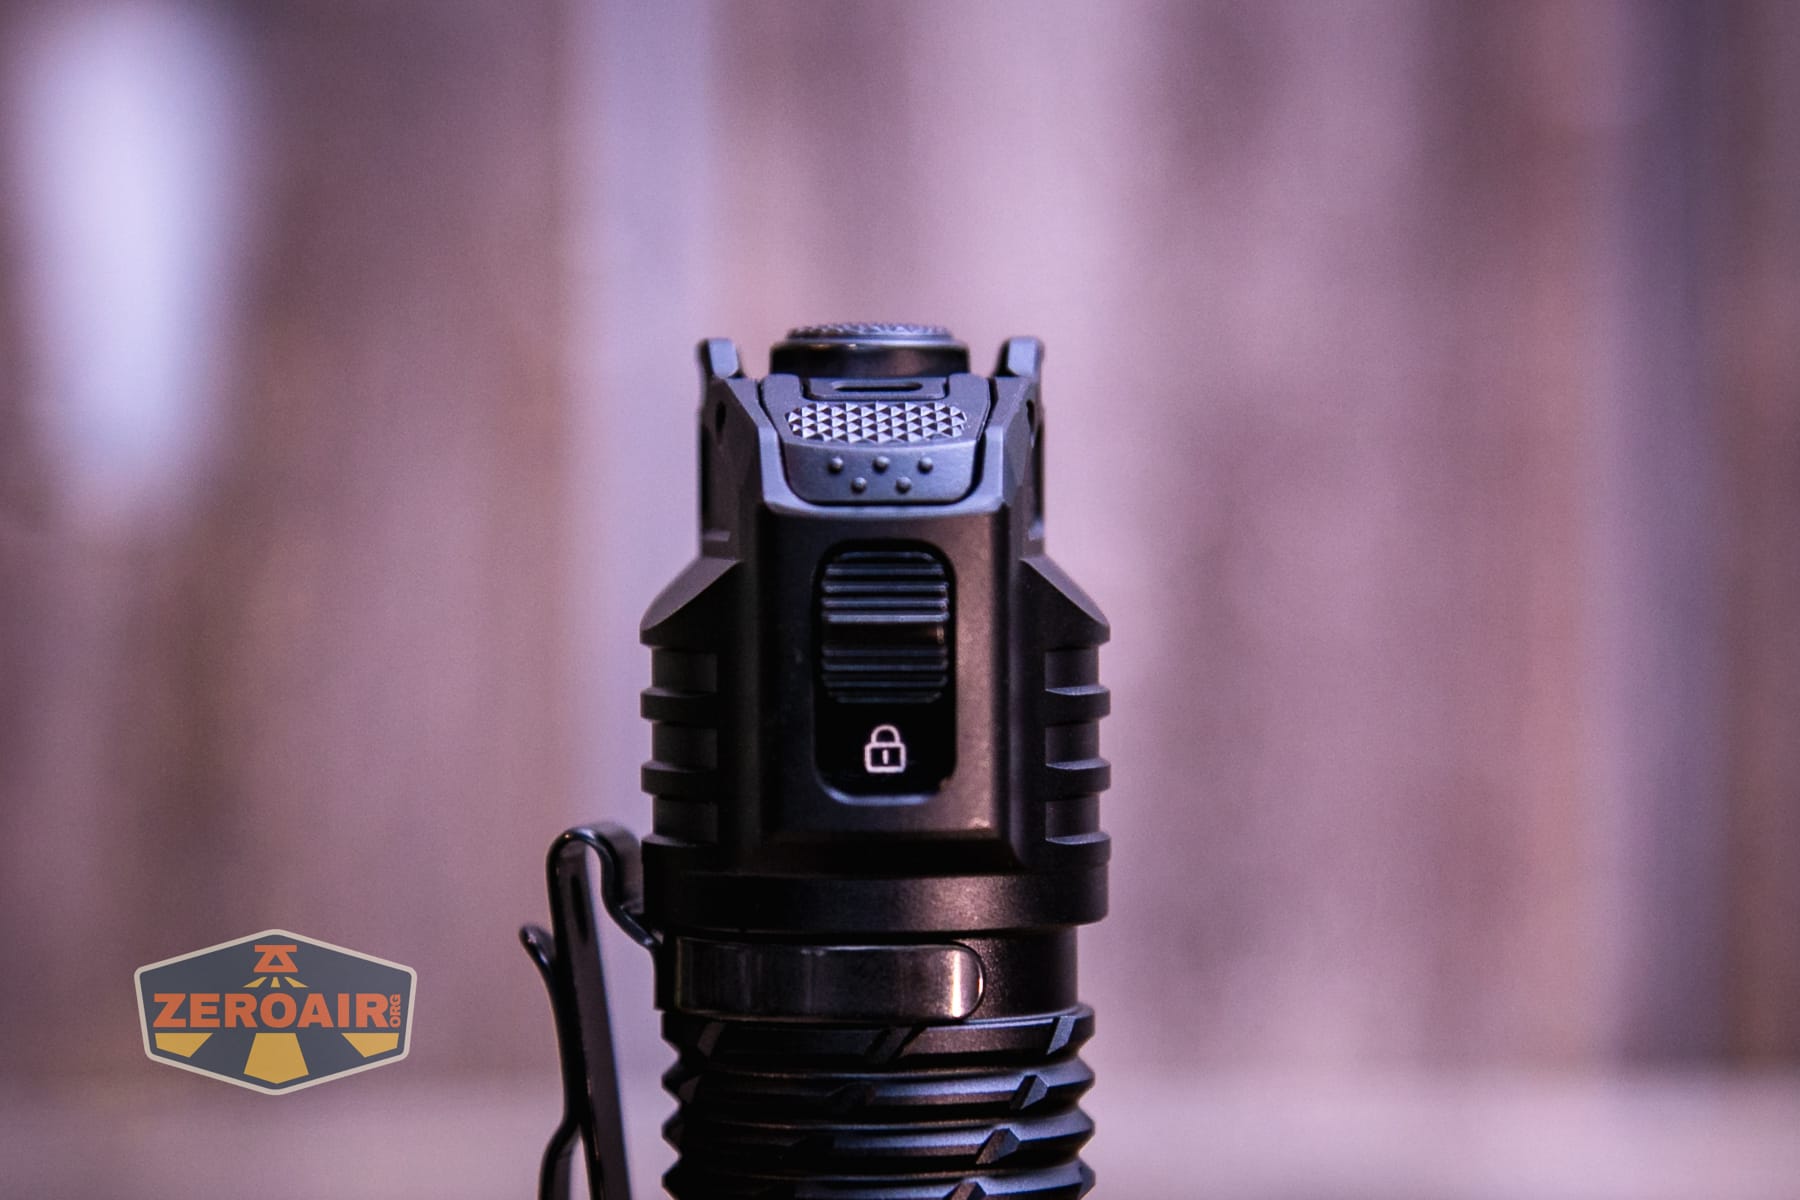
The Nitecore P17iX customizable tactical flashlight has many options for control. It’s even programmable, in some sense! First, there’s this lock. In the locked position (next photo), none of the buttons do anything. The light is totally locked out! Except not actually, because you can reset the light to factory settings while locked! Thus, this is definitely not a mechanical lockout.
Only when this mechanical slider switch is moved to the position below will the other three switches do anything.
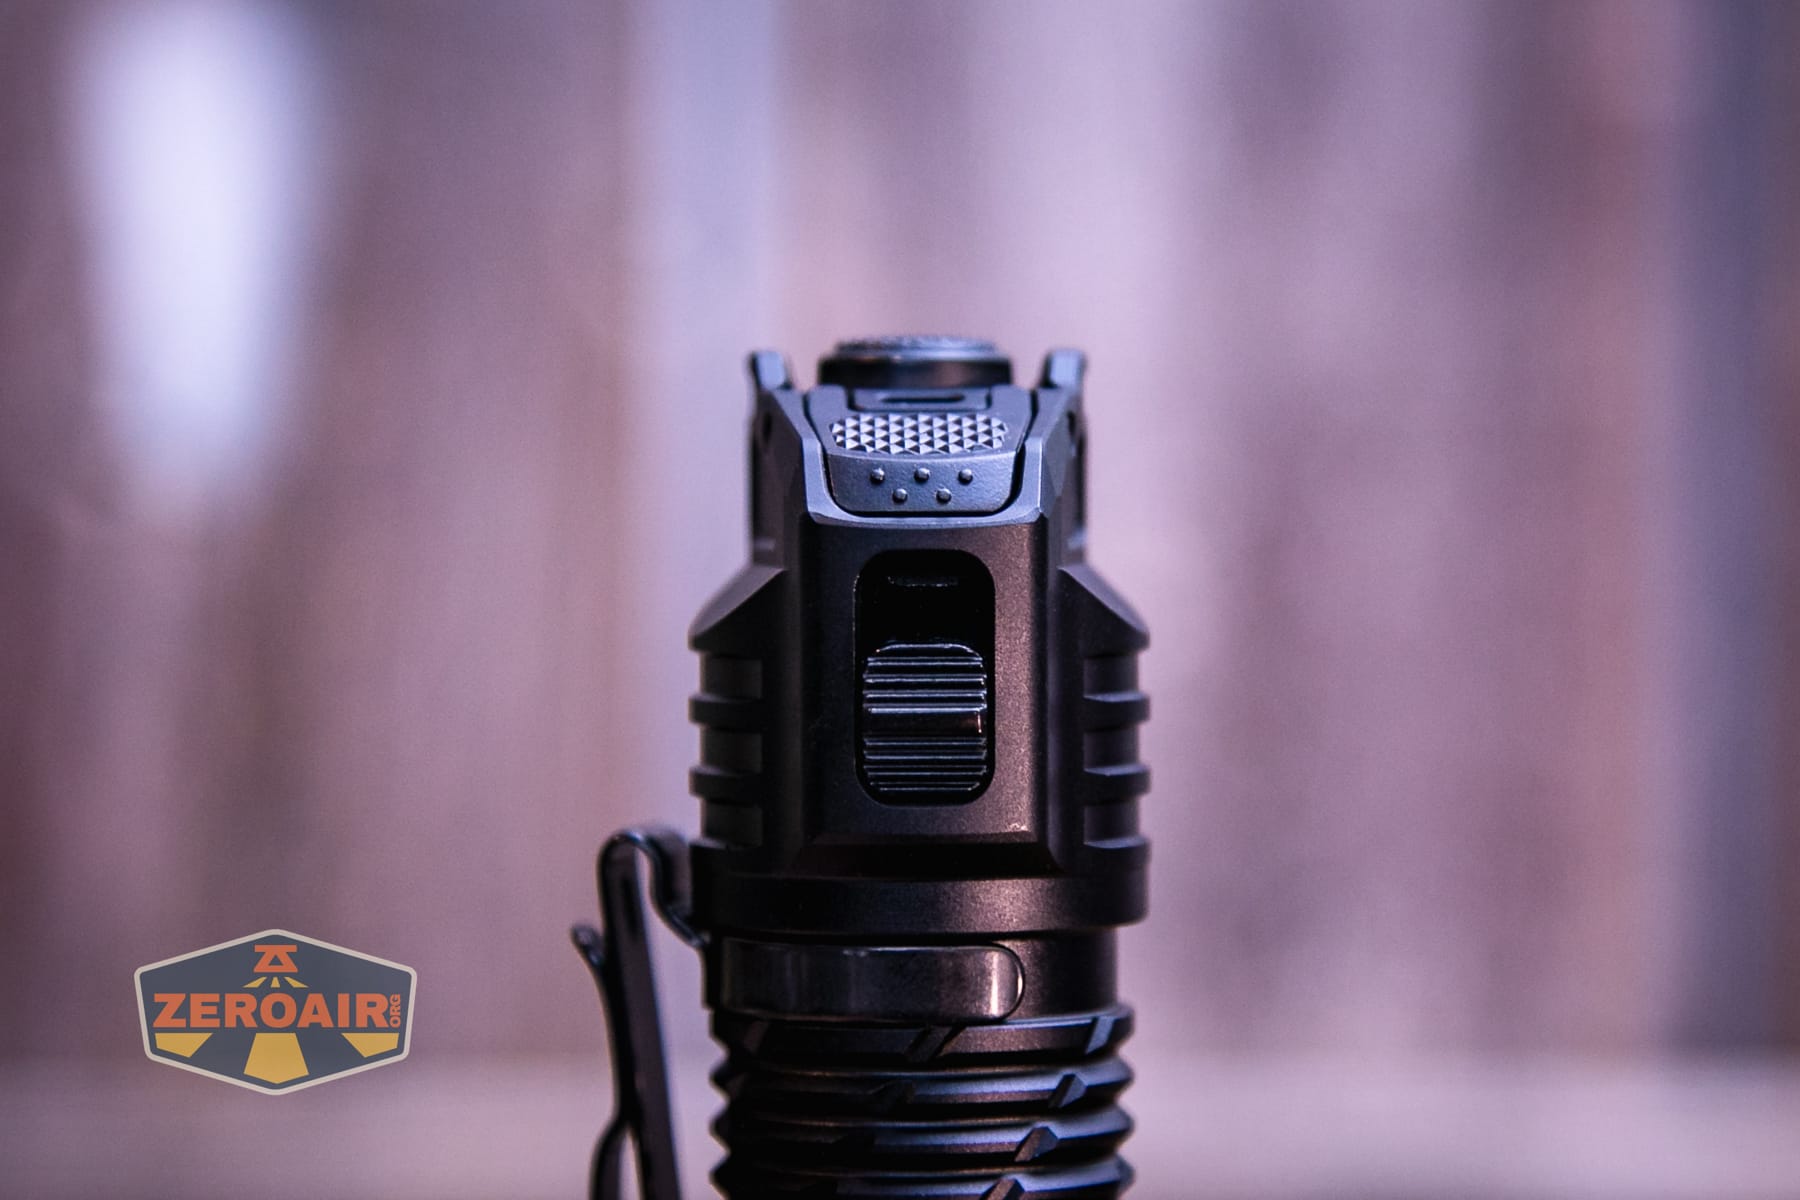
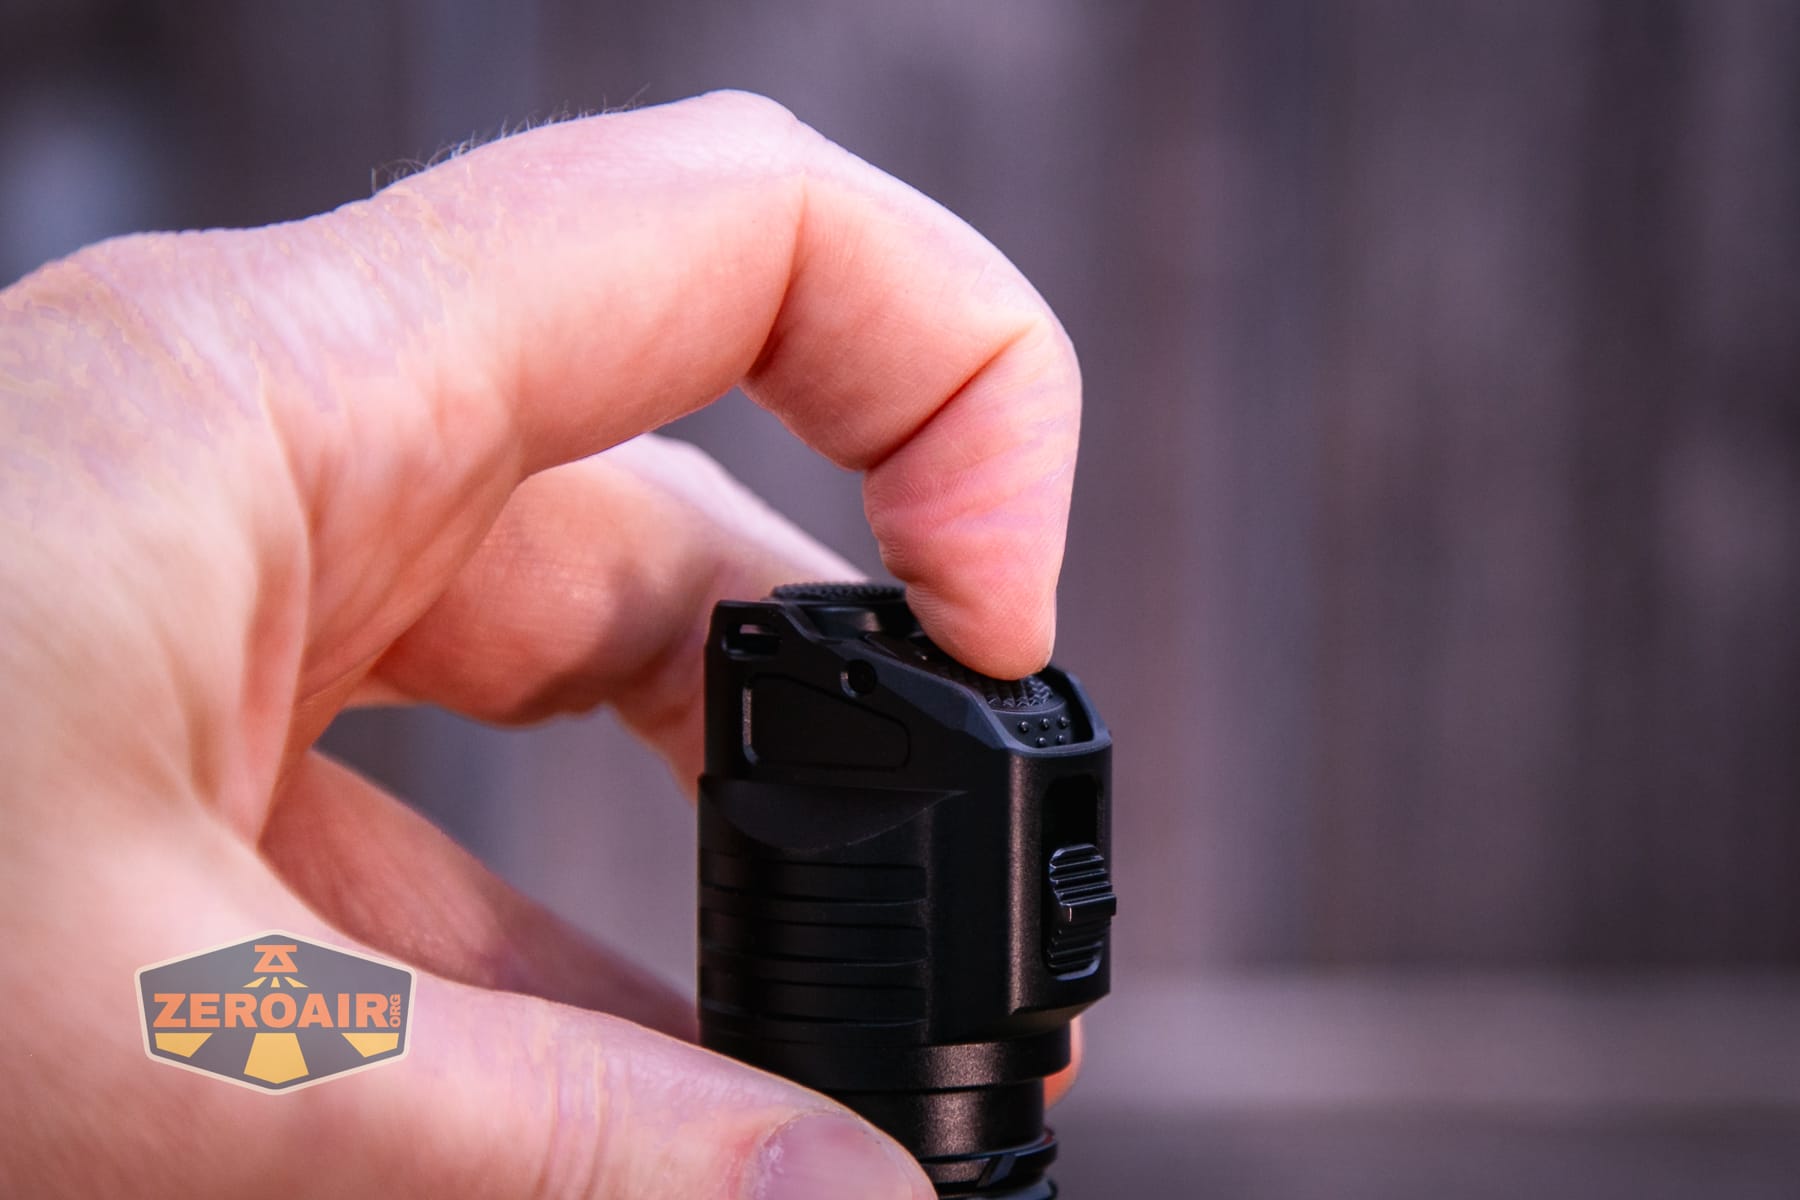
Once unlocked, there are three switches for control. Two of those are on the tail. The most prominent (highest, left below) is the “Tail Button.” The other is the “Engage Button.”
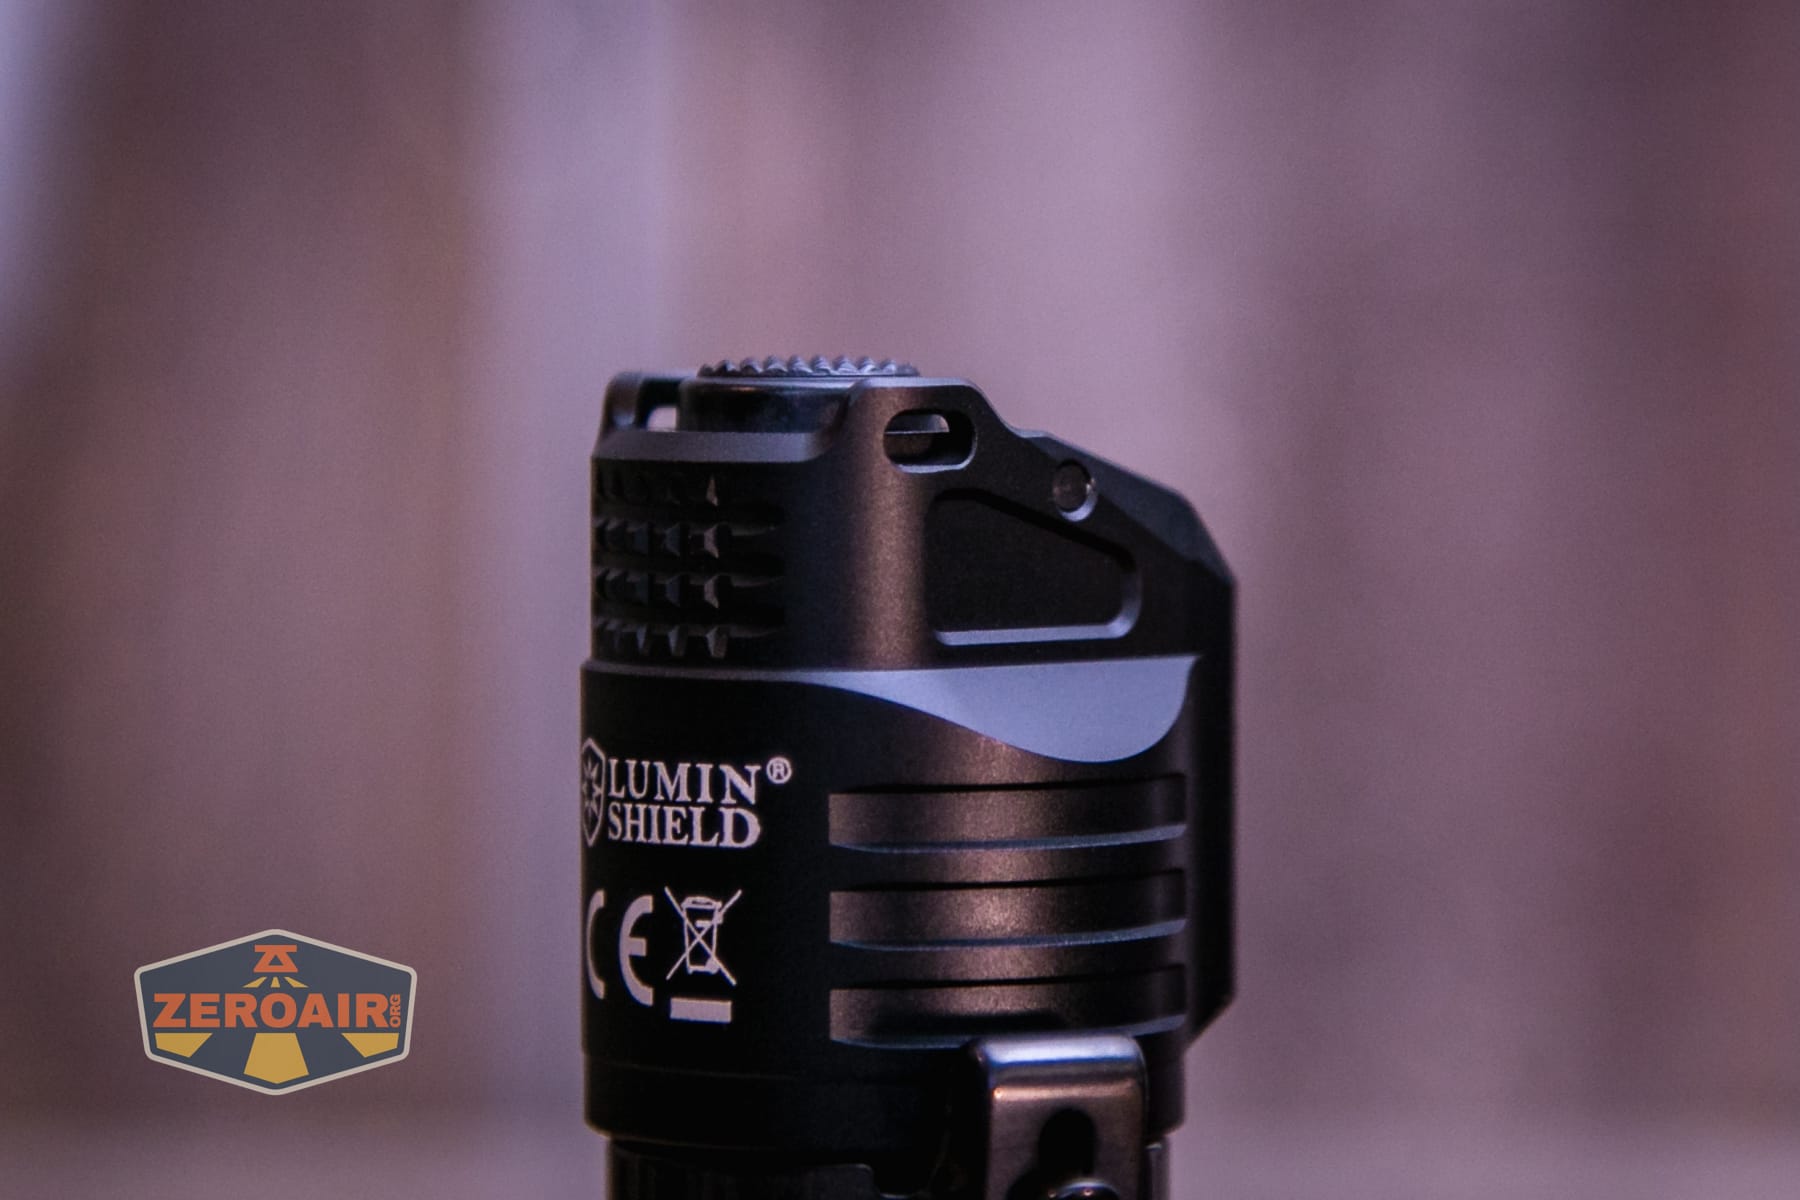
This tail switch has a nice deep press and also a momentary option. The “engage” button also has a click, but is hinged from one edge. It doesn’t really press “down” but acts more like a paddle switch. I really like it.
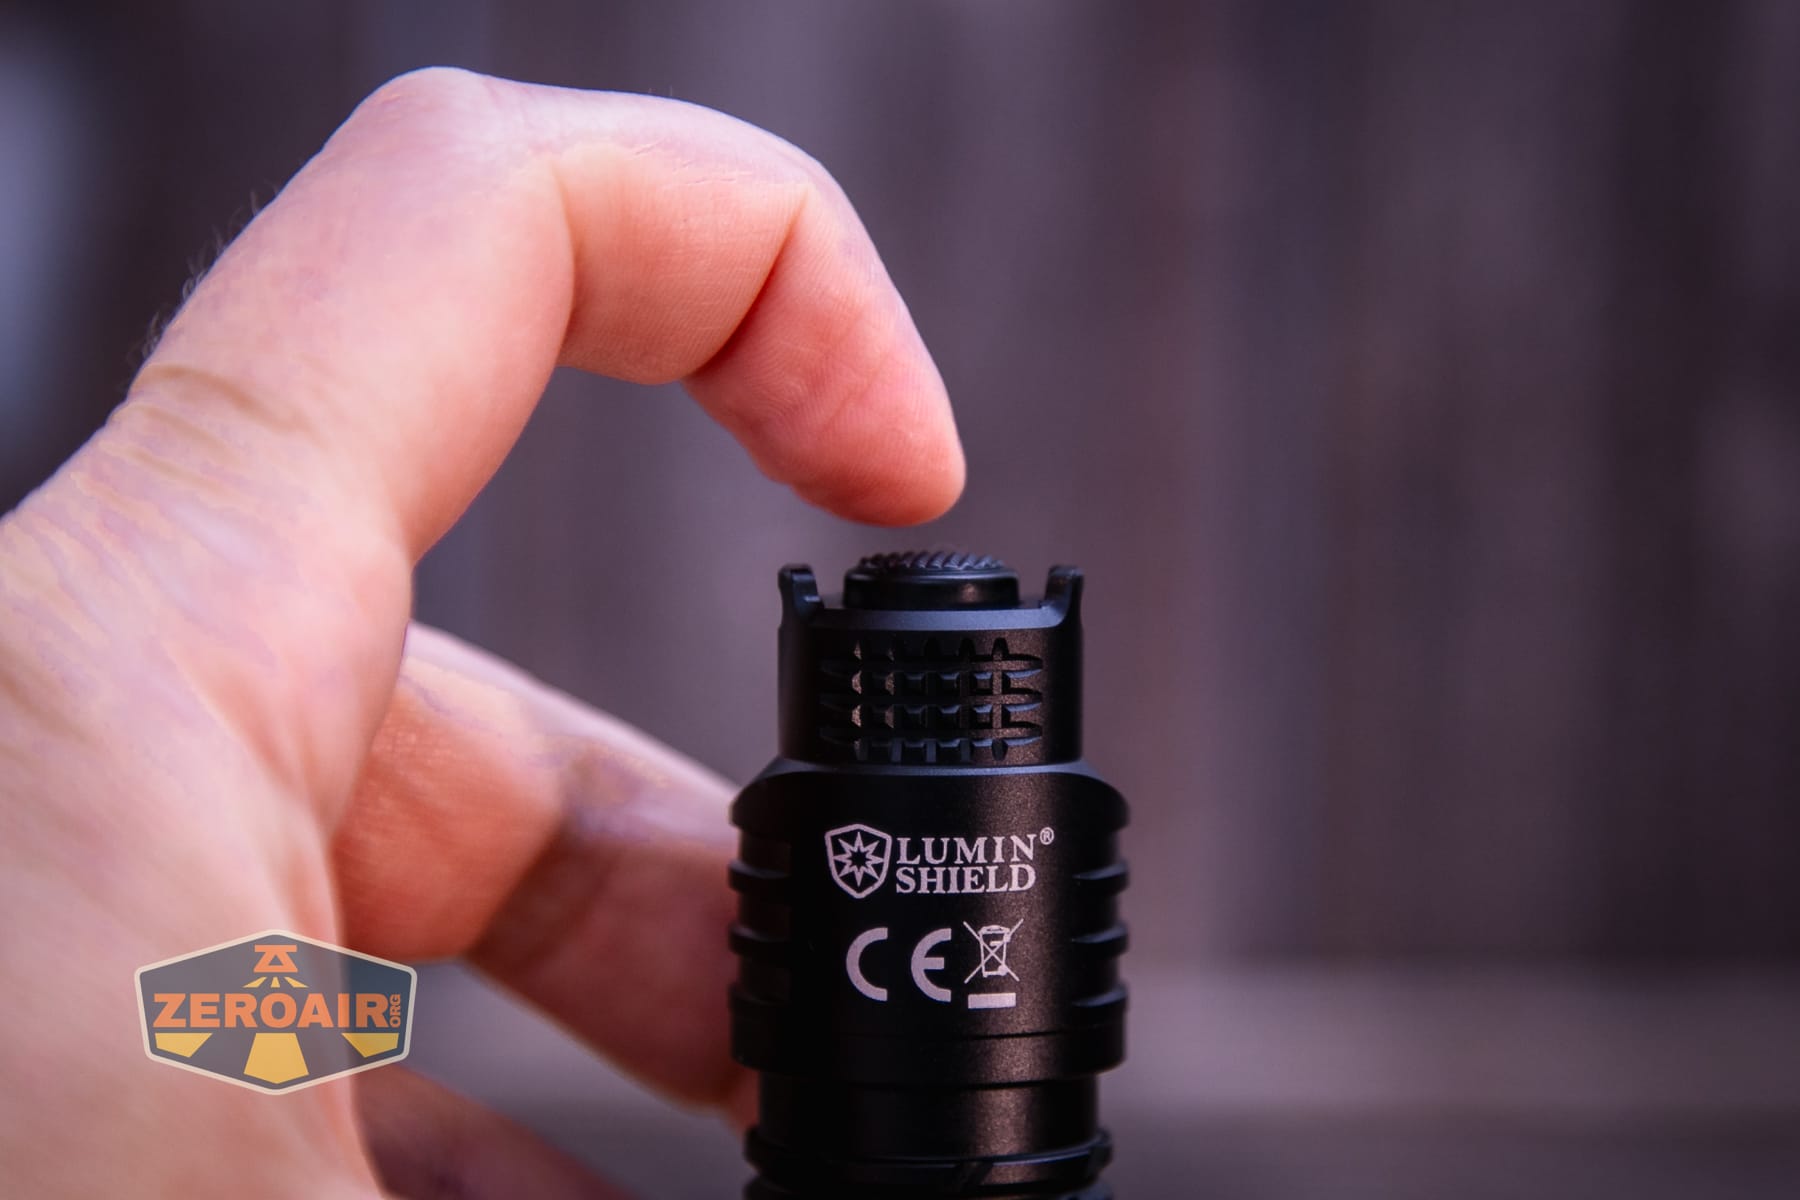
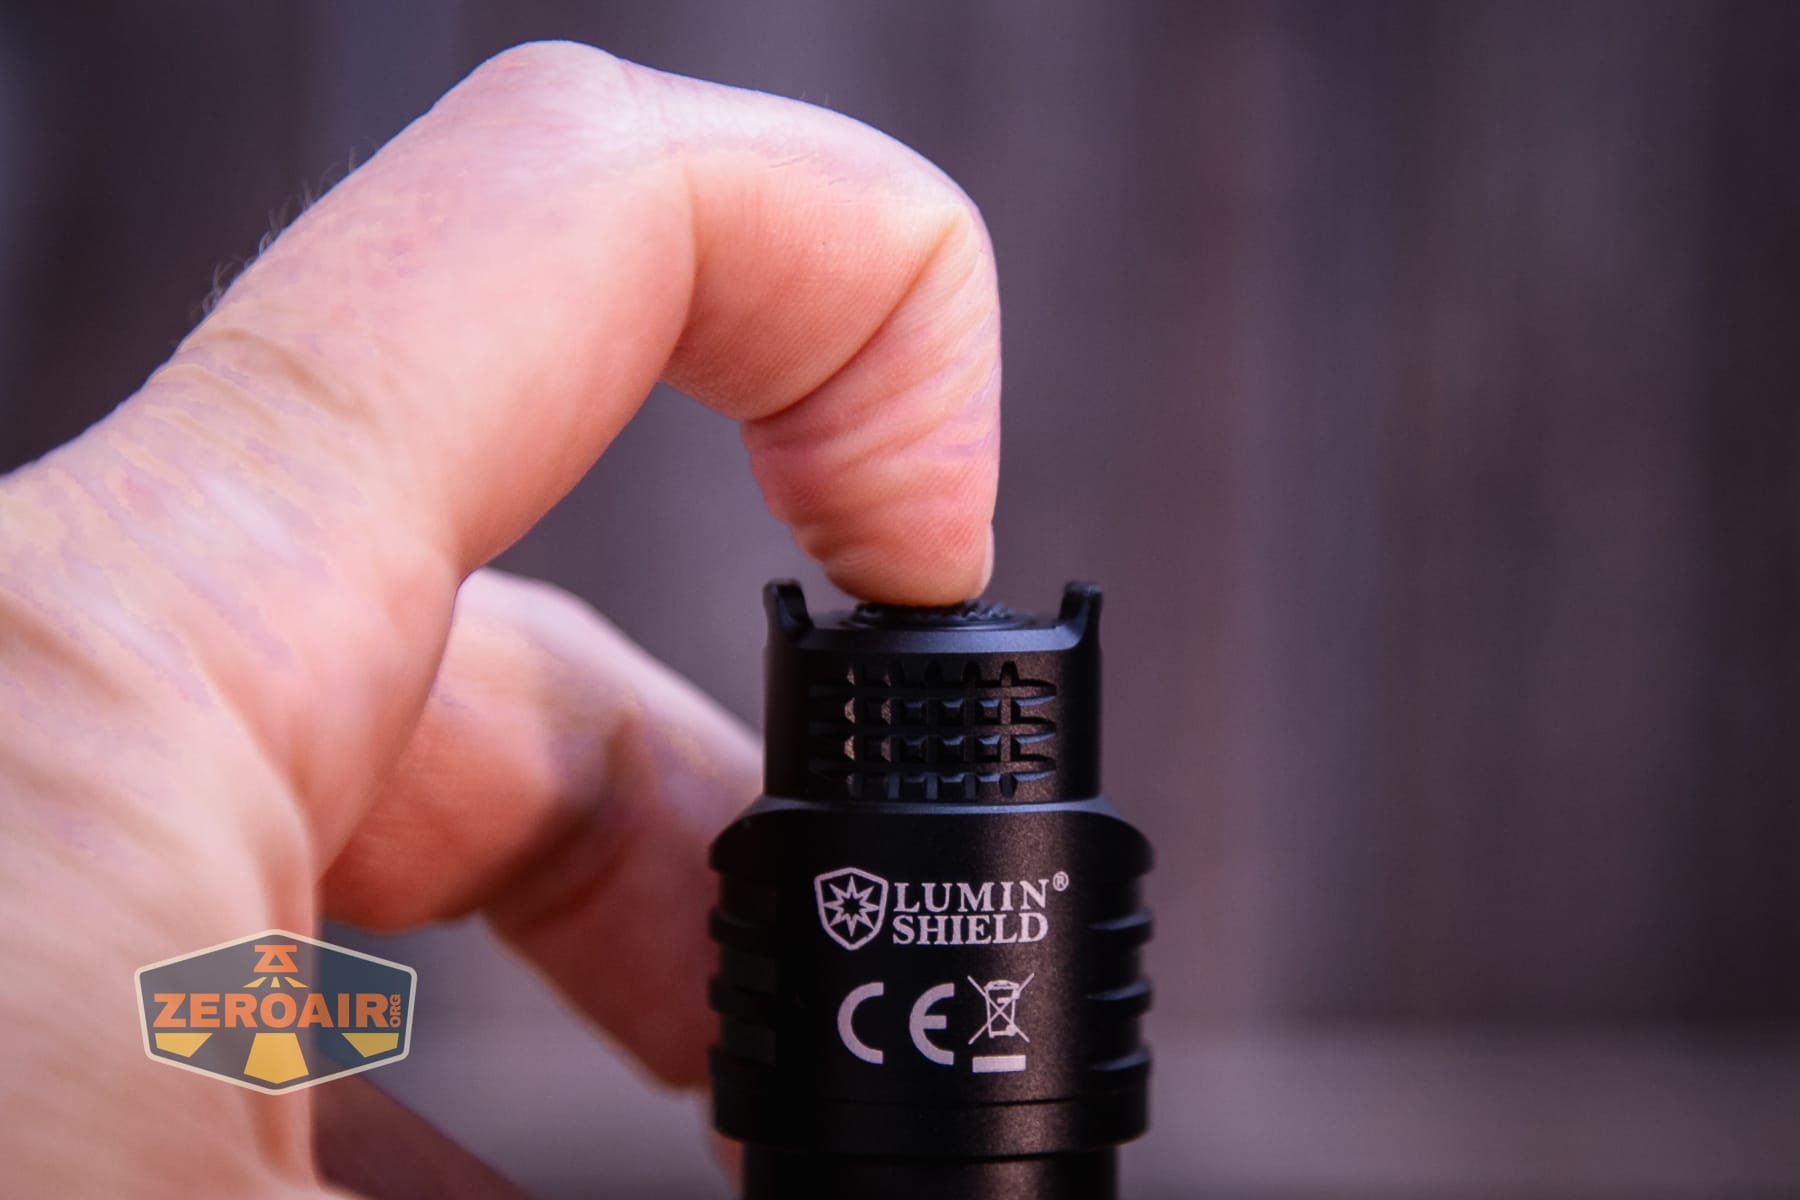
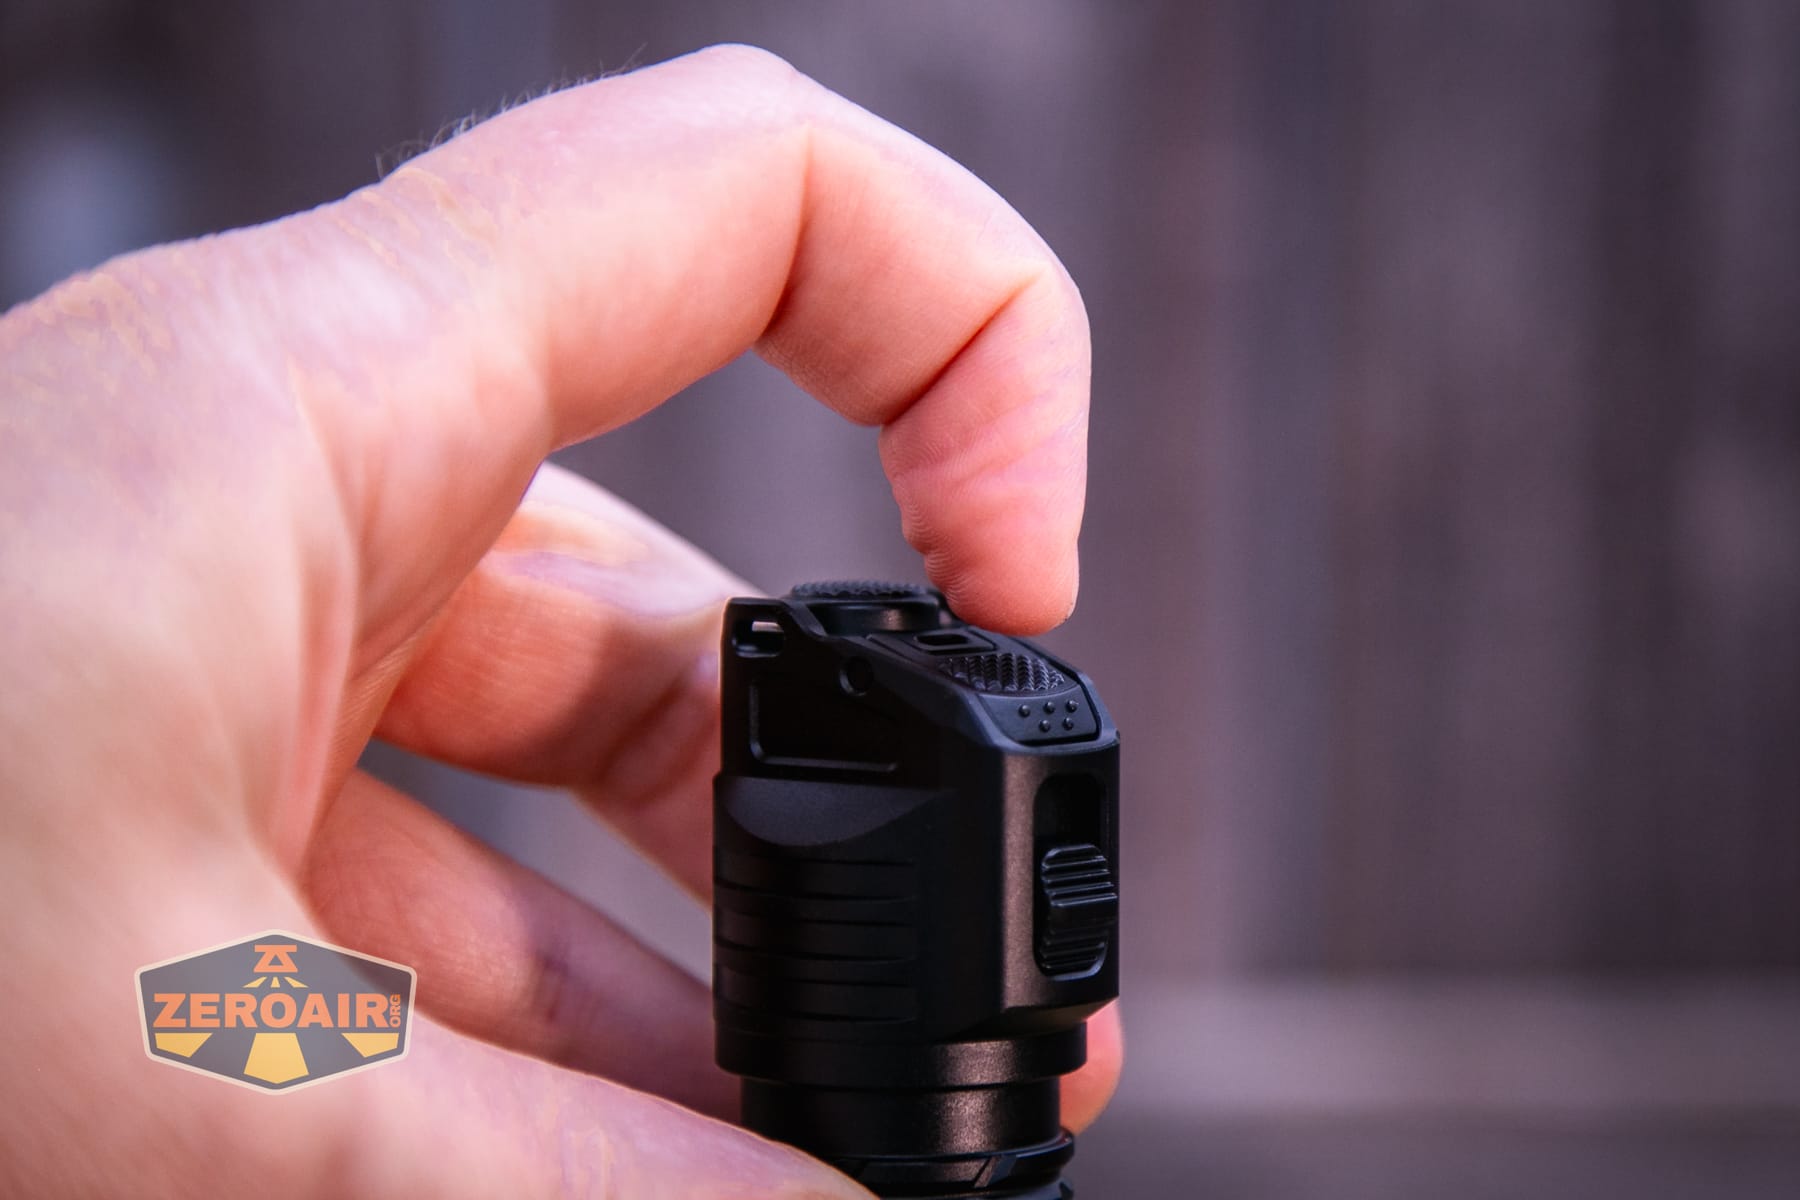
Finally, there’s this side “Set” button. It’s a standard e-switch. There are four green indicators (right side below) for the battery. There are also four blue indicators to show which output level is active.
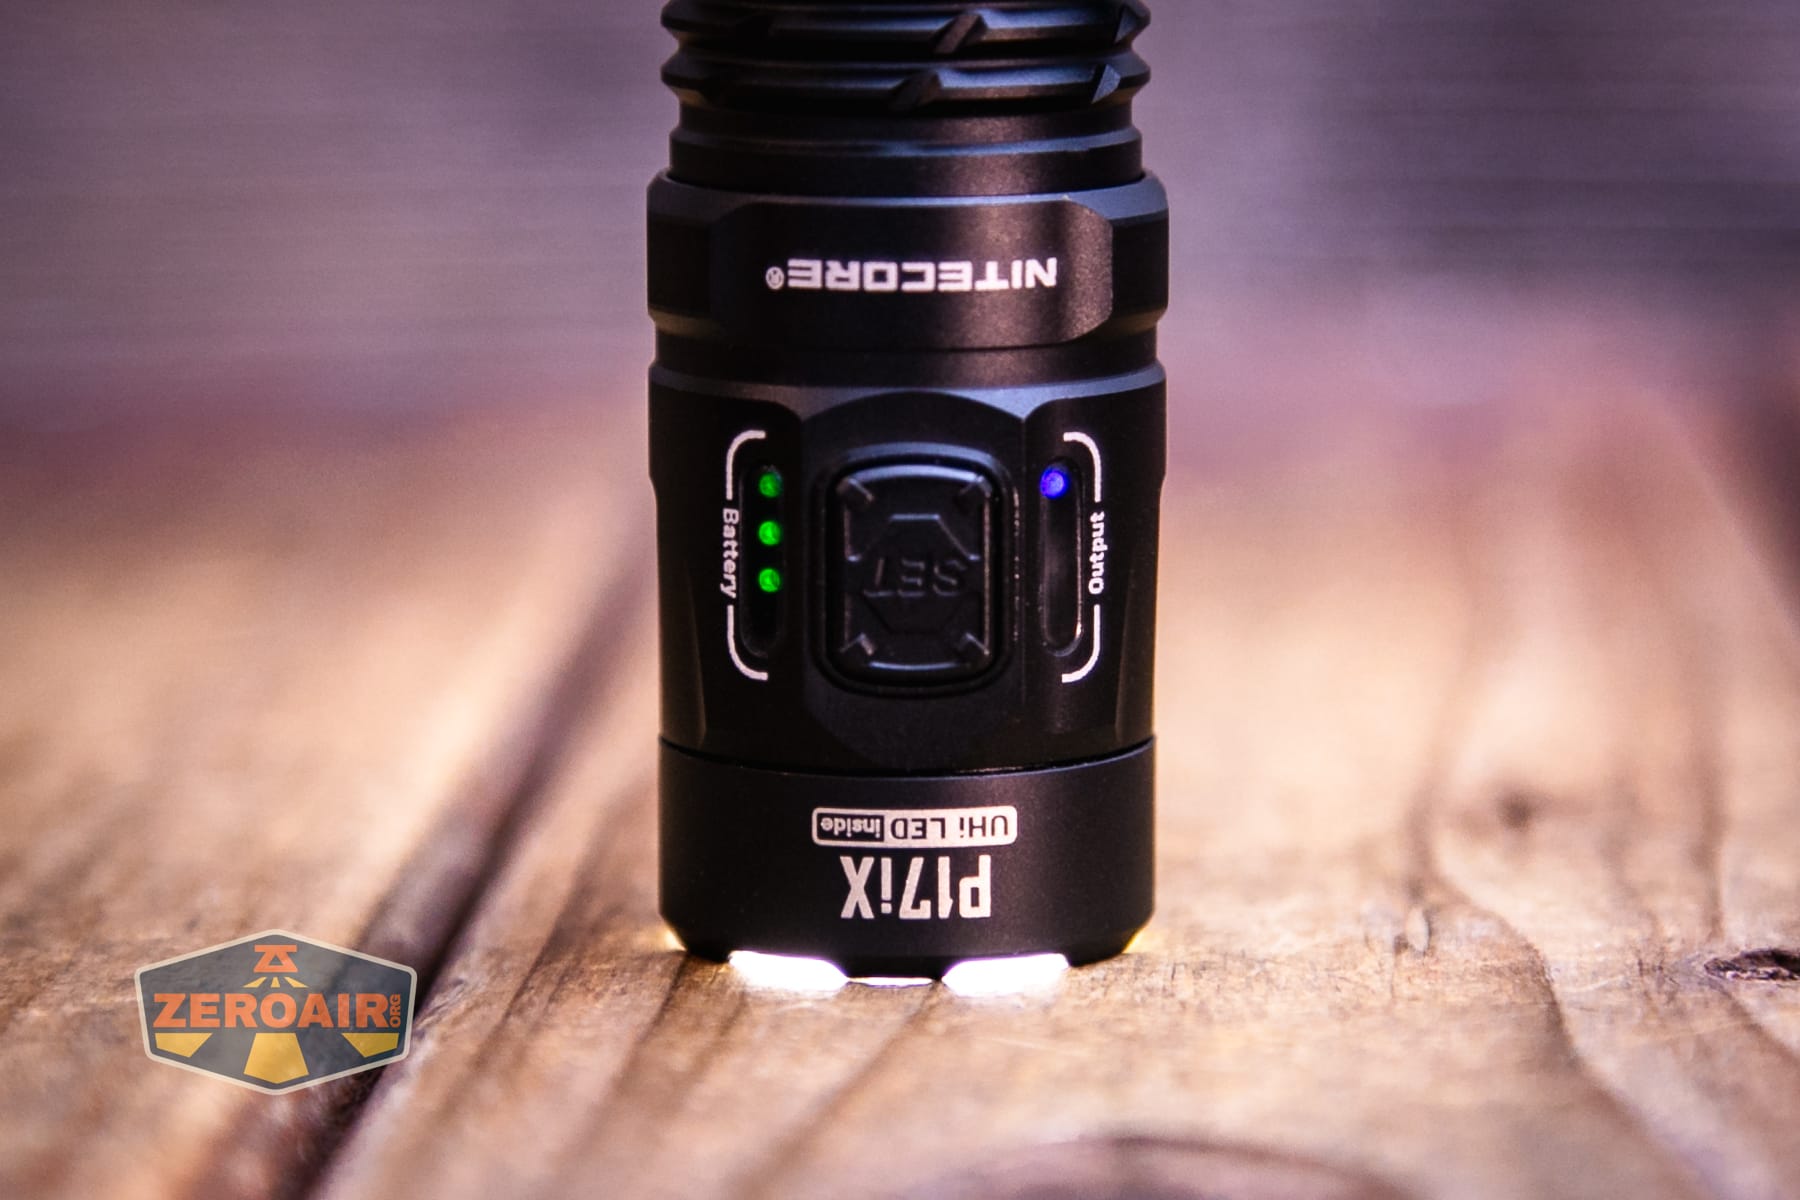
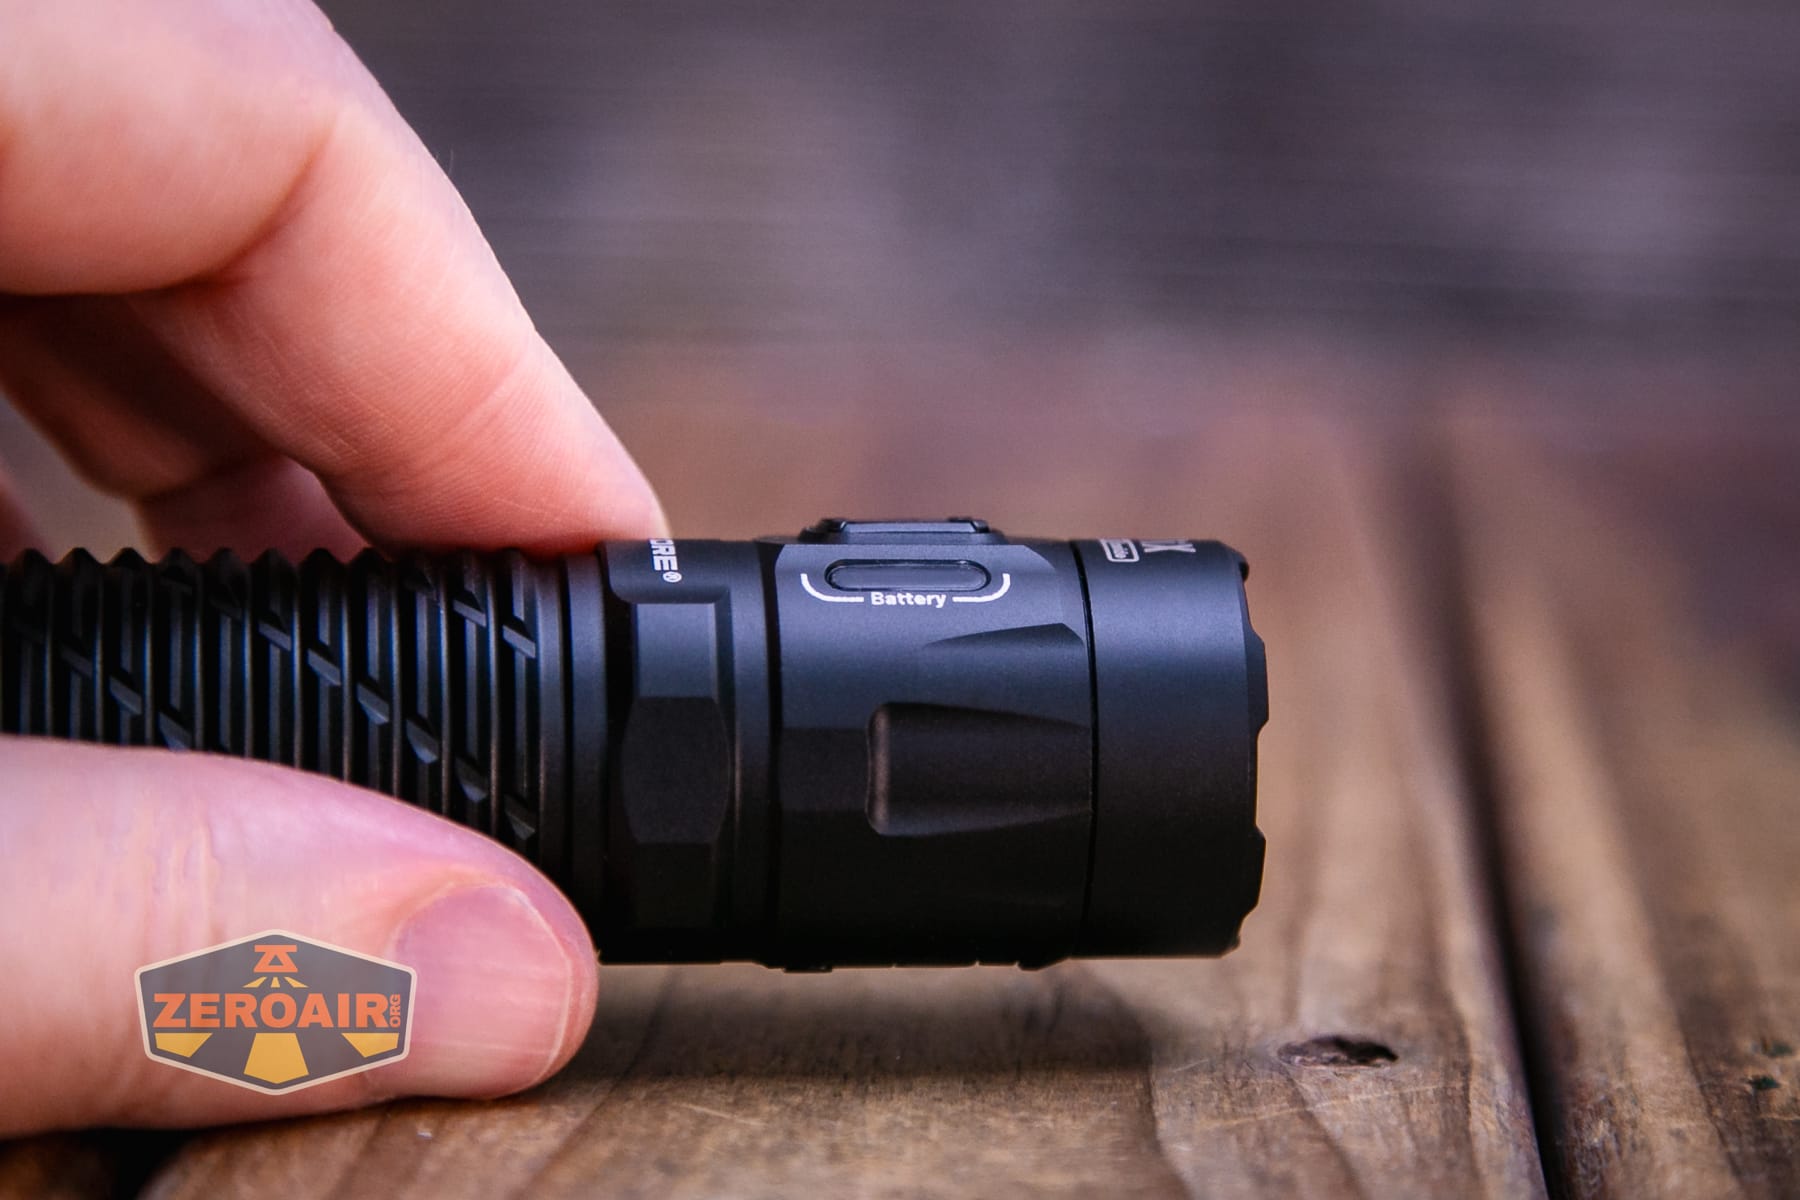
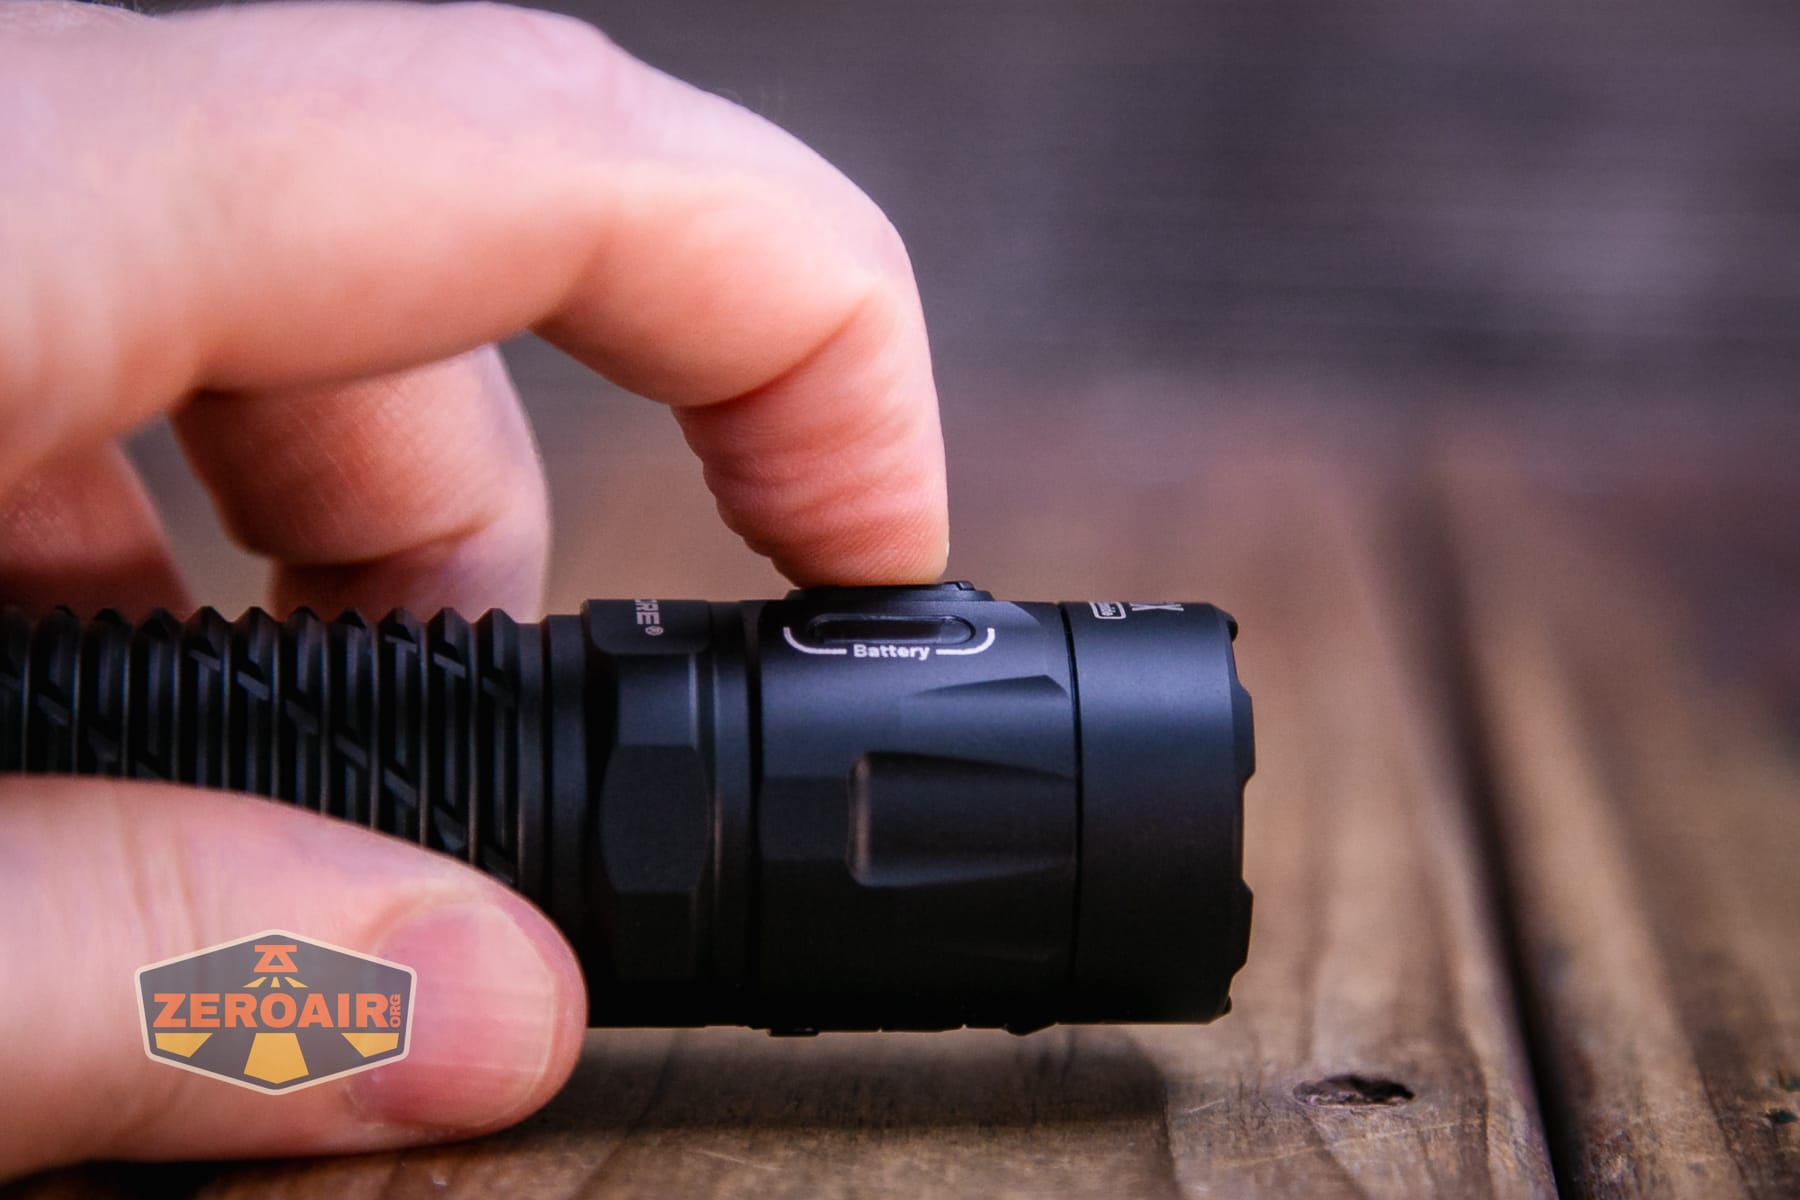
The Nitecore P17iX customizable tactical flashlight has two user interfaces – Basic and Advanced Mode. The difference seems to be what clicking the Set (side e-switch) button does (either cycles through on modes (advanced), or cycles through modes to off (basic) and mode memory (Advanced). Nitecore fully separates the usage of the side e-switch from the “Tactical Grip” usage. “The tactical grip provides access to TURBO / HIGH, MID / LOW, and LUMIN SHIELD® / STROBE / SEARCH.”
Here’s a user interface table!
| State | Action | Result |
|---|---|---|
| Basic Mode, Off | Click Set button | Low |
| Basic Mode, (Immediately) after turning light on | Click Set button | Mode advance (LMHT > Off) |
| Basic or Advanced Mode, On | Hold Set button | Advance: Spotlight > Mixed Light > Floodlight Release to select and memorize the output |
| Basic or Advanced Mode, Off | Hold Set button 3s | Warning Flash |
| Basic or Advanced Mode, On for >3s | Click Set button | Off |
| Advanced Mode, Off | Click Set button | On – Memory |
| Advanced Mode, (Immediately) after turning light on | Click Set button | Mode advance (LMHT) |
| Off | Hold Tail, click Set 3x | Iterate between Basic (1 blink) and Advanced (2 blinks) Modes |
| Off | Half press and hold Tail Button | Mid (momentary)^ |
| Off | Full press and hold Tail Button | Turbo (momentary)^ |
| Off | Half press and hold Engage Button | Lumin Shield (momentary) |
| Off | Full press and hold Engage Button | Strobe (momentary |
| Off | Half press Tail Button | Mid^ |
| Mid (only from Tail half press) | Half press Tail Button | Turbo^ |
| On | Full press Tail button | Off |
^ The default for tail output (other than those special two highest outputs) is Floodlight. But you can change that in Basic Mode: after turning on the light by half pressing or full pressing the Tail Button, press and hold the SET Button to cycle through the following sequence: Spotlight – Mixed Light – Floodlight. Release to confirm and memorize the beam pattern for the current brightness level. When the brightness level is reactivated, the product will automatically access the previously memorized beam pattern. It can also be done in the Advanced Mode: after turning on the light by half pressing or full pressing the Tail Button, short press the SET Button, and then immediately press and hold it. The light will cycle through the following sequence: Spotlight – Mixed Light – Floodlight. Release to confirm and memorize the beam pattern for the current brightness level. When the brightness level is reactivated, the product will automatically access the previously memorized beam pattern.
The tail switches can be configured, too!
Customizable Button Settings
Both half and full-press-and-hold of the Engage Button can be configured independently to directly access LUMIN SHIELD® , STROBE or SEARCH. Both half press and half-press-and-hold of the Tail Button can be configured to directly access LOW or MID, while full press and full-press-and-hold of the Tail Button can be configured to directly access HIGH or TURBO.
Engage Button Half-press-and-hold Configuration: When the light is off, while half pressing and holding the Engage Button, long press the SET Button to cycle through the following sequence: LUMIN SHIELD® (Default Setting) – STROBE – SEARCH. Once the desirable output is selected, release both buttons. The light will memorize this setting for half-press-and-hold of the Engage Button.
Engage Button Full-press-and-hold Configuration: When the light is off, while full pressing and holding the Engage Button, long press the SET Button to cycle through the following sequence: LUMIN SHIELD® – STROBE (Default Setting) – SEARCH. Once the desirable output is selected, release both buttons. The light will memorize this setting for full-press-and-hold of the Engage Button.
Tail Button Half Press / Half-press-and-hold Configuration: When the light is off, while half pressing and holding the Tail Button, long press the SET Button to switch between LOW and MID (Default Setting). Once the desirable output is selected, release both buttons. The light will memorize this setting for both half press and half-pressand-hold of the Tail Button.
Tail Button Full Press / Full-press-and-hold Configuration: When the light is off, while full pressing and holding the Tail Button, long press the SET Button to switch between HIGH and TURBO (Default Setting). Once the desirable output is selected, release both buttons. The light will memorize this setting for both full press and fullpress-and-hold of the Tail Button.
Reset to Factory Default: While in Lockout Mode, half or full press and hold the Engage Button without releasing it. Then, quickly short press the SET Button three times or more. The flashlight will flash three times to confirm that the reset has been successfully completed. Unlock the light to use.
LED and Beam
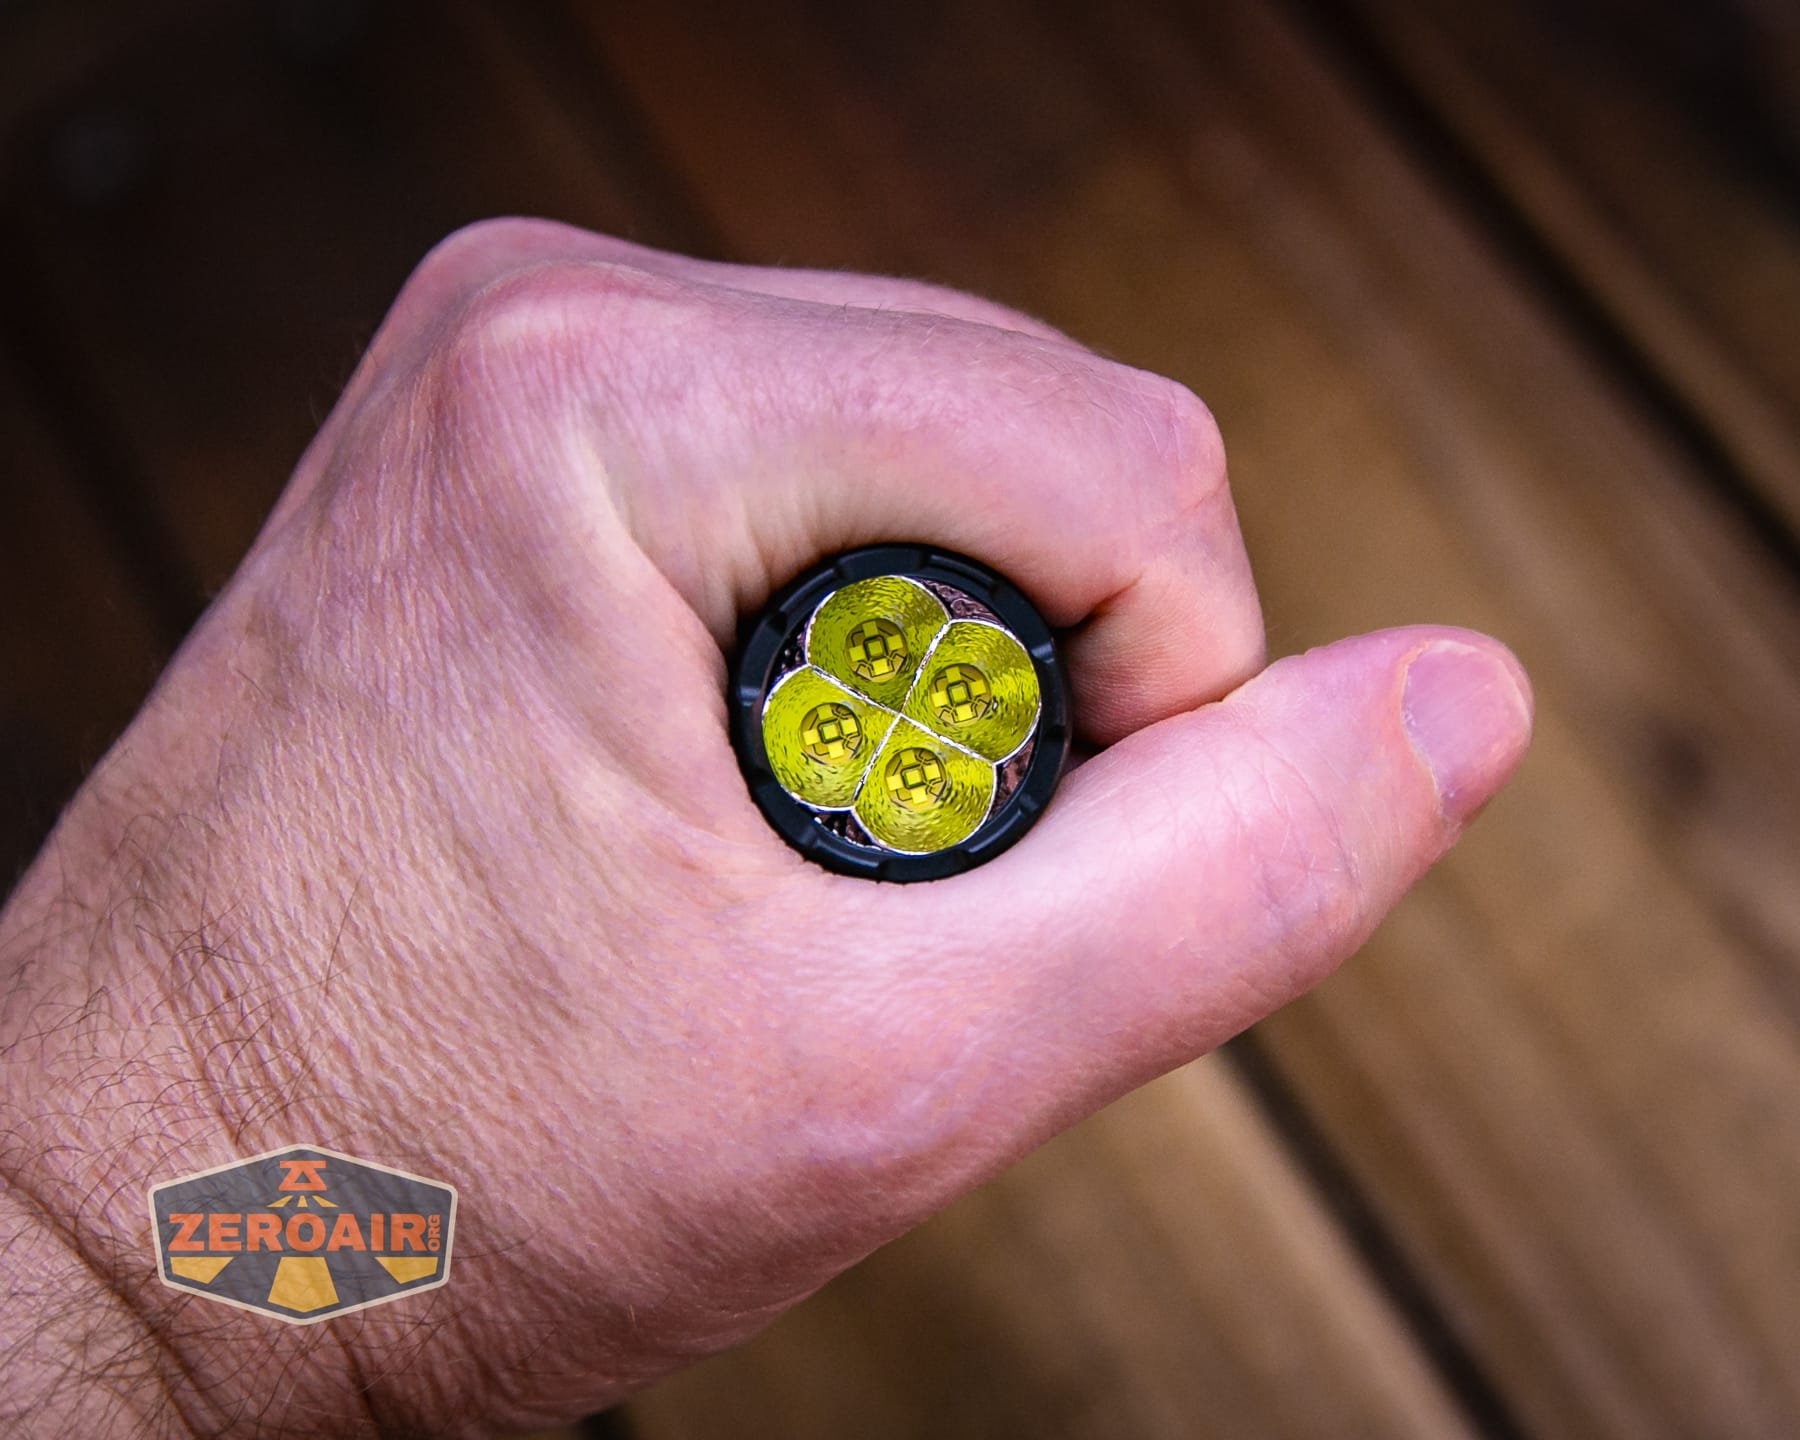
Nitecore uses four M515S emitters in the Nitecore P17iX customizable tactical flashlight. They each have a little orange peel reflector.
The bezel has a bit of shape, including three glass-breaking balls, allowing light to escape while the P17iX is headstanding.
The three glass breakers provide a nice tripod of support!
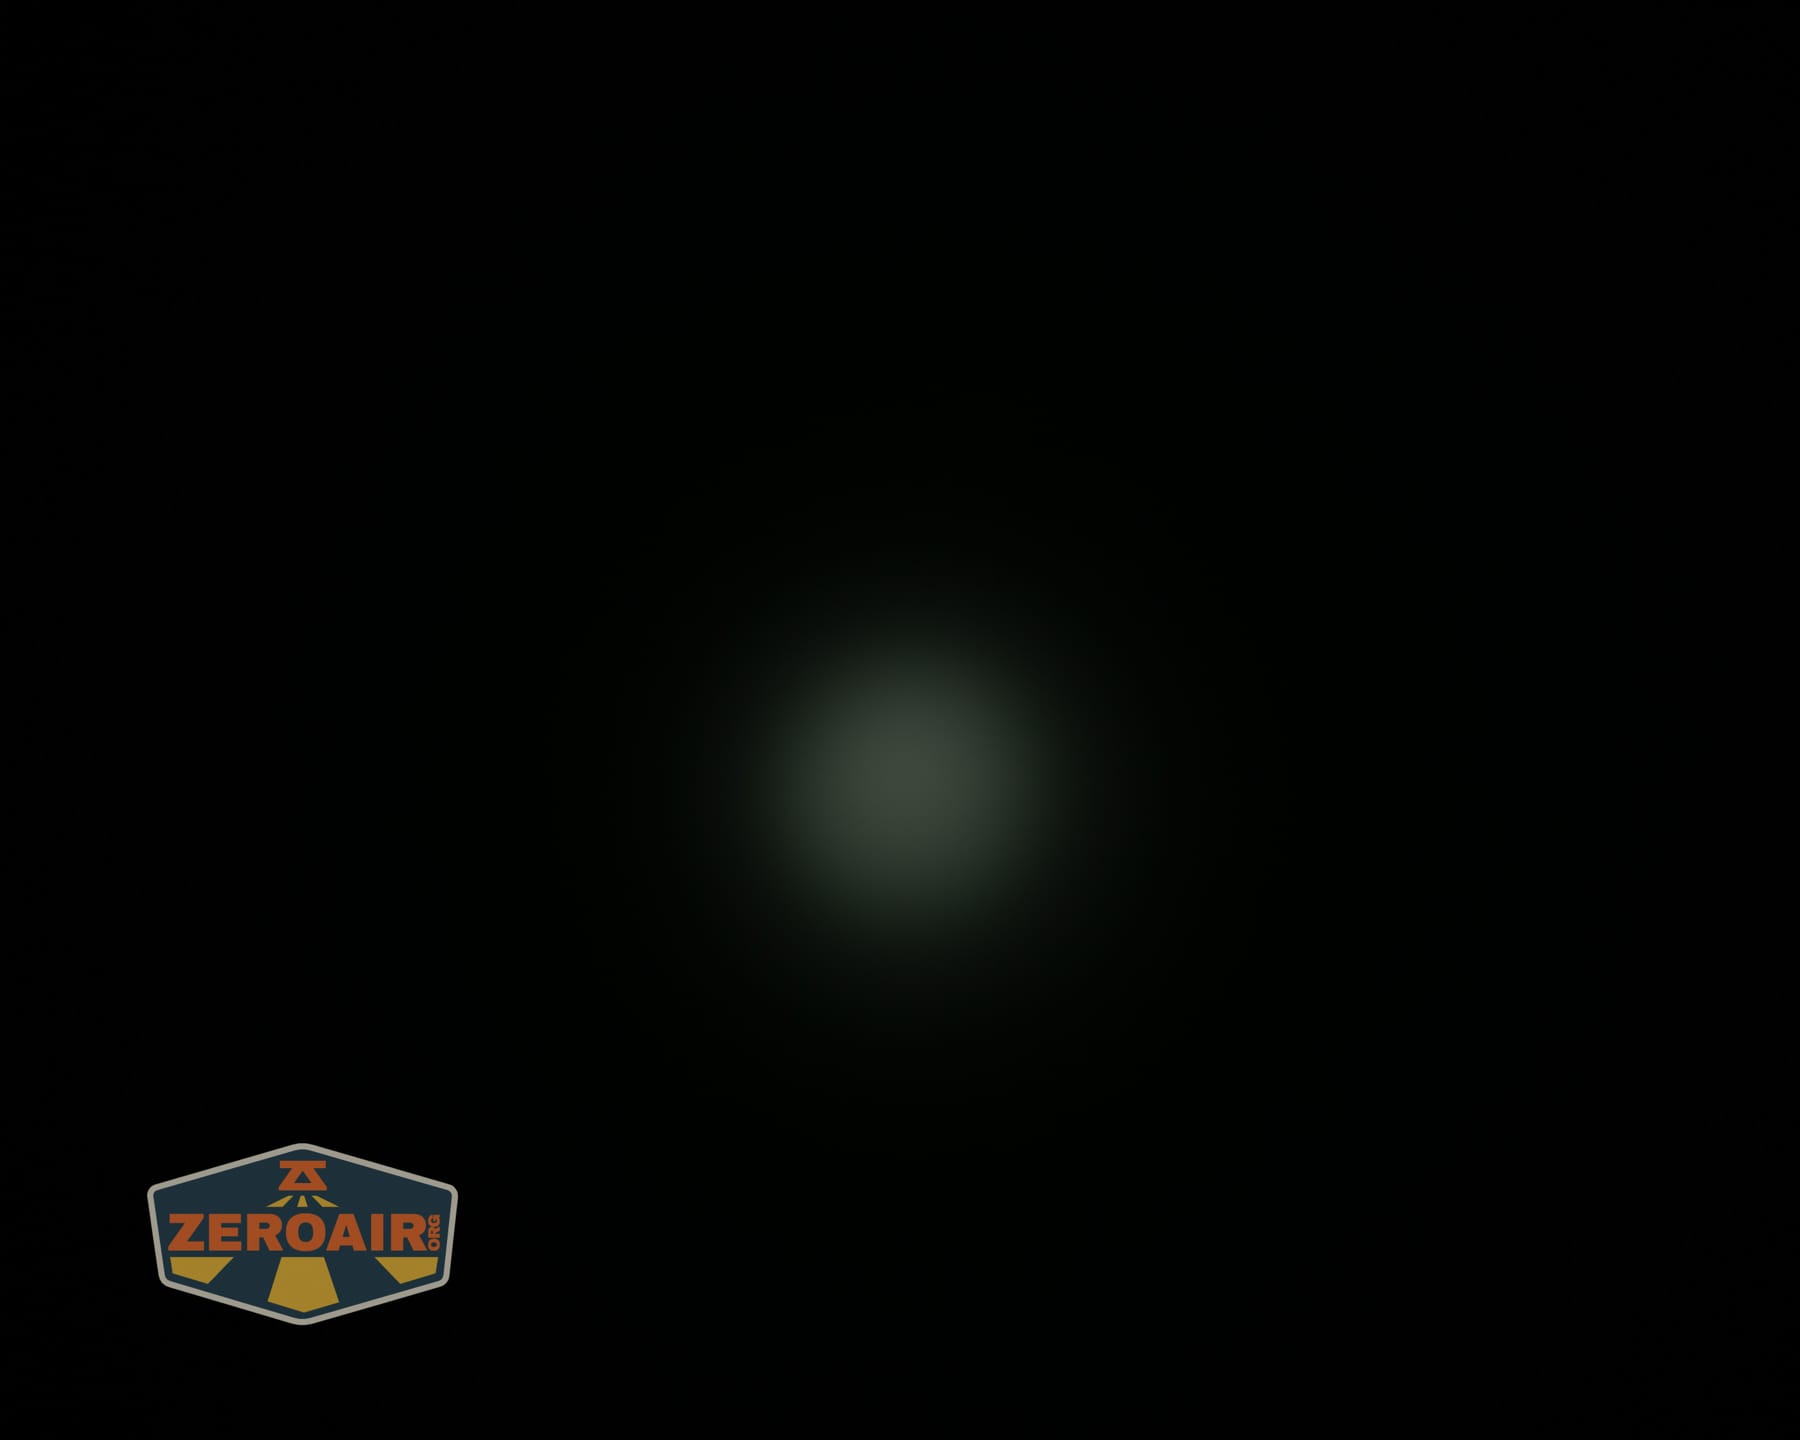
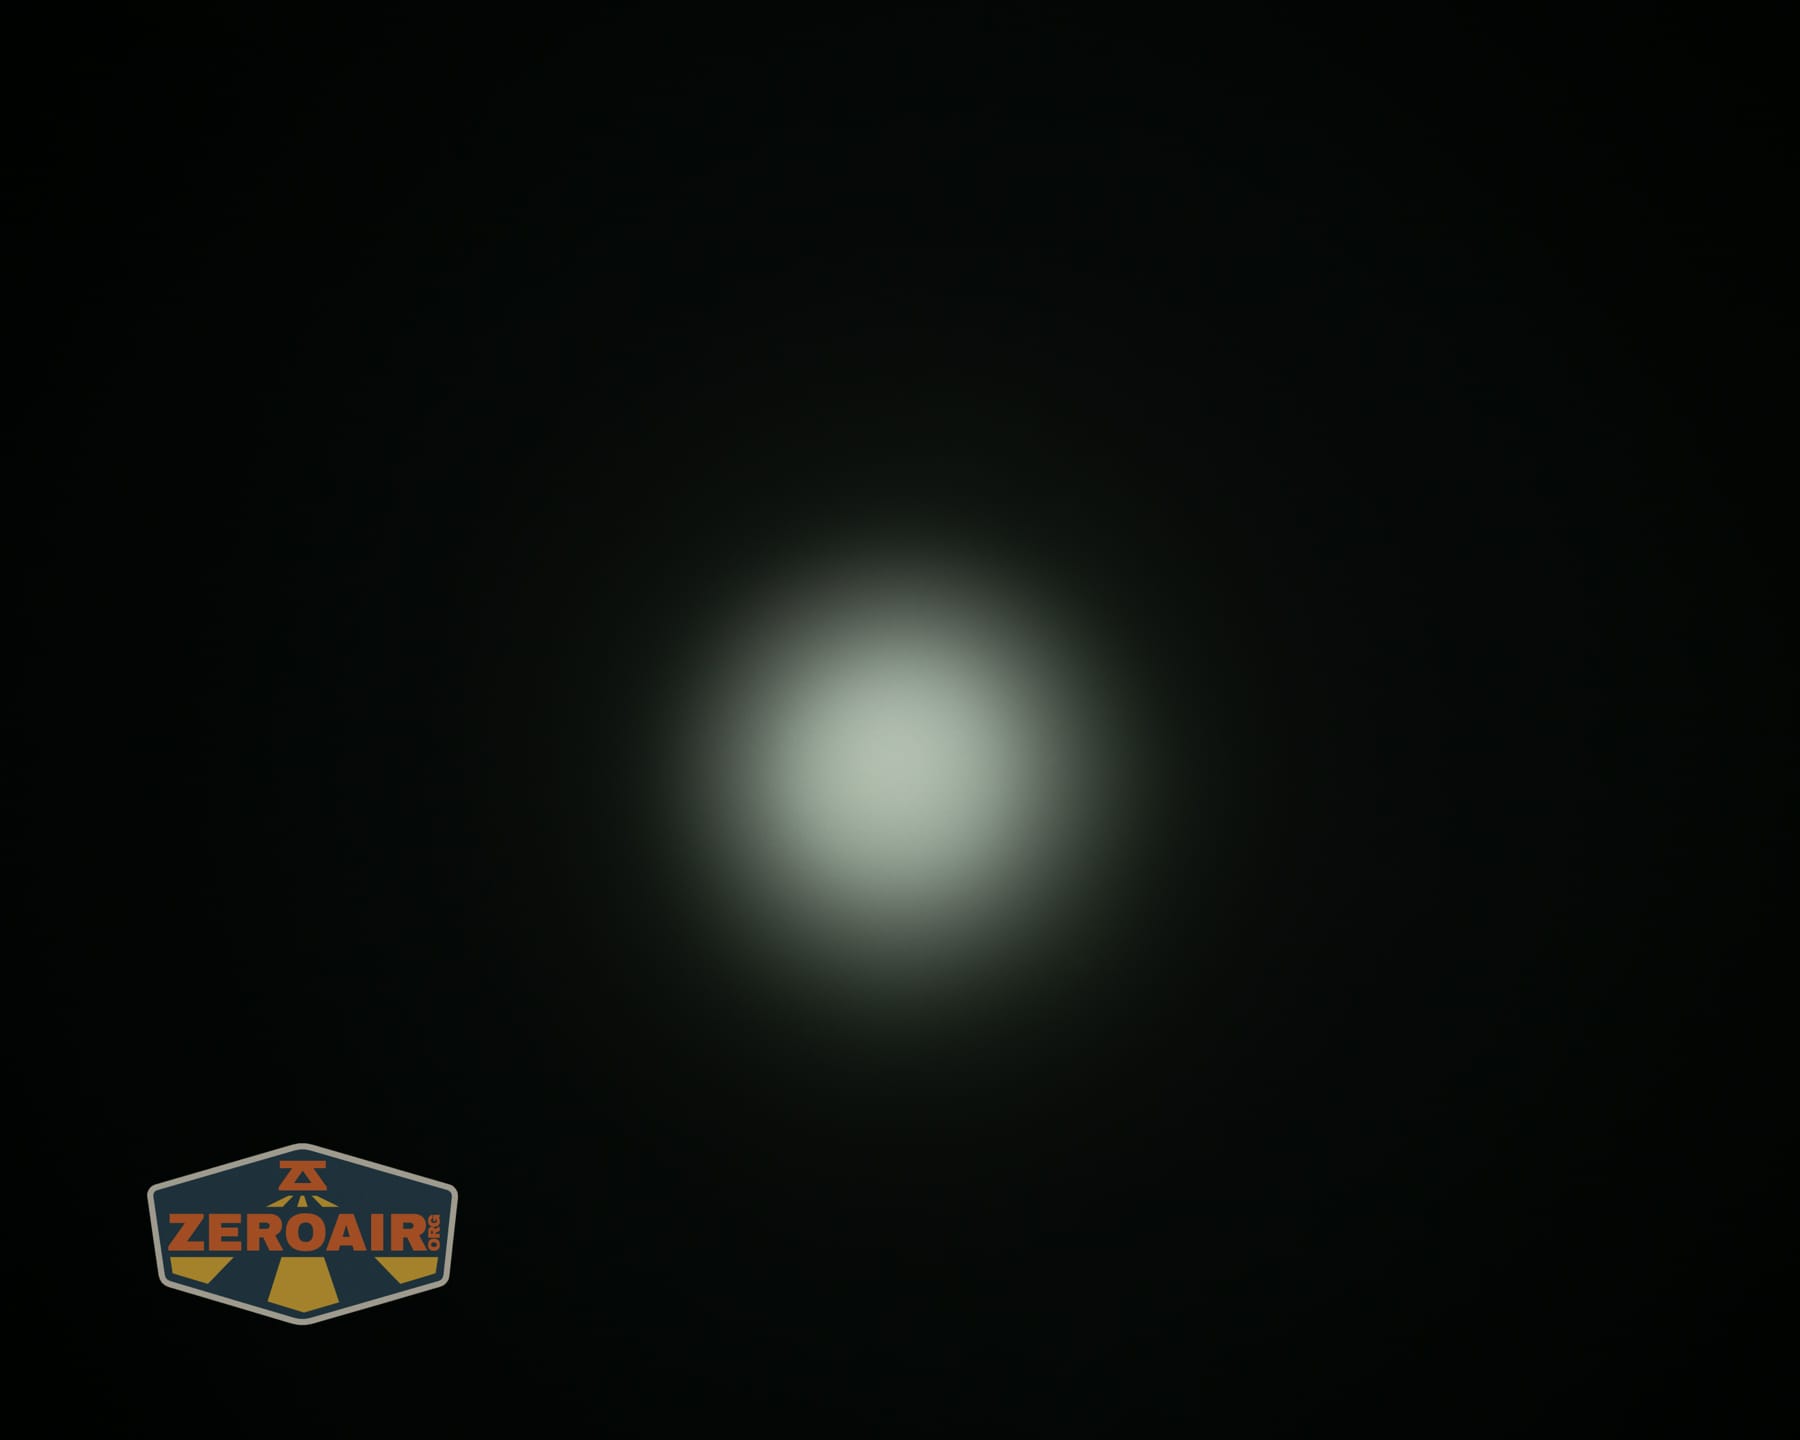
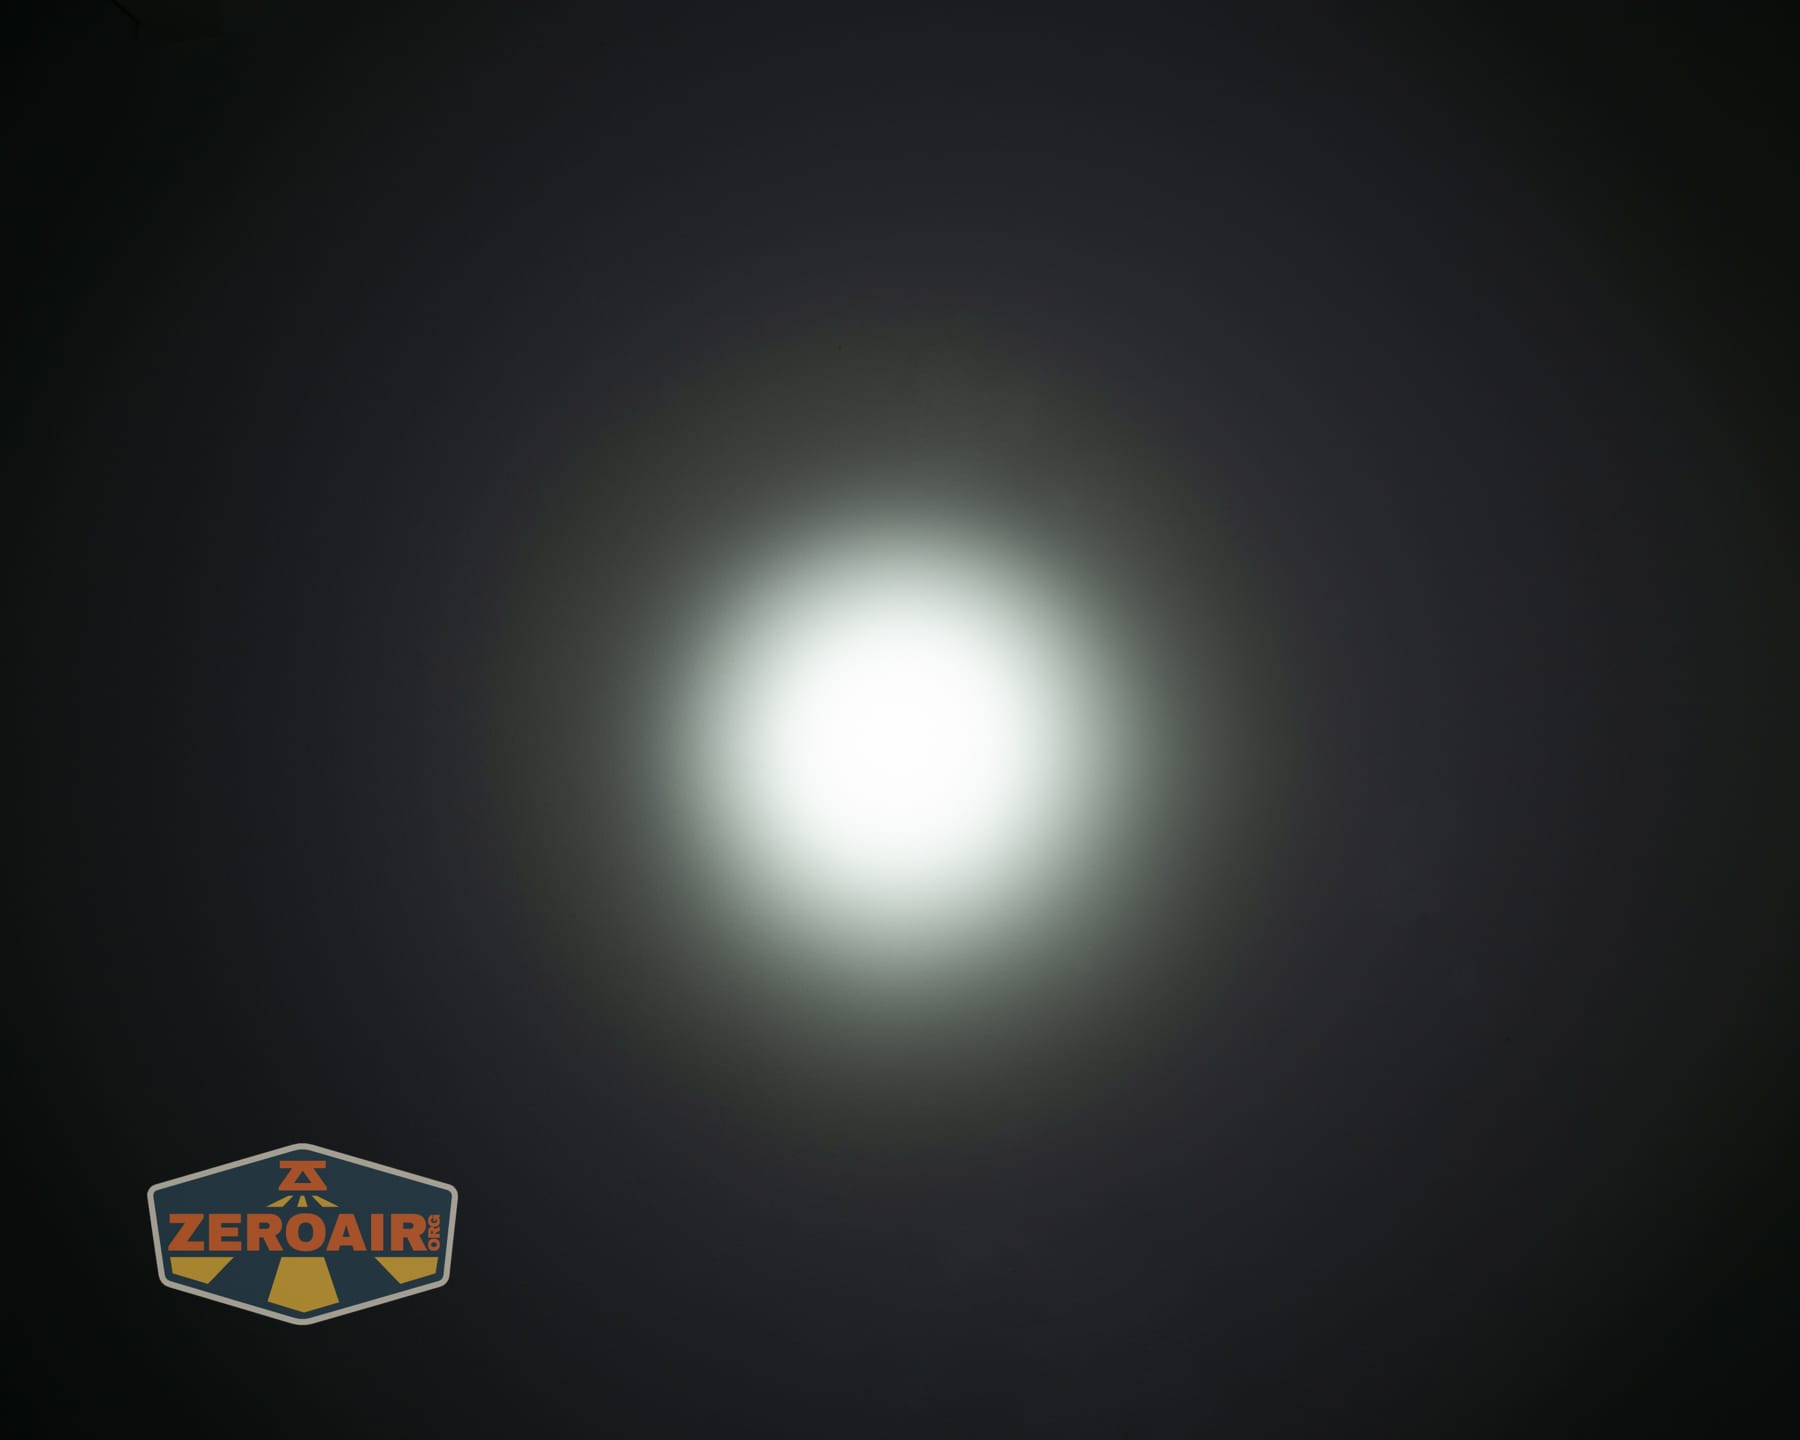
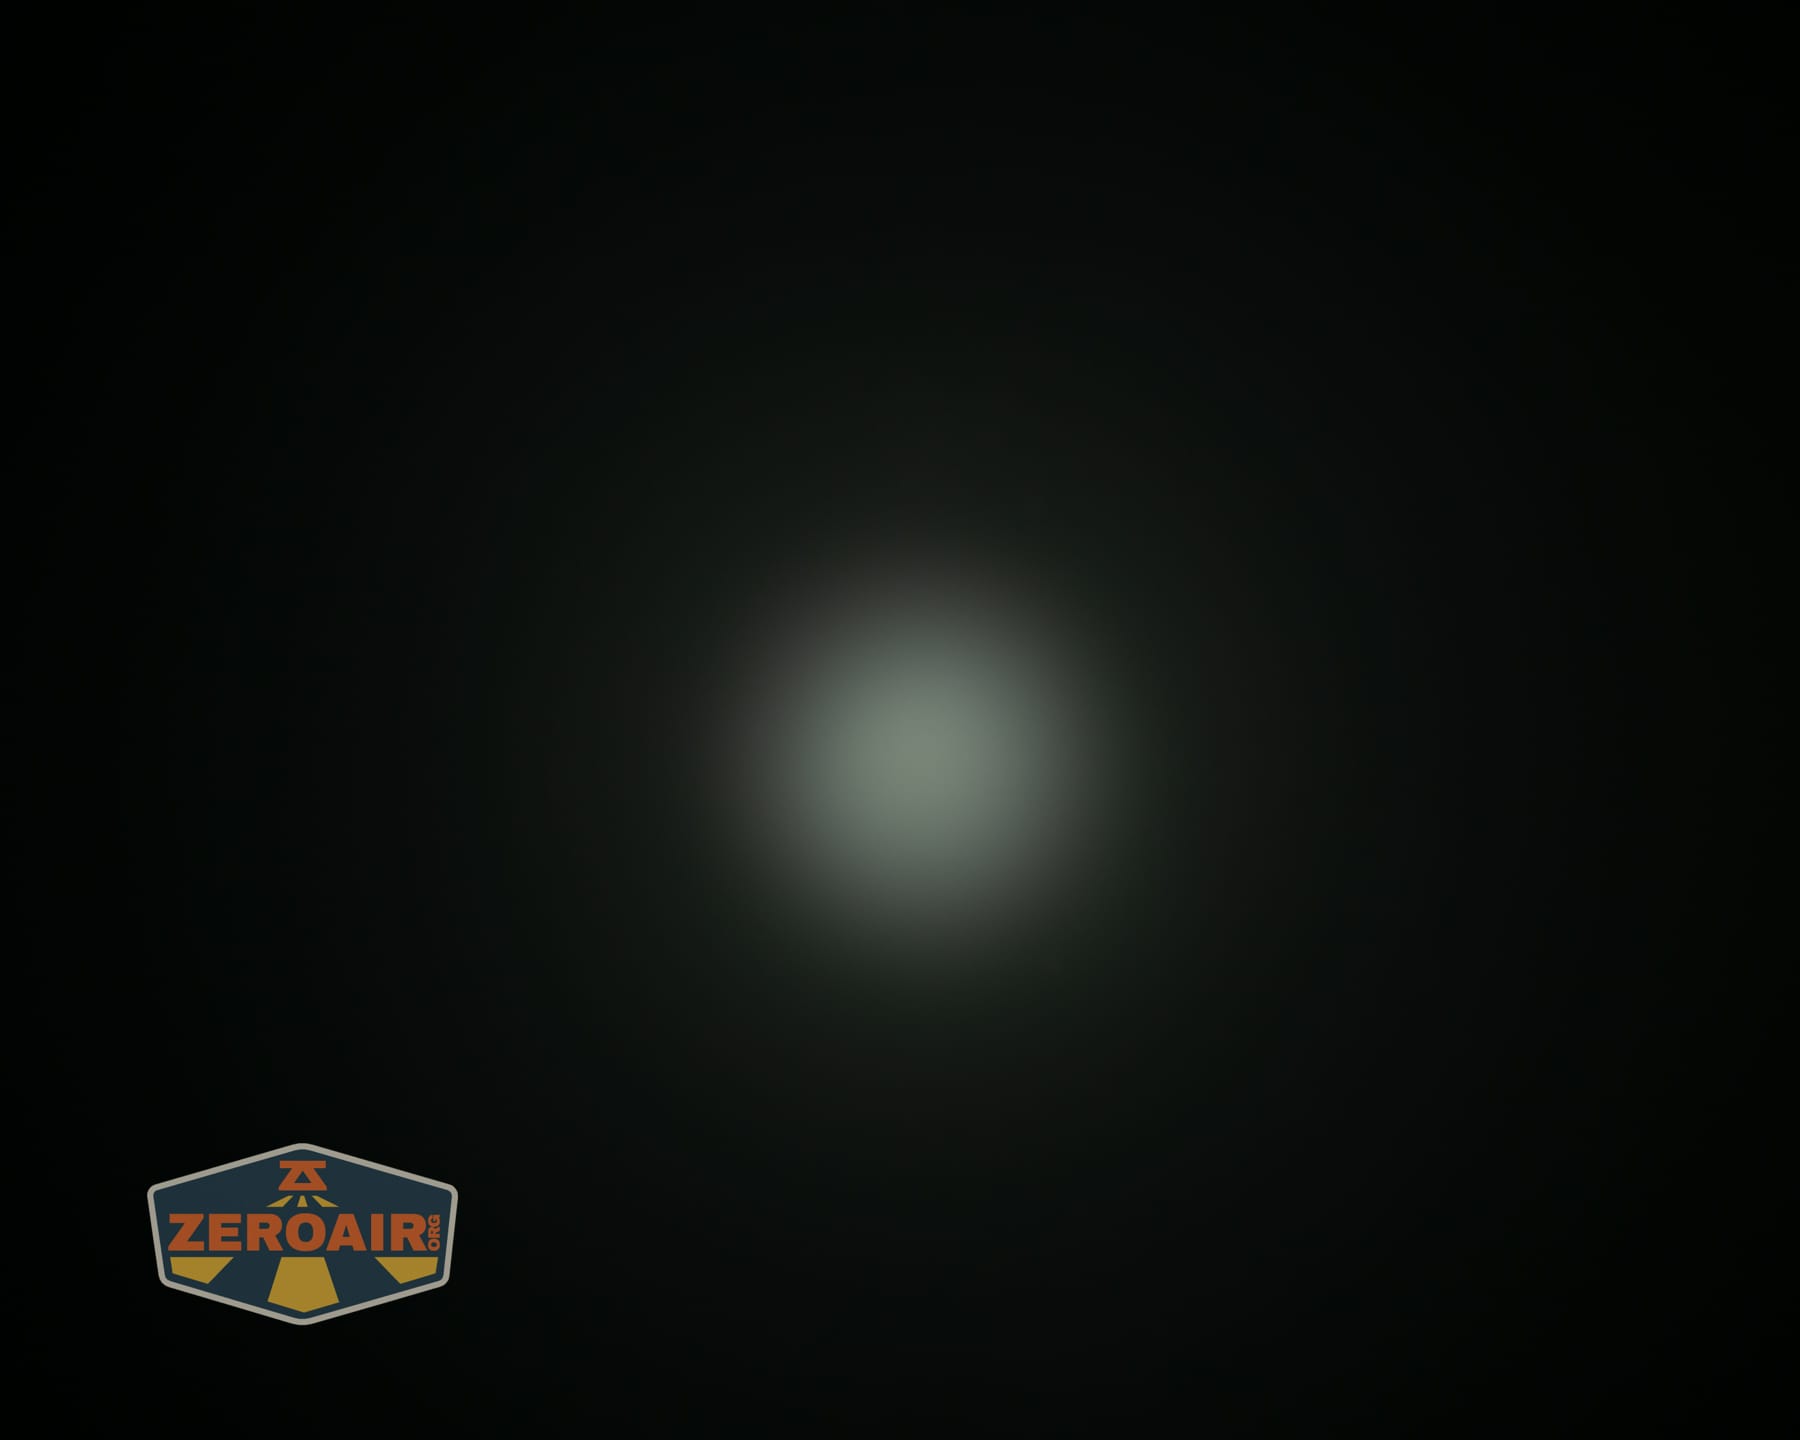
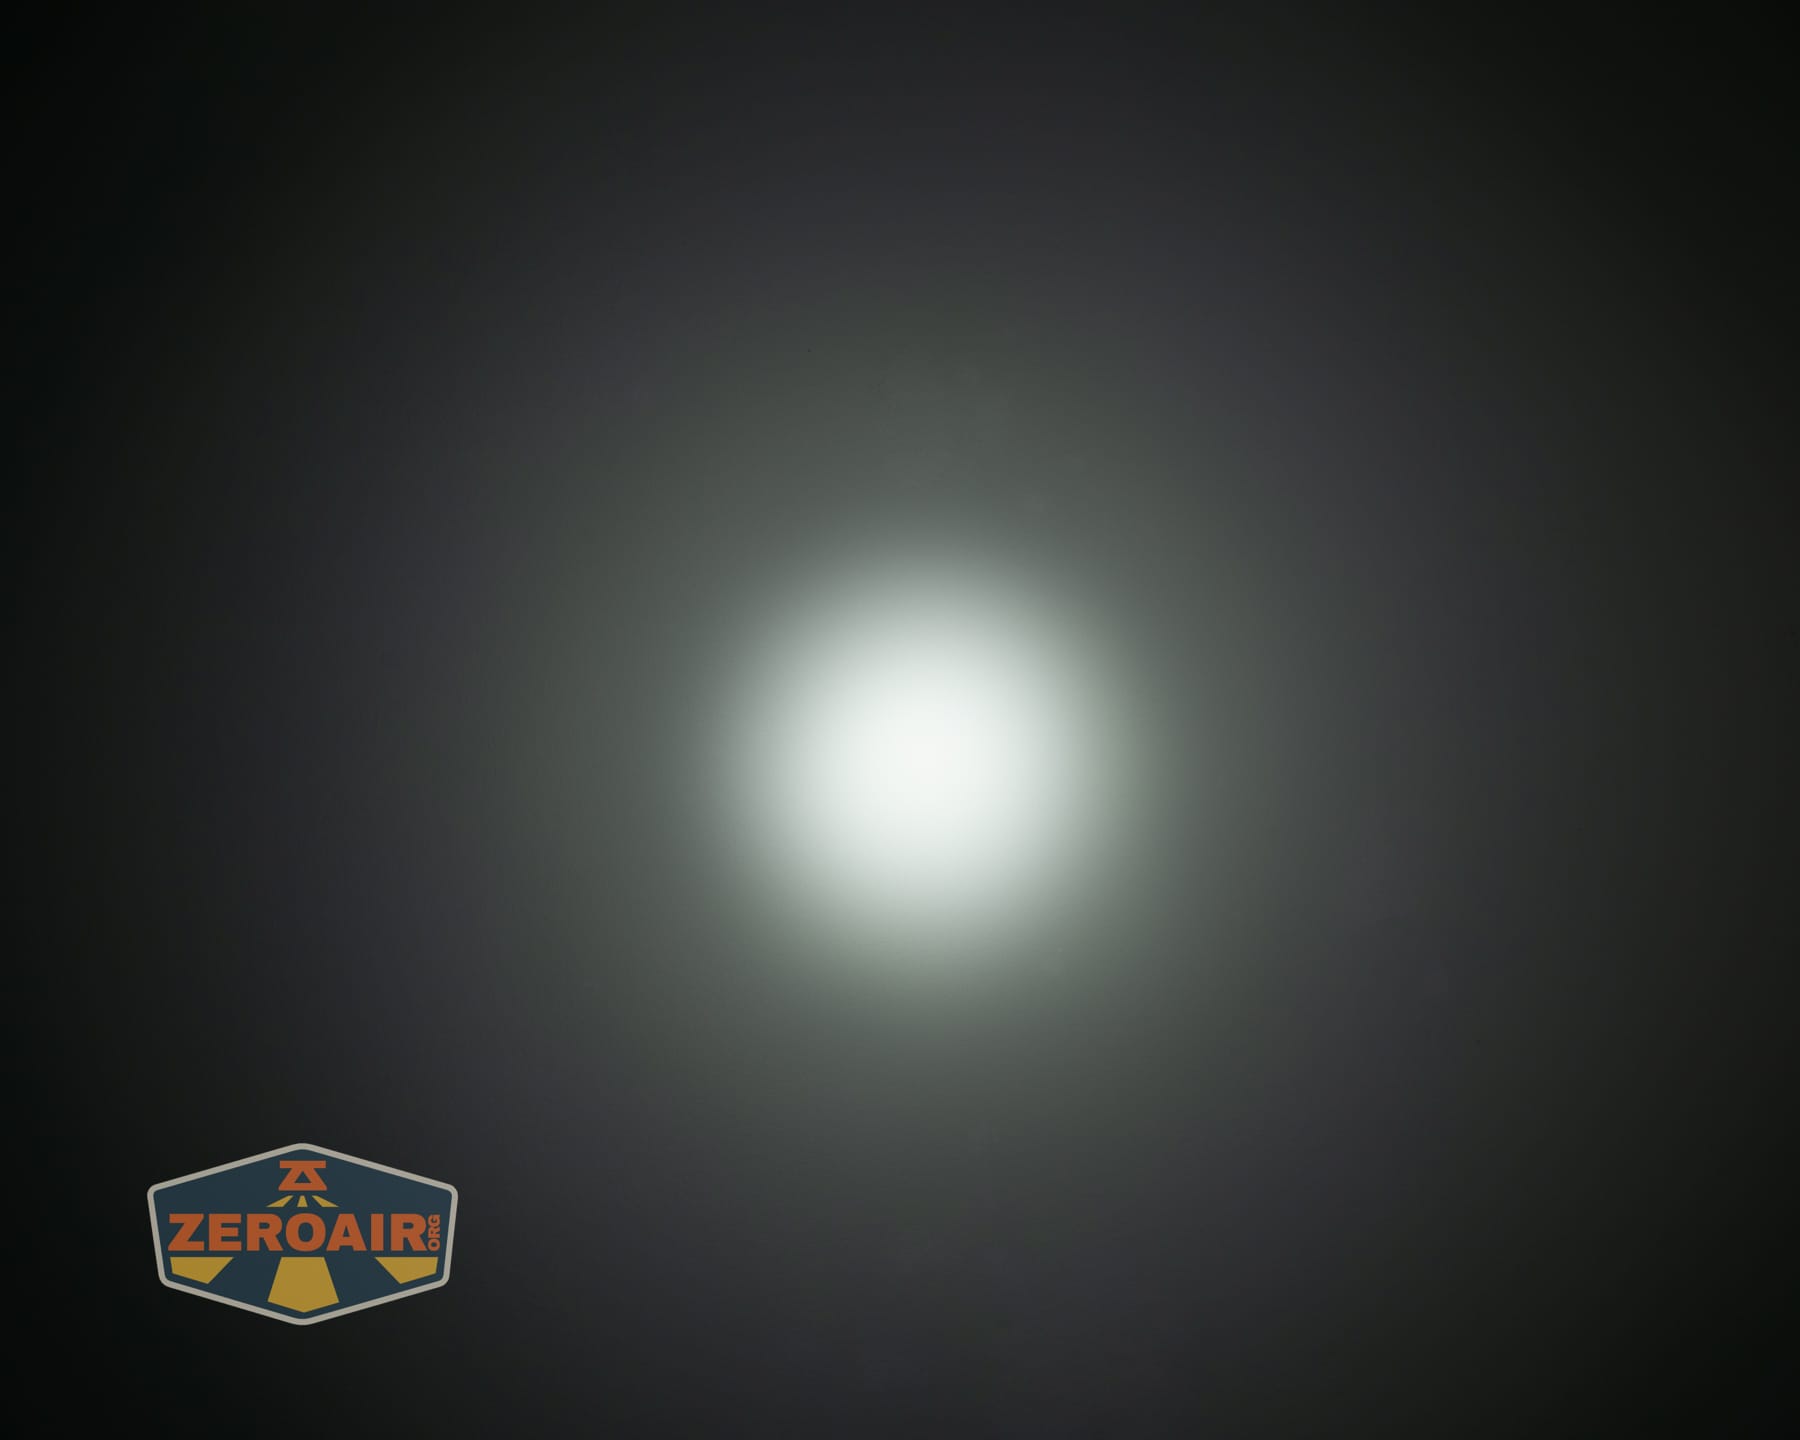
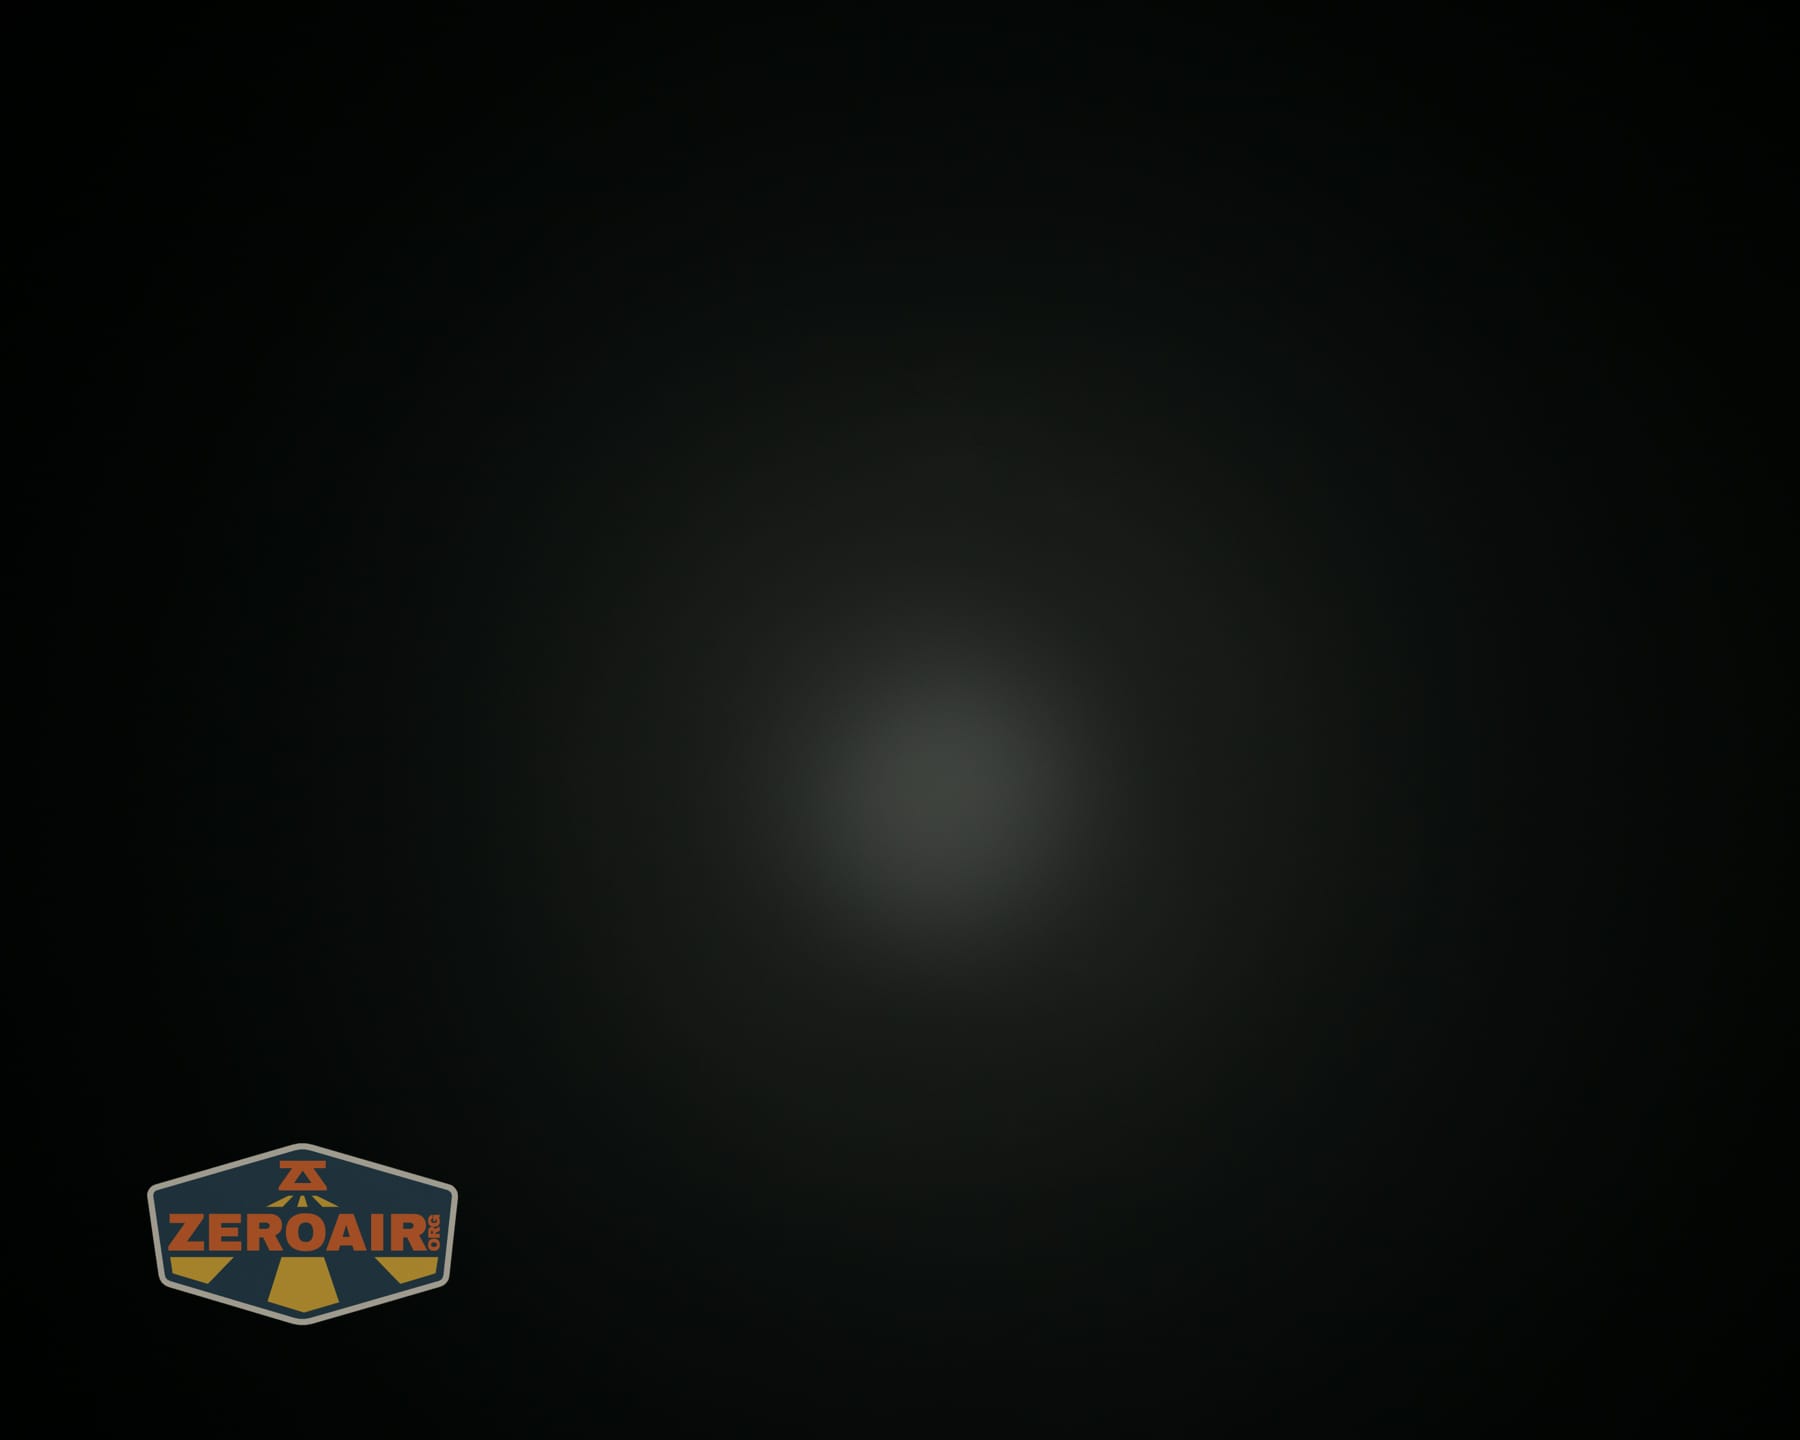
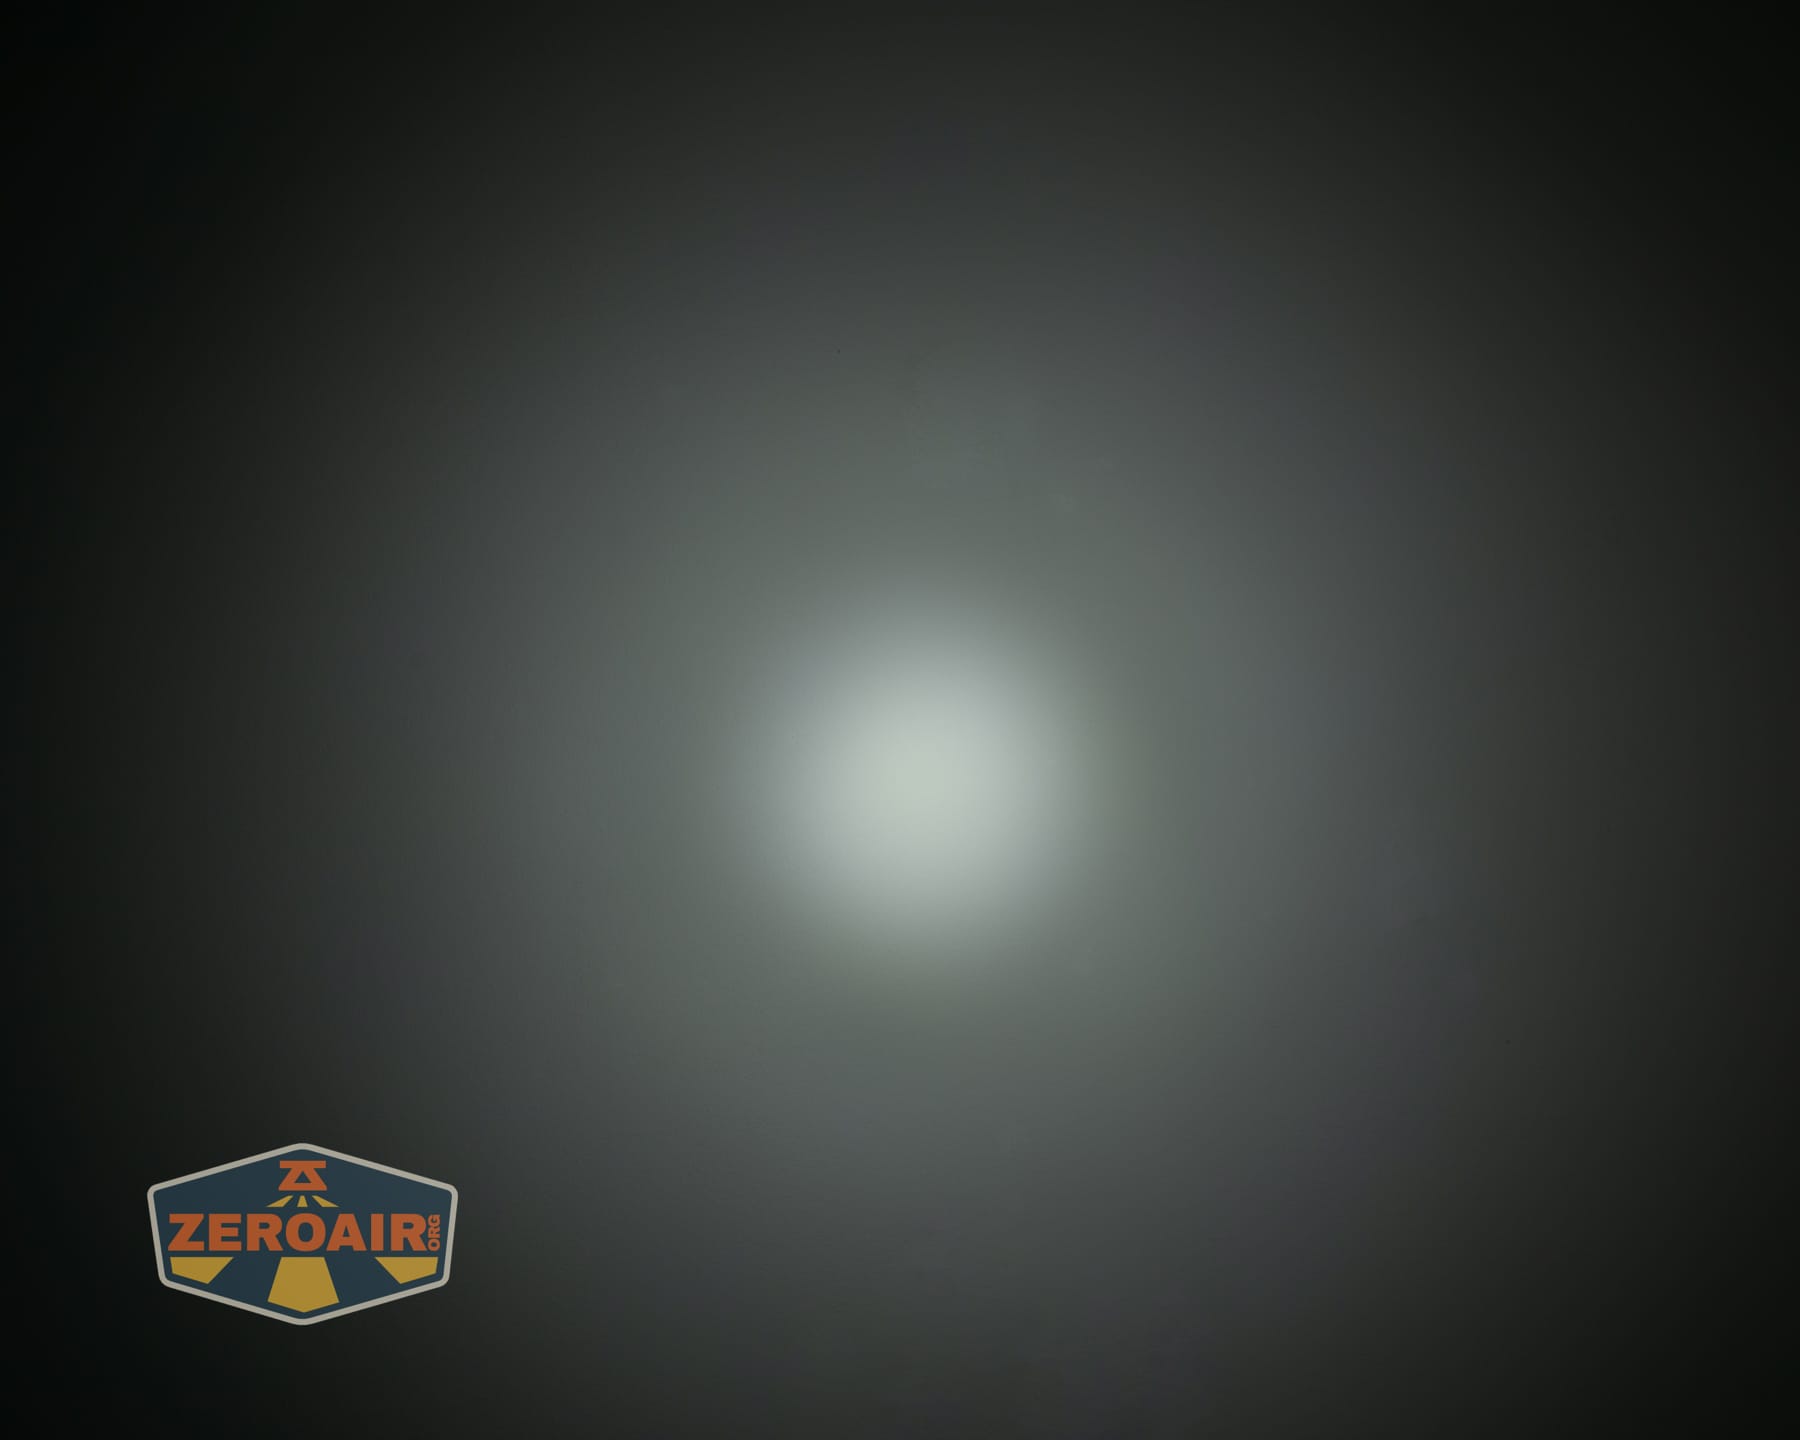
The difference in the three output options: Flood, Spot, and Mixed is visible, but it’s not that dramatic.
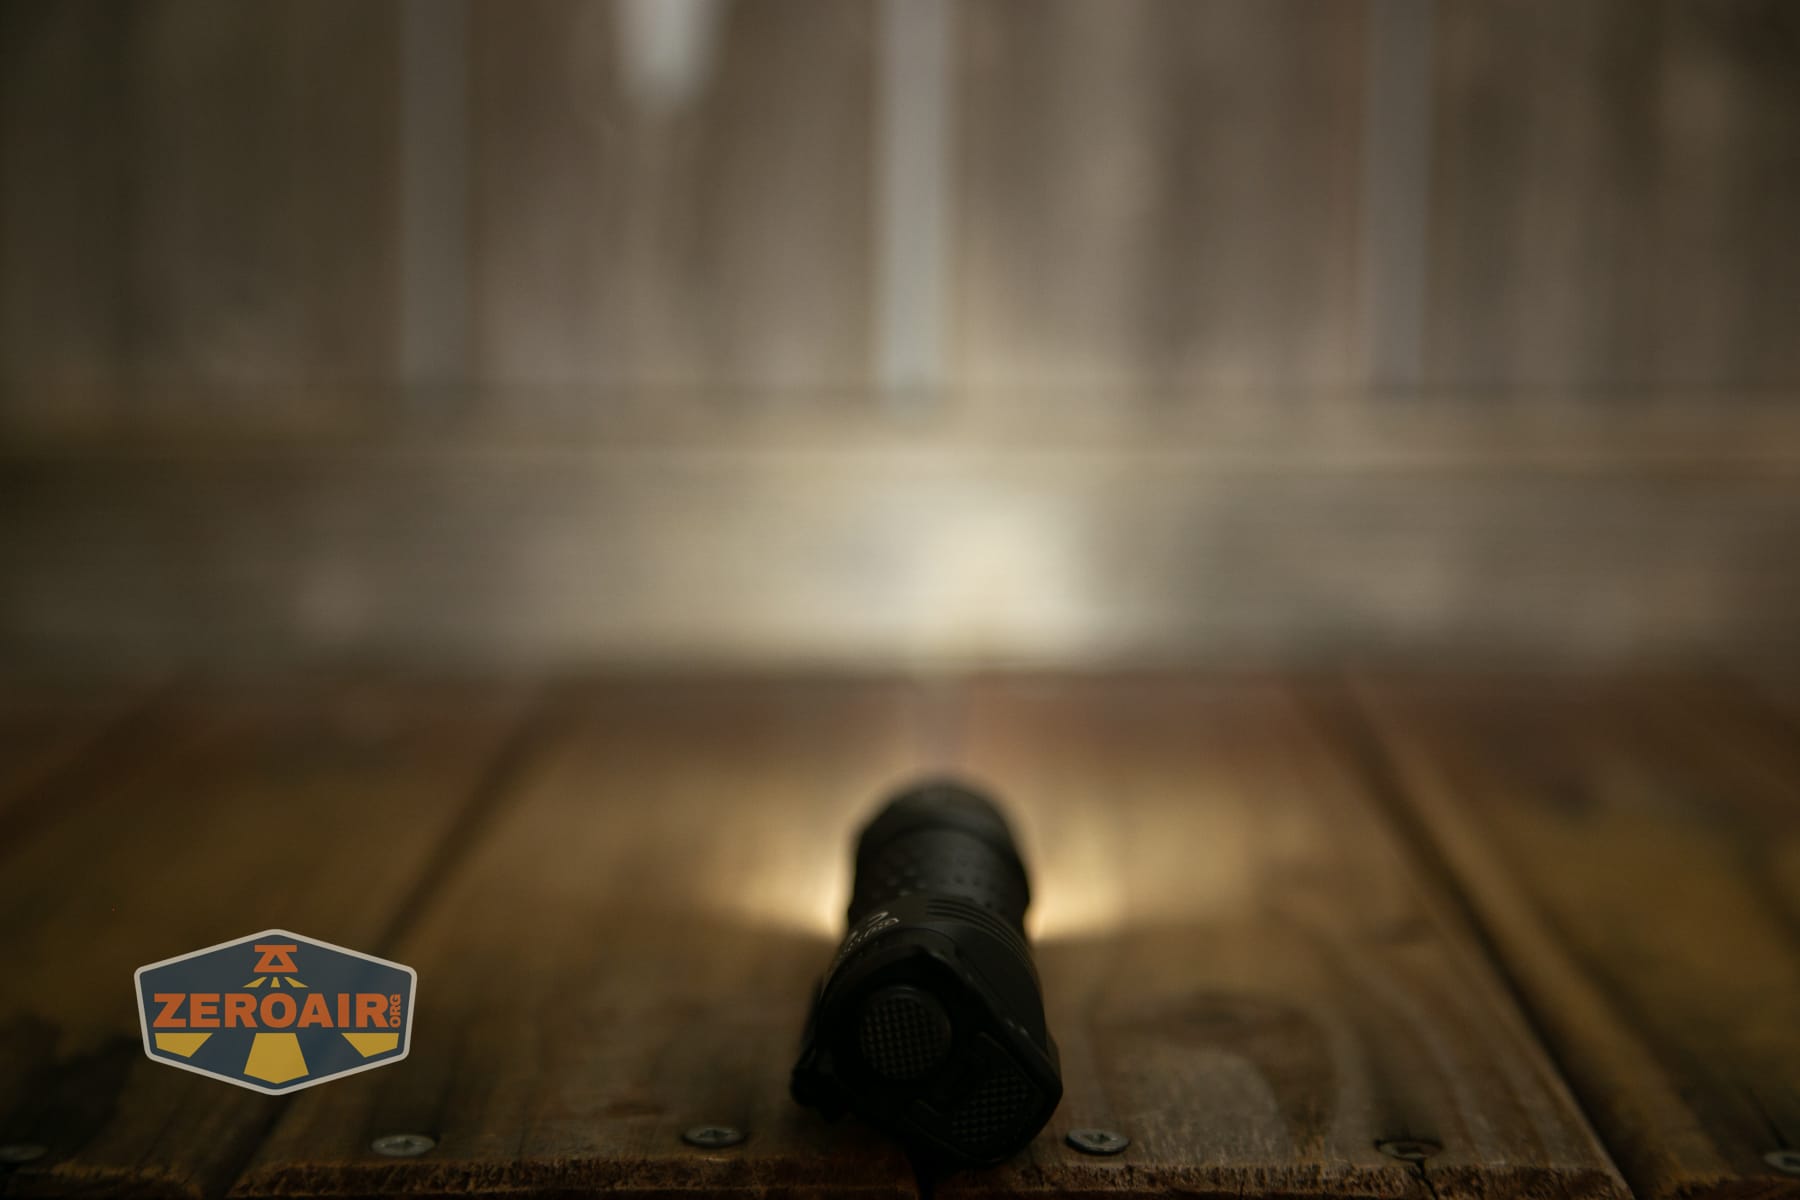
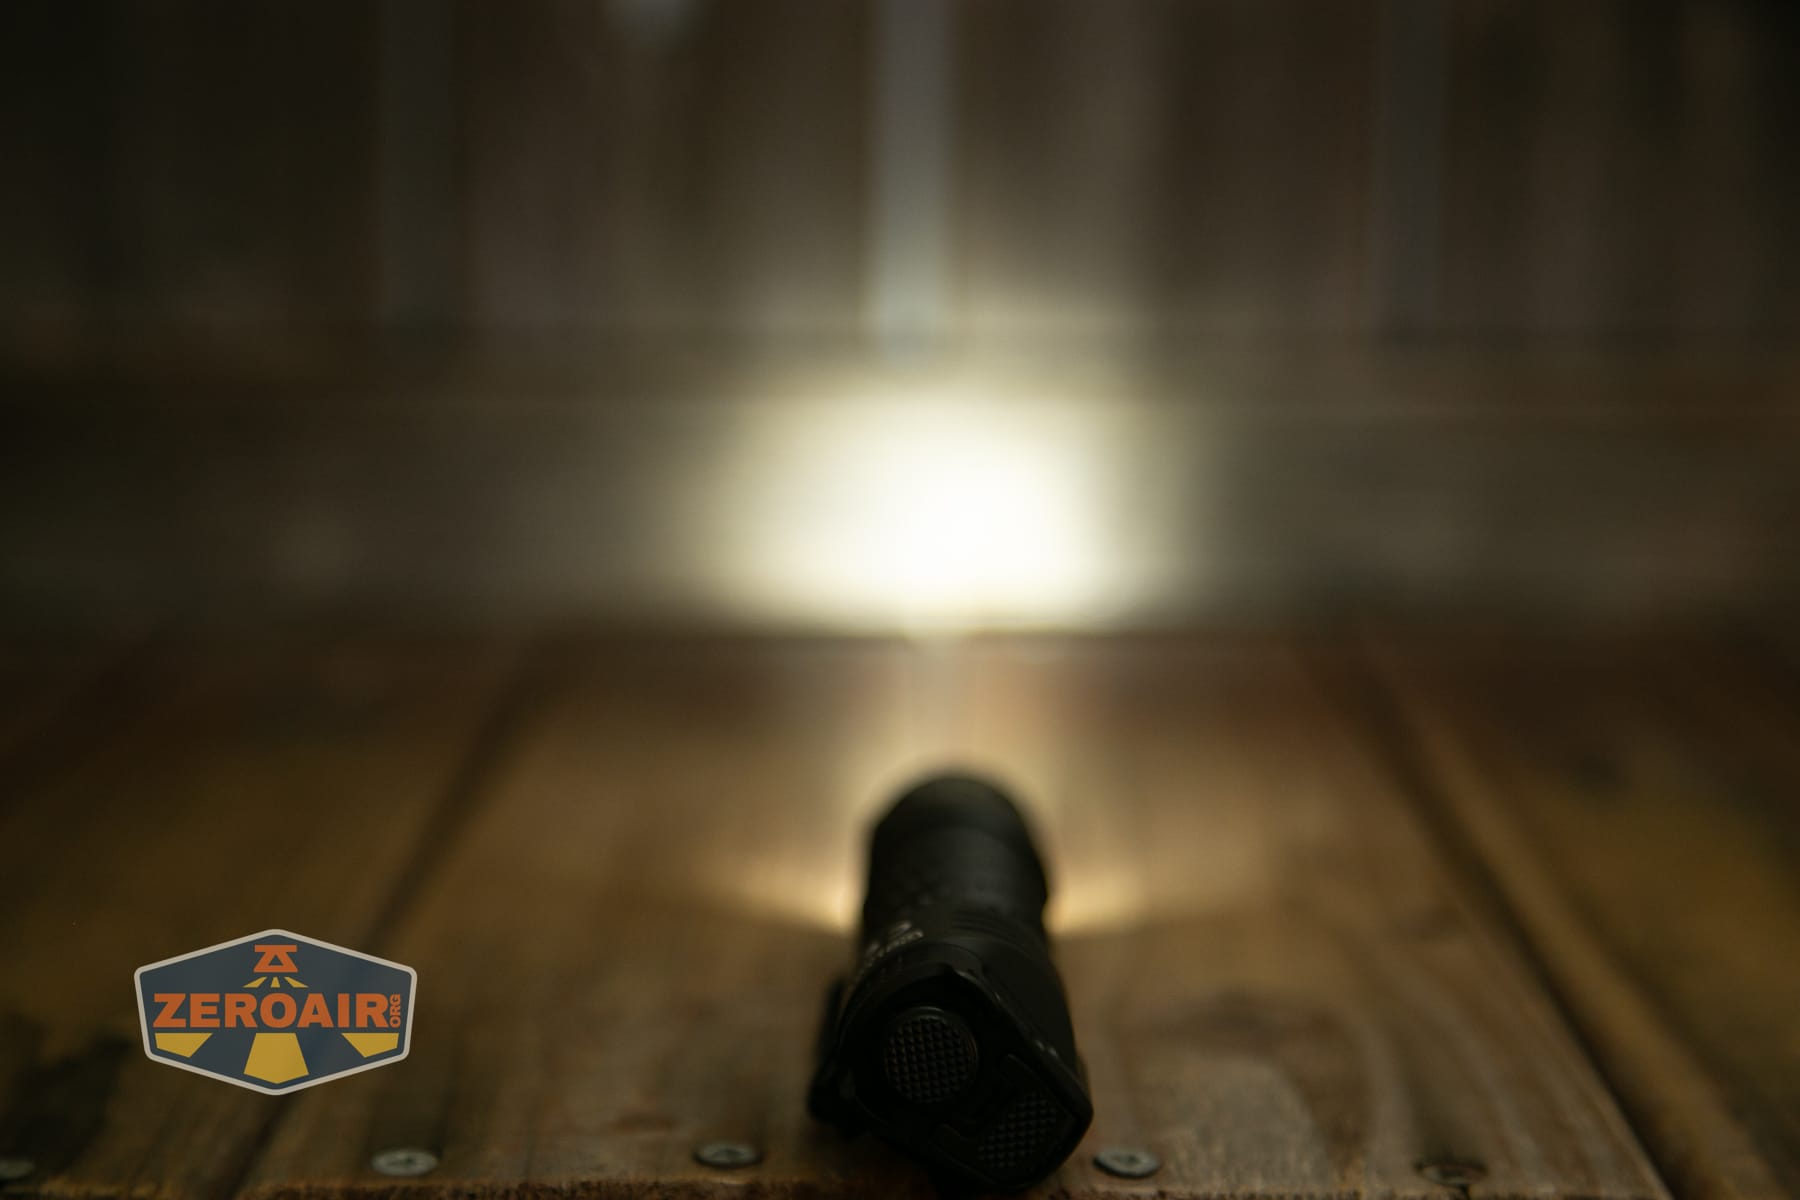
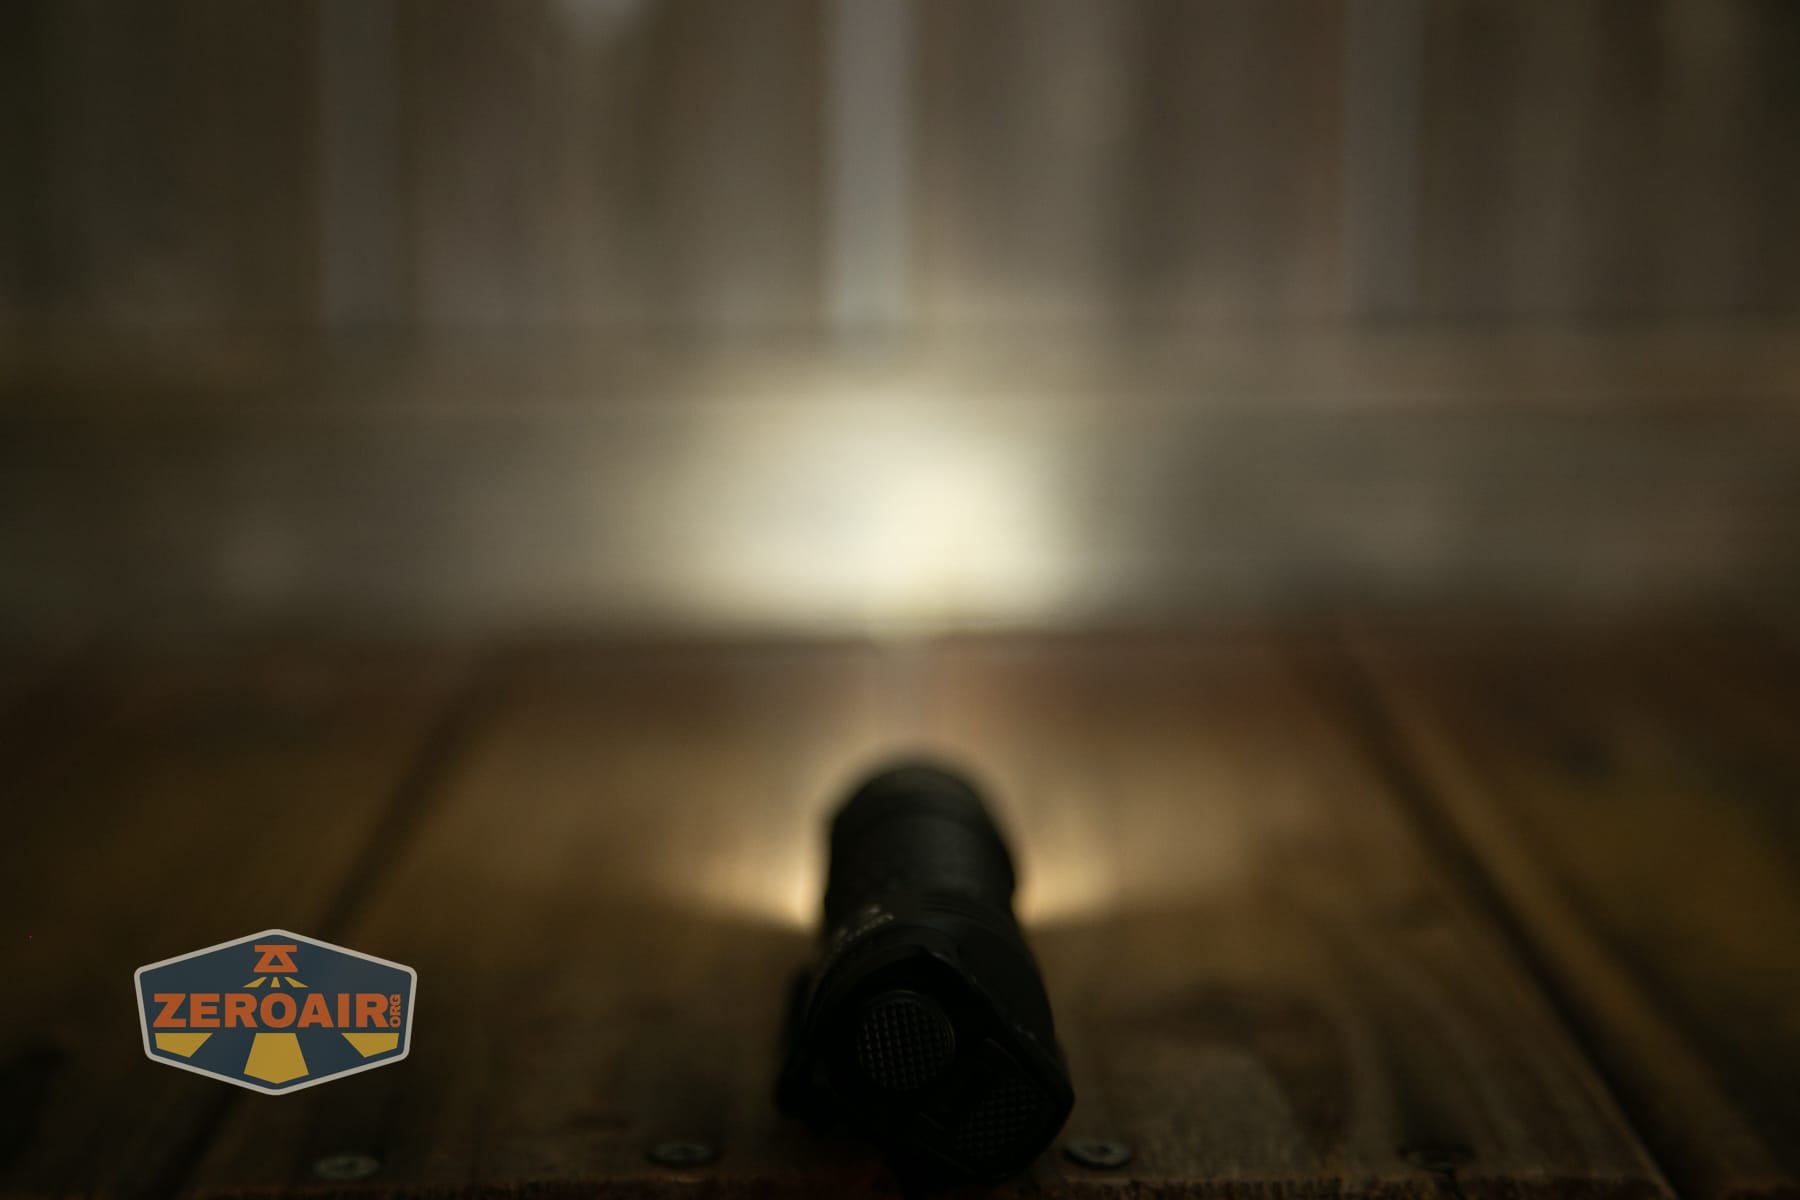
LED Color Report (CRI and CCT)
CRI and CCT aren’t enthusiast-grade “exceptional,” but they’re fine for a tactical light like this. Low CRI, but honestly pretty reasonable CCT – neutral to cool.
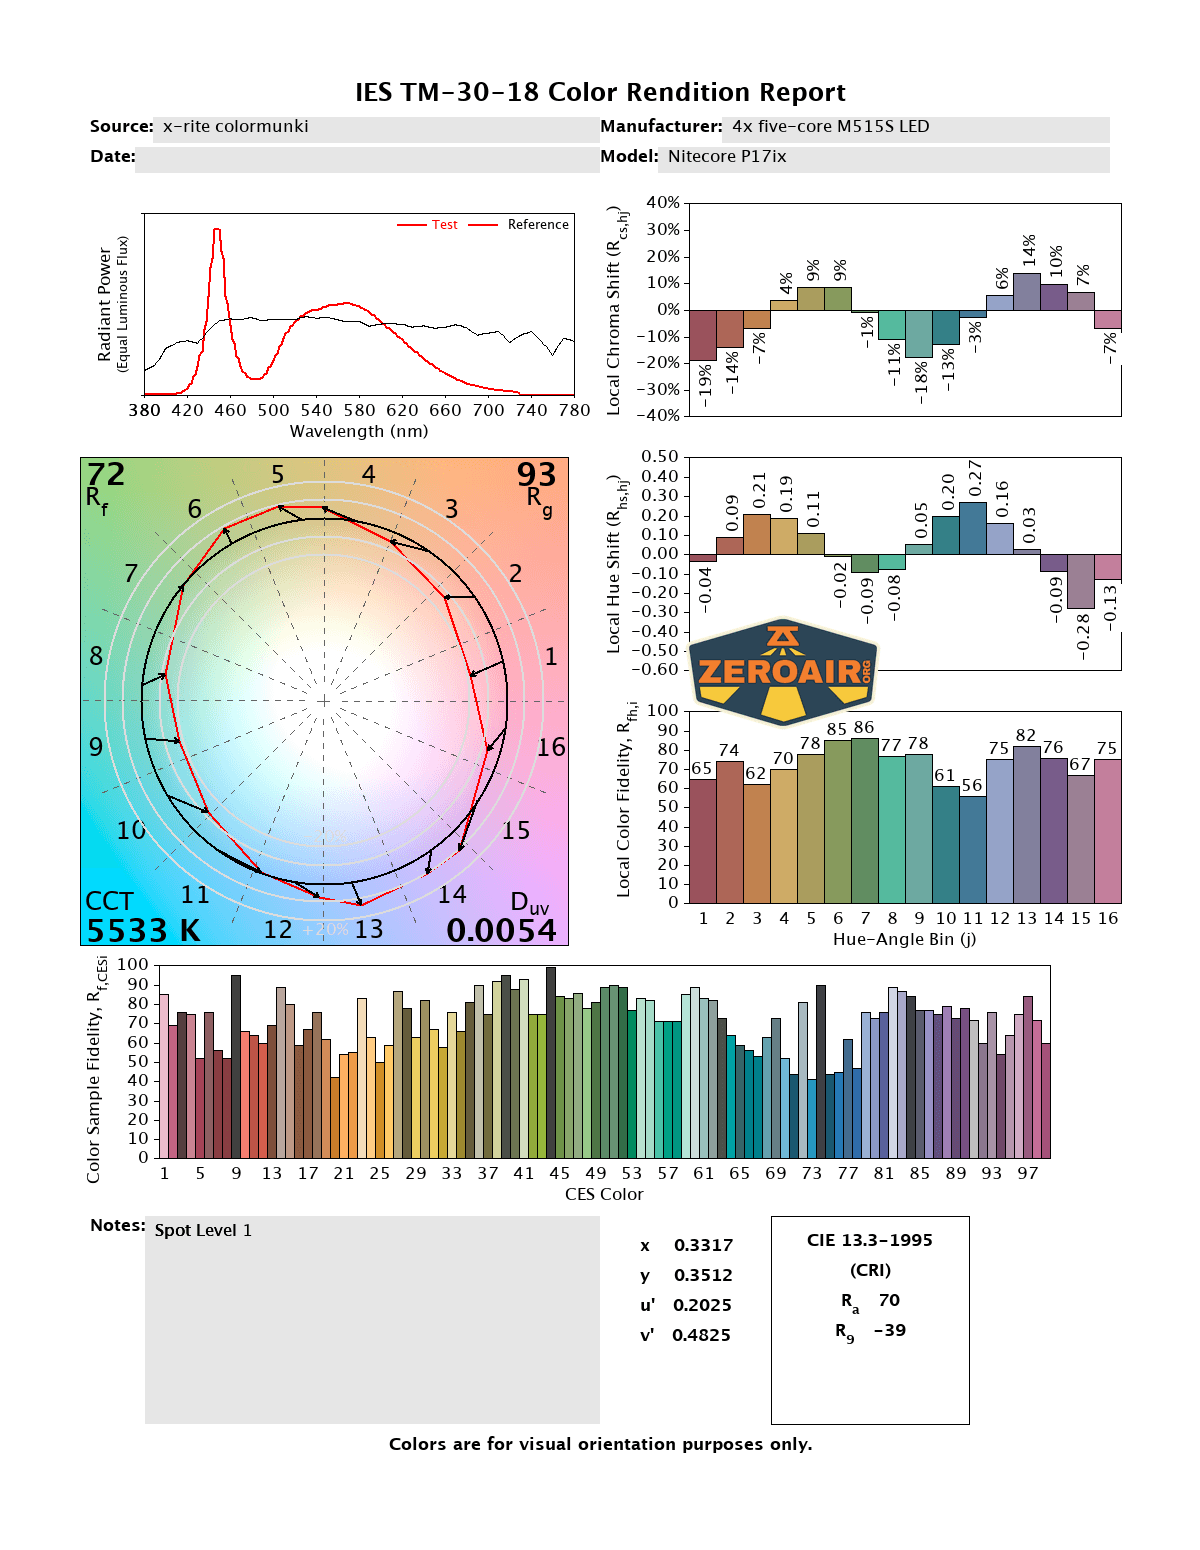
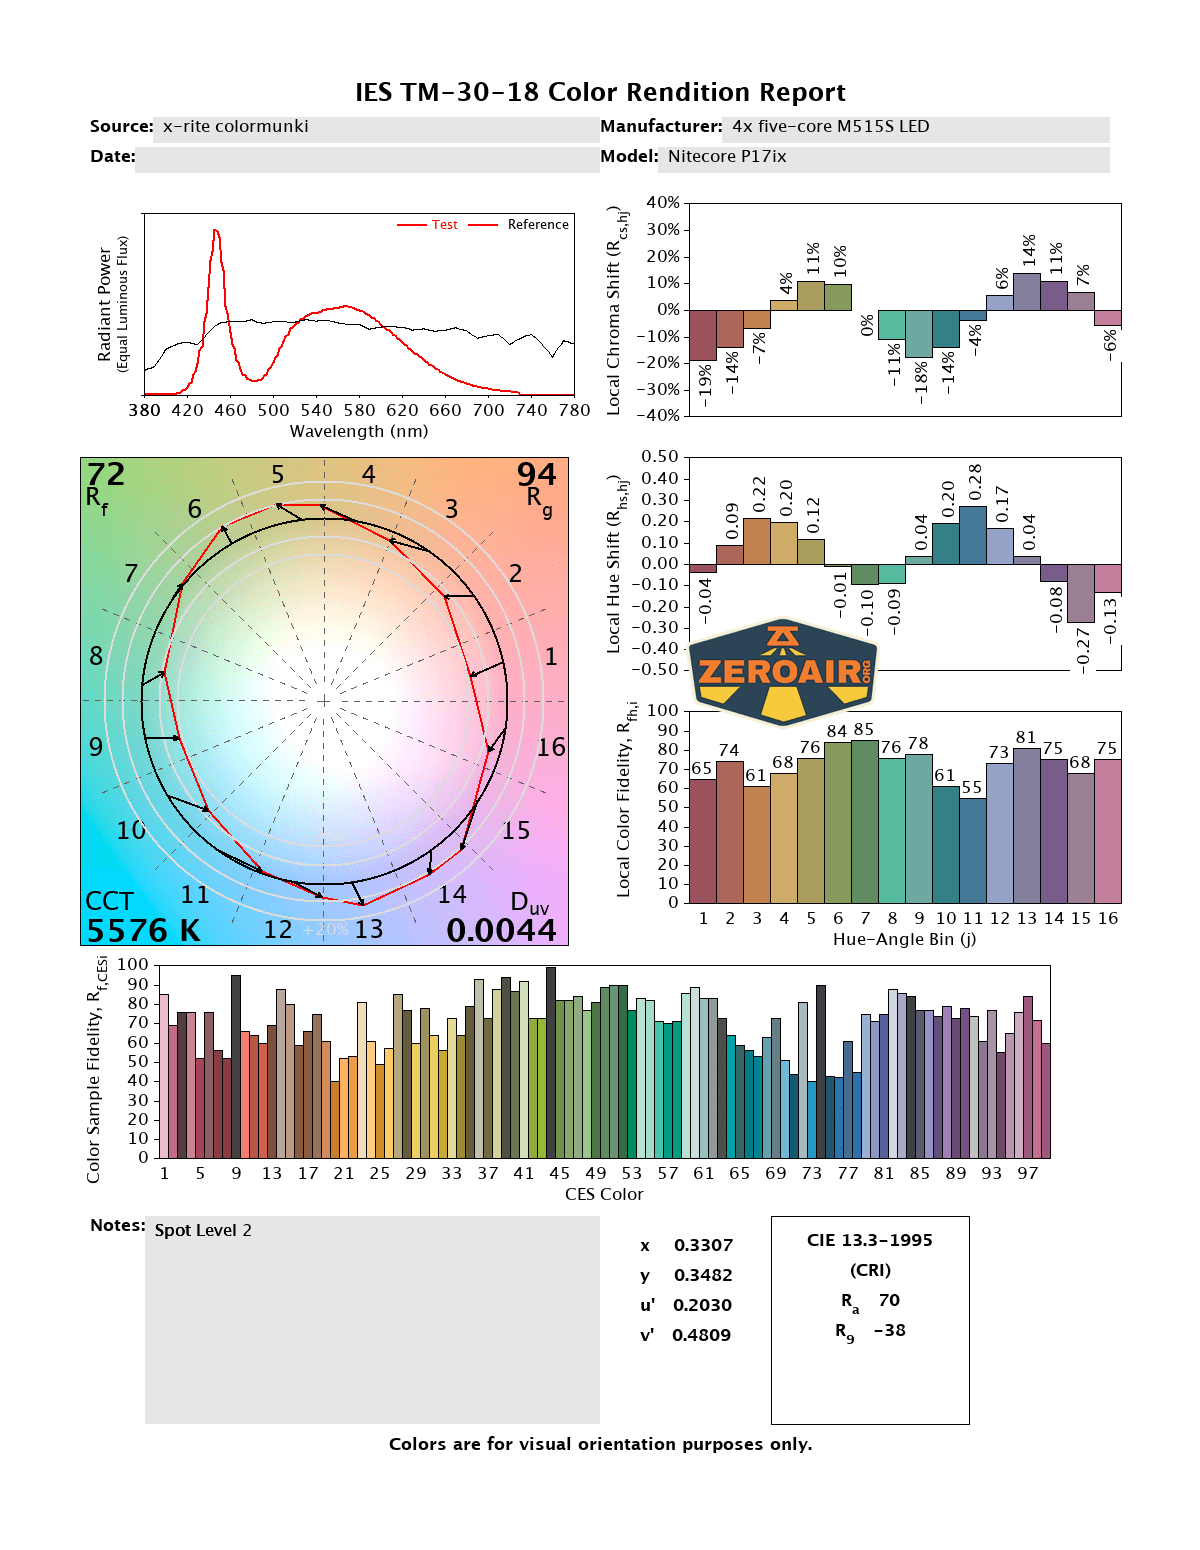
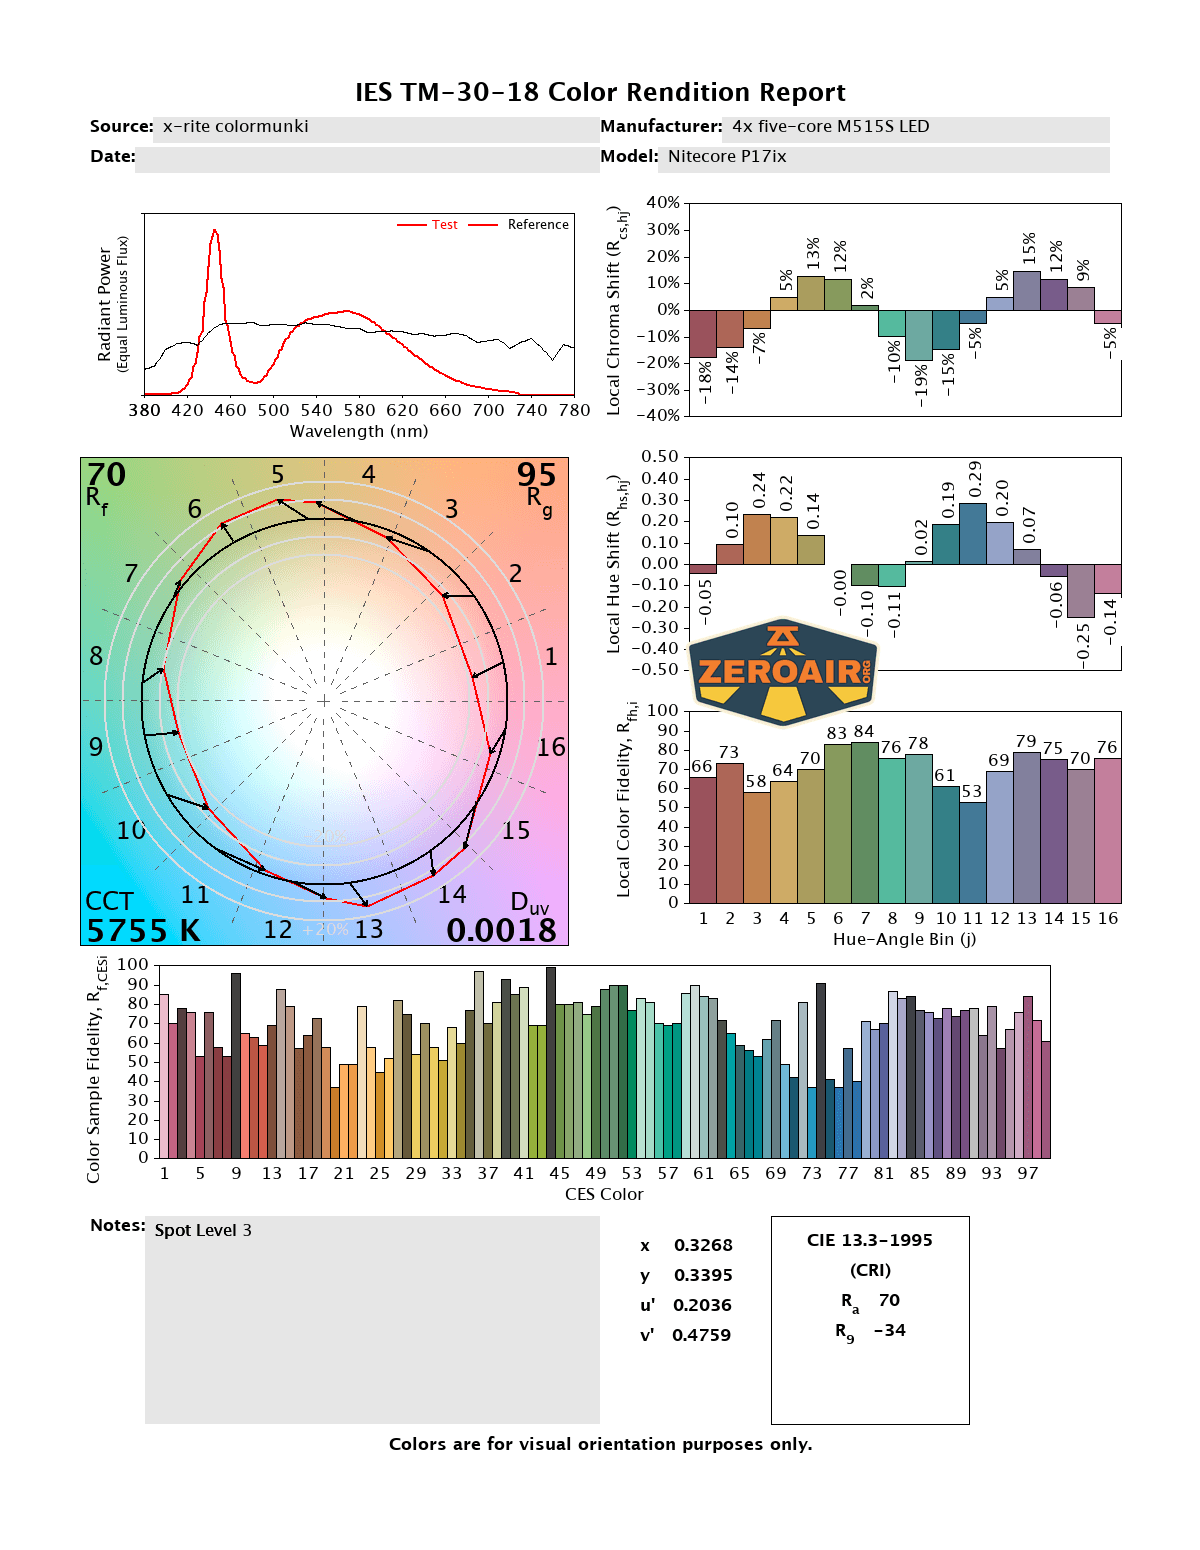
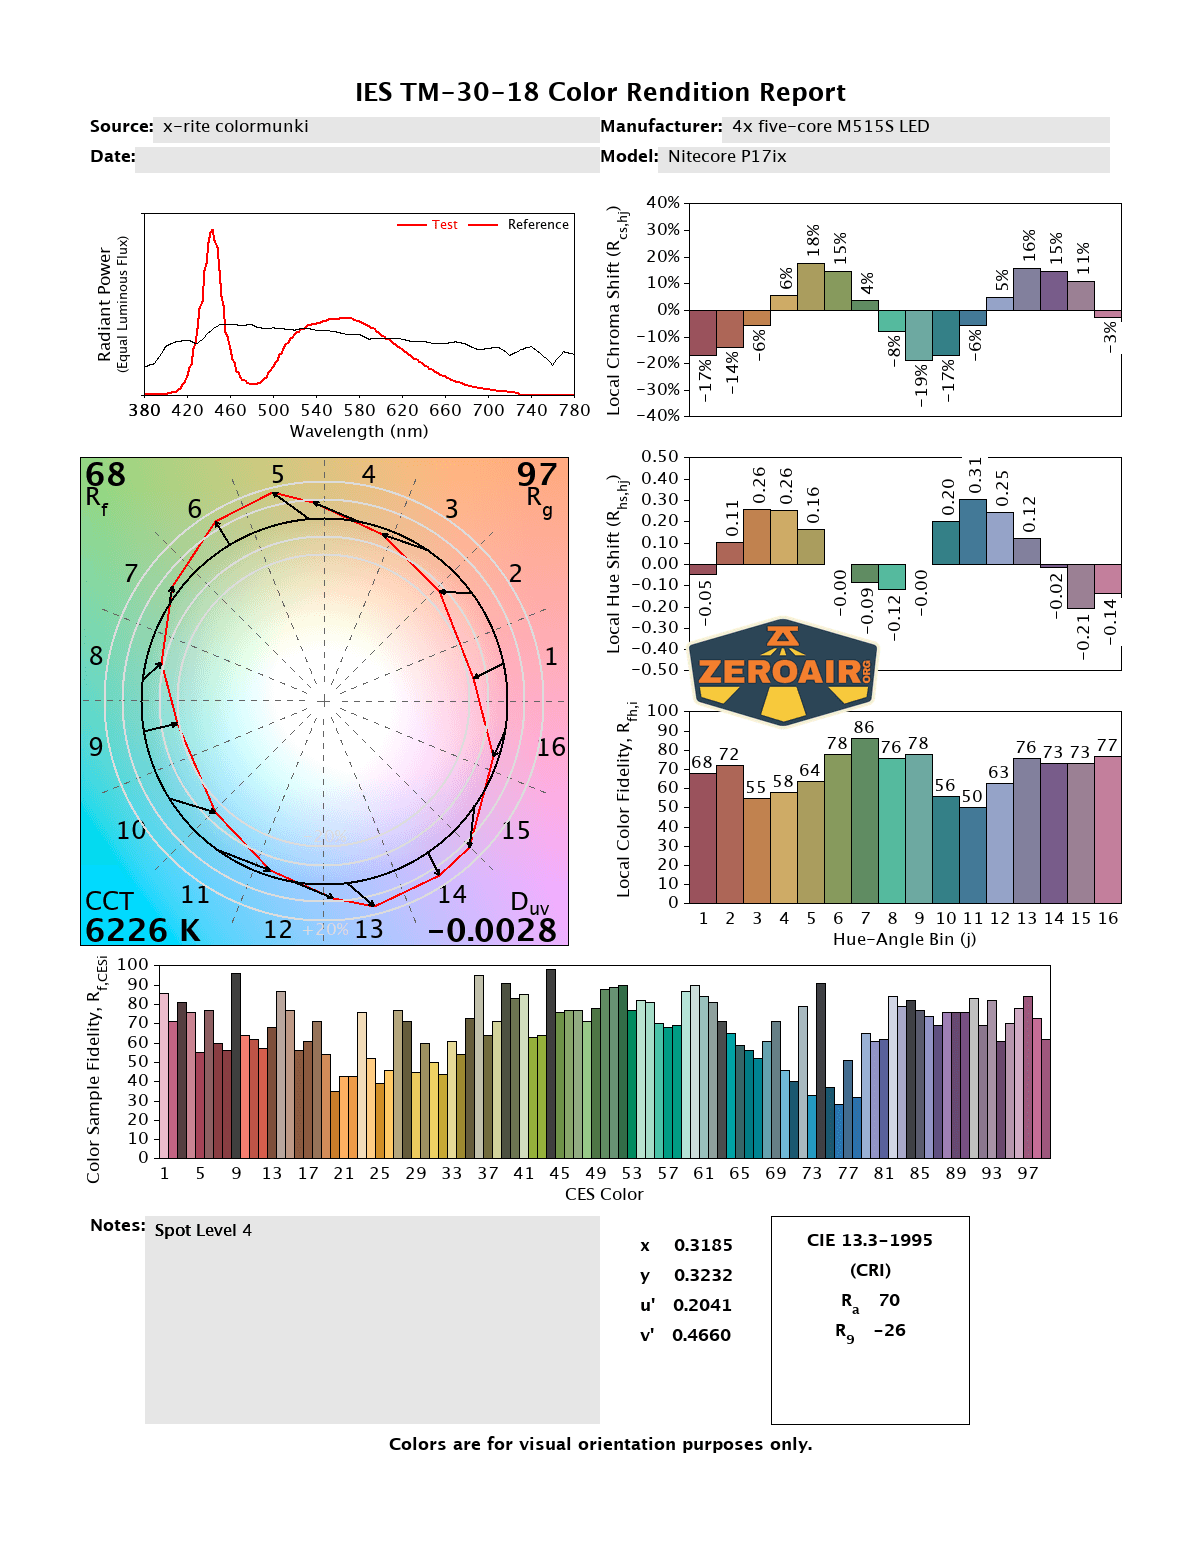
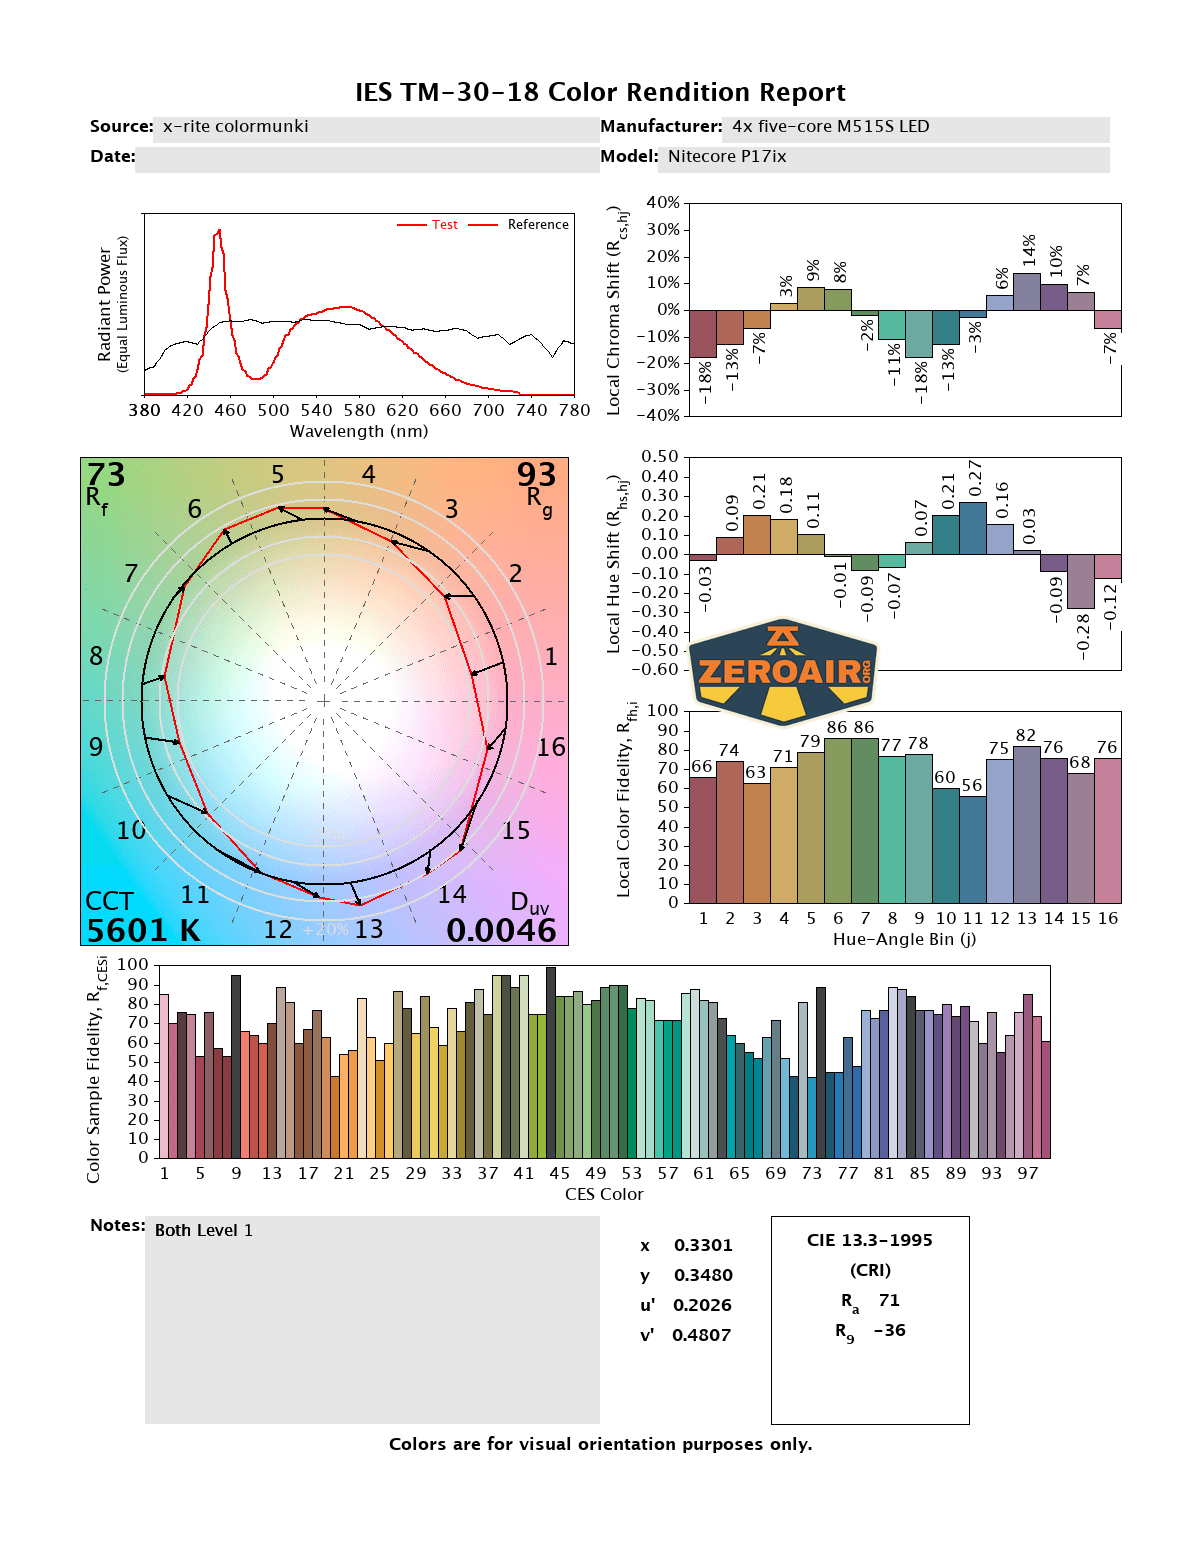
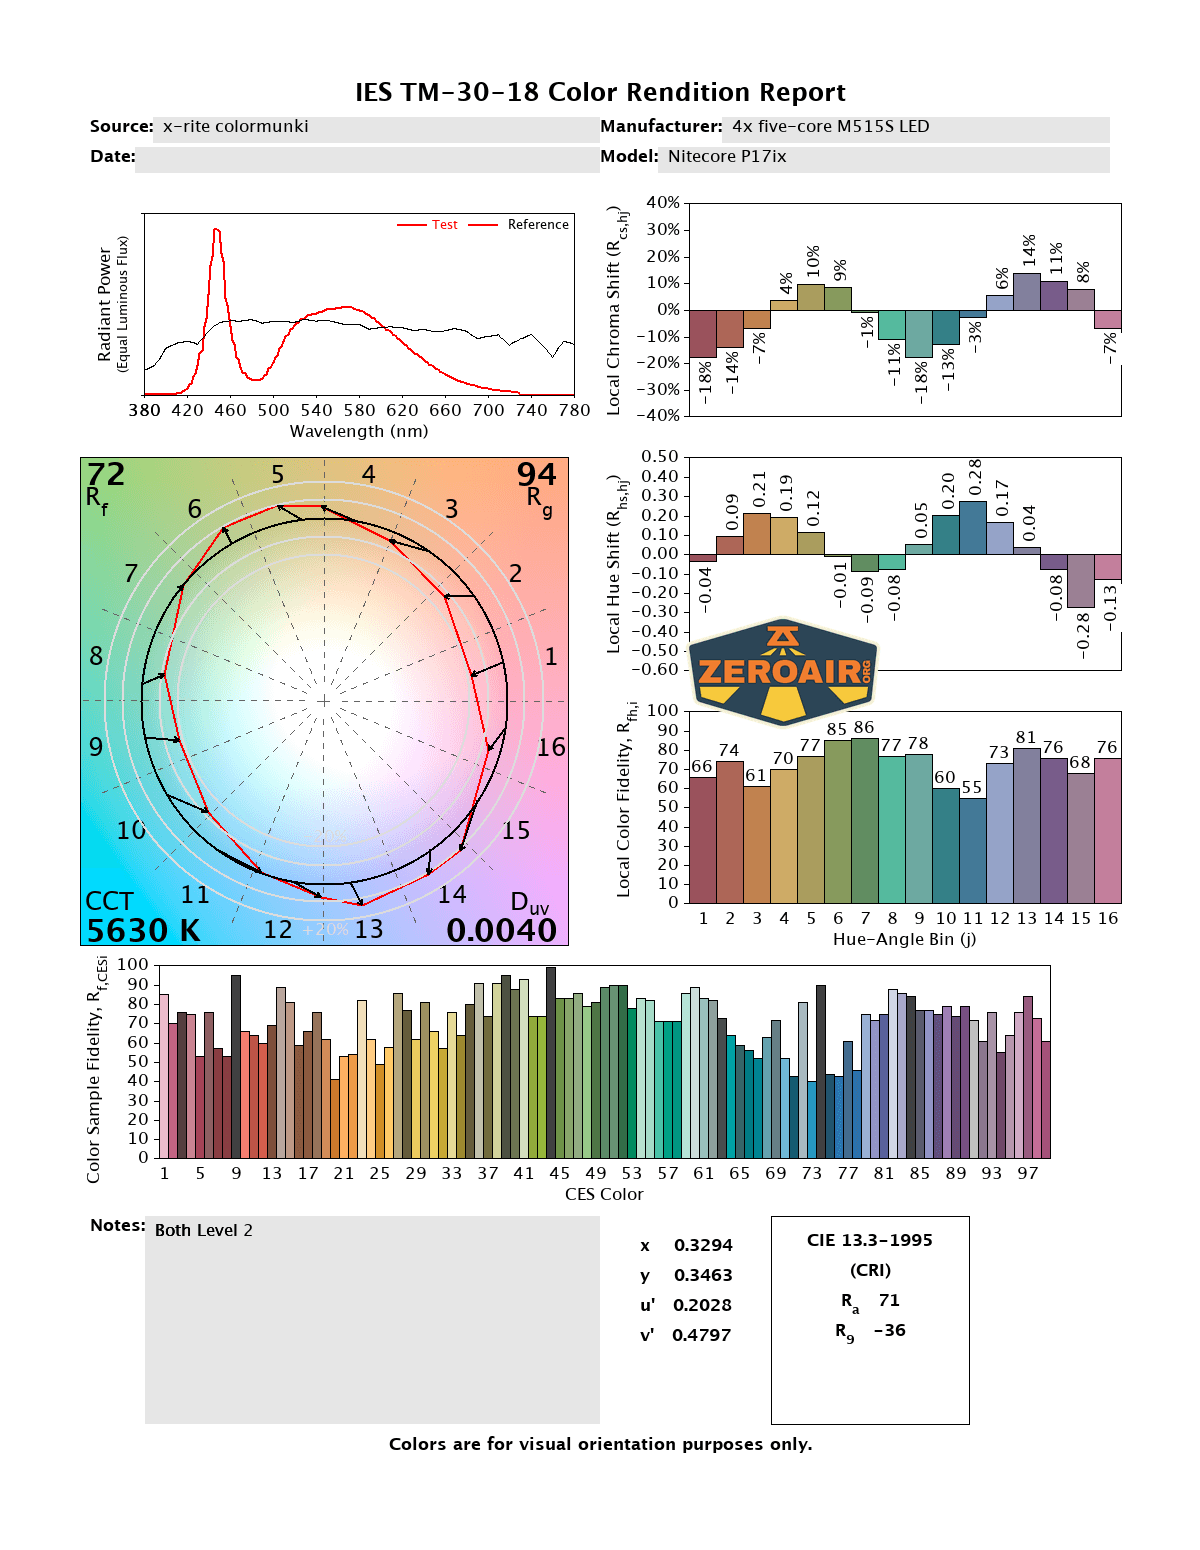
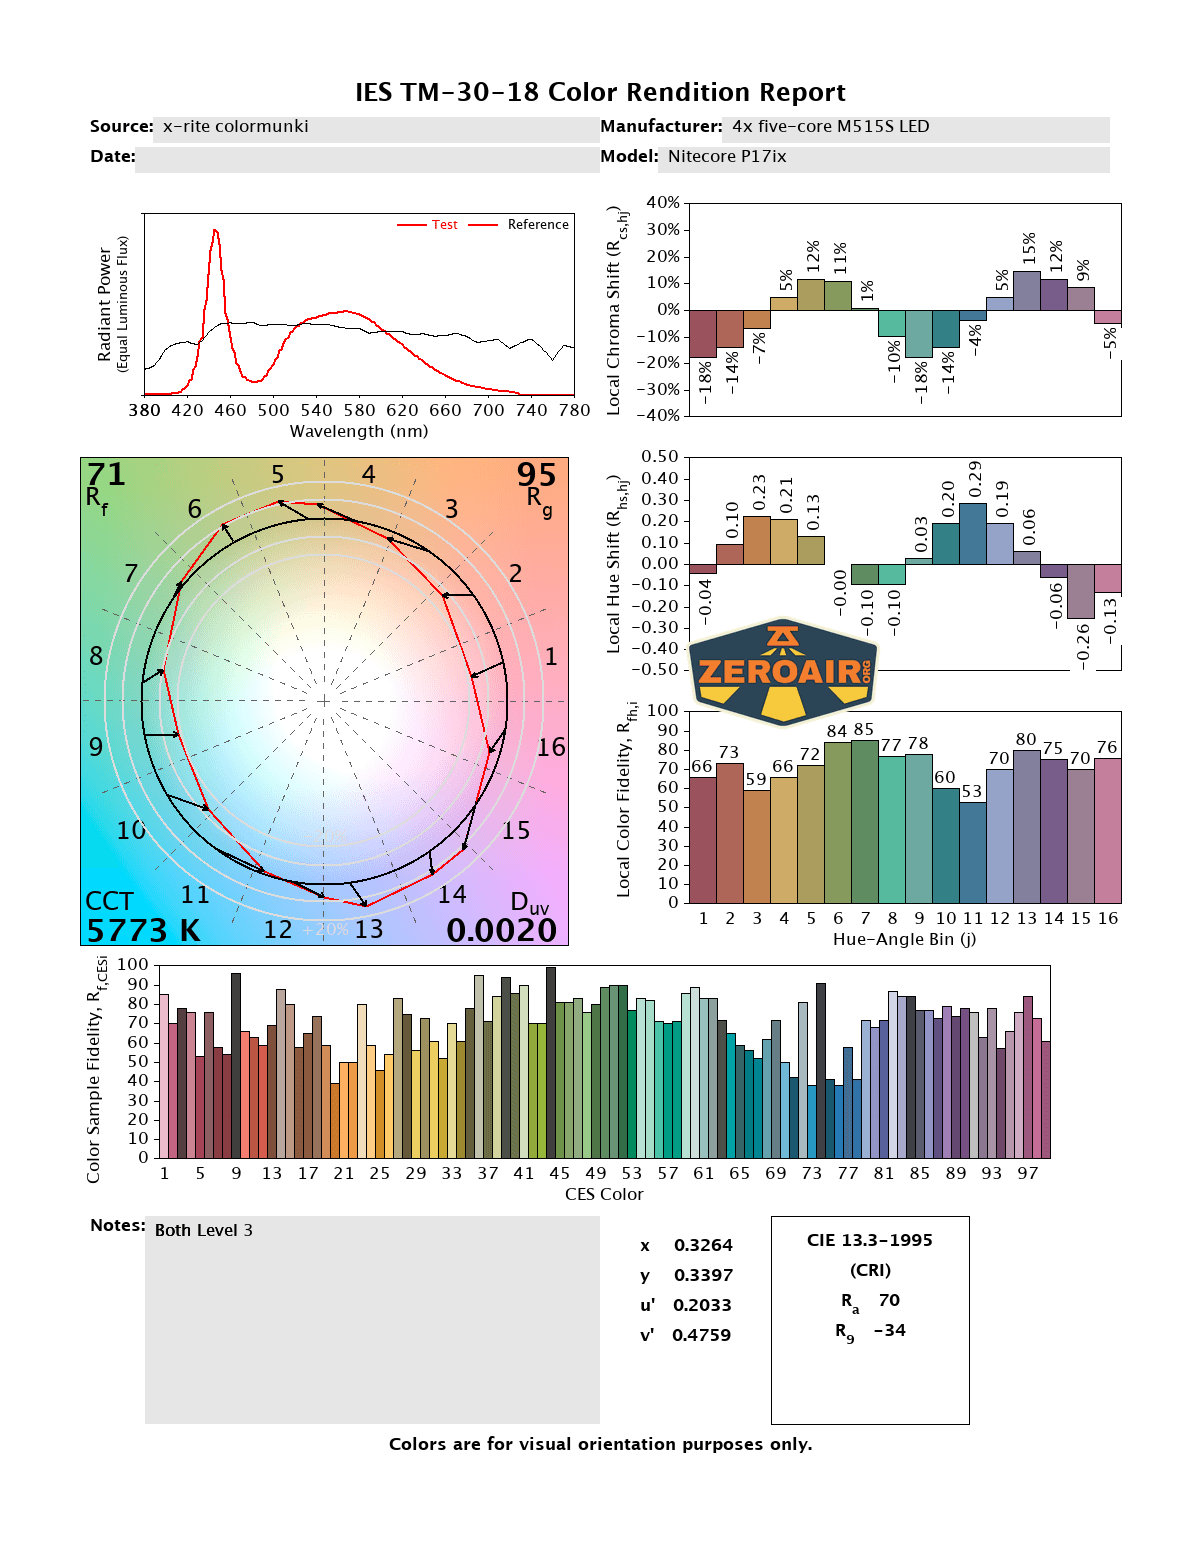
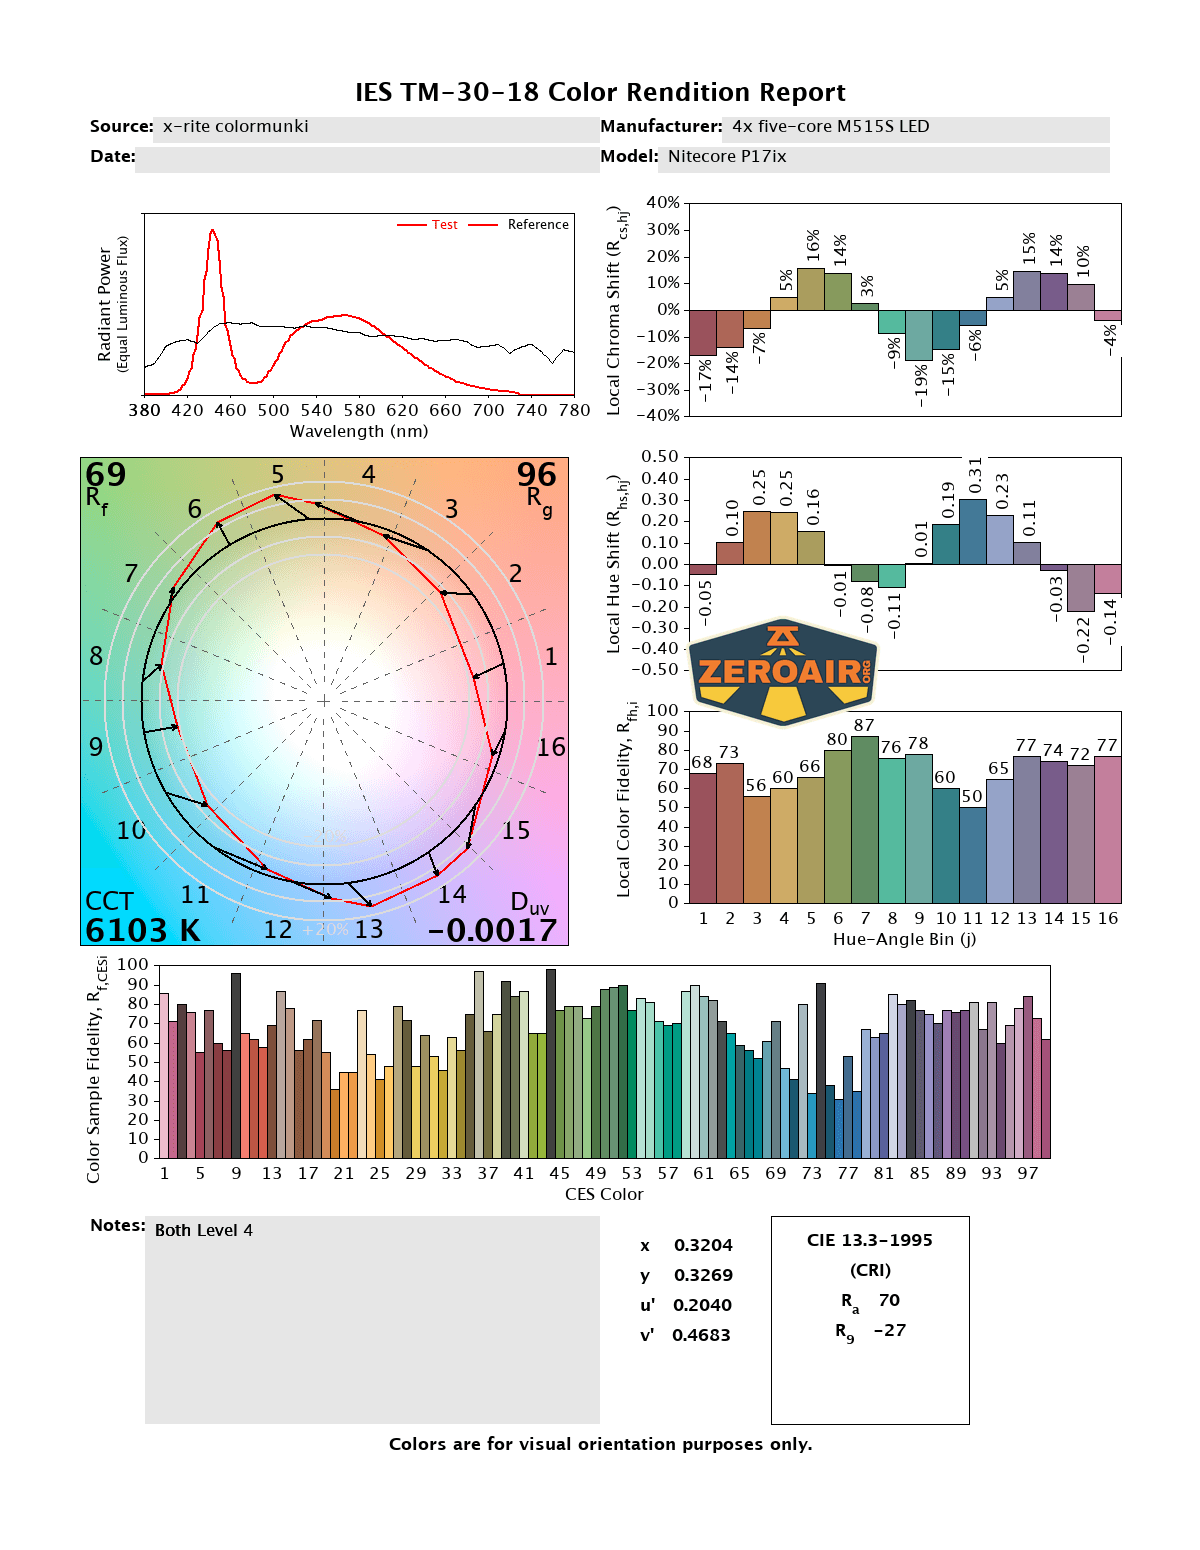
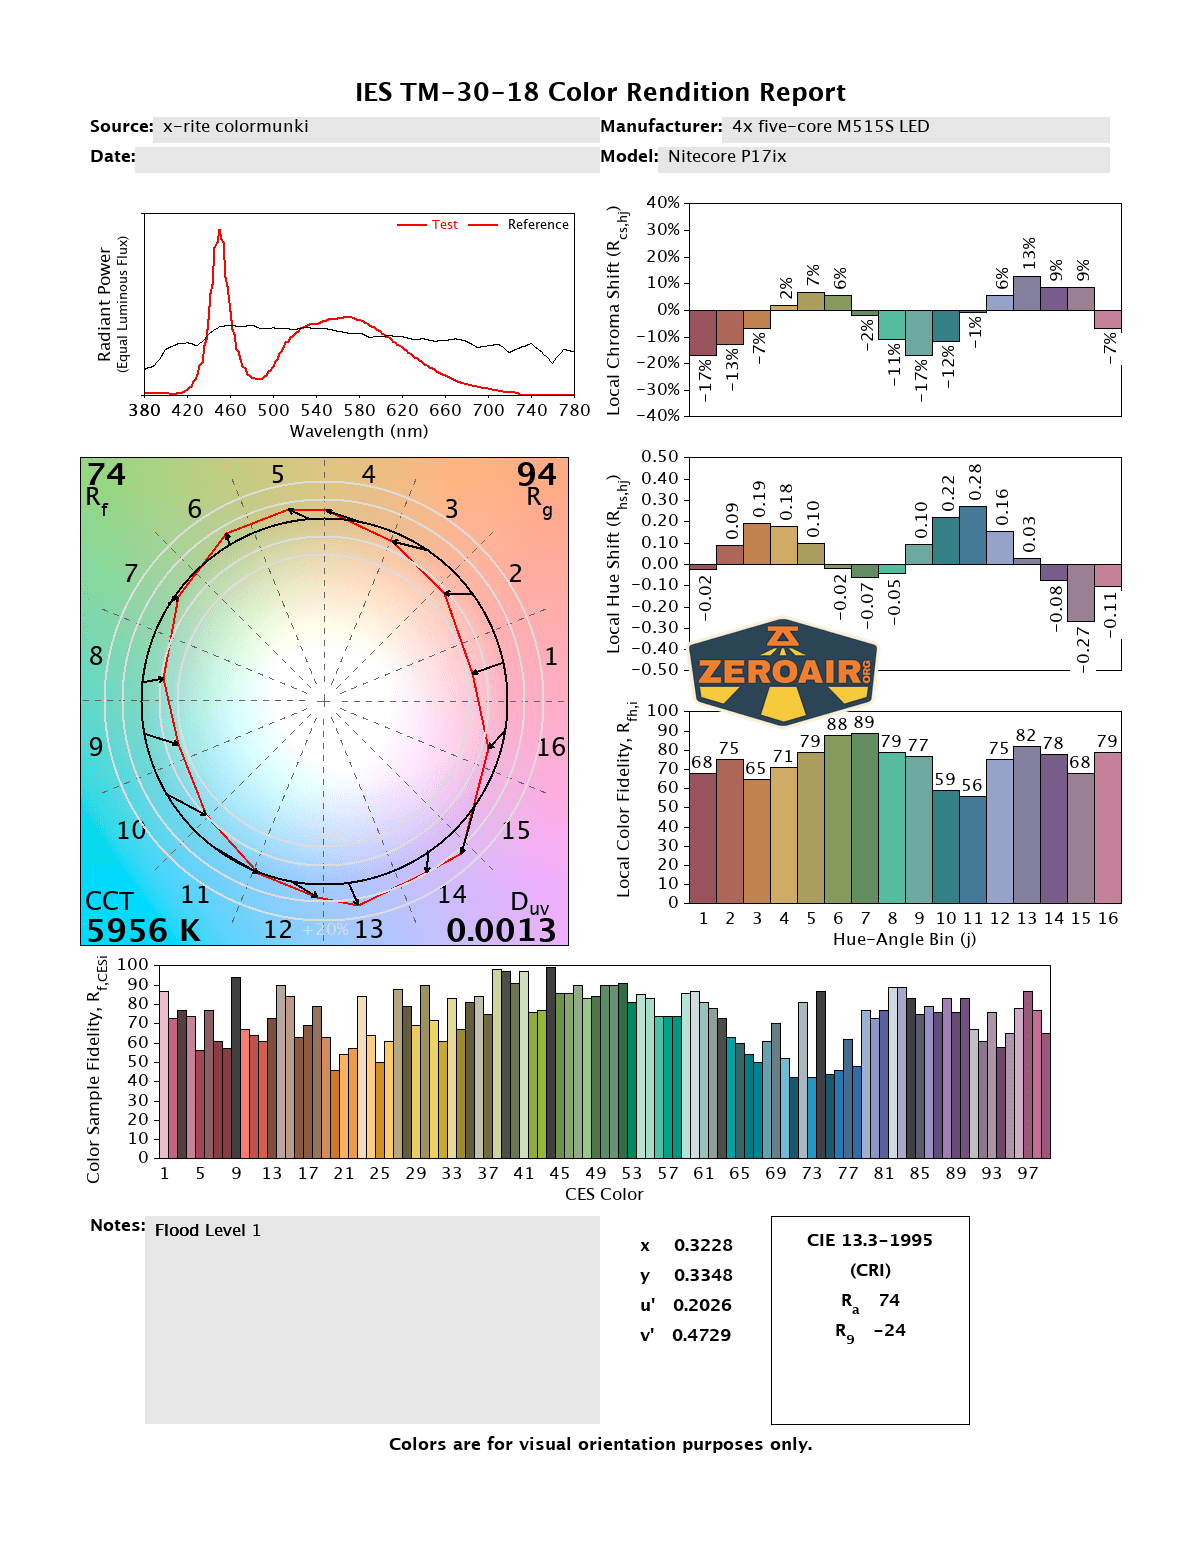
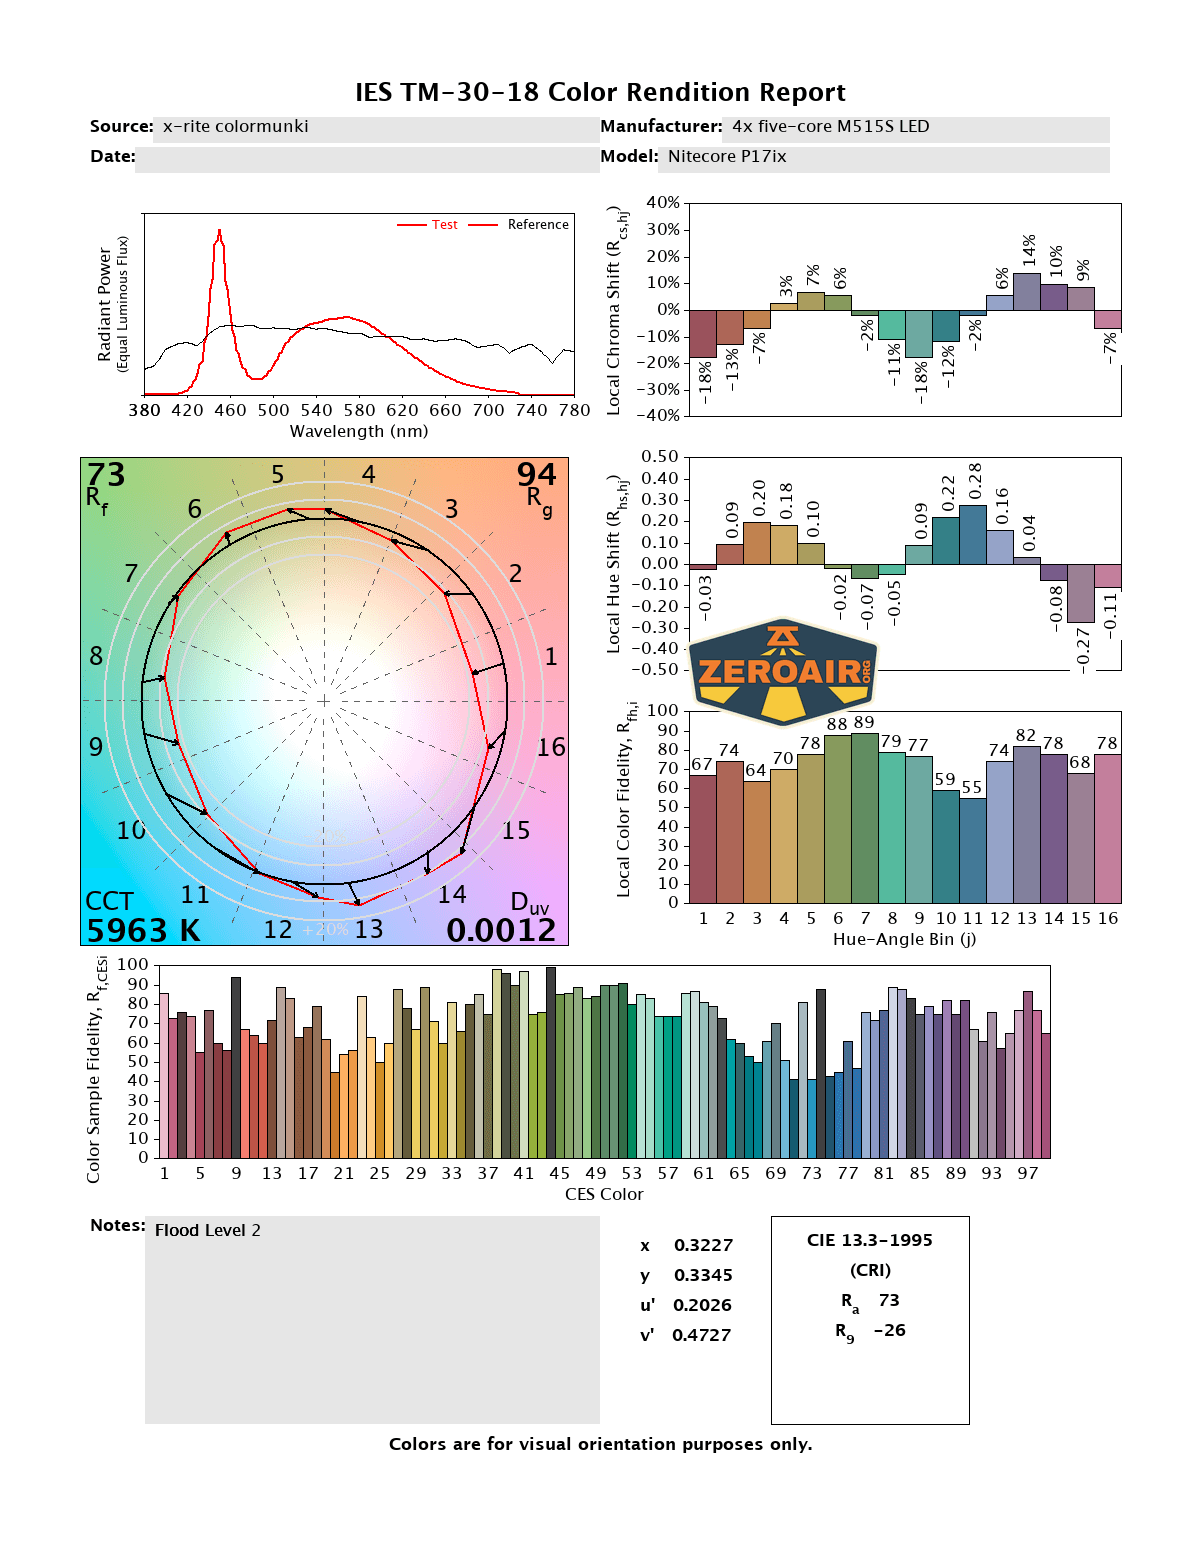
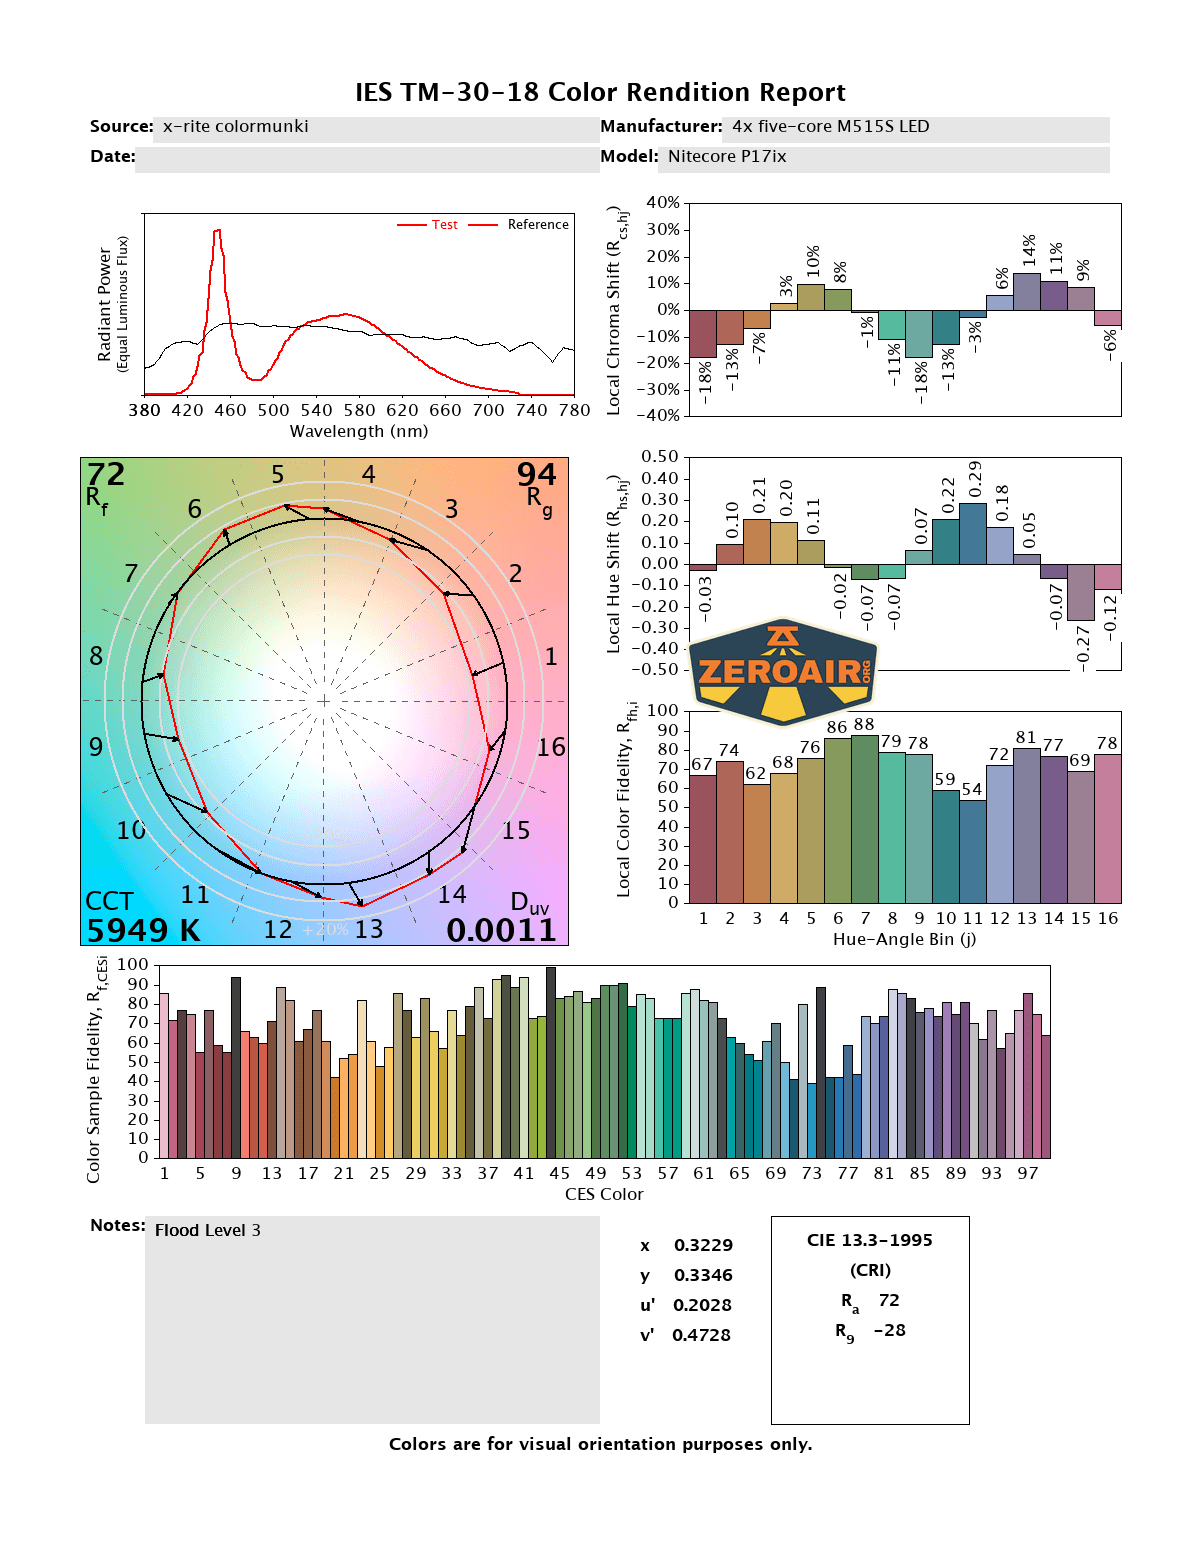
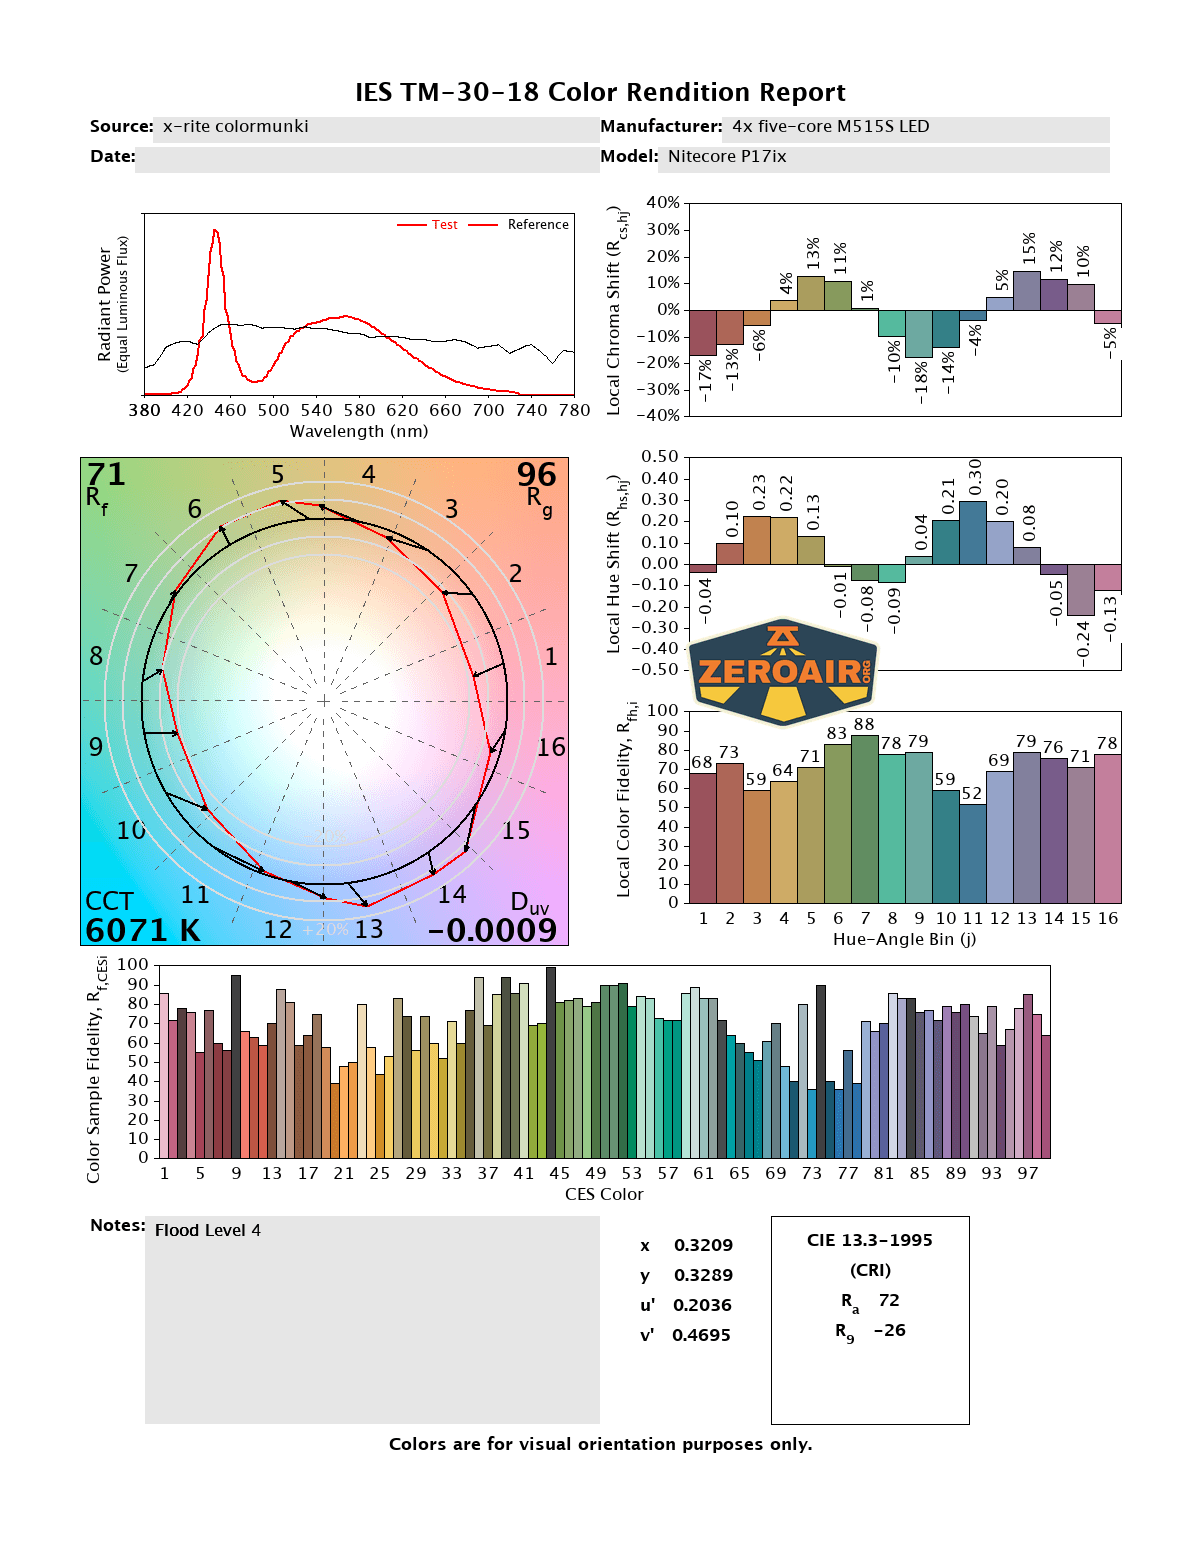
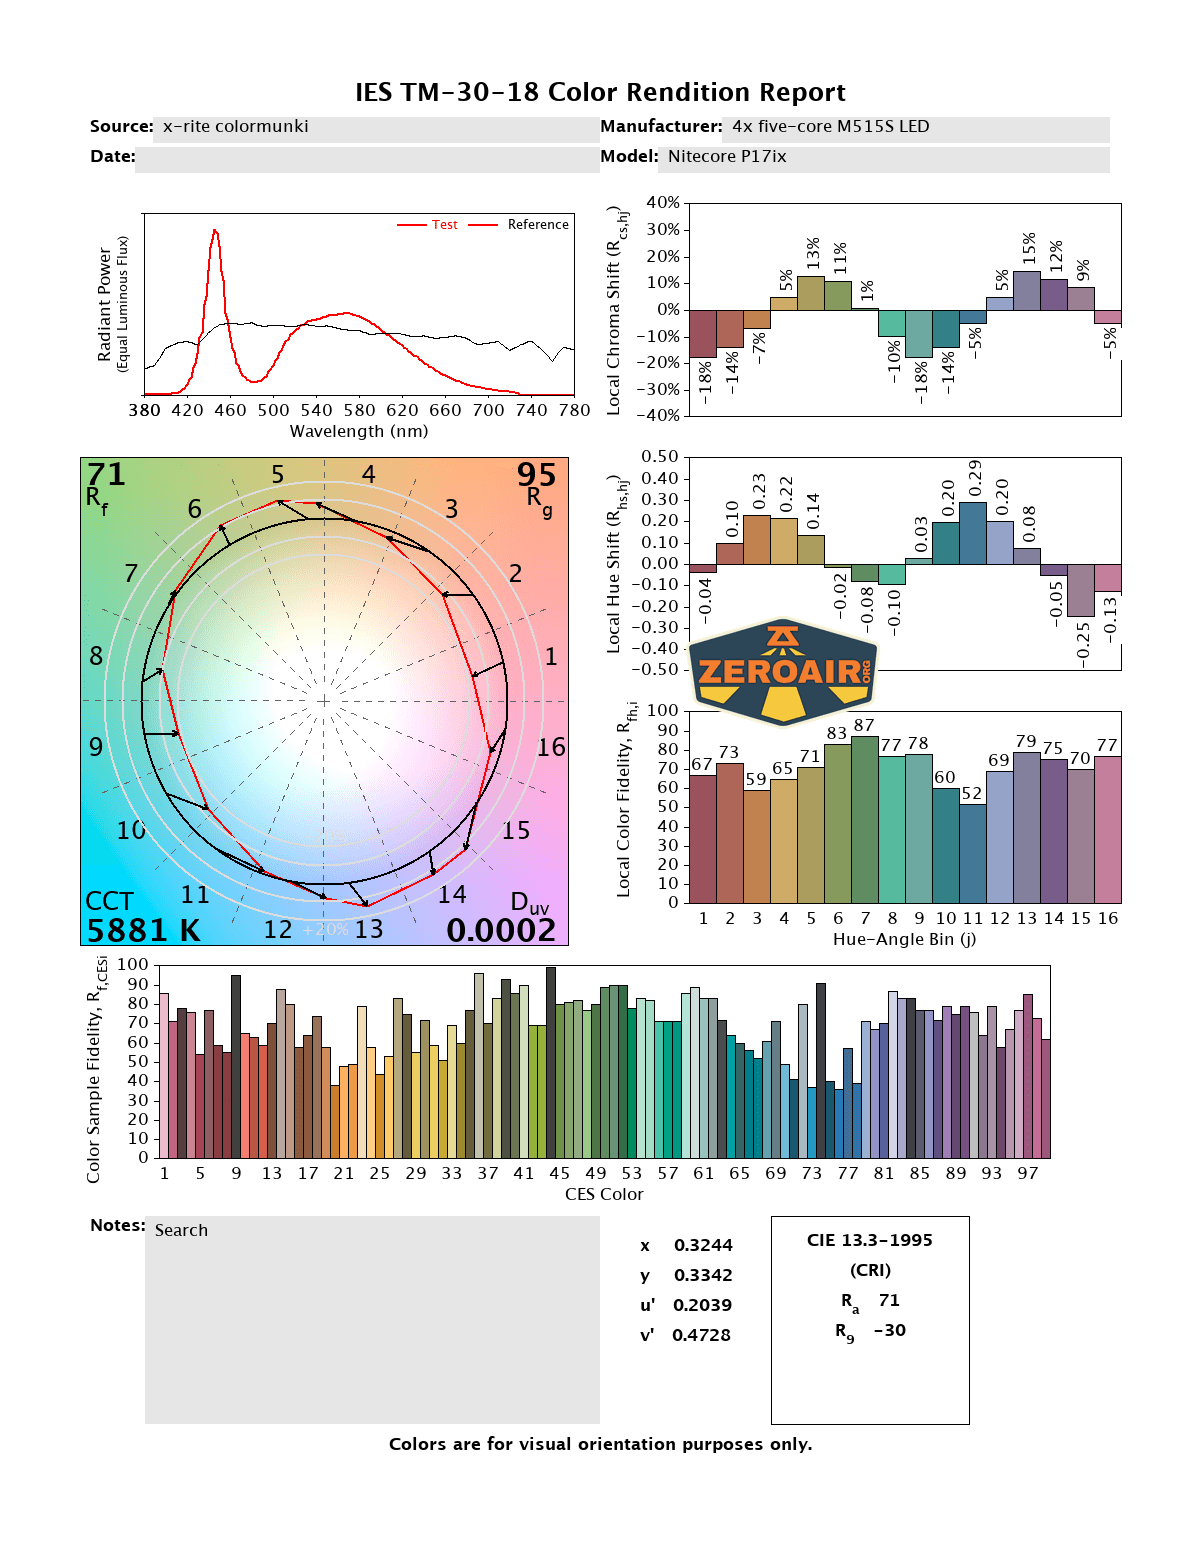
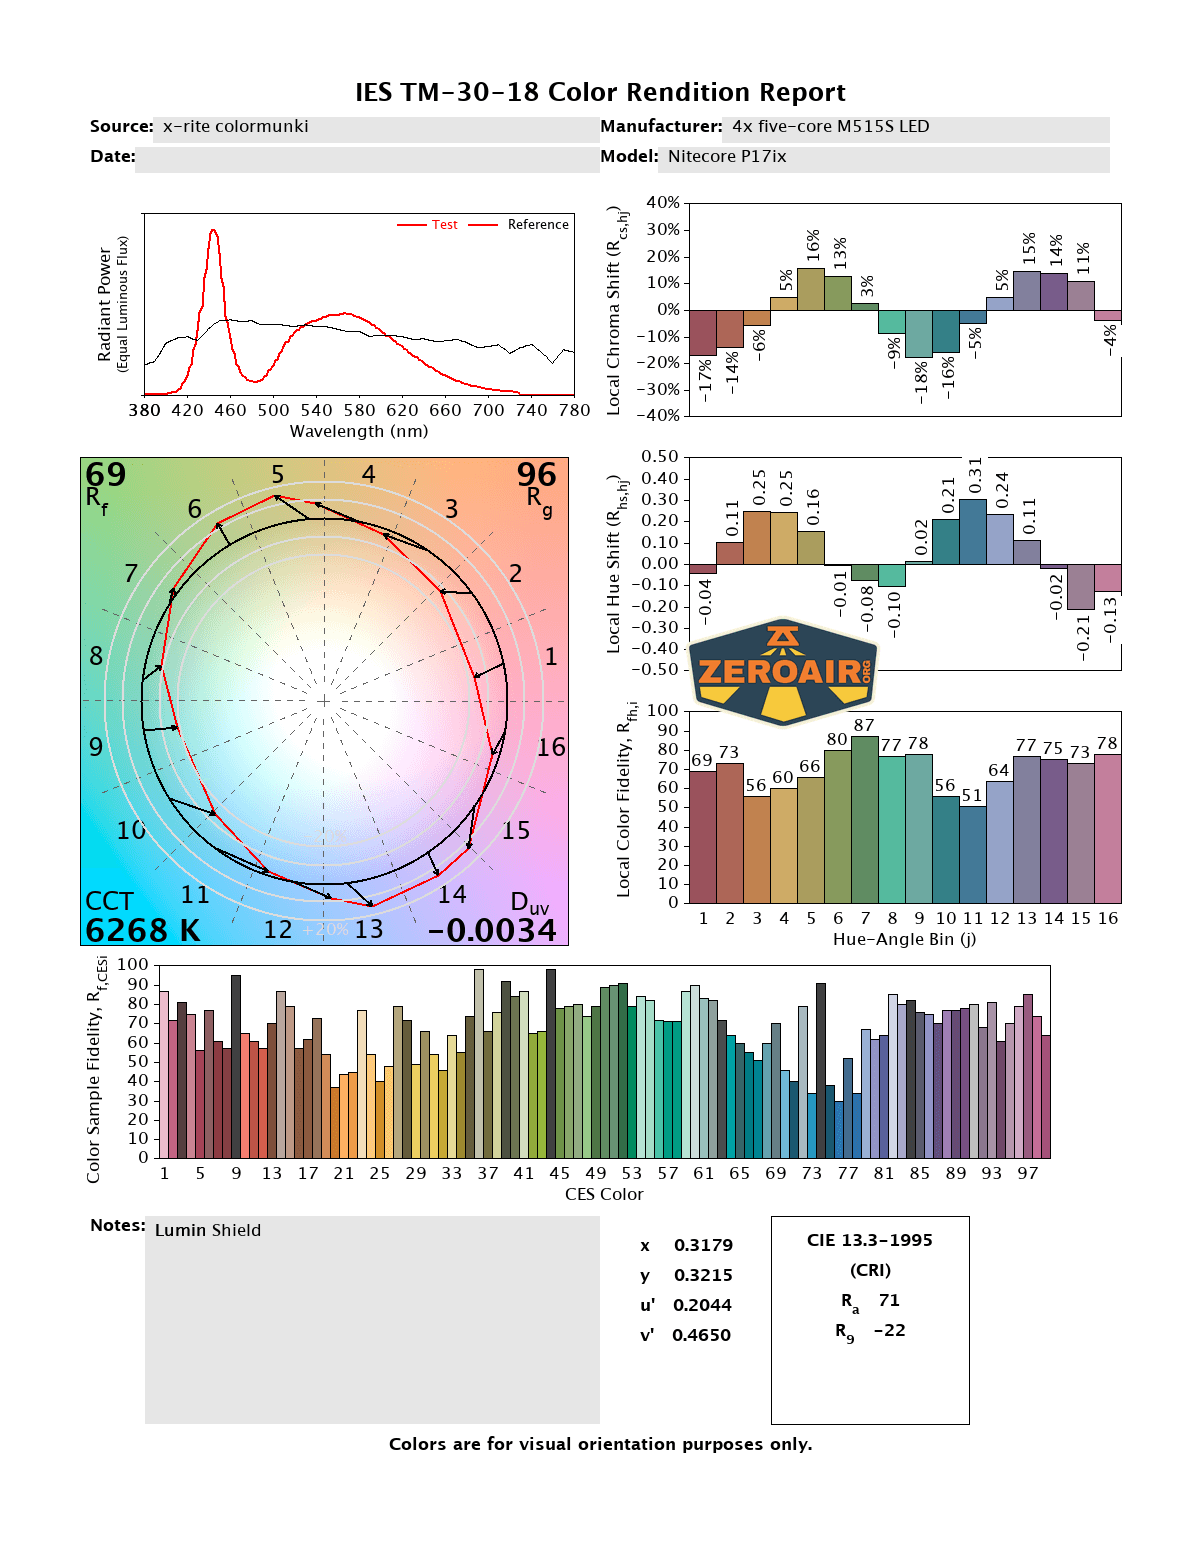
CCT (Correlated Color Temperature) refers to the measurement of the color appearance of light, expressed in Kelvins (K), which indicates whether the light is warm (yellowish) or cool (bluish). A lower CCT (below 3000K) is considered warm light, while a higher CCT (above 5000K) gives cooler, bluish light.
CRI (Color Rendering Index) is a measure of how accurately a light source renders colors in comparison to natural sunlight. Scored on a scale from 0 to 100, higher CRI values indicate that colors appear more true to life and vibrant, similar to how they would look under the sun.
Beamshots
These beamshots always have the following settings: f8, ISO100, 0.3s shutter, and manual 5000K exposure. These photos are taken at floor level, and the beam hits the ceiling around 9 feet away.







Tint vs BLF-348 (KillzoneFlashlights.com 219b version) (affiliate link)
I keep the test flashlight on the left and the BLF-348 reference flashlight on the right. These photos are taken around 18 inches from the door.
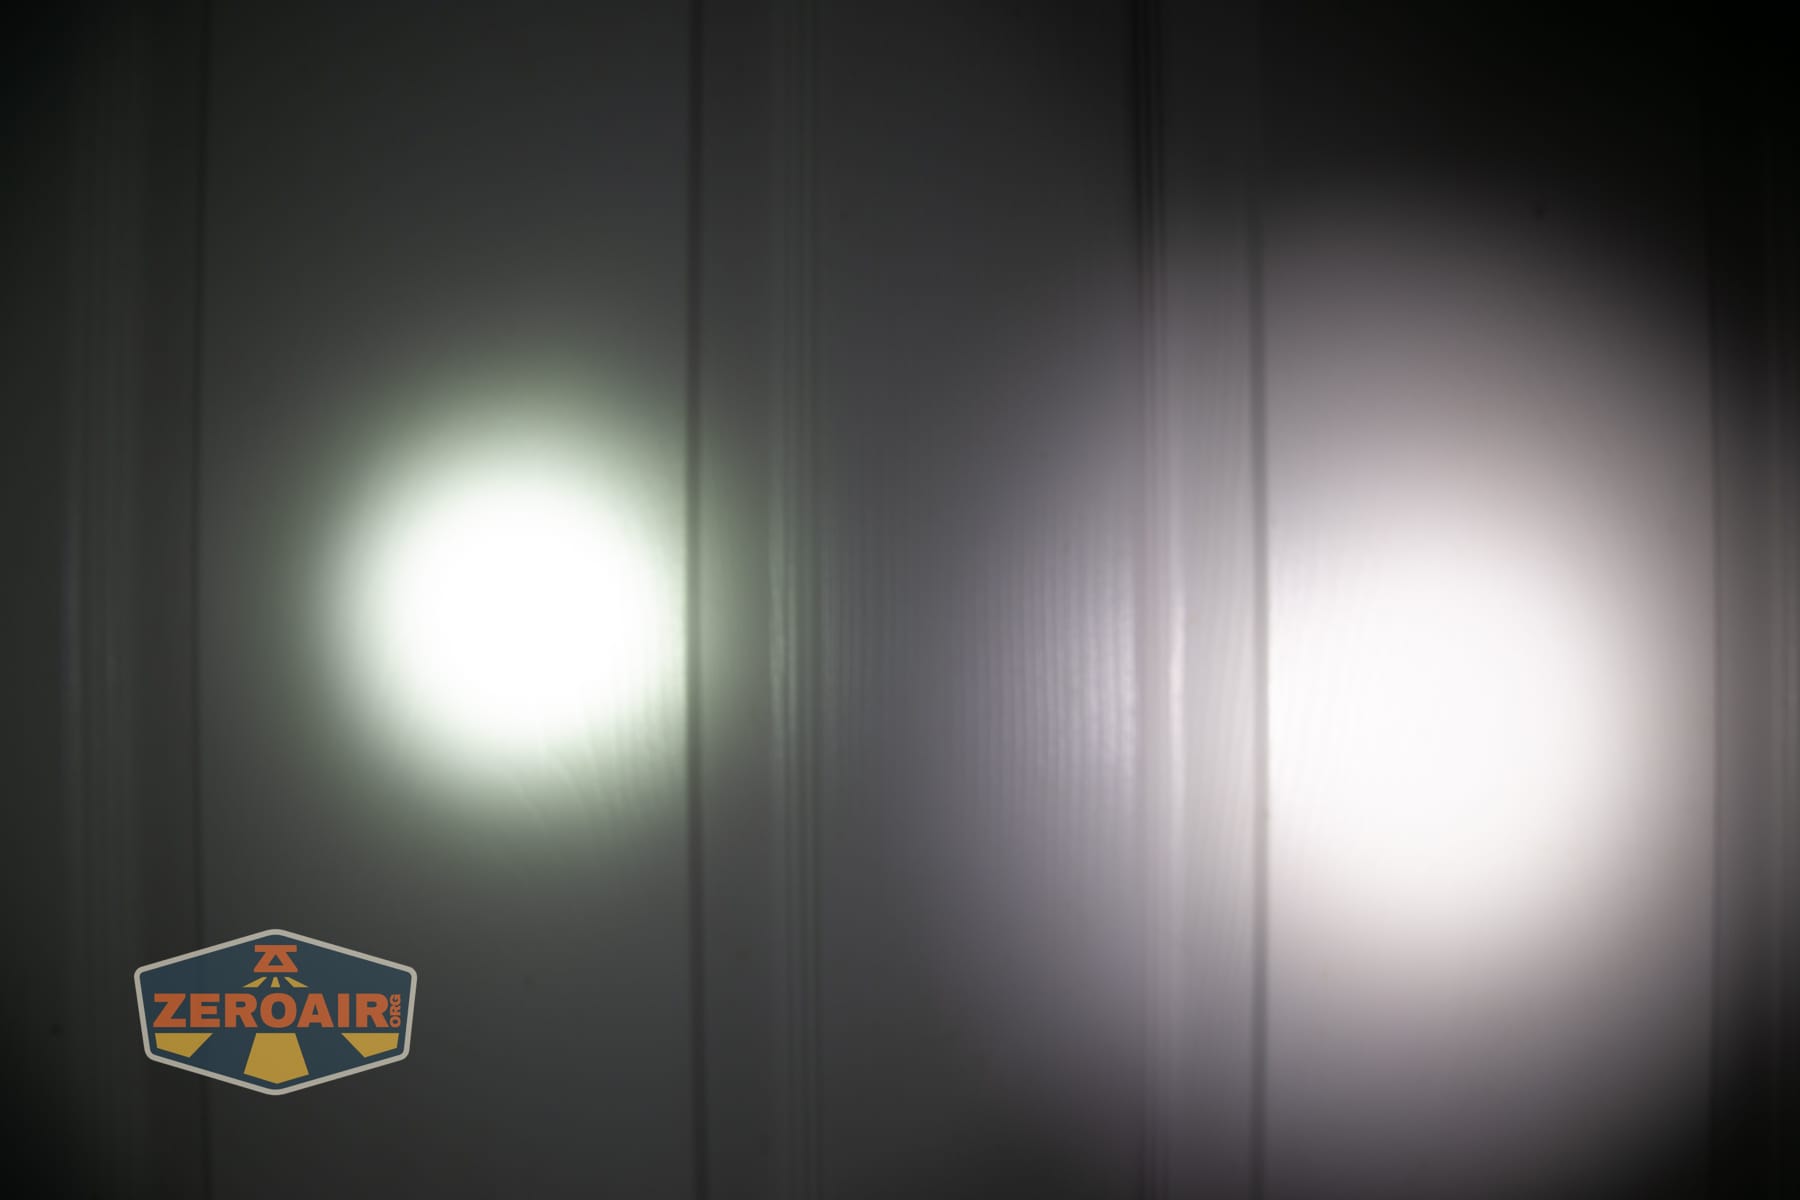
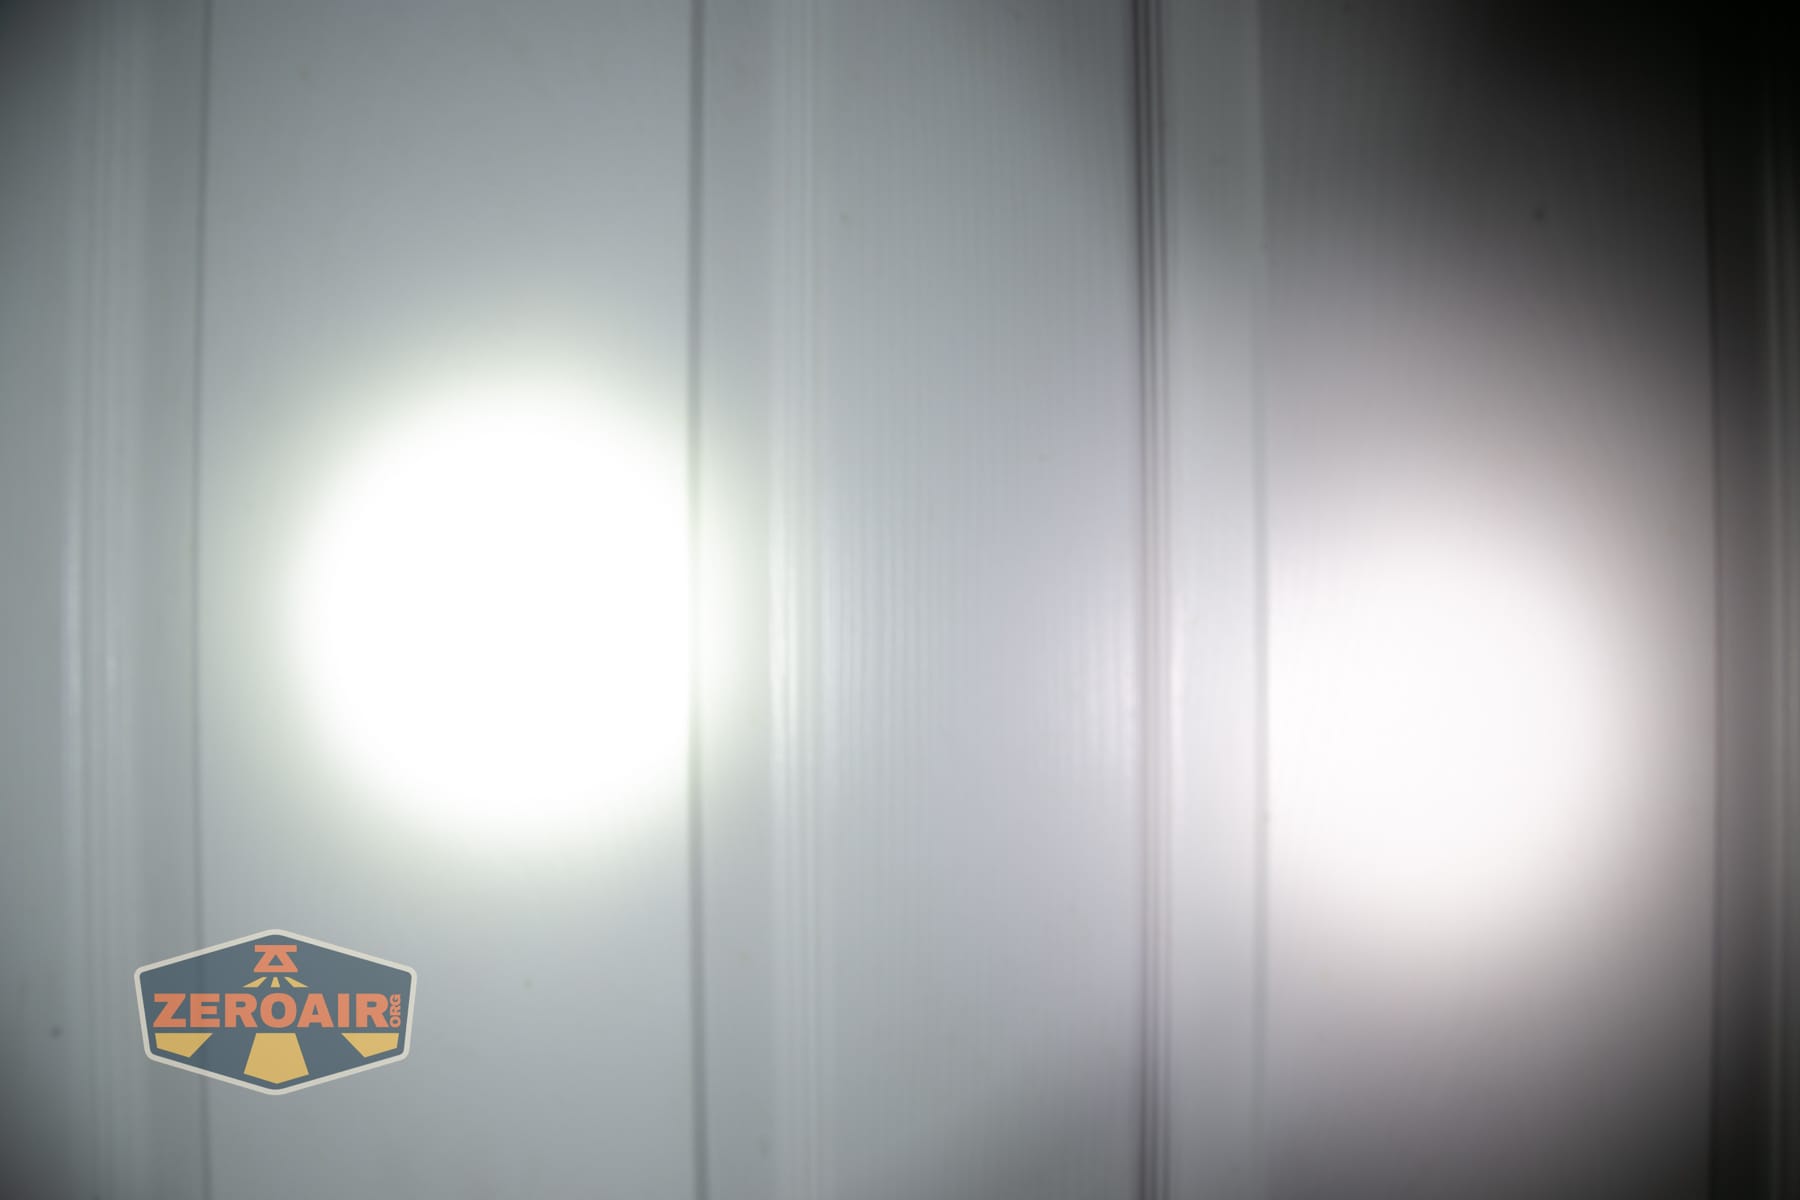


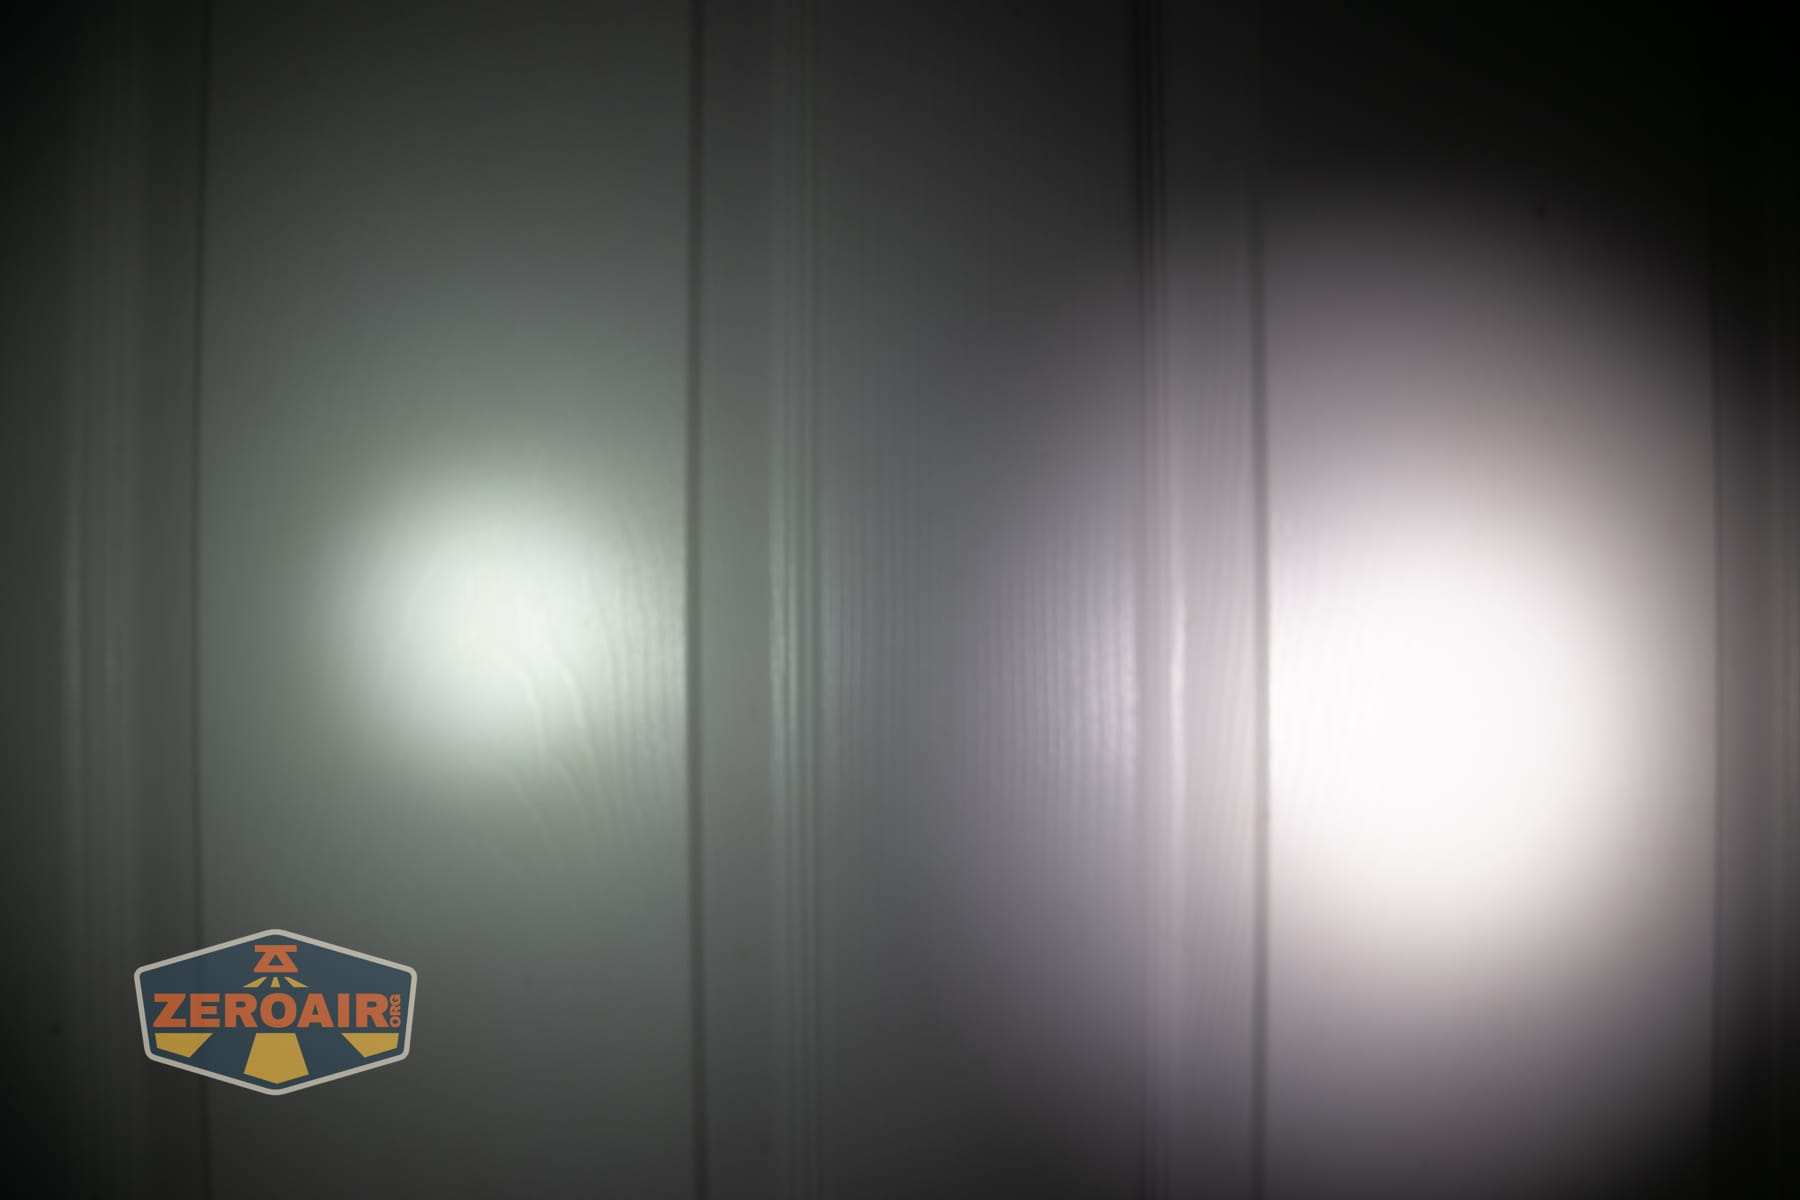
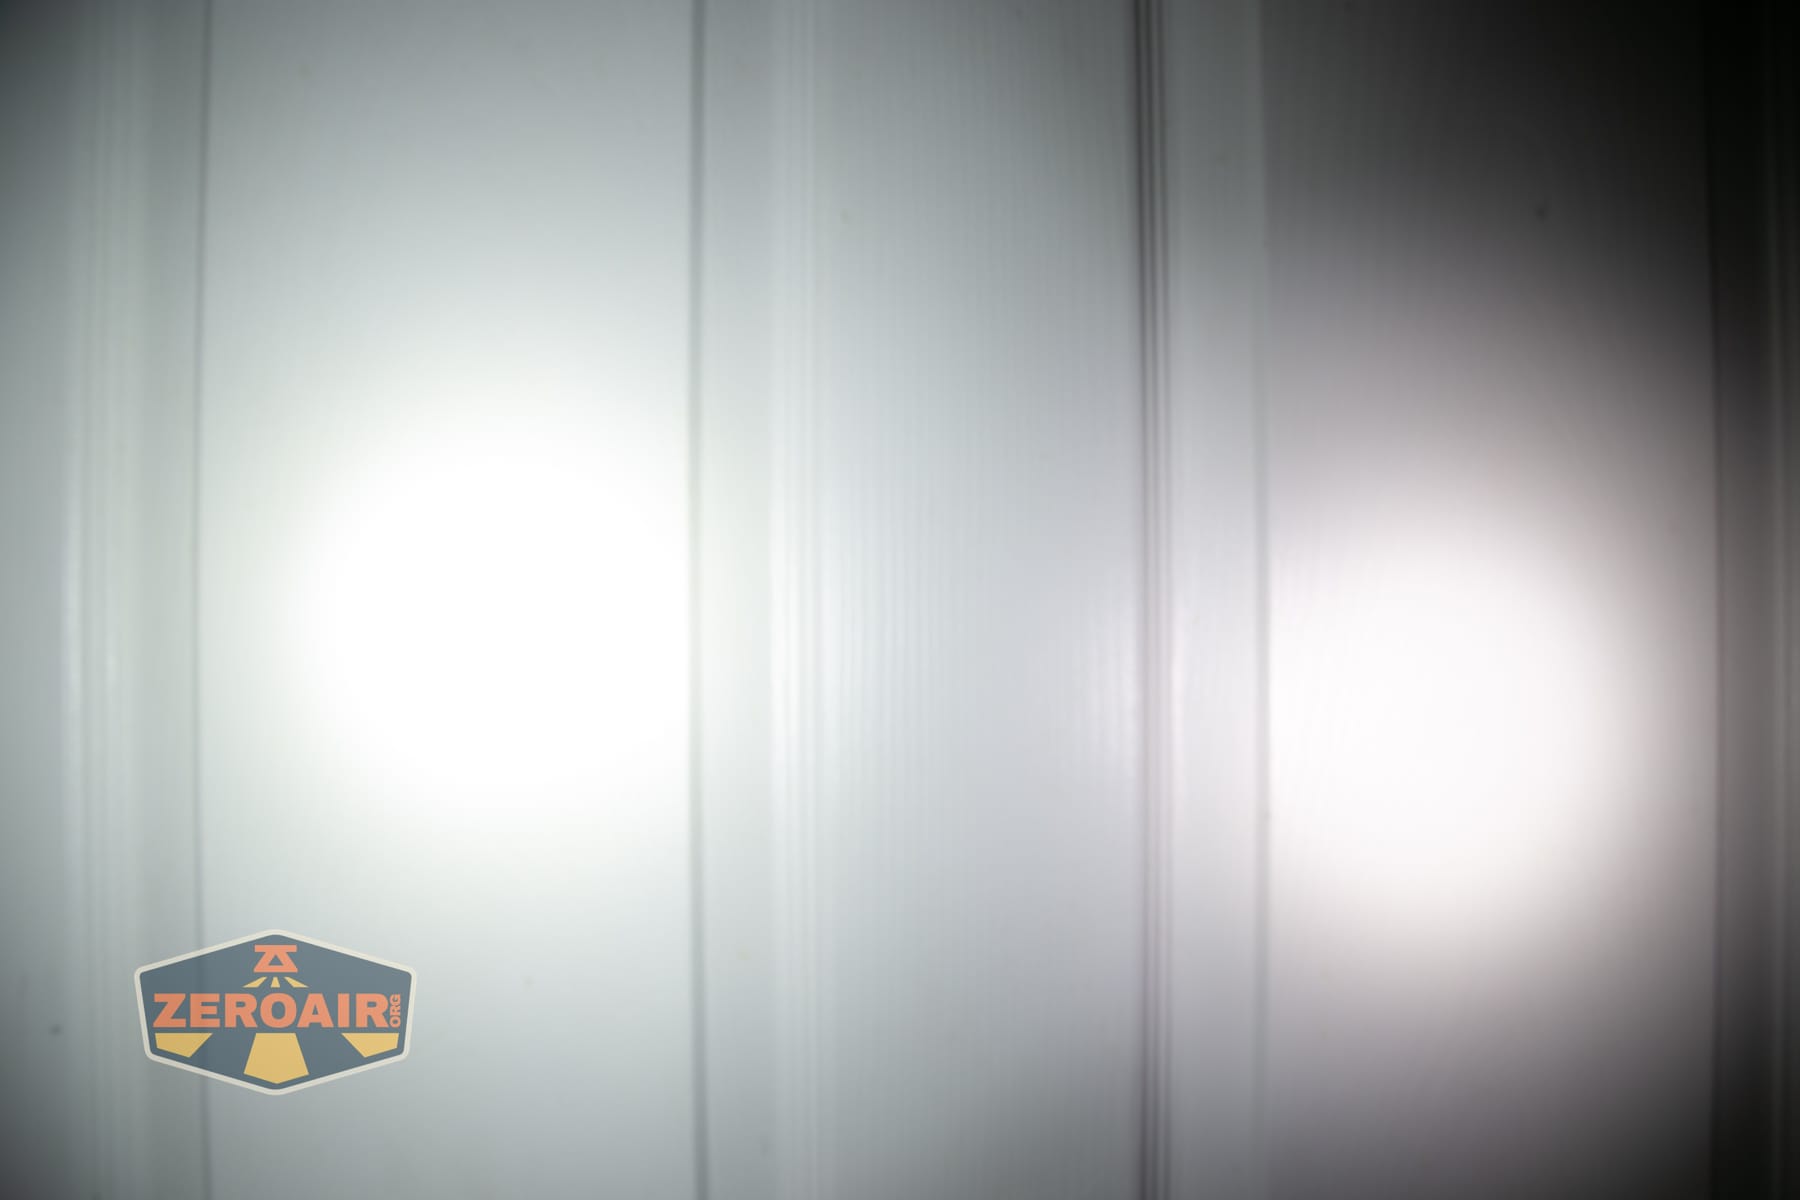


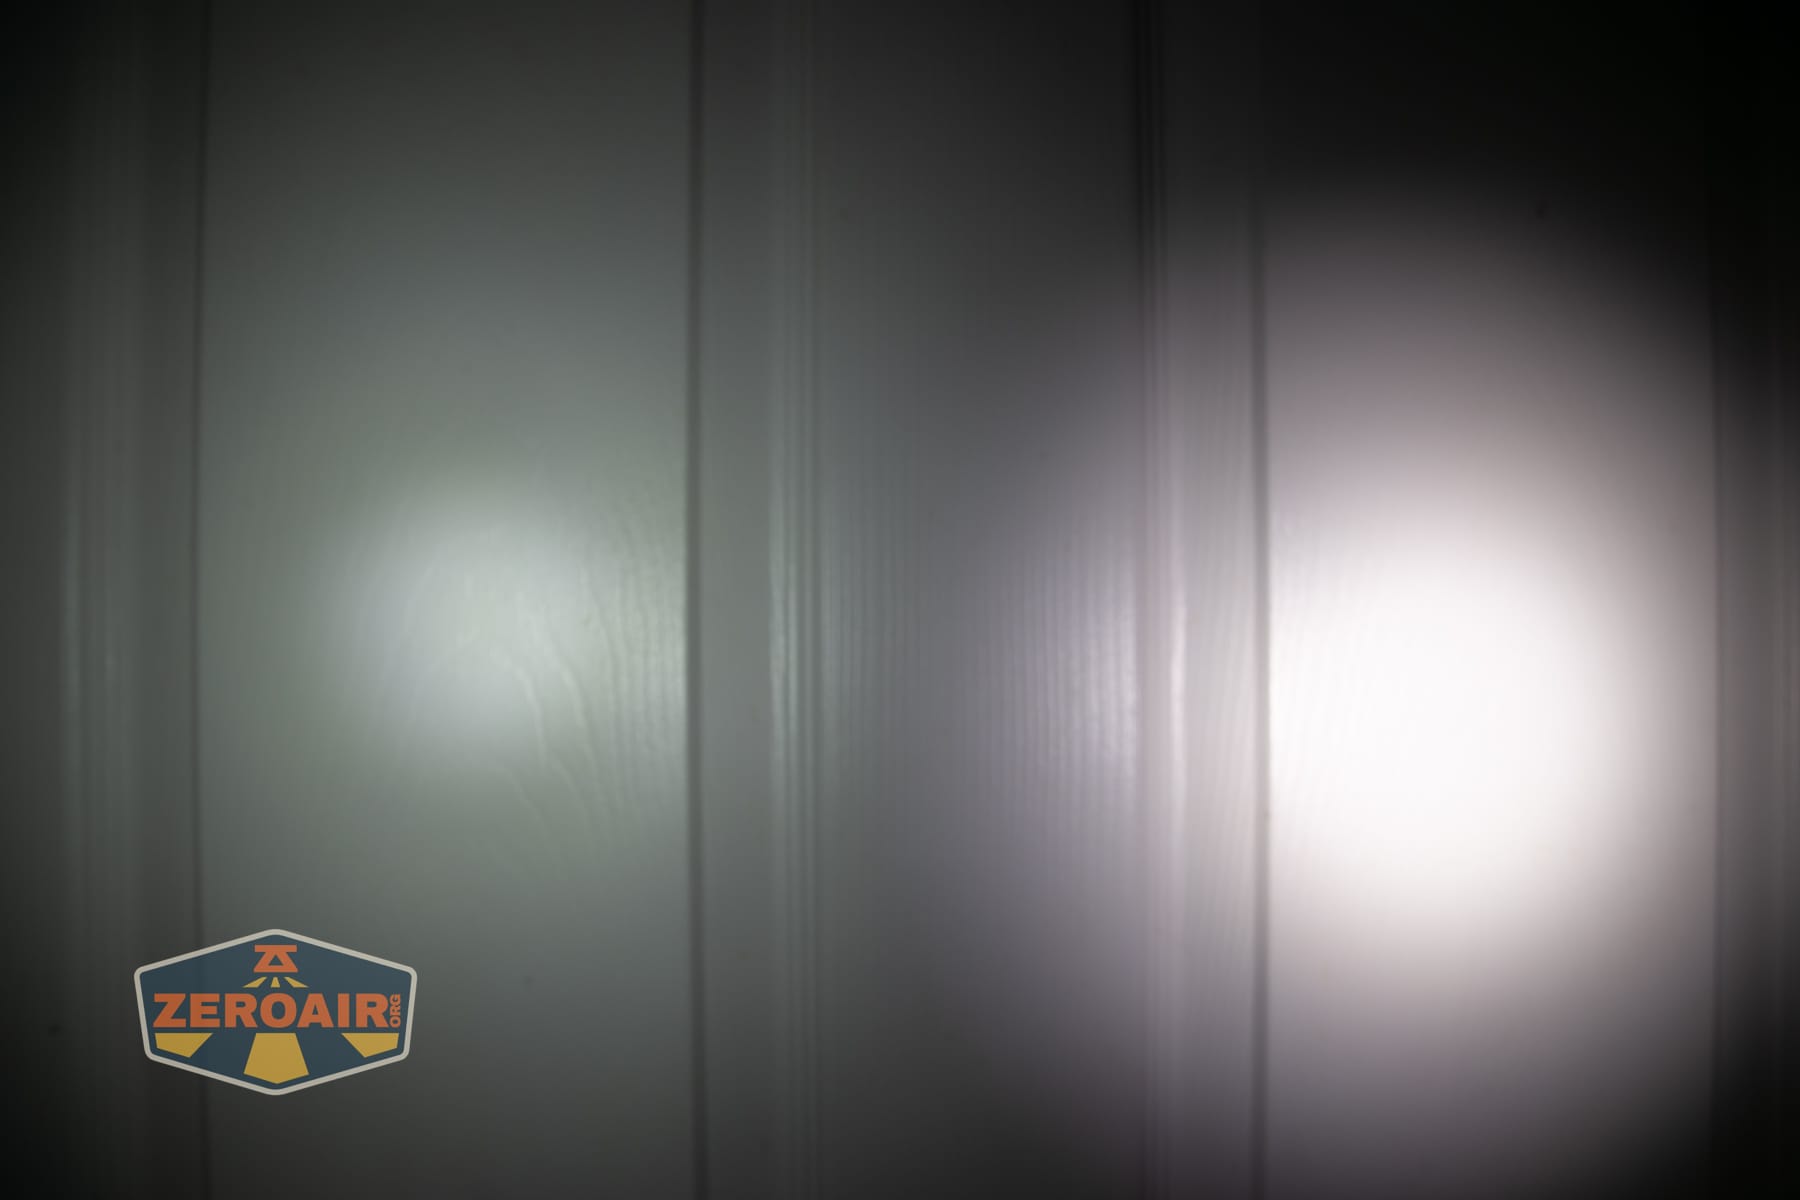
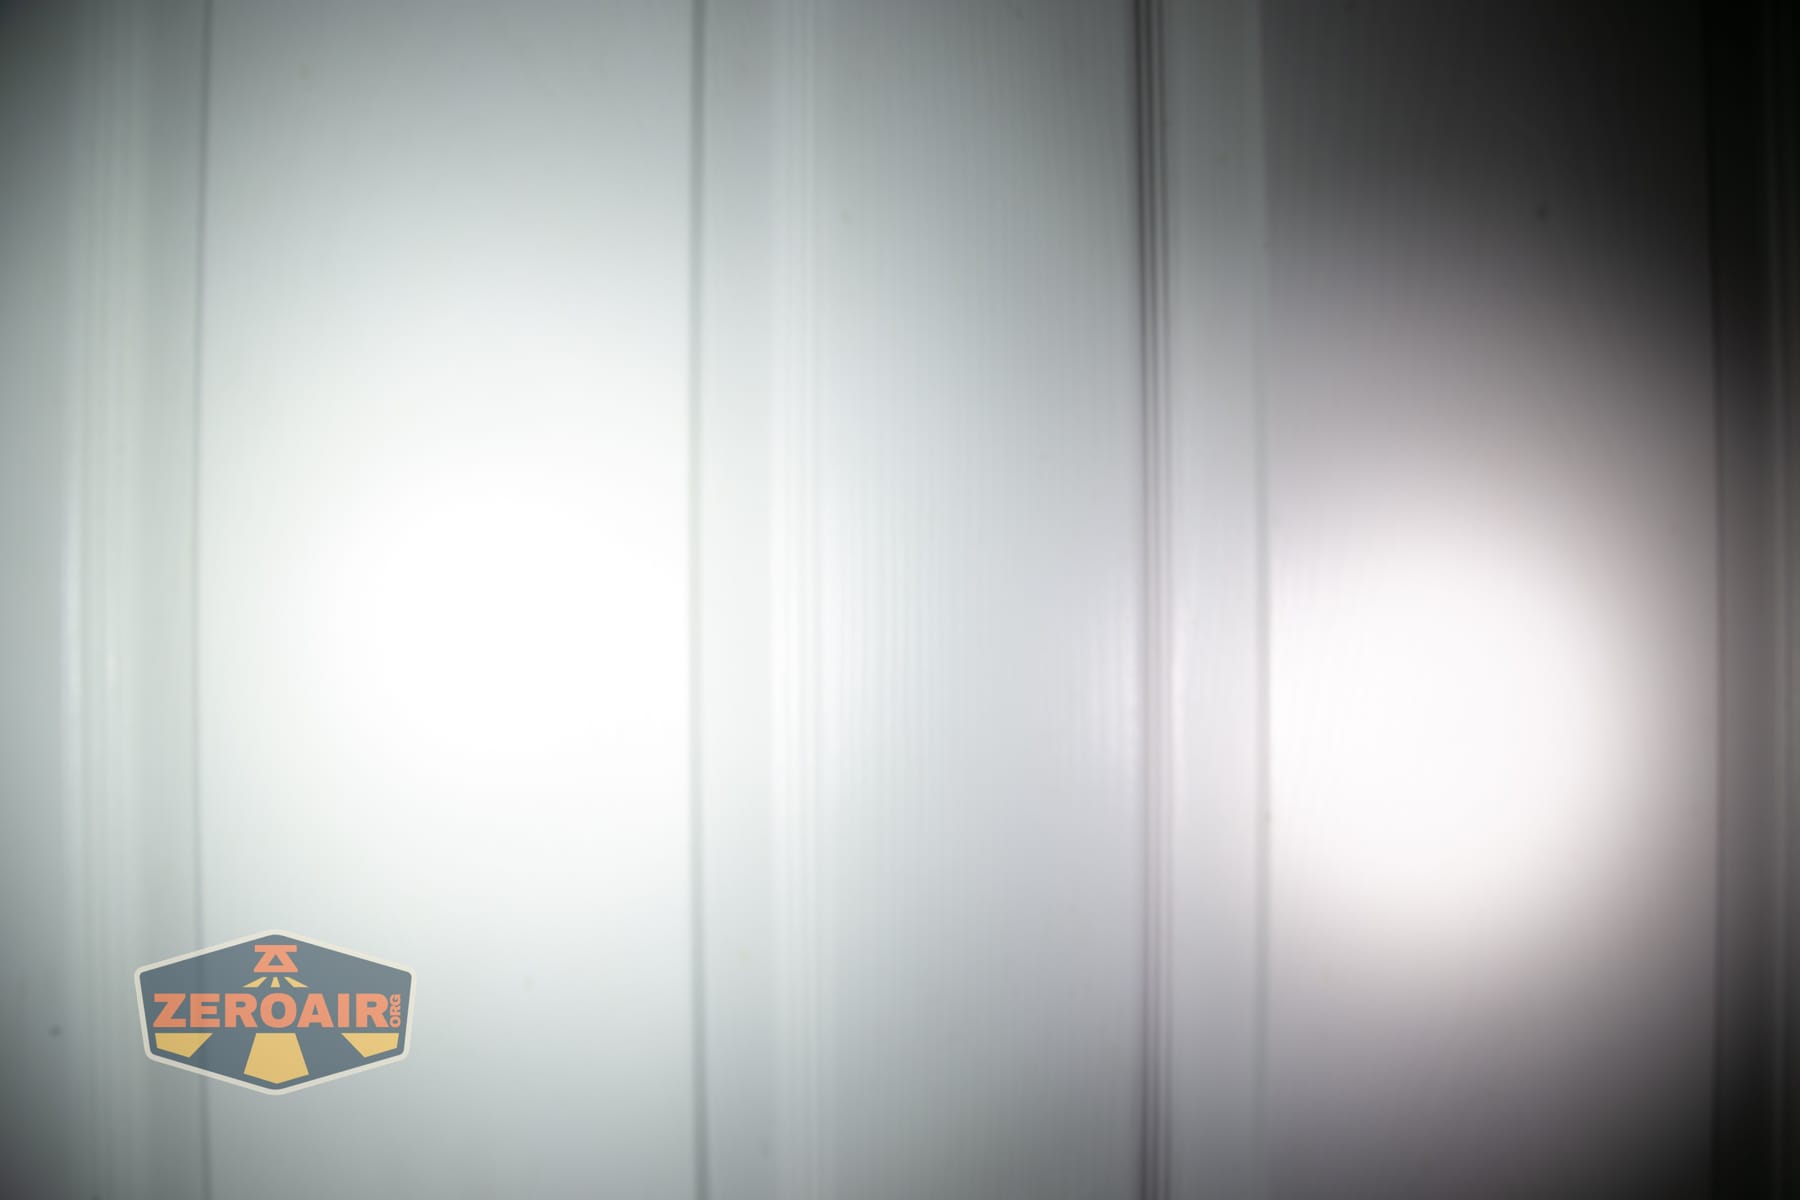




I compare everything to the KillzoneFlashlights.com 219b BLF-348 because it’s inexpensive and has the best tint!
Summary and Conclusion
The Nitecore P17iX customizable tactical flashlight is quite a feature-rich light! That comes at a fairly high cost, but the light also has a bunch of options – the holster, for example, is great for tactical carry. All the buttons aren’t confusing for tactical purposes, either – if you’re used to using a tactical light, you can probably configure this one just like you want it, and then use the switches just like you’re used to. And then you have the option of using the side e-switch for other, more “daily” type uses. Charging works great, but it’s disappointing that Nitecore has moved to a proprietary cell. At least it’s replaceable, though. The P27ix and P17ix are very similar. Your decision should probably come down to which size you need, and which price suits you more. Either way, the Nitecore P17iX customizable tactical flashlight is a great choice for many applications, especially those that lean tactical!
The Big Table
| Nitecore P17iX | |
|---|---|
| Emitter: | 4x five-core M515S LED |
| Price in USD at publication time: | $129.95 |
| Cell: | 1×21700 |
| Runtime Graphs | |
| LVP? | According to runtime charts, yes. |
| Switch Type: | Both |
| Quiescent Current (mA): | ? |
| On-Board Charging? | Yes |
| Charge Port Type: | USB-C |
| Charge Graph | |
| Power off Charge Port | No |
| Claimed Lumens (lm) | 5000 |
| Measured Lumens (at 30s) | 4639 (92.8% of claim)^ |
| Candela per Lumen | 15.5 |
| Claimed Throw (m) | 329 |
| Candela (Calculated) in cd (at 30s) | 754lux @ 5.616m = 23781cd |
| Throw (Calculated) (m) | 308.4 (93.7% of claim)^ |
| Claimed CCT | – |
| Measured CCT Range (K) | 5500-6200 Kelvin |
| Item provided for review by: | Nitecore |
| All my Nitecore reviews! | |
^ Measurement disclaimer: Testing flashlights is my hobby. I use hobbyist-level equipment for testing, including some I made myself. Try not to get buried in the details of manufacturer specifications versus measurements recorded here; A certain amount of difference (say, 10 or 15%) is perfectly reasonable.
What I like
- Great build quality
- Configurable tactical switches
- “Engage” paddle-ish switch is nice to use
- Modes with and without memory
What I don’t like
- Cost
- Lack of extreme differentiation between spot and flood
- Proprietary cell
Notes
- This content originally appeared at zeroair.org. Please visit there for the best experience!
- Please use my Amazon.com referral link to help support zeroair.org!
- Please support me on Patreon! I deeply appreciate your support!
Discover more from ZeroAir Reviews
Subscribe to get the latest posts sent to your email.