Nitecore F1 Charger Review
Here’s the Nitecore F1 charger, made to fit one lithium-ion cell. It can also serve as a travel powerbank, and the size is perfect!
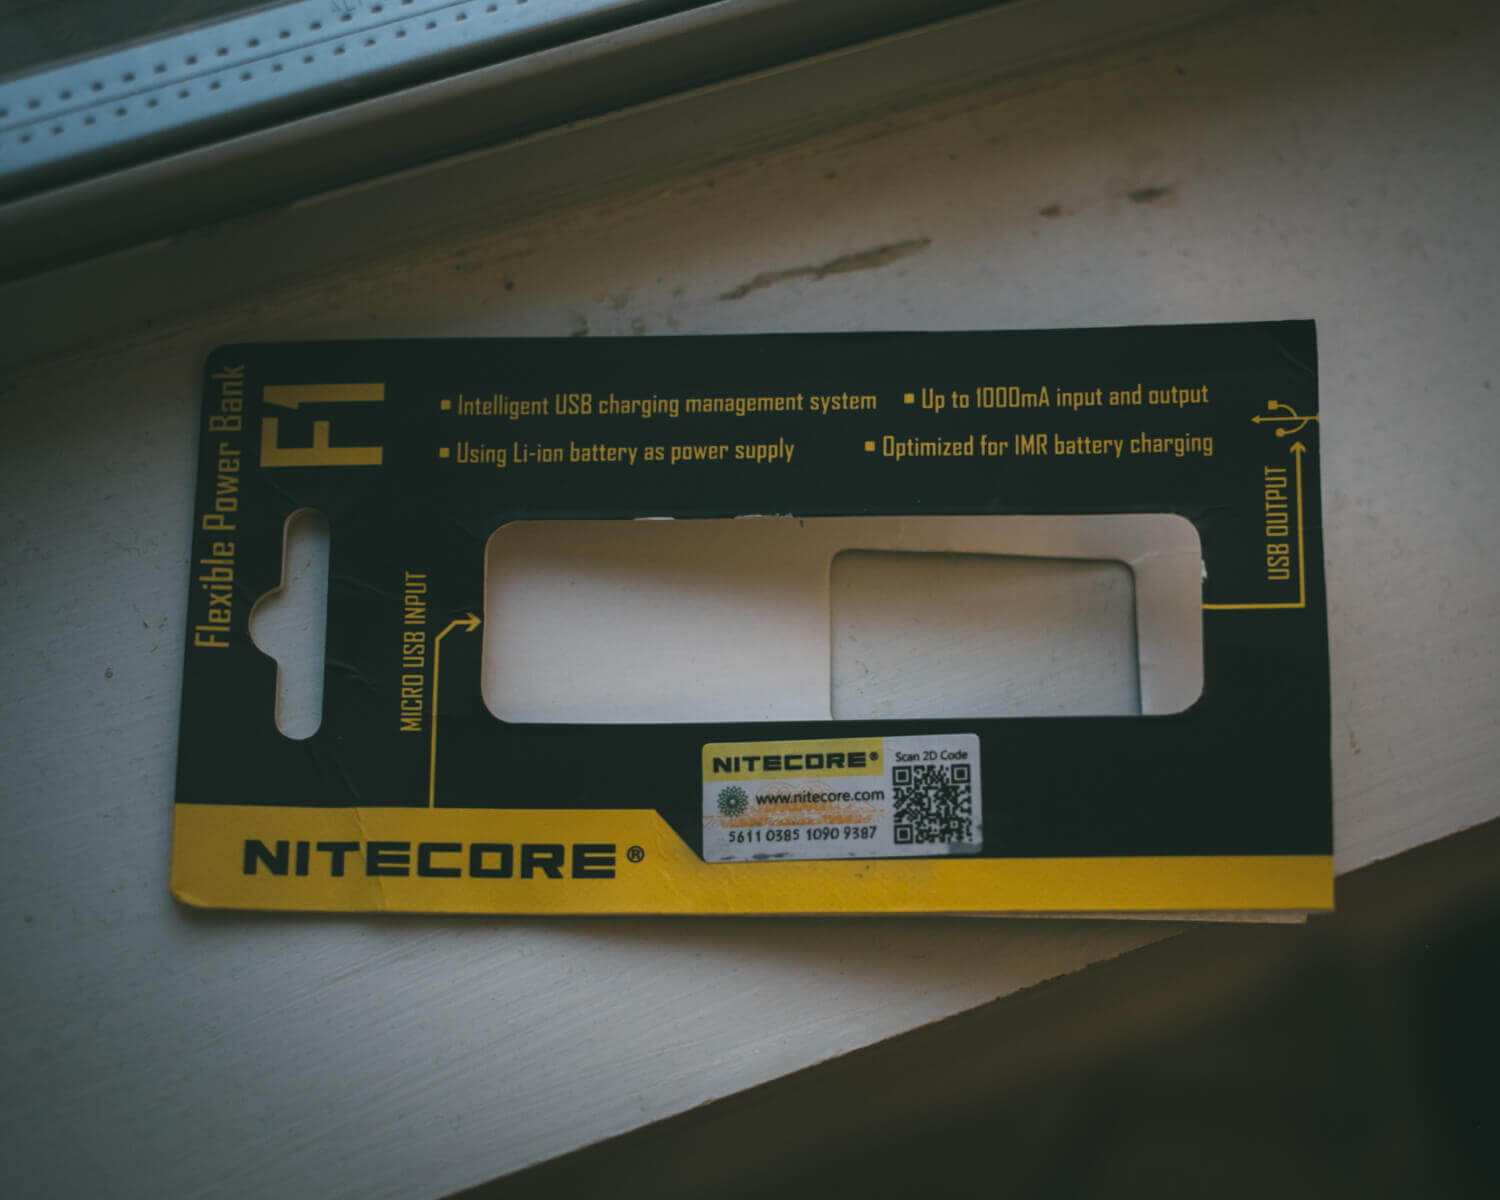
Official Specs and Claims
Here’s a link to the Nitecore F1 Charger product page.
| Nitecore | F1 Charger |
|---|---|
| Compatibility | 26650/18650/17670/18490/17500/17335/16340(RCR123)/14500/10440 |
| Battery Qty | 1 |
| Input | DC 5V, ≥500mA |
| Output | 4.2V±1% (slot)/5V±5% (USB), 1000mA MAX (slot)/1000mA (USB) |
| Size | 3.43 inches × 0.94 inches × 1.15 inches (87.2mm×24mm×29.3mm) |
| Weight | 1.07oz (30.4g, without cord) |
- Compatible with cylinder rechargeable Li-ion batteries of various sizes
- Intelligent USB charging management system
- Up to 1000mA fast charging through the Micro-USB input port
- 1000mA fast charging through USB output port
- Optimized design for IMR battery charging circuit
- Three power indicators to indicate charging/discharging status
- Automatic power level detection
- Instant battery voltage indication upon battery installation
- Automatic battery detection and appropriate charging voltage/mode selection
- Battery reversed polarity protection and short circuit prevention
- Made from durable PC material (fire-retardant/flame-resistant)
- Designed for optimal heat dissipation
- Certified by RoHS, CE, FCC, and CEC
The above section contains the manufacturer’s descriptions and claims, not my impressions or results.
Long Review
Key Features
- Powerbank
- MicroUSB in for charging
- Ability to analyze cells (internal resistance, total capacity)
What’s Included
- Charger
- Two rubber bands for securing cells
Build Quality
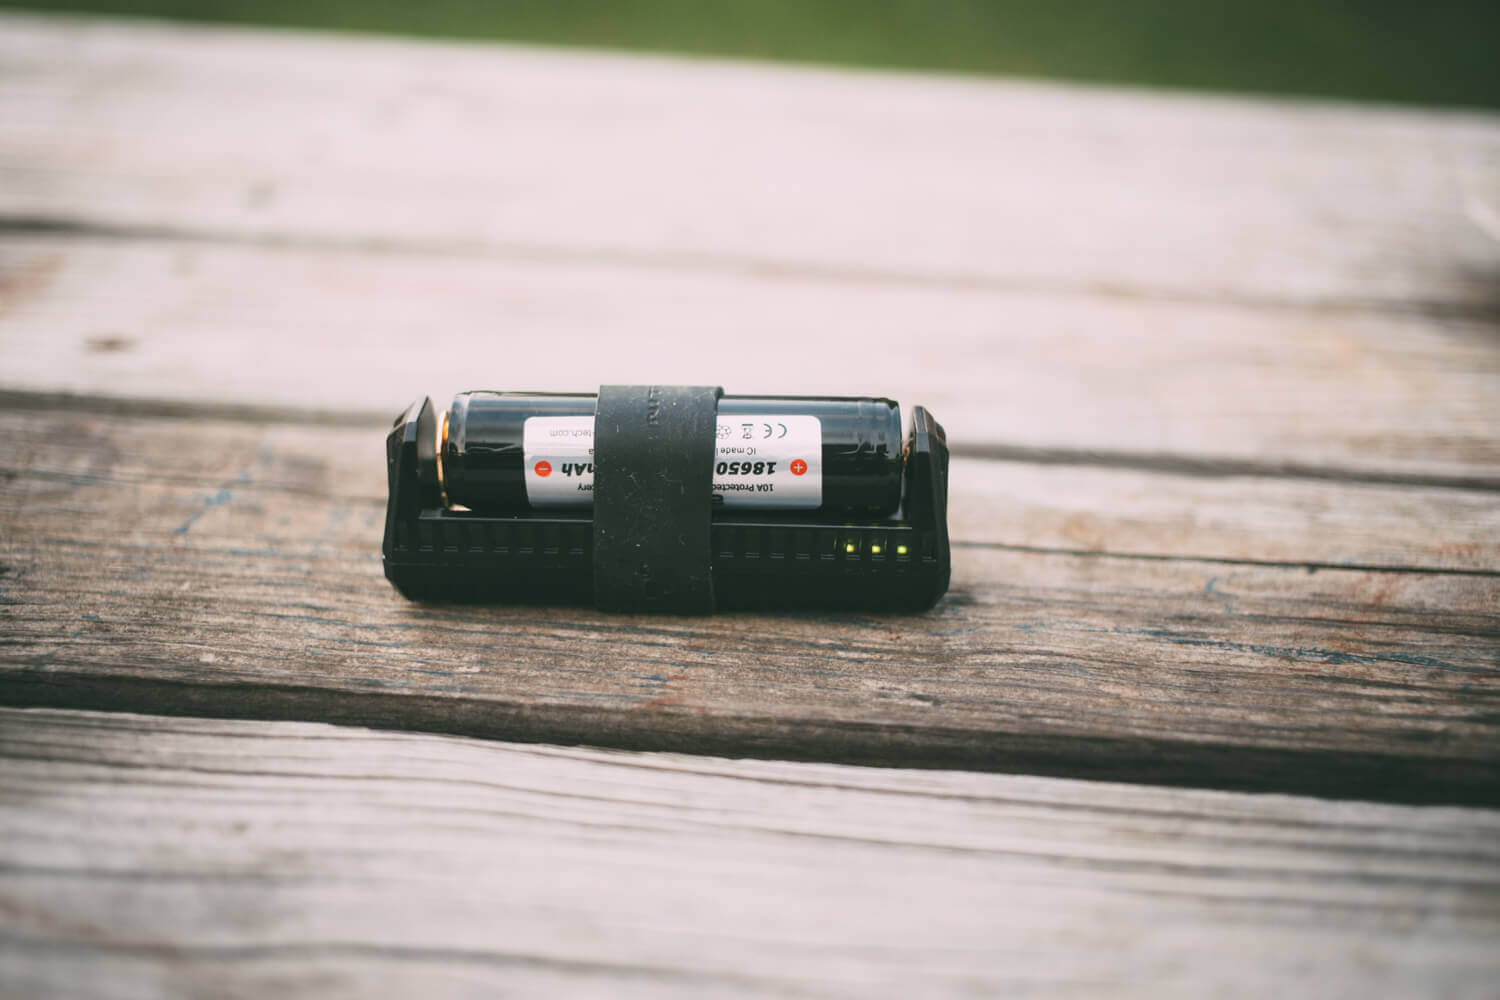
Everything about this charger is of ridiculous[ly great] quality. The plastic housing is well connected and nice thick plastic (not cheap like some other inexpensive single bay chargers). Nothing is bending or falling apart or out. The metal slide connector for the negative battery terminal slides very smoothly and quite freely. Both rubber bands are very firm and embossed with the Nitecore logo. Truth be told, they’re probably silicone, but Nitecore themselves call it “rubber,” so we’ll go with that. But they feel just like those LiveStrong bands. But they’re thicker and beefed up a lot, as if they’ve been on performance-enhancing drugs.


The plastic is not thick, rubberyish plastic. It is a kind of hard, translucent, smoky brown plastic – very good hand feel, and feels like it’ll last great. You can get the best idea of its translucency right at the Nitecore logo between the terminals.

The slide is extremely smooth and opens with plenty of room to drop in a **650 cell. Here it is with an EVVA-protected 3500mAh 18650, and with the rubber band in place.


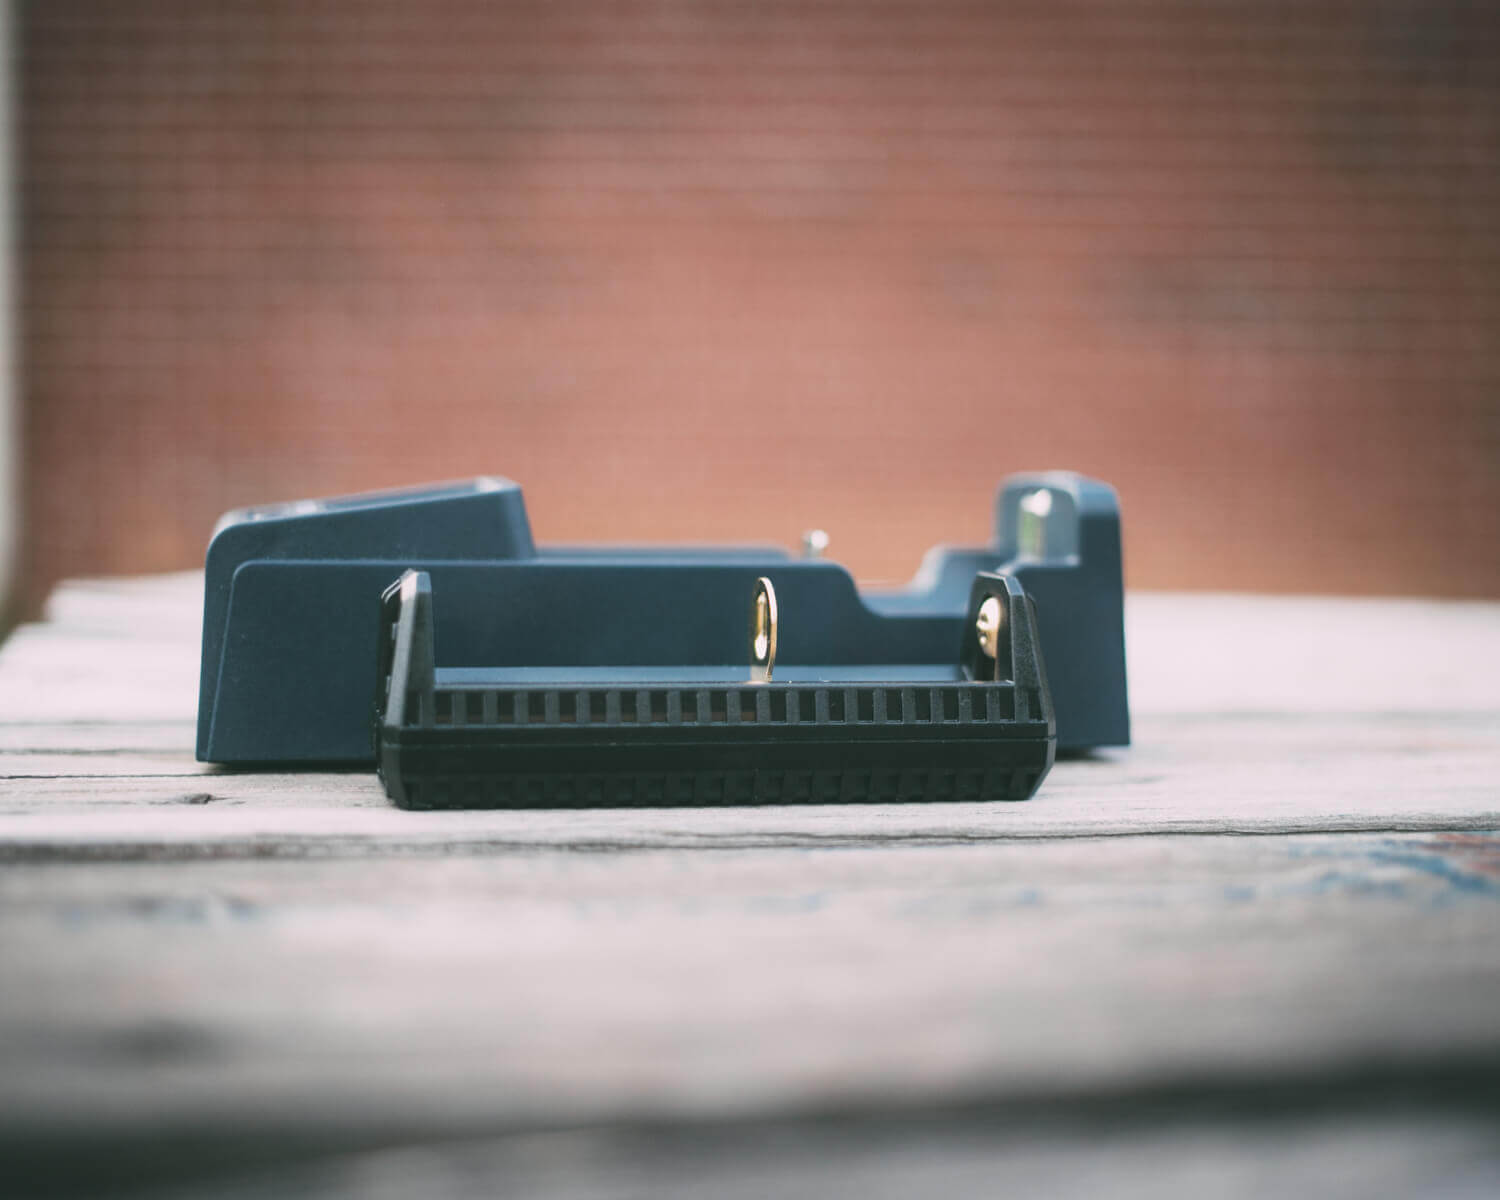
The positive terminal is fixed on the “top” side (the same side as the micro-USB in). The negative terminal is the sliding side, and at its shortest is about right for 16340 cells (sorry for not having a pic here, I’ll work on that!!). The negative side of the unit houses the USB out.


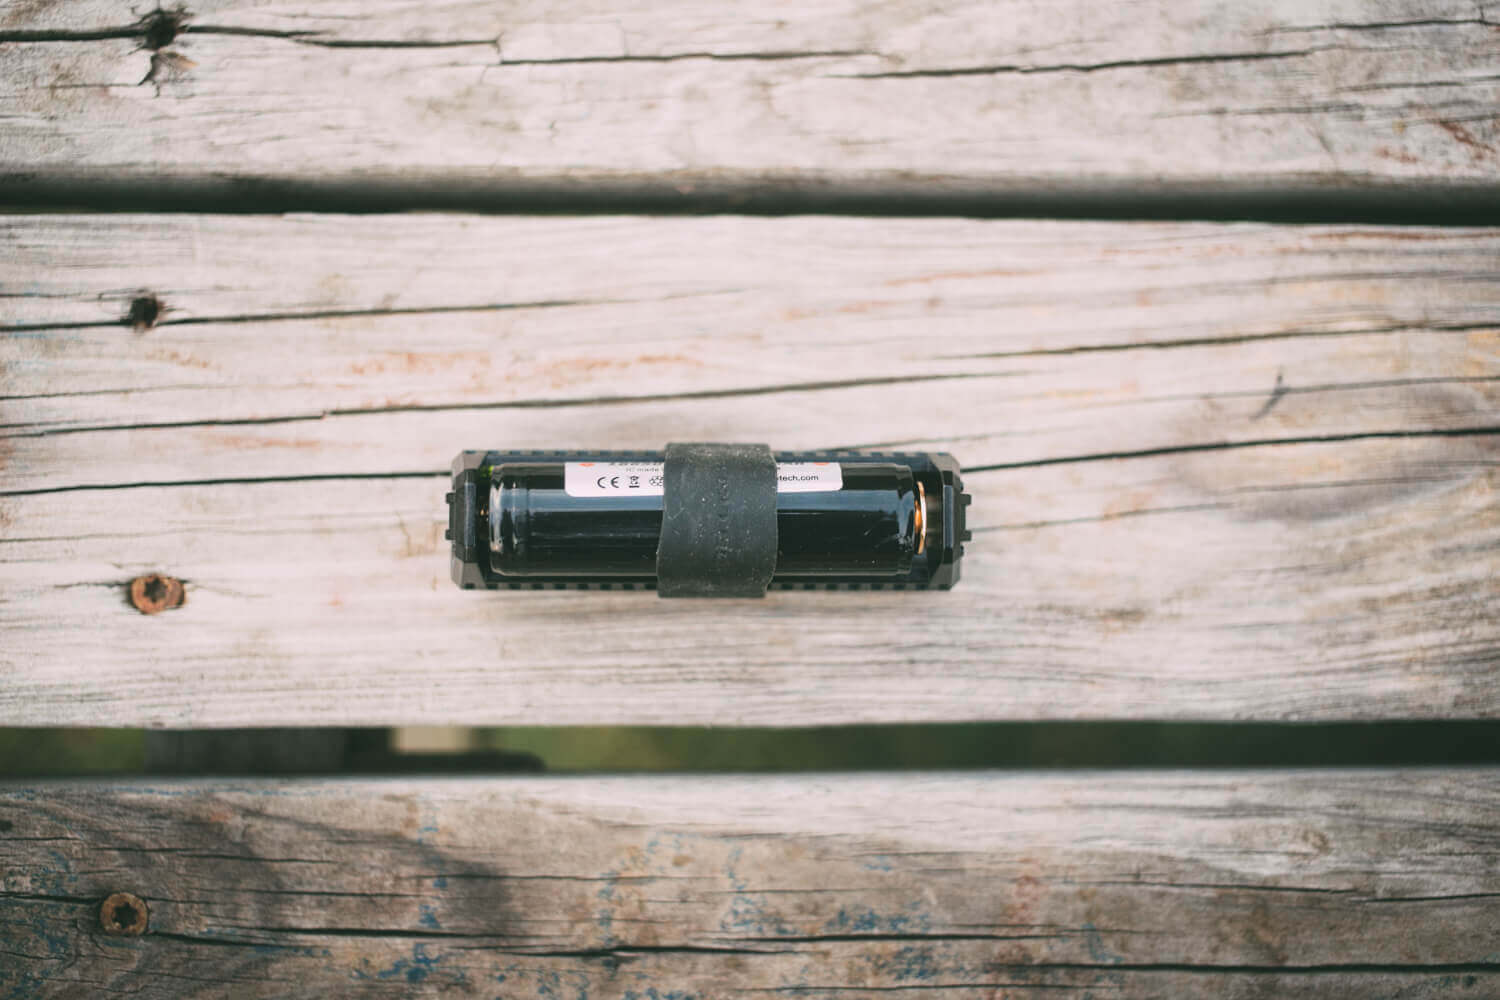
And here’s the back with all that info Apple thinks you hate to see and wants to remove from the back of its phones.

Manual and Packaging
Nitecore has a nice PDF manual. Note that this manual is not included in the package.
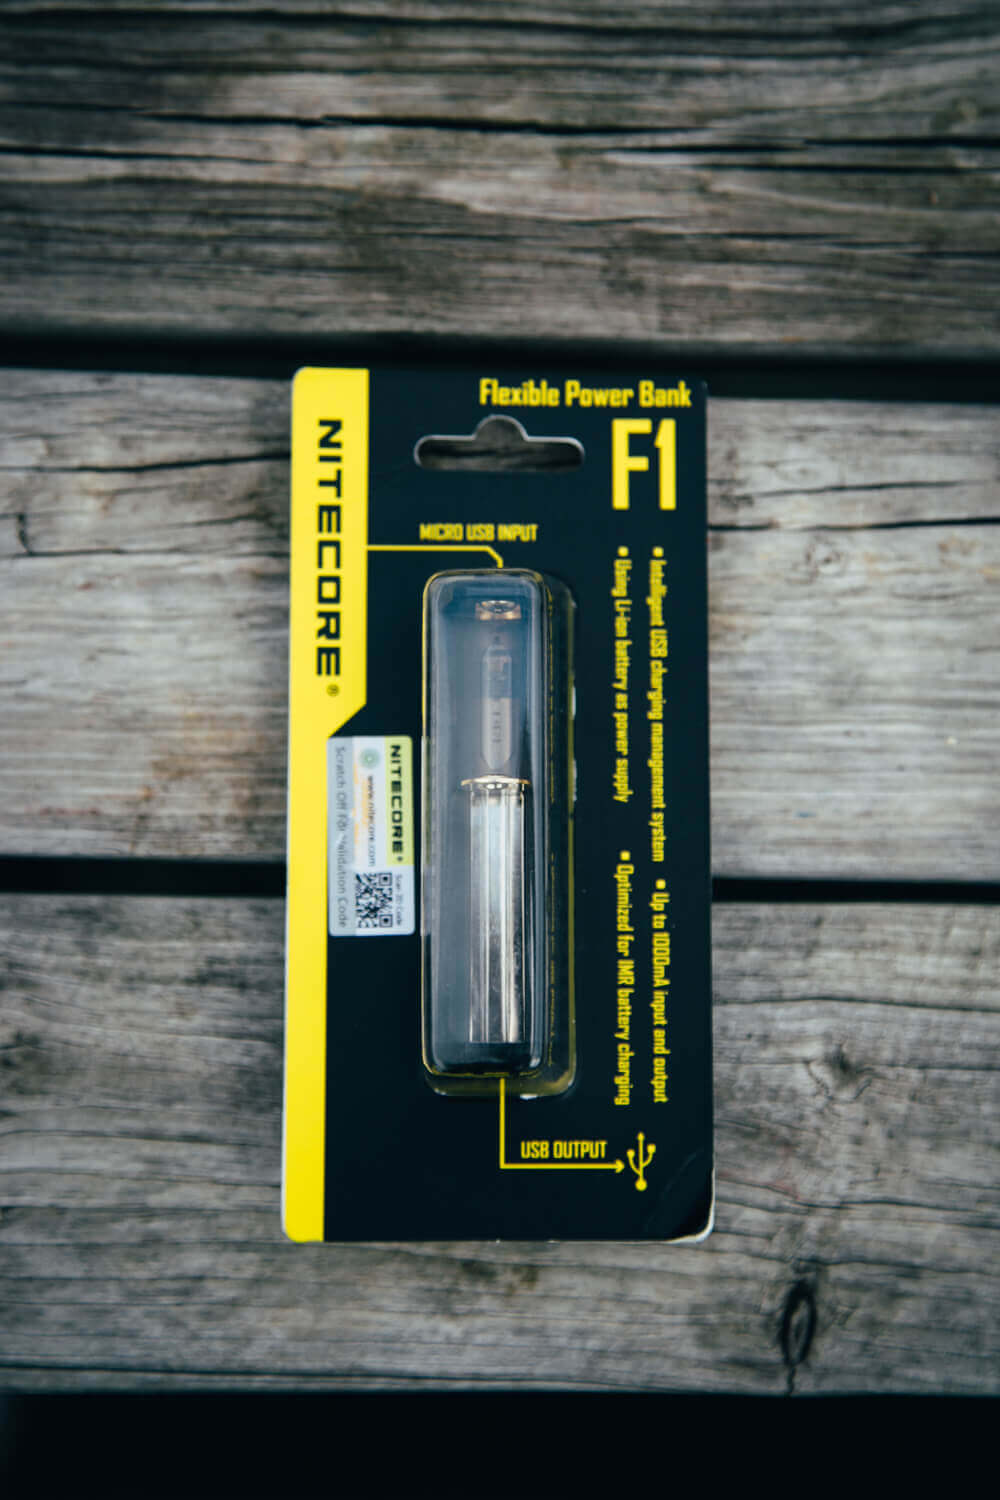
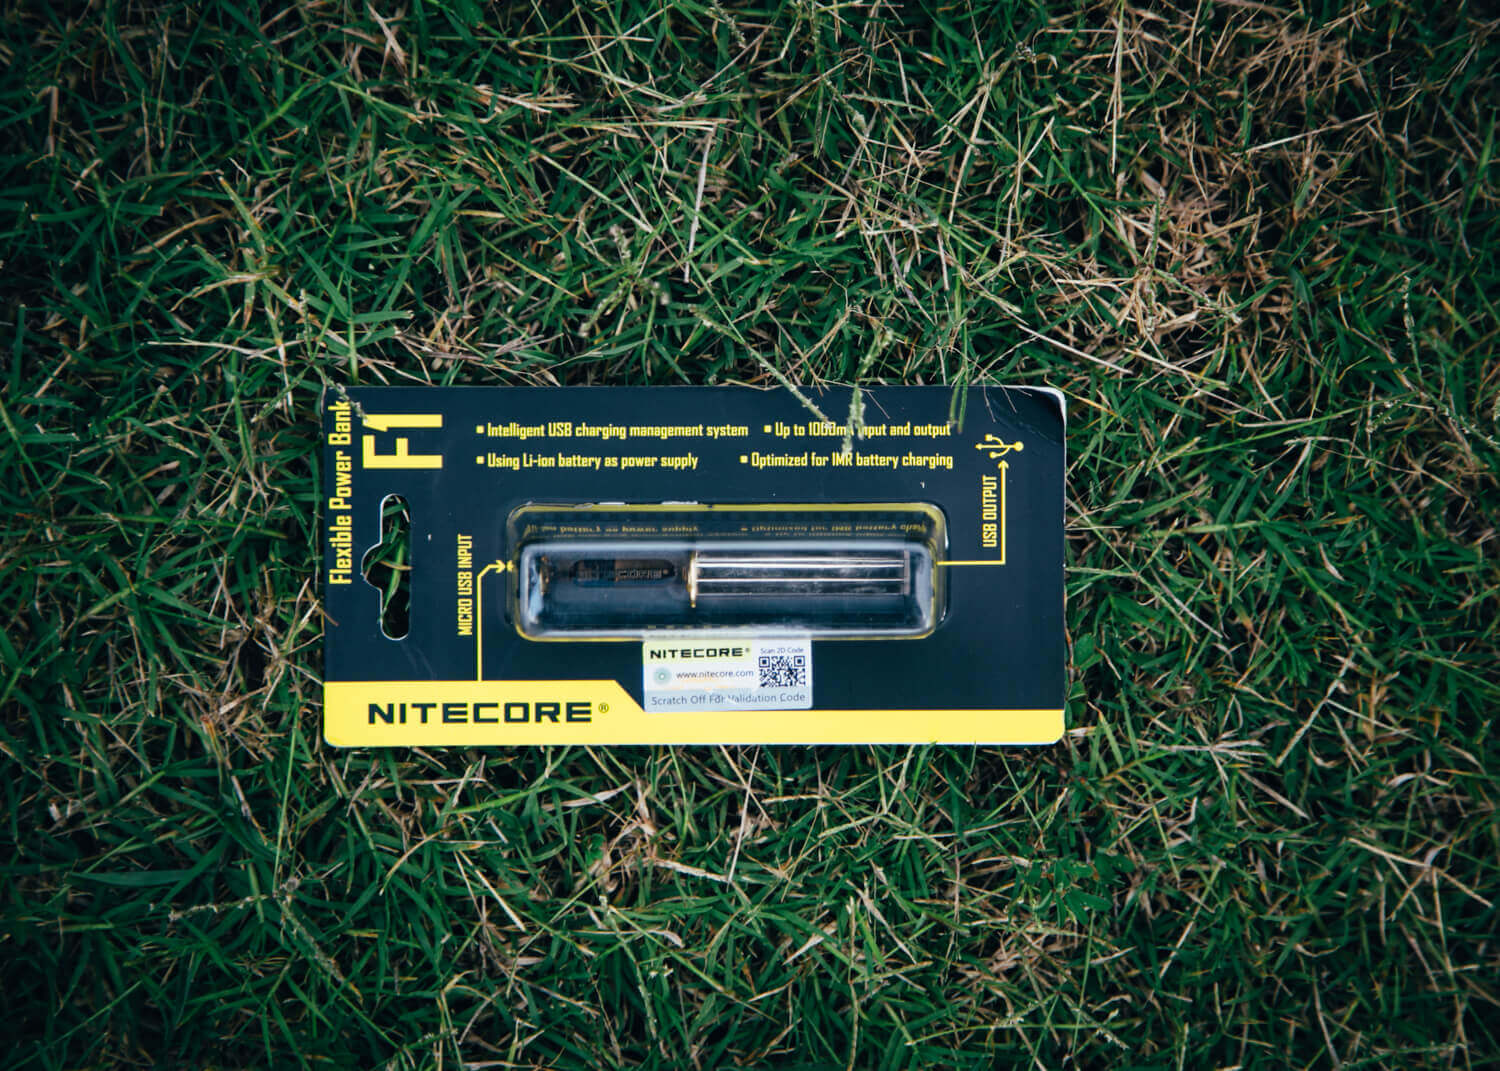
Packaging is fine – kind of a “frustration-free” package – just cut the bottom right off with scissors and everything splits right open.

Nitecore has a unique “Validation Code” – a scratch-off code one can enter at the Nitecore site to verify a charger is genuine. In my case, the code revealed my charger as genuine.
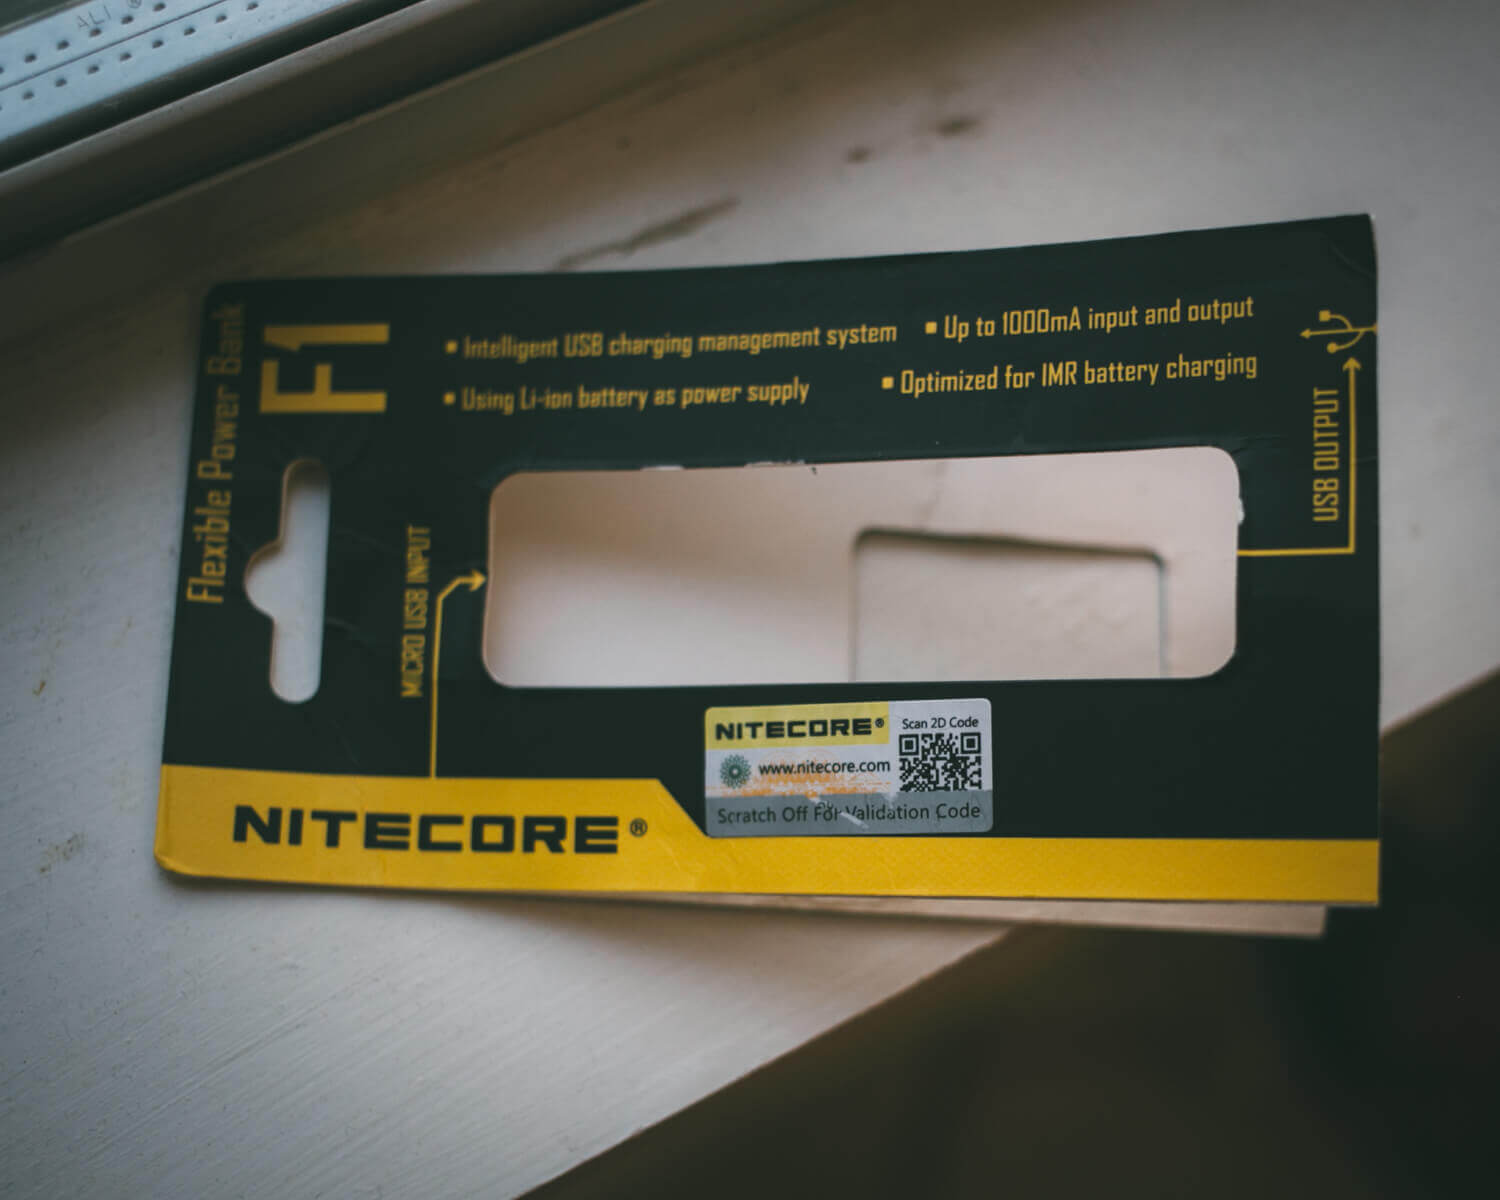
GearBest adds a sticker to the back of the package, which I kind of like: I believe it would help me identify which specific model of this unit I have if there were updates down the road.

Power
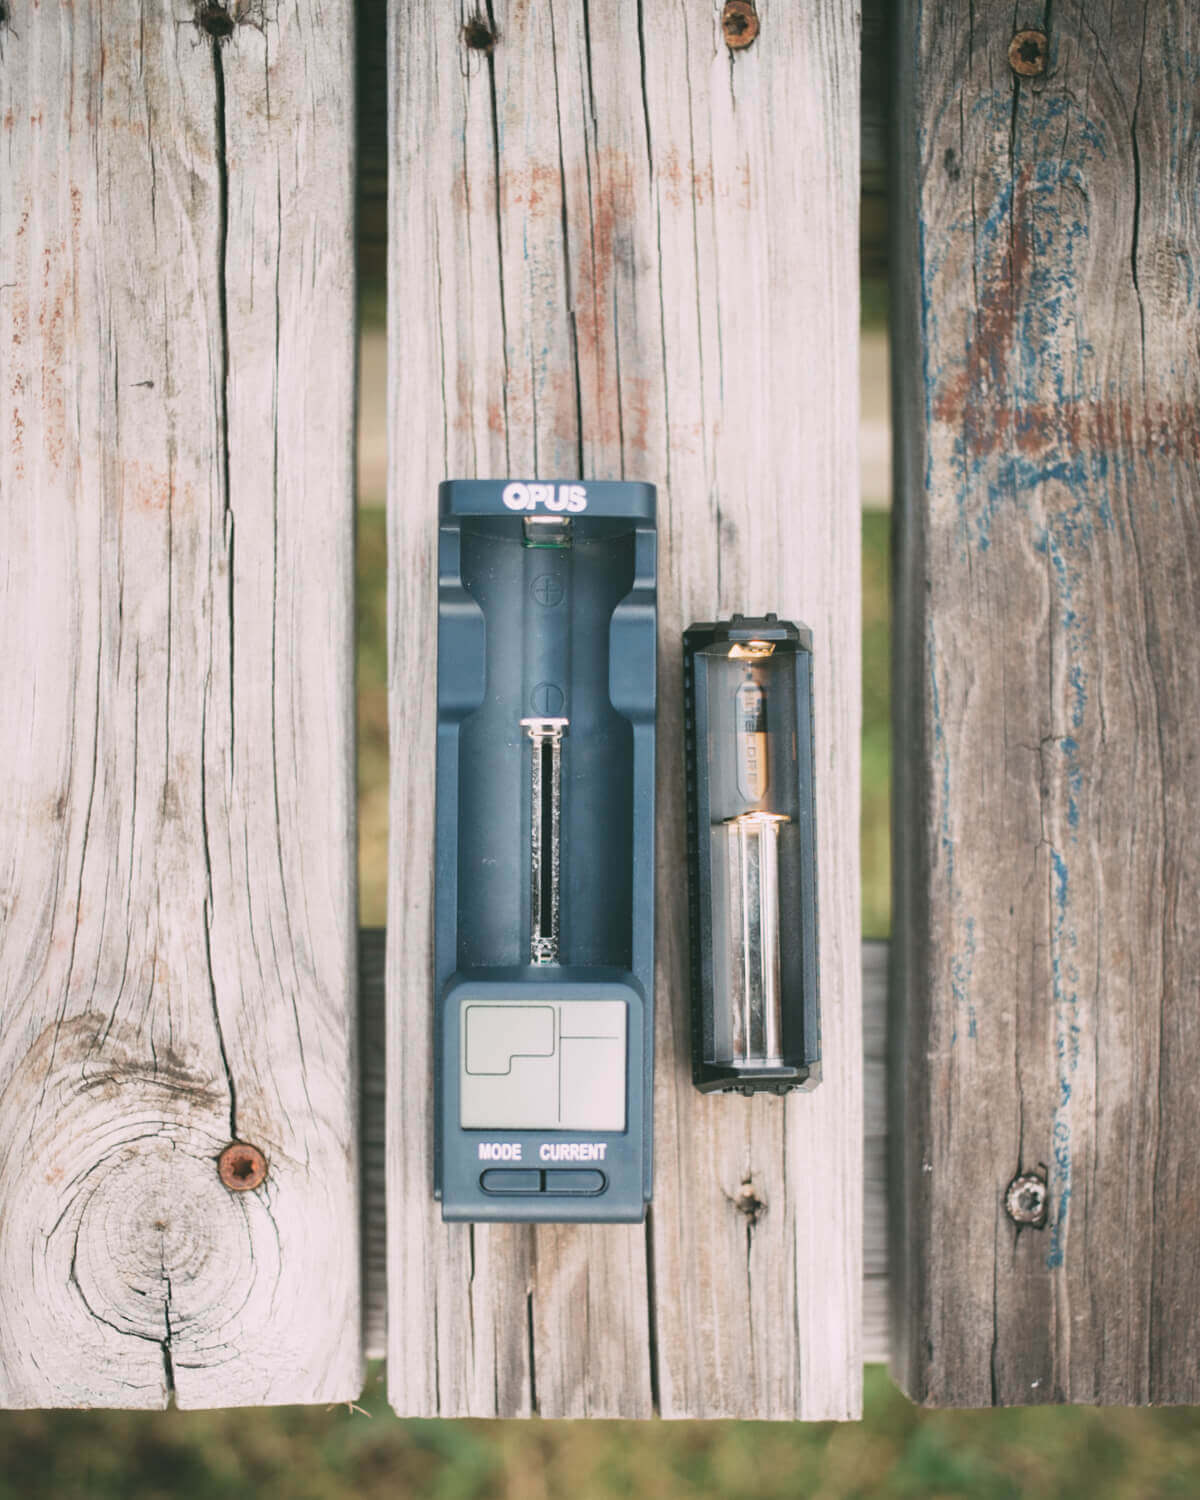
Unlike the Opus BT-C100, which I recently reviewed, the only way to power the F1 is with micro-USB. I have no problem with this, due to the ubiquity of micro-USB cables, but you still have to find your own micro-USB cable! It’d be nice to have one supplied.
User Interface and Operation
Most of the operation is quite intuitive, of course, but you’ll want to be sure to note that this is only for Li-ion and IMR cells. Other than that, most of the features will more or less work themselves out. By that, I mean there is literally nothing for the user to select once the cell is installed.
The unit has reverse polarity protection: if you put a cell in backward, nothing will happen (and that’s your notification). The feedback a user receives is simply from the three green lights near the positive end of the unit. Upon placing a cell correctly, the F1 will pick the right charging amperage for the size cell (big cells get 1000mA, small cells get 500). Green lights will indicate the cell voltage: “Top” green light blinks the one digit, and the “middle” green light blinks the tenth digit: i.e., 4.1V would be 4 blinks from the top light, and one blink from the middle.

After the voltage is indicated, the three indicators will blink to indicate battery power levels:
- Three indicators on stand for power levels above 81%;
- Two indicators on stand for power levels between 41% and 80%;
- One indicator on stands for power levels between 1% and 40%.
The F1 even tells you at what rate (1000 or 500) it’ll charge your cell: The three lights will blink fast (2Hz) when charging with 1000mA current and slower (1Hz) when charging with 500mA current. And it’ll let you know the progress of charging: solid indicators denote charging progress. The three solid greens indicate that charging is complete.
I do wish there were already a way to see where to expect the green lights to be – if you don’t already know, you might think you did something wrong, and look for them all around the unit. So I wish they weren’t quite so hidden, or at least noted in some way. I like that it’s an austere unit, but not at the expense of ease-of-use.
As a powerbank
The Nitecore F1 has a USB out. This means [larger] cells can be used to recharge devices like phones or … what other kinds of things do you guys really need a power bank for, really? Nitecore doesn’t say what size cells are required for use as a powerbank, just that “16340, RCR123, 14500, 10440” will not work (and the F1 will go into sleep mode if this combination is connected). But with a properly sized cell (let’s just say an 18650), the F1 will charge a device at an unspecified rate until the cell reaches 3.3V. The F1 will then blink all three of its green lights, warning the user to stop doing this. But it’ll keep draining the cell all the way down to 2.8V, at which point device charging will stop, and the unit will go into sleep mode (ie, Low Voltage Protection).
As a passthrough
The F1 can be used to charge a device and a cell simultaneously, provided the source power is great enough. I read conflicting reports on this feature, but this product image says that the F1 will prioritize the external device if being used as a passthrough. So it will charge your phone first, then charge the cell. Howeve,r the manual contradicts that:
F1 features intelligent USB charging management system. Under sufficient input power, F1 can simultaneously charge a battery in the slot and a connected external device (with 1000mA current). With lower input power, F1 can charge the battery with 500mA current, and charge the external device with 1000mA current.
With the input power insufficient to support charging two items simultaneously, F1 will charge the battery only with 500mA current. After battery charging completed, F1 will proceed to charge the connected external device.
My experience with that complication can’t answer that question: I have no way to provide a power insufficient to charge both items (ie, I’m using wall power). This might be a non-issue: if your cell is big enough to charge the device, the device can charge off the cell after the low-power source has charged the cell. So either way, your device will get charged.
There’s a product image that says the F1 “Activates 0V batteries,” but the manual seems to directly contradict that, by saying “Nitecore does not recommend charging 0V (depleted) unprotected Li-ion batteries with F1 and doing so can result in battery fire or explosion.” It is my impression that this means that a 0V battery could be installed, and once noted as 0V, should be removed and recycled. Whether or not the F1 will do anything with 0V cells, it’s generally recommended to treat them as recycling anyway….
All in all, for just three green lights’ worth of information, the F1 is absolutely fantastic with how much information I can glean. Ye,s you might want to read the manual to know what all it’s telling you, but you don’t have to – you can just let it work.
Size
3.43 inches × 0.94 inches × 1.15 inches (87.2mm×24mm×29.3mm): This thing is small. I’m not sure if it’s smaller than The Miller, but I can not conceive the Miller being smaller. The F1 is certainly shorter, if nothing else. (Yes, I looked at the specs, but I doubted what I saw, so I’m not quoting them.)
It’s WAY smaller than the Opus BT-C100, but of course, it doesn’t have as many functions.
Conundrums
- Battery required for passthrough charging
Summary
Should you buy one?
Without hesitation, the answer is yes. You can even currently get a ridiculously great price using the coupon below at GearBest. If all you ever did was use this as a powerbank, I’d still recommend it.
Pros
- Powerbank feature
- Low Voltage protection (for cell) when used as a powerbank (2.8V cutoff)
- Voltage indicator
- Capacity indicator
- Operation is very smooth
- Did you see this thing? Clear smoke gray plastic is awesome
- Gold plated contacts
Cons
- Li-ion and IMR only
- Micro-USB cable was not included
- Manual is not included (but hey, here it is)
- Hard to read positive and negative terminal markings
Final Thoughts
I love this thing! My primary use will probably be as a powerbank, but the F1 is great for charging, too!
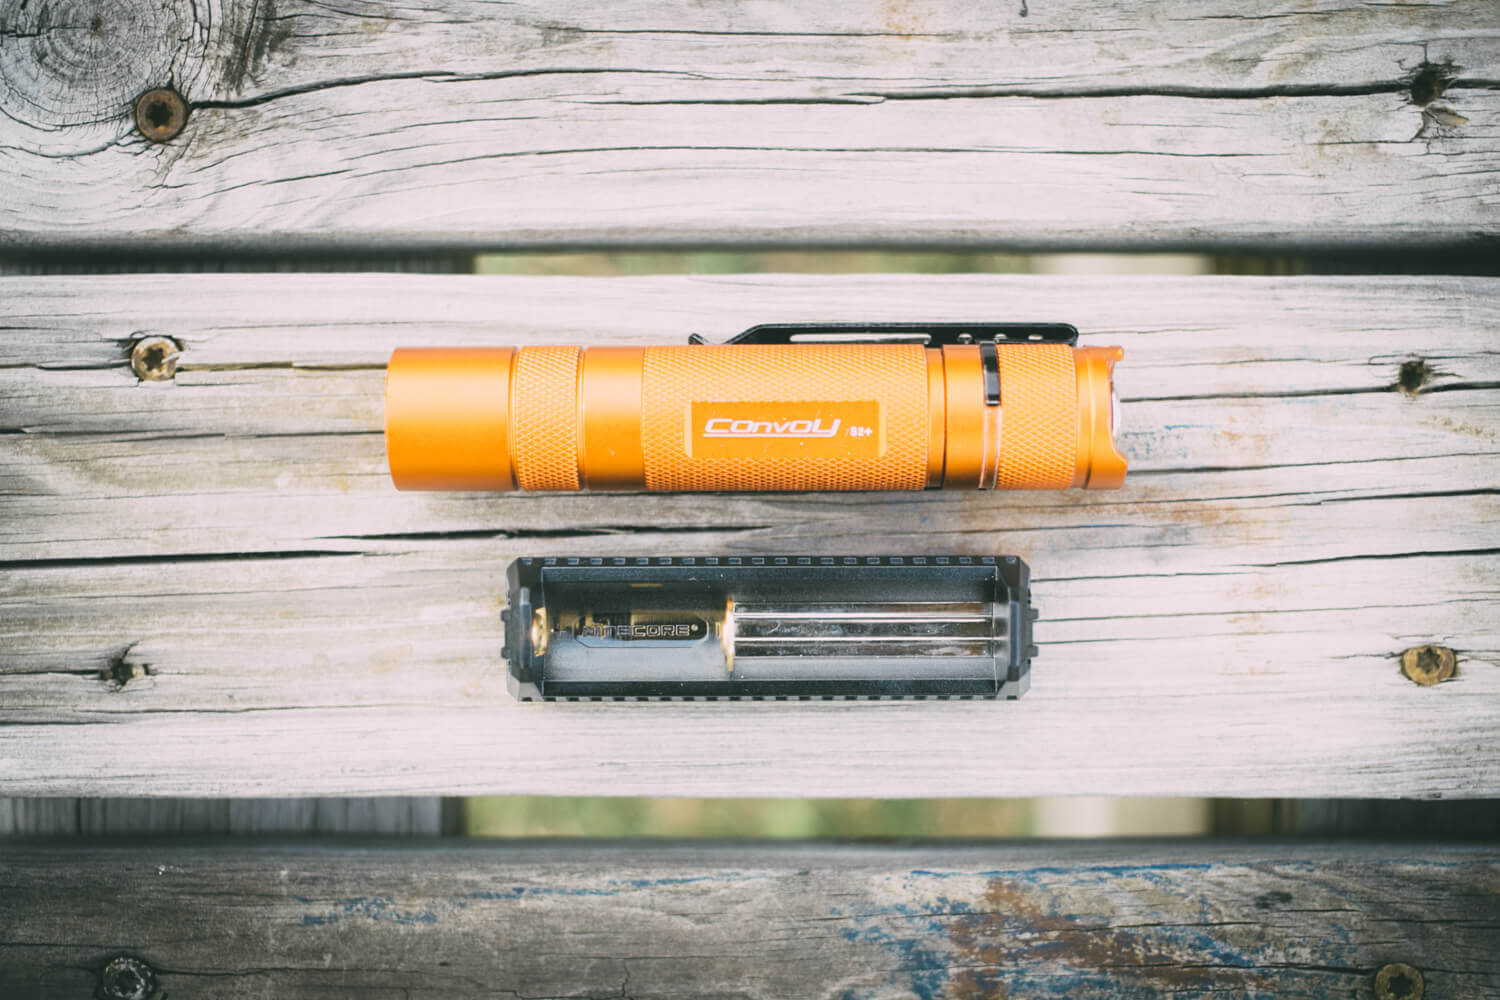
Parting shot with my Convoy S2+, in orange.
Notes
- This charger was provided by GearBest for review. I was not paid to write this review.
- This content originally appeared at zeroair.org. Please visit there for the best experience!
- Use my amazon.com referral link if you’re willing to help support making more reviews like this one!
- Please support me on Patreon! I deeply appreciate your support!
Discover more from ZeroAir Reviews
Subscribe to get the latest posts sent to your email.
Pingback: Armytek Handy C1 Pro Charger Review – ZeroAir Reviews
It would be nice to see power bank testing on this, like you did for the Armytek Handy C1. Regardless, I think I’ll get the C1 instead if the F1, just because the details seem slightly better.
Is it possible to charge 21700 batteries?