Astrolux S42 Flashlight Review
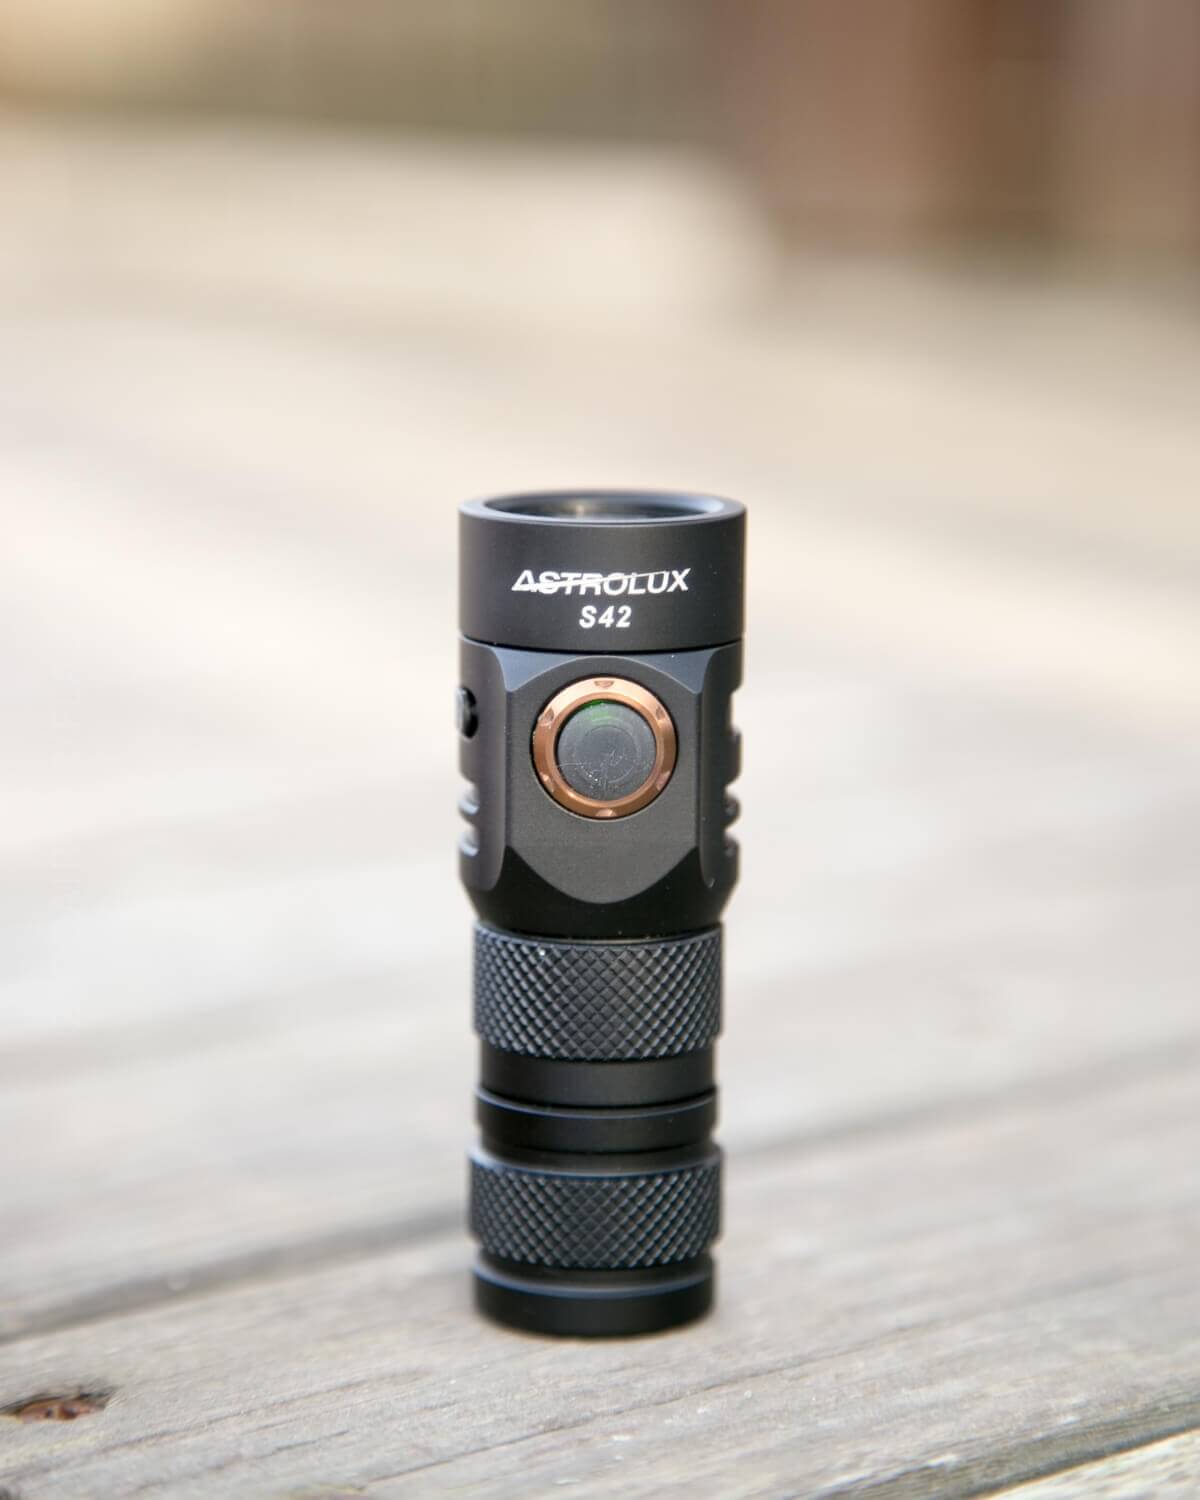
Here’s the Astrolux S42 flashlight, a light that has four emitters – in this case, Nichia 219c. There is onboard charging and an e-switch.
Official Specs and Features
Here’s a link to the Astrolux S42 flashlight product page.
Versions
There are a number of versions of this light. There’s the one I’m reviewing, the Nichia 219c, and a Cree XP-G3 version too. Then there’s a version called the S42s, which has a stainless body, whereas mine is aluminum and has a copper heatsink. That one’s available with both emitters, too. There’s a version in stainless that’s been heat-treated so it’s rainbow-colored, too.
Unfortunately, and inexplicably, the best performing possibility isn’t available from Astrolux: a copper heatsink aluminum body version.
Basically, all of these are available in both 18350 and 18650 formats (with an extension tube for the 18650).
I’d be remiss not to mention the Manker version of this light, which is similar but different: Available in a copper head/aluminum body and with a different UI, and a slightly different build around the charge port. That one’s called the Manker E14 II.
MSRP
This light costs $45.95. It’s currently on sale for $23.95!
Short Review
The output on this light with the Nichia 219c’s is impressive and incredible. The user interface is hard to understand and get accustomed to, and some build quibbles have been fixed after I got my review unit.
Long Review
The Big Table
| Astrolux S42 | |
|---|---|
| Emitter: | Nichia 219c (5000K) |
| Price in USD at publication time: | $23.95 |
| Cell: | 1×18350 |
| Turbo Runtime | |
| LVP? | Yes |
| Switch Type: | E-Switch |
| Quiescent Current (A): | ? |
| On-Board Charging? | Yes |
| Charge Port Type: | micro-USb |
| Chargetime | |
| Power off Charge Port with no Cell? | ? |
| Claimed Lumens (lm) | 2023 |
| Claimed Throw (m) | 168 |
| Candela (Calculated) in cd (at 30s) | 100lux @ 4.768m = 2273cd |
| Throw (Calculated) (m) | 95.4 (56.8% of claim)^ |
| All my Astrolux reviews! | |
^ Measurement disclaimer: Testing flashlights is my hobby. I use hobbyist-level equipment for testing, including some I made myself. Try not to get buried in the details of manufacturer specifications versus measurements recorded here; A certain amount of difference (say, 10 or 15%) is perfectly reasonable.
What’s Included

- Astrolux S42
- Lanyard
- Pocket clip
- Glass breaker
- Lanyard
- Spare O-rings (2)
- Manual
Note: the extension tube for 18650 cells is not included.
Package and Manual
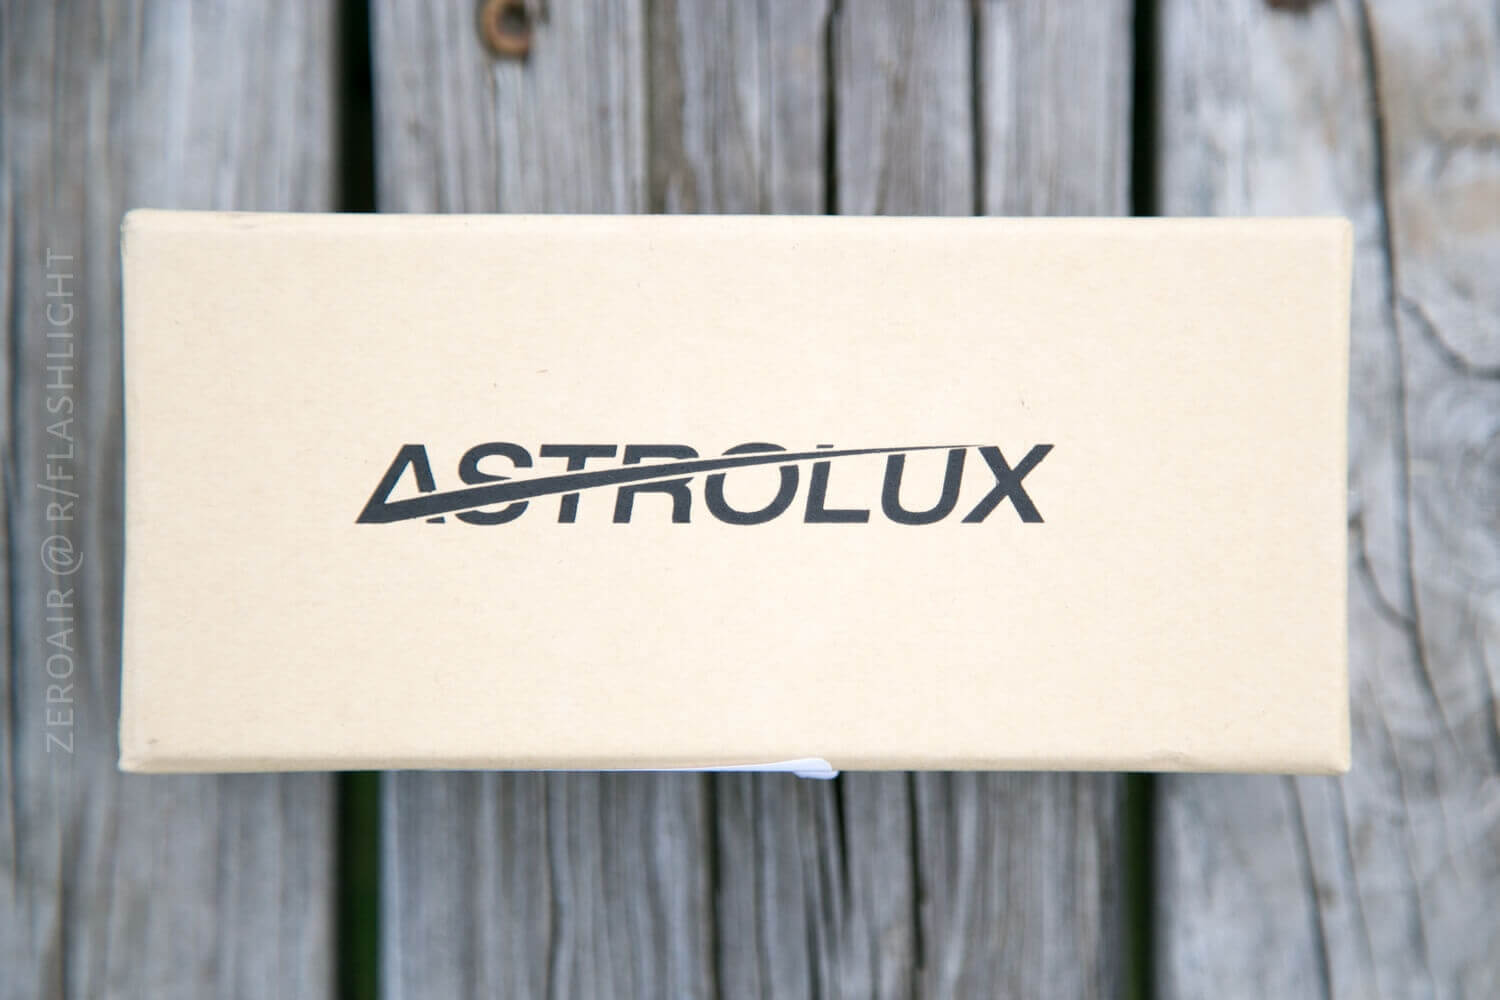
The s42 arrives in a slip-fit cardboard box. It’s extra nice because the top has cutouts, so a user can grab the bottom (instead of just waiting for the halves to fall apart). There’s not much printing – just a brand name. There is a descriptive sticker, however, with the light and emitter info.


Inside the box, the light and goodies are held in place by a big piece of PE foam.
The manual has the needful information, including specs and a user interface diagram, and the mode/runtime information. It’s a fine manual, though nothing special. I’ll talk more about the user interface diagram later….


Build Quality and Disassembly
This light is on par with other Astrolux lights. I have no real complaints about the light on the whole, but a few niggles that I just don’t care for. The rubber boot that covers the charge port just does not work. (Note: there’s a fix for this, and BangGood will ship you one for free: I have not received mine yet, however.) There has also been an issue with the extension tube meant to work with 18650 cells. I didn’t receive one of those anyway, so I can’t comment about that. I believe the tube was too short or long and wasn’t allowing good contact with the 18650. This too has been fixed, and I think all new lights are shipping with the right parts.
Otherwise, the light is of nice quality.


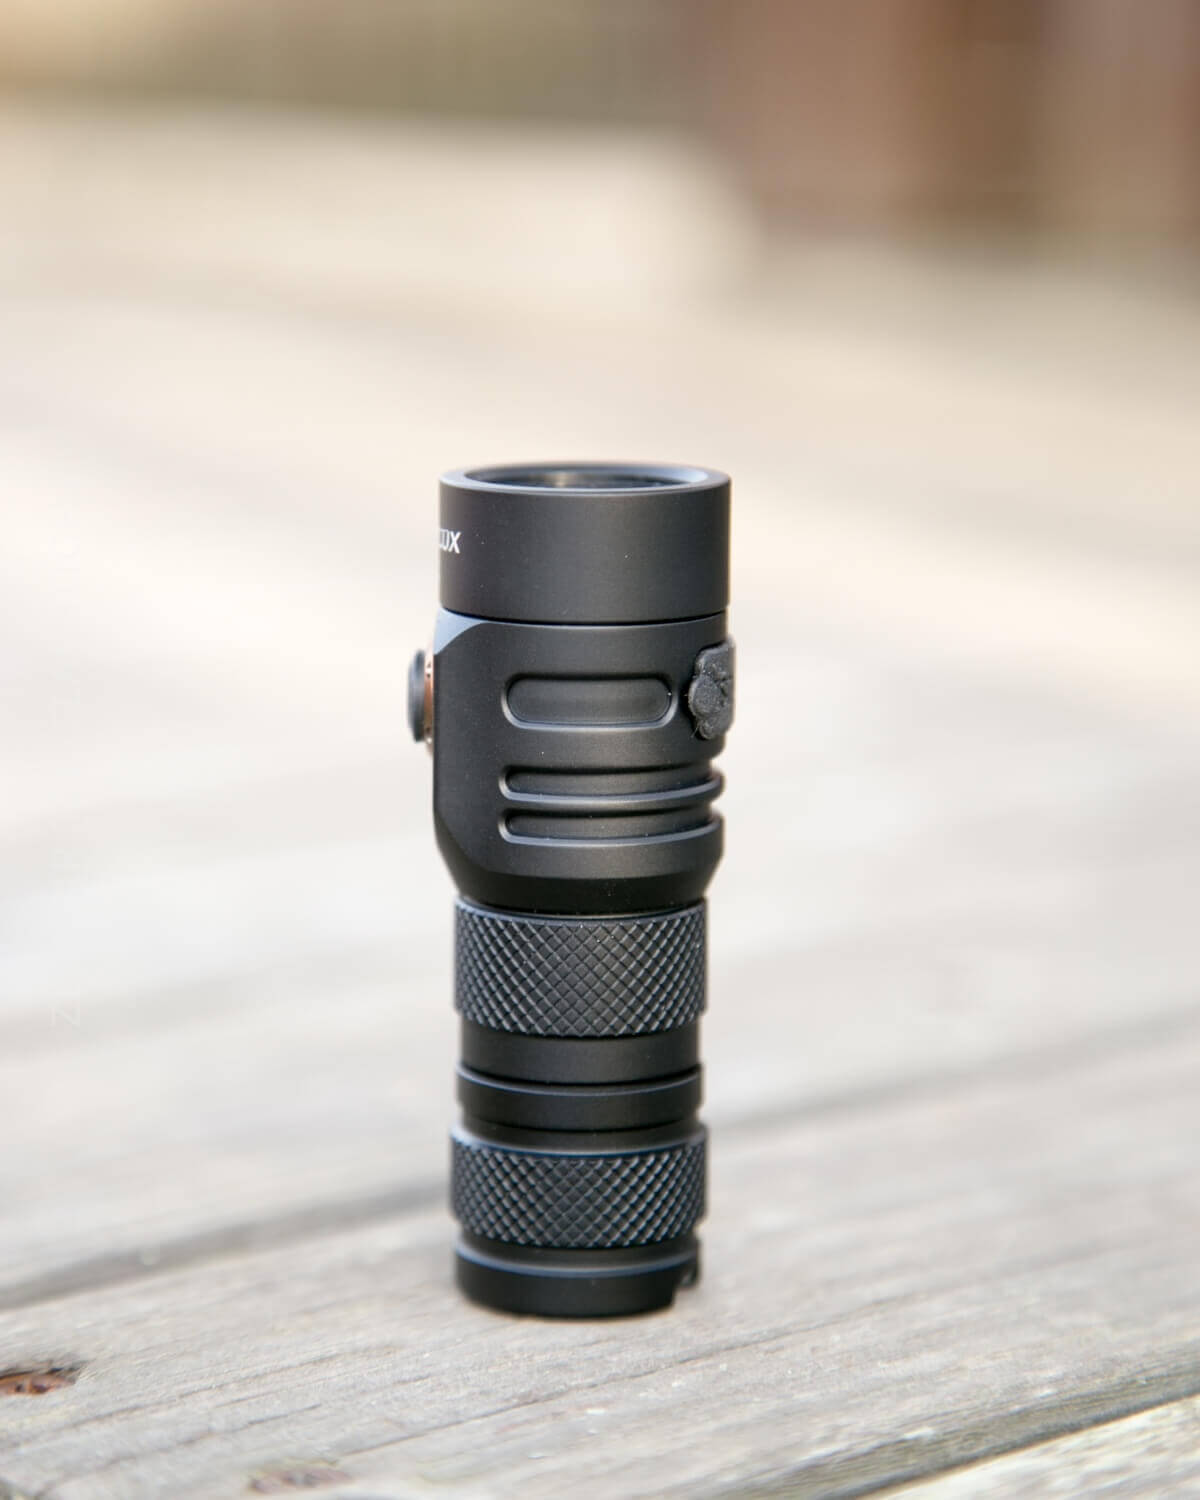

The threads are nicely lubed and seem to have a bit of a flat (not pointed) edge, which I like. And the knurling on this light is my favorite kind of knurling (diamond, with a flat top).

Disassembly with the S42 is easy. Most parts just unscrew, including the bezel. It’s thus fairly easy to get at the emitters, but why would you want to? If you bought the right mode, that is. 🙂

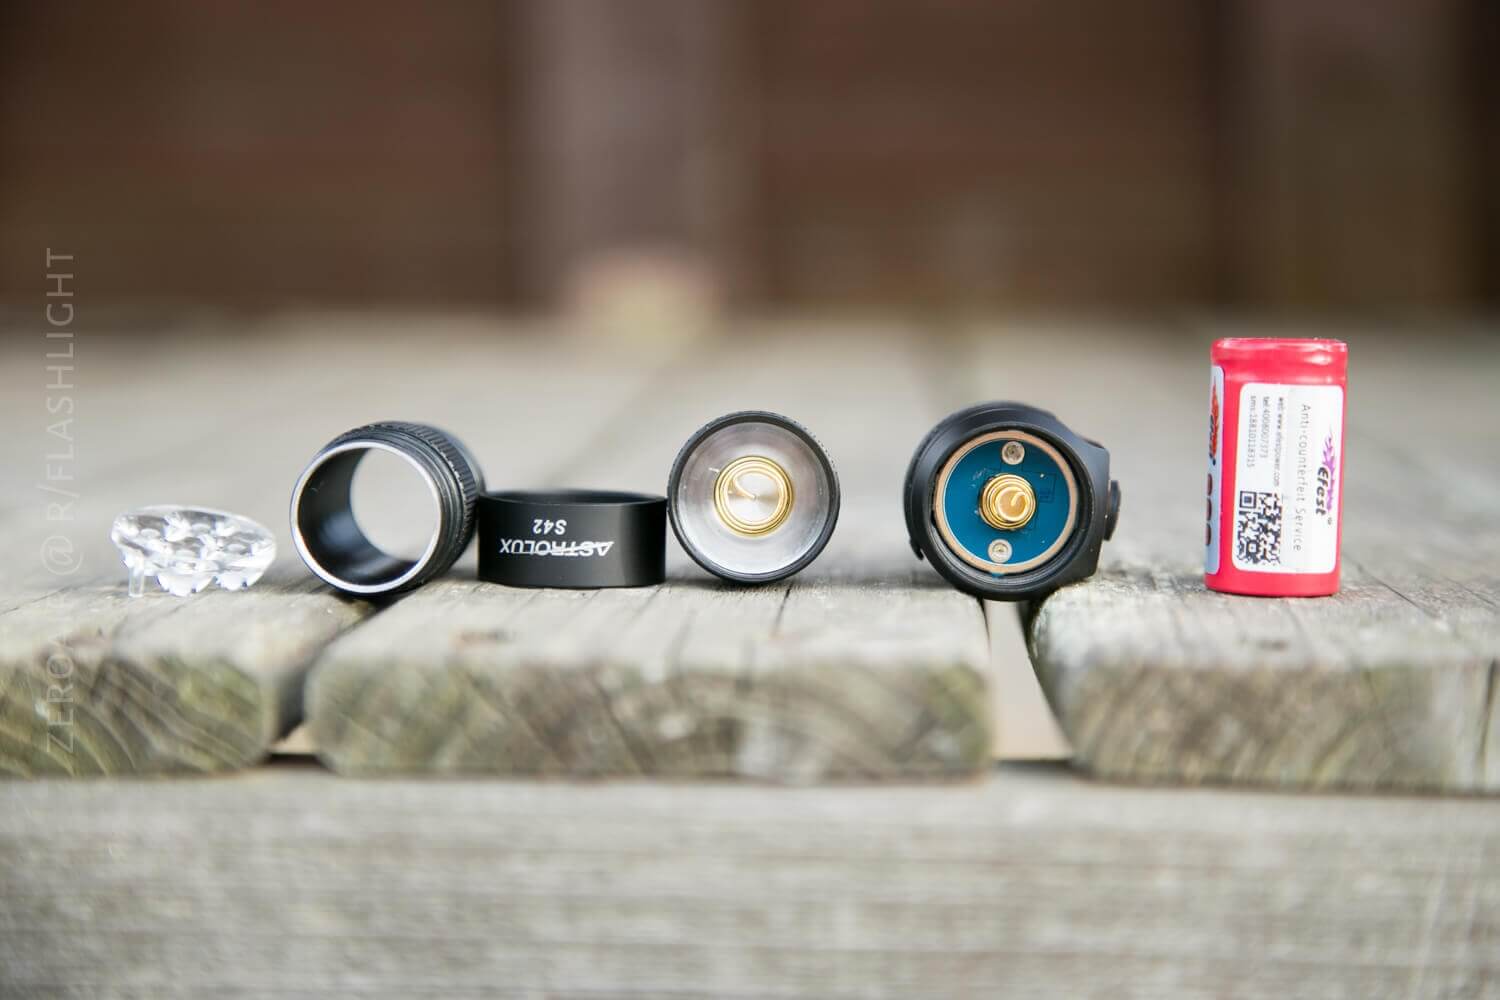
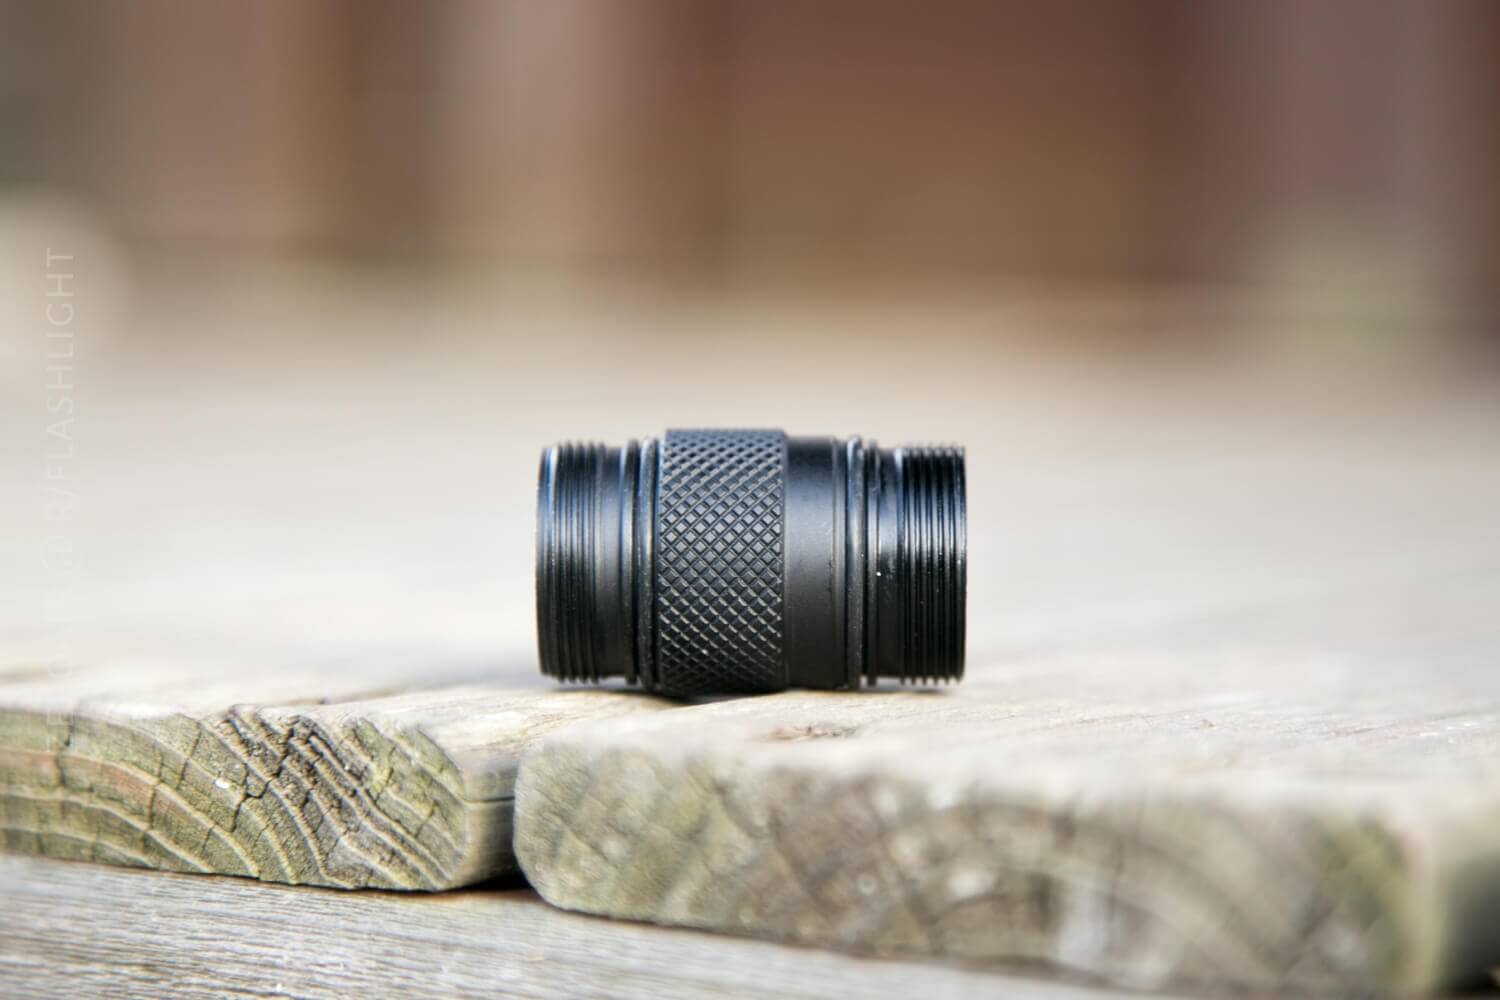
Here’s the cell tube for 18350 cells. If I had the cell tube for the 18650 cells, I’d put the picture here:
The tail end has a large threaded opening – approximately 1/2″ I’d guess. This is fit for an included part: a glass breaker (or murder point, but you call it what you want to call it). The murder point screws into this opening. The truth is, the murder point screws into a stainless adapter that screws into this 1/2″ opening. So you can have a normal tripod mount too if you choose not to protect yourself with the murder point.


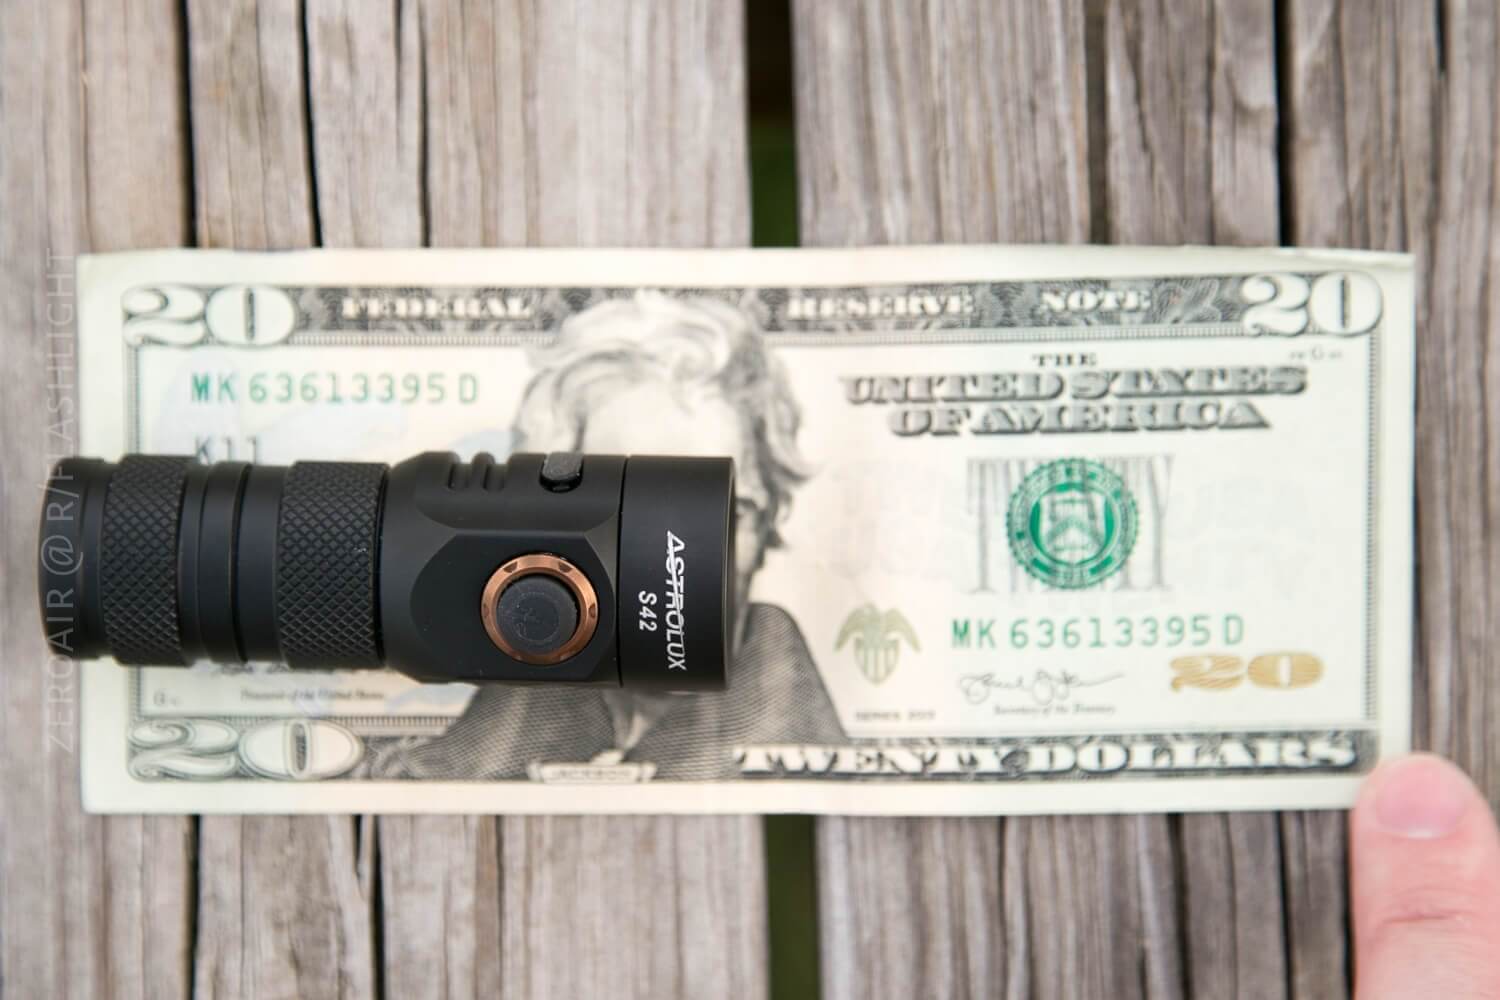
Size
77mm x 27mm (length x head diameter) (18350 size)
102mm x 27mm(length x head diameter) (18650 size)
Here are some photos of the S42 with items you know and love.

Retention
As mentioned above, there’s the screw in the threaded 1/4″ adapter, which fits into the 1/2″ threaded opening in the tailcap.
There’s also a deep carry pocket clip. It’s kind of reversible, but then the mouth of the clip hangs down too far on the 18350 version.
And a final option, a lanyard. The lanyard fits on the tailcap in a small hole. Also, below you can observe the 1/4″ adapter for tripods.

Power
The Astrolux S42 in my configuration is suited to 18350 cells of any variety. The extension tube works with 18650 cells of any variety. Below are two runtime tests with an 800 mAh Efest unprotected flat top. Stepdown is dramatic and quick (less than a minute to 25% output).

The S42 also has the ability to charge cells, with the micro-USB port on the side of the light. You can see the problem with the rubber boot meant for covering the port: it just basically flops loosely and doesn’t stay in its place. There is a fix, and if you order this light right now, you should get that fix from the start.

The charge time is below. It’s a pretty solid >0.5A after a bit of a rocky start.

Termination at 3.02V from Turbo. Runtime 2 (also turbo) shutoff was 3.28V.
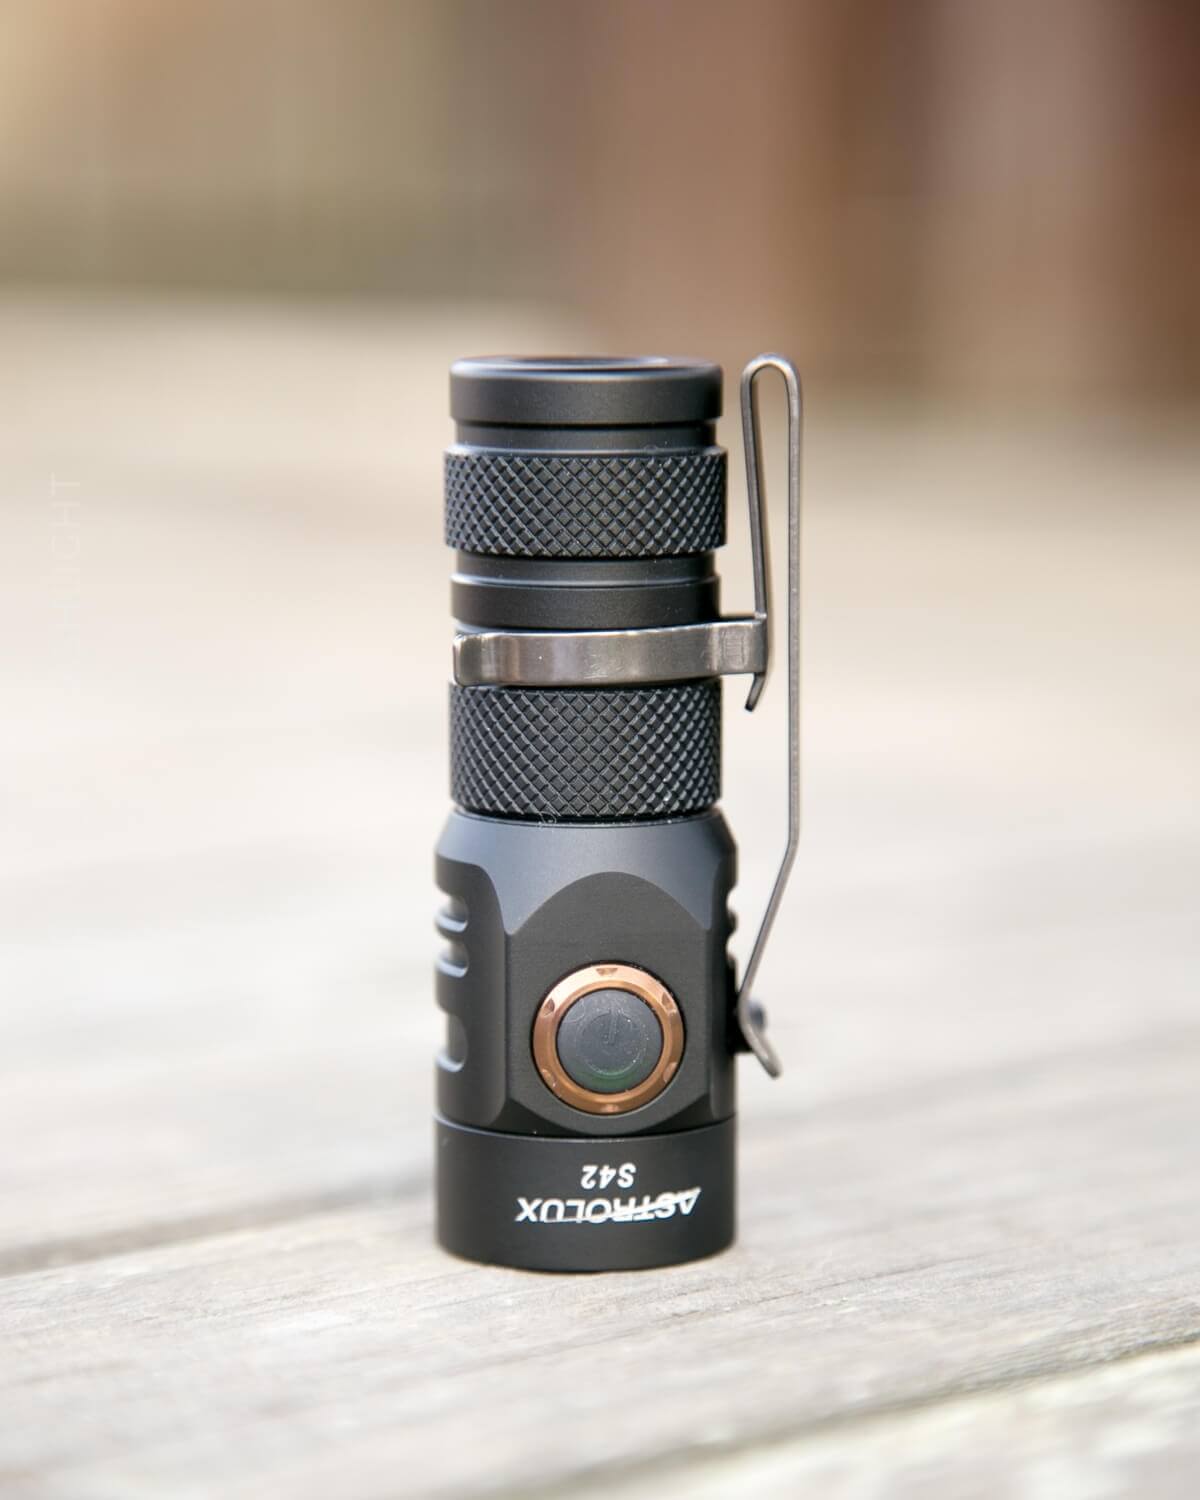
User Interface and Operation
To operate the light, there’s a single side e-switch. It’s a nice-sized rubber button with a copper-colored ring. That’s kind of where the good points about the user interface end.
The user interface here is the real sticking point. There’s no good way to describe it except to just say it’s not very good.
Glance back up at the manual. The user interface looks fairly simple, but note to yourself how does one turn the light off? Well, if you read it as I do, then turning the light off requires going through turbo. That’s not actual fact, but it stands as a bastion of the user interface itself. It’s unclear, it’s fiddly, it’s fussy, and it’s not a fun user interface to mess around with.
There are two mode groups available. Group 1 is the more complex, and group 2 is a simple four-mode option. There are two ways to switch modes: short-press or long-press. In either group, short-pressing the button will change modes. Long pressing will get Turbo (G1 only). While in Turbo, a short press will cycle: Tactical Strobe, Battery Check, and Bike Flash. In both groups, the modes cycle from Low to High. In my experience, one must just play finger gymnastics to get the light to turn off. Like my Facebook friend’s new relationship status: It’s Complicated.

So don’t really buy this for the UI. If you need four Nichia 219c emitters? This is not a horrible way to get them. If you can flash UI’s? Buy this light. If you’re just curious about 219c tint, this is a great way to see it.
One more note: the light can be electronically locked out by long-pressing from off. Long press again to get out of lockout.
The switch is also an indicating switch – useful when charging. The manual doesn’t go into much detail about what all this indicating switch can do, except to say it’s a “breathing” mode that displays battery voltage.

Modes
| Mode | Mode Claimed Output (lm) | Claimed Runtime | Mode Measured Lux | Measured Amps |
|---|---|---|---|---|
| Moon | 1 | 2.9d | 20 | 0.006 |
| Low | 16 | 1.3d | 275 | 0.068 |
| Middle 1 | 125 | 6h | 1768 | 0.214 |
| Middle 2 | 210 | 2h | 2760 | 0.320 |
| High 1 | 475 | 1h | 3770 | 0.452 |
| High 2 | 630 | 0.4h | 5800 | 0.810 |
| Turbo | 1630 | 0.39h | 18000 | 3.02 |
LED and Beam
I opted for the same emitters you should opt for, the Nichia 219c. There’s a Cree version available too, the XP-G3. There are four emitters in this light – a “quad.” The 219c is a fantastic tint and beam.


Here, the light is turned on, low.

The beam itself is quite diffuse and smooth from the center to the outer edge. I typically like a little more spot in my beam profile, but this one’s just fine.
Beamshots
These beamshots always have the following settings: f8, ISO100, 0.3s shutter, and manual 5000K exposure. These photos are taken at floor level, and the beam hits the ceiling around 9 feet away.


Tint vs BLF-348 (KillzoneFlashlights.com 219b version) (affiliate link)
I keep the test flashlight on the left and the BLF-348 reference flashlight on the right.

Rare is the light that makes the BLF-348 look off…. The 219c’s are just so clean white…
Random Comparisons and Competitive Options
At this point, I have to mention the Emisar D4. It is new since I got the S42, but absolutely worth mentioning. Also a quad, also available with 4x219c, but has a ramping user interface that one might love or hate. But it’s around twice the price of this S42.
Conclusion
What I like
- Quad Nichia 219c
- Build quality is good
- I love a TIR. I love a quad or triple. I just love me some emitters!
What I don’t like
- Charge port cover
- User interface is really not good
- The murder point is a little excessive, in my opinion.
Parting Shot

Notes
- This light was provided by BangGood.com for review. I was not paid to write this review.
- This content originally appeared at zeroair.org. Please visit there for the best experience!
- Use my amazon.com referral link if you’re willing to help support making more reviews like this one!
- Please support me on Patreon! I deeply appreciate your support!
Discover more from ZeroAir Reviews
Subscribe to get the latest posts sent to your email.
Pingback: Astrolux S43 Flashlight Review - ZeroAir Reviews