Zanflare T1 Lantern Review
The Zanflare T1 Lantern is an 18650 lantern with a nice dual switch interface. The emitting color can be neutral white or cool. Read on for more!
Official Specs and Features
Here’s a link to the Zanflare T1 Lantern product page.
Versions
Only one version!
Price
It was $22.99, but looks to have sold out, and is under restocking.
Short Review
I didn’t really expect to like this light, if I’m completely honest. As such, saying “I like it way more than I thought I would” is meaningless. I really like this light. It’s neat, clever, and works very well. I think it could be improved, but it’s great as-is.
Long Review
The Big Table
| Zanflare T1 | |
|---|---|
| Emitter: | [lantern] |
| Price in USD at publication time: | $22.99 |
| Cell: | 18650 |
| Turbo Runtime | |
| LVP? | Yes |
| Switch Type: | E-Switch |
| Quiescent Current (A): | ? |
| On-Board Charging? | Yes |
| Chargetime | |
| Power off Charge Port with no Cell? | ? |
| Claimed Lumens (lm) | 350 |
| Measured Lumens (at 30s) | – |
| Claimed Throw (m) | – |
| Candela (Calculated) in cd (at 30s) | 31lux @ 1.506m = 70cd |
| Throw (Calculated) (m) | 16.8^ |
| All my Zanflare reviews! | |
^ Measurement disclaimer: Testing flashlights is my hobby. I use hobbyist-level equipment for testing, including some I made myself. Try not to get buried in the details of manufacturer specifications versus measurements recorded here; A certain amount of difference (say, 10 or 15%) is perfectly reasonable.
What’s Included
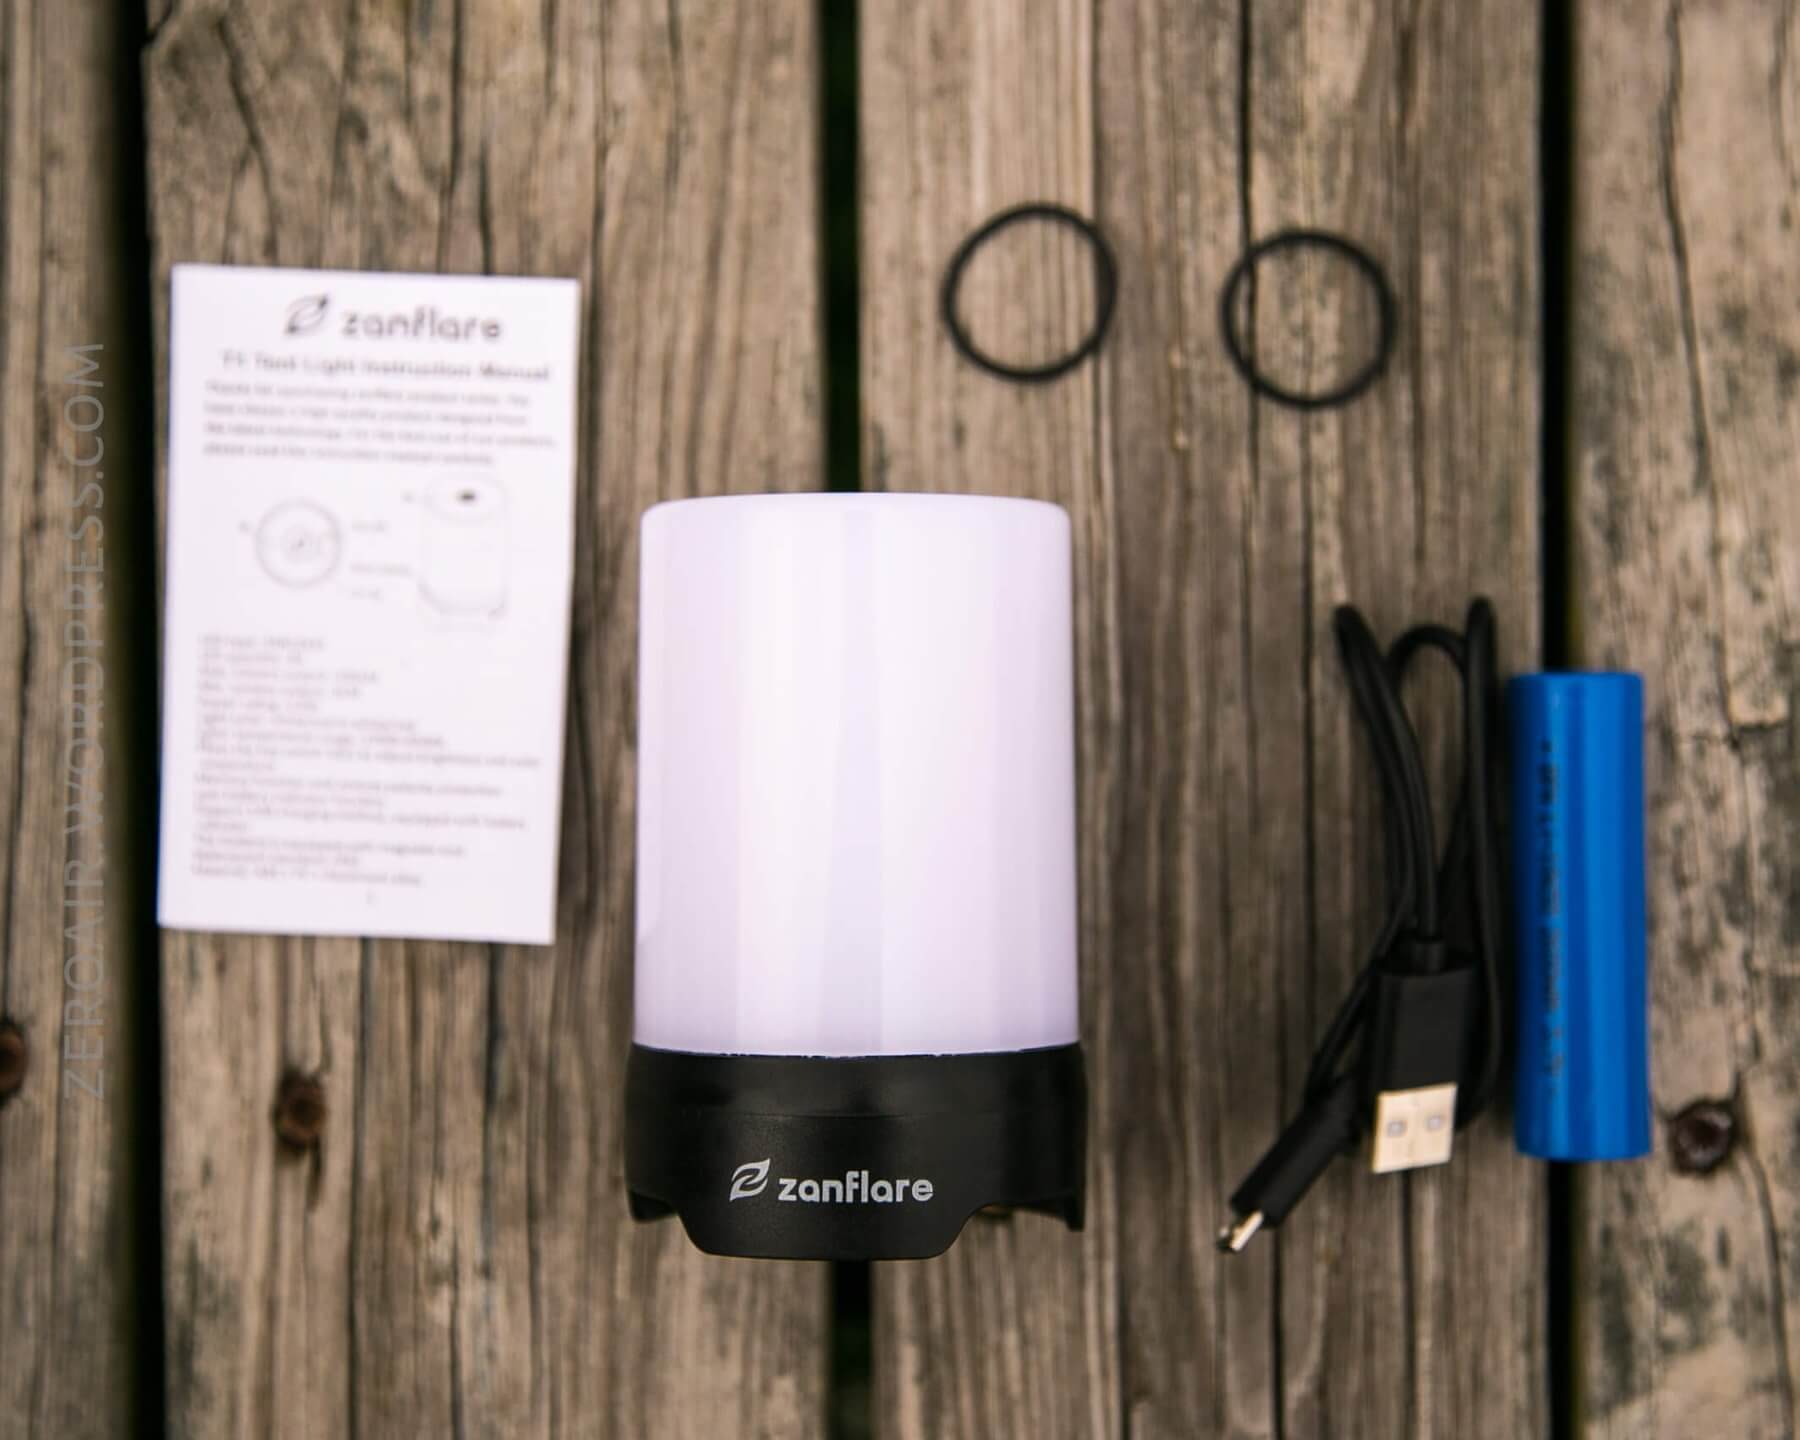
- Zanflare T1 Lantern
- Charge cable
- Unprotected 18650
- Spare o-rings (2)
- Manual
(Yes, it’s a “complete package” type light!)
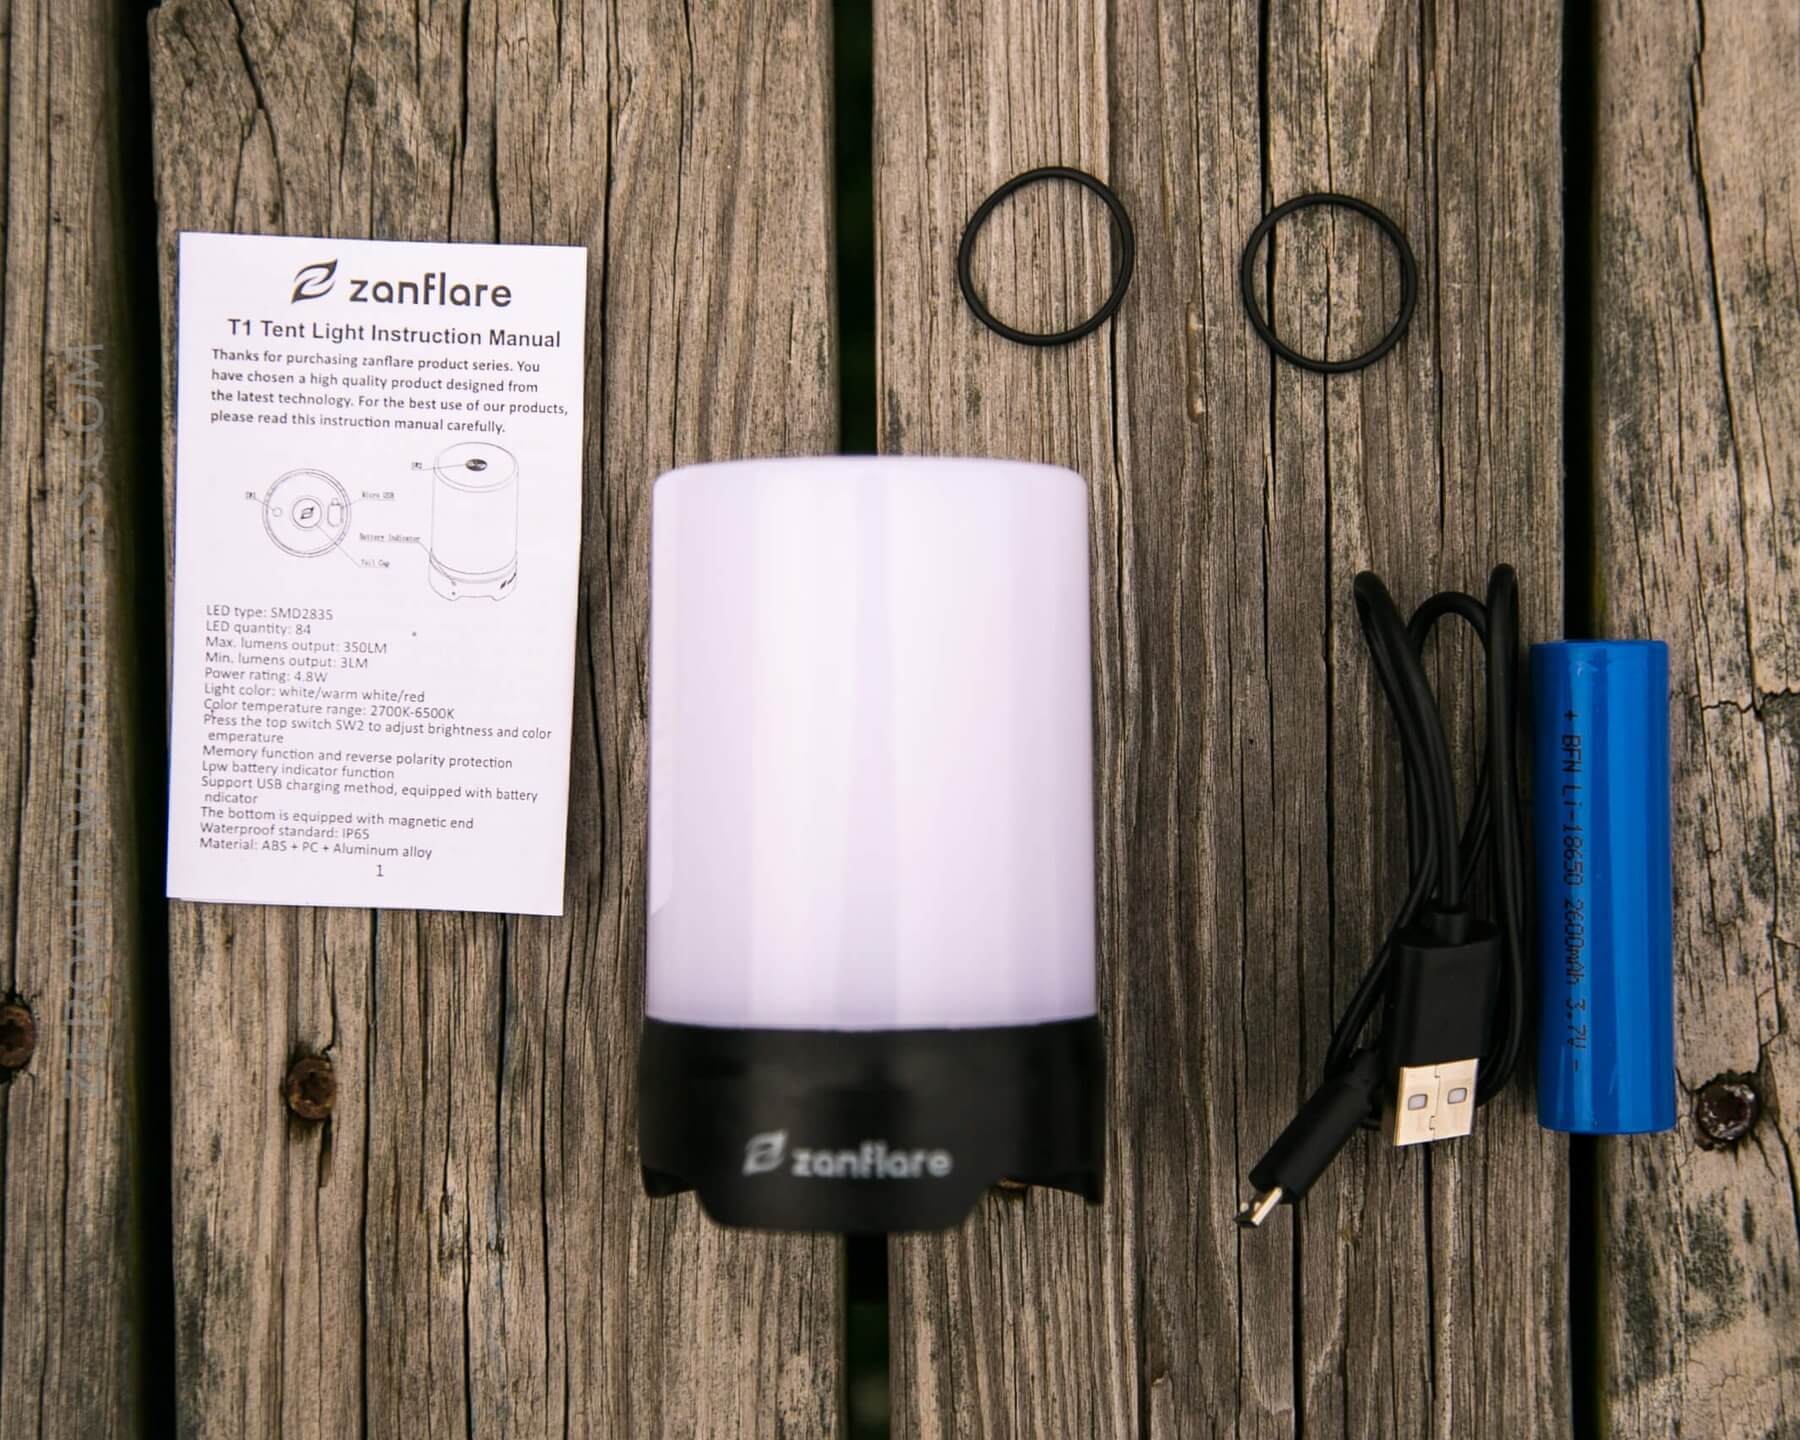
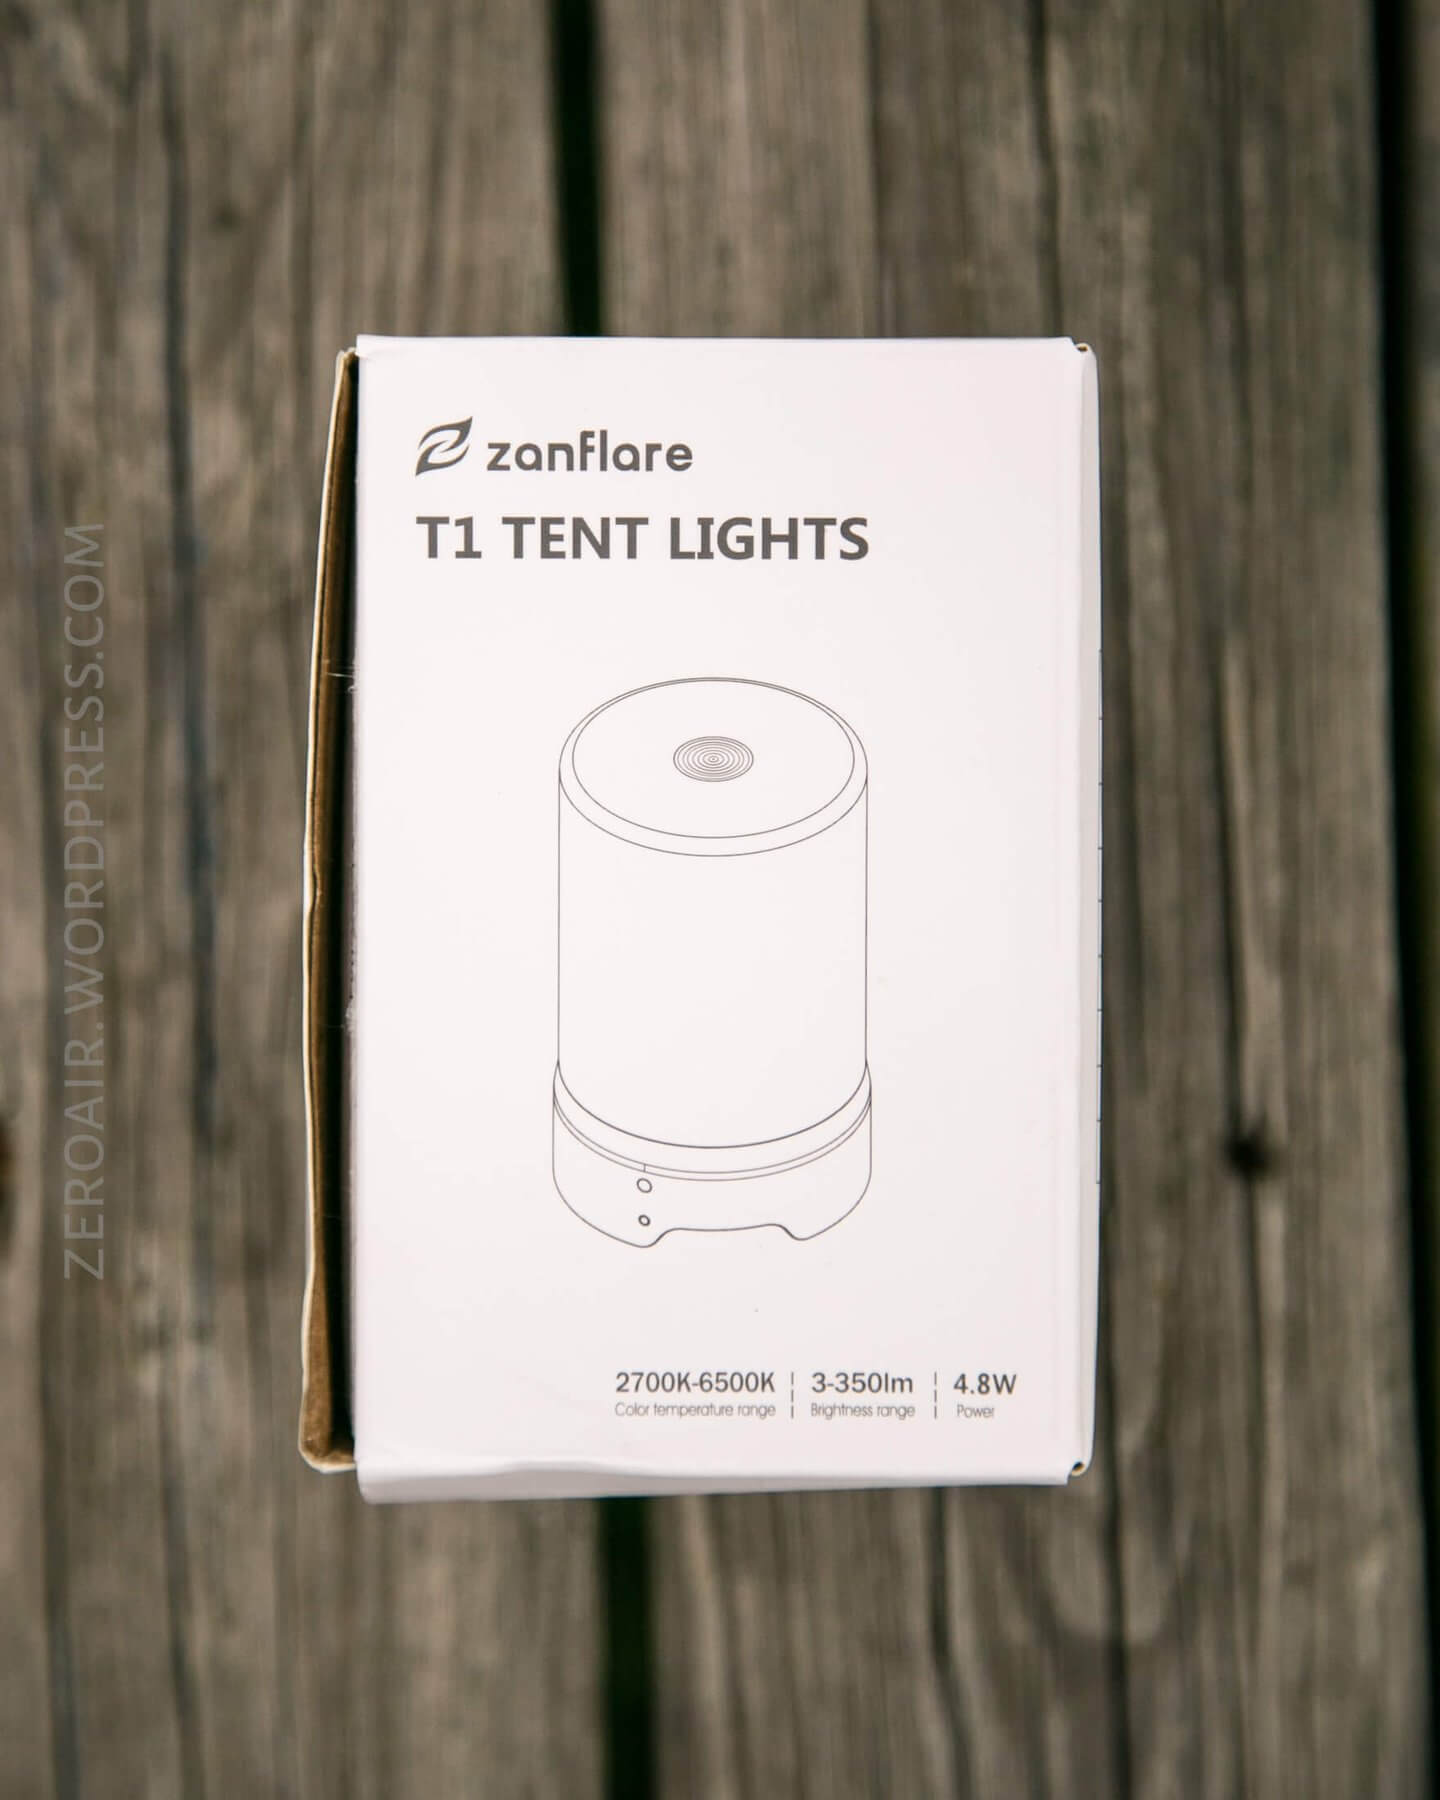
Package and Manual
The box is not extraordinary. There’s a nice illustration of the lantern, some specs, and a QR code, but the box is very thin and offers little padding.
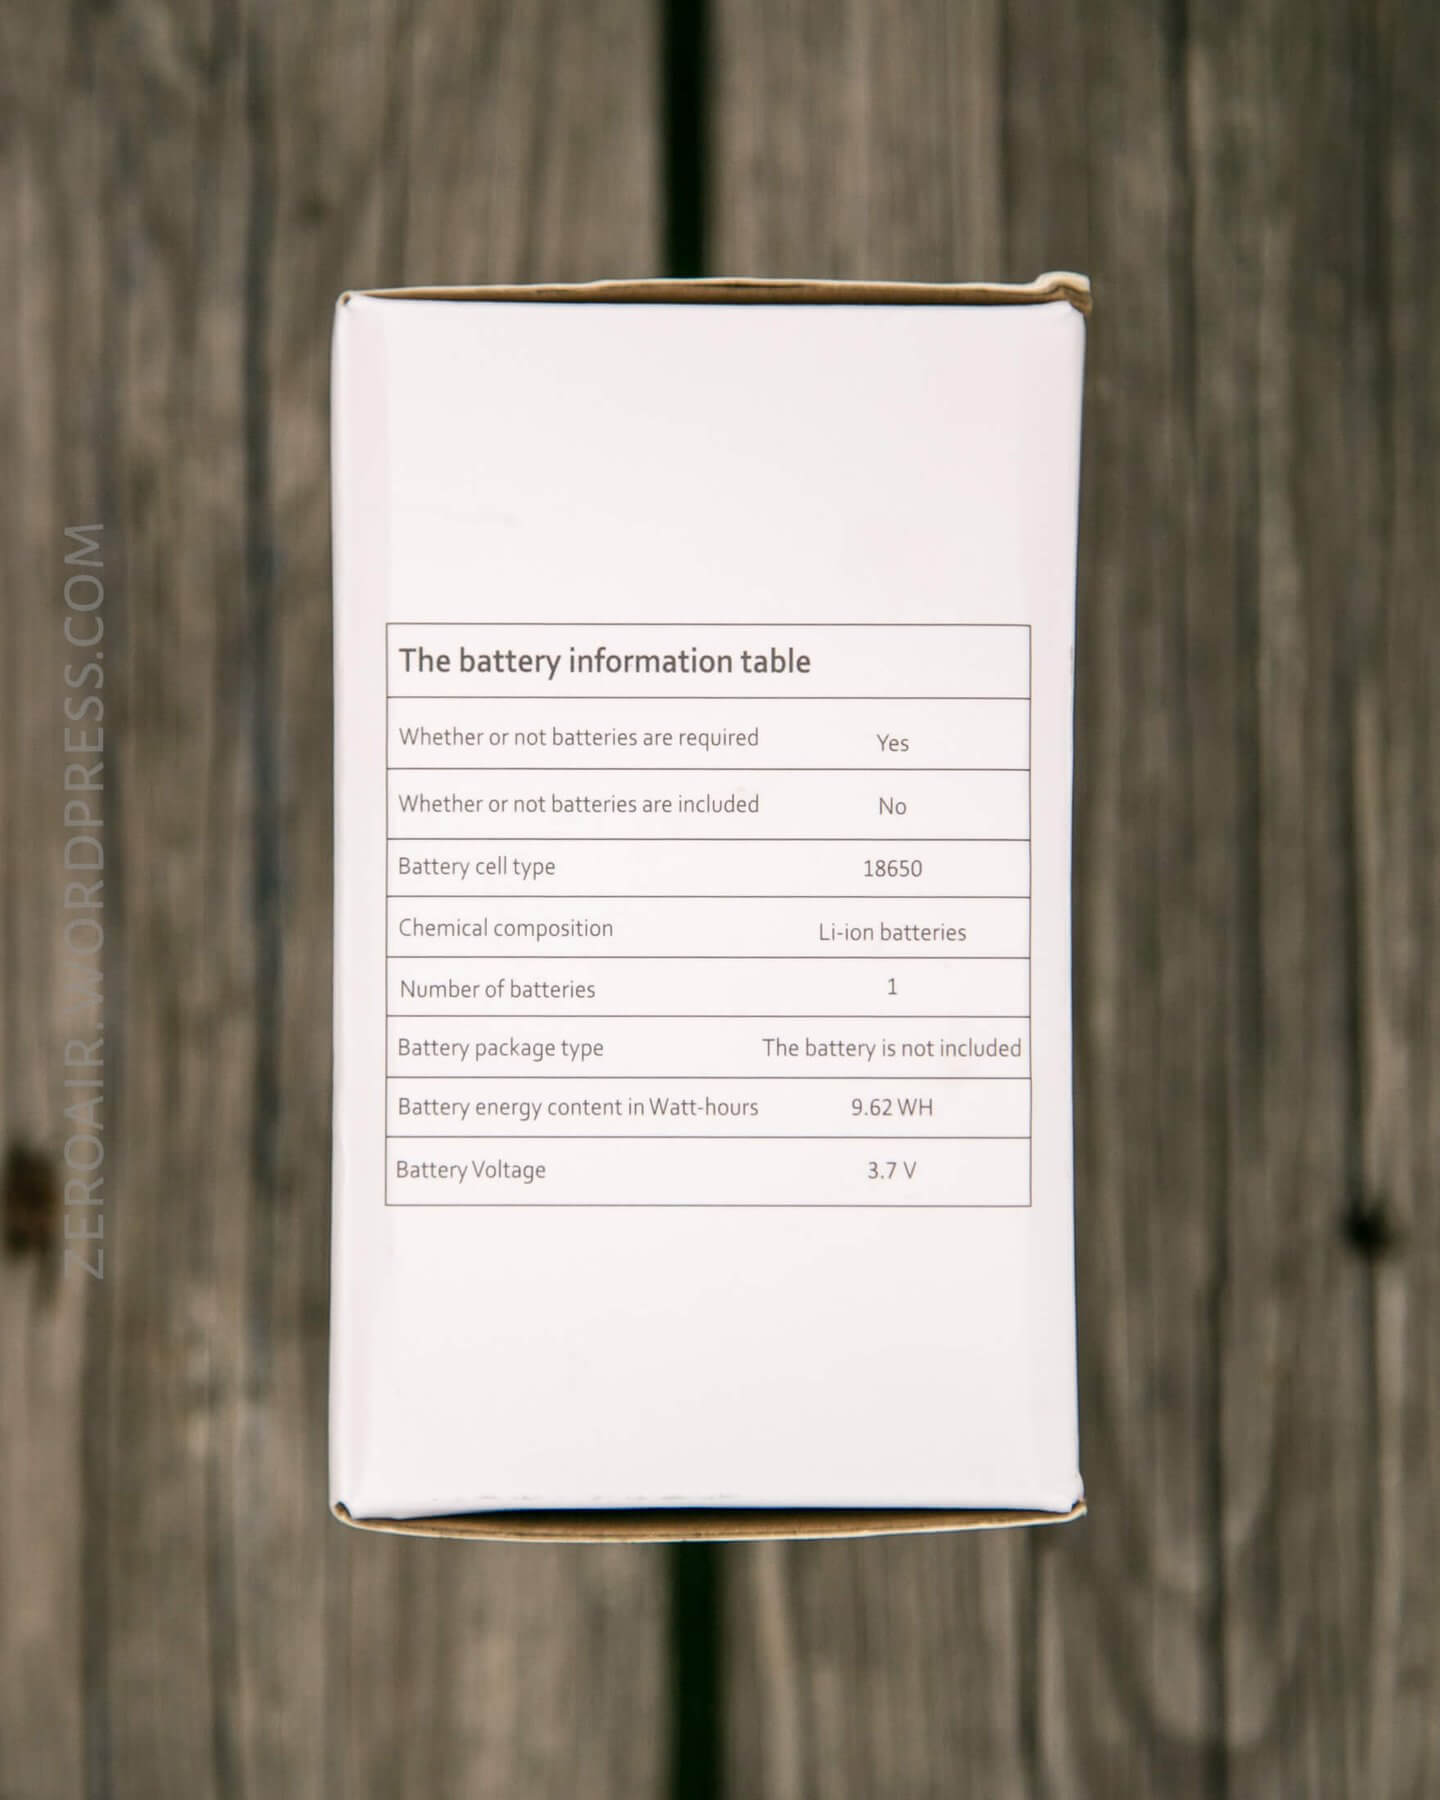

(The box does say the 18650 is not included, but my package did include a cell. So [shrug?]) I do think all the packages will come with a cell. The manual does say it ships with a cell.
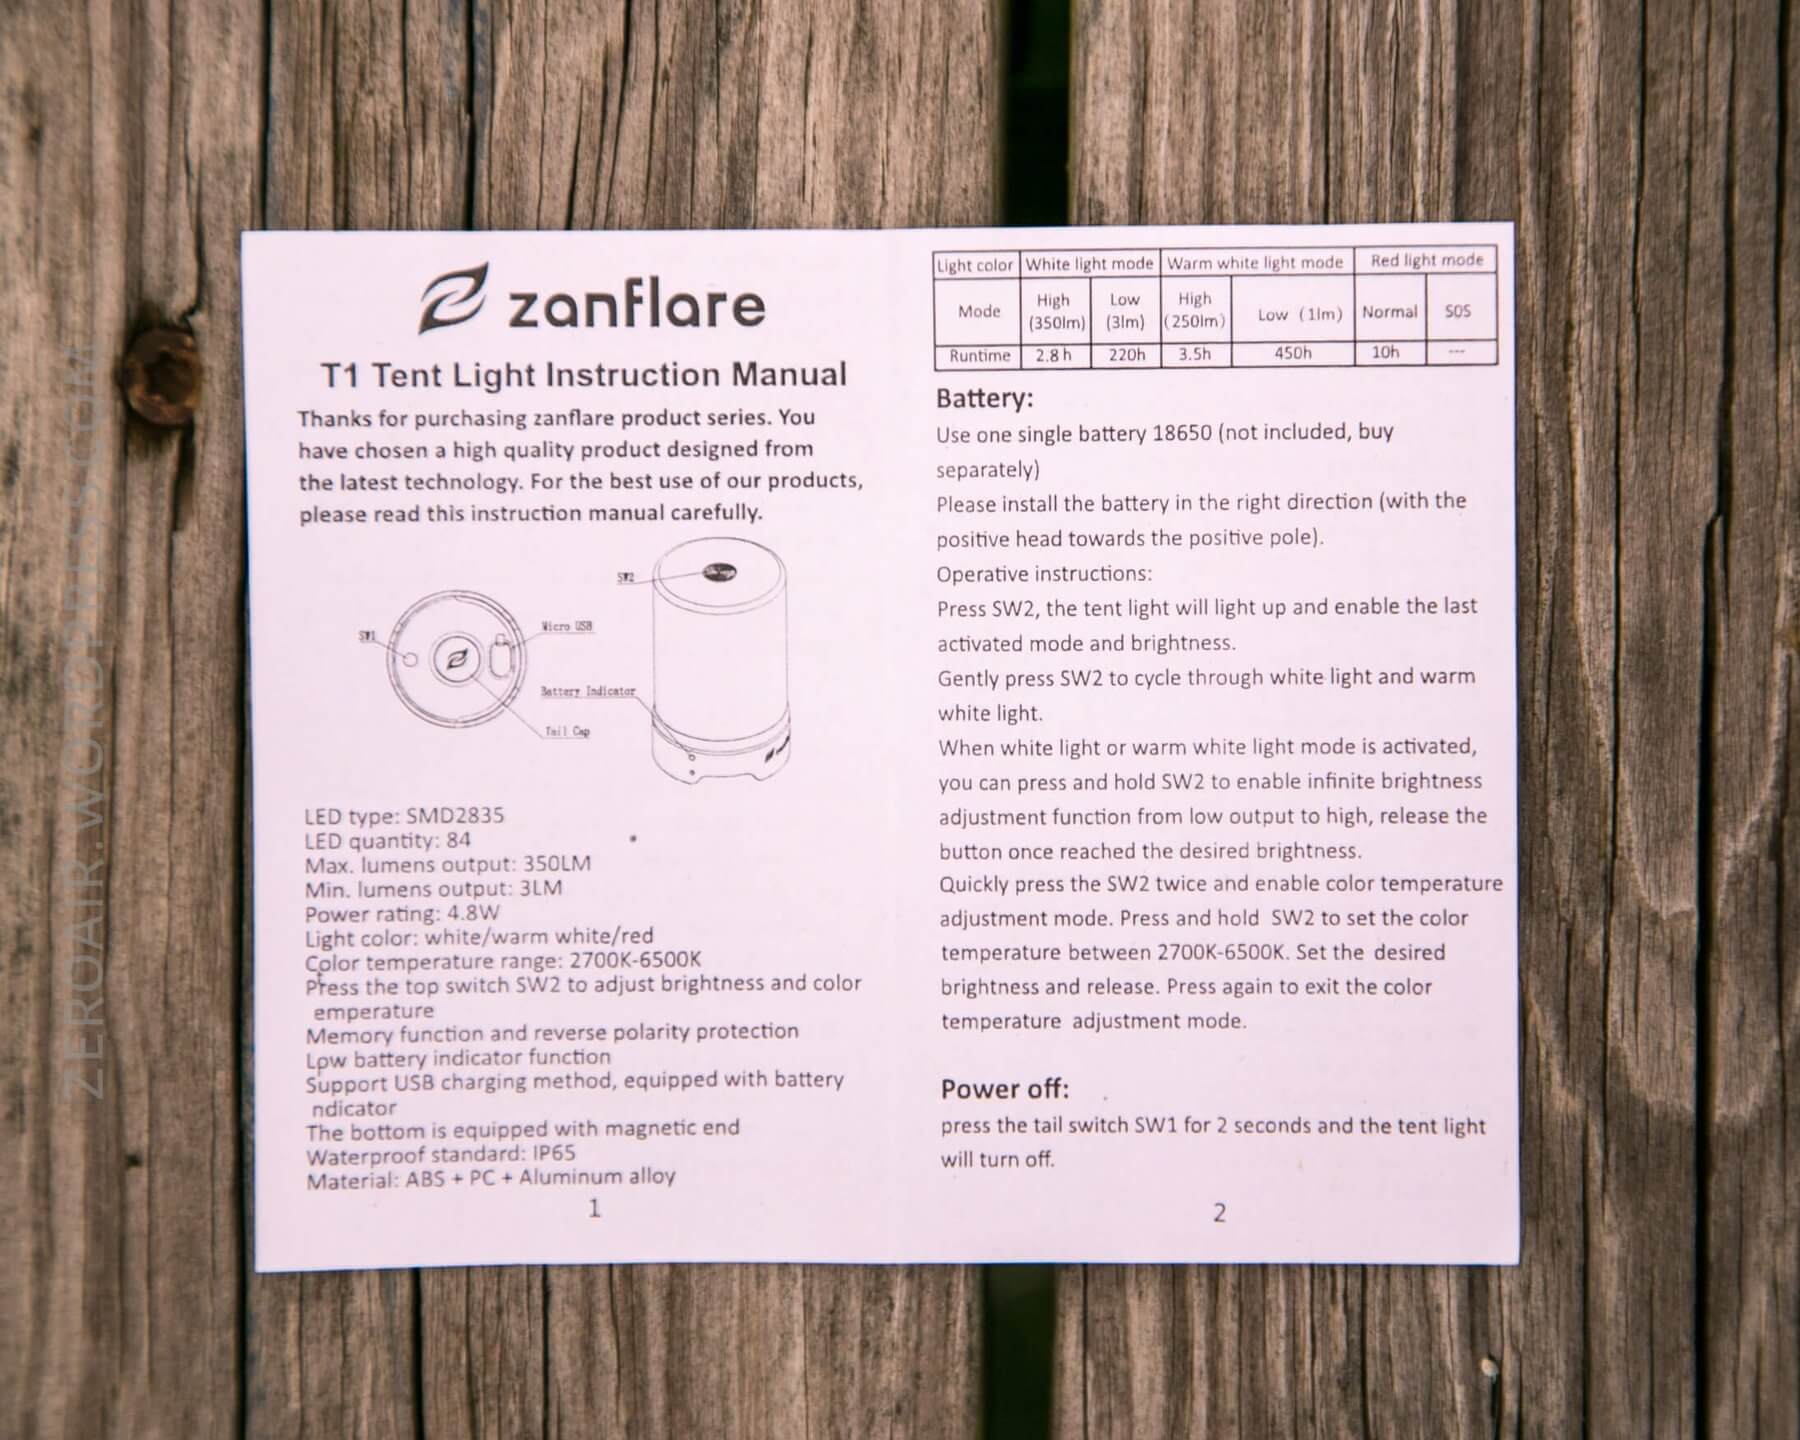
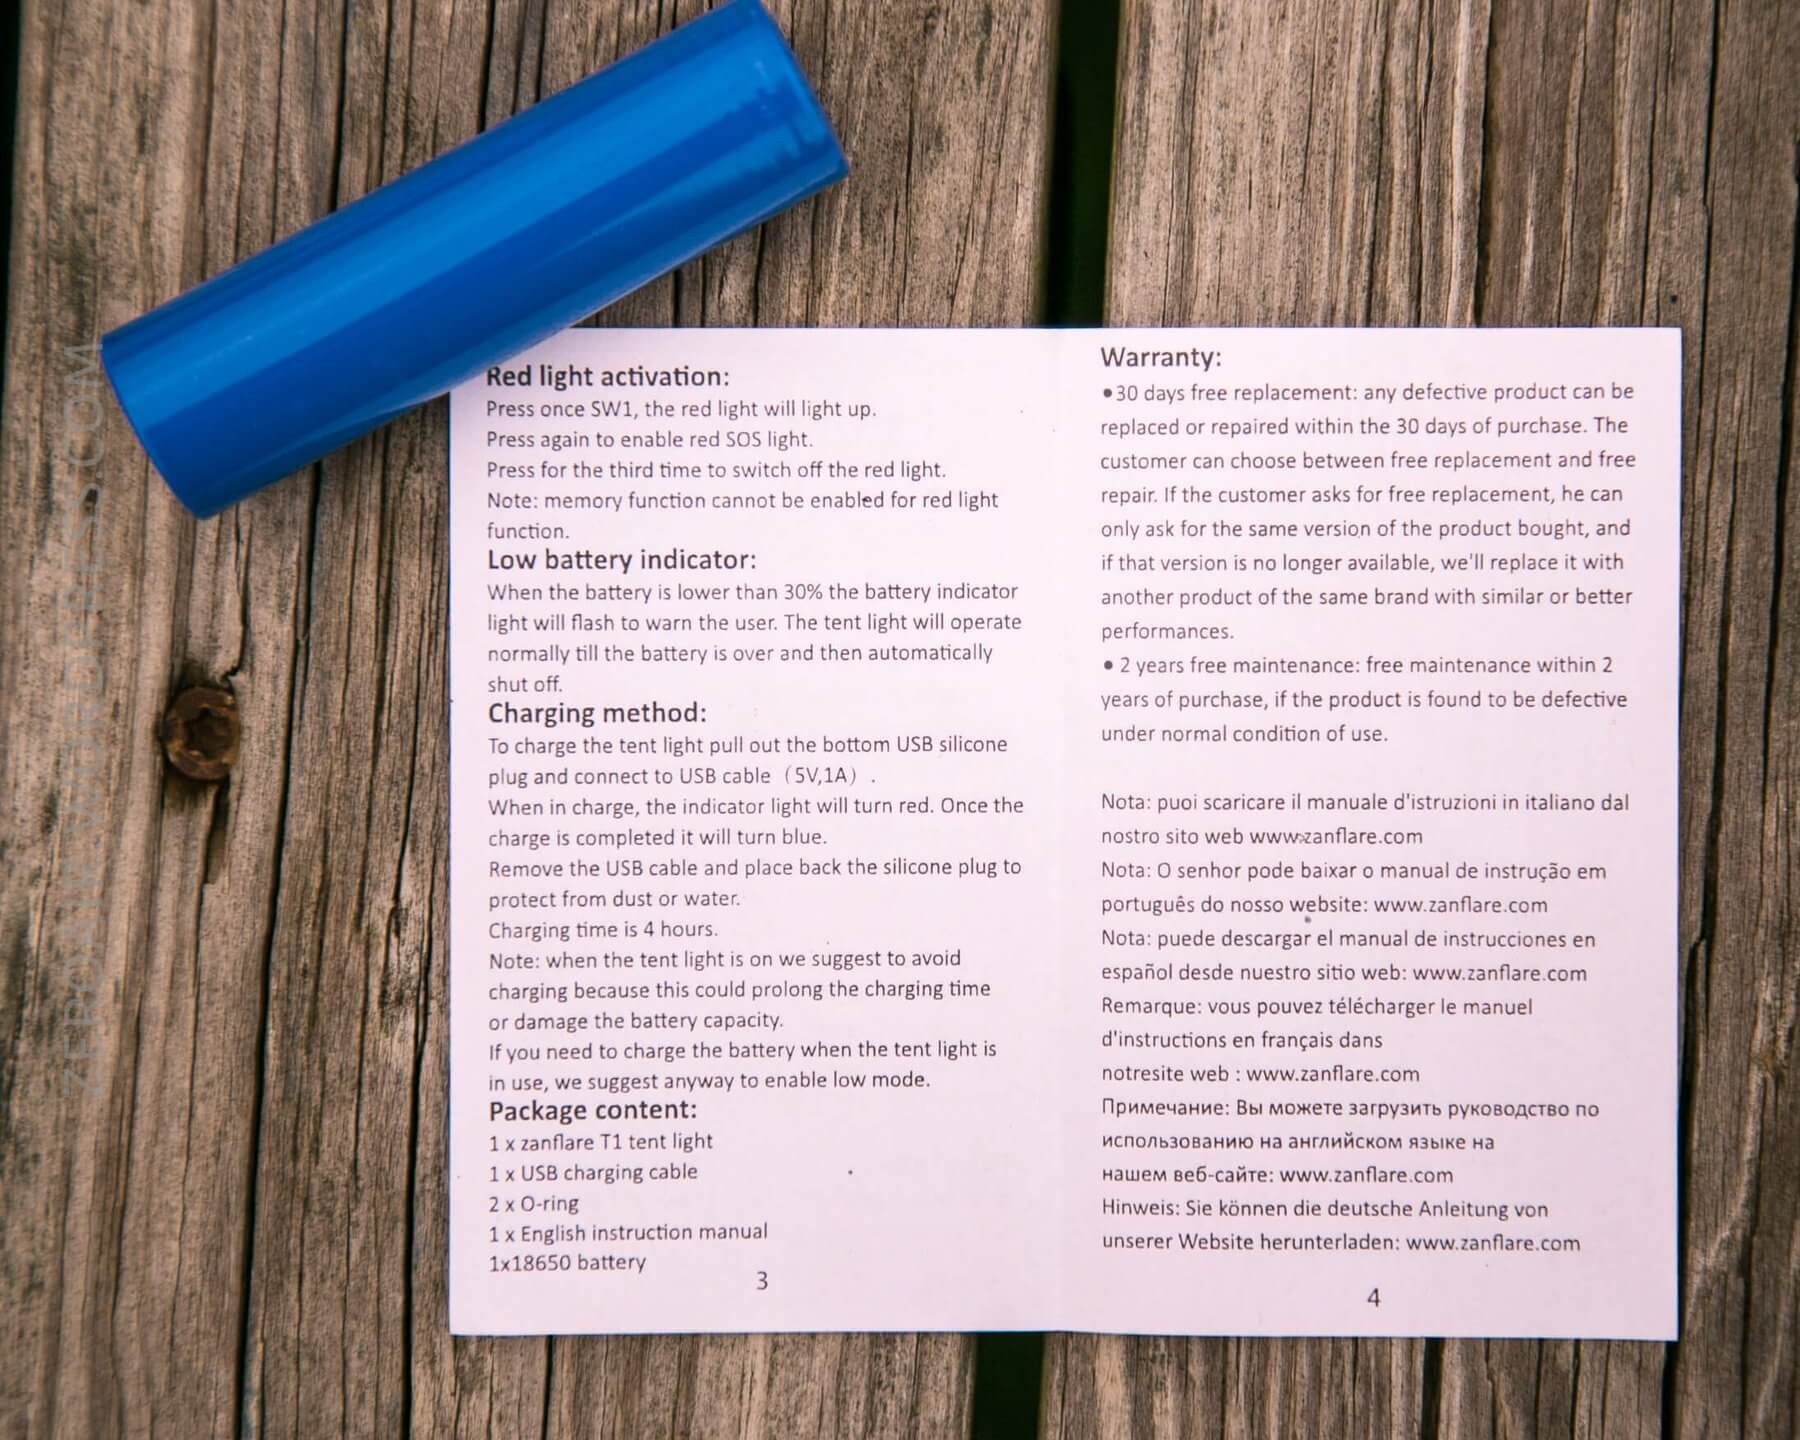
The manual is good, even if the white balance on these photos below is horrible. It covers the use of the light, particularly noting that the light has LVP, and otherwise covers the use and specs of the light fine.
Build Quality and Disassembly
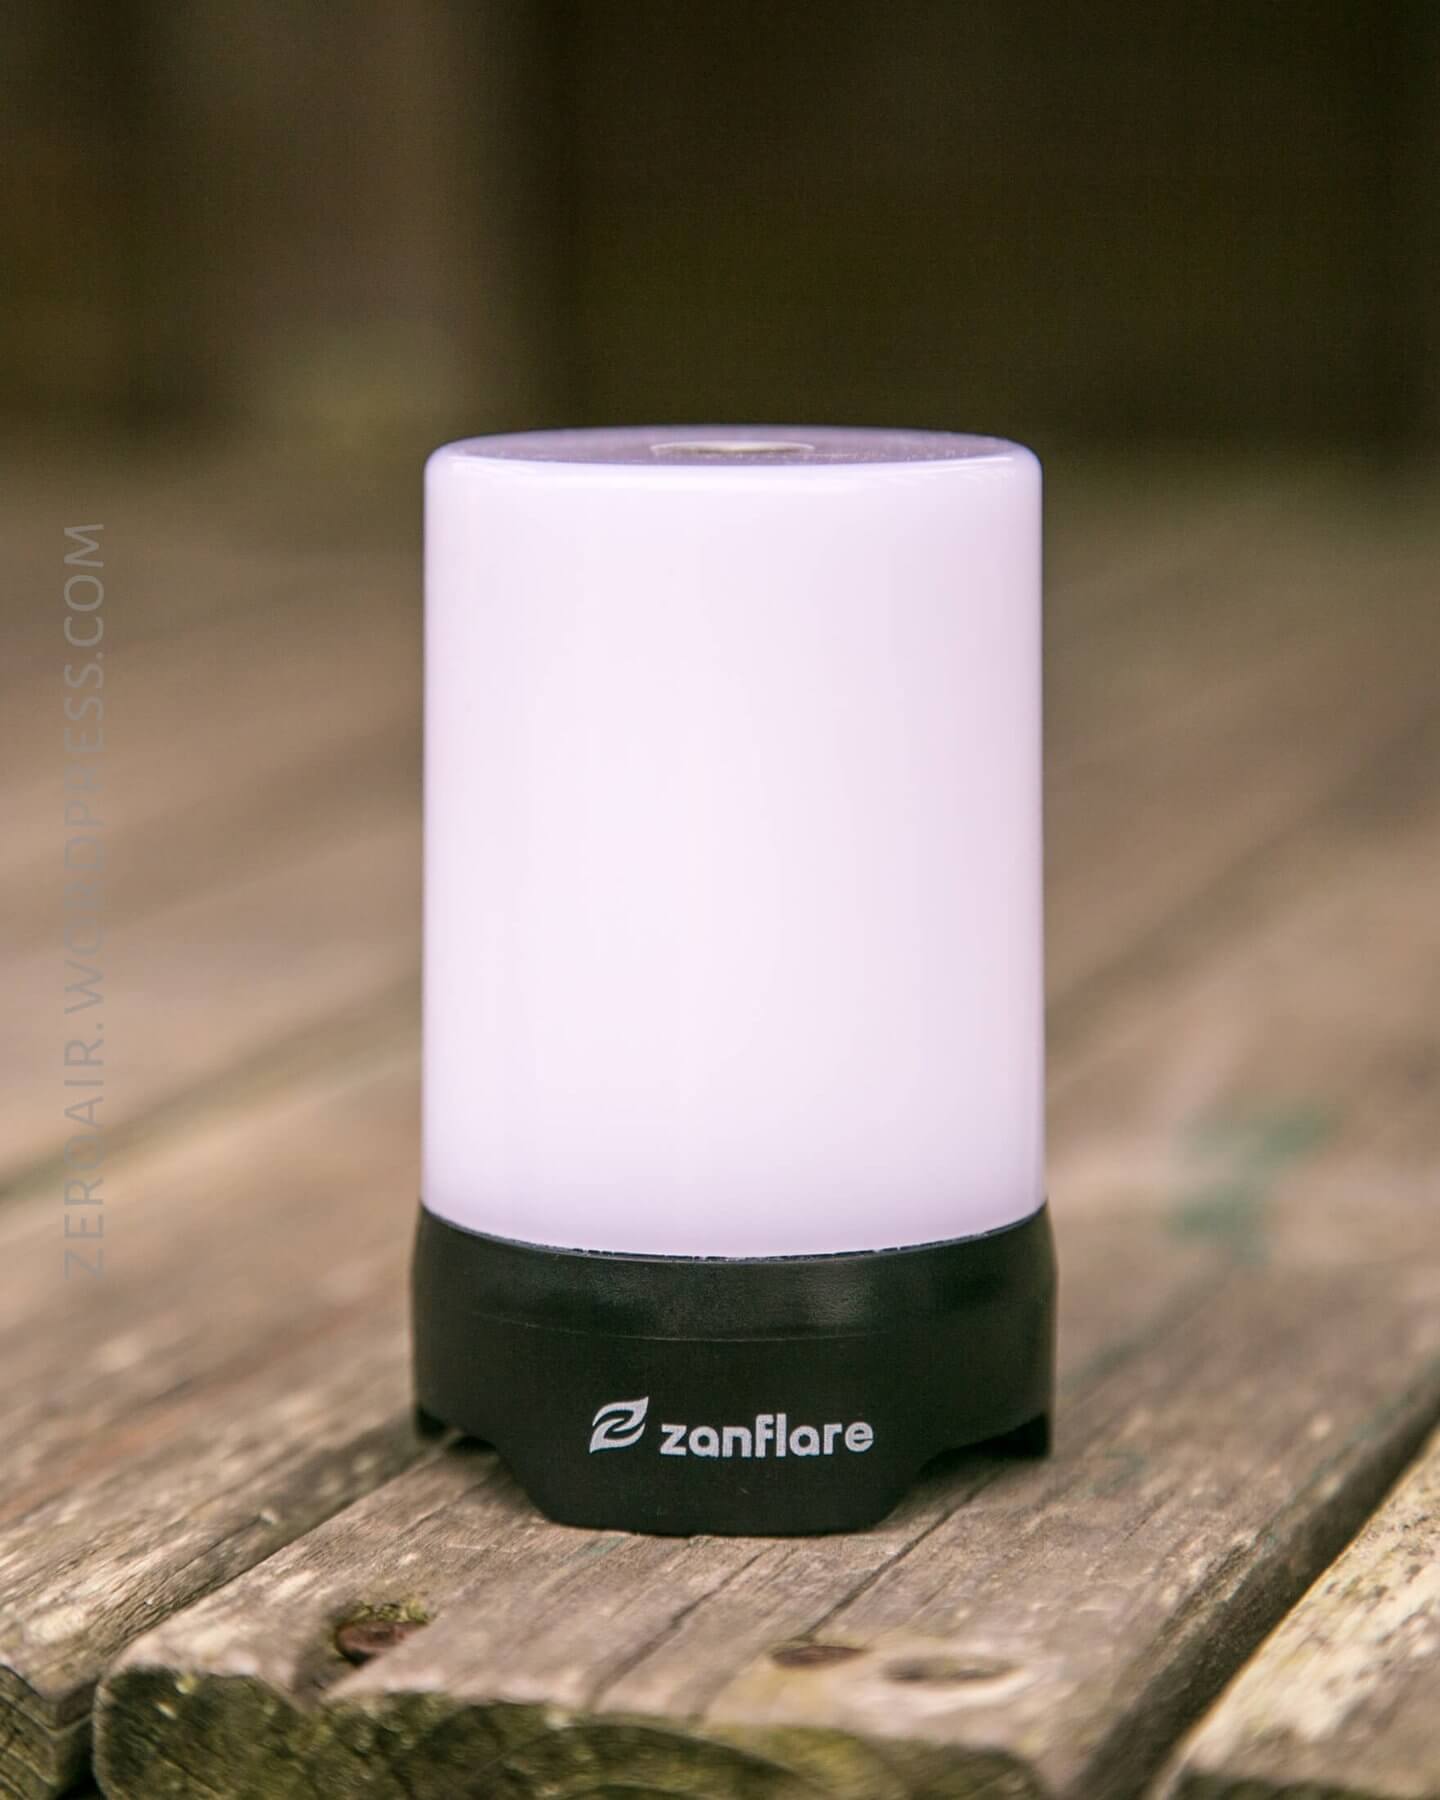
The plastic lantern cover of this light is very well diffused. The built quality is good, too.
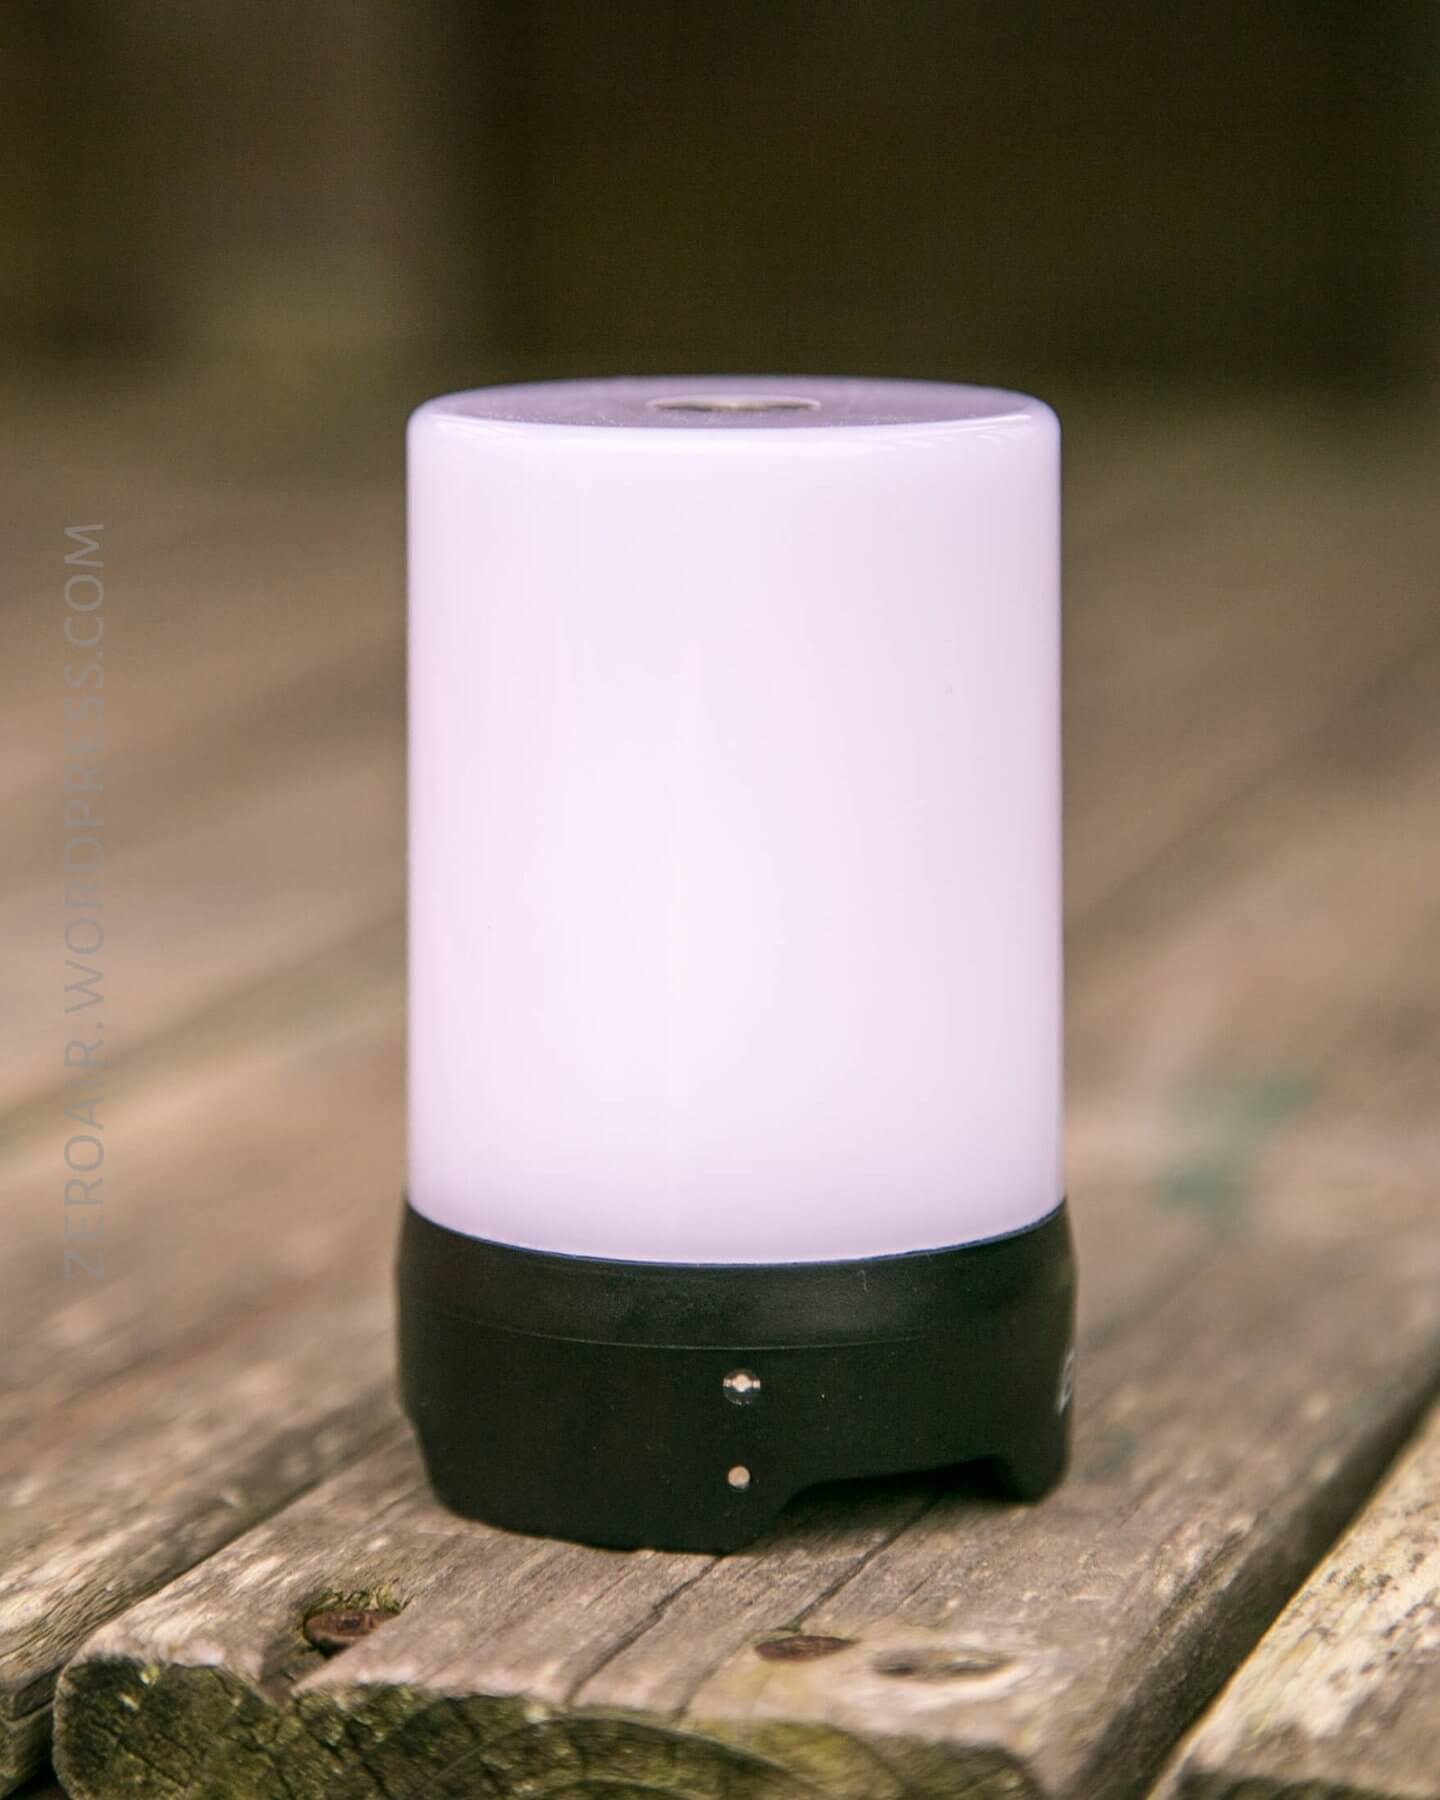
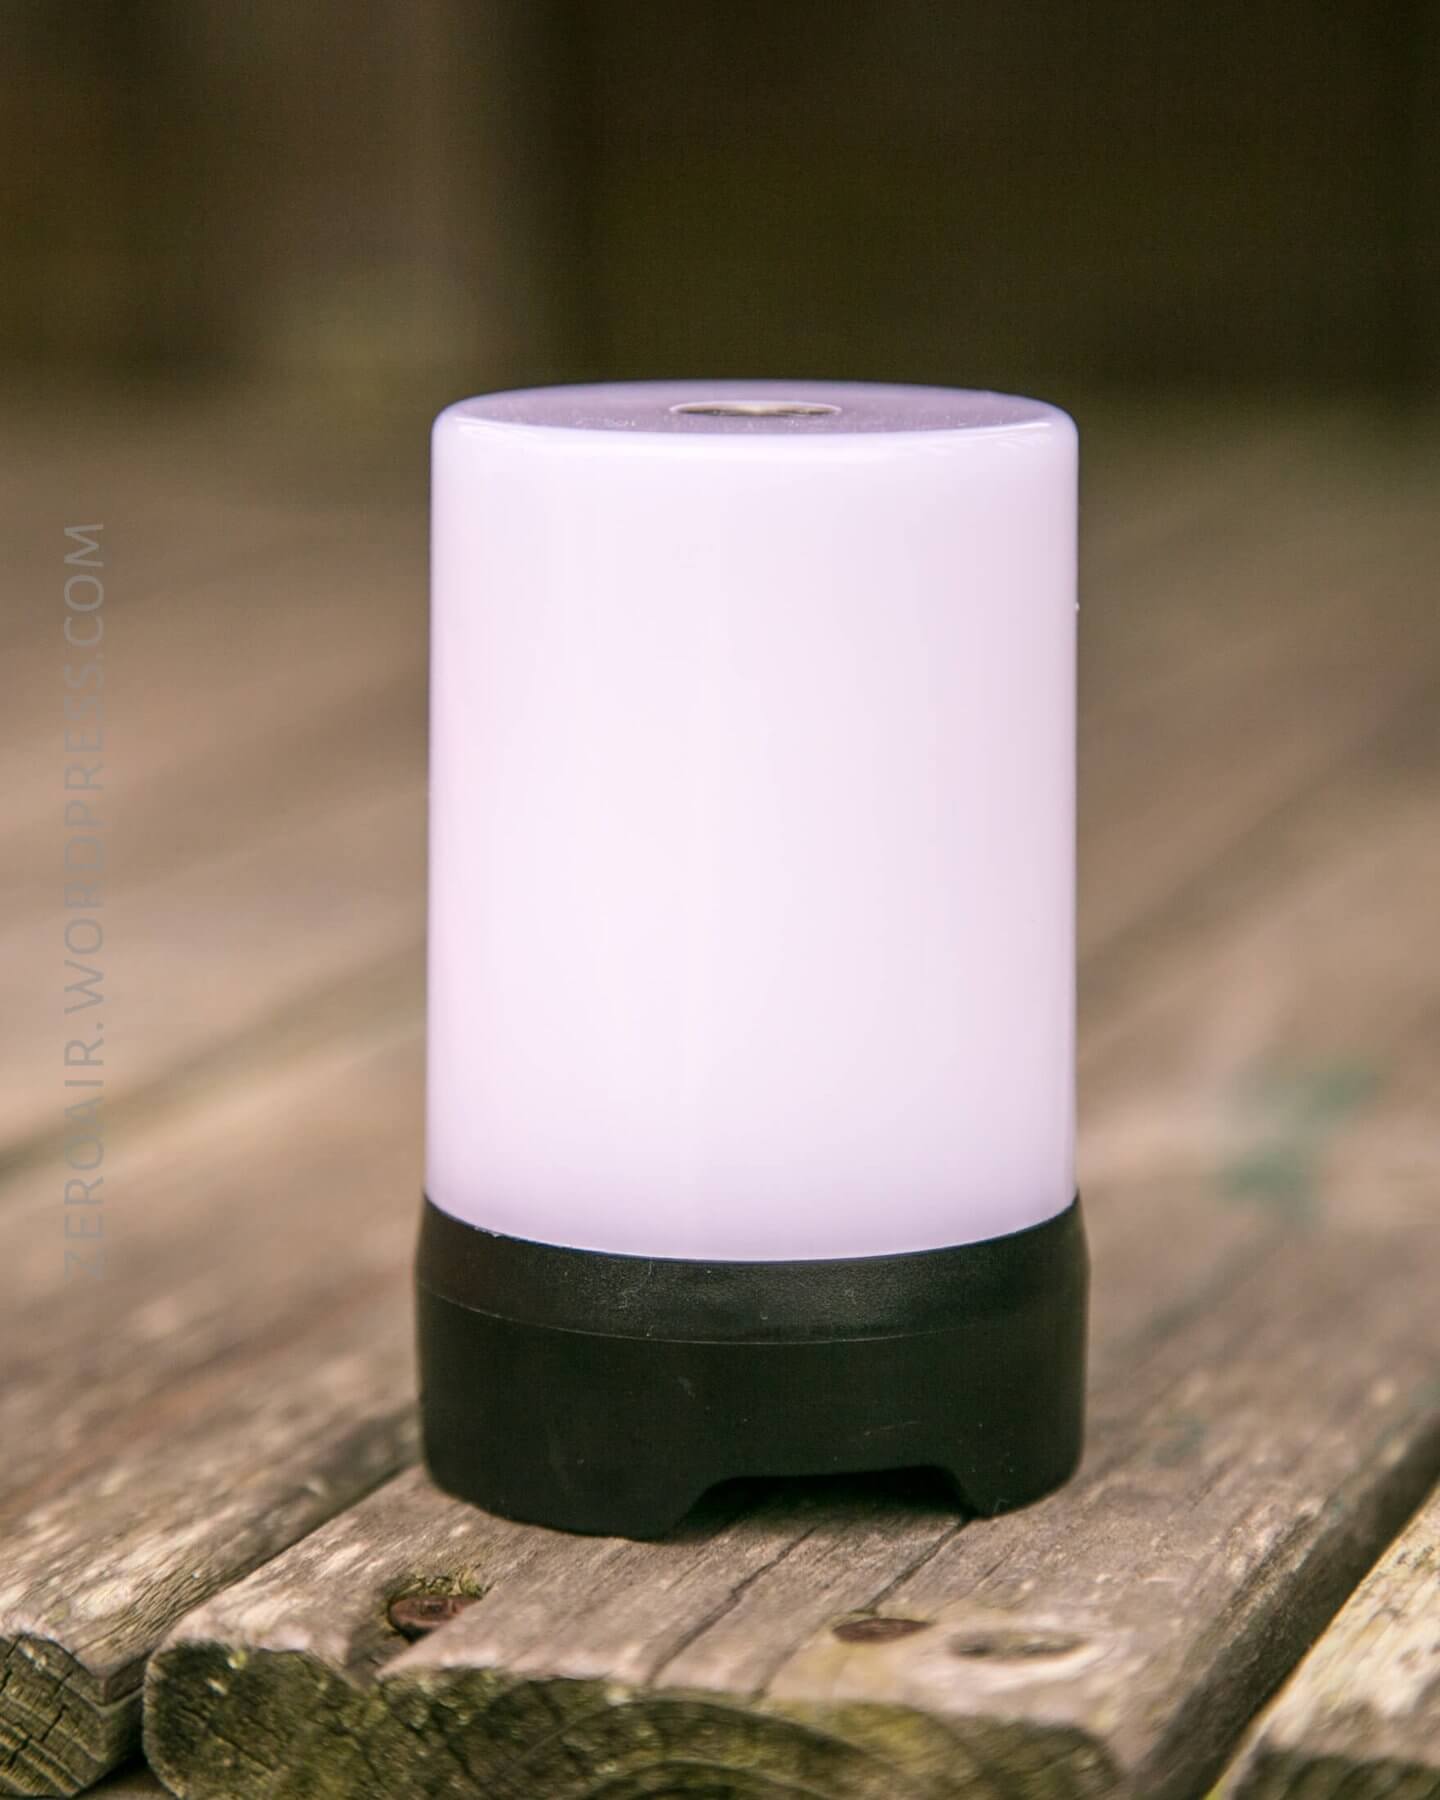
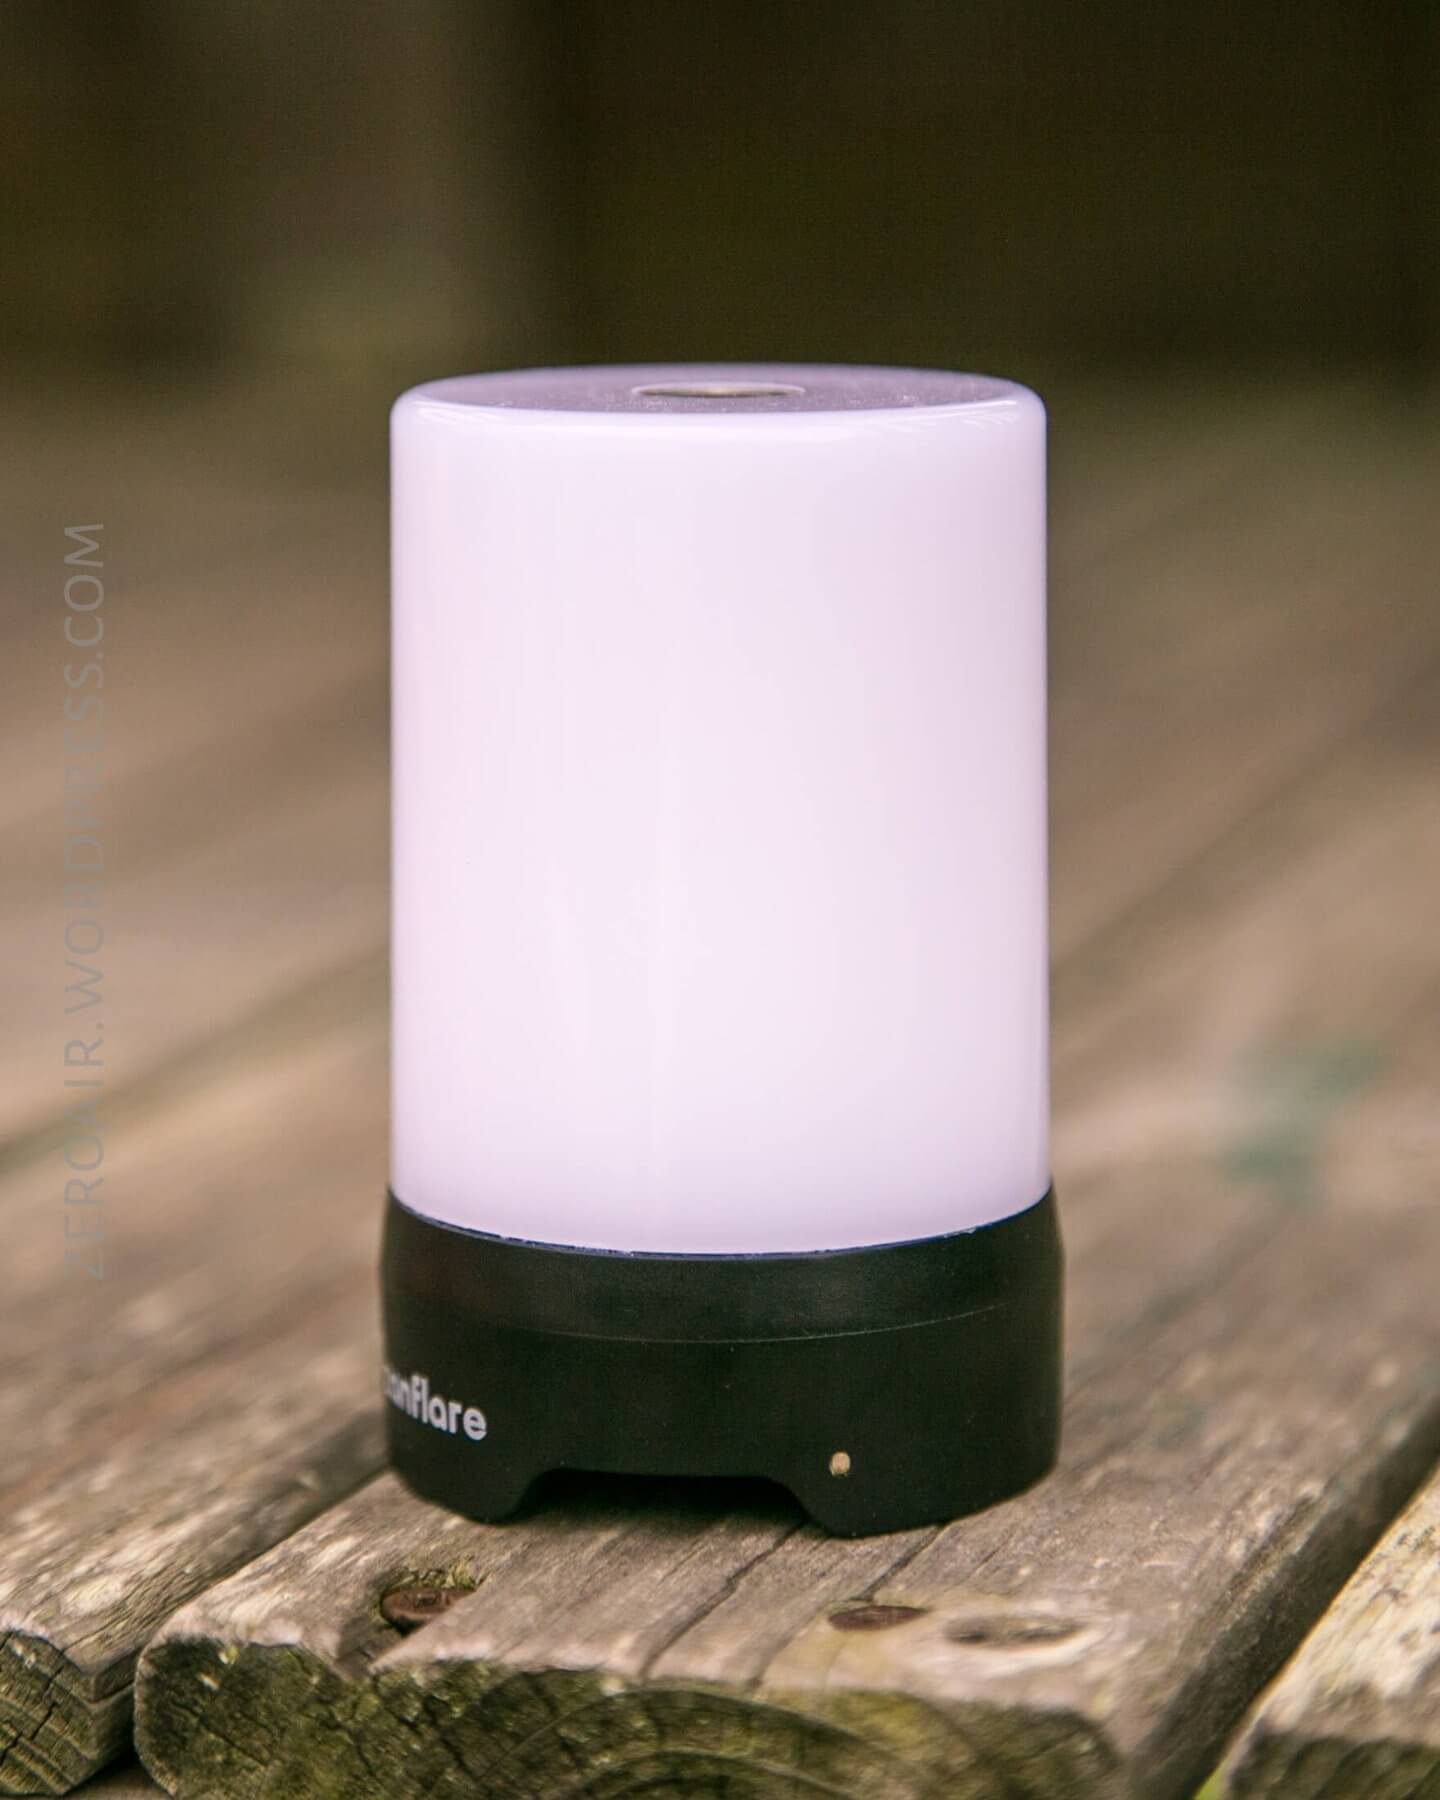
To me, the anodizing feels a bit thin – as you can see, there are parts wearing away already from my fairly gentle use of this lantern.
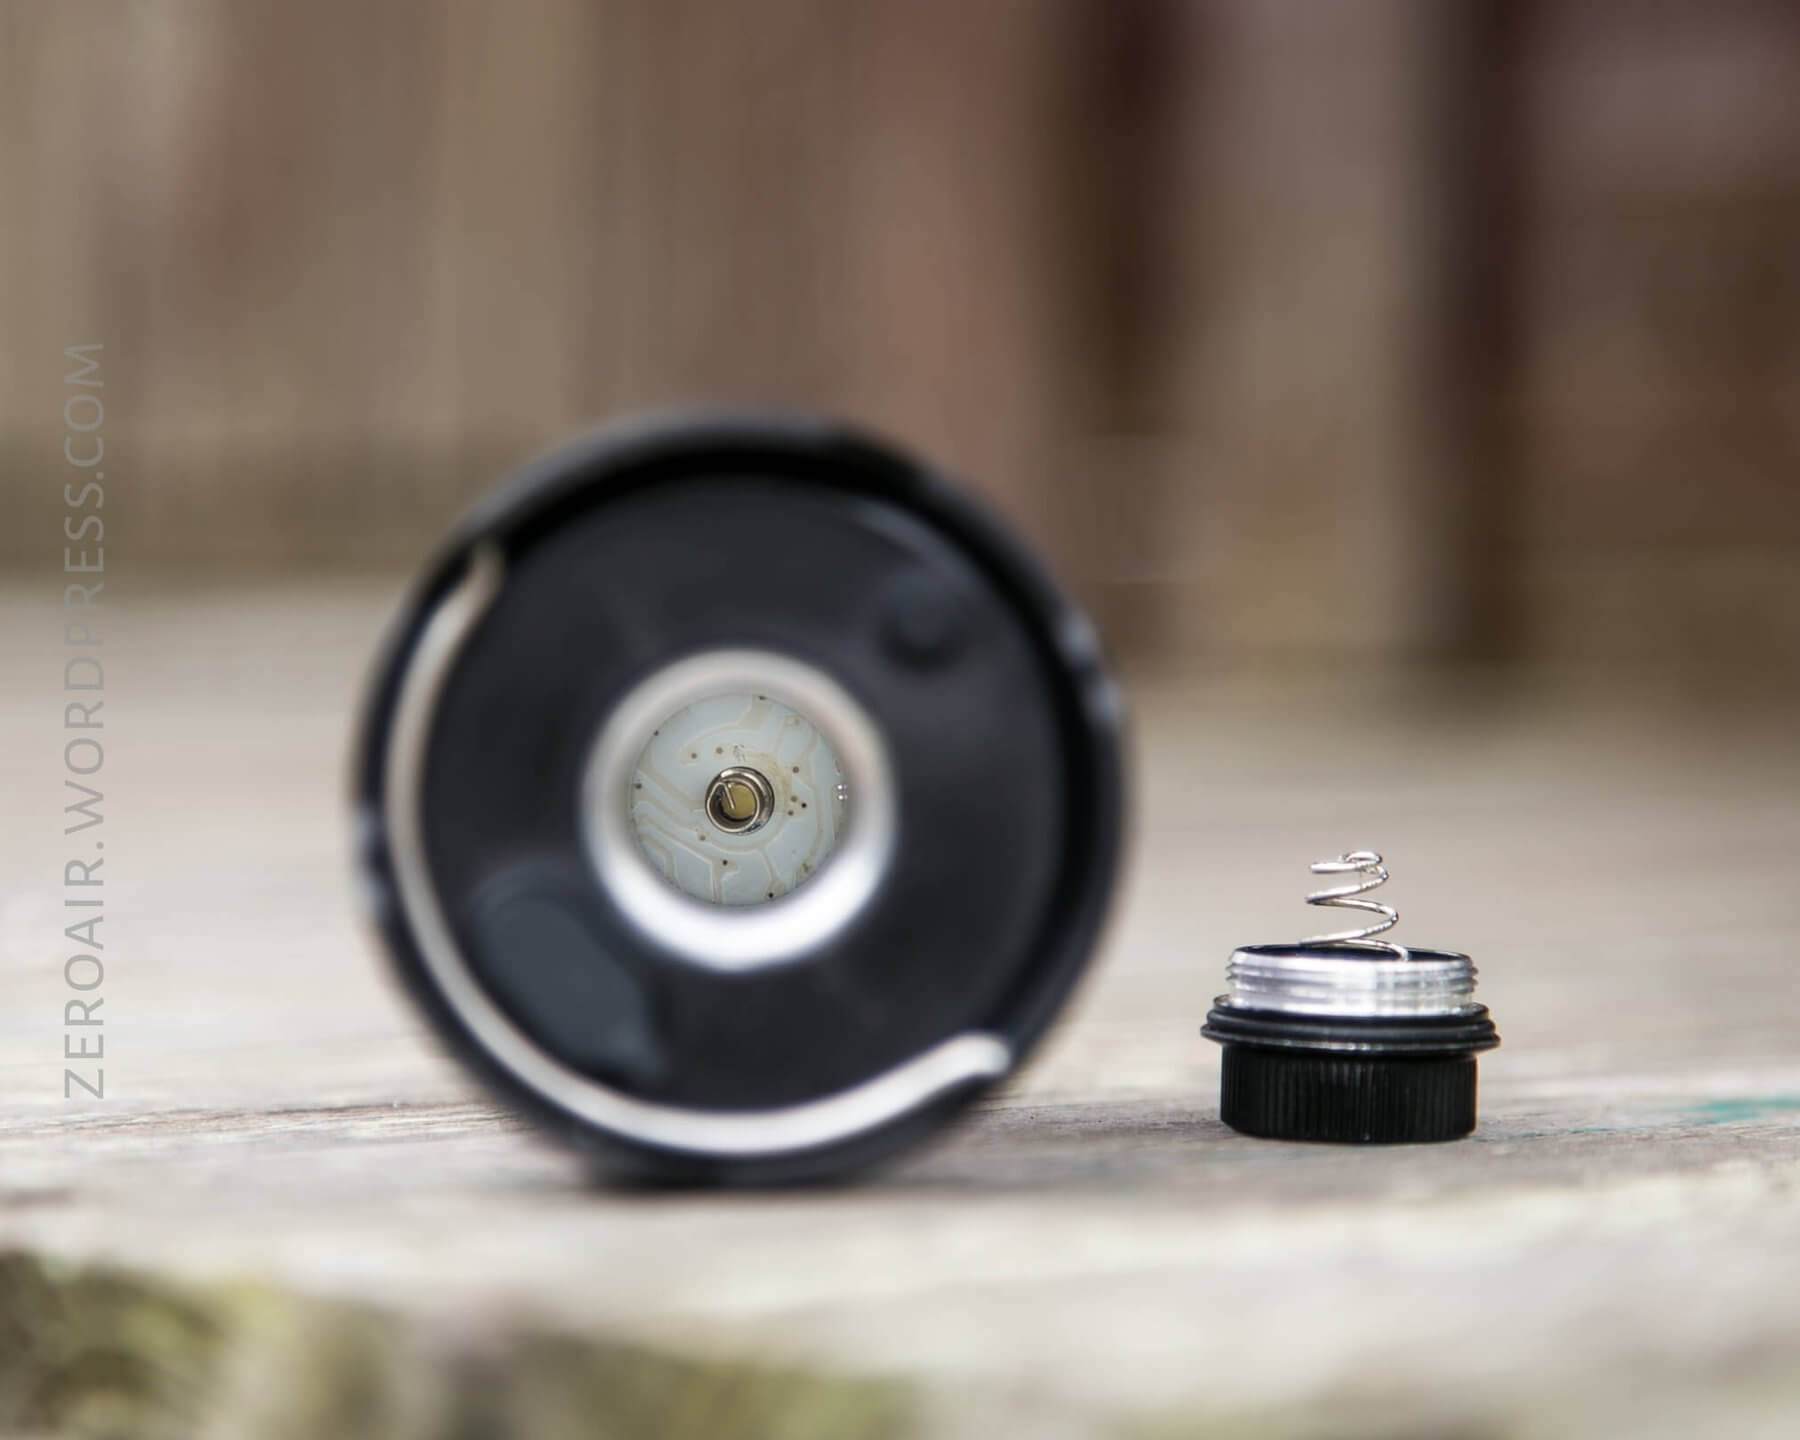
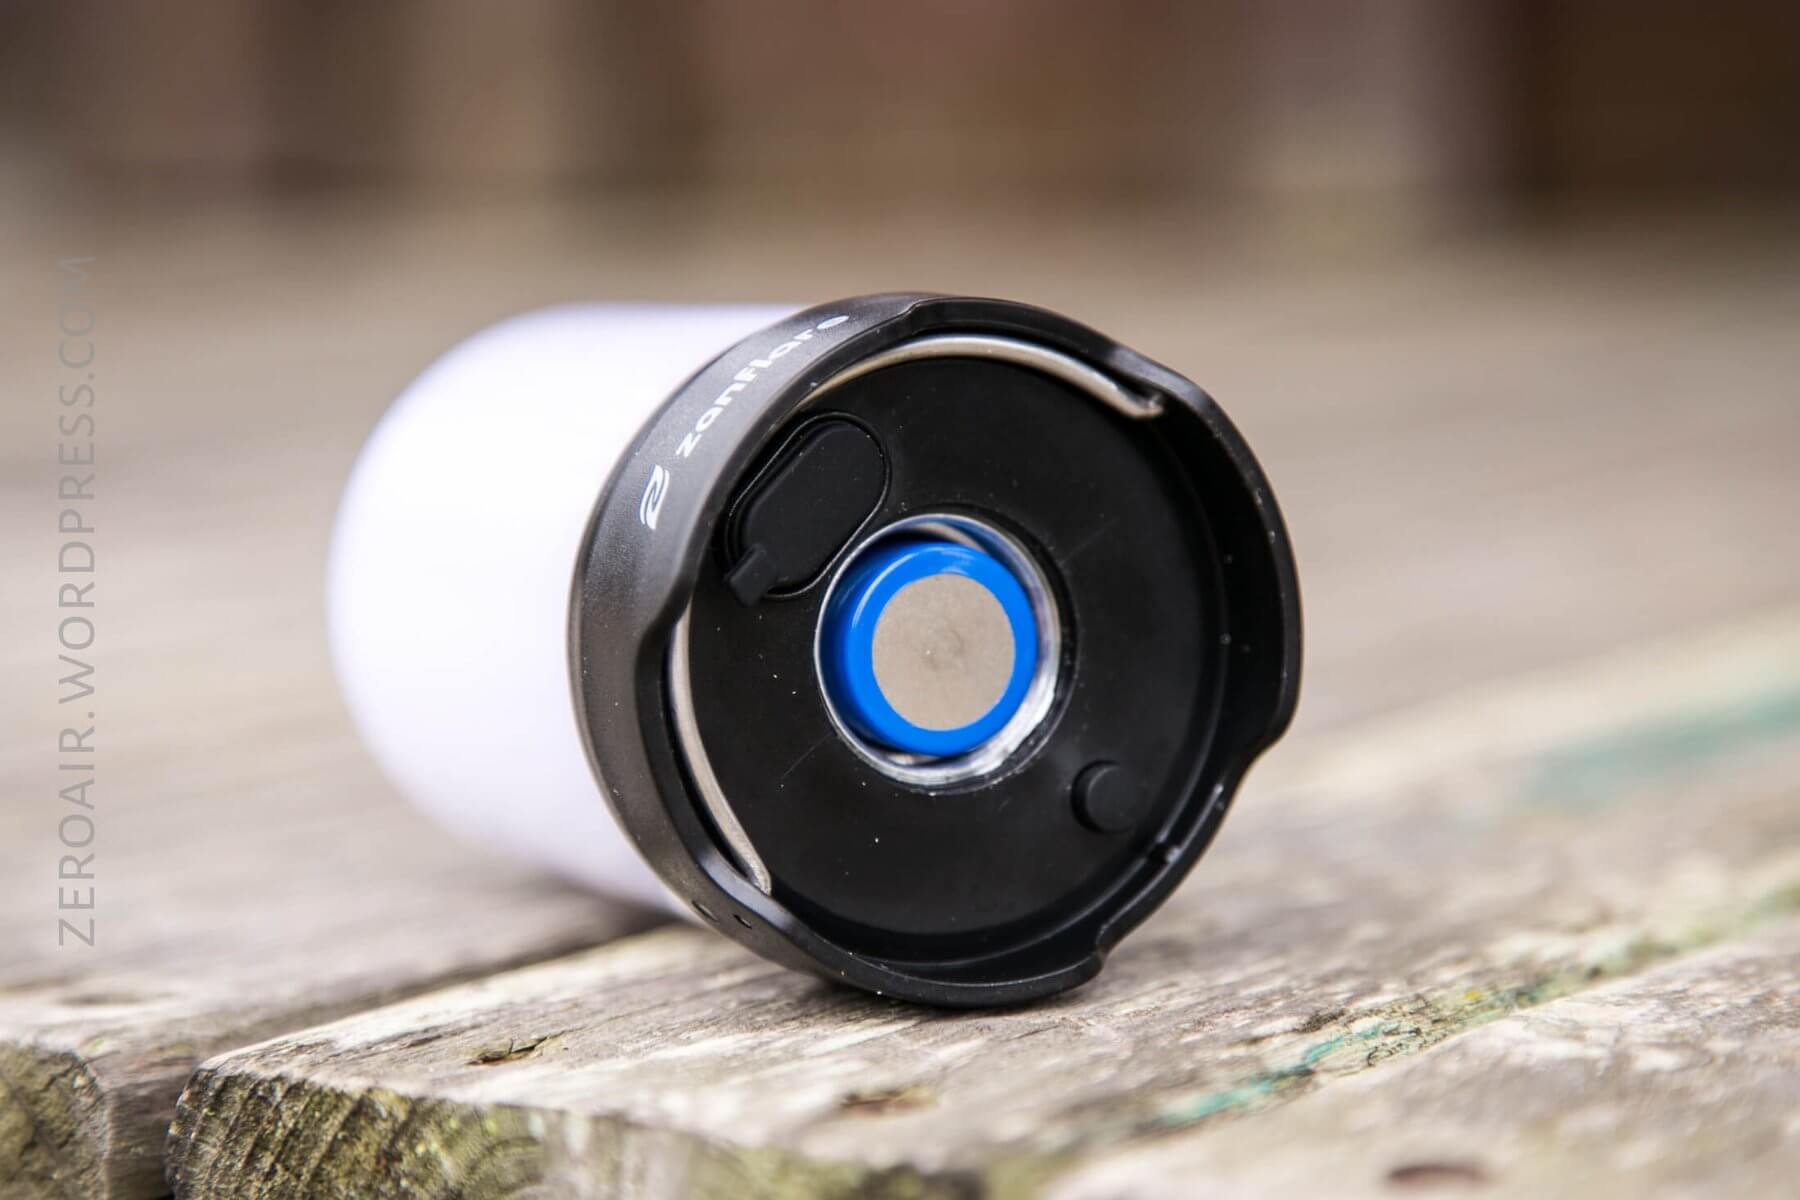
This light has a proper tailcap, even though it is built up like a lantern, and big overall. The tailcap has unanodized threads and a tall spring. Though it’s a bit recessed at the bottom of the lantern, it’s not hard to remove. The reeding helps with that.
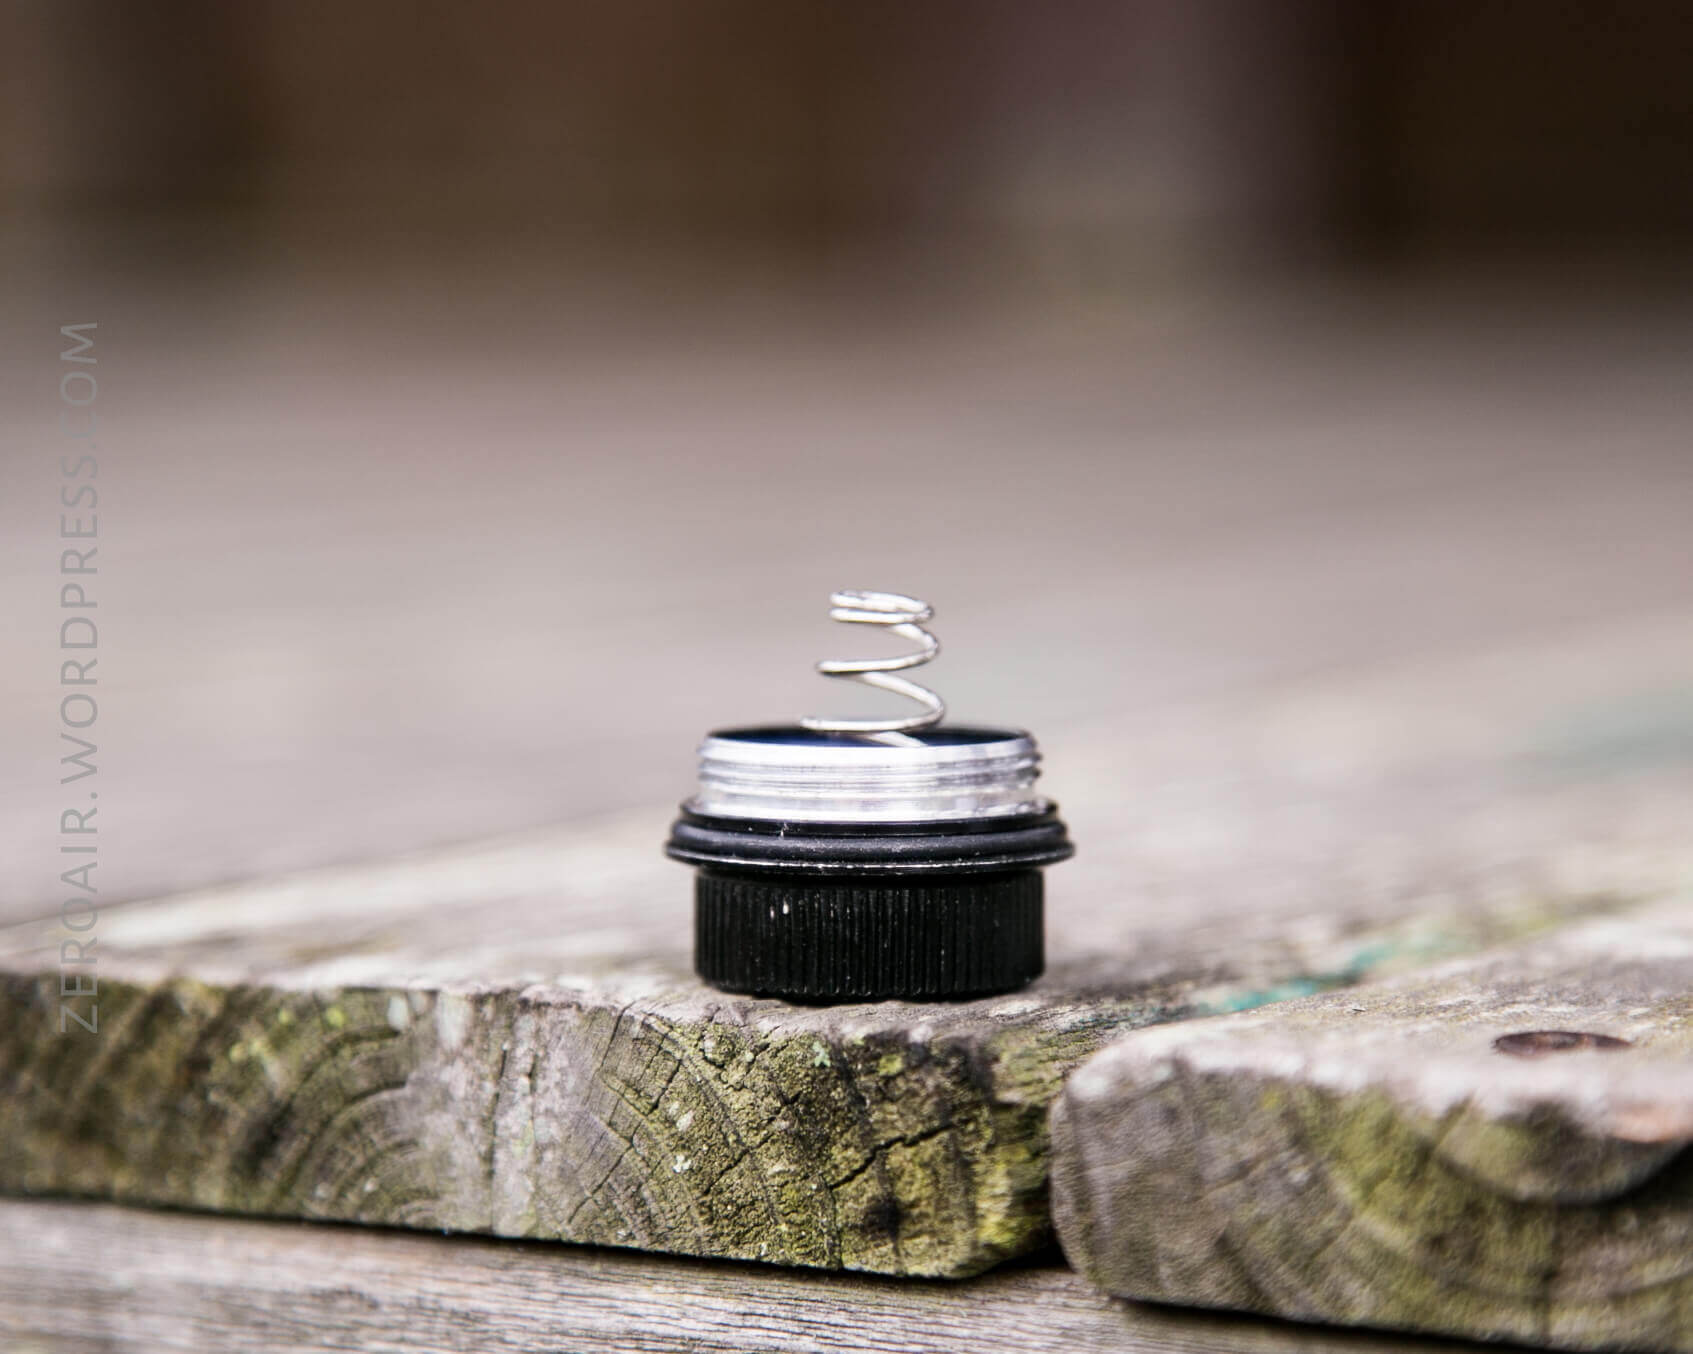
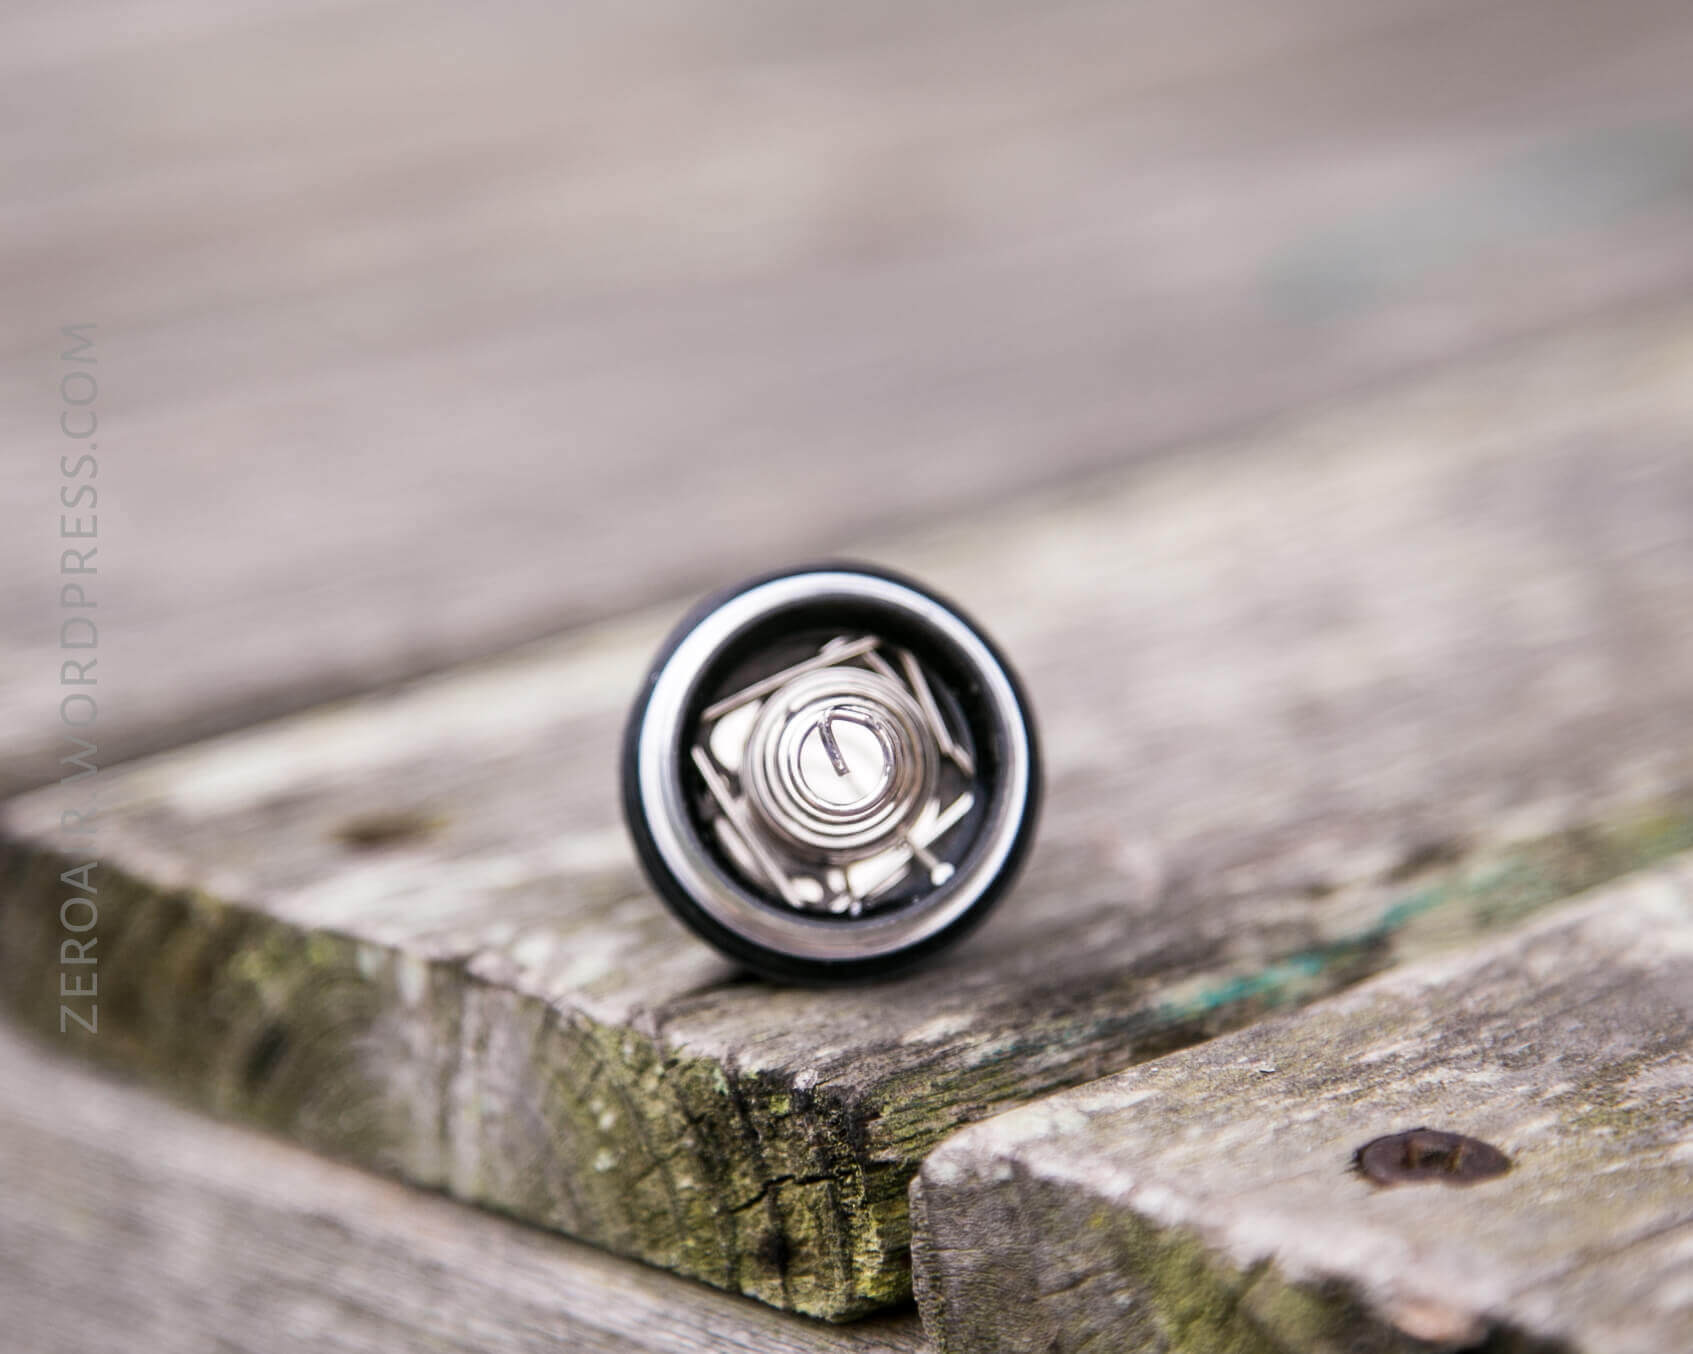
The included (and any) 18650 sits just about flush with the bottom of the lantern, so the tailcap has to be pressed fairly intently to get the threads to grab. The threads are triangle cut, and could use a bit of lube.
There is a spring on the positive terminal (inside the body of the light) too.
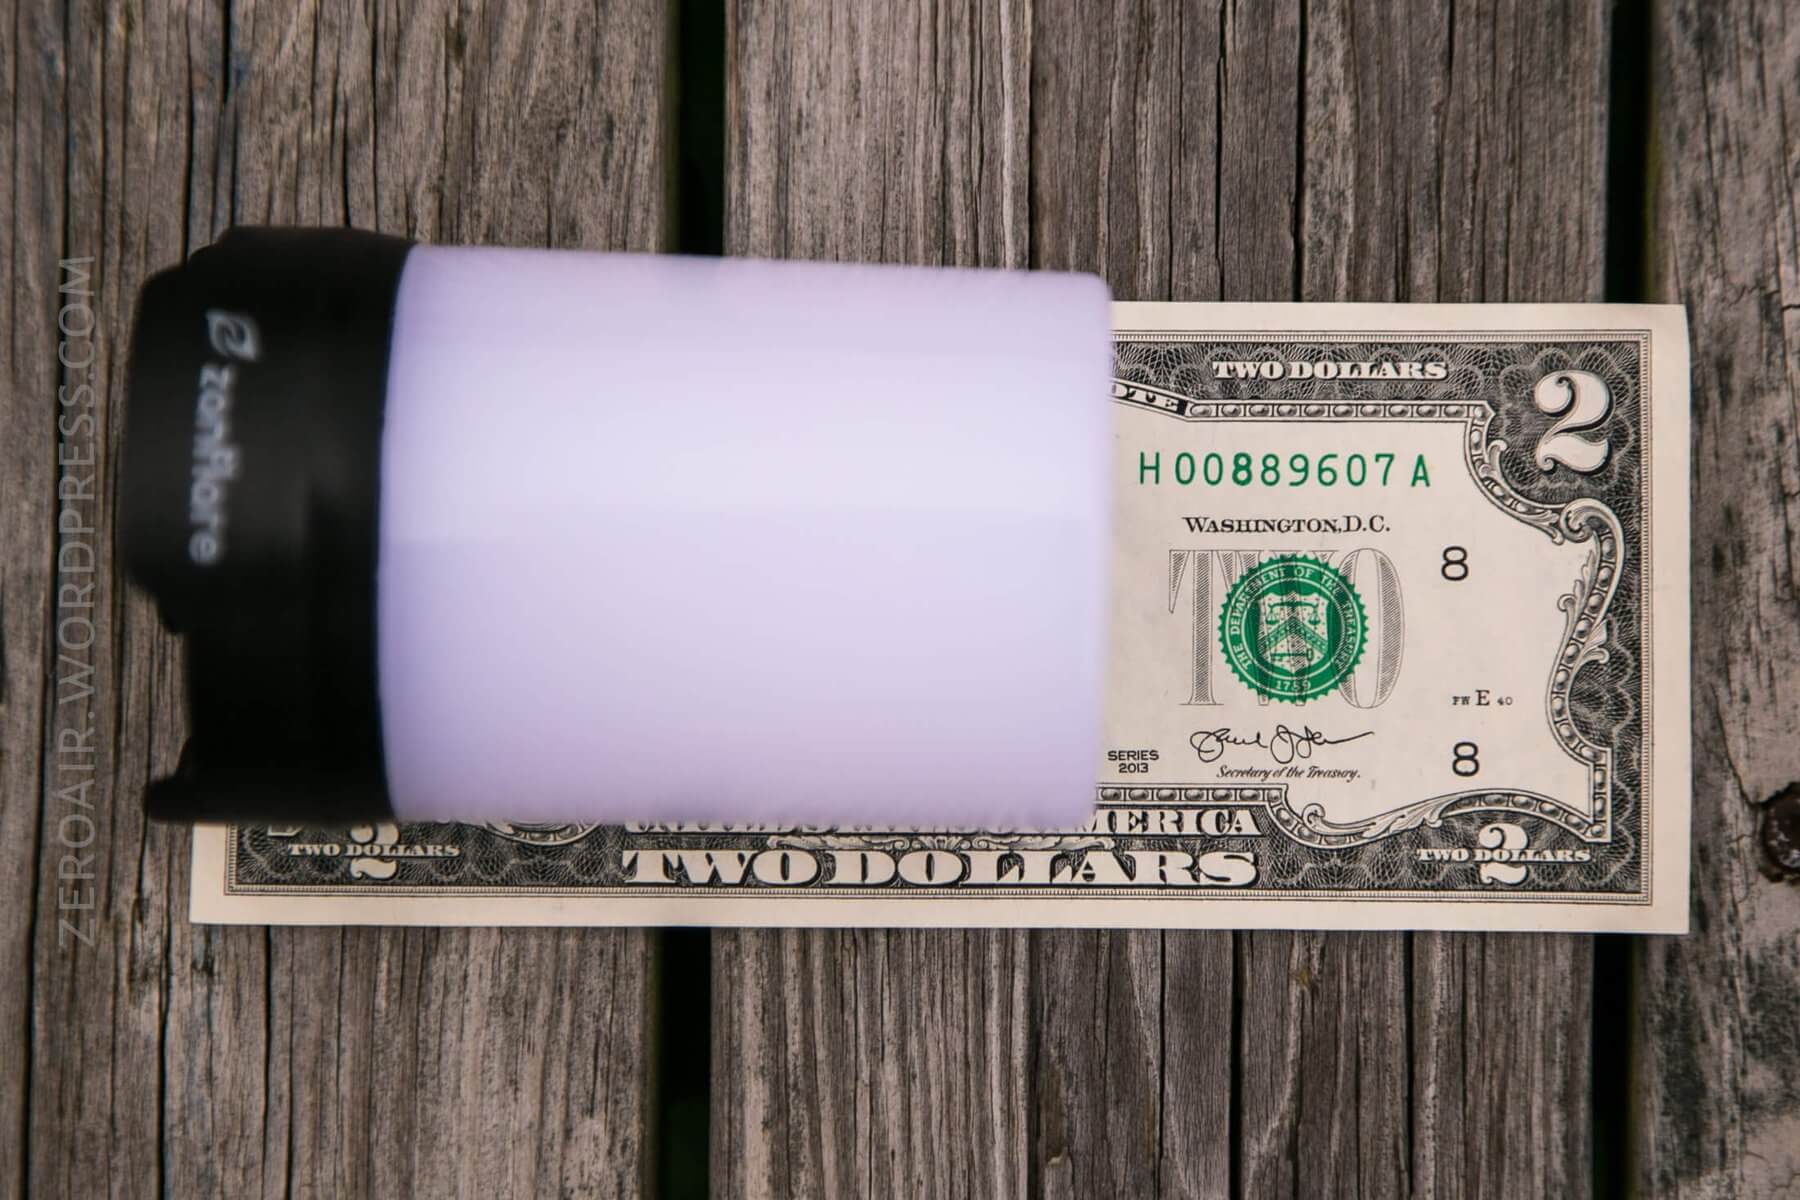
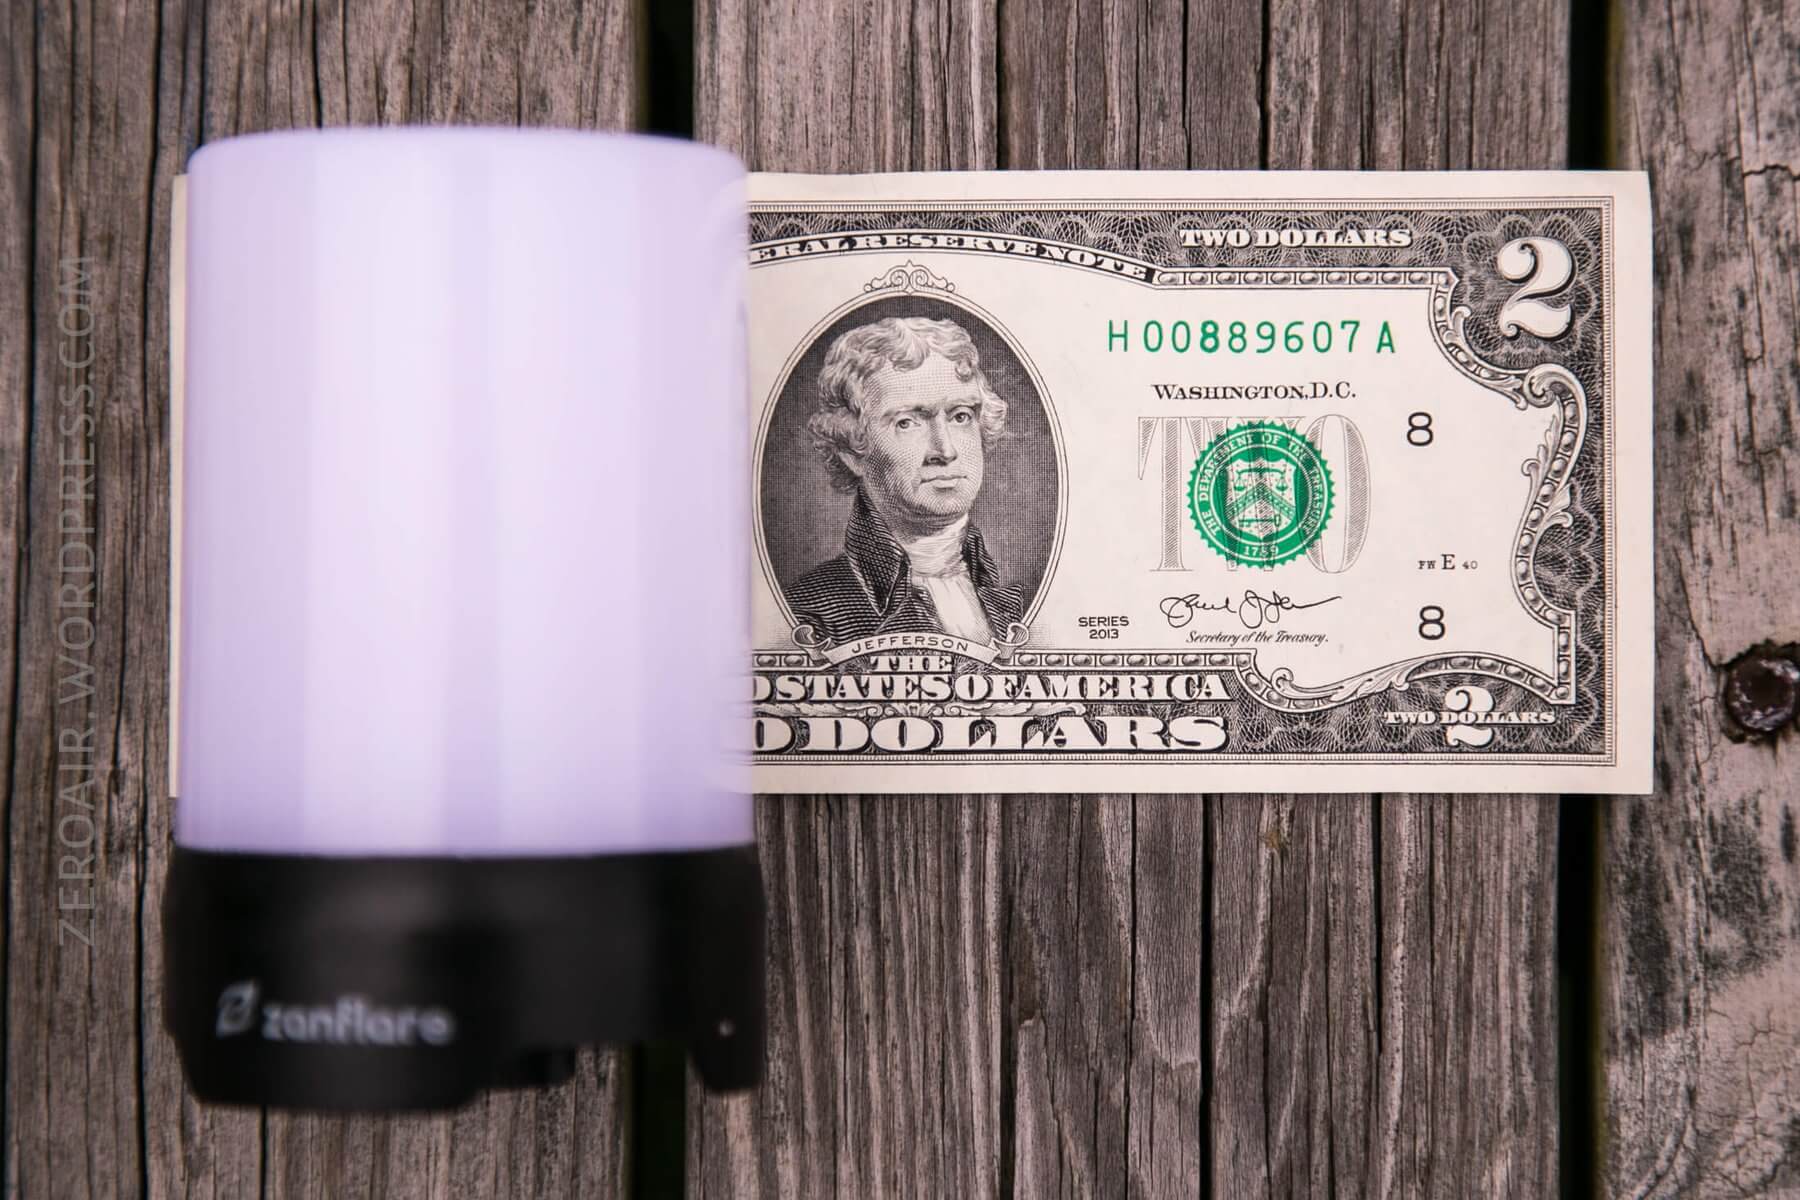
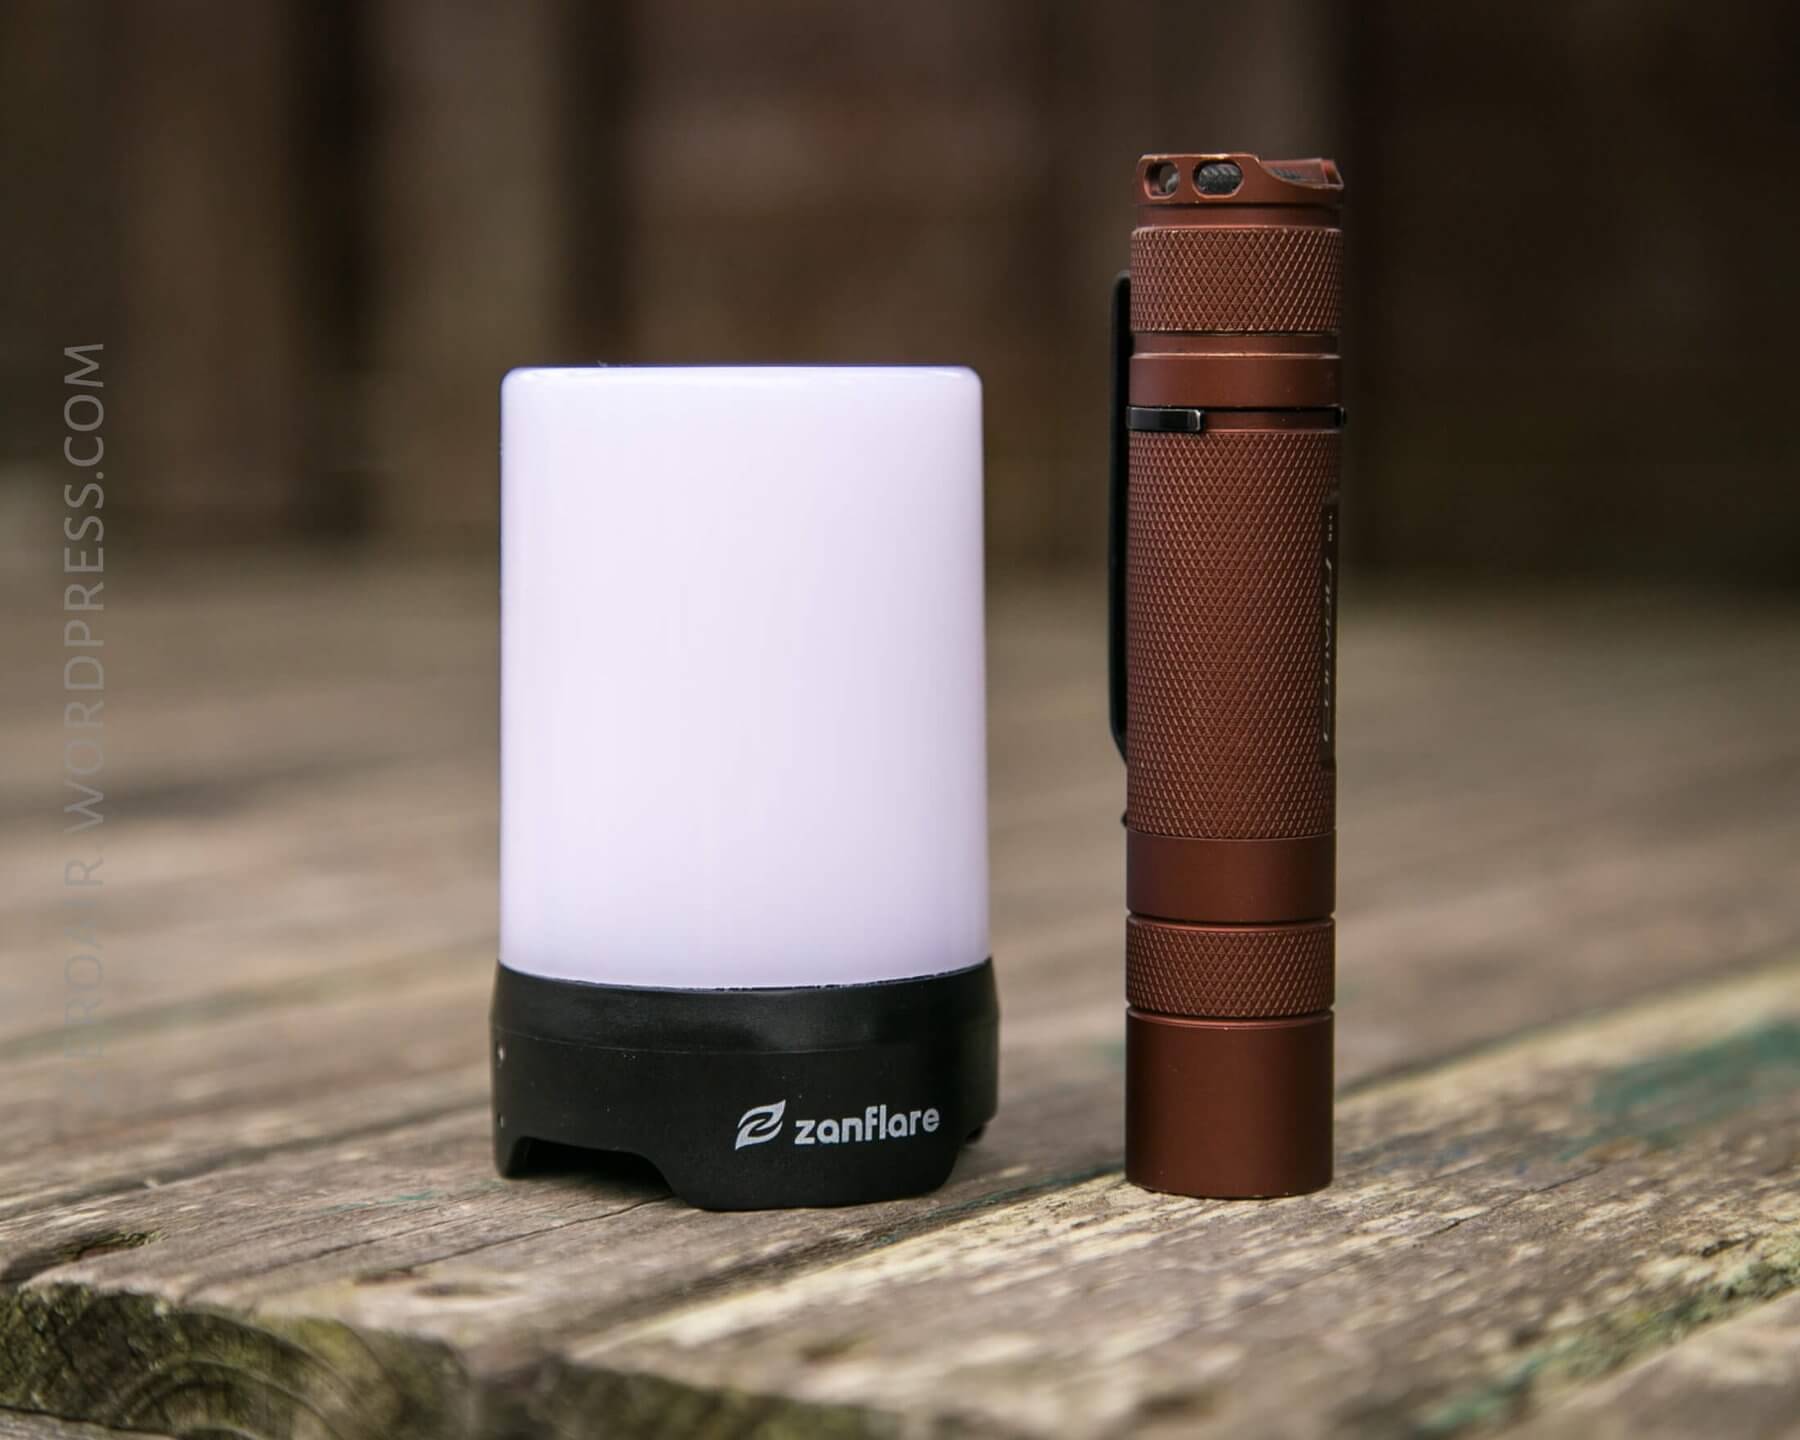
Size
Officially the T1 is 2.2″ in diameter, and 3.66″ long.

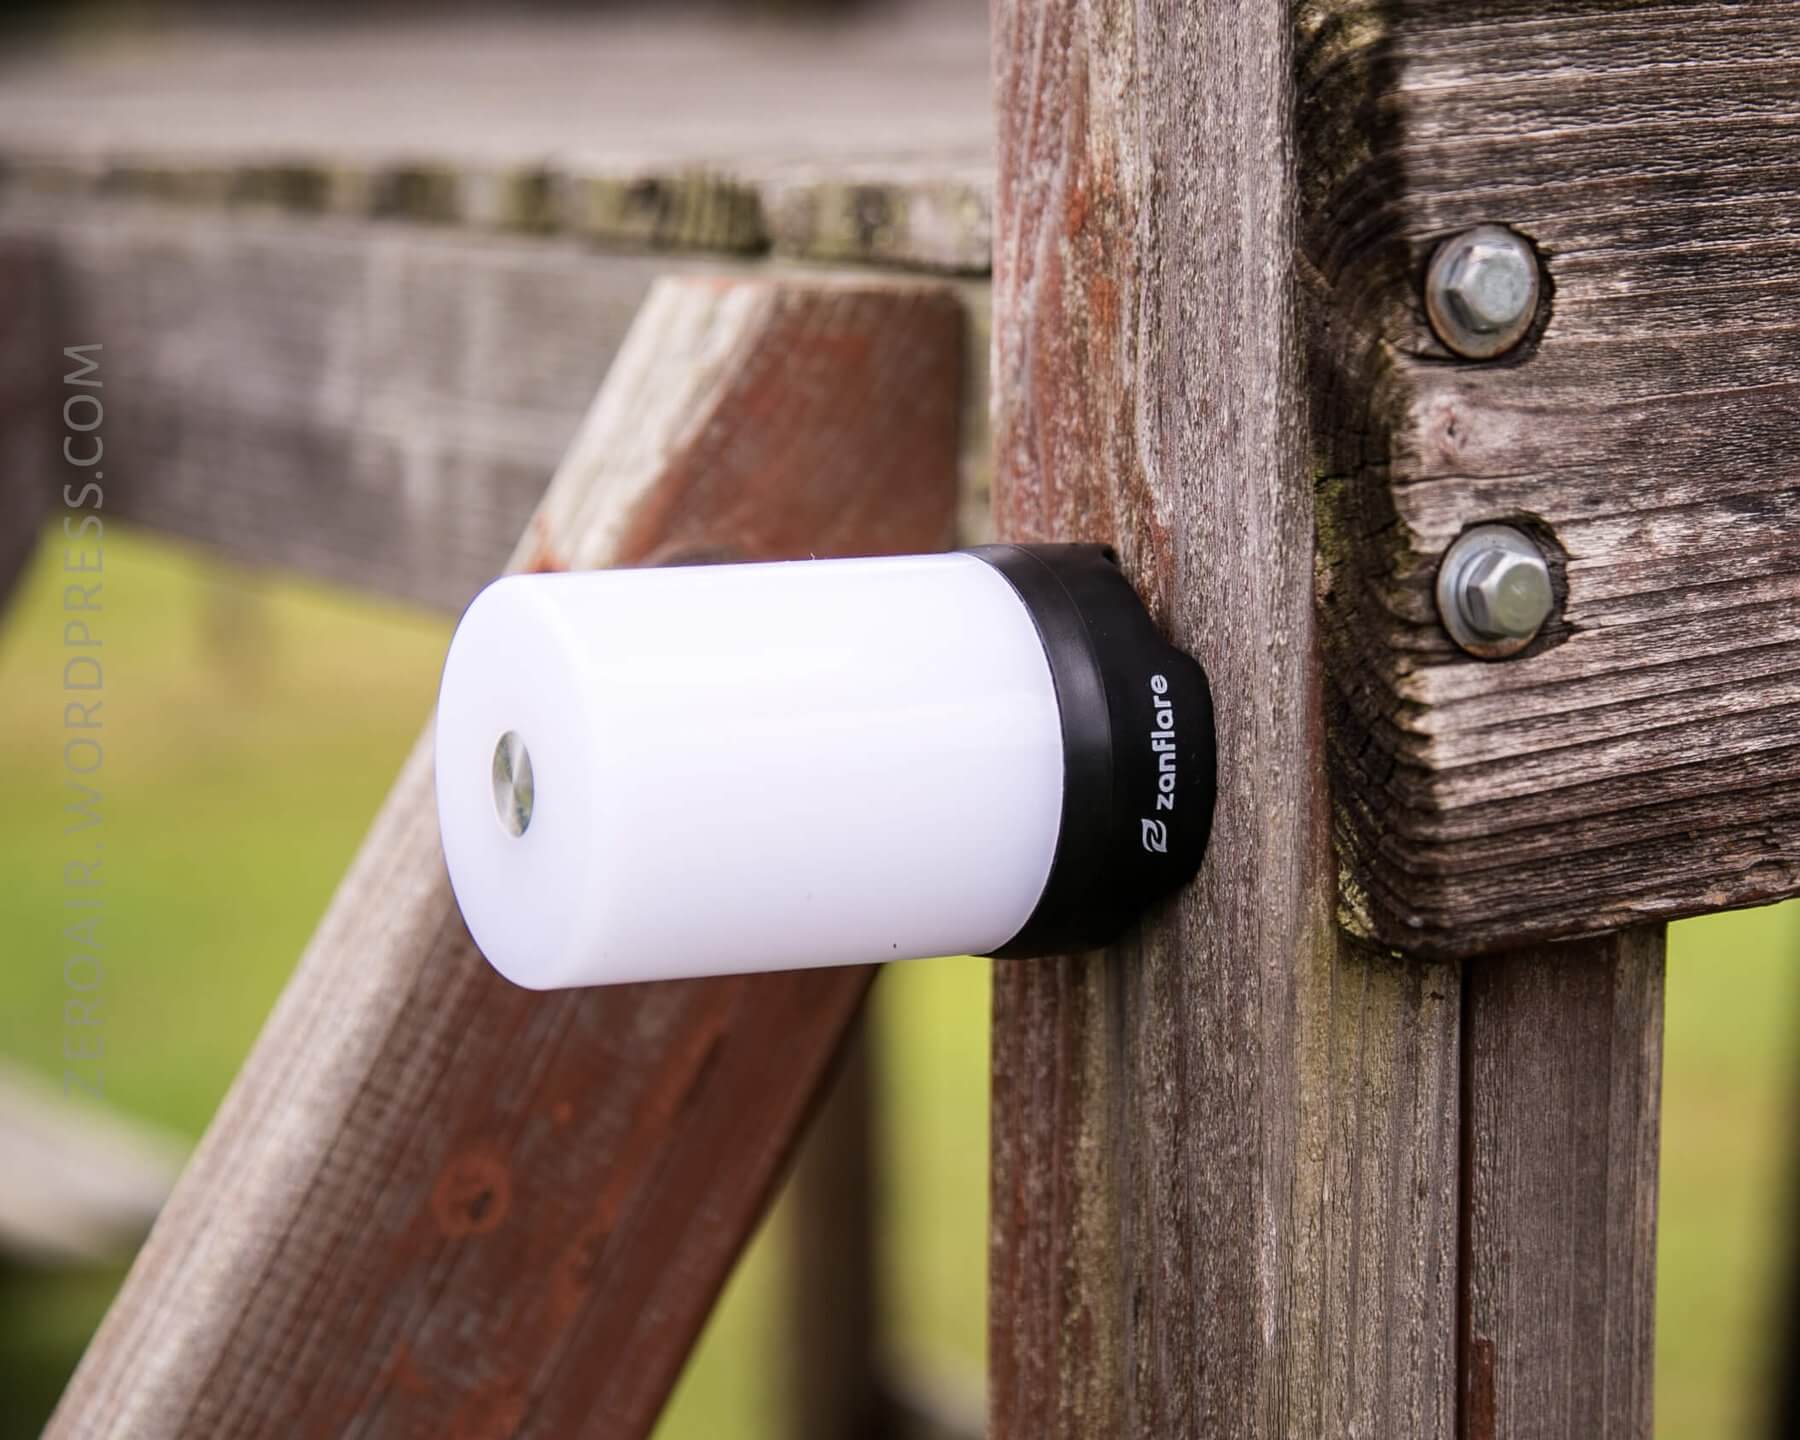
Retention
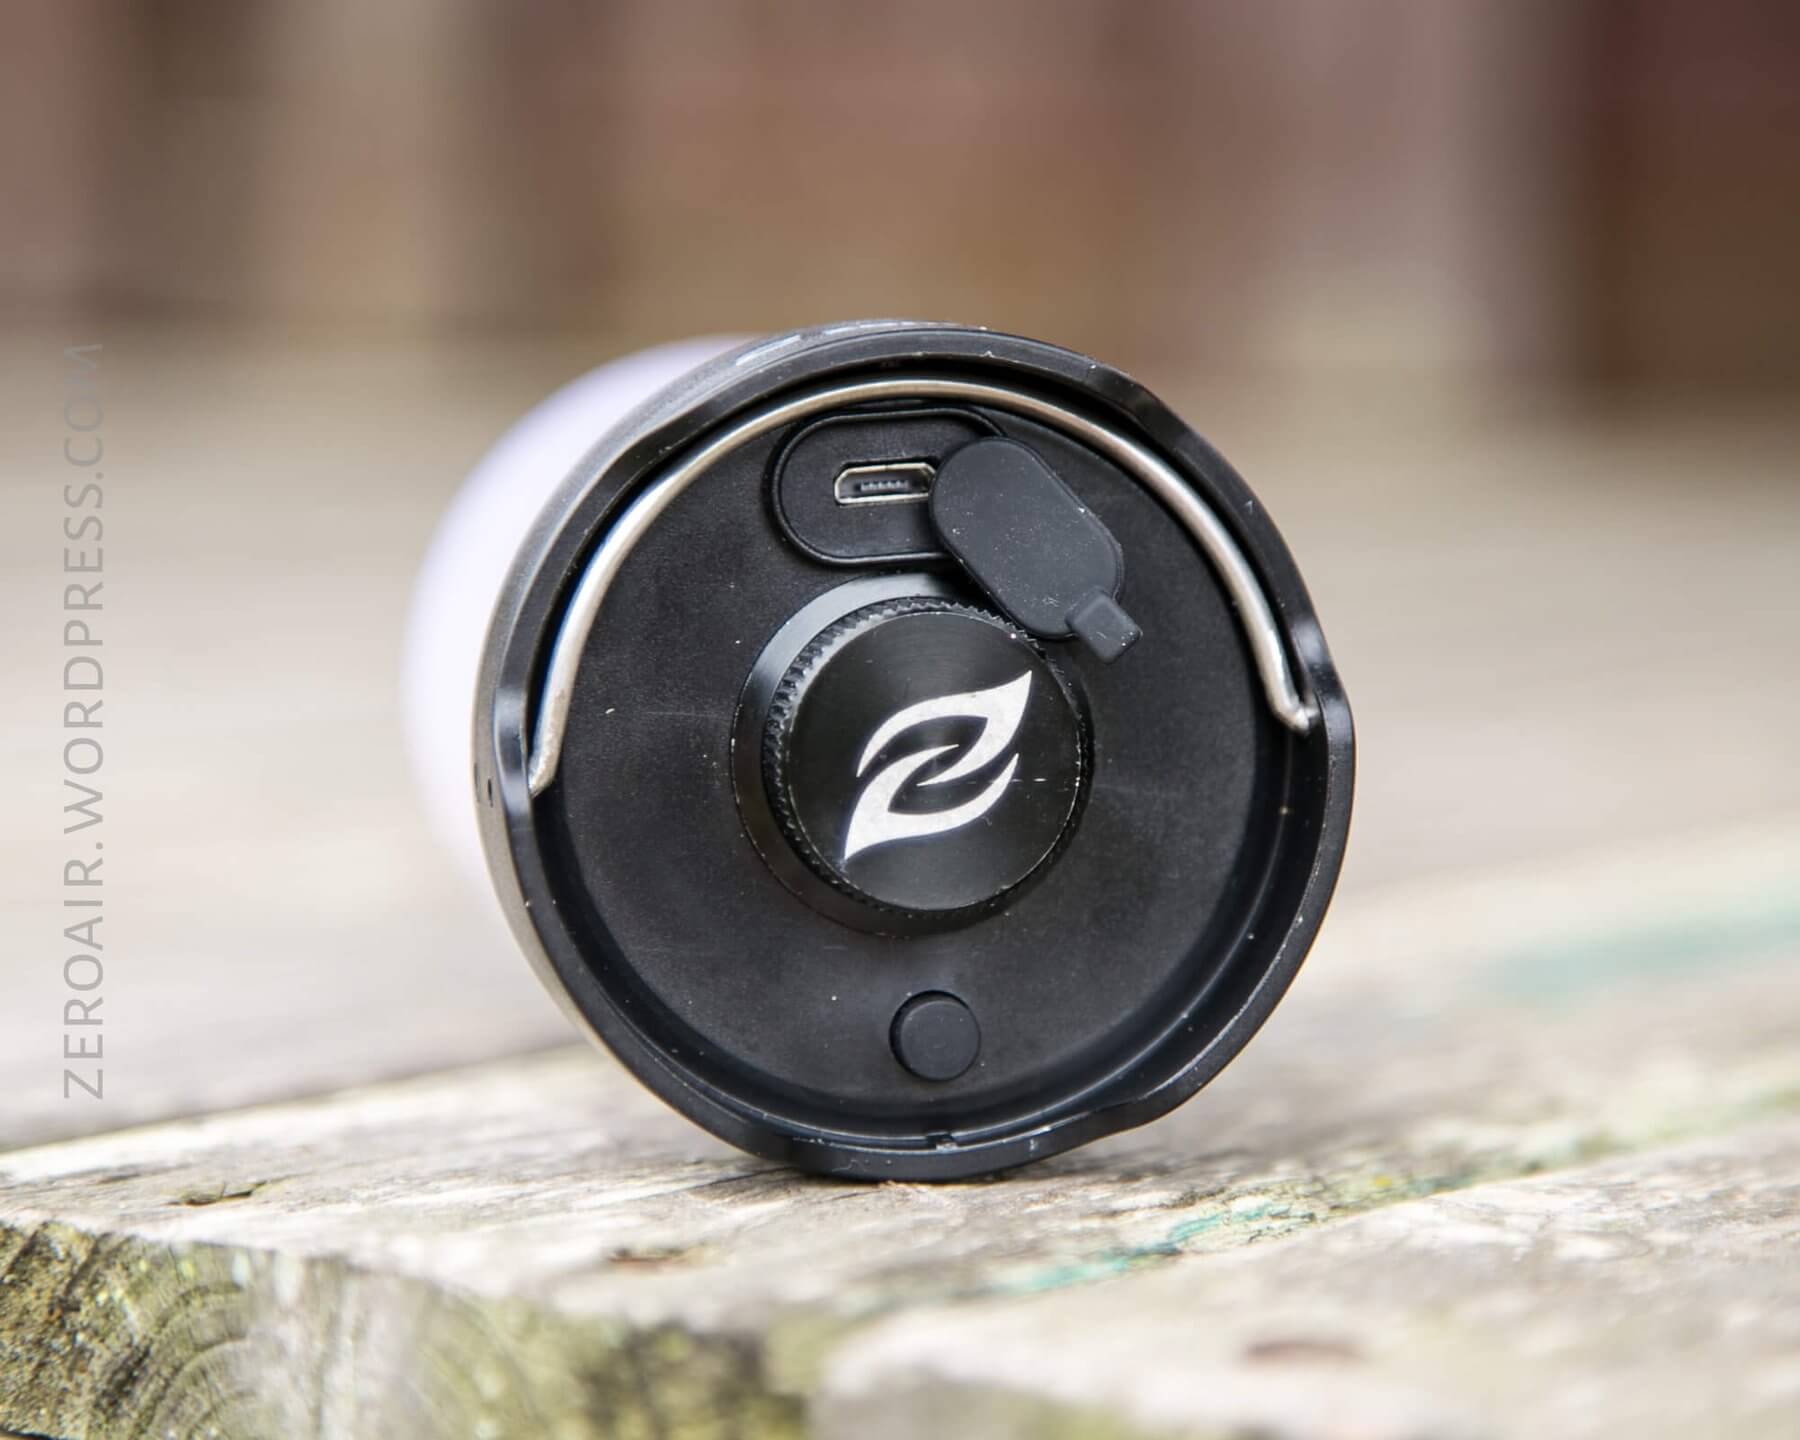
There are two means of retaining the T1. First, is the magnet in the tailcap. This magnet is quite strong and has no problem holding up the T1. It’s held in place by more than just the spring (as is often the case). There’s an actual split ring holding the magnet. The magnet is probably removable (ie not glued in) but you’ll have to remove that split ring.
The other option is a loop that flips out from the bottom. It can be seen below in the Power section. The loop isn’t flappy and stays in place, but it’s not hard to swivel. There are no detents, so it rotates with even resistance all the way from side to side (I’d like at least one detent in the middle, maybe one at the middle off-angles, too). It’s a nice hook, and if you’re into weight savings or whatever, also easily removable. It’s held in by tension.
Power
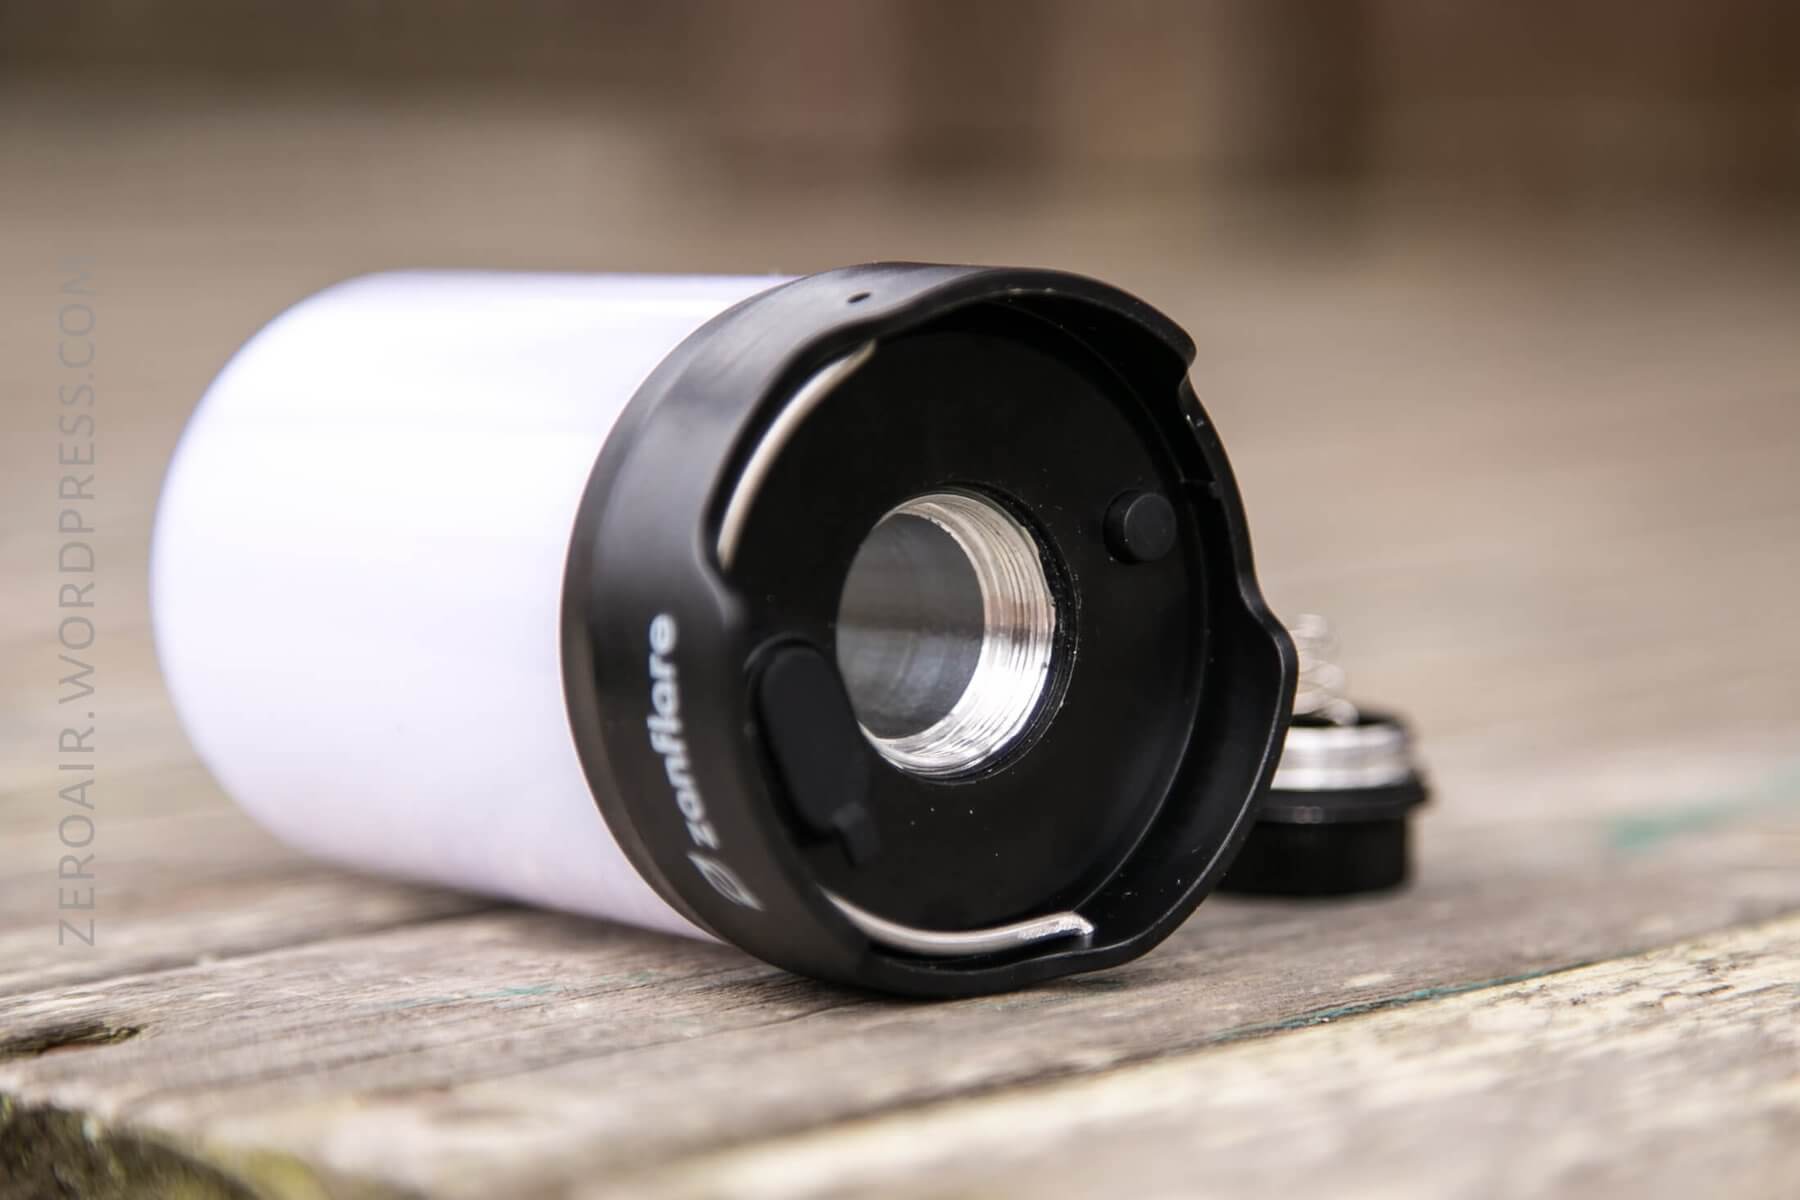
Power to the T1 is provided by a single 18650 cell. Any type of cell will work, but unprotected, low-drain cells are probably best. Protected/button top should work, but I believe getting the cap tight enough could be difficult, and possibly compromise waterproofness. Anyway, the light has low voltage protection, so unprotected flat tops are fine (and that’s what’s included).
There is no internal cell, so one must use this 18650.
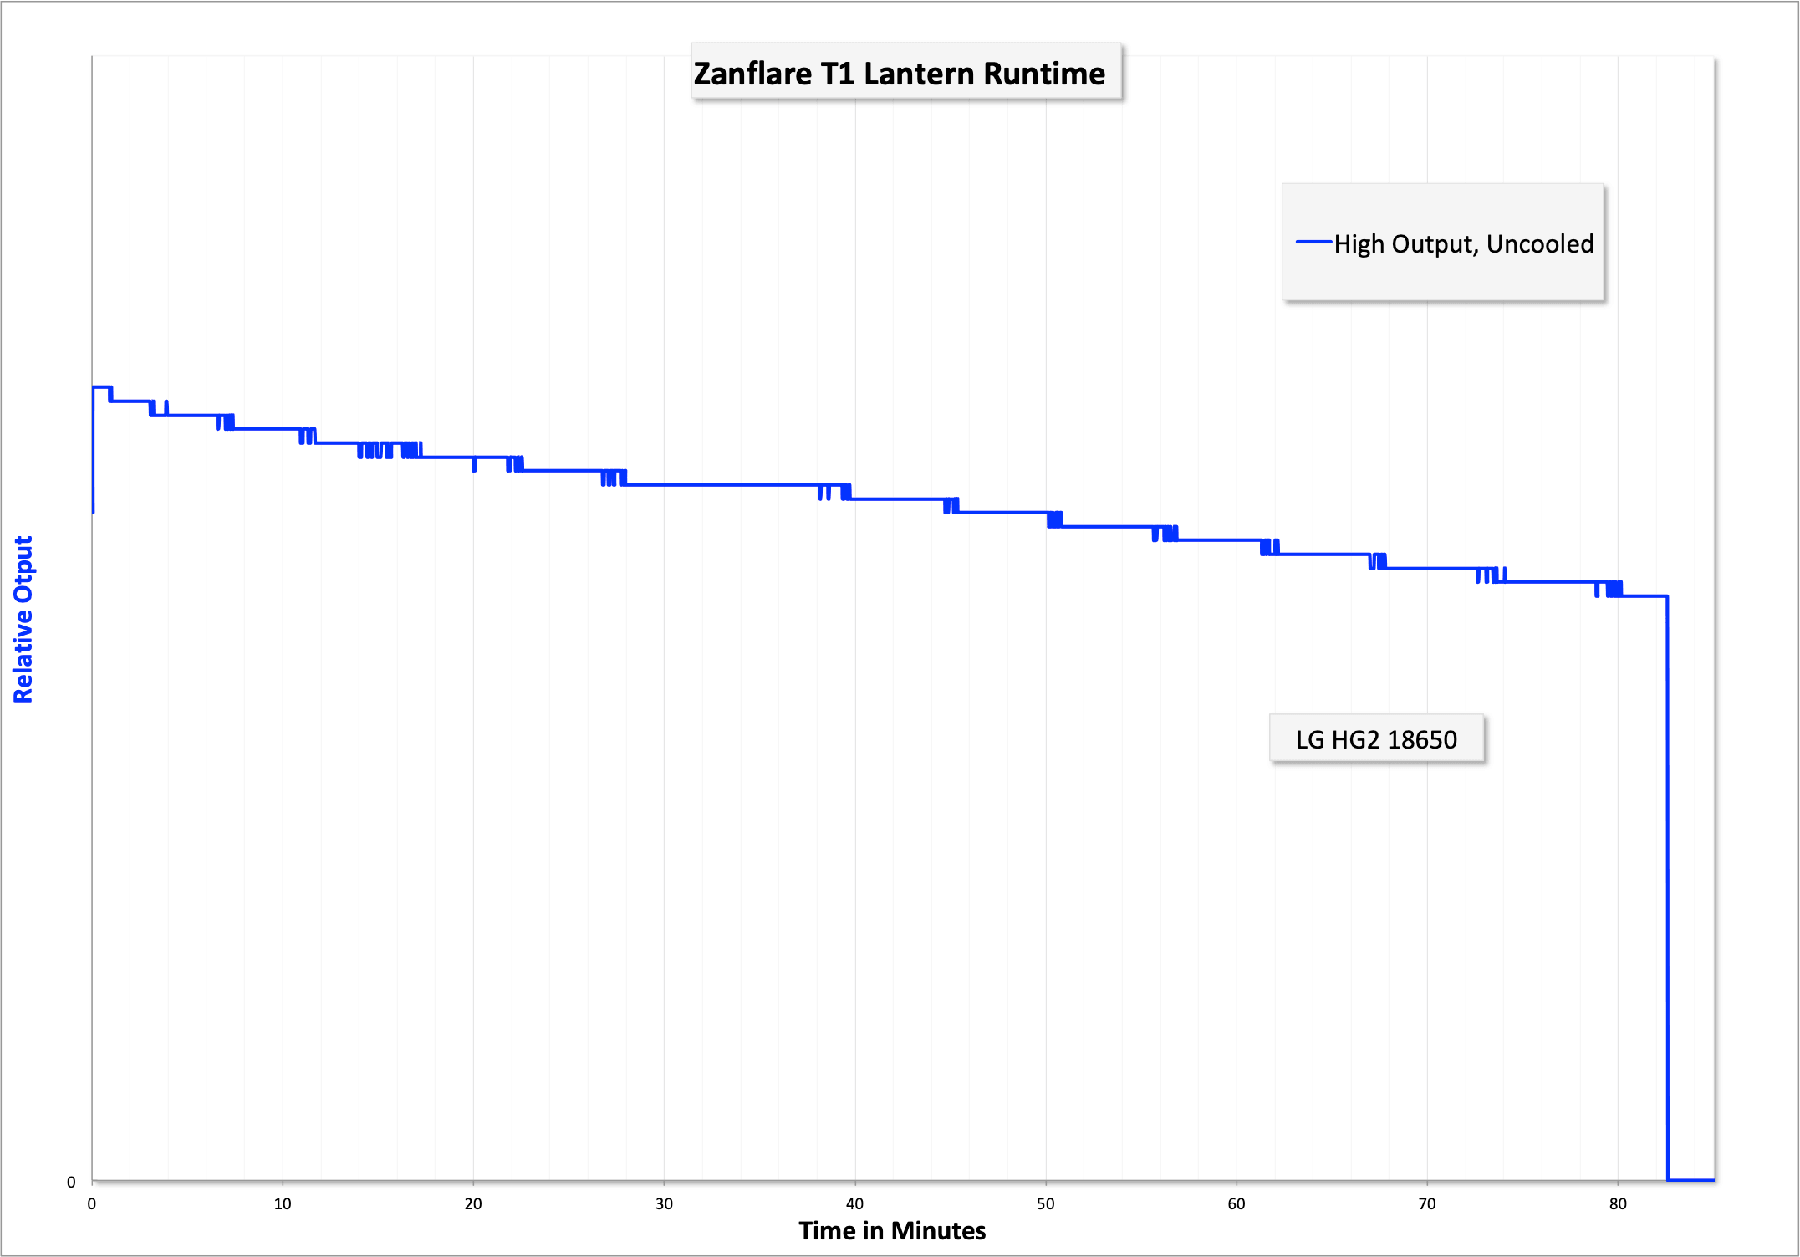
My normal logging setup doesn’t cooperate with 360-degree output lanterns like this. So this is an uncalibrated partial runtime – partial because my logger shut down (I was accidentally on battery power instead of AC, whoops).
But we can still glean useful info here. The output drop over the course of an hour or so is minimal. Also, even though I can’t provide a calibrated output measure, I can say it’s over ~65 lumens on high for both NW and CW.
As I said, the light does have LVP, which kicks in at a cell voltage of around 3V. Before that (at around 3.3-3.2V), the light starts attempting to warn the user that the cell is low. It does this two ways. First, the red side emitter which is used as a charge status indicator when charging, lights red. Secondly, the main emitter (whichever mode you’re in) starts going wacky. High output, low output, then just bouncing around all between those randomly. It should get your attention.
Charging
A charge cable is included (USB to micro-USB).
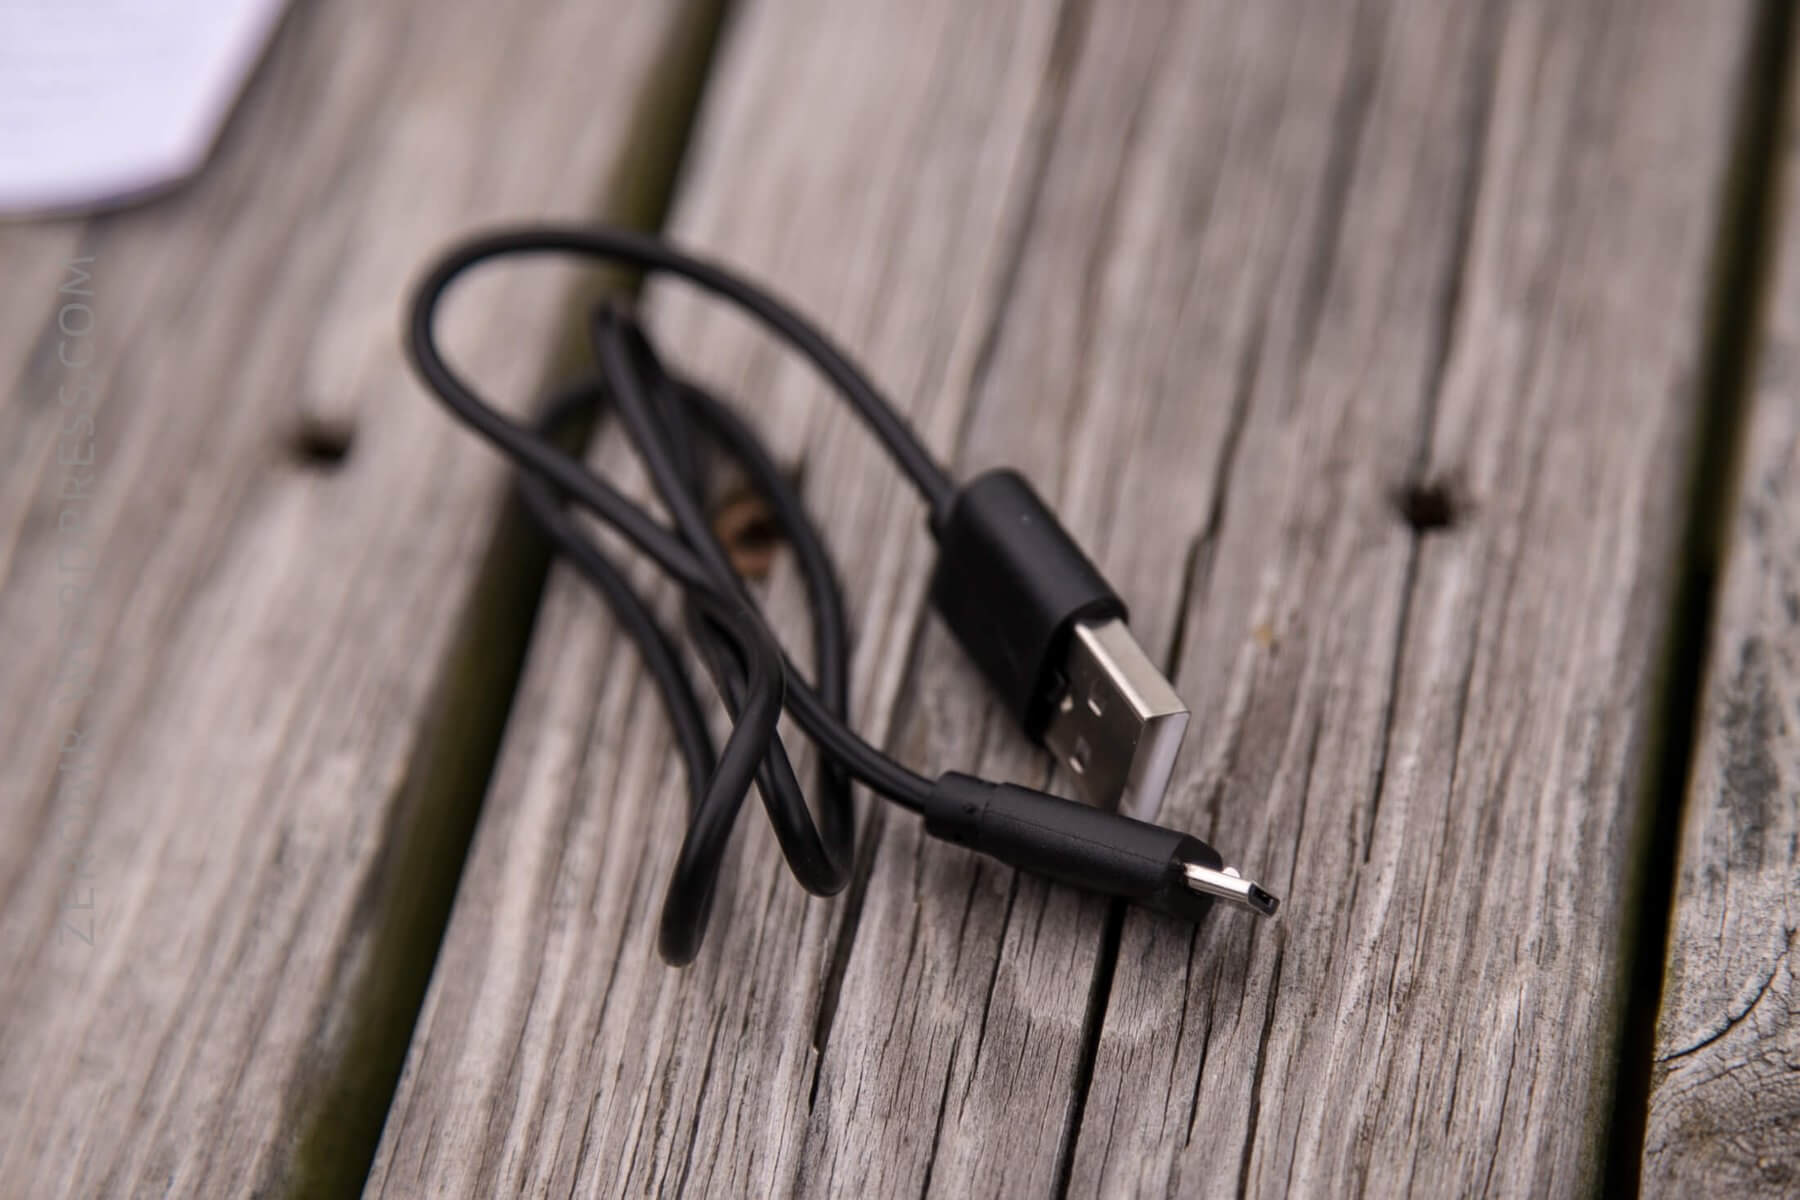
Charging is very capable, at exactly 1A. I don’t think it’s unreasonable to consider using this as a charger for 18650 cells, because the charging is very good! Now if only it had a USB out….

The charge port is covered by a little rubber boot. It’s possibly not the most secure means, but it seems to get the job done.
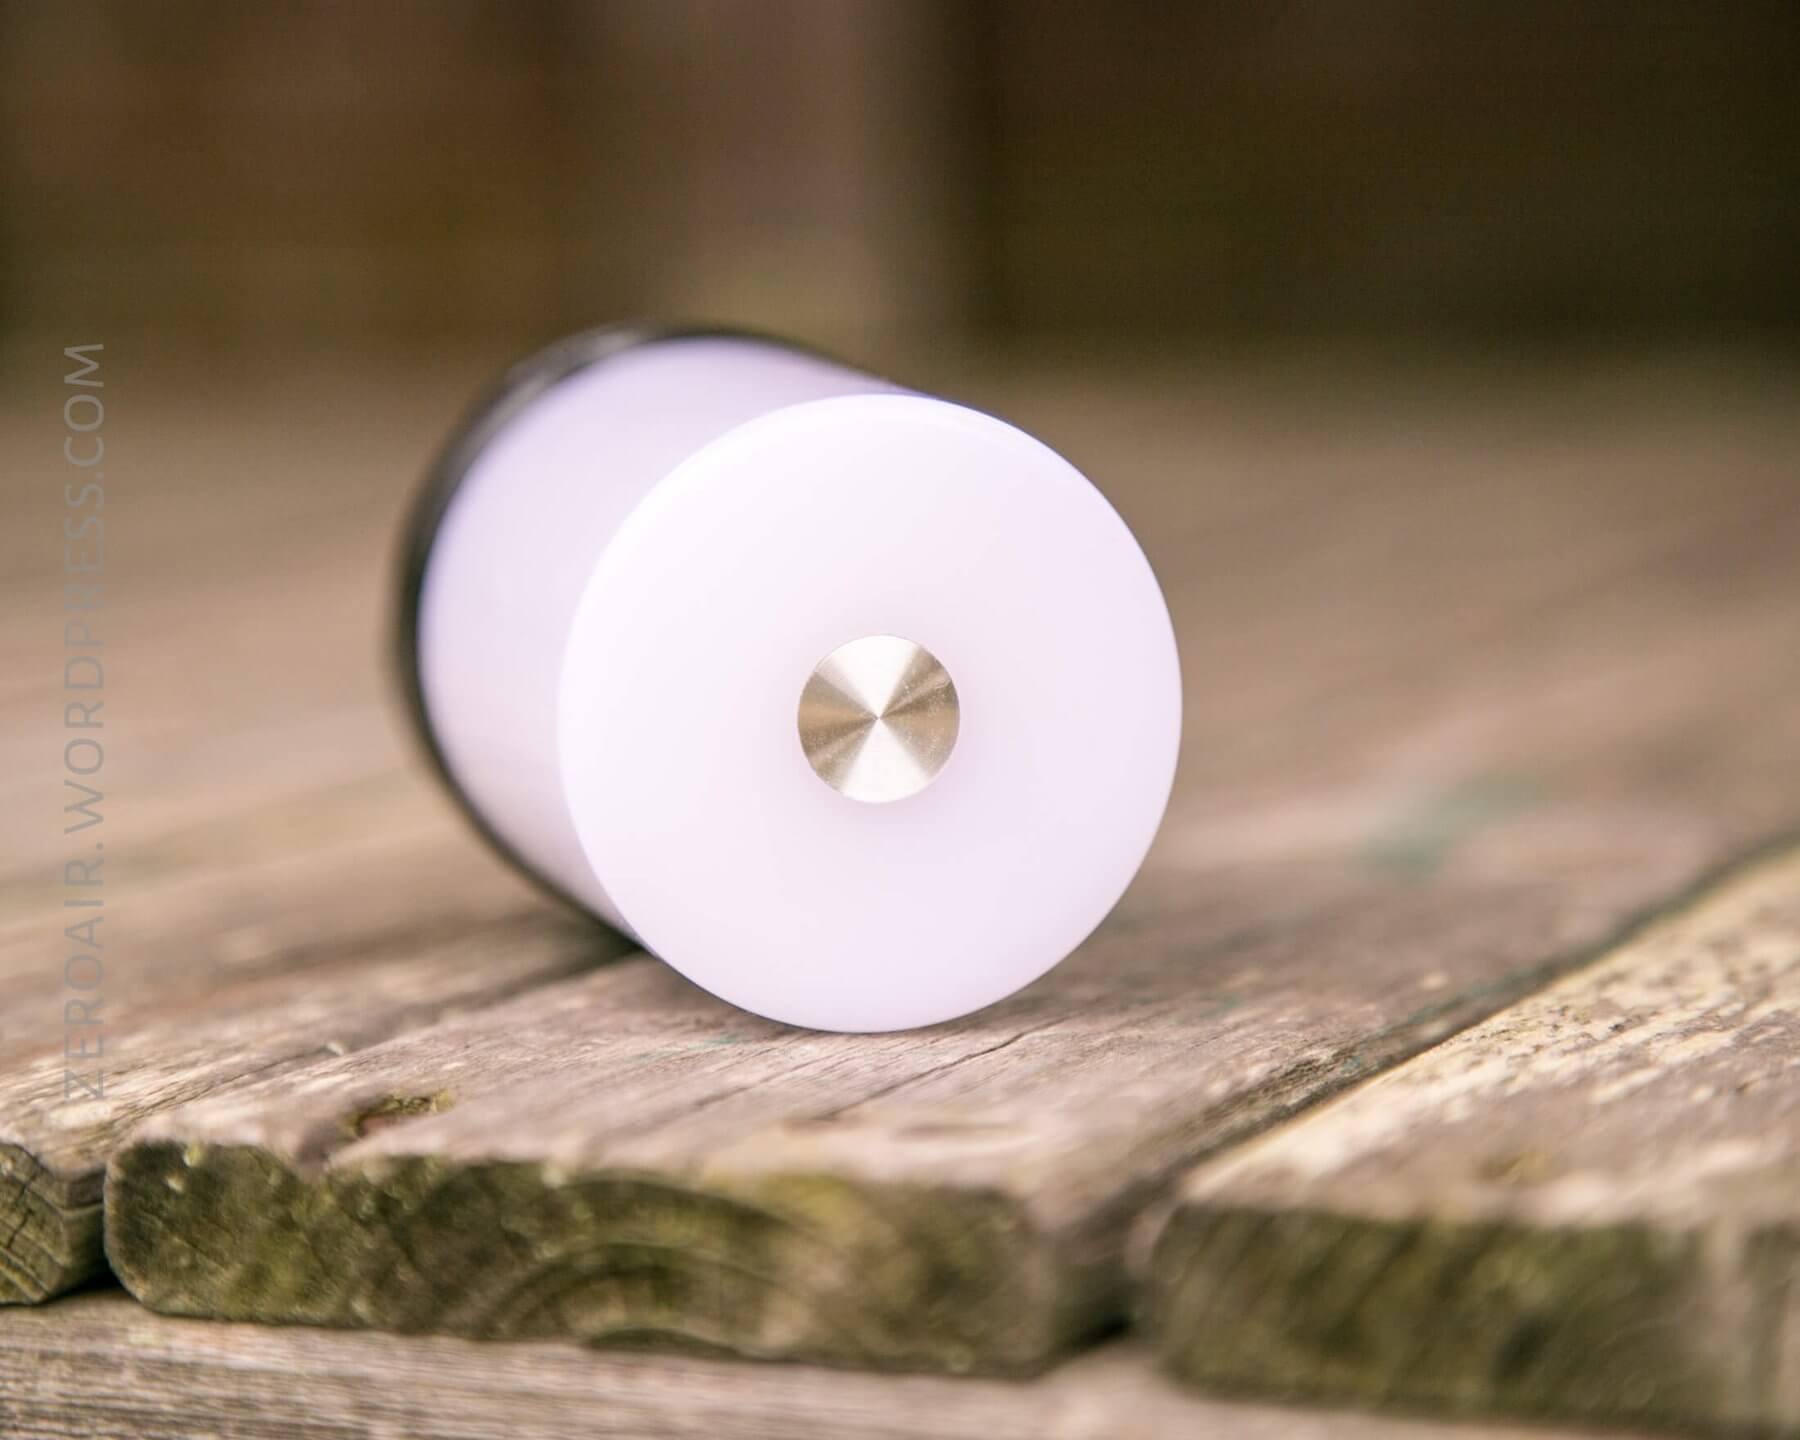
User Interface and Operation
There are two switches on the T1. Mainly, there’s a tiny rubber e-switch on the bottom of the light. It has the action of a reverse clicky. I’ll call this the “Power switch” (though it’s not strictly speaking, just that). It’s an absolutely silent switch, and directly opposite the charge port. It’s a quite nice switch*.
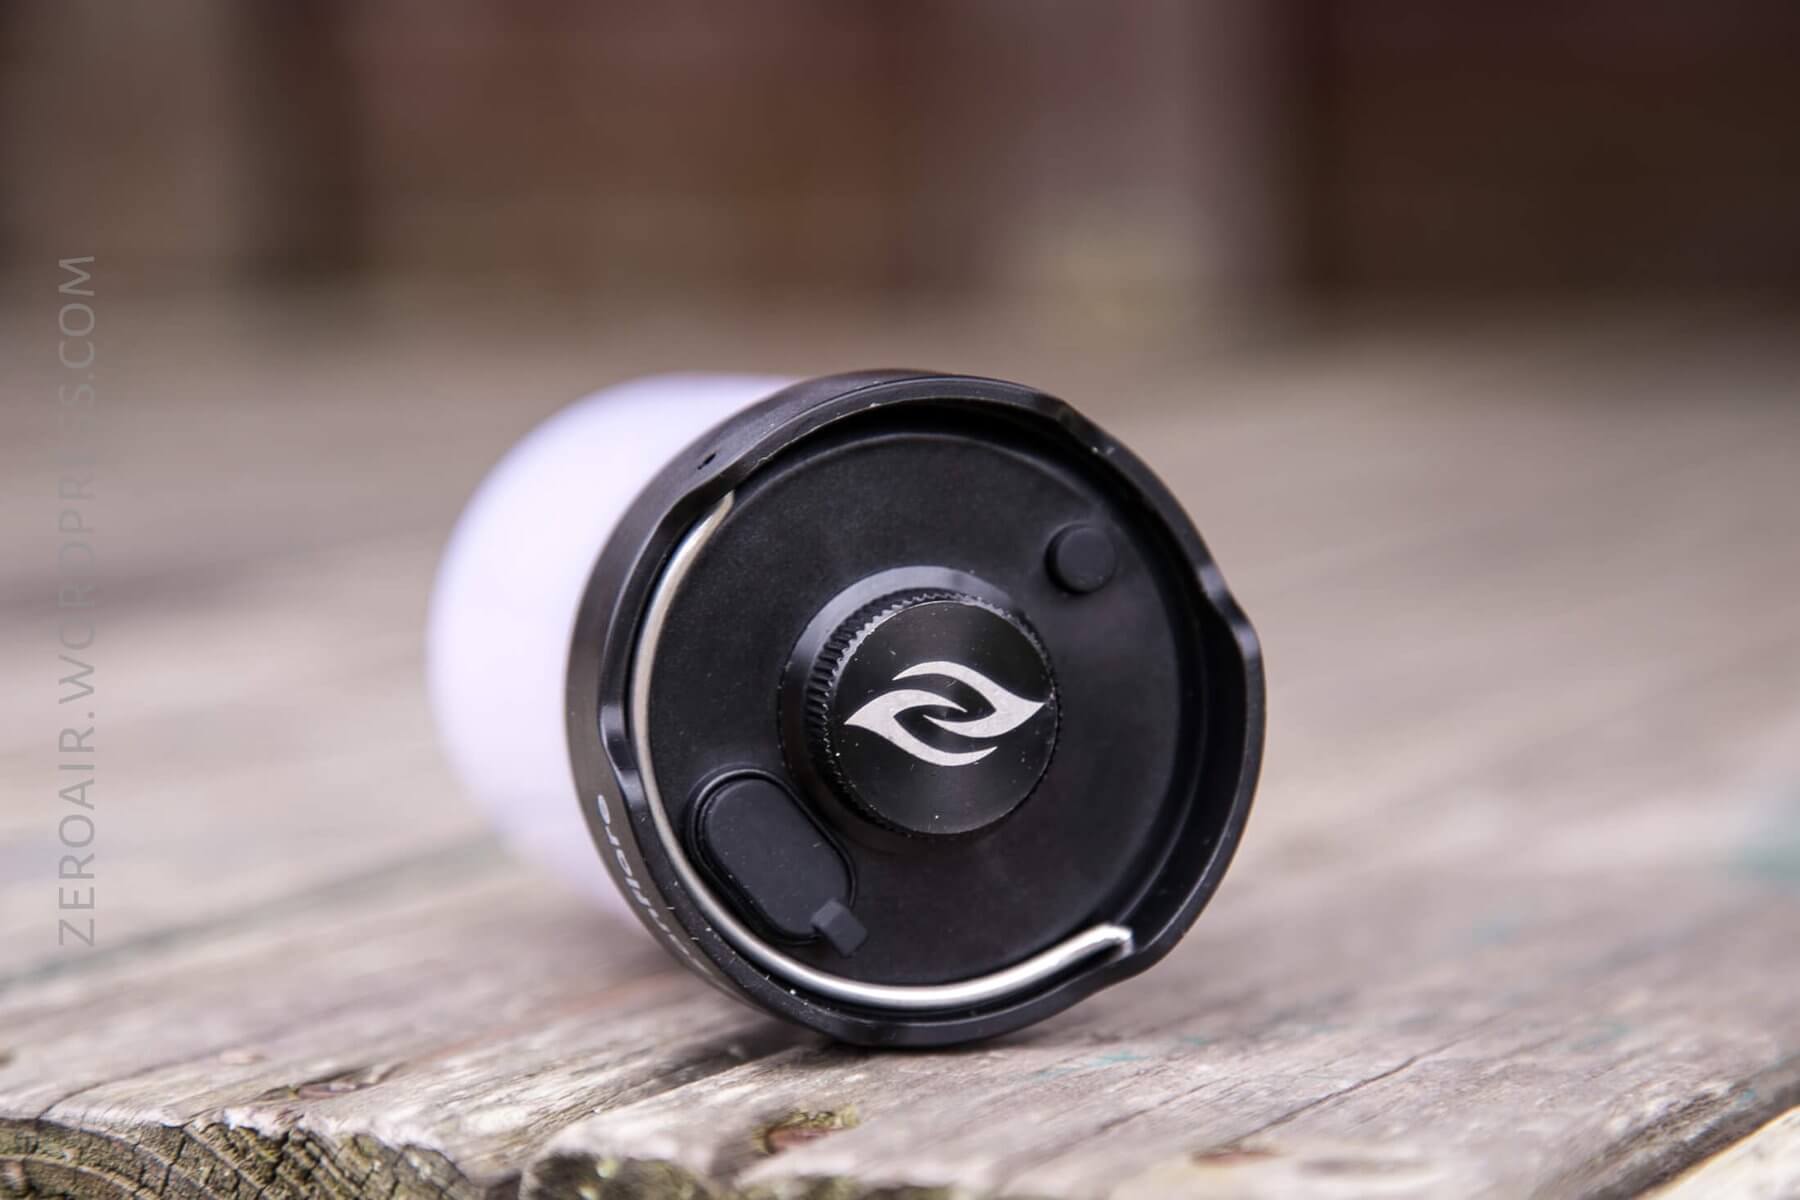
The other switch is on top of the lantern. It’s a capacitive switch, and also works quite well (and is even quieter than the bottom switch! 😉 ). I’ll call this the “Mode Switch” (though, like the power switch, it’s not just that.)
Here’s a user interface table!
| State | Action | Result |
|---|---|---|
| Any | Click Power Switch | On, Red steady |
| Any | Tap Mode Switch | Cool White High |
| On, Non-red | Tap Mode Switch | Iterate CW/NW |
| Red steady | Click Power Switch | Red SOS |
| Red SOS | Click Power Switch | Off |
| CW or NW White mode | Hold Mode Switch | Iterate Increase/Decrease CW or NW output (infinite ramping) |
| On | Hold Power Switch | Off |
| Off | Double tap MS | Enter programming of NW (see above for more info on programming) |
A few notes.
- Yes, you must go through the two red modes to turn this light off.
- The capacitive switch works even if you press it with wet fingers (yours or anyone’s) and even when fully submerged.
- * The bottom switch is nice except that it absolutely requires you to pick up the light and flip it over to turn it off.
- Ramping is very good. If you remove your finger from the Mode switch and touch (hold) it again, ramping will start in the other direction.
Modes
| Mode | Mode Claimed Output (lm) | Claimed Runtime | Tailcap Amps |
|---|---|---|---|
| Cool White High | [no claim] | [no claim] | 1.00 |
| Cool White Low | [no claim] | [no claim] | 0.00 |
| Neutral White High | [no claim] | [no claim] | 0.88 |
| Neutral White Low | [no claim] | [no claim] | 0.00 |
| Red | [no claim] | [no claim] | 0.18 |
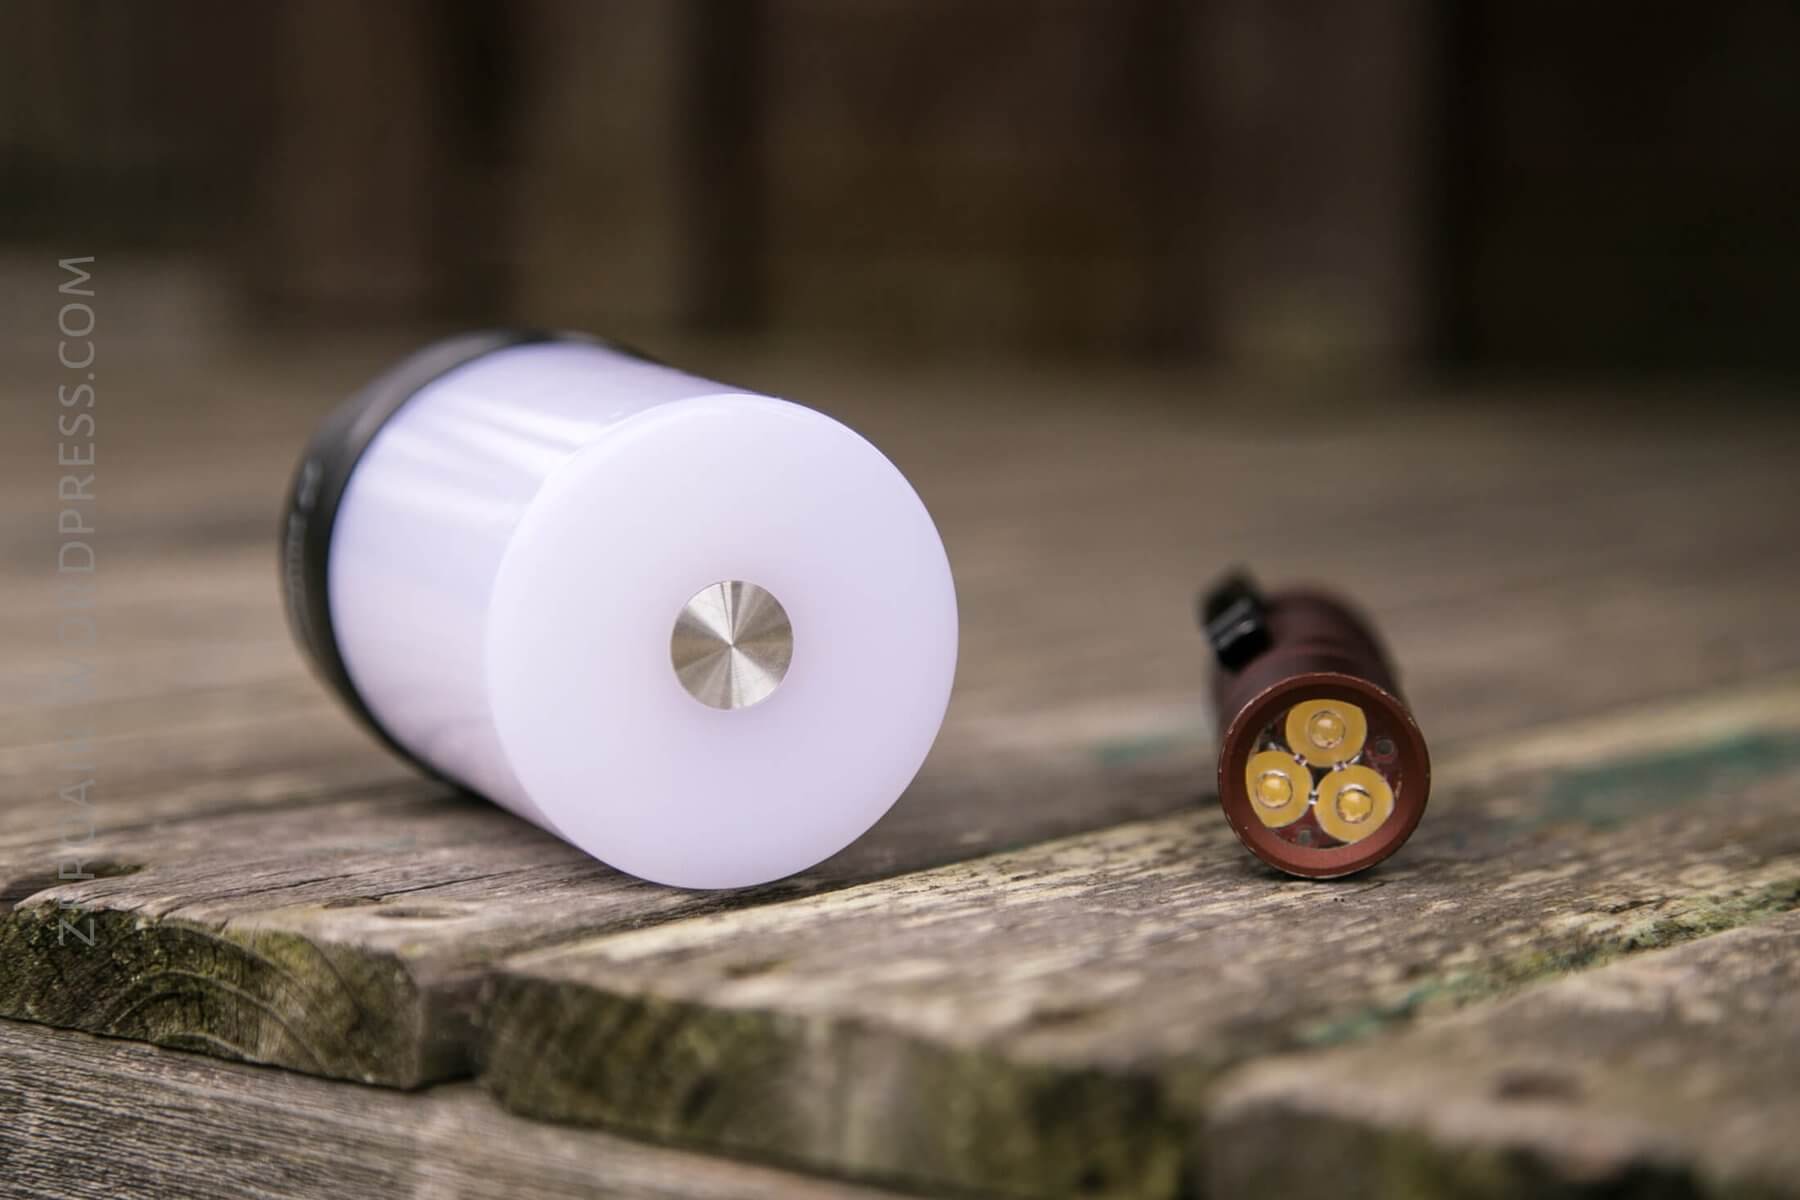
LED and Beam
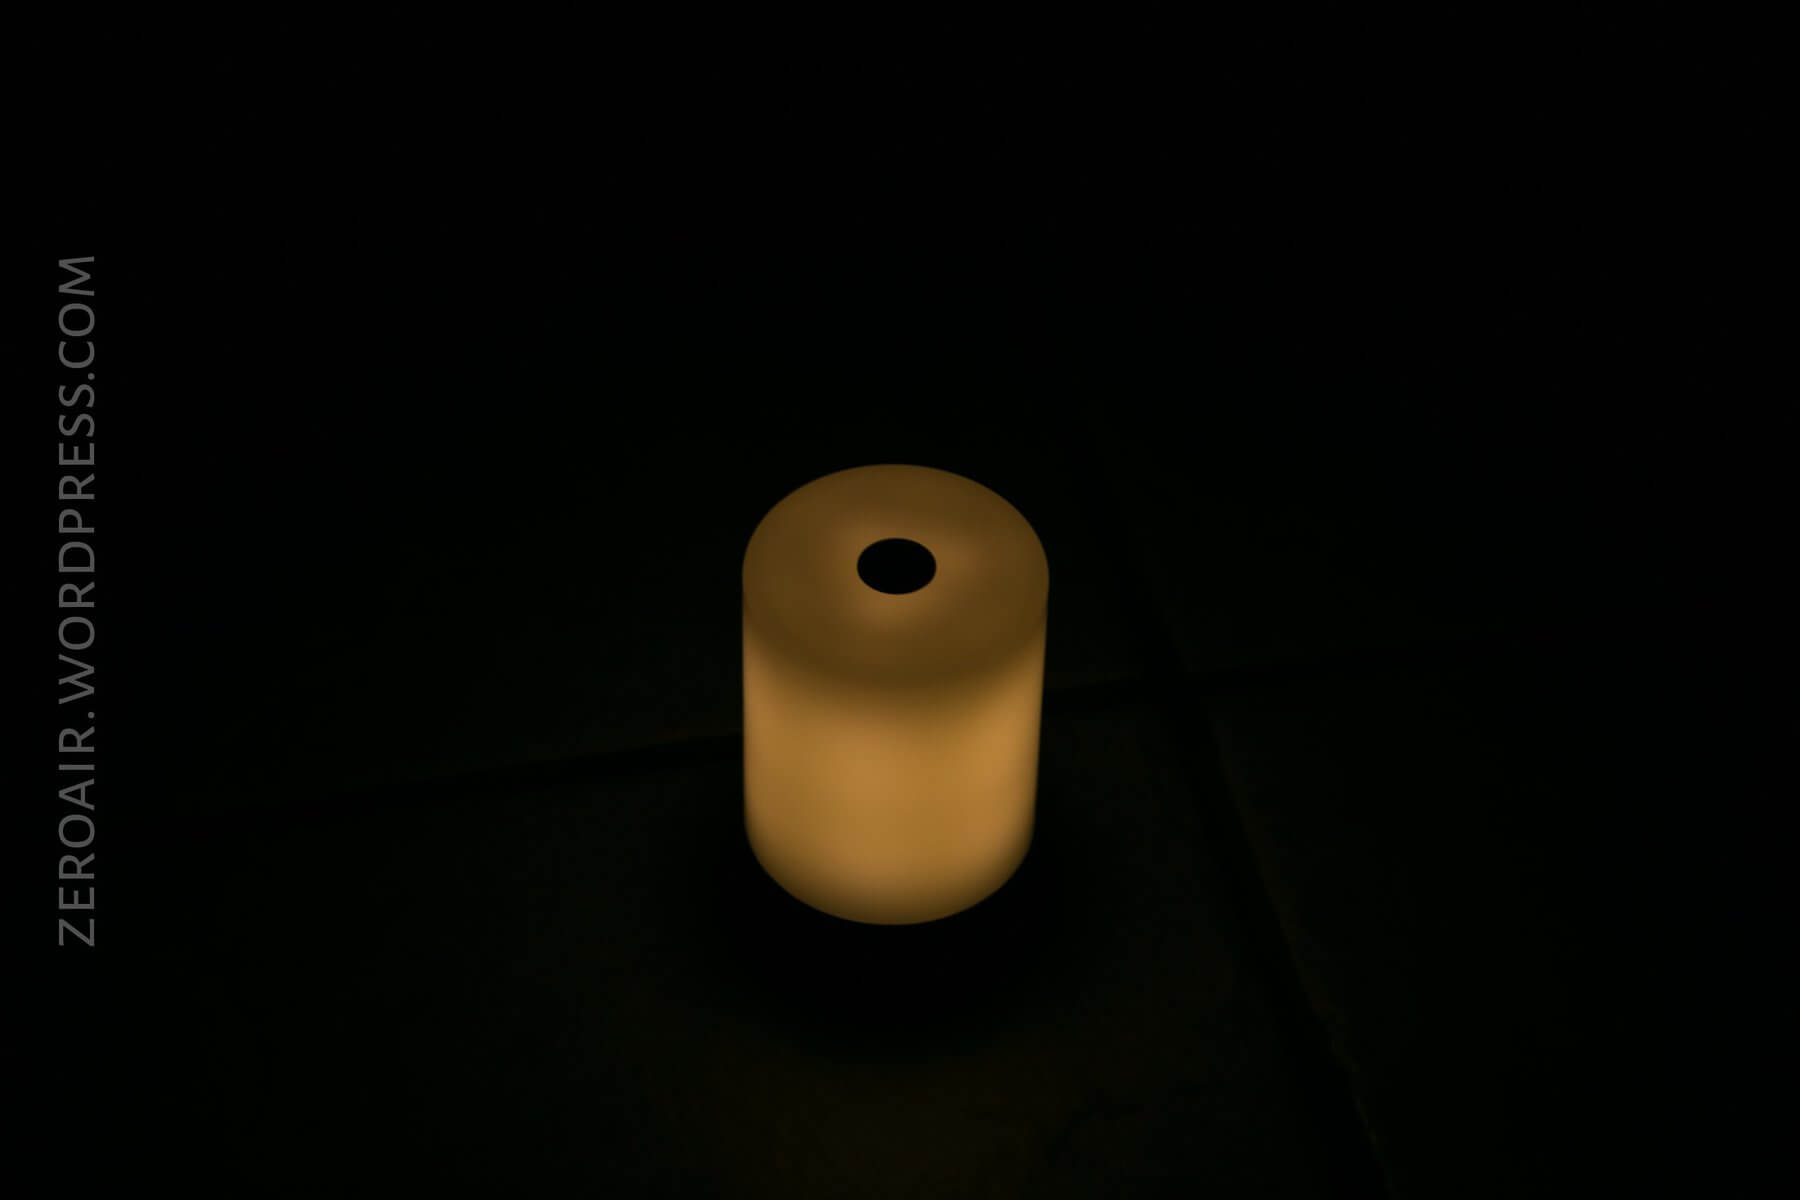
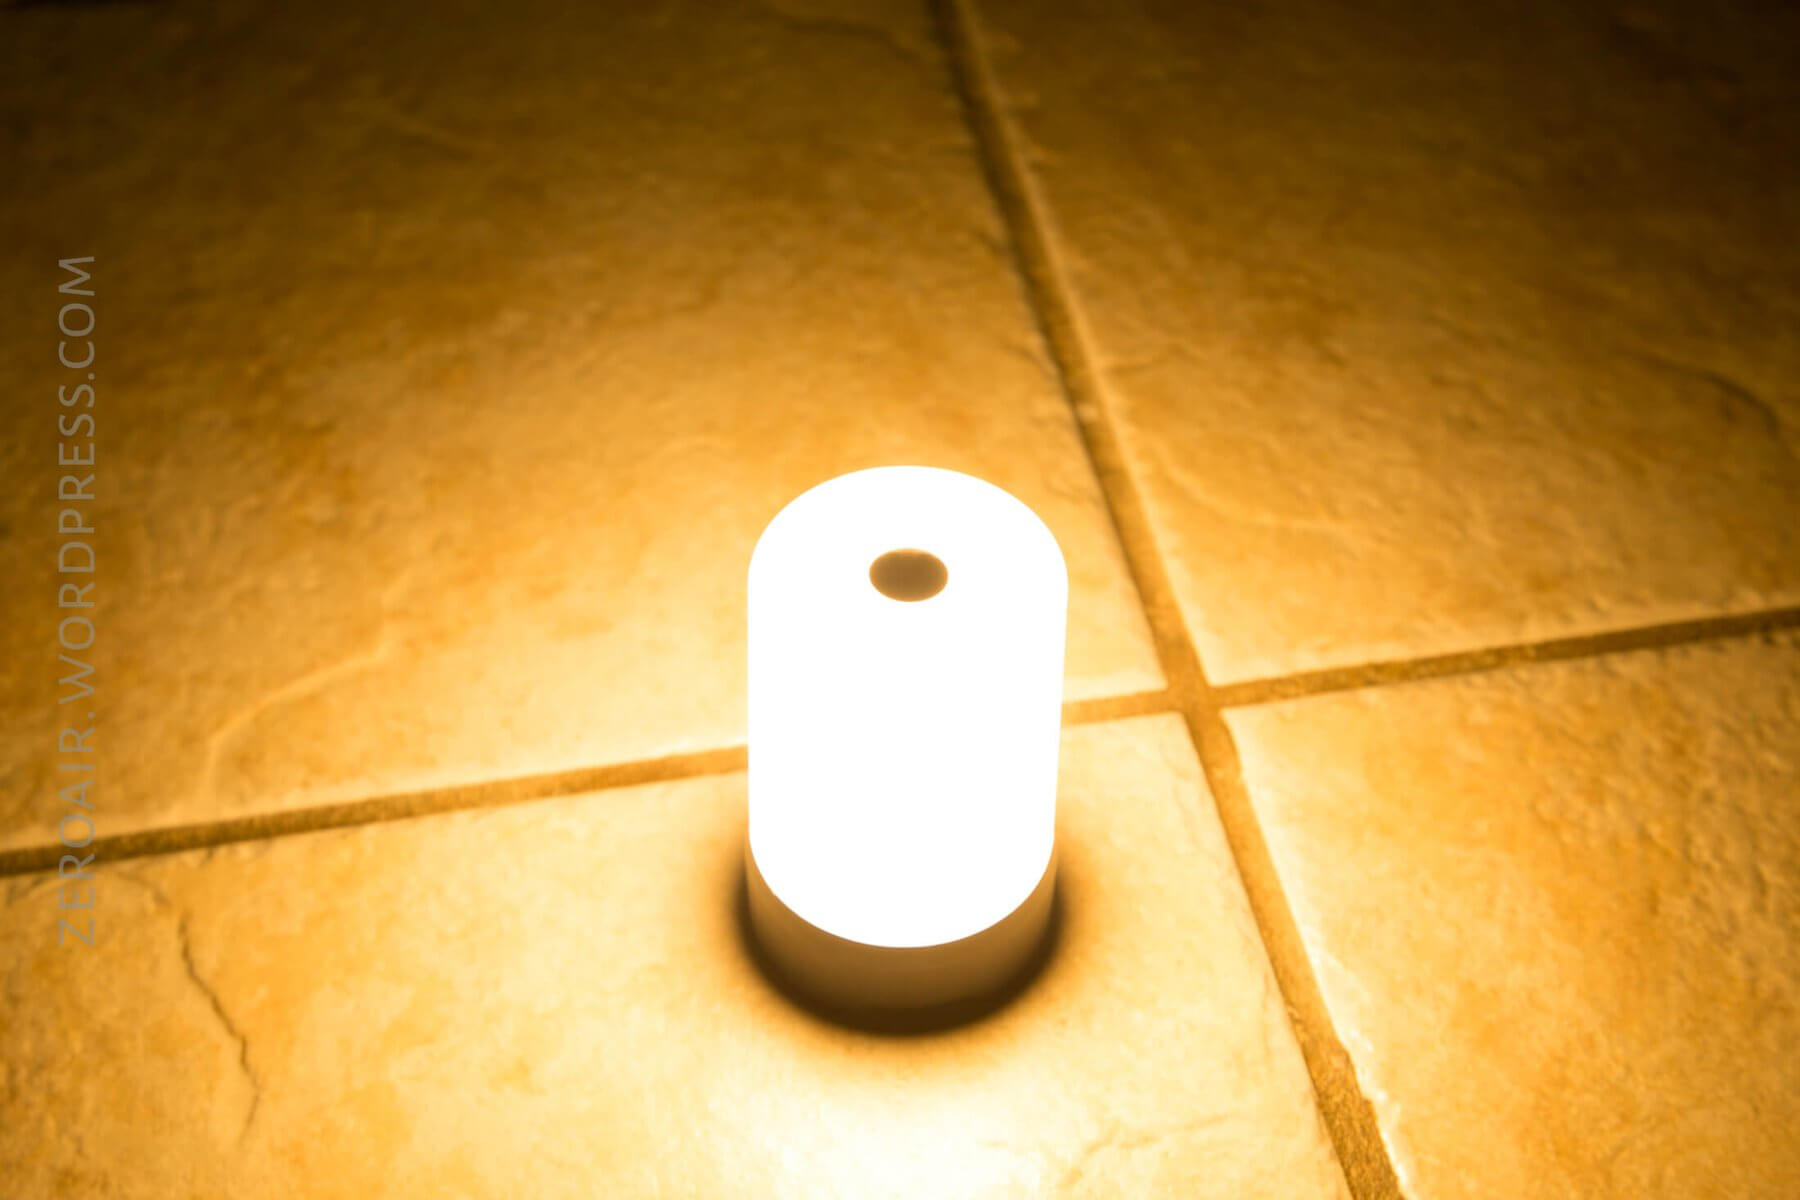
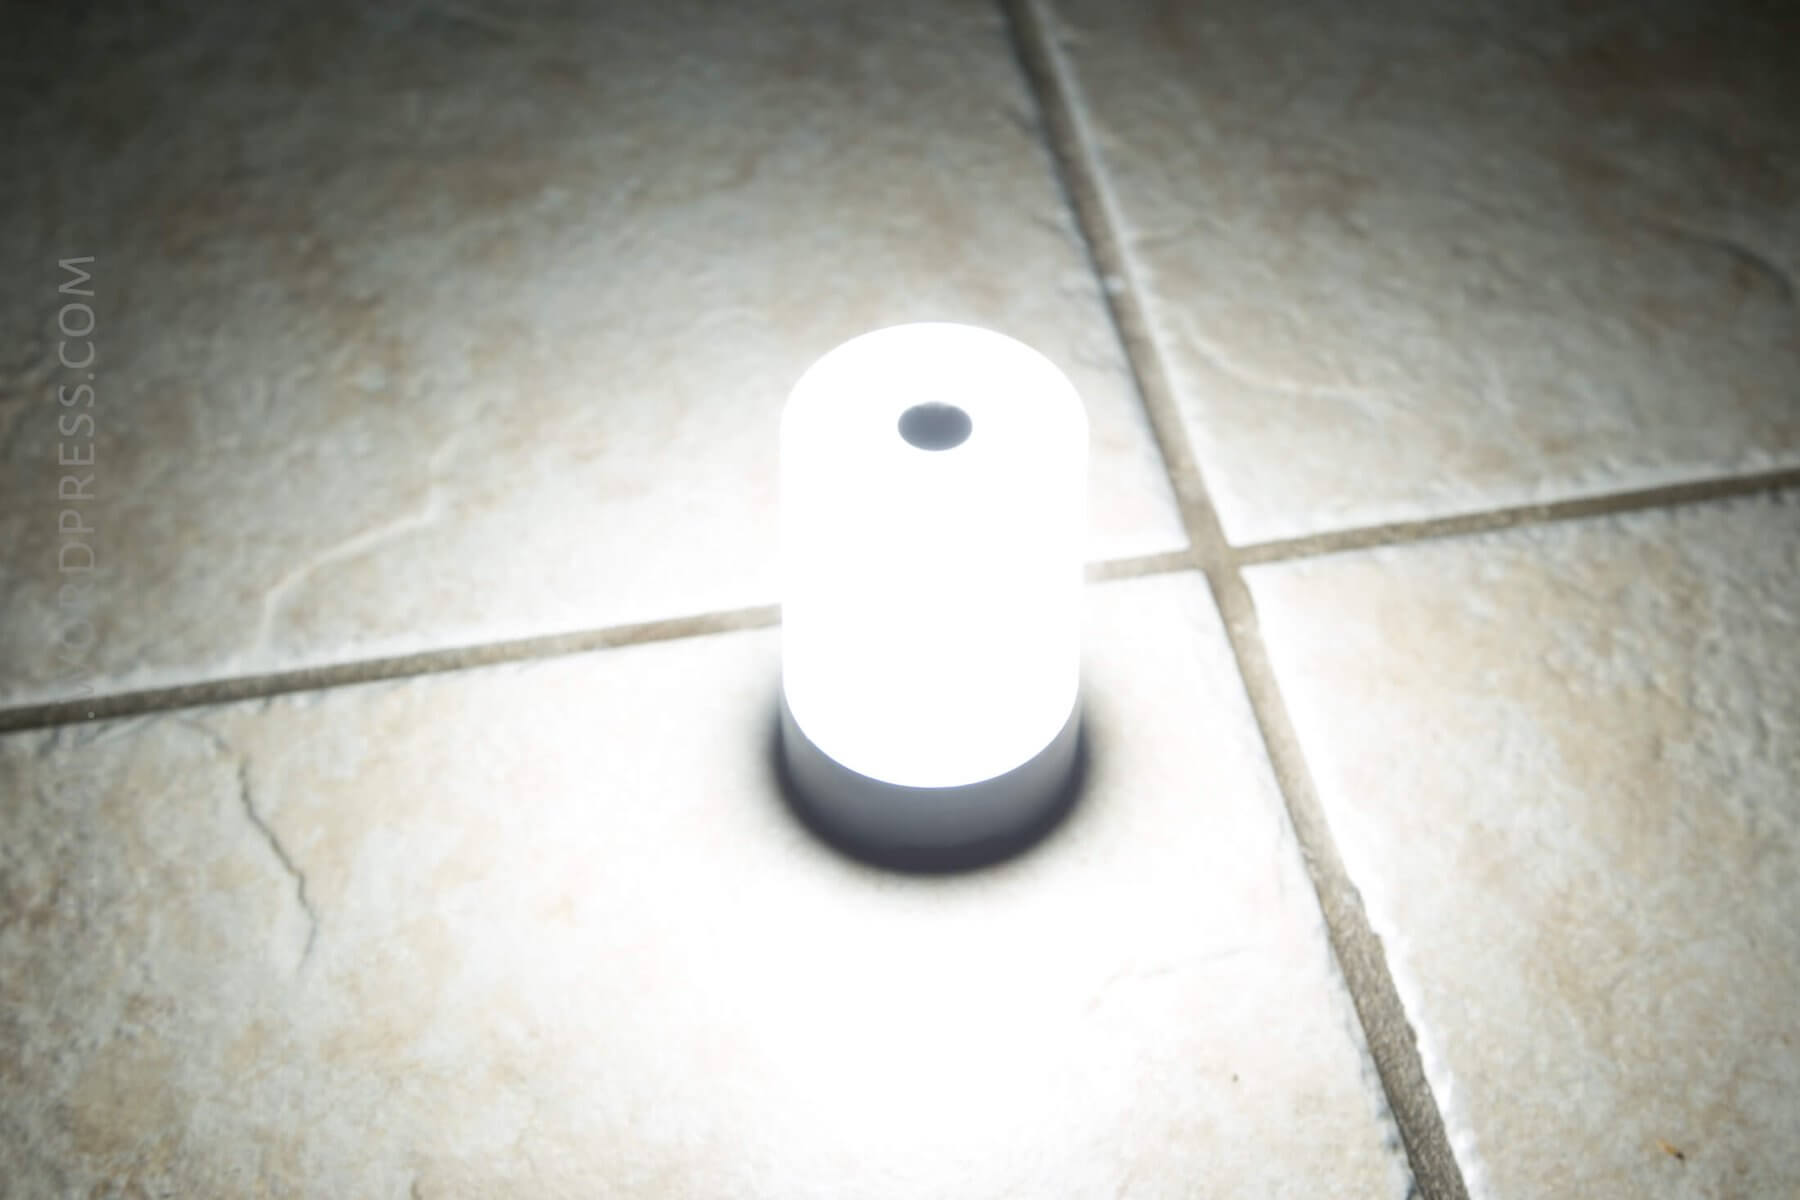
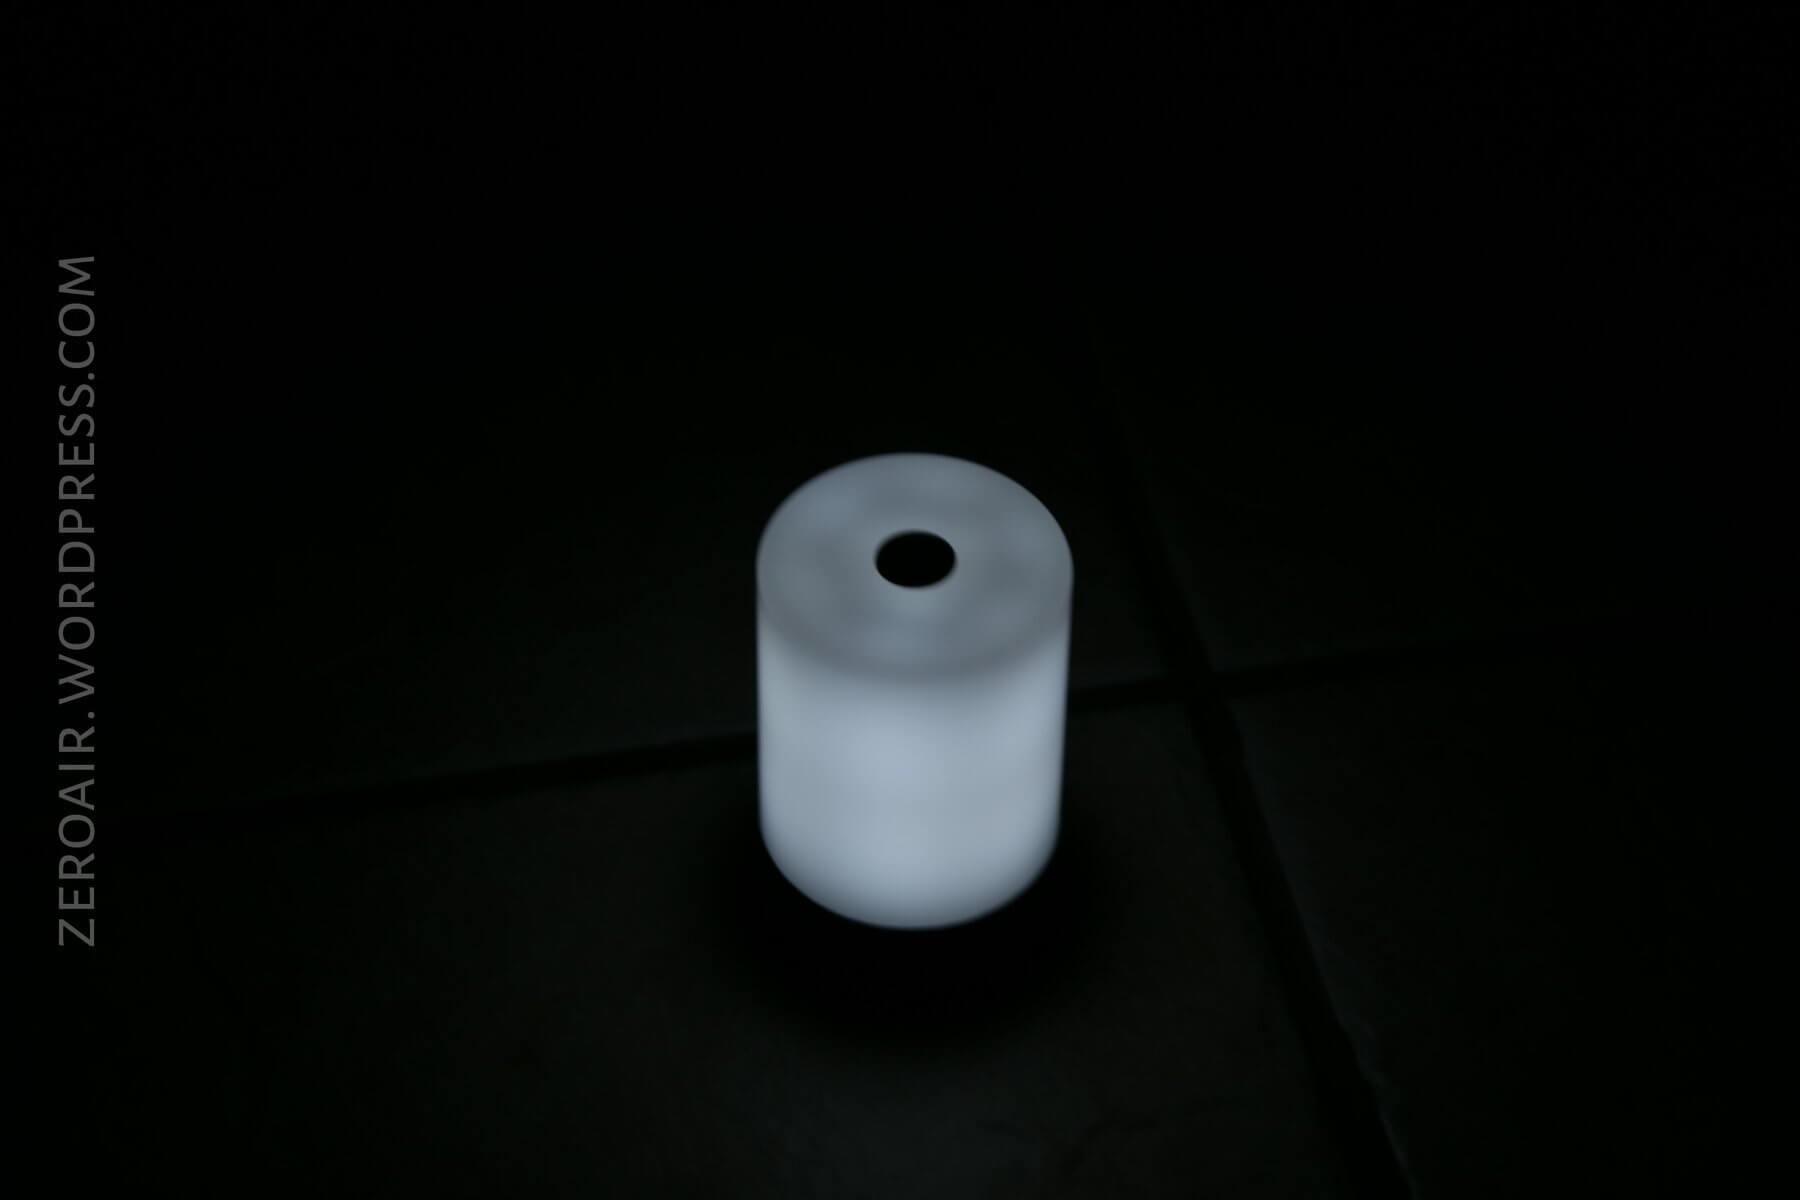
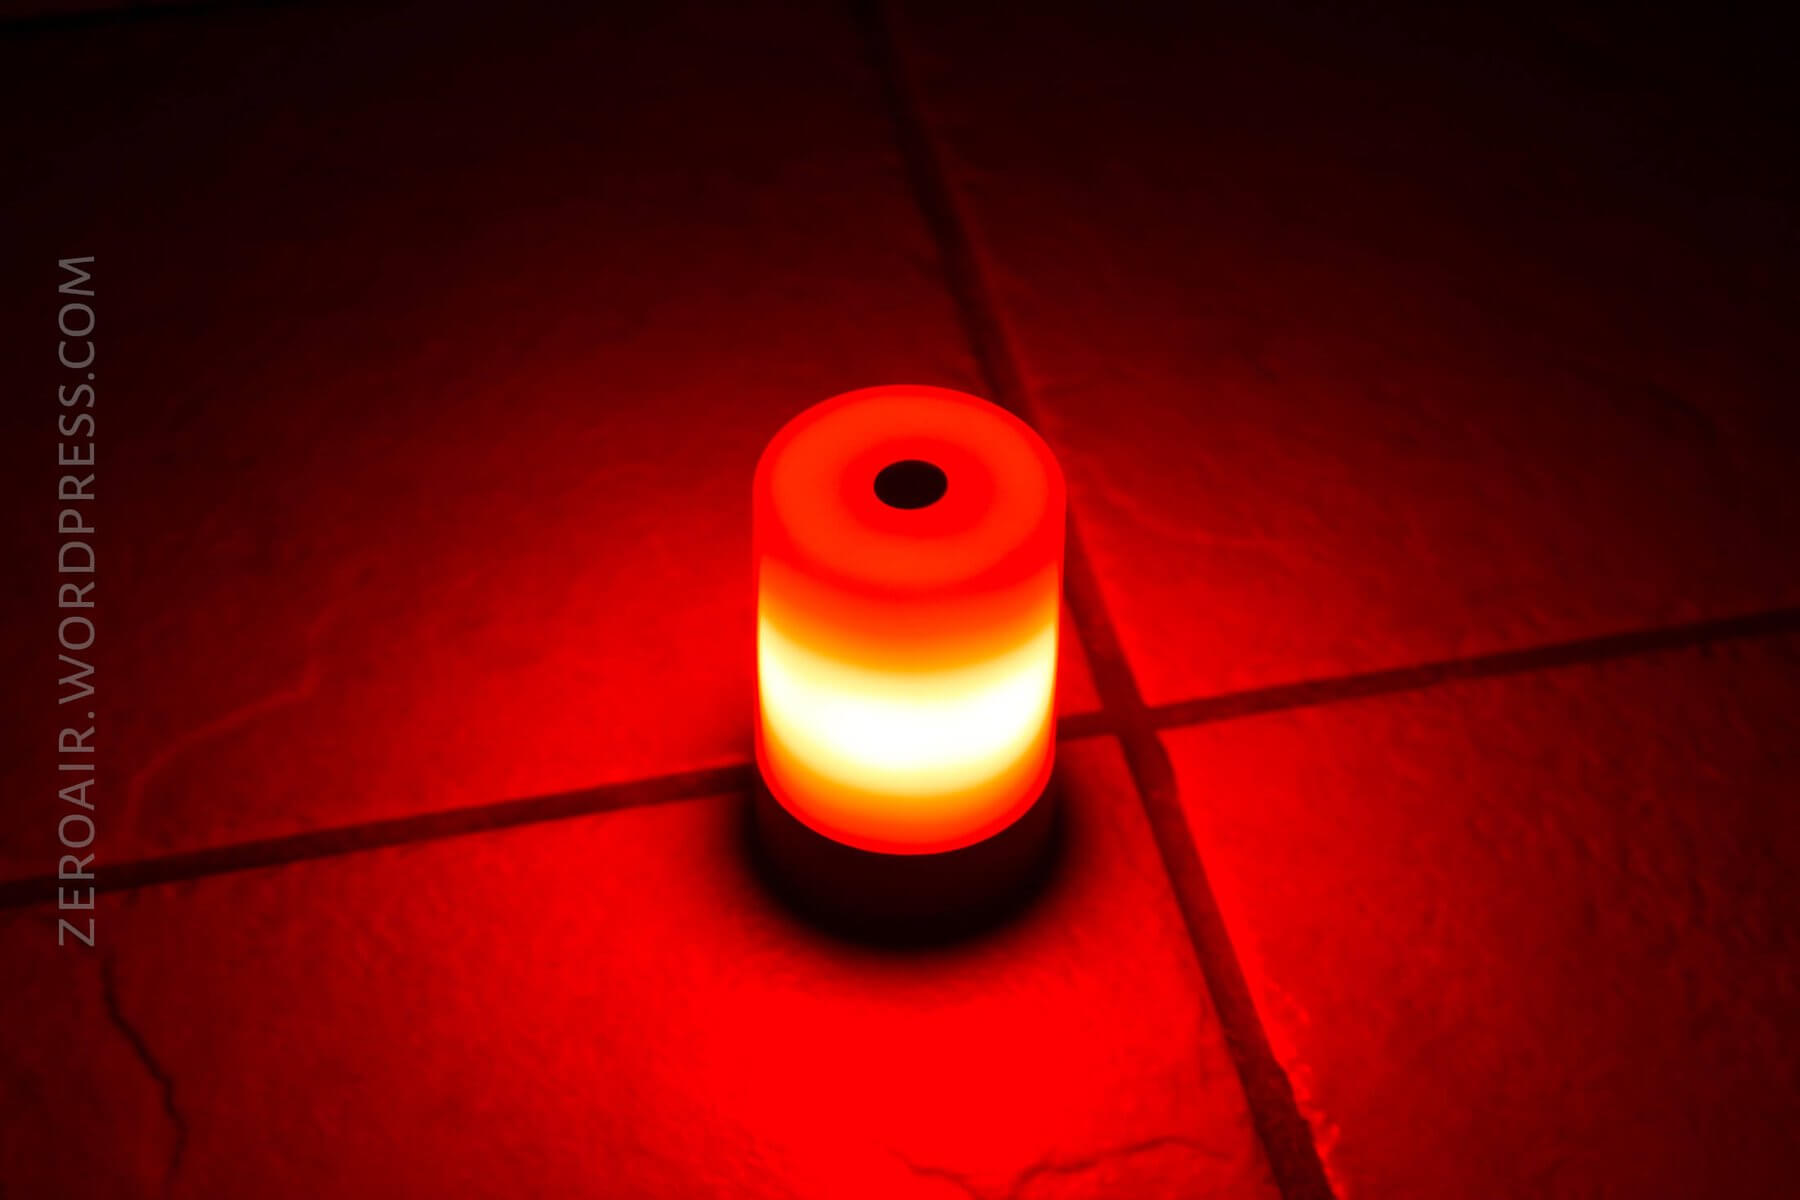
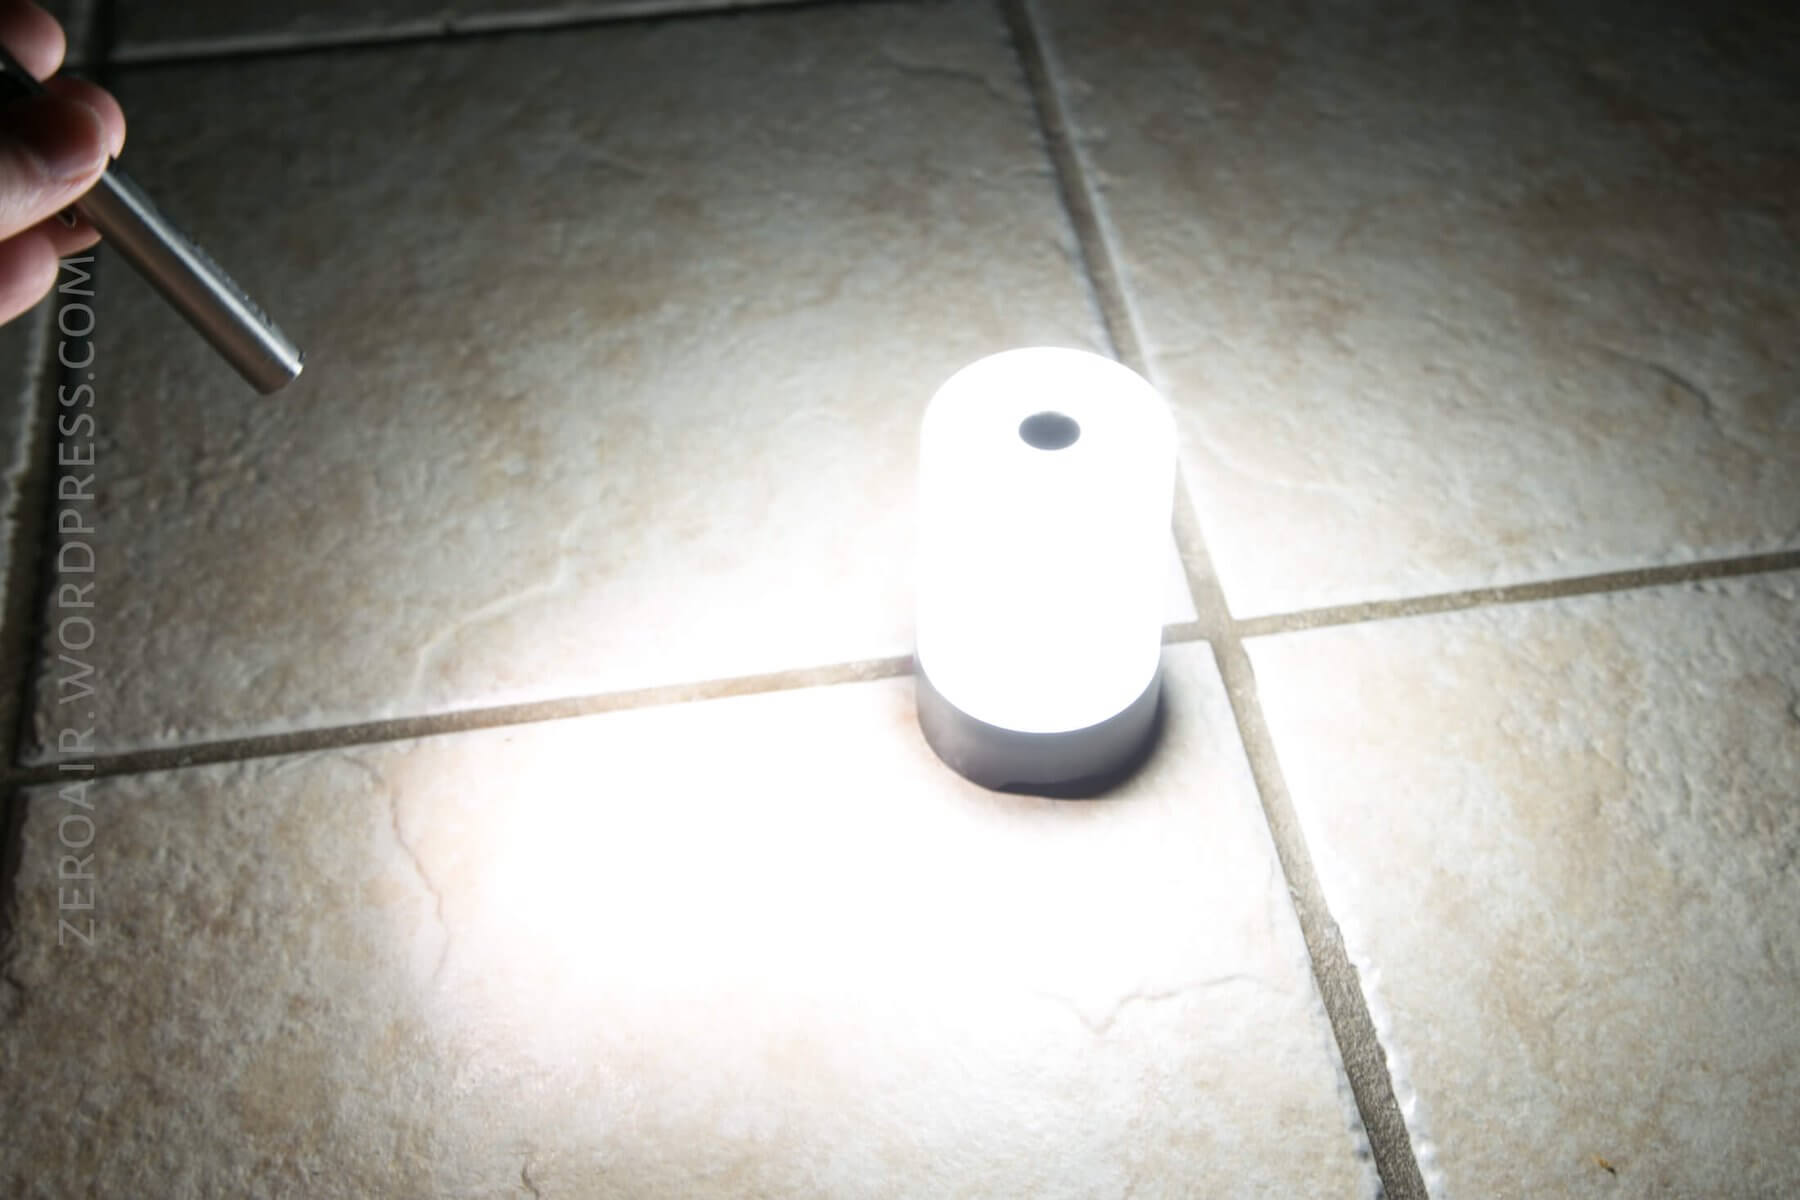
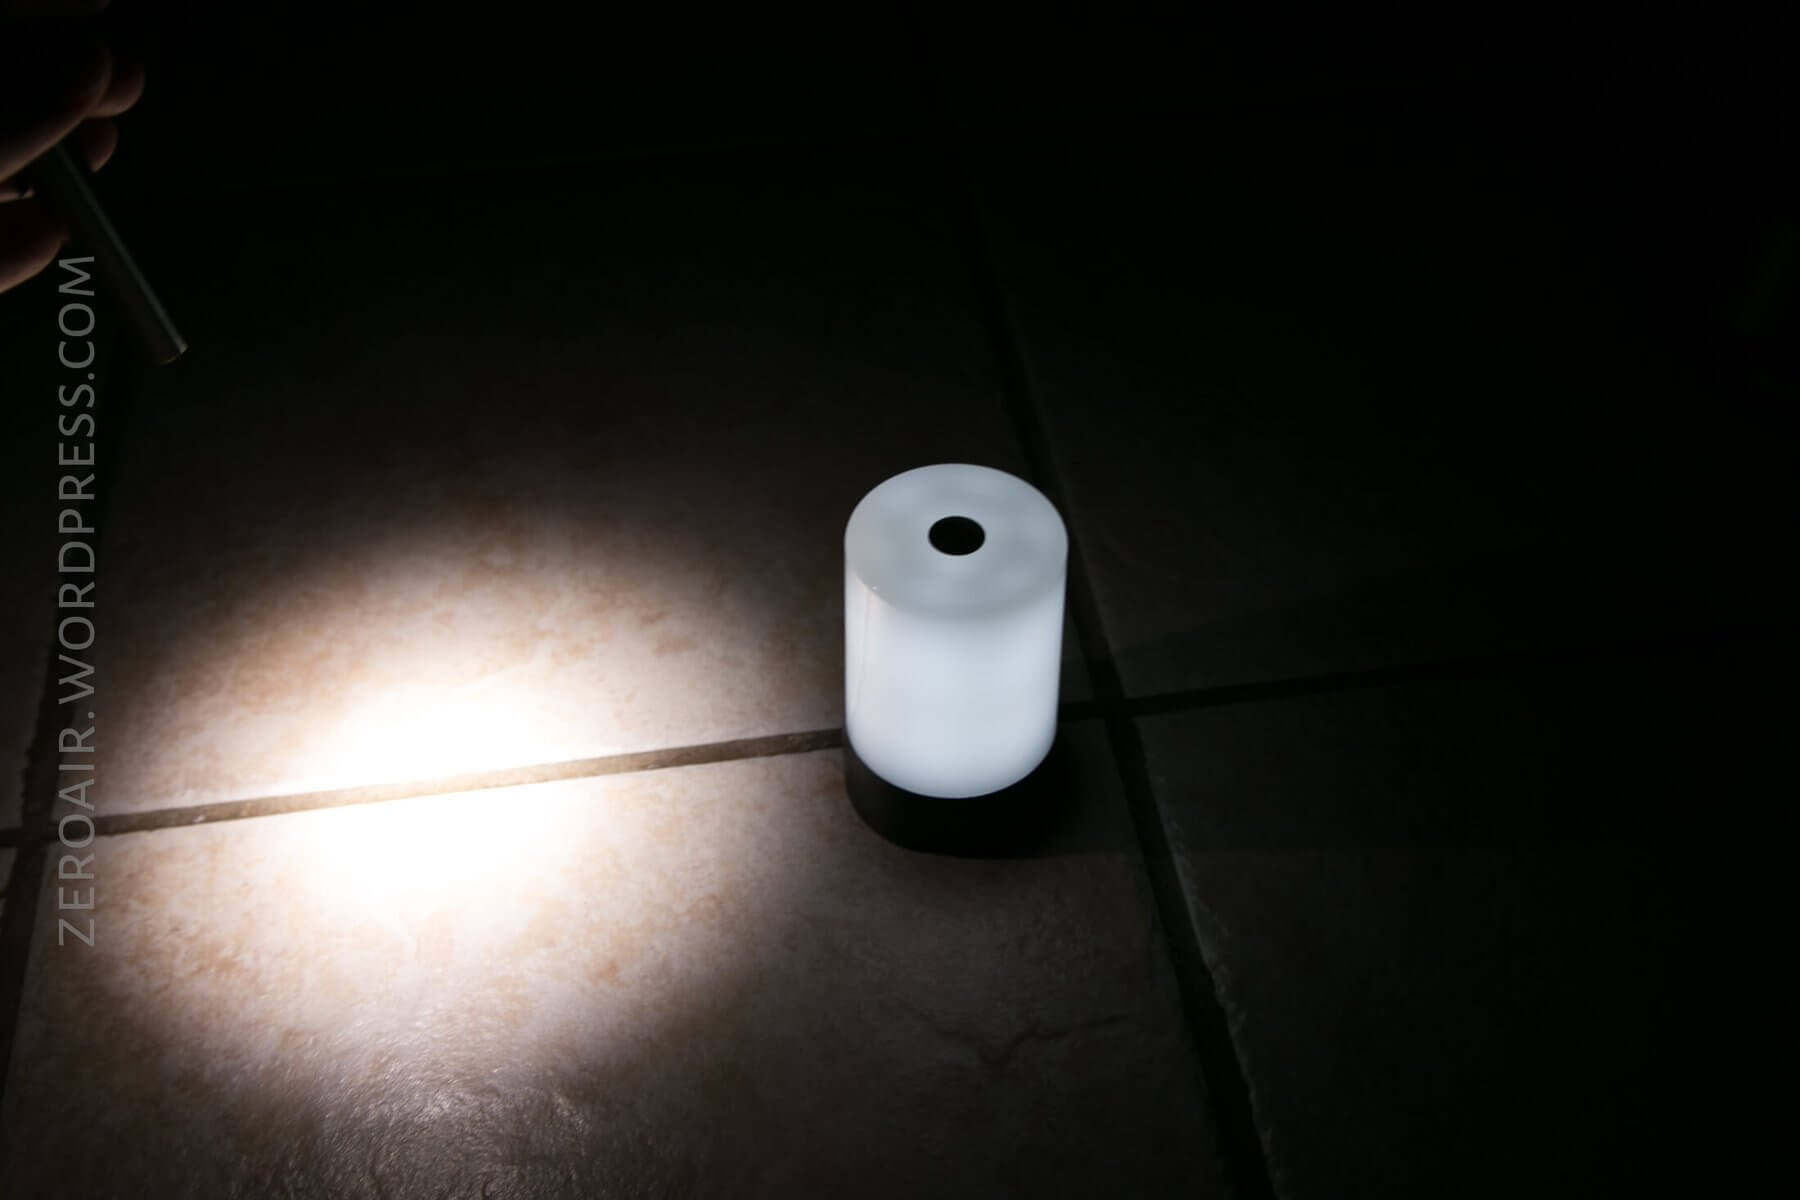
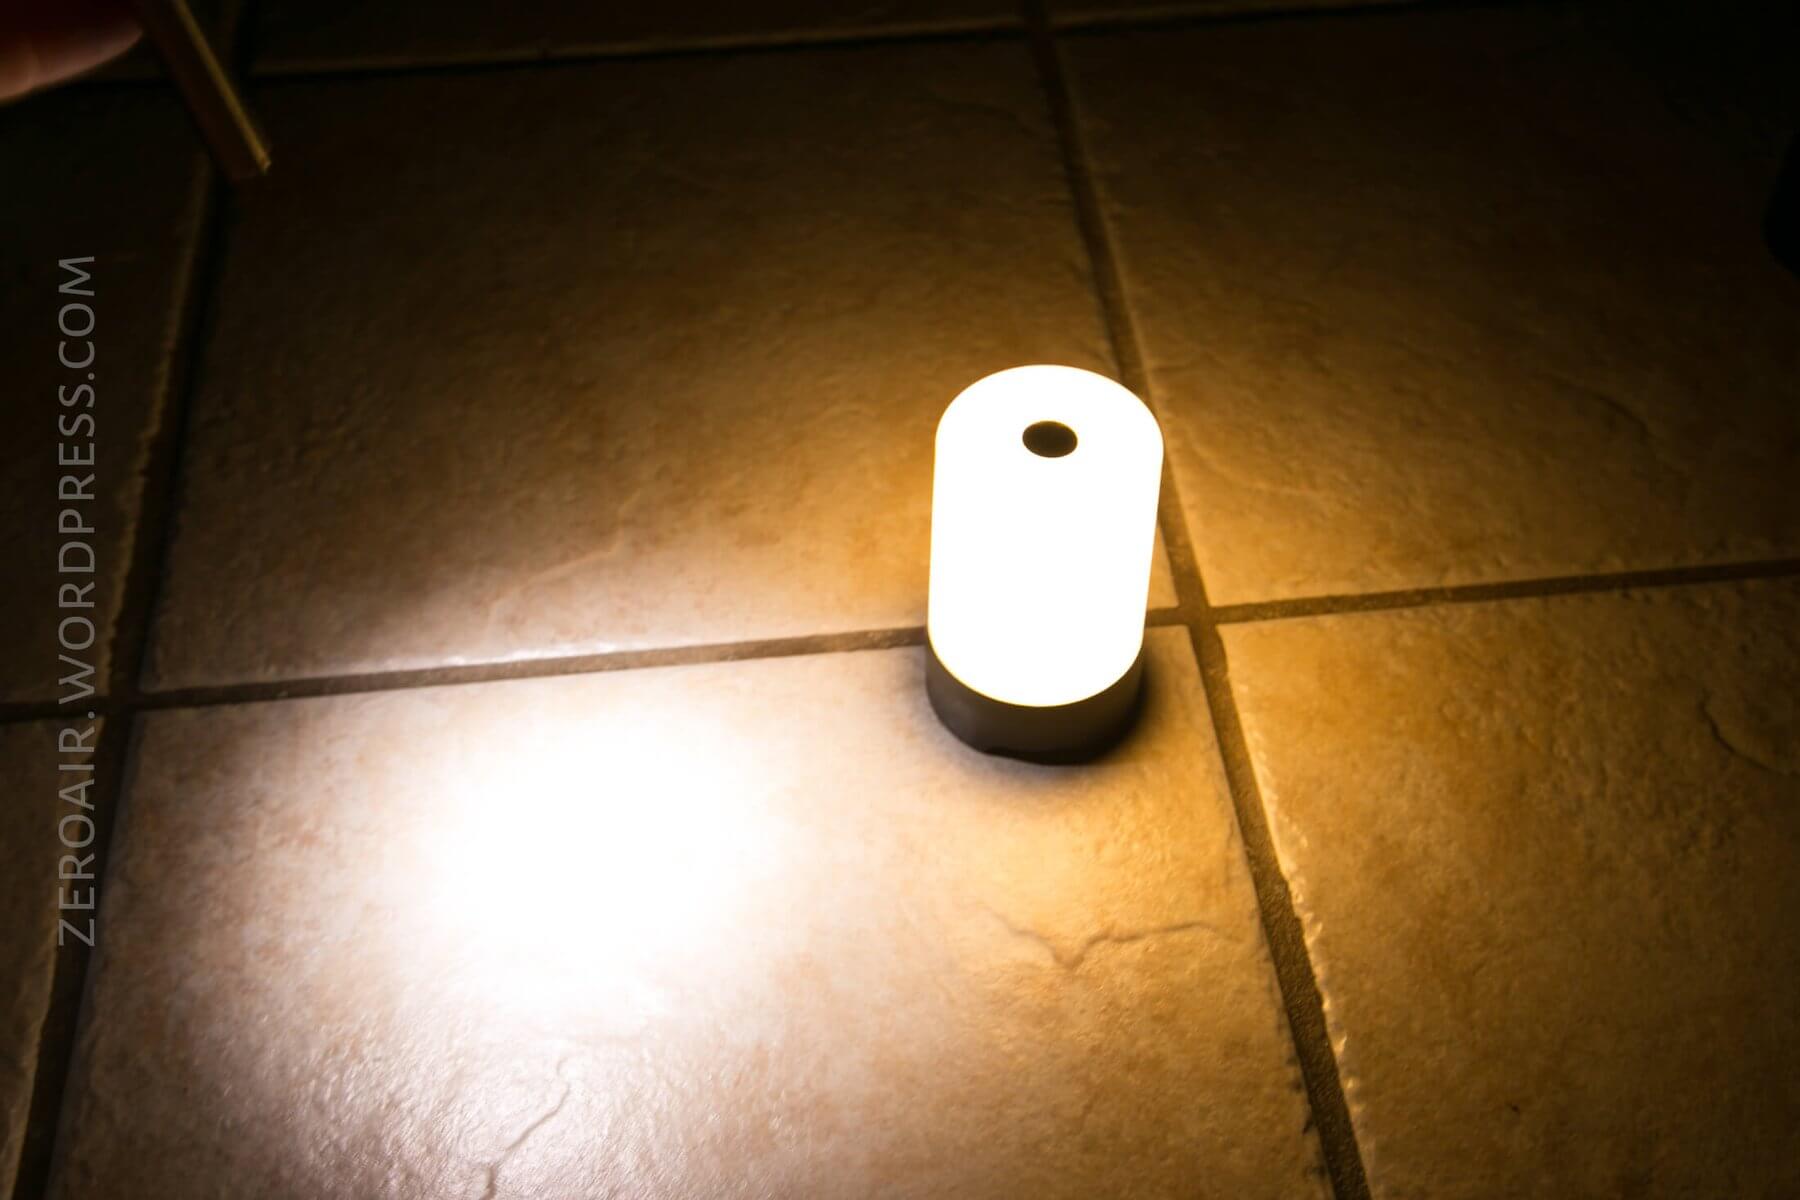
The beam is full, 360-degree output. The emitters are not specified, but there are at least three types: Cool White, Neutral White, and Red (and also a red indicating LED on the side). It’s not possible to mix these three for variable color temps.
Update! It is possible to adjust the temp of the NW mode! From off, double-tap the top switch. Hold the top switch and the temperature will ramp up (then back down, if you reach the coolest and tap/hold again). Release at your desired temp, and tap again. This sets the temp into memory!
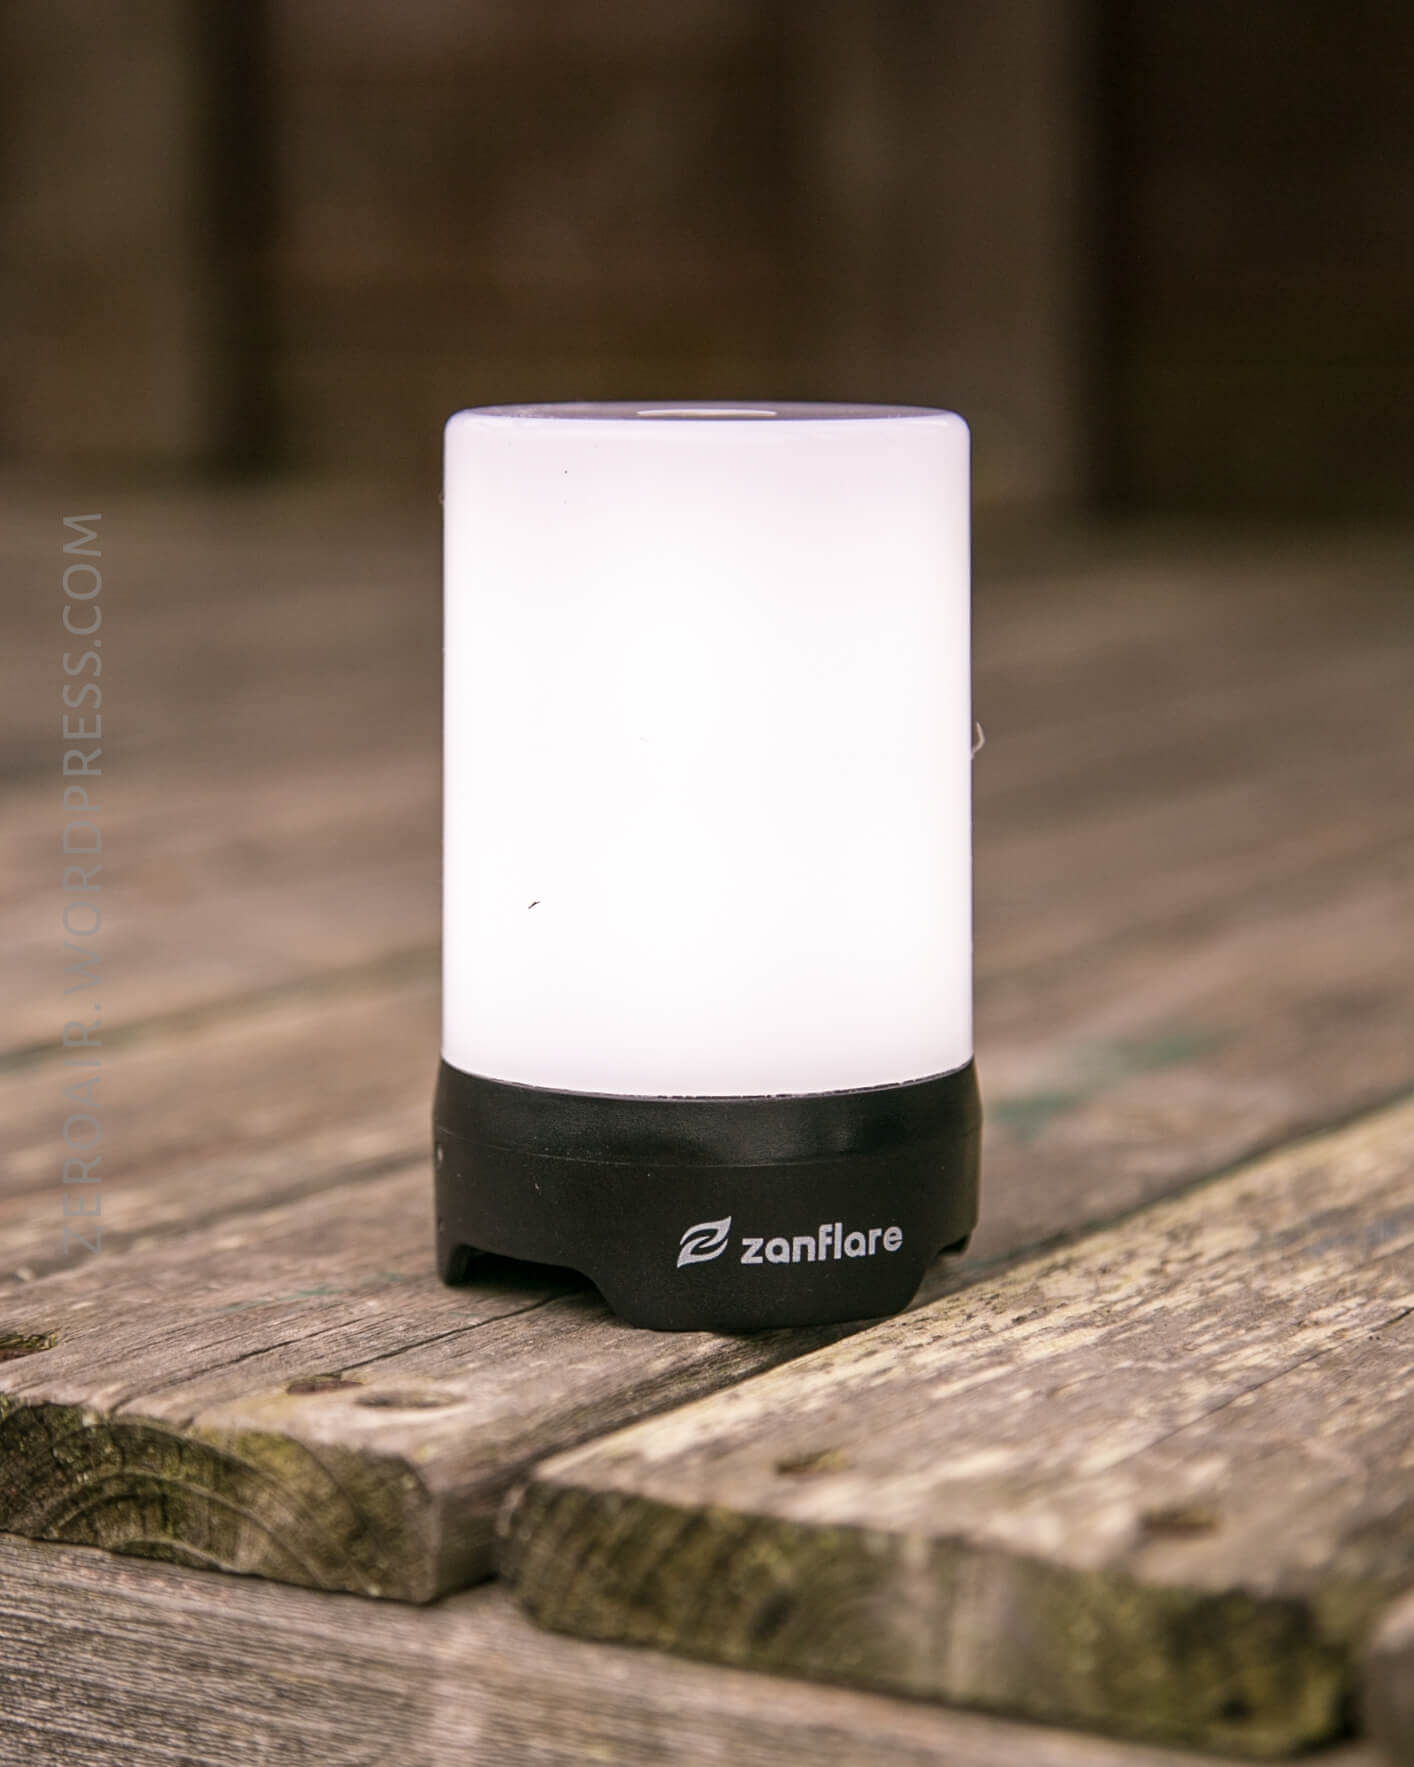
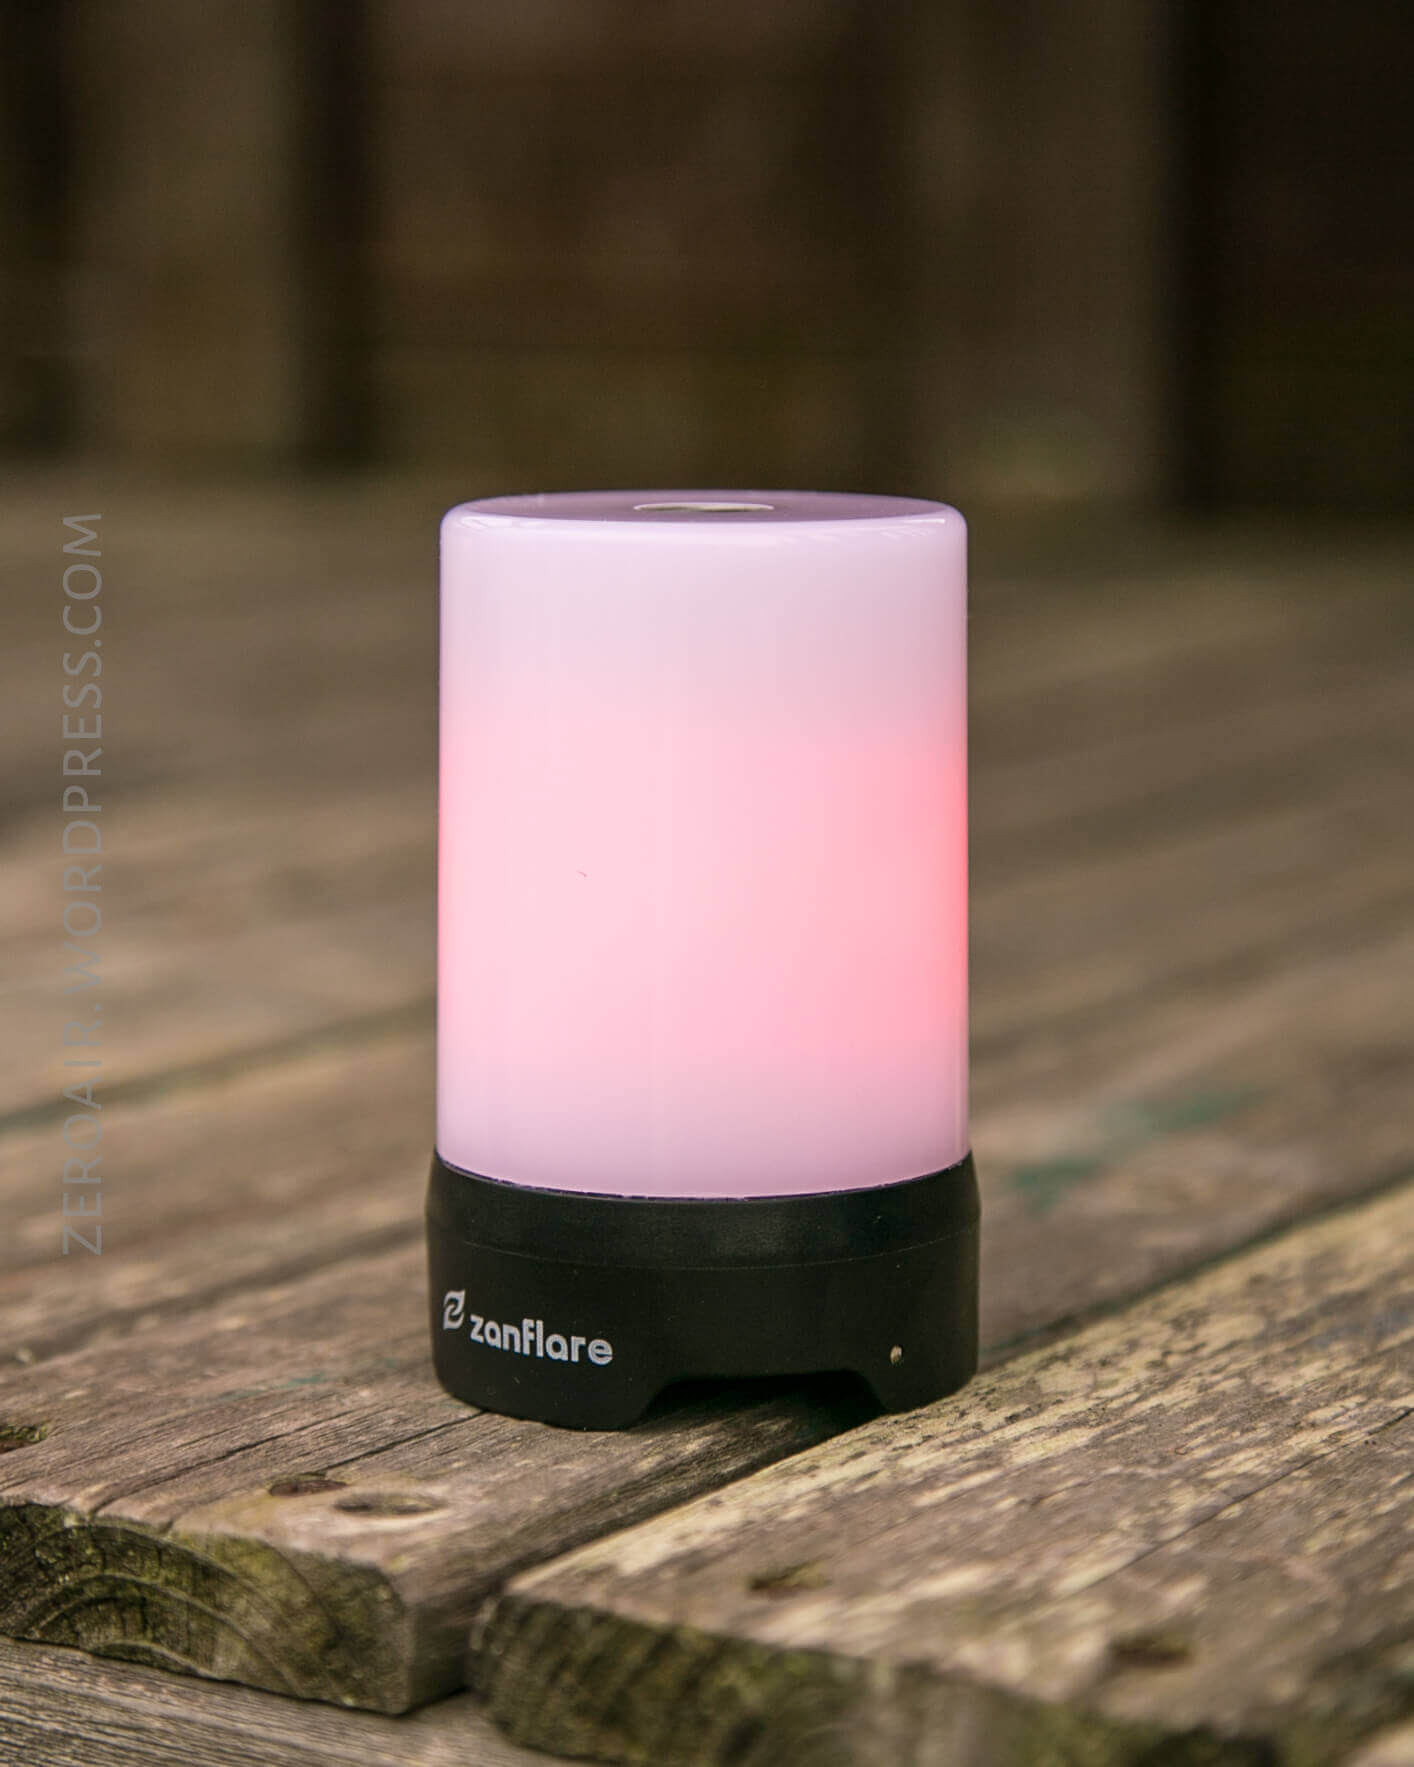
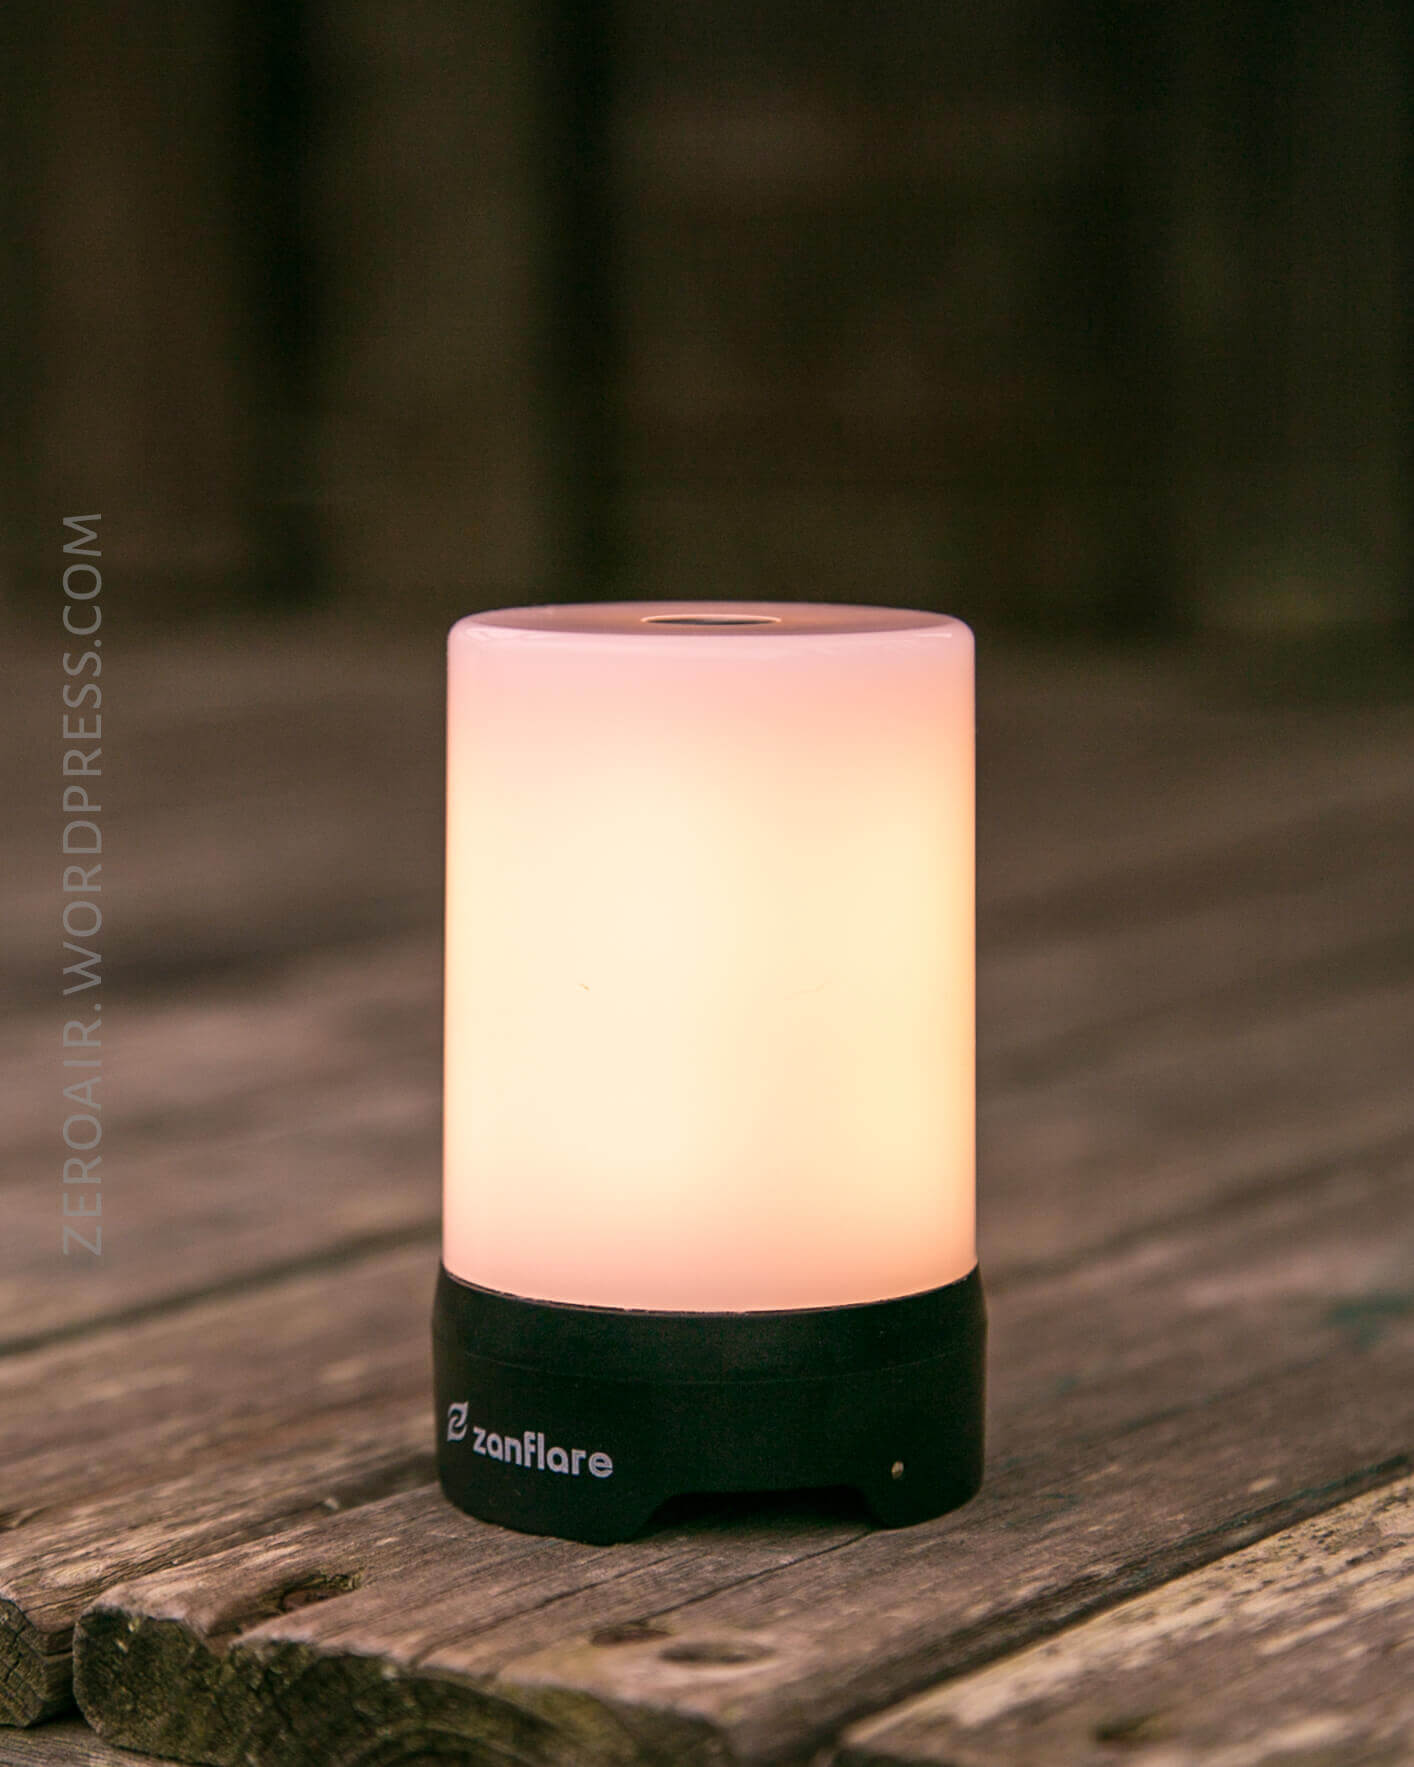
Above: CW, Red, NW. The CW is more of a “White” in my opinion, and the “NW” is very warm (Warm White, imo).
Tint vs BLF-348 (KillzoneFlashlights.com 219b version) (affiliate link)
I keep the test flashlight on the left and the BLF-348 reference flashlight on the right.
Hard to capture/compare the BLF-348 against the lantern. But hope this helps.
Random Comparisons and Competitive Options
Here’s a relevantly filtered page on parametrek.com. The other similar option are two lights made by Fenix. They’re very similar and look like great lights. They have more accessible switches, and charging, but lack tri-color emitter options. They are also much more expensive!
Conclusion
What I like
- NW/CW options in one light
- Capacitive switch is actually nice.
- Has LVP and warning
- On-board charging is quite good
- Strong magnet
What I don’t like
- Switch on bottom of light is required to to turn the light off
- Overall bulky
Notes
- This light was provided by GearBest for review. I was not paid to write this review.
- This content originally appeared at zeroair.org. Please visit there for the best experience!
- Use my amazon.com referral link if you’re willing to help support making more reviews like this one!
- Please support me on Patreon! I deeply appreciate your support!
Discover more from ZeroAir Reviews
Subscribe to get the latest posts sent to your email.