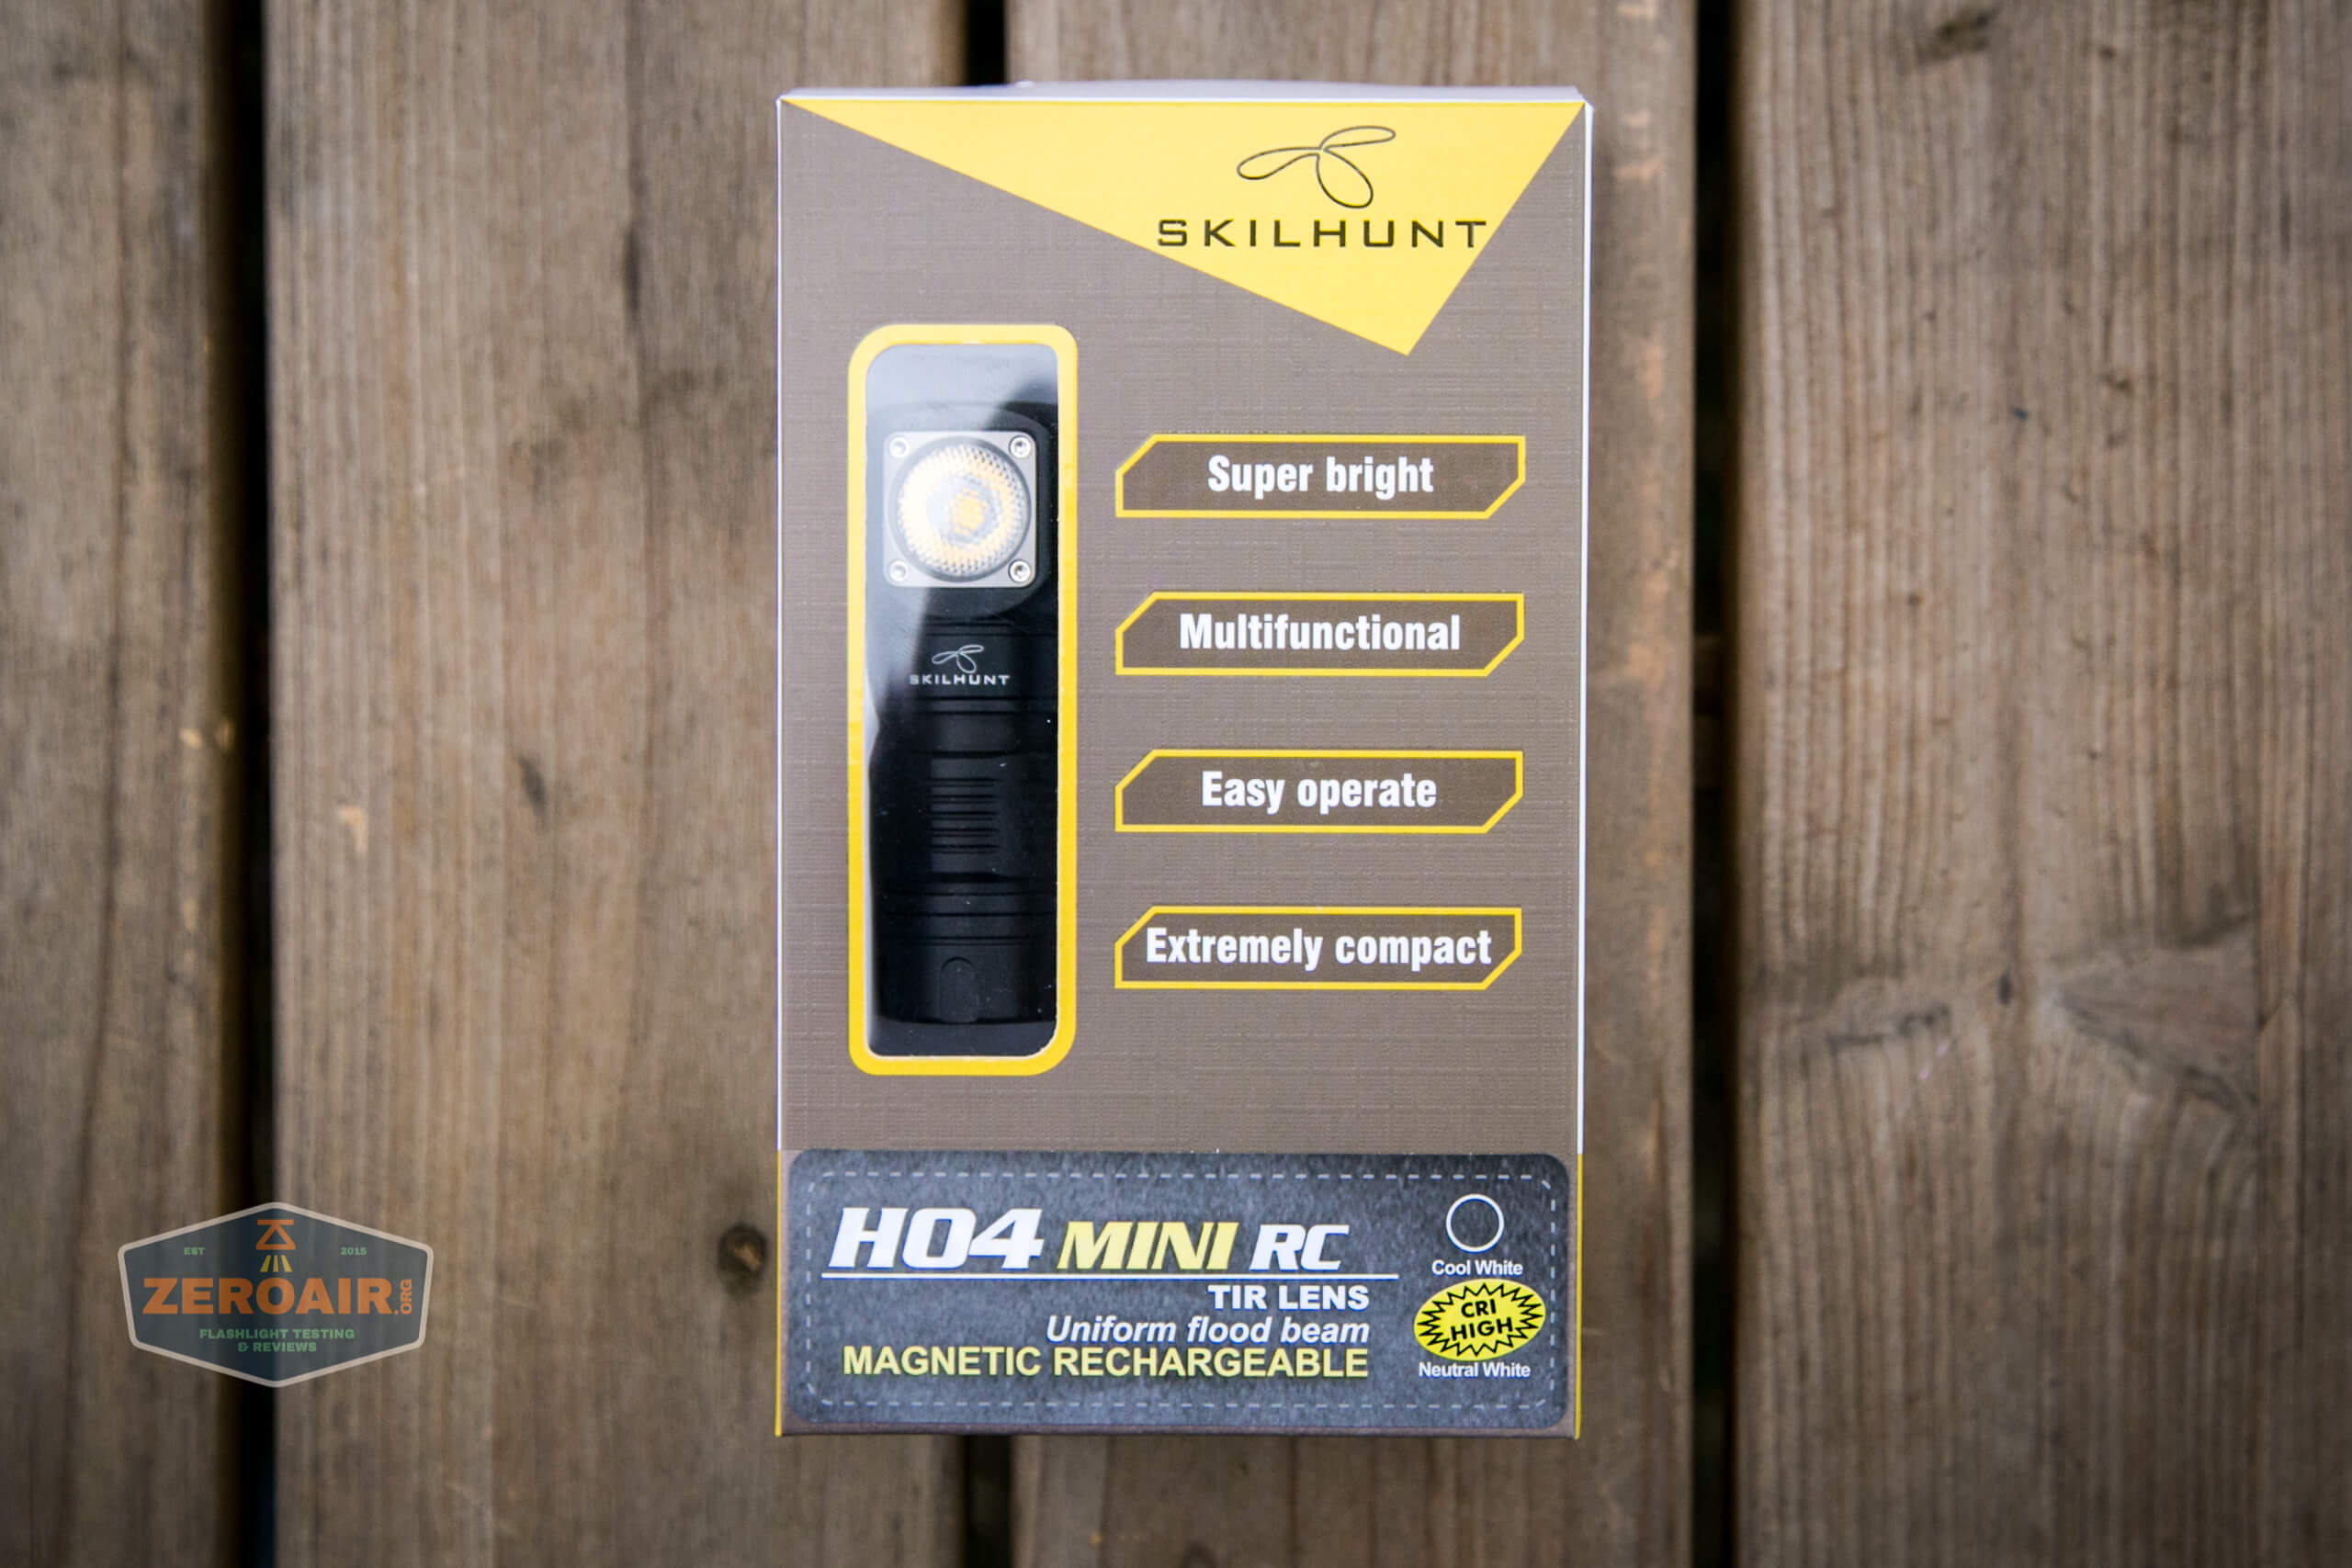
Skilhunt H04 Mini RC Headlamp Review – The 18350 Headlamp you need?
The Skilhunt H04 Mini RC headlamp uses one 18350 cell and an e-switch on the side of the head. It has magnetic charging, too! Read on!
Official Specs and Features of the Skilhunt H04 Mini RC 18350 Headlamp
Here’s a link to the official product page.
Versions
There are a few versions, all of which fill a different role. There are the H04F Mini RC, H04R Mini RC, and H04 Mini RC.
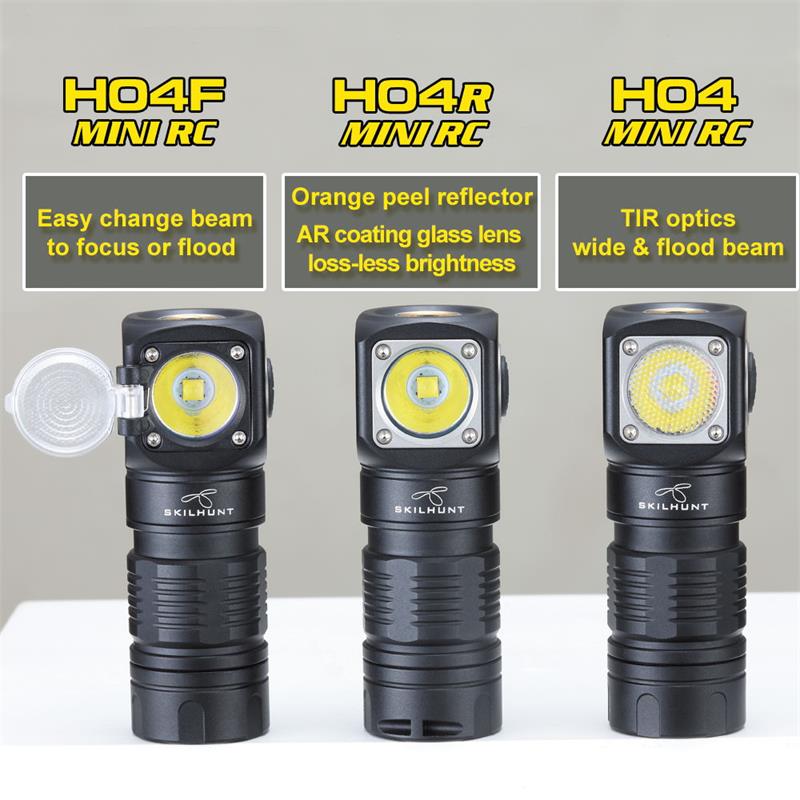
Also available are neutral white and cool white variations of all these lights. What I have specifically is the H04 Mini RC in NW. I believe the picture above is the CW variation.
Price
As reviewed, these are going for $52.90 at killzoneflashlights.com (referral link). The other variations are $53.90 (H04R Mini RC) and $54.90 (H04F Mini RC).
Short Review
I love this just exactly as much as I expected to. And that’s saying something – with how many Skilhunt H0 series headlamps I have, I have high expectations. This is a great small headlamp option!
Long Review
The Big Table
| Skilhunt H04 Mini RC Headlamp | |
|---|---|
| Emitter: | Samsung LH351d (High CRI) |
| Price in USD at publication time: | $52.90 |
| Cell: | 1×18350 |
| Turbo Runtime | High Runtime |
| LVP? | Warning, then off |
| Switch Type: | E-Switch |
| Quiescent Current (mA): | 0.04 |
| On-Board Charging? | Yes |
| Charge Port Type: | Proprietary Magnetic |
| Chargetime | |
| Power off Charge Port | with cell: all modes without cell: all modes except T1 |
| Claimed Lumens (lm) | 1000 |
| Measured Lumens (at 30s) | 567 (56.7% of claim)^ |
| Candela per Lumen | 3.6 |
| Claimed Throw (m) | 113 |
| Candela (Calculated) in cd (at 30s) | 251lux @ 3.033m = 2309cd |
| Throw (Calculated) (m) | 96.1 (85% of claim)^ |
| All my Skilhunt reviews! | |
^ Measurement disclaimer: Testing flashlights is my hobby. I use hobbyist-level equipment for testing, including some I made myself. Try not to get buried in the details of manufacturer specifications versus measurements recorded here; A certain amount of difference (say, 10 or 15%) is perfectly reasonable.
What’s Included with the Skilhunt H04 Mini RC 18350 Headlamp Package
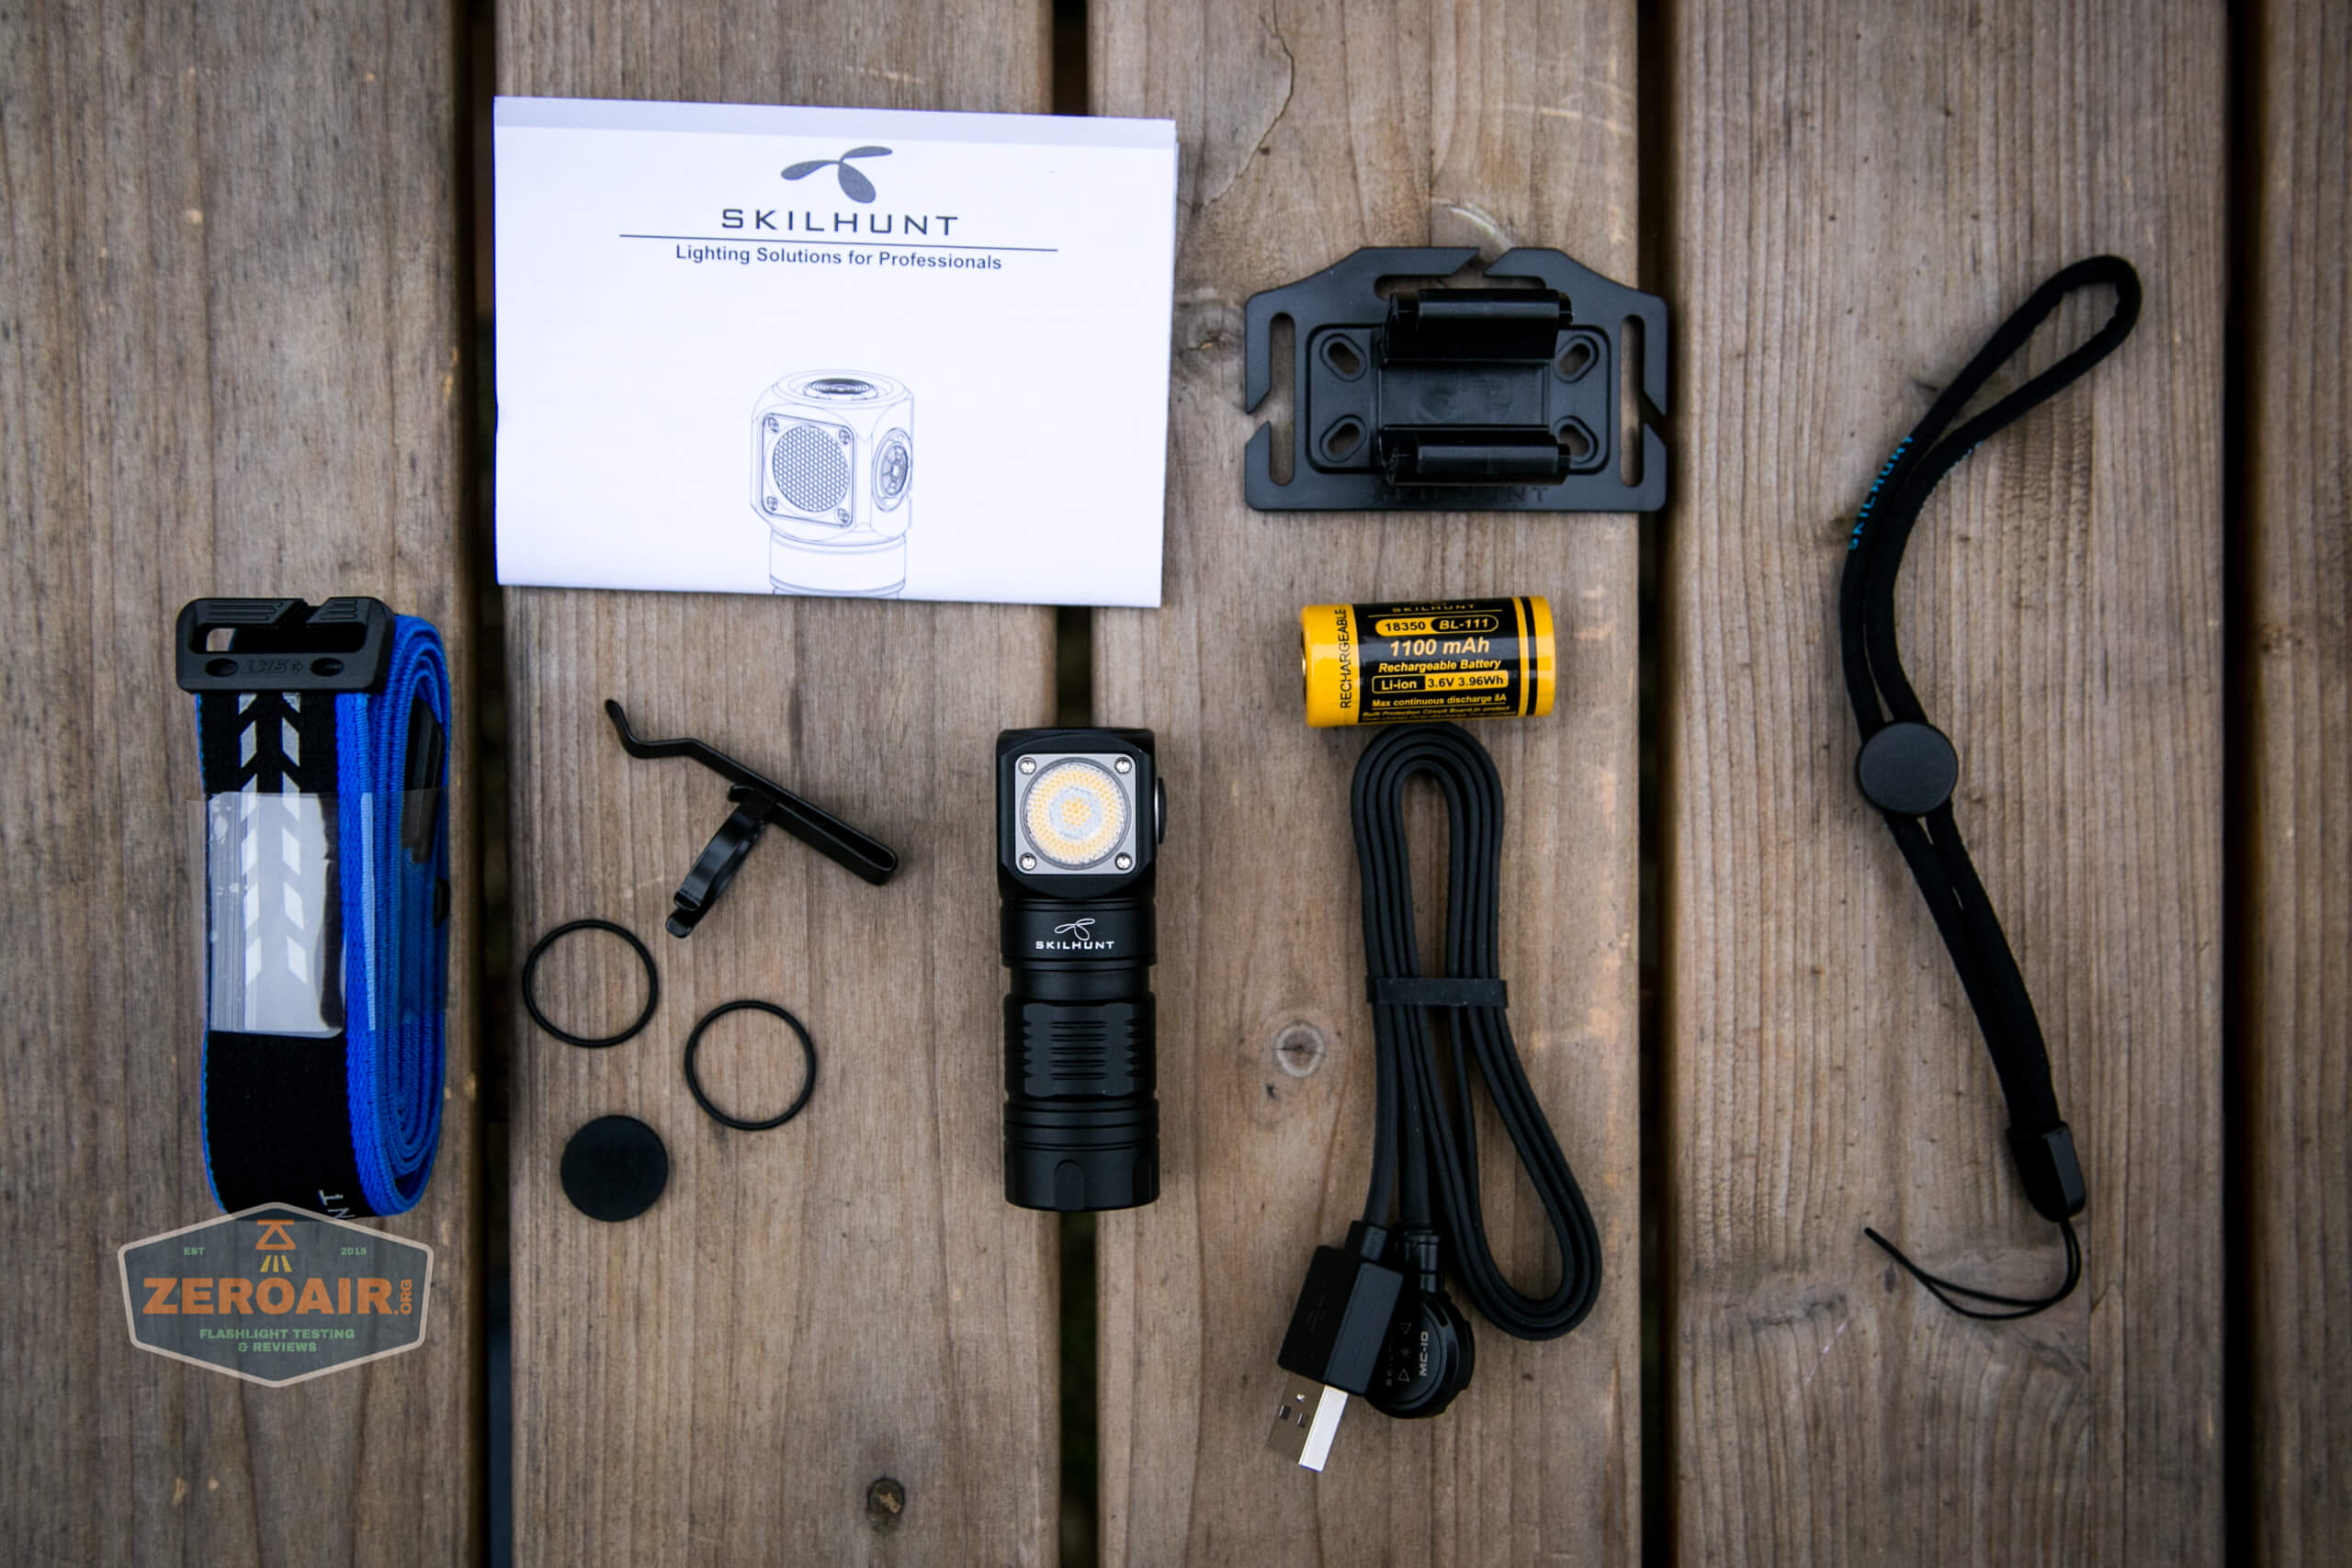
- Skilhunt H04 Mini
- Skilhunt 1100mAh 18350
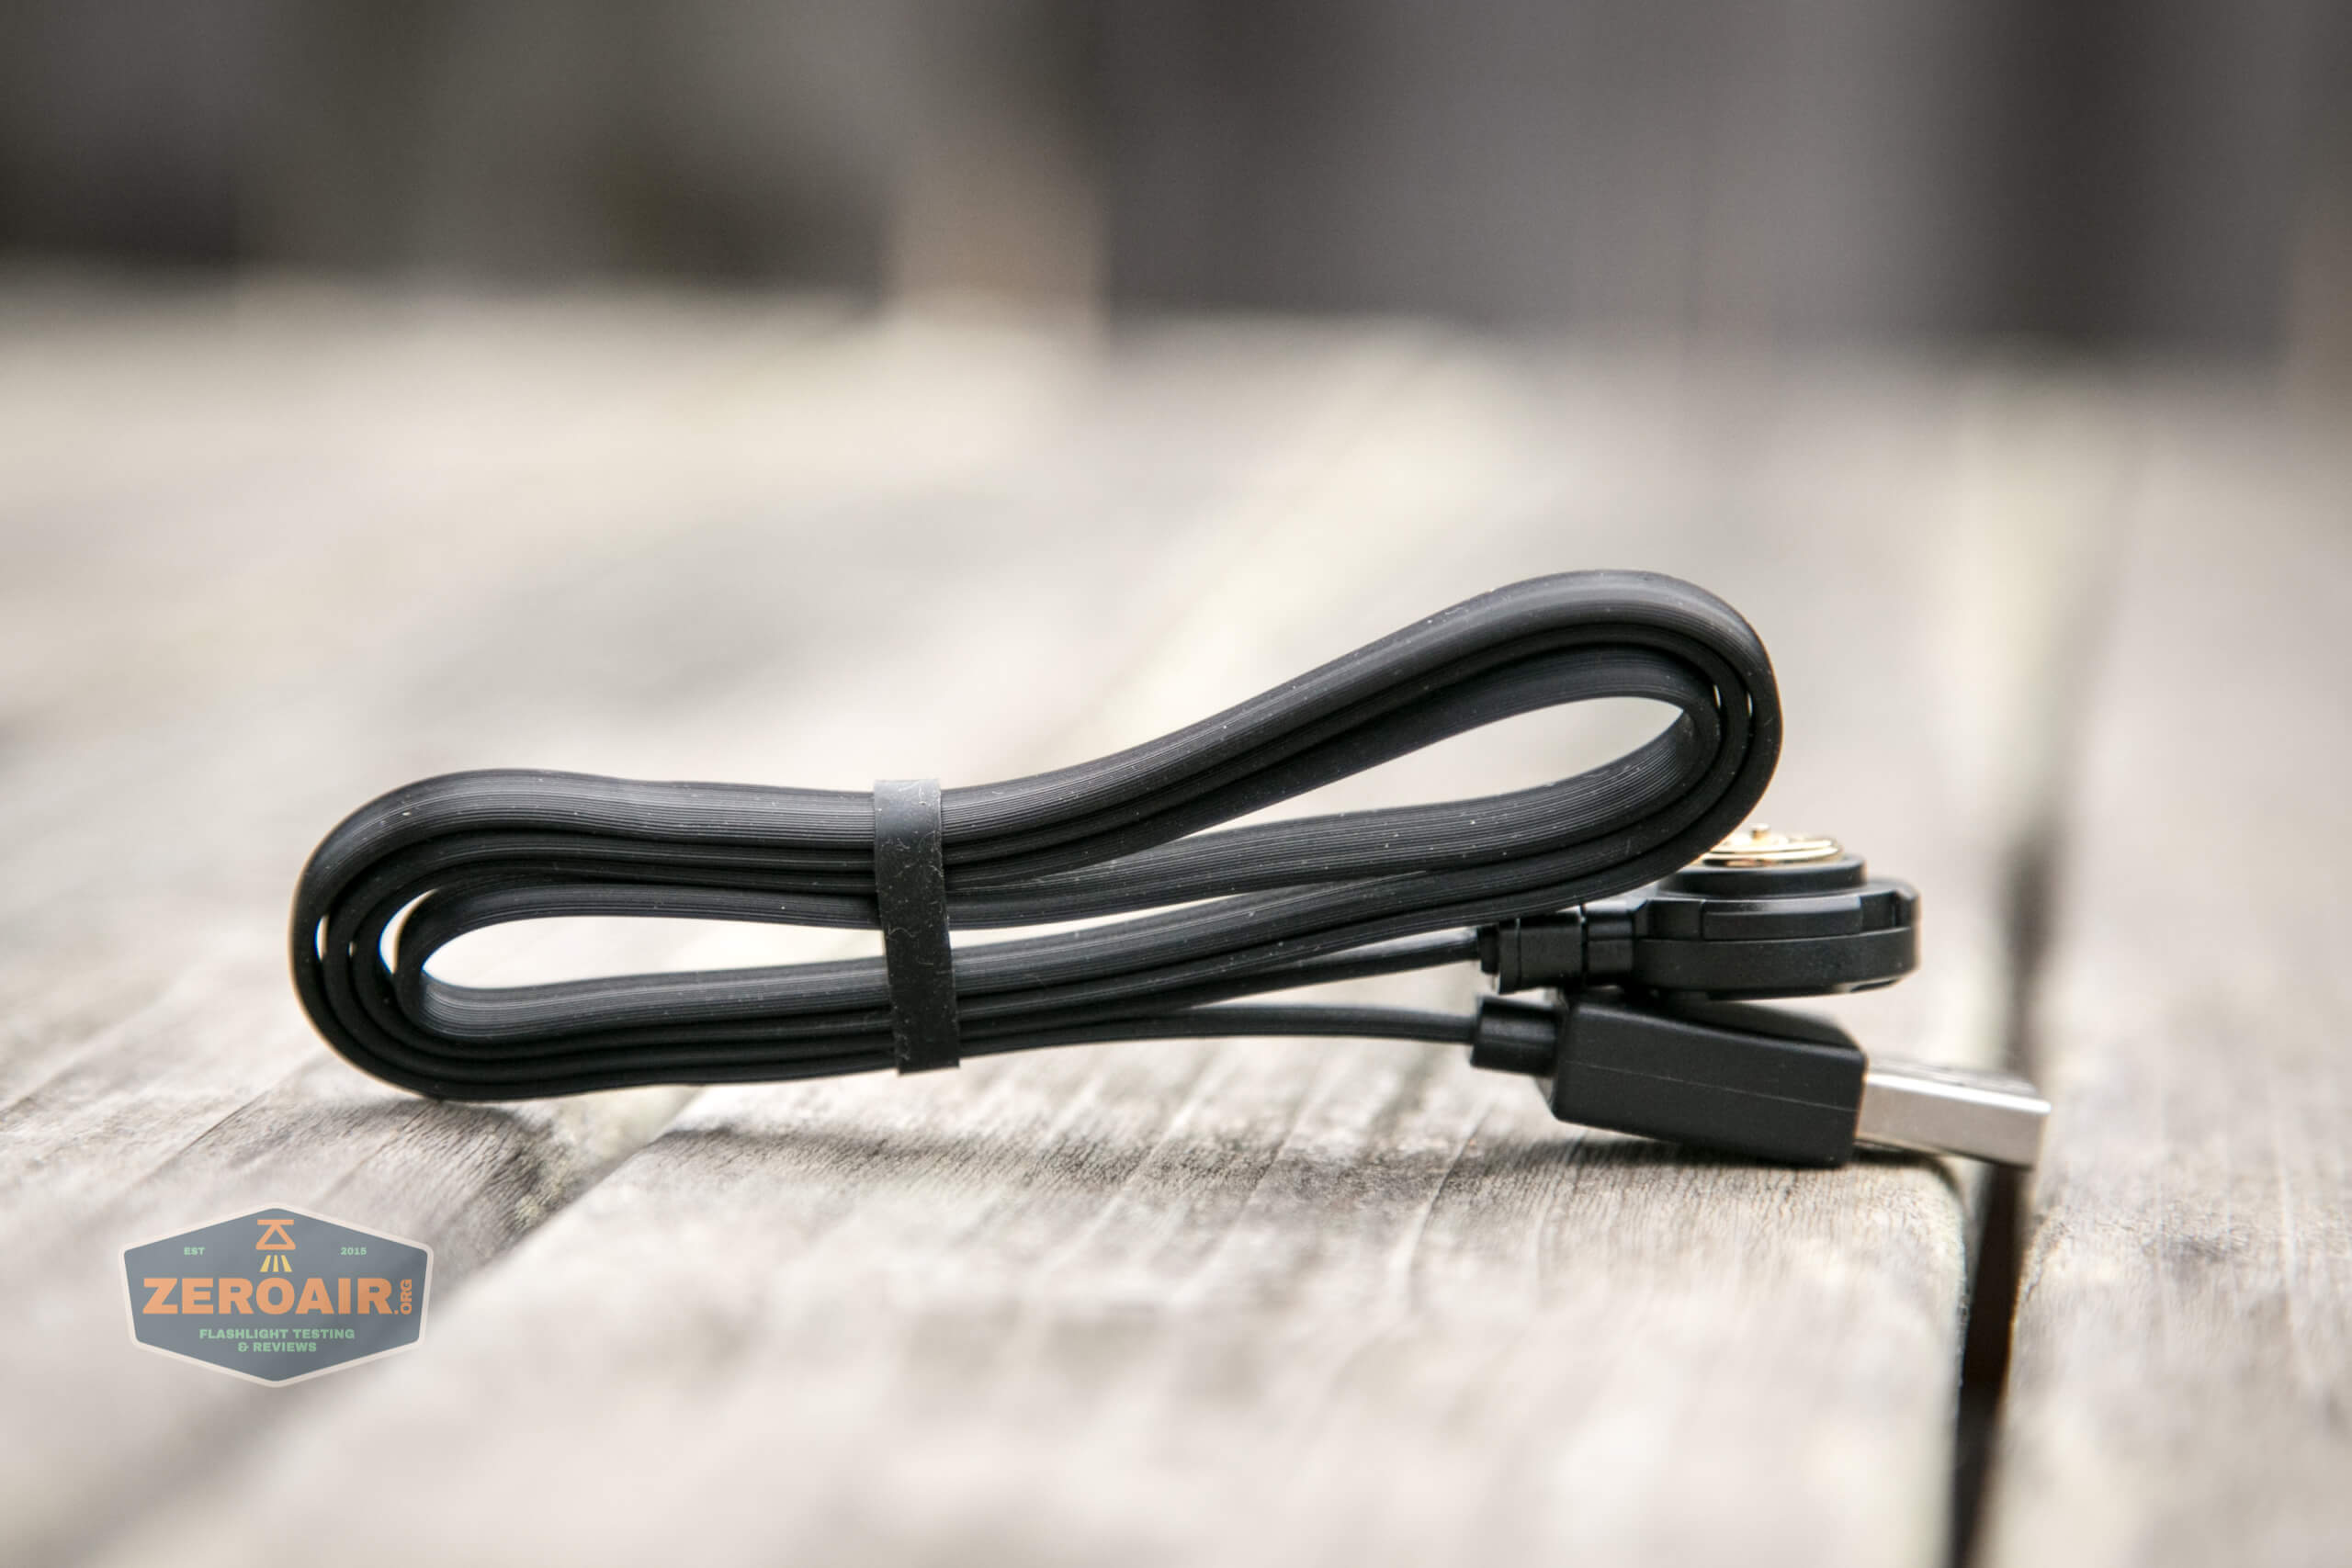
- Charge cable (USB to proprietary magnetic)
- Pocket clip
- Spare o-rings (2)
- Rubber blank for magnet replacement
- Headband
- Lanyard
- Headband clip
- Manual
Skilhunt H04 Mini RC 18350 Headlamp Package and Manual
Build Quality and Disassembly
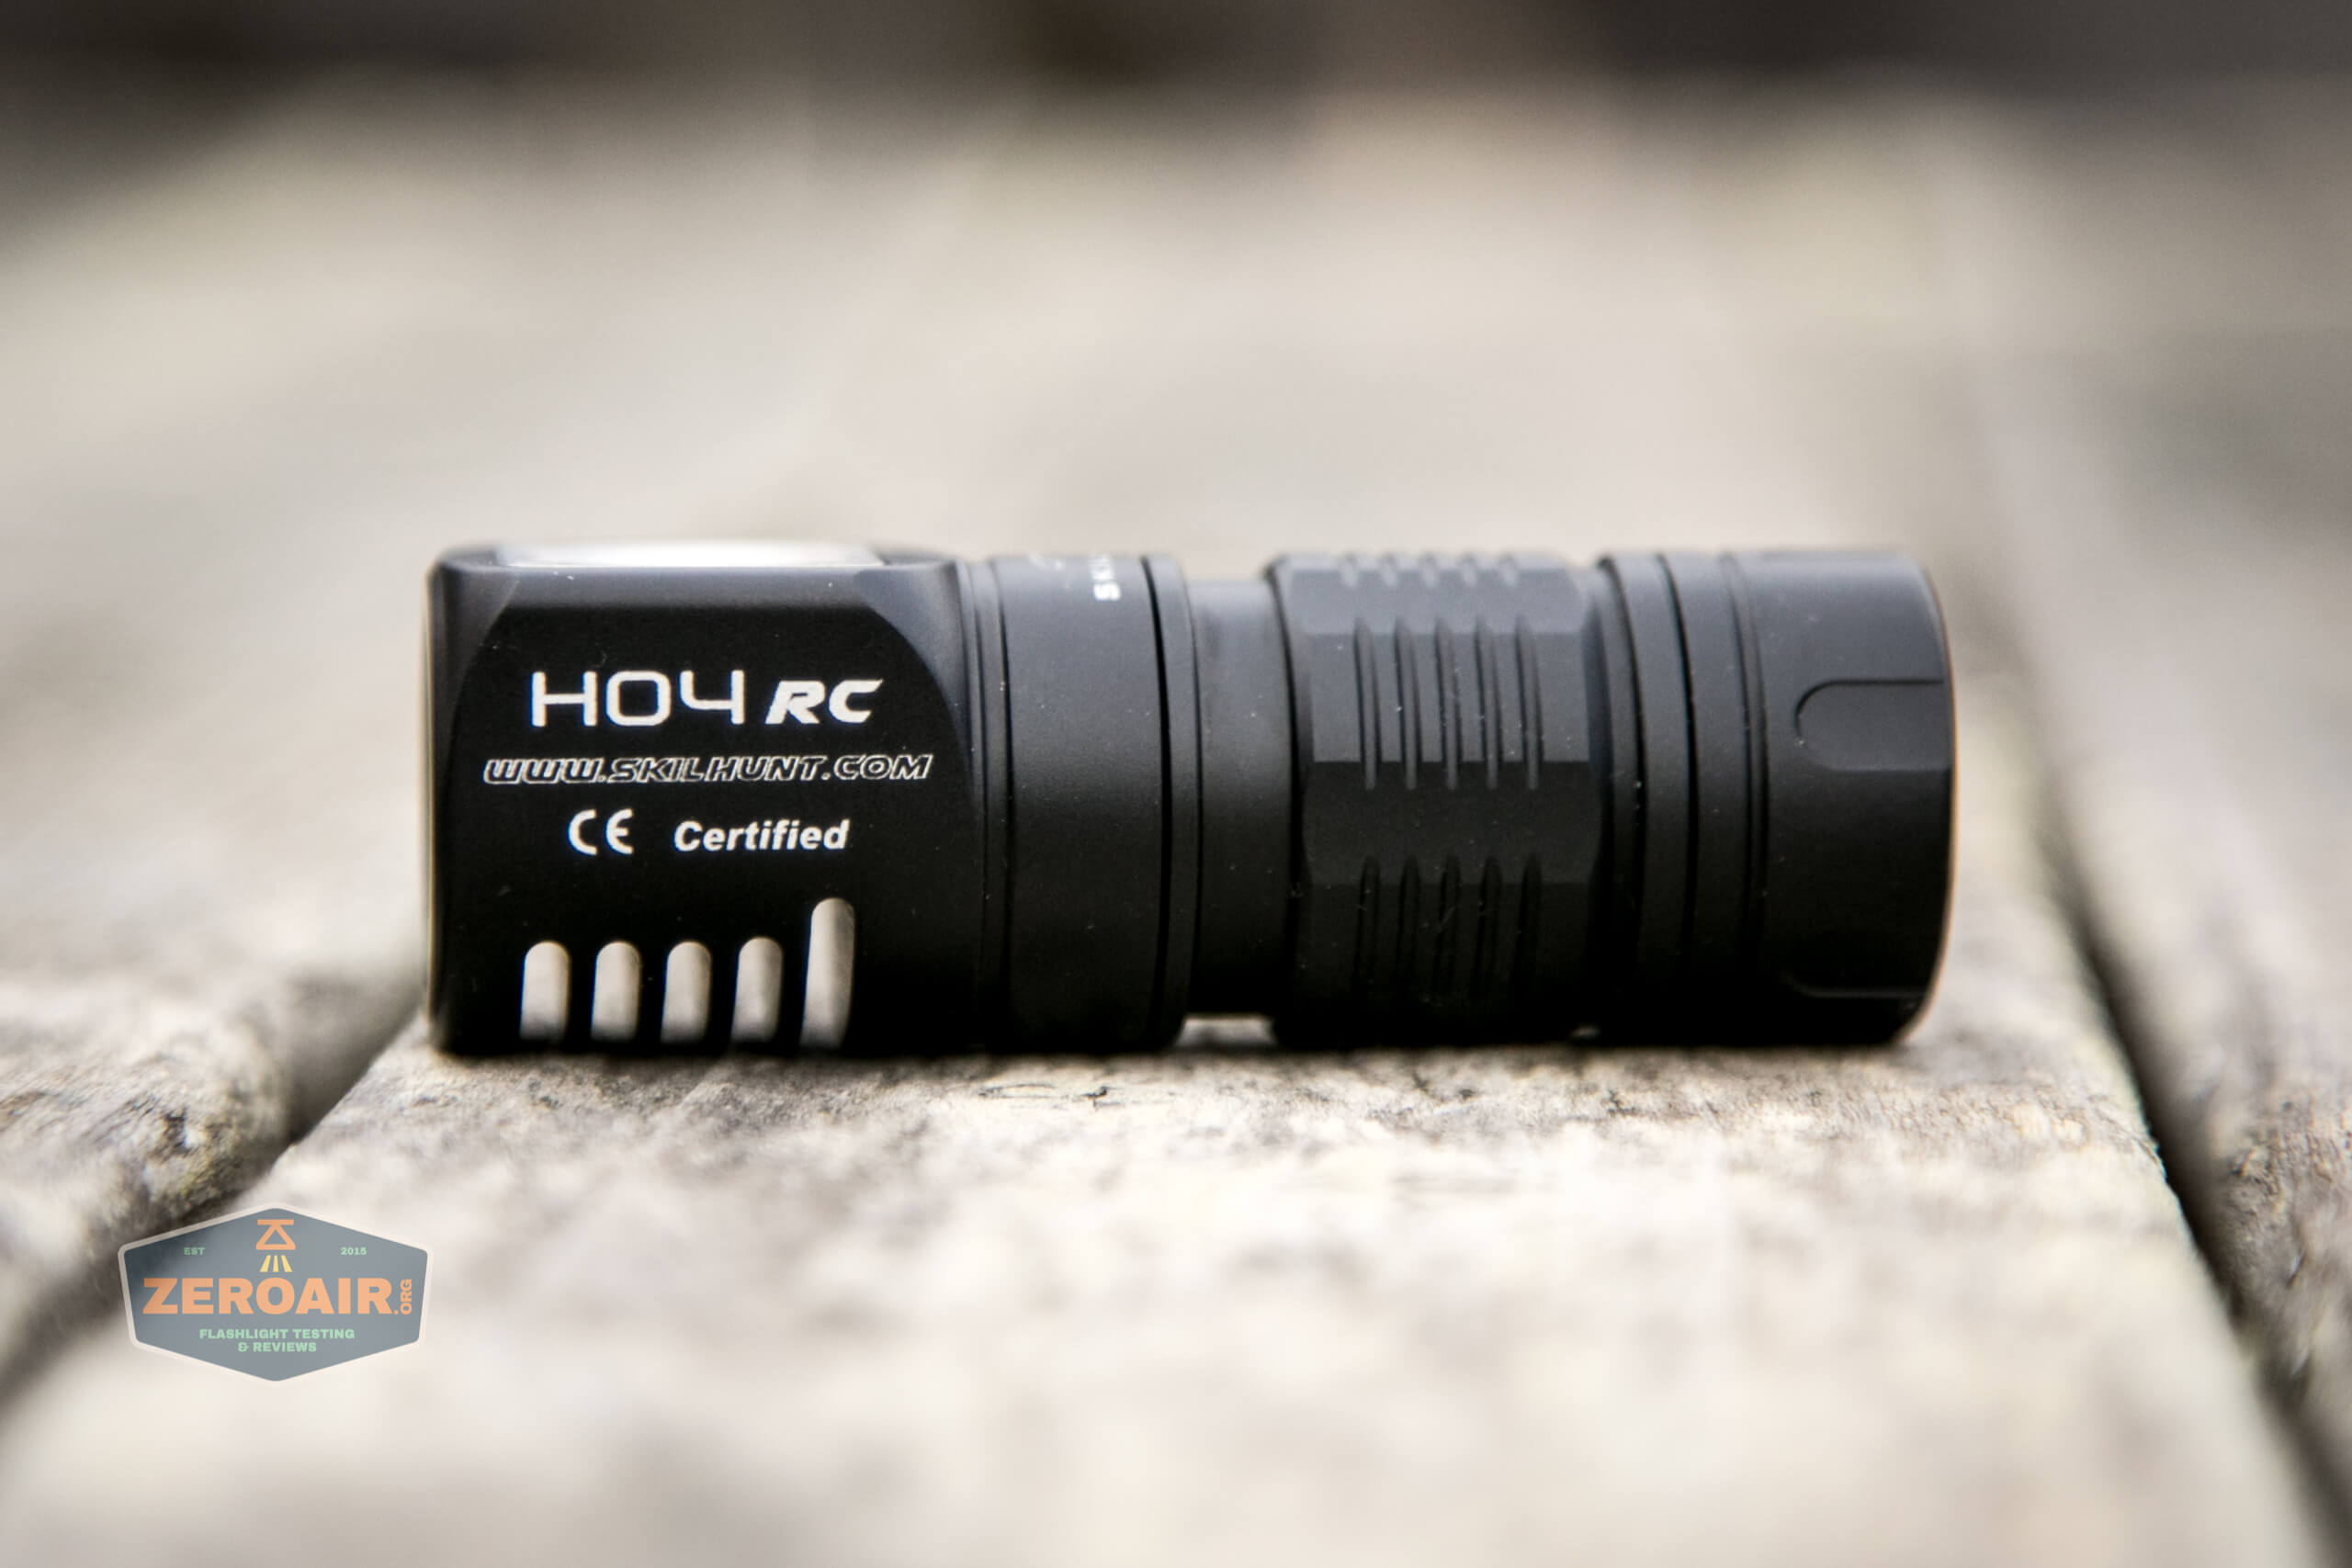
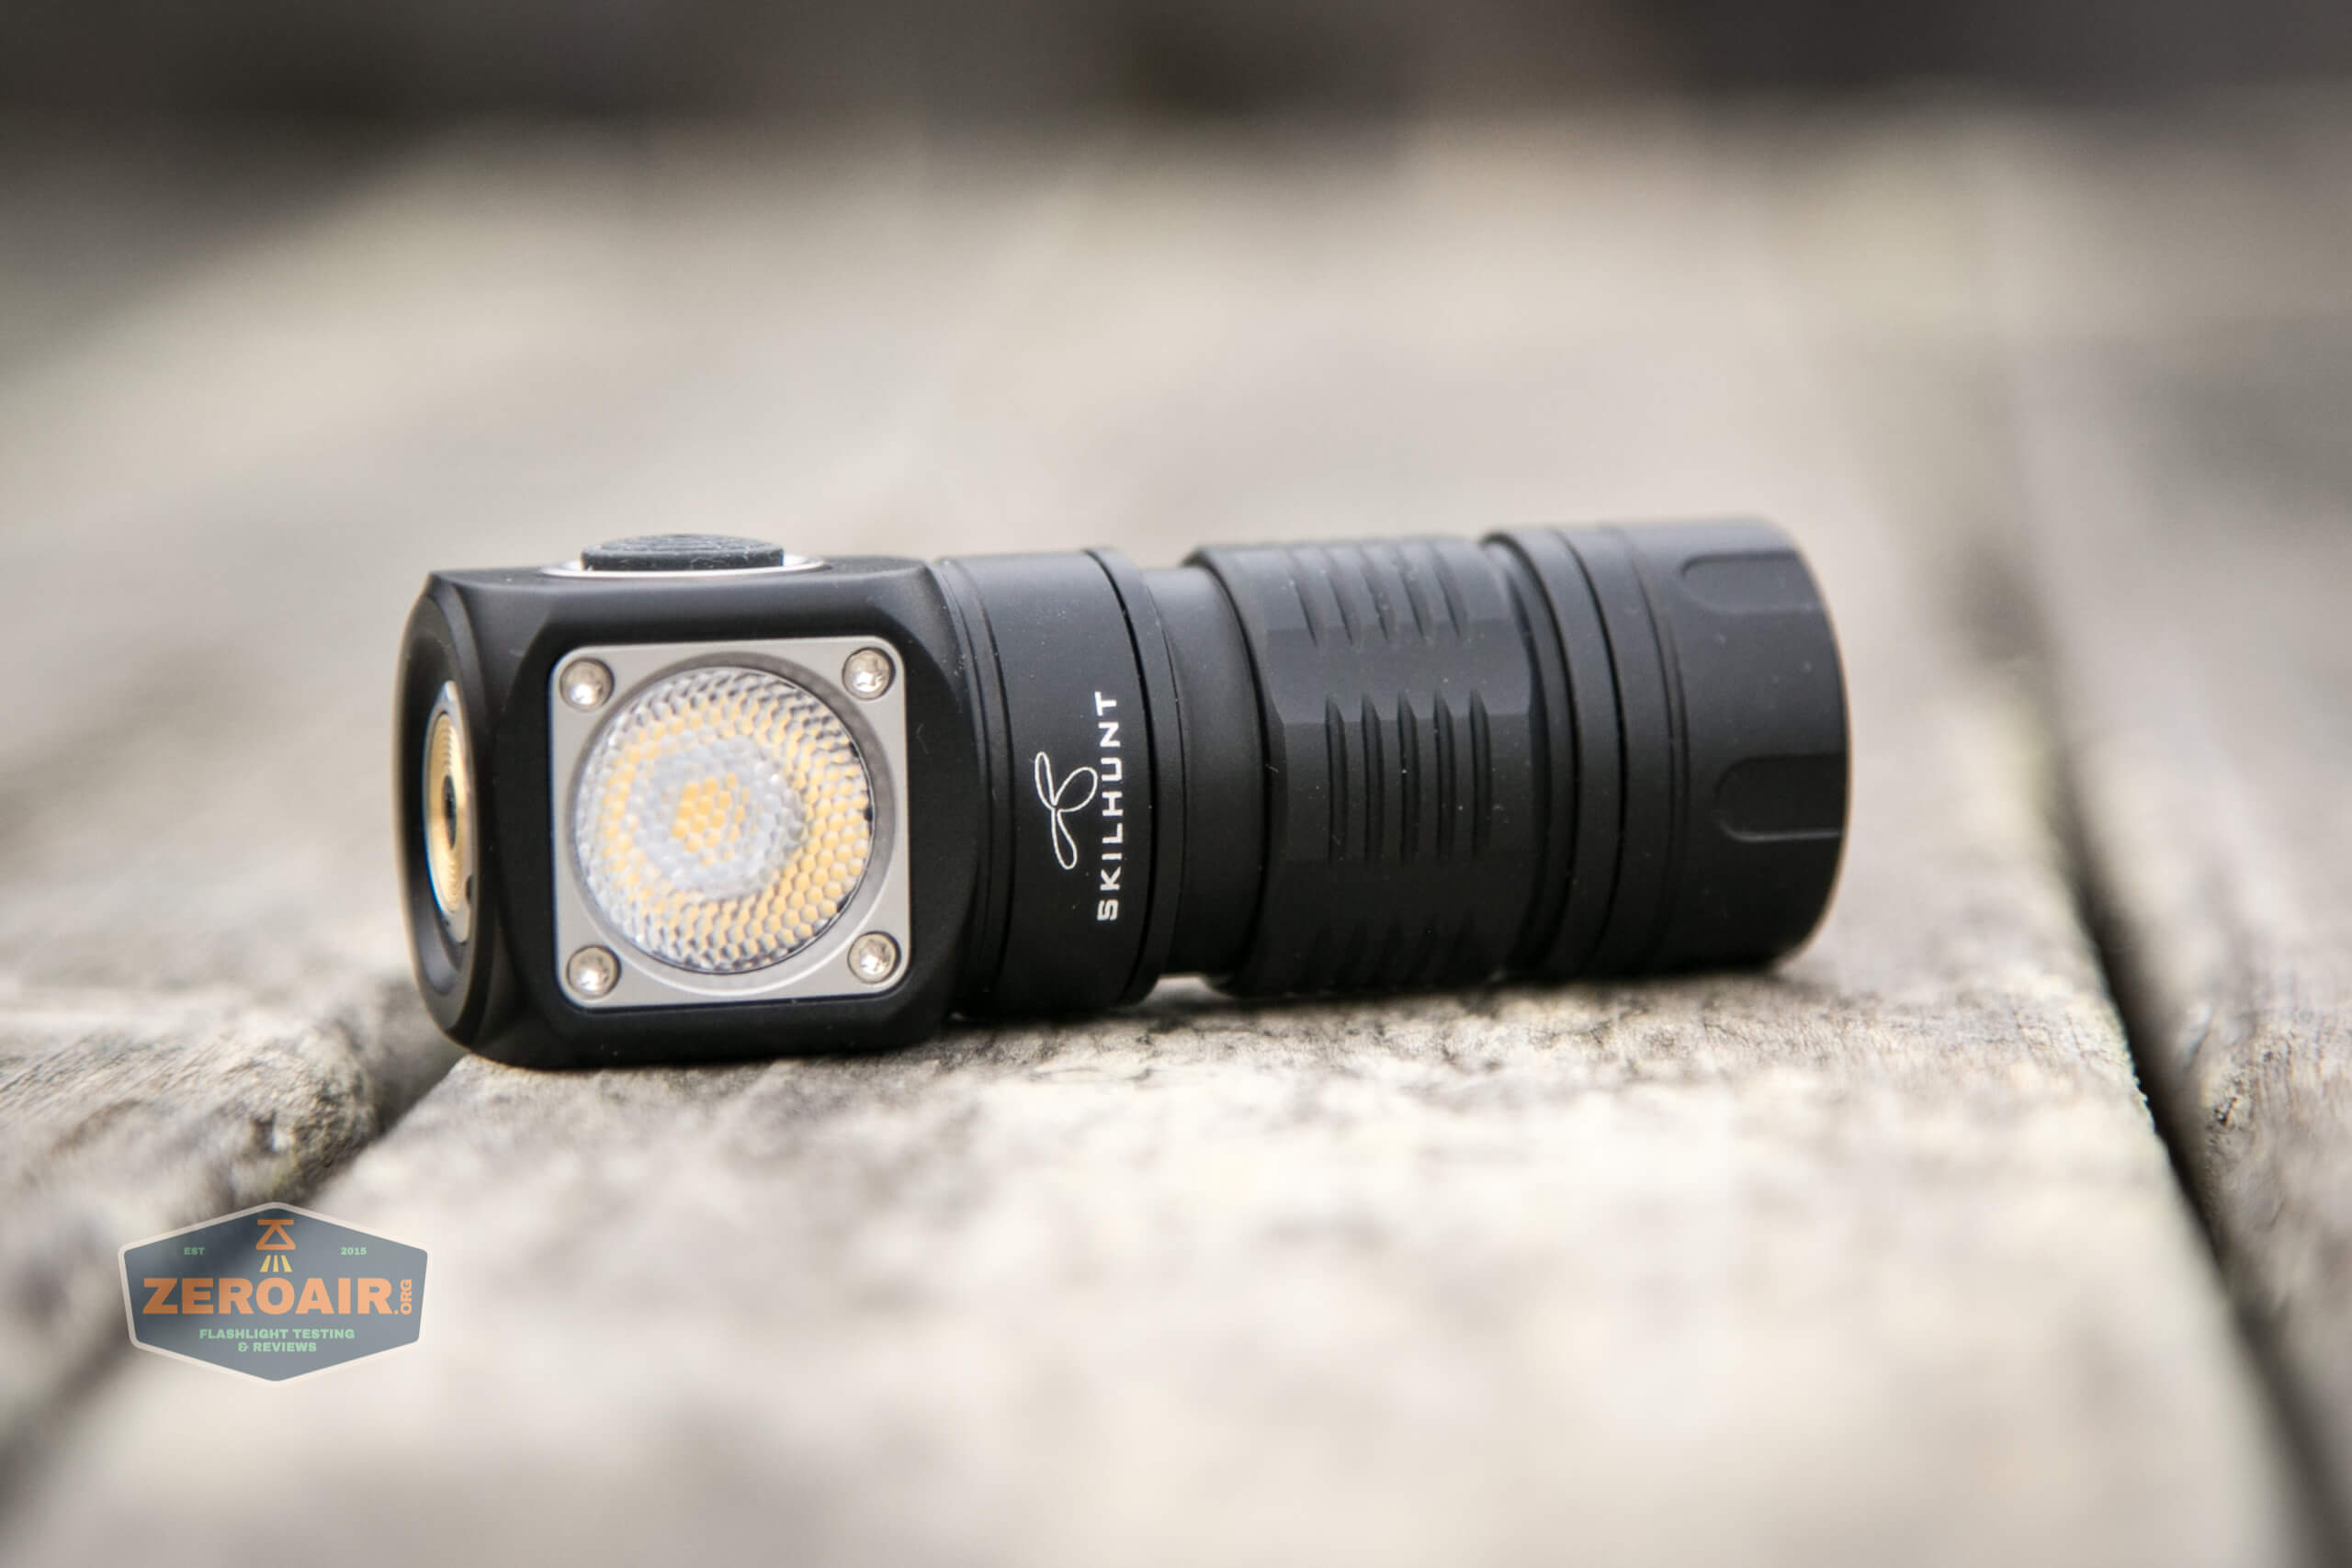
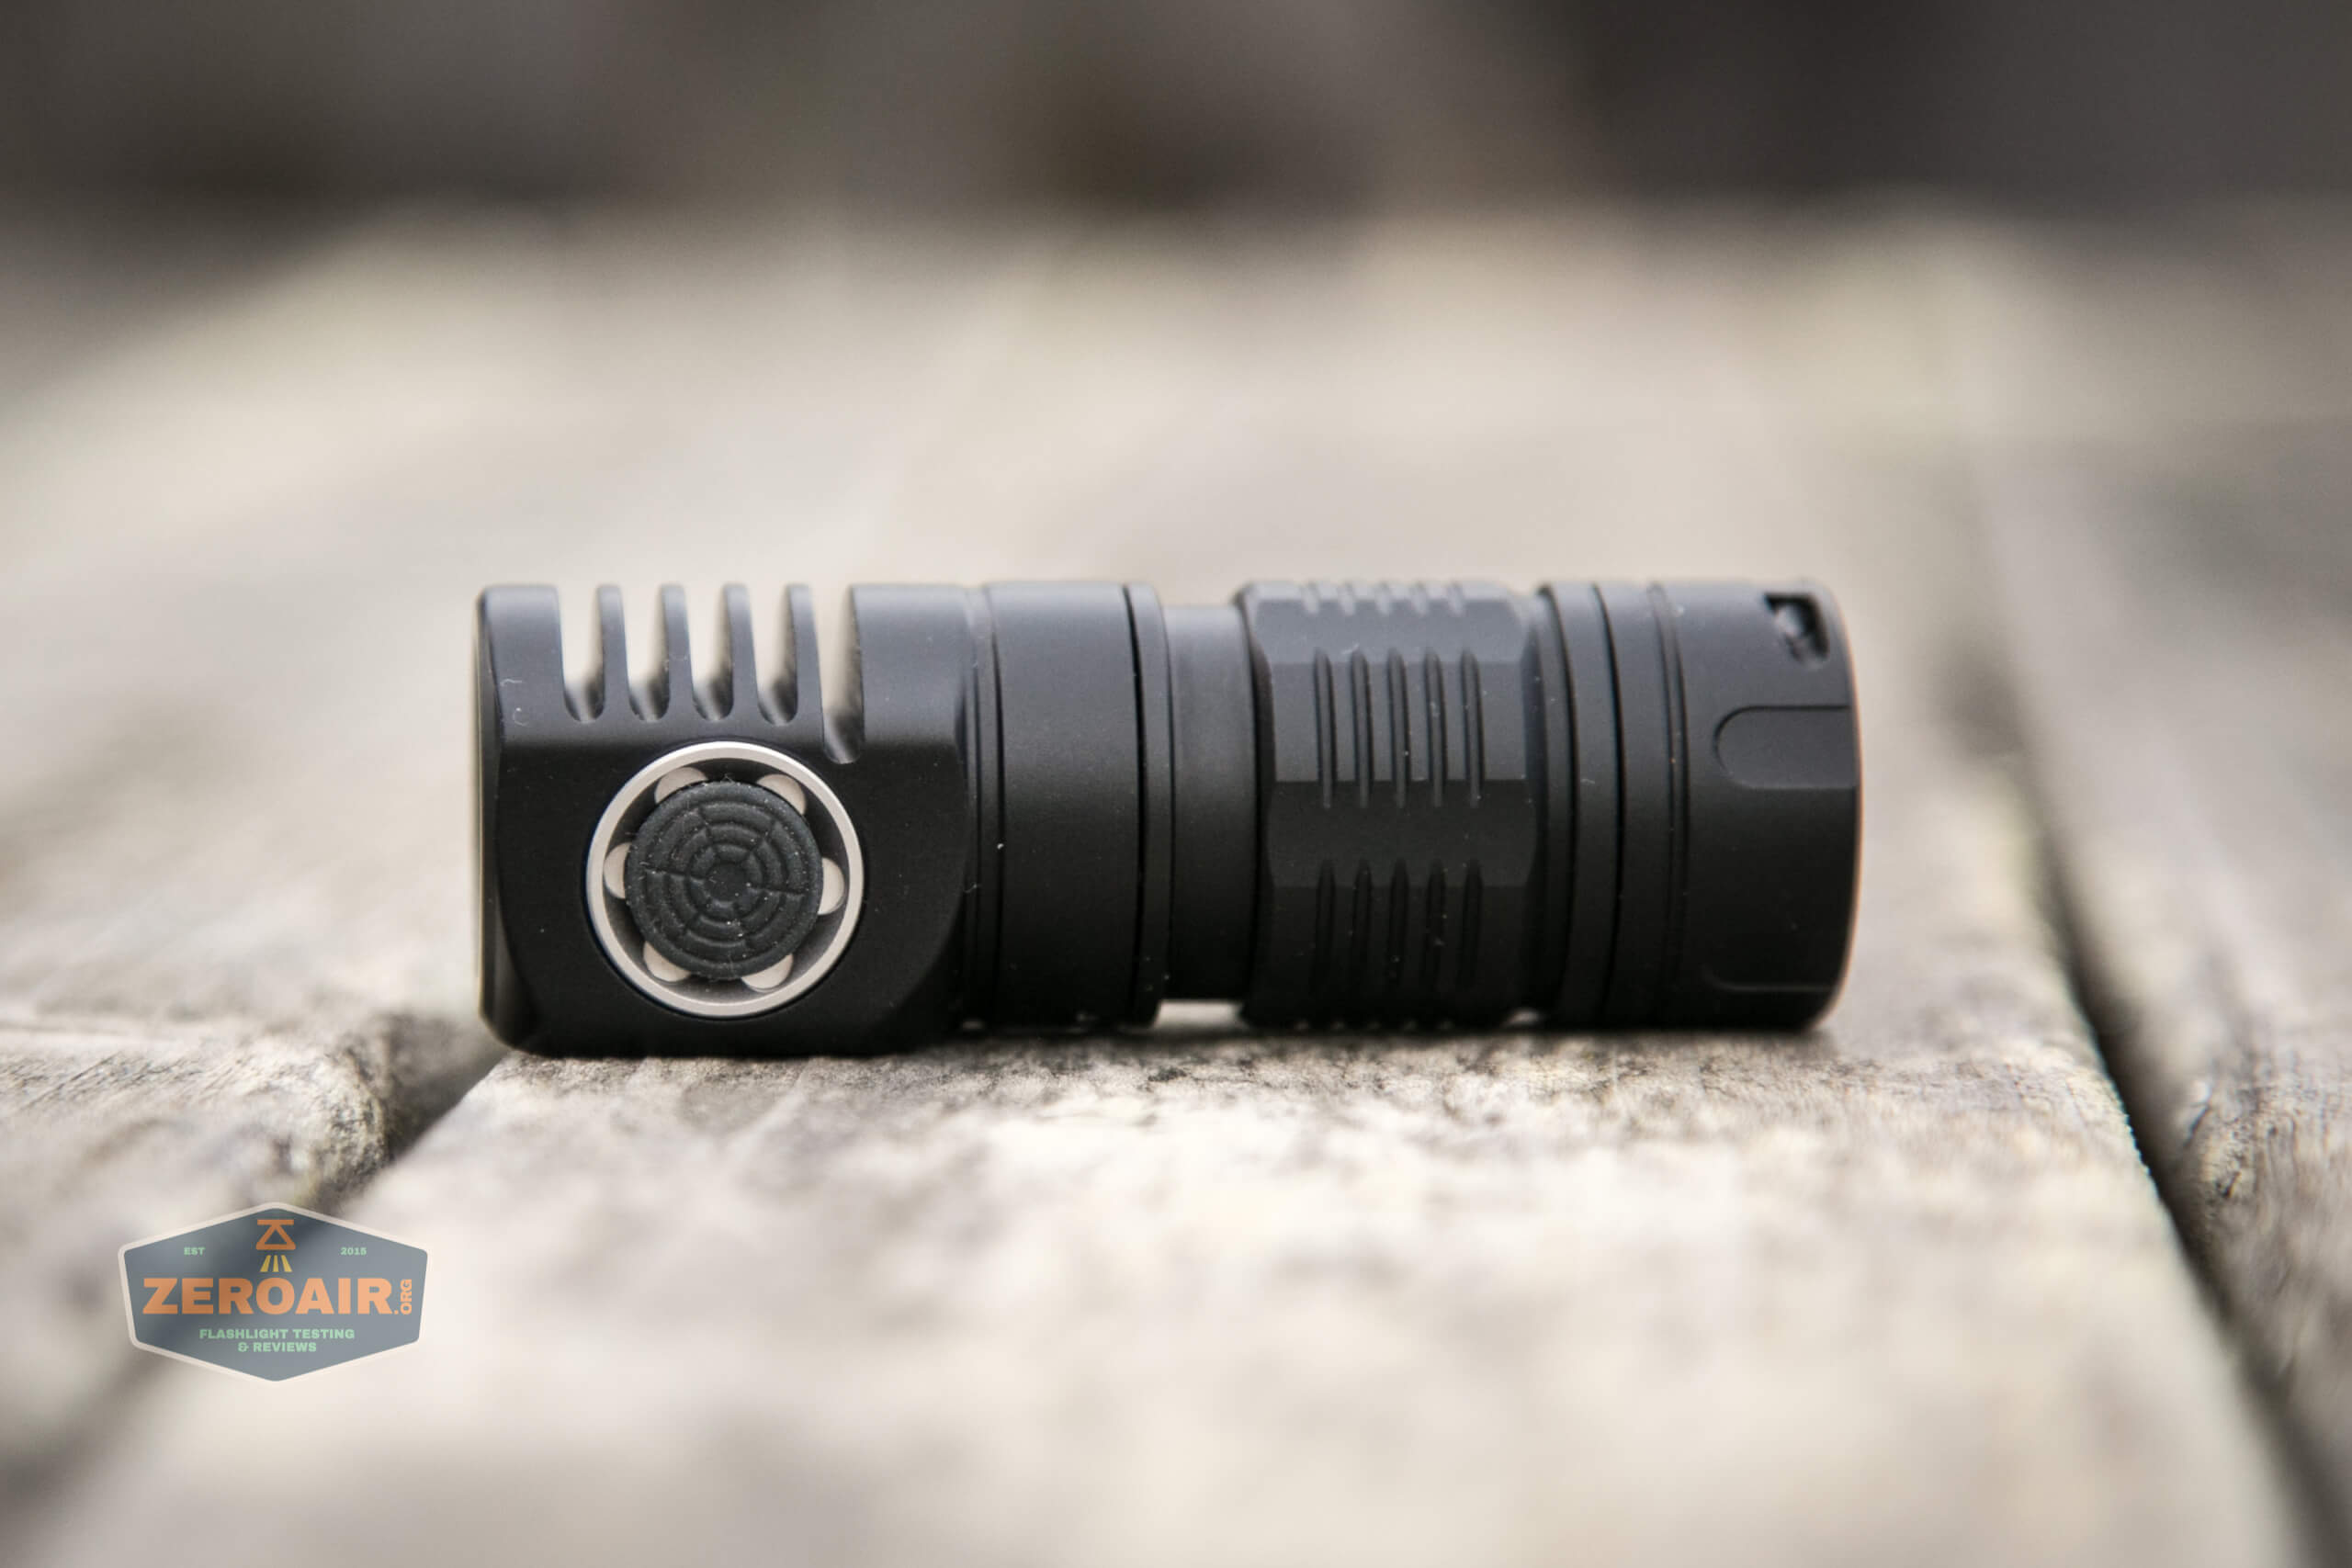
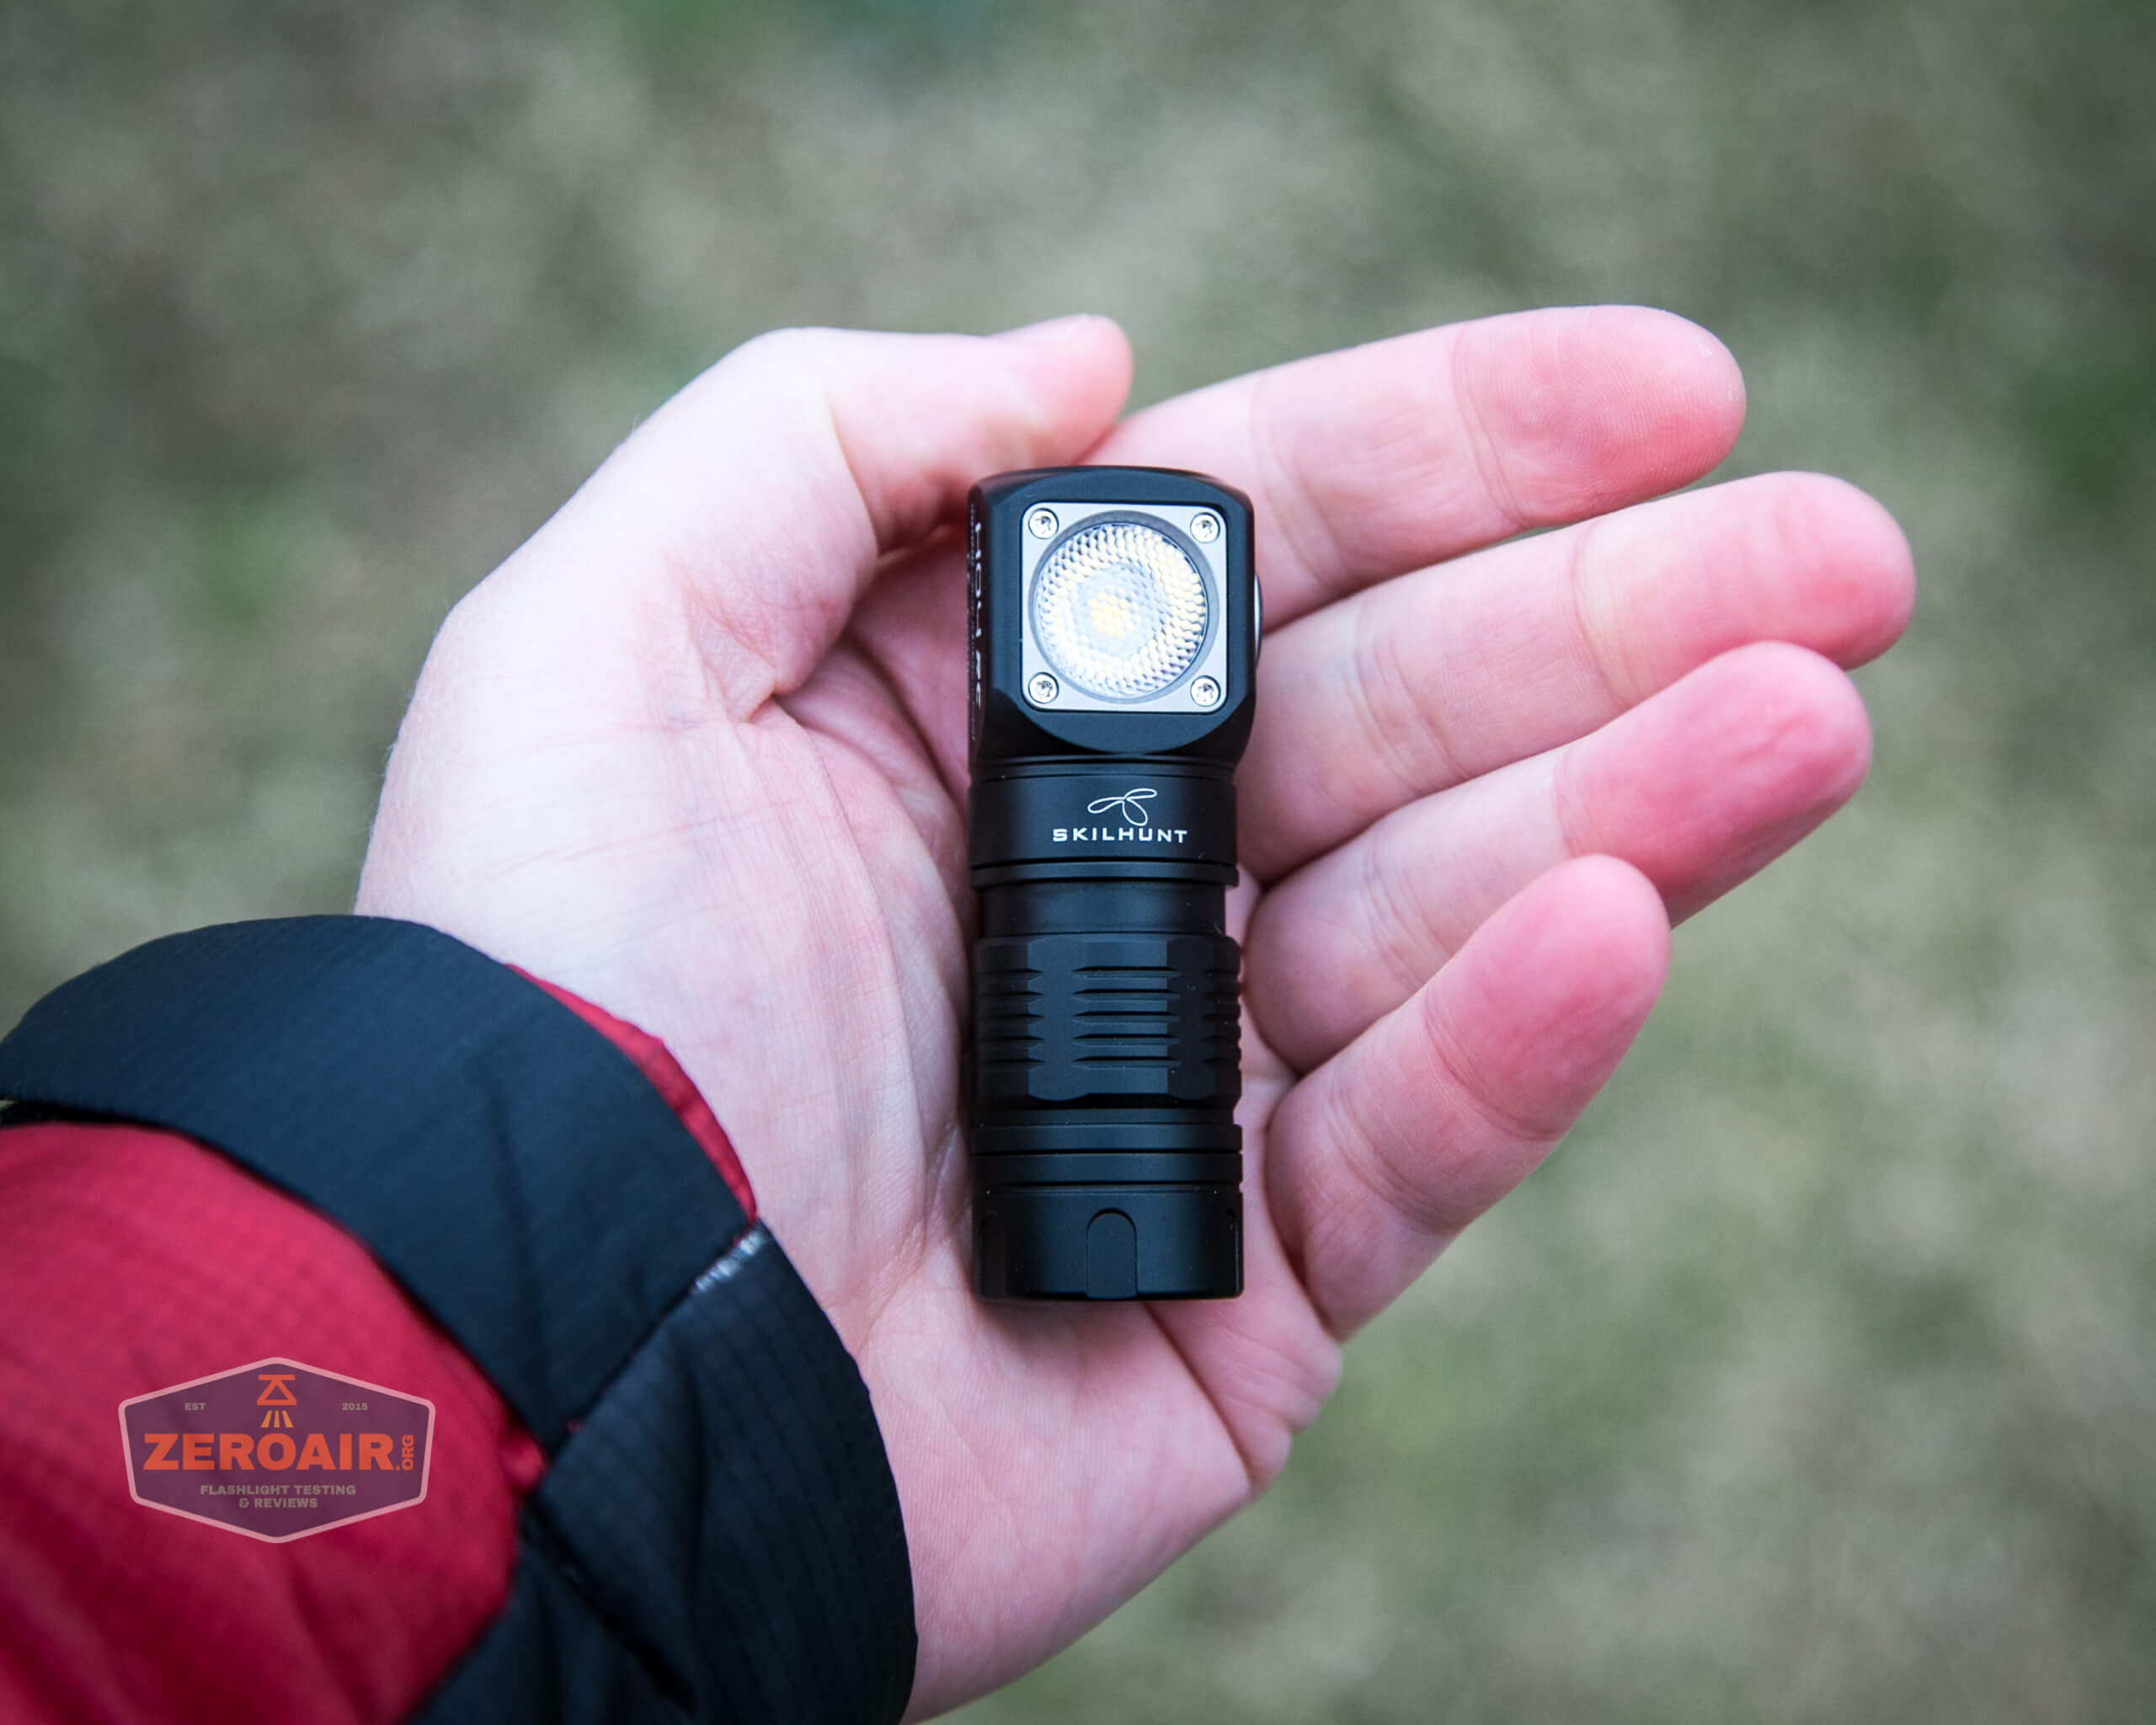
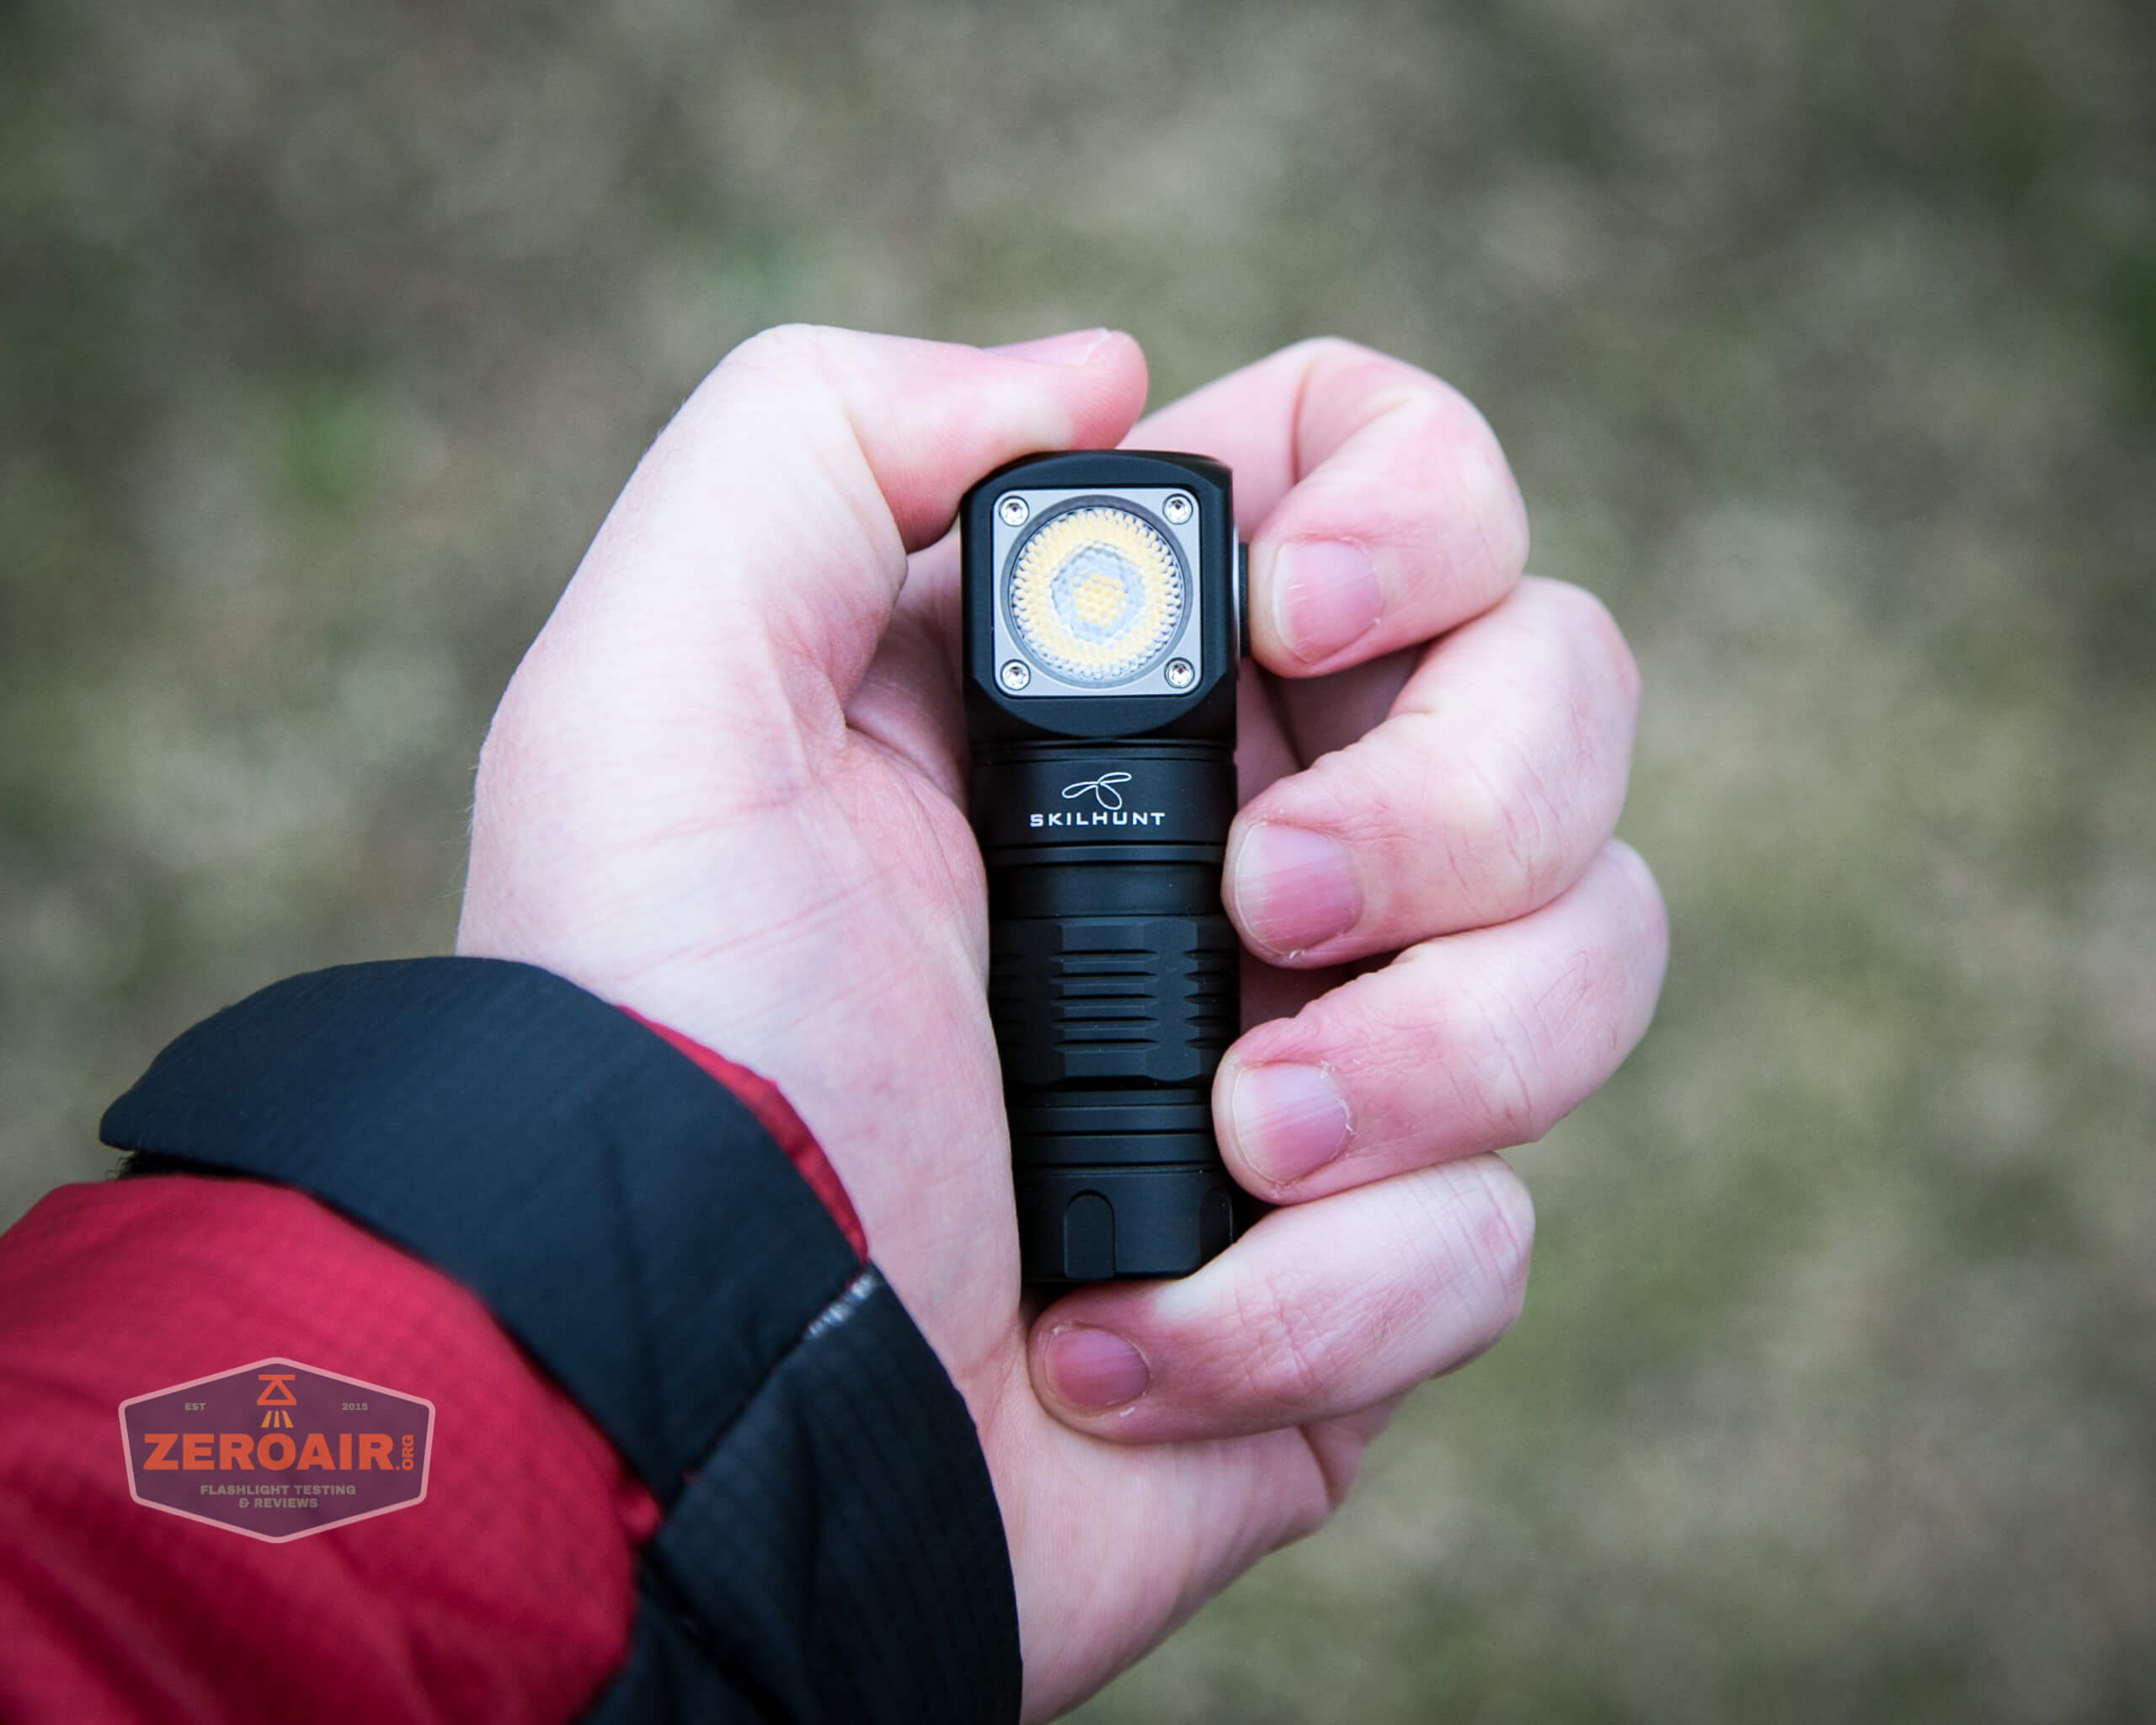
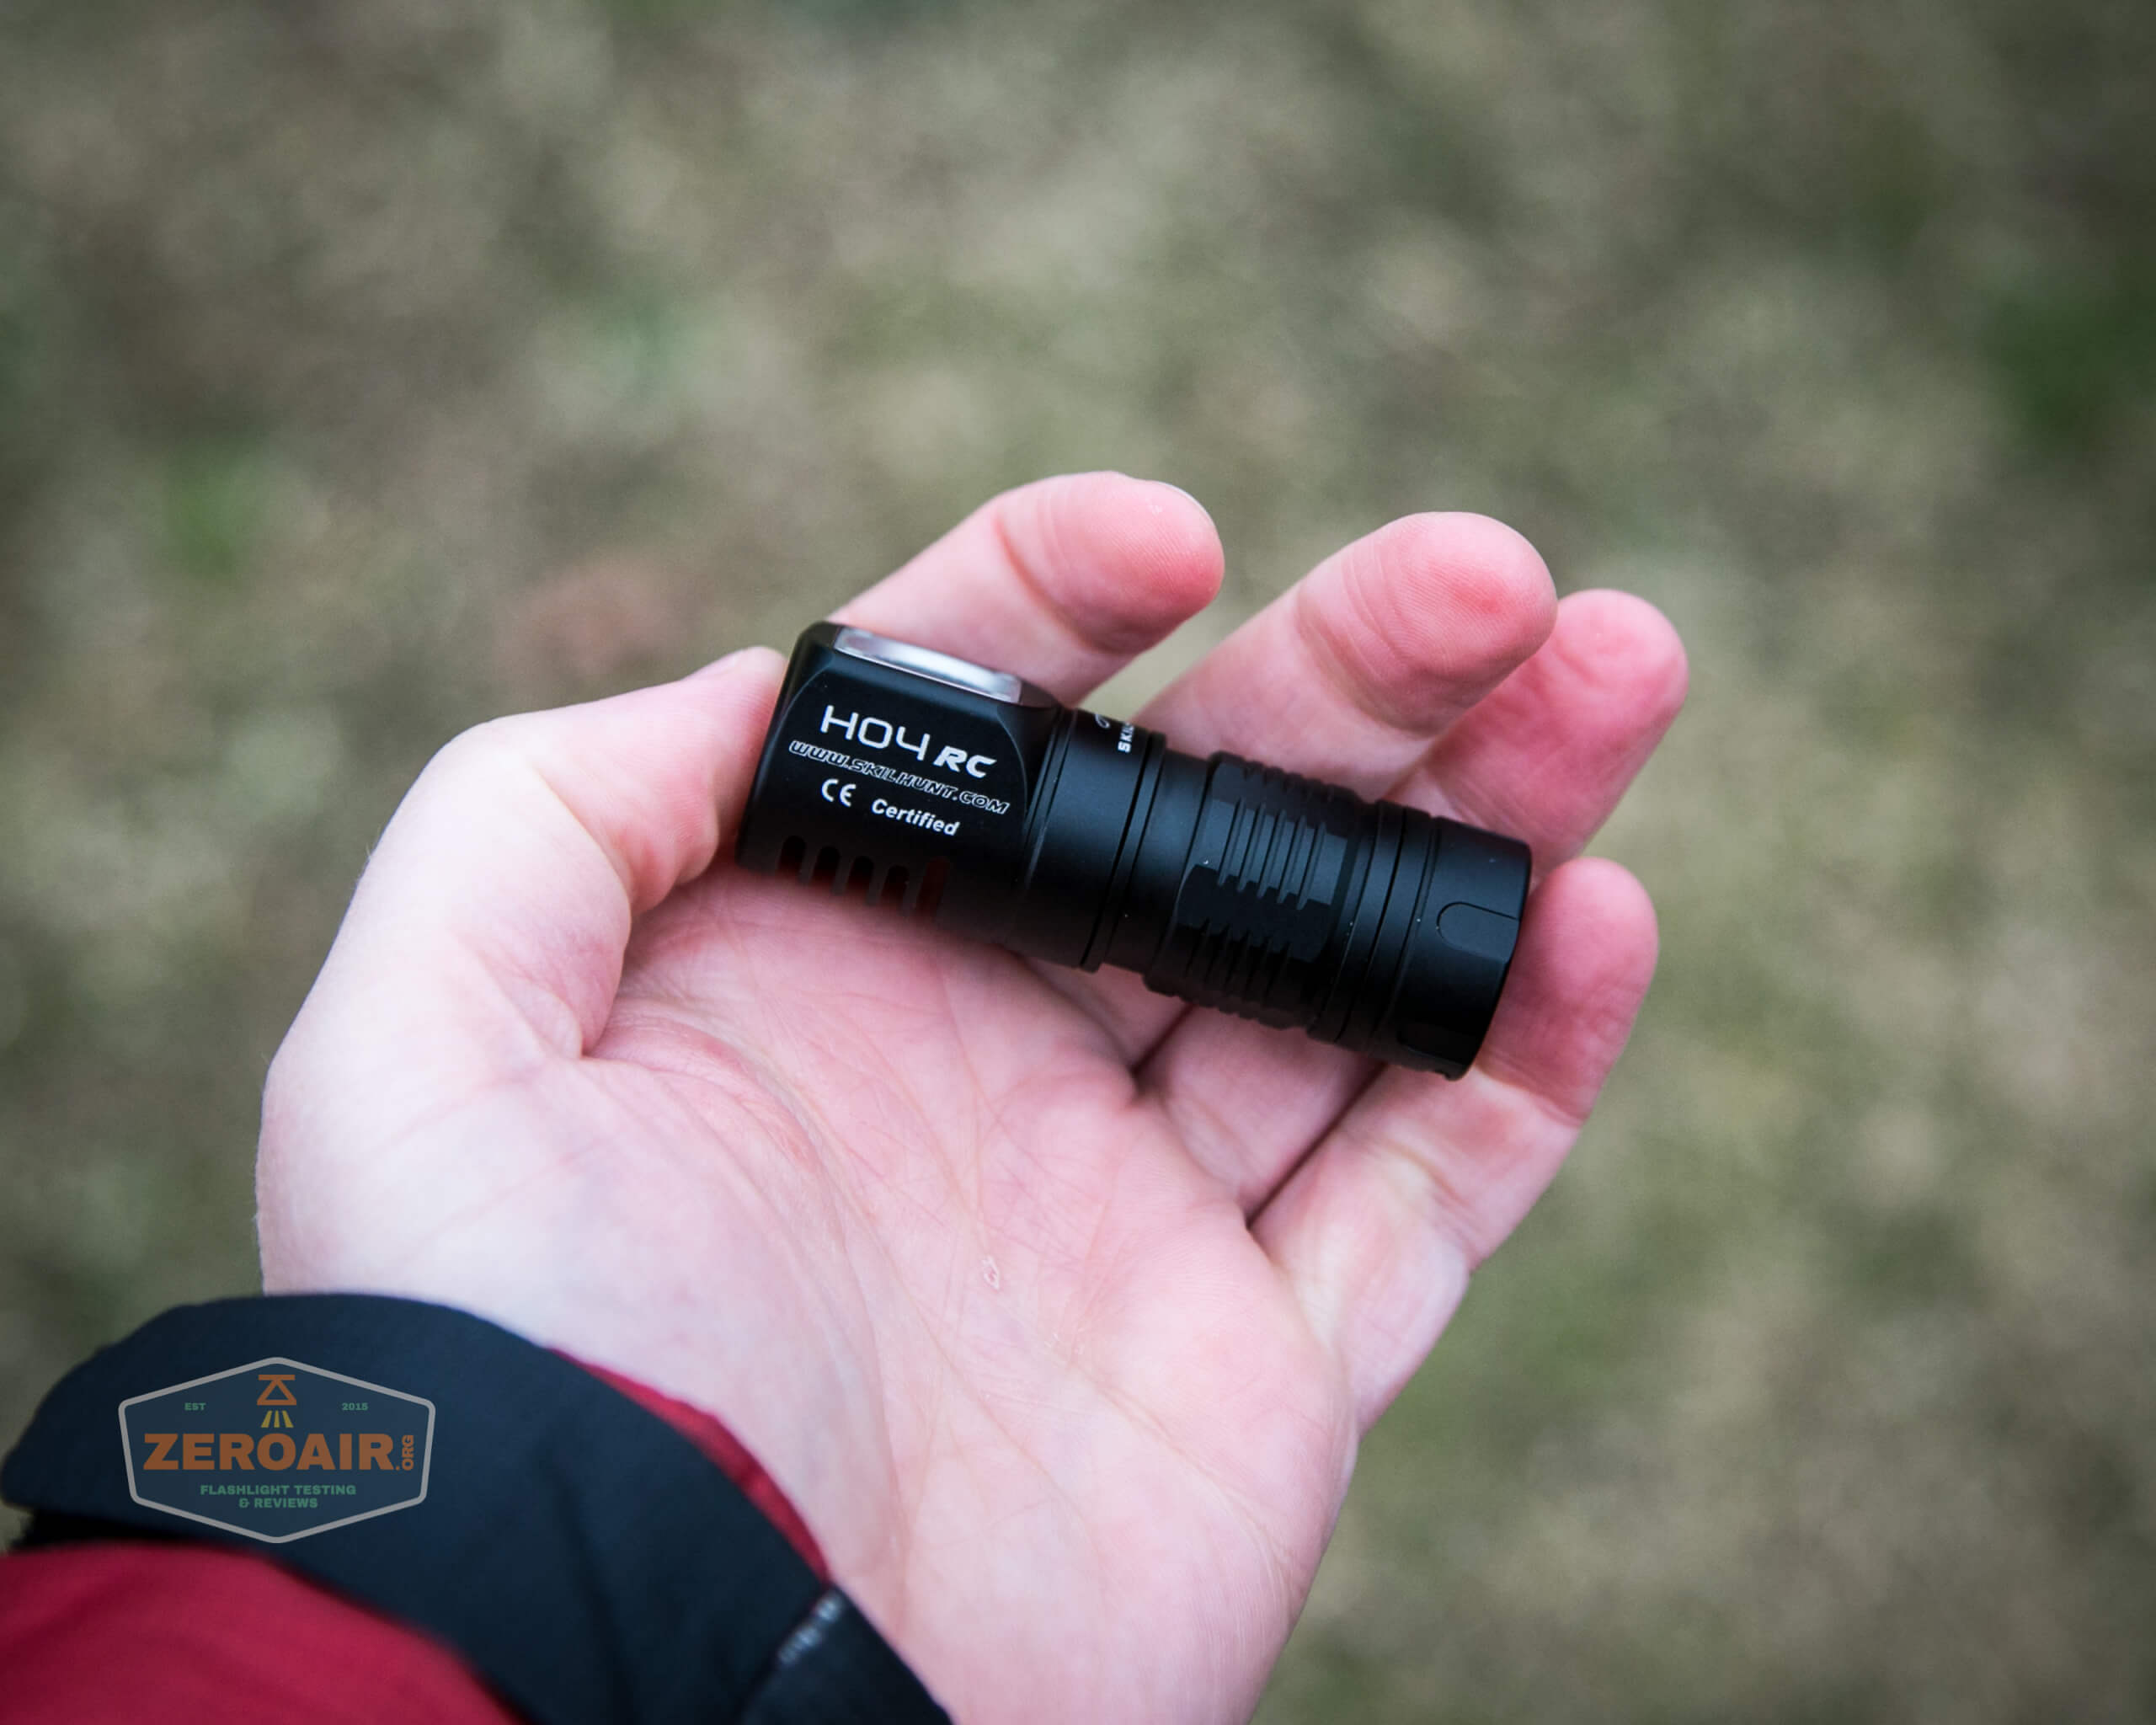
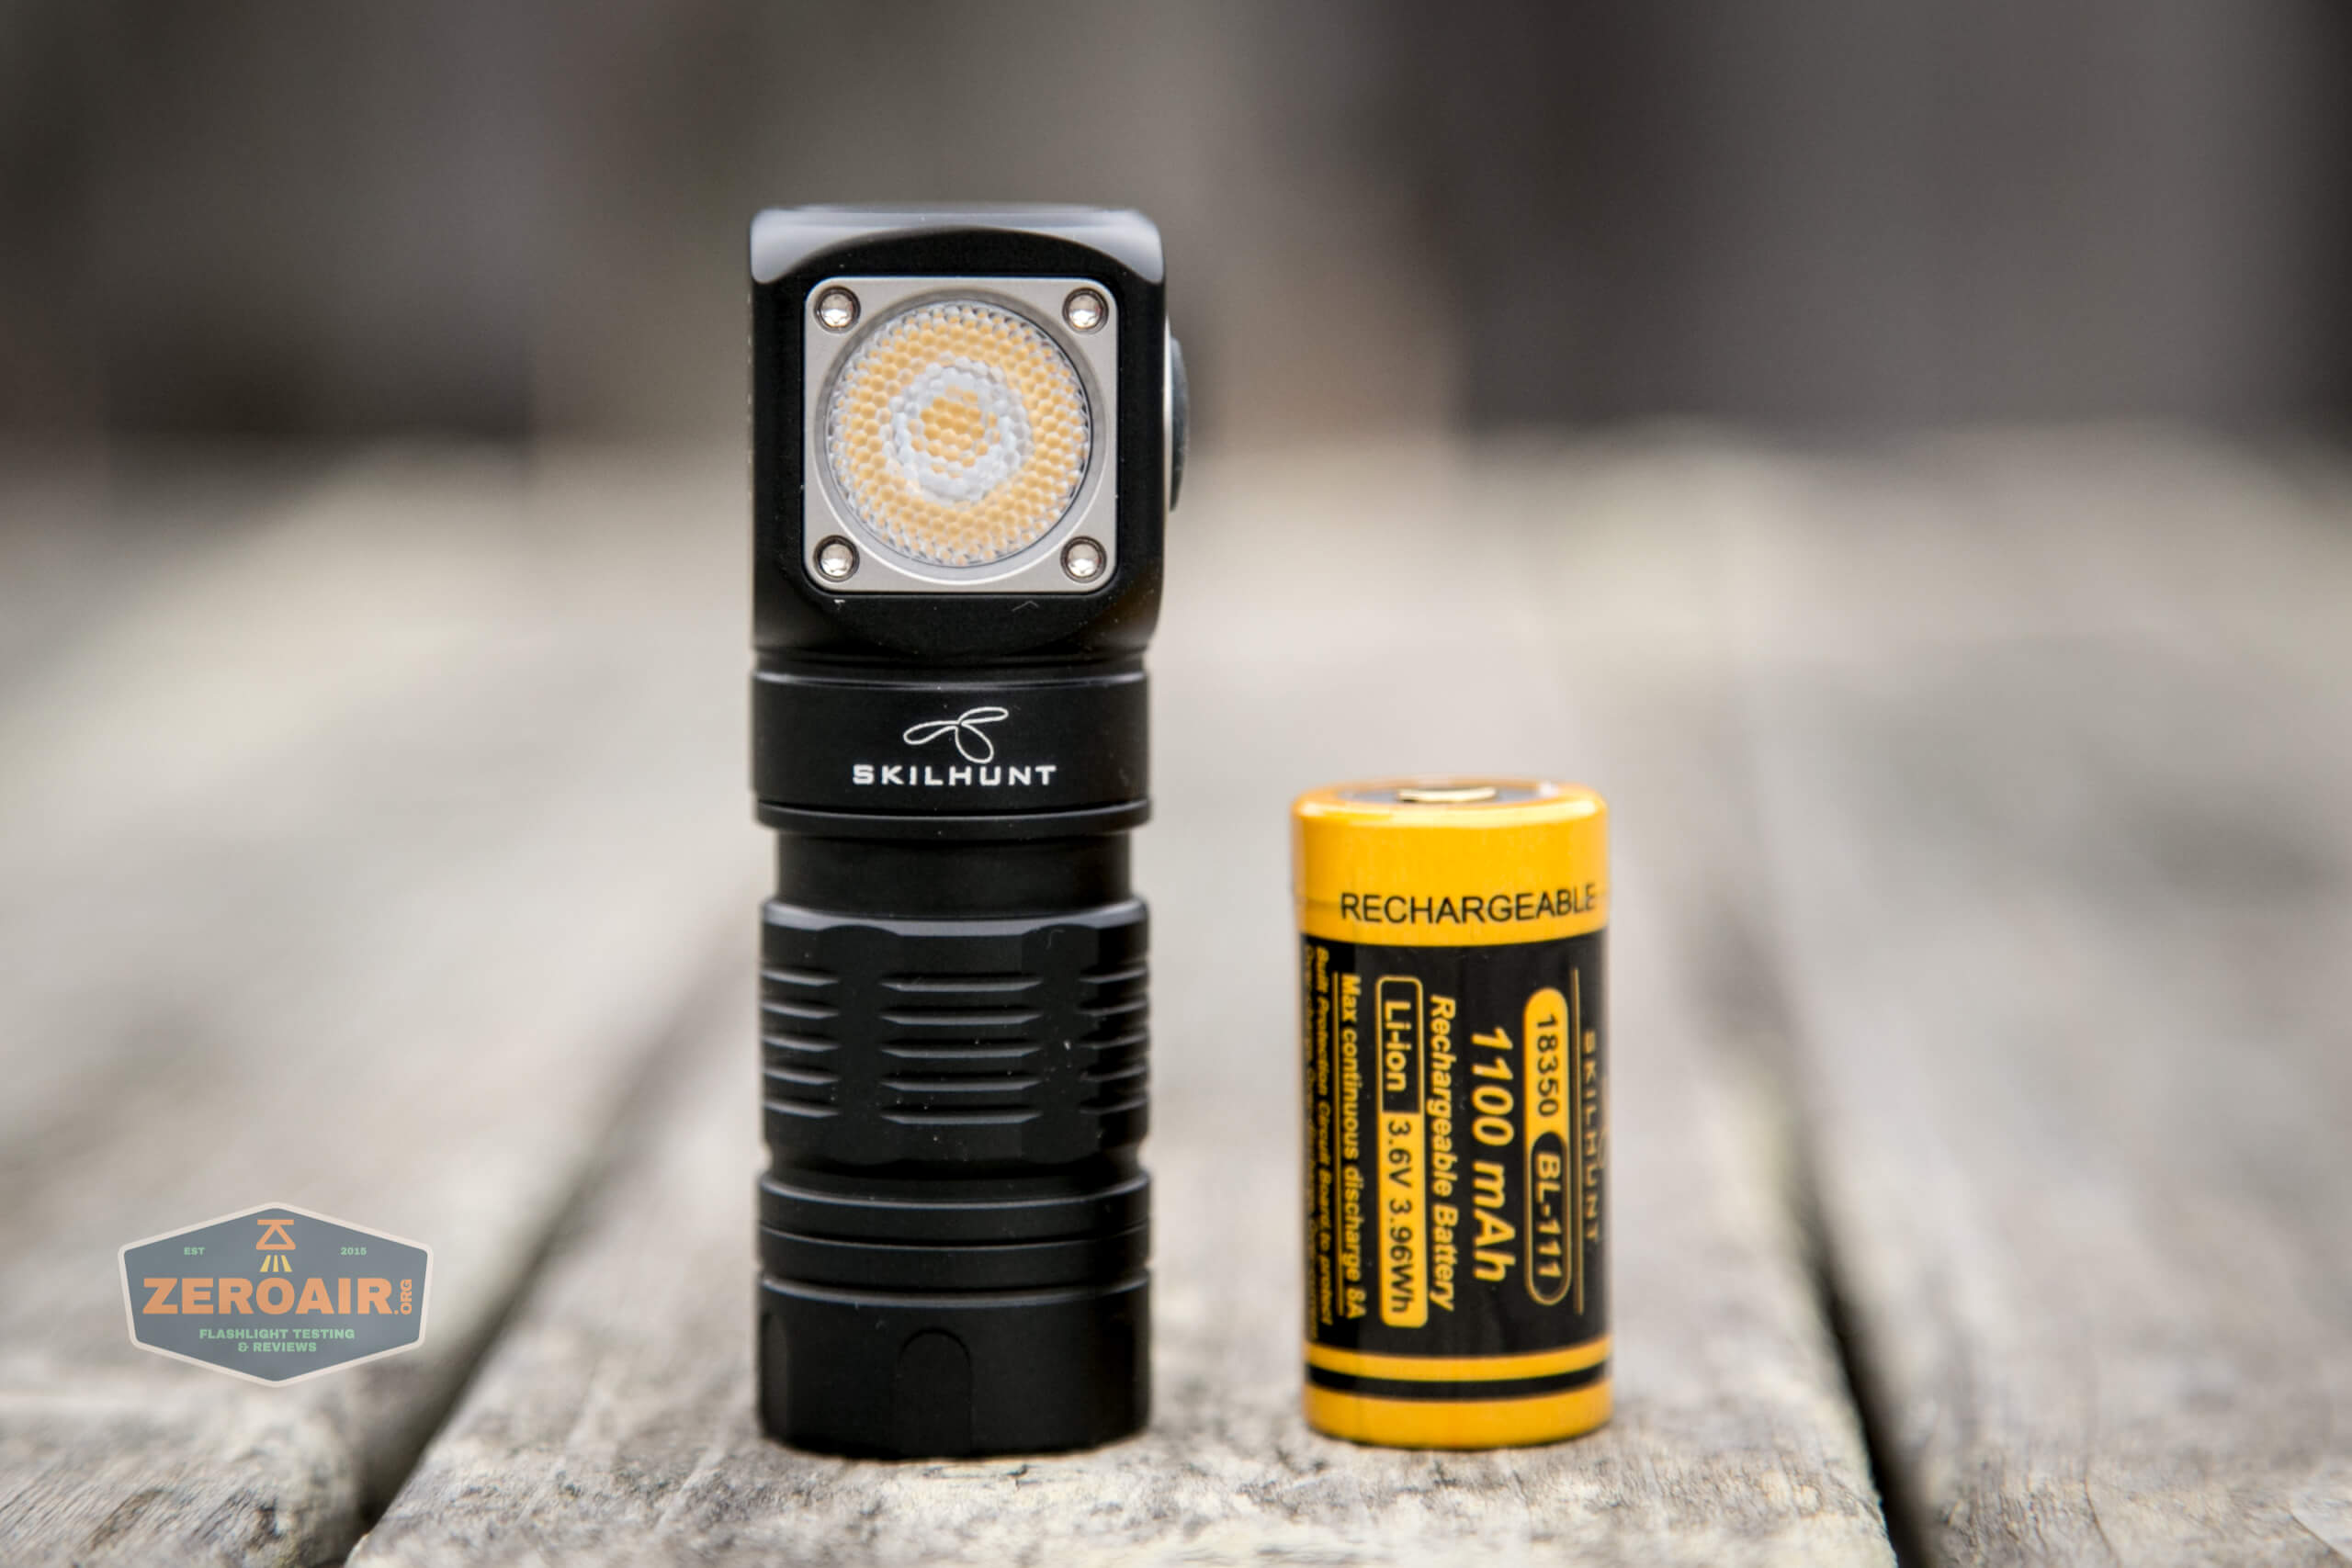
The build quality of the Skilhunt H04 Mini RC Headlamp is great. If you’ve experienced the H03 or H04 headlamps (and you really should have), then the H04 Mini RC will be no surprise at all for you. The H04 Mini RC is literally just a shrunken-down version of the 18650 body Skilhunt headlamps!

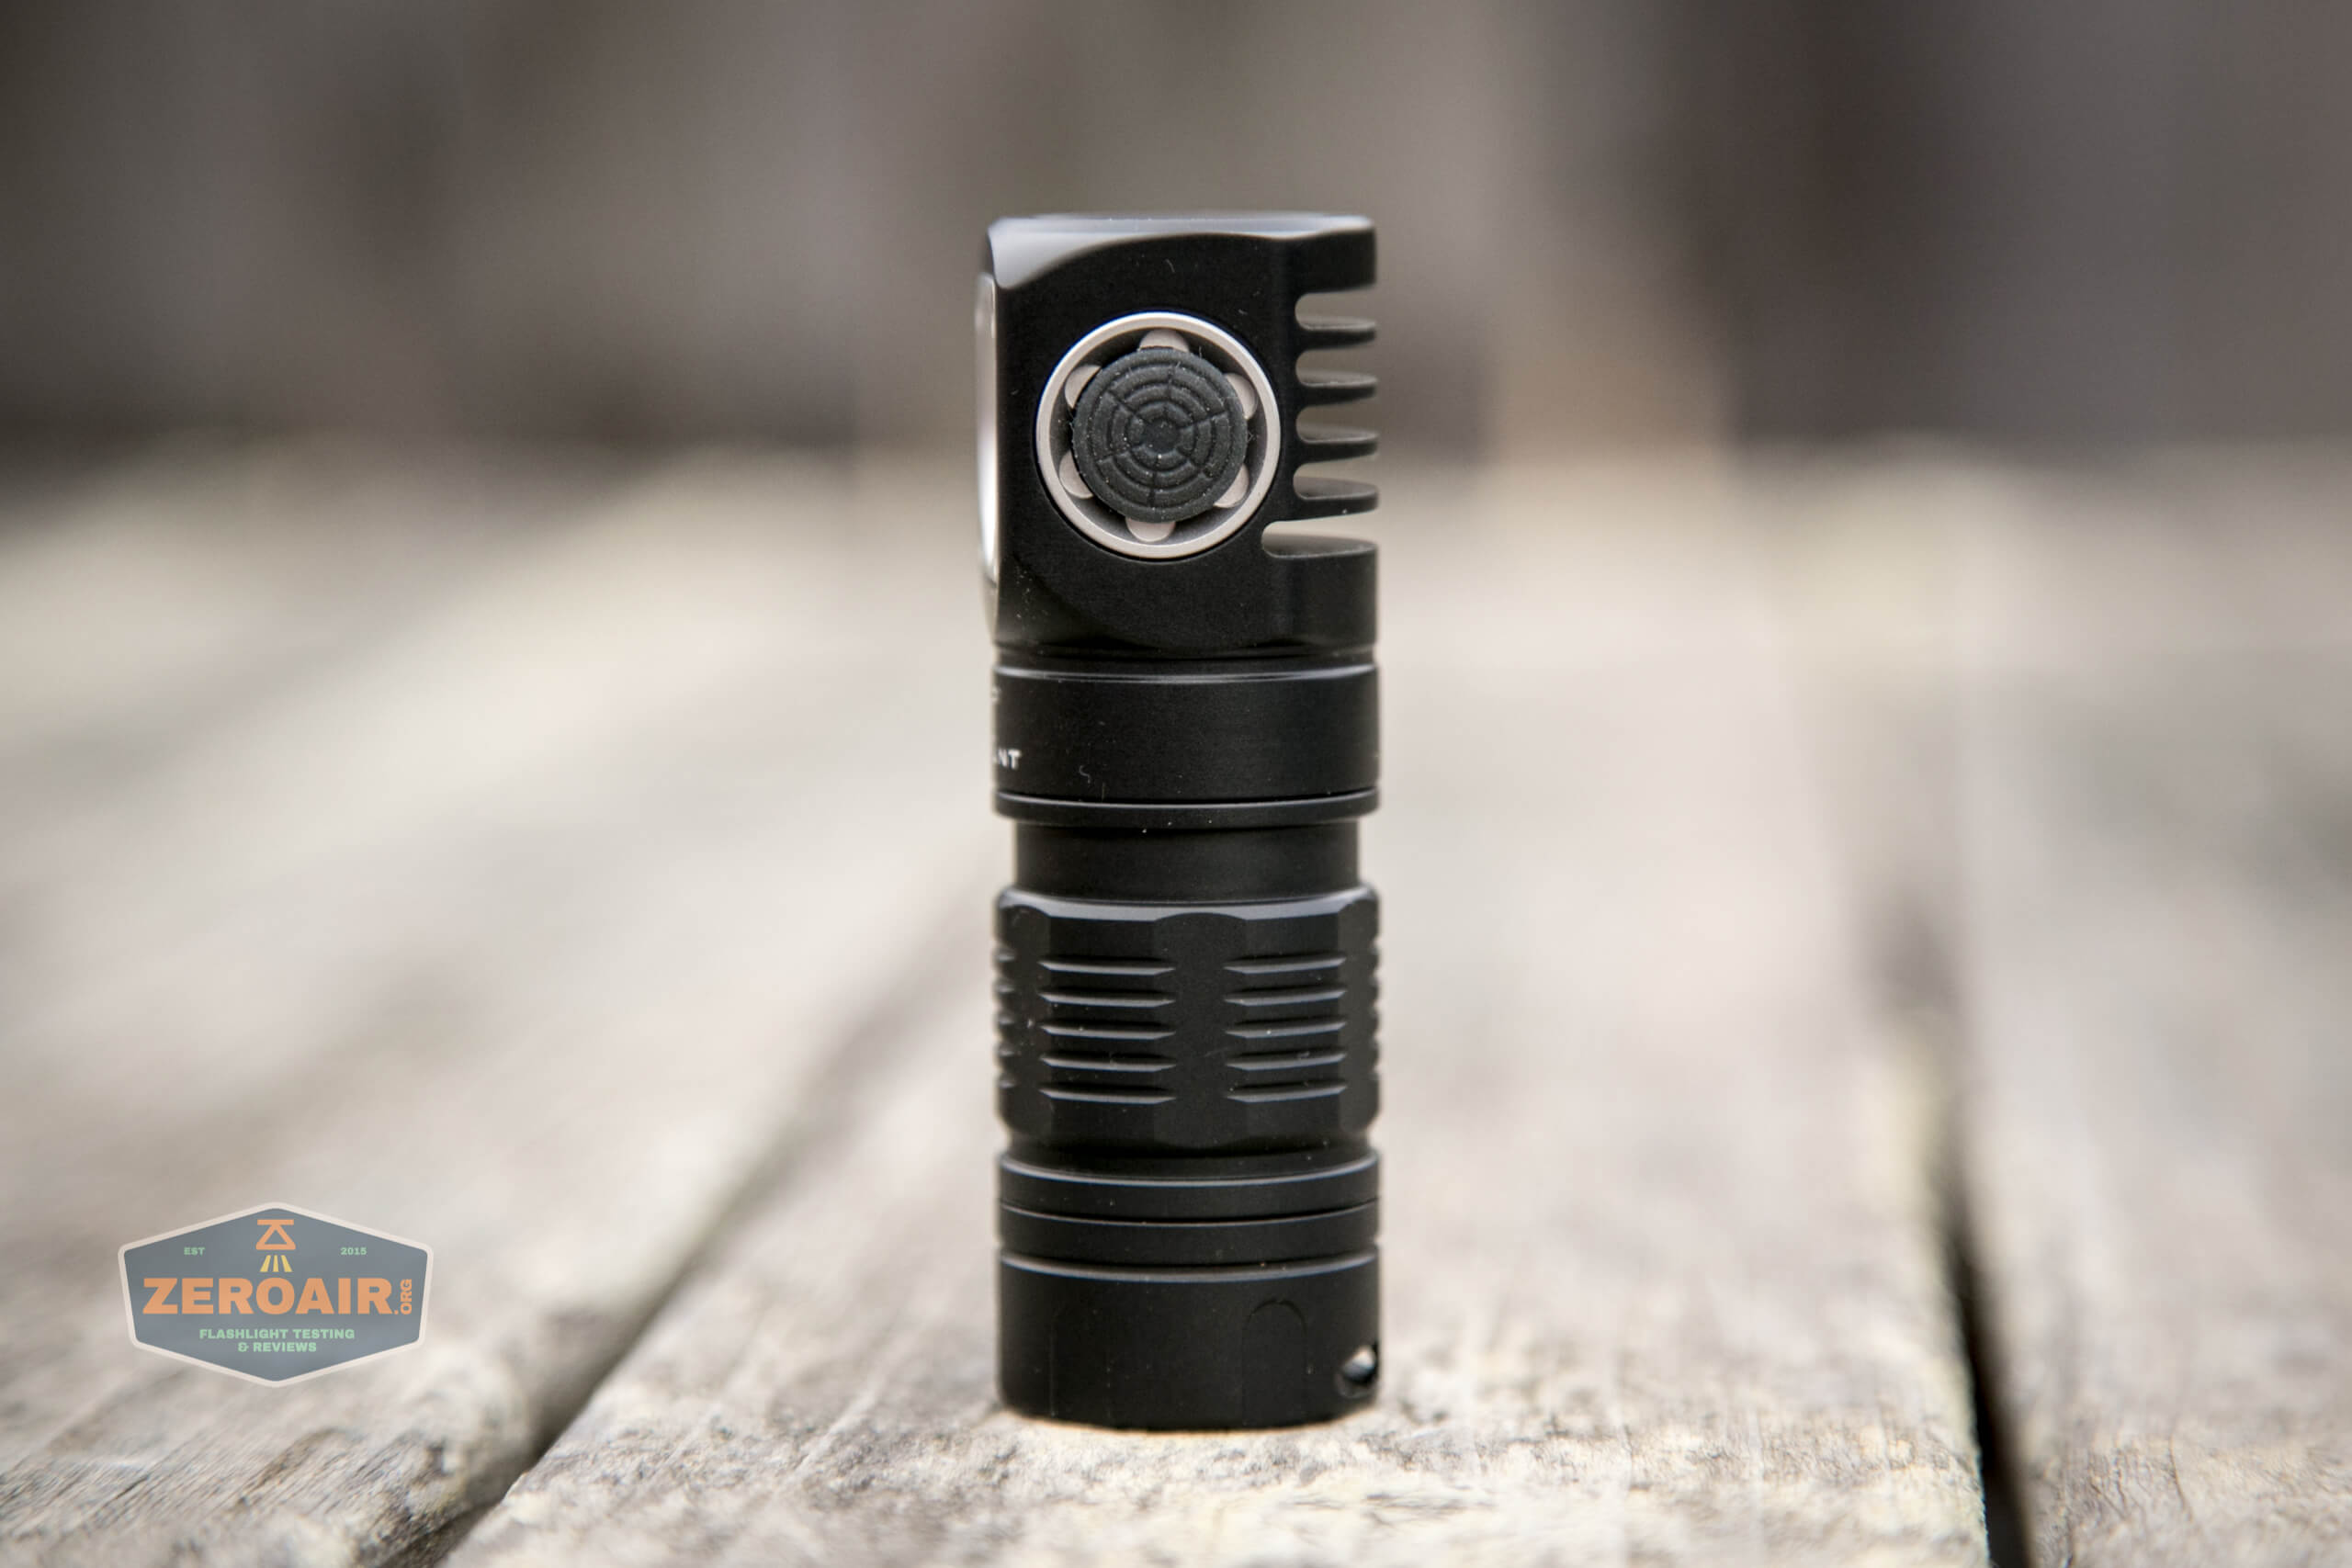
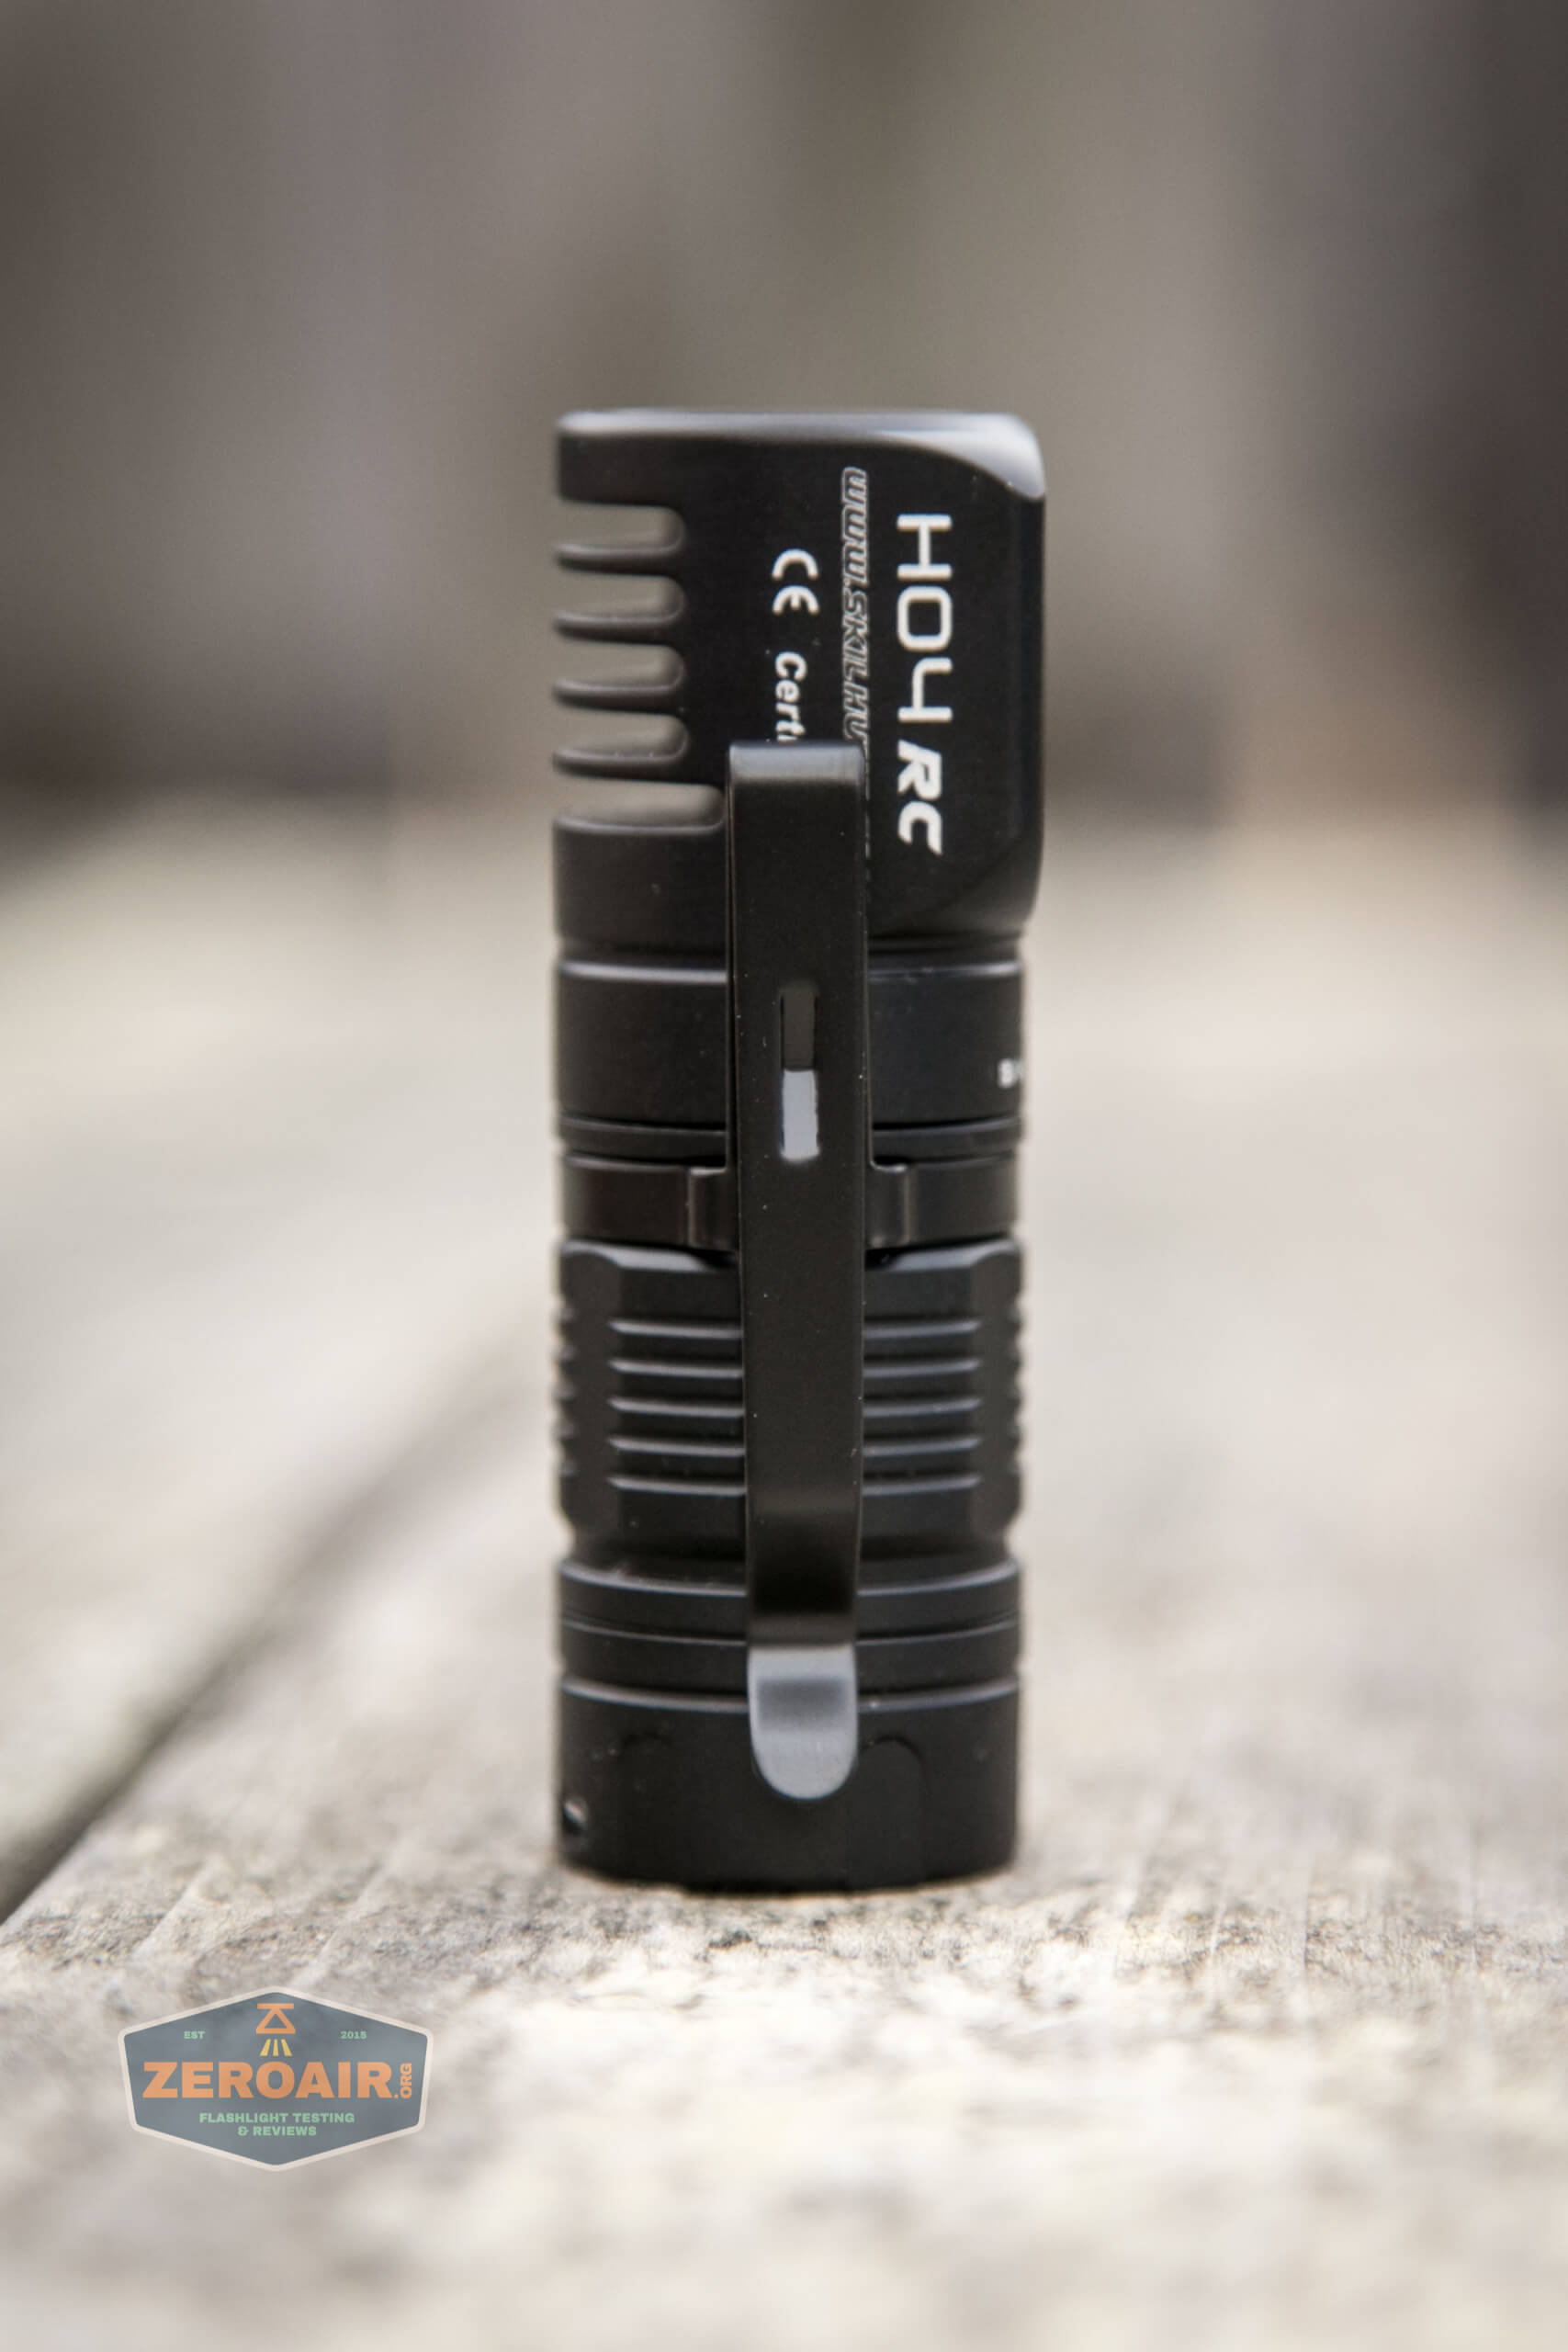
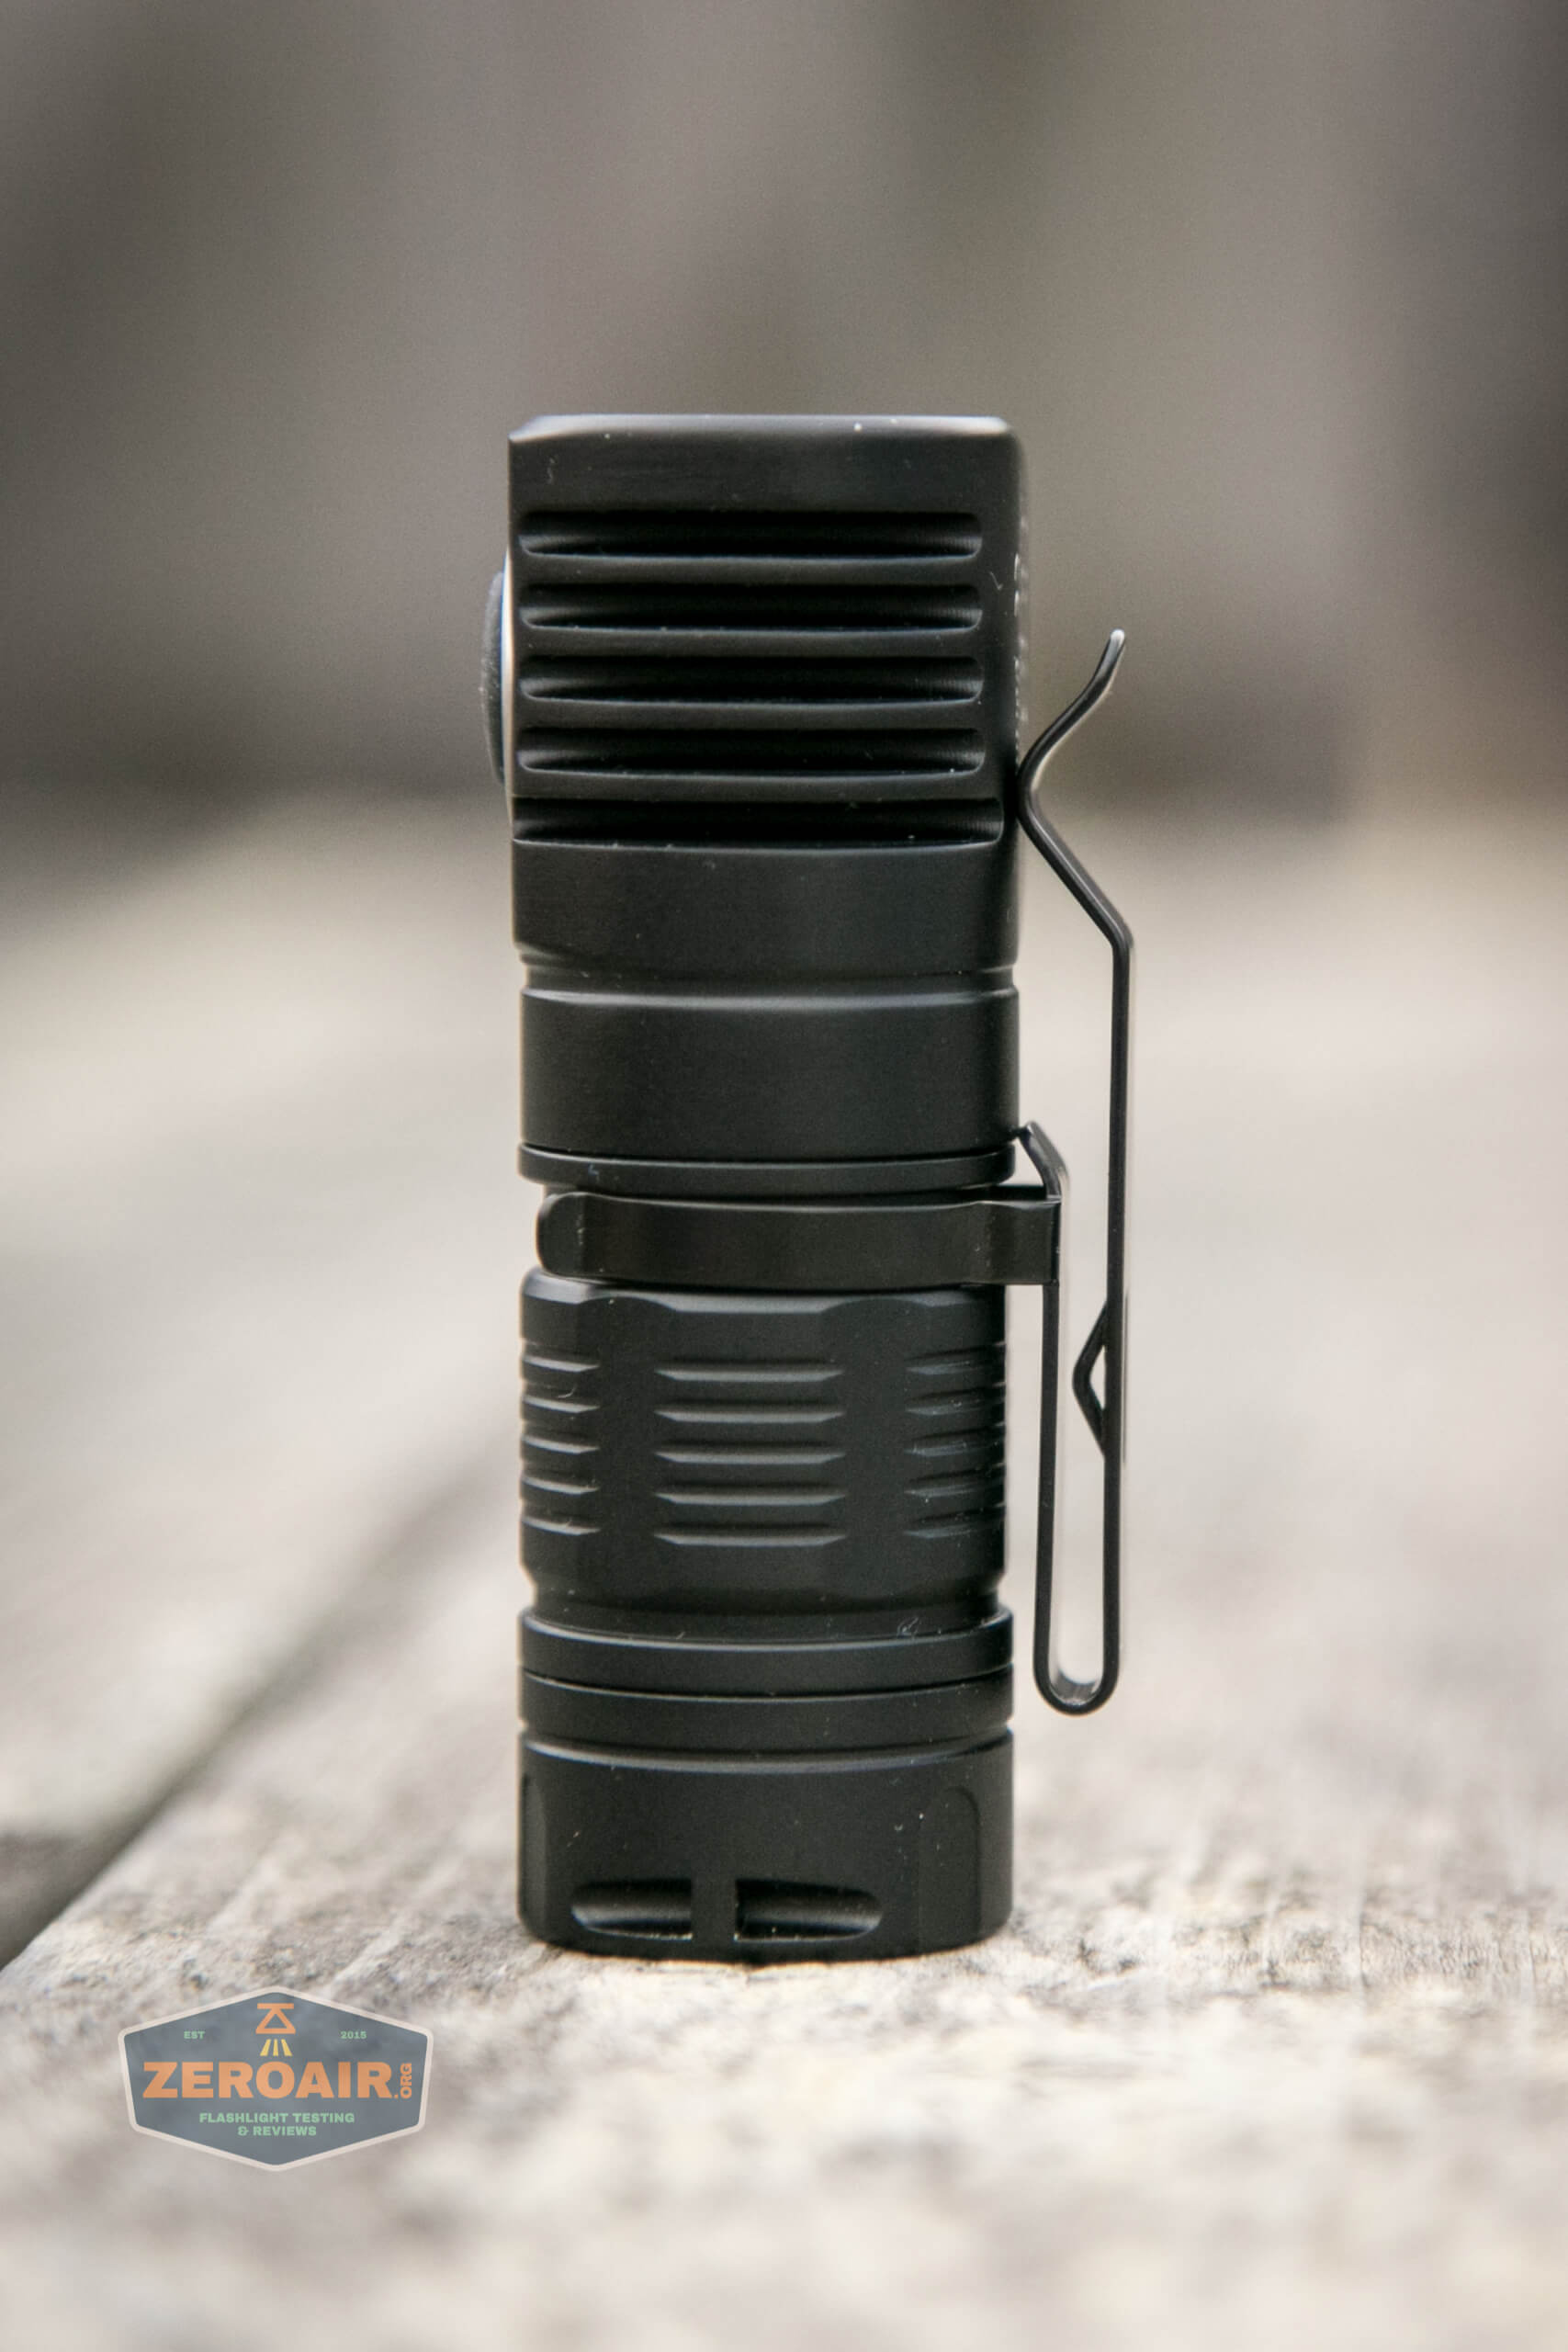
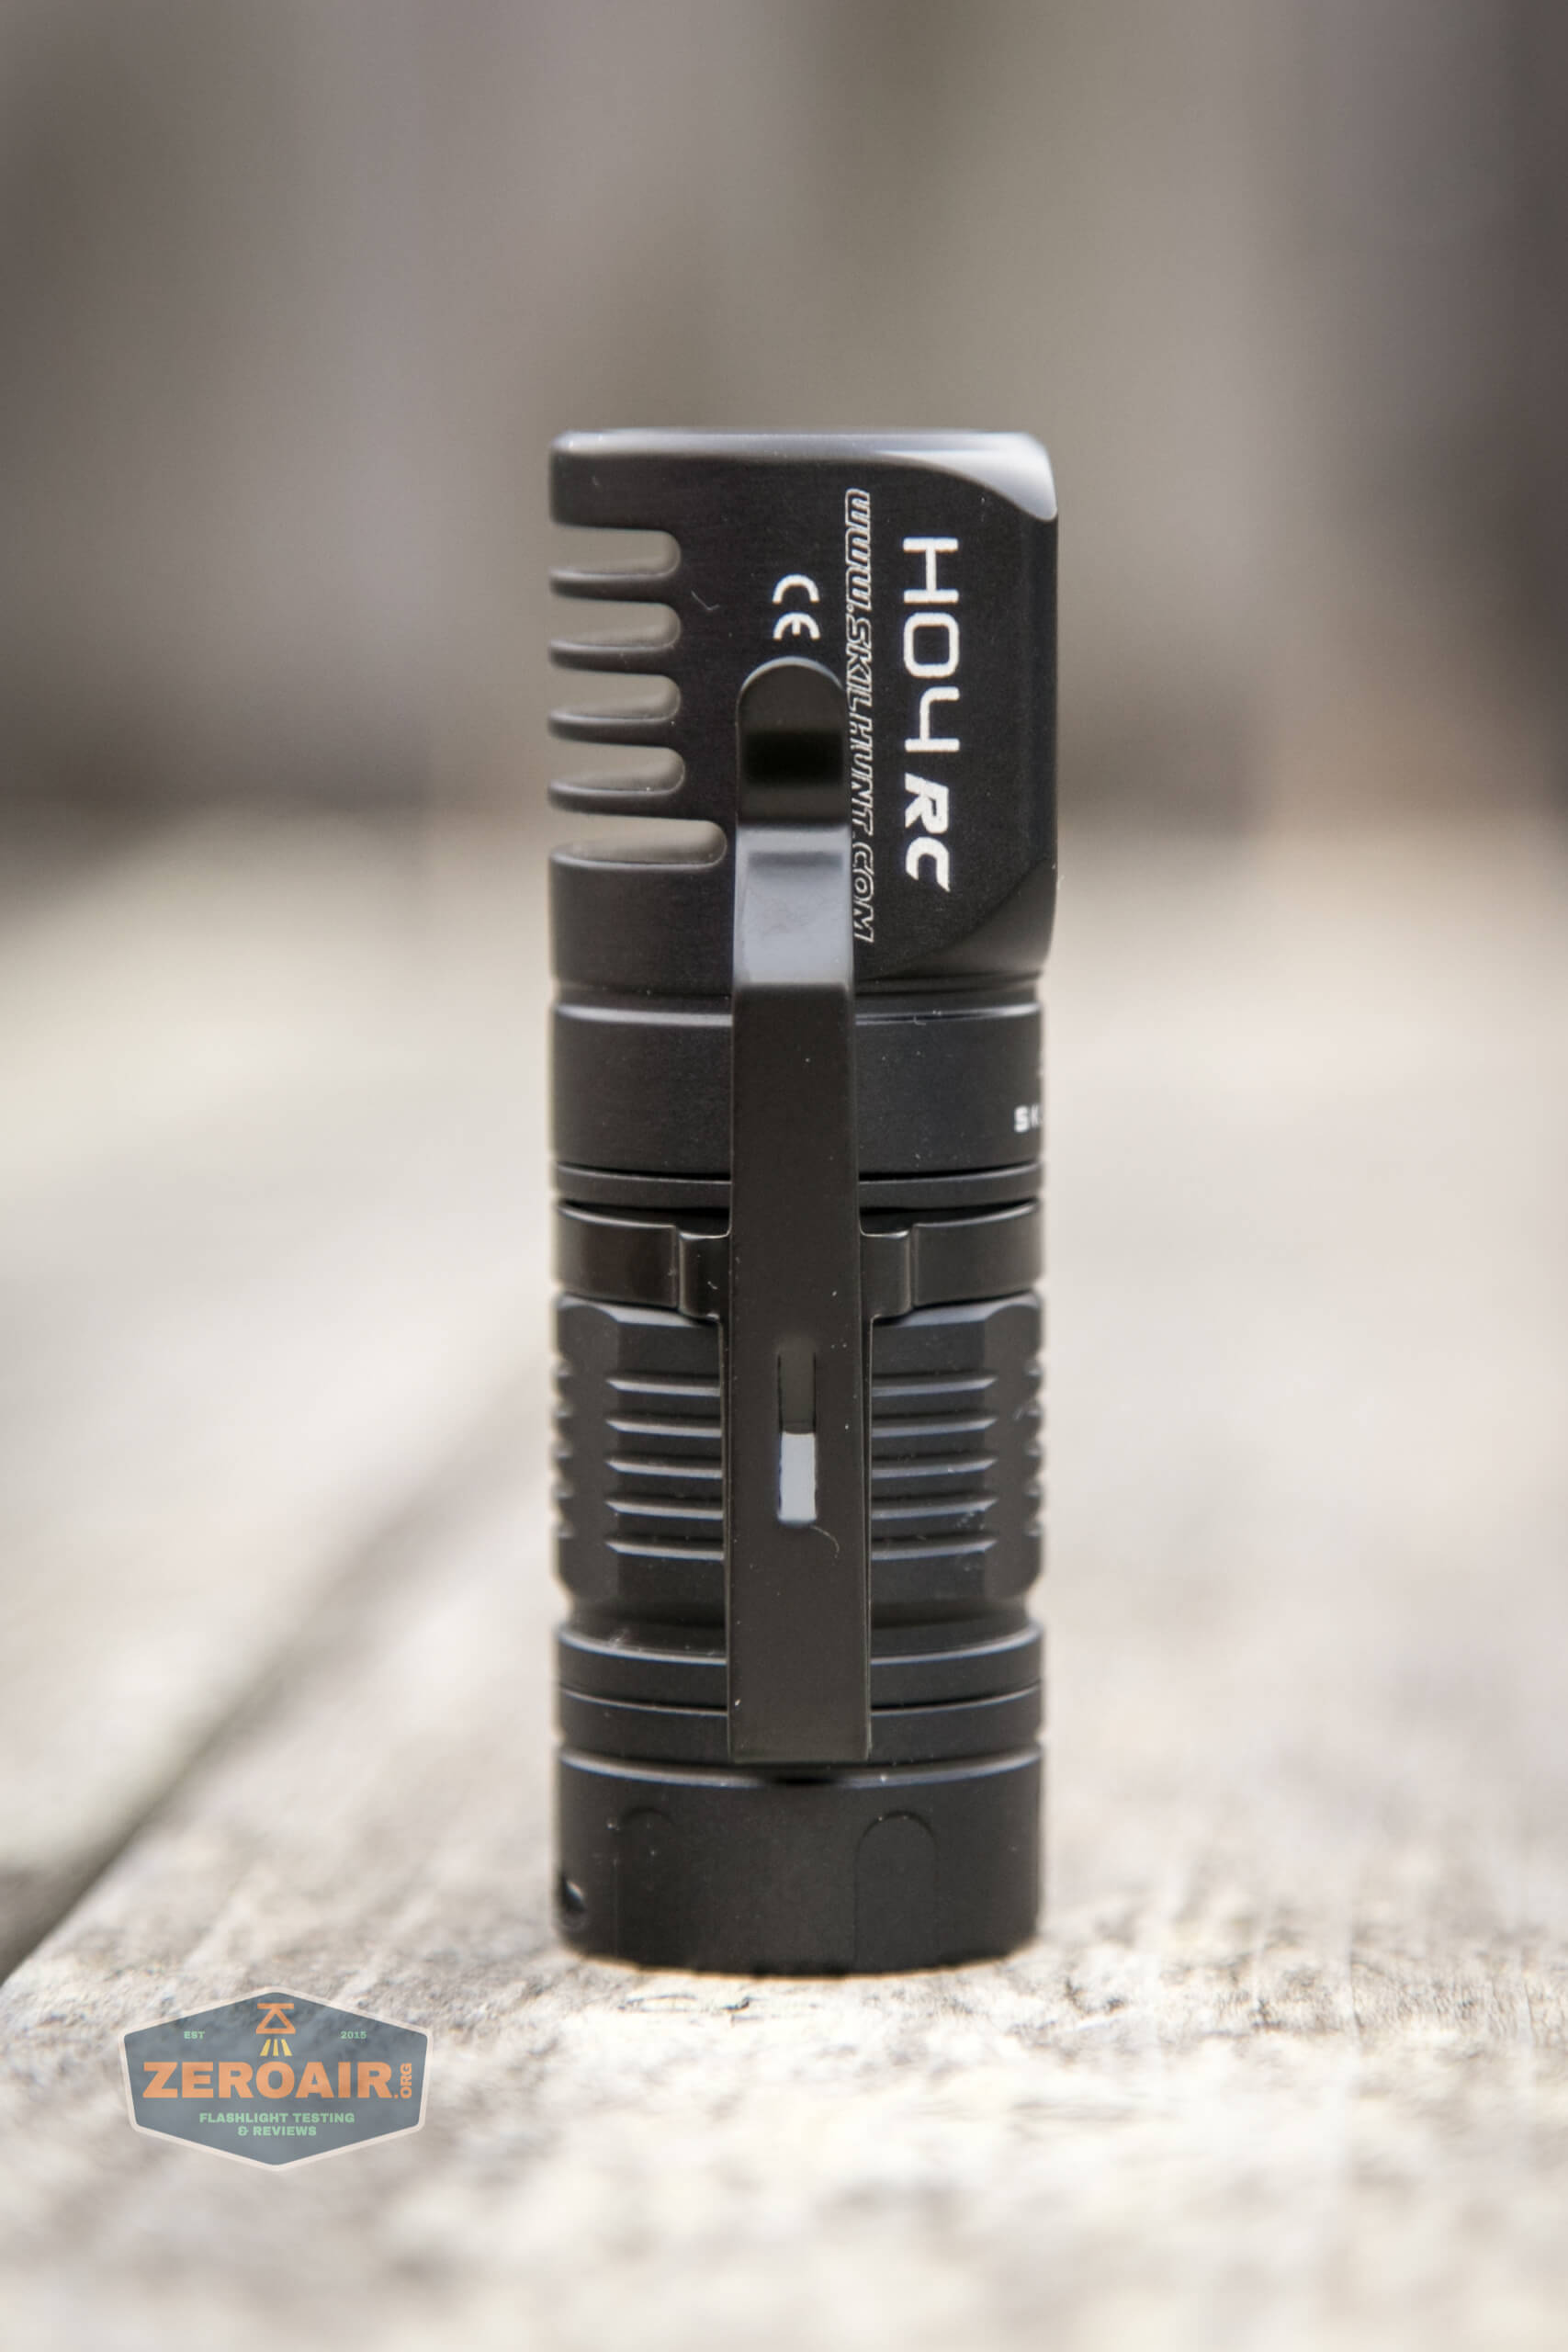
It’s really quite small, too. The head has very deep cooling fins.
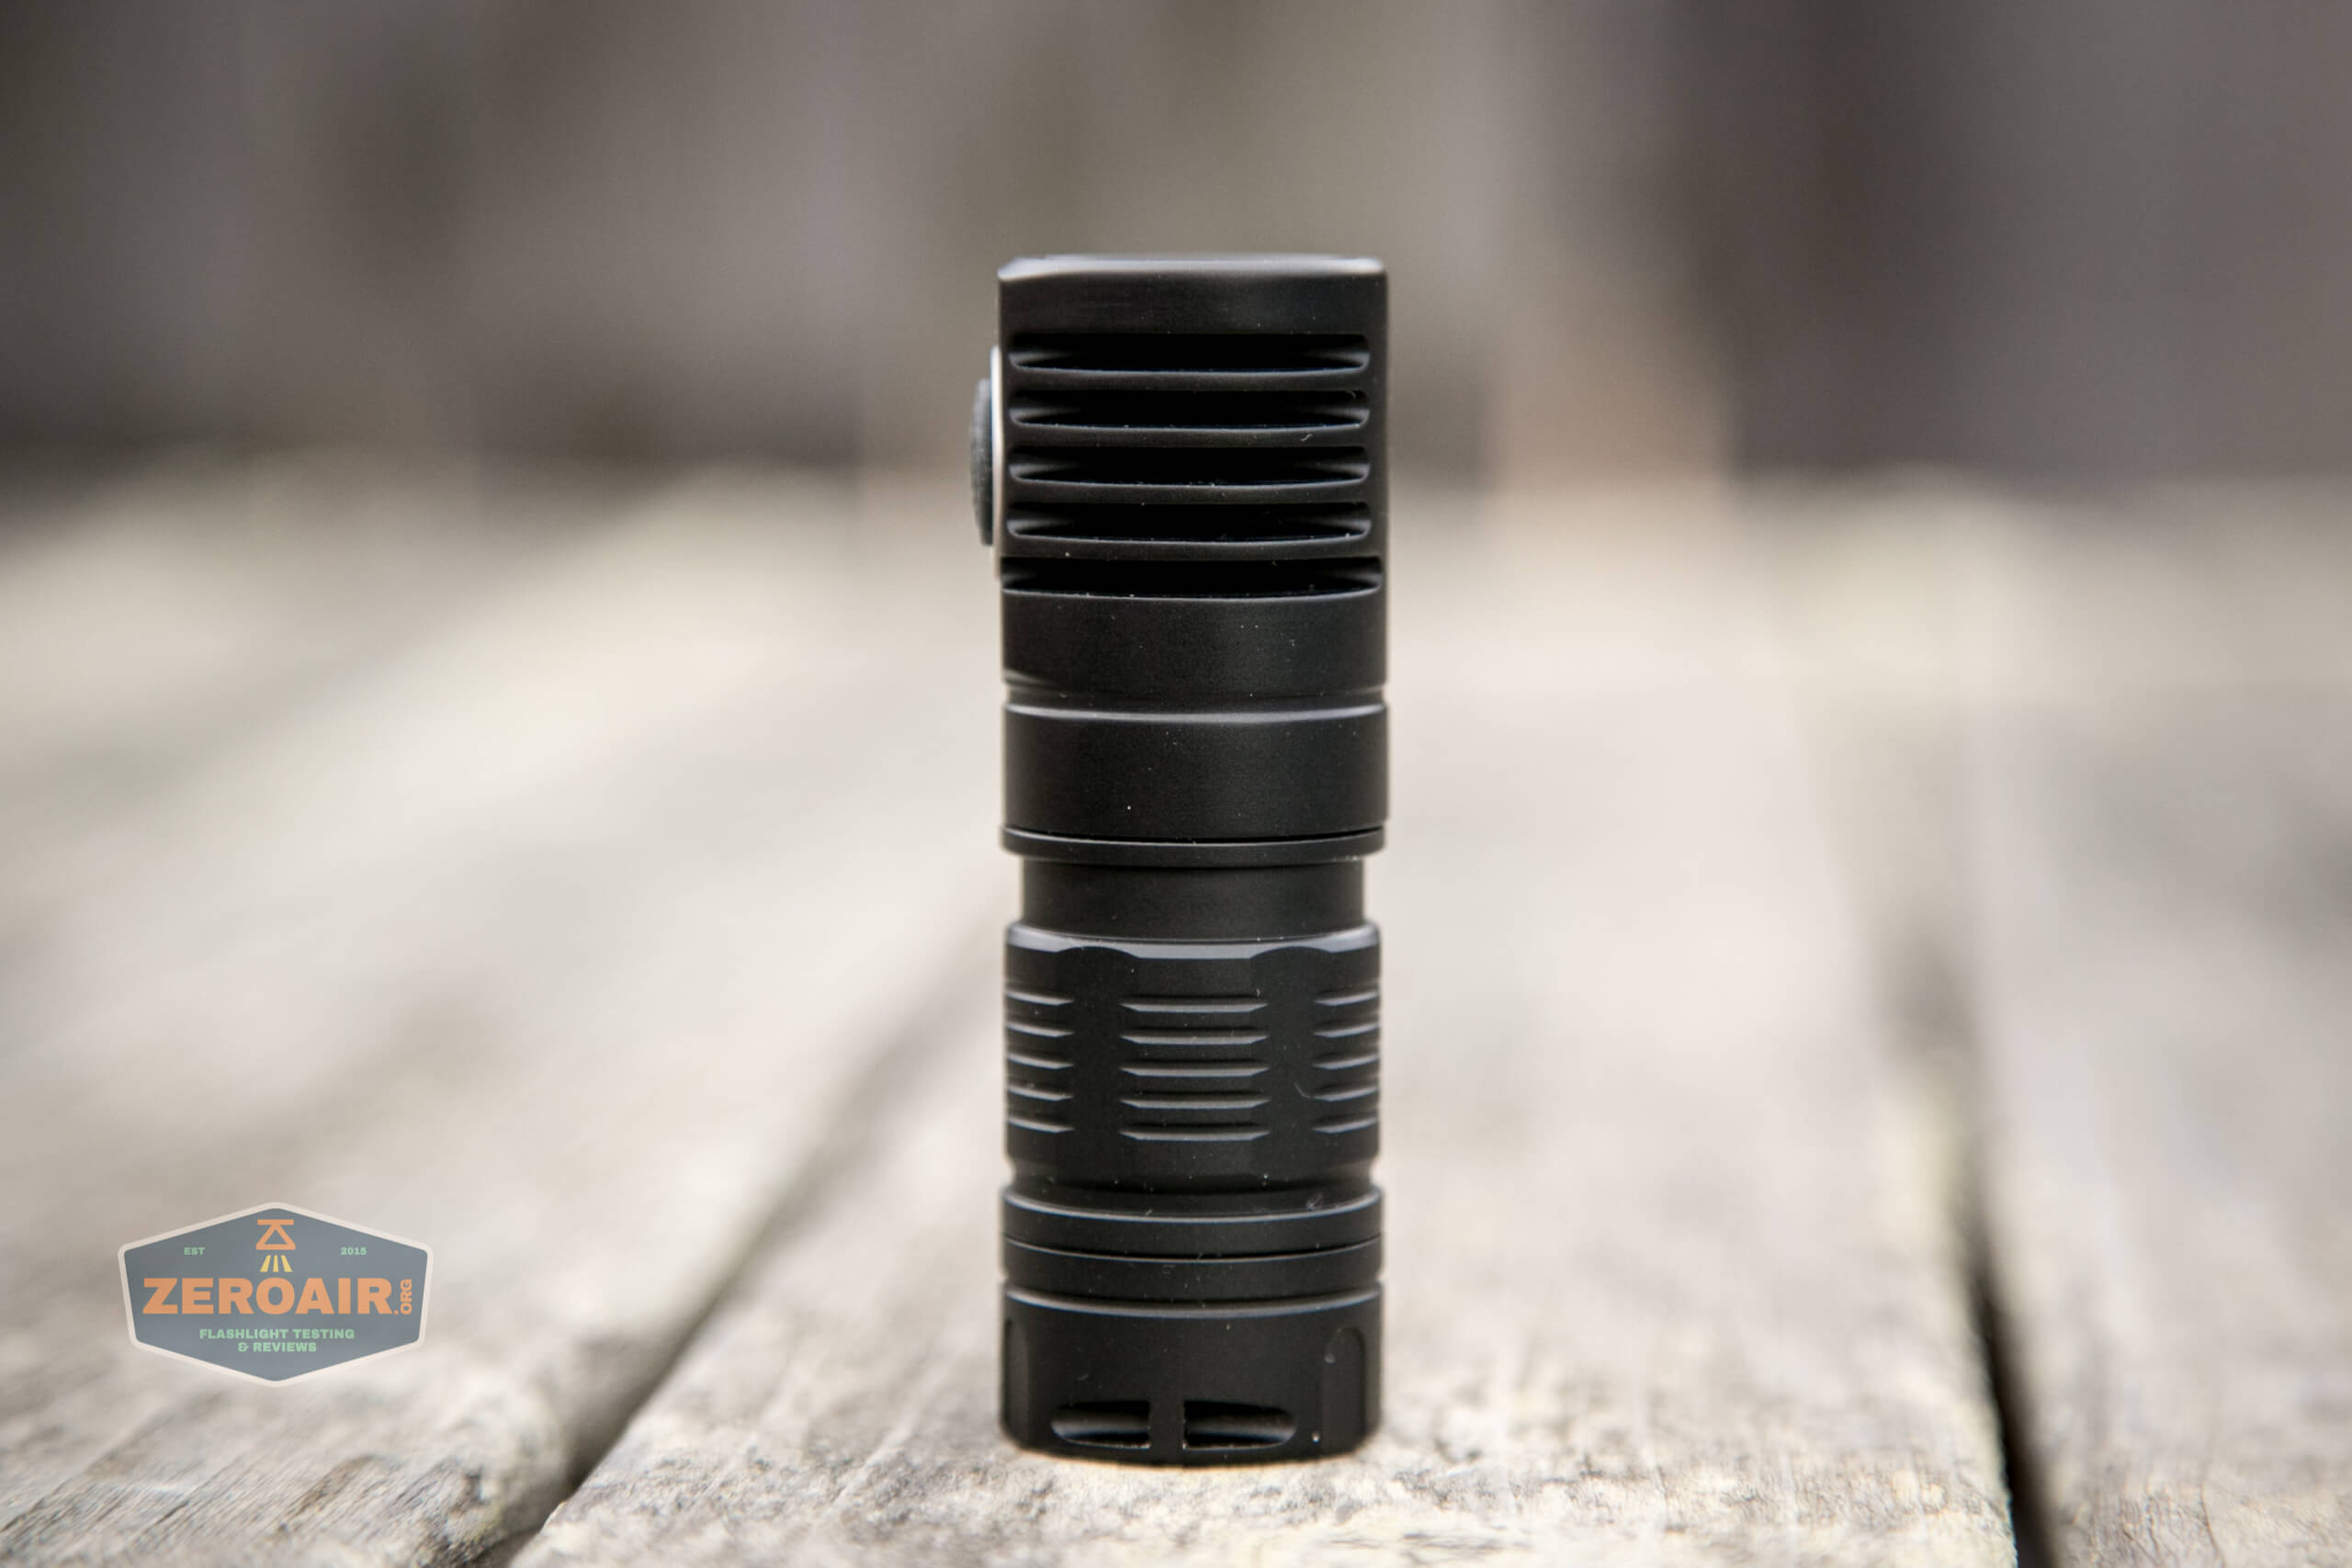
The body has minimal design features, including a waist for connecting the pocket clip.
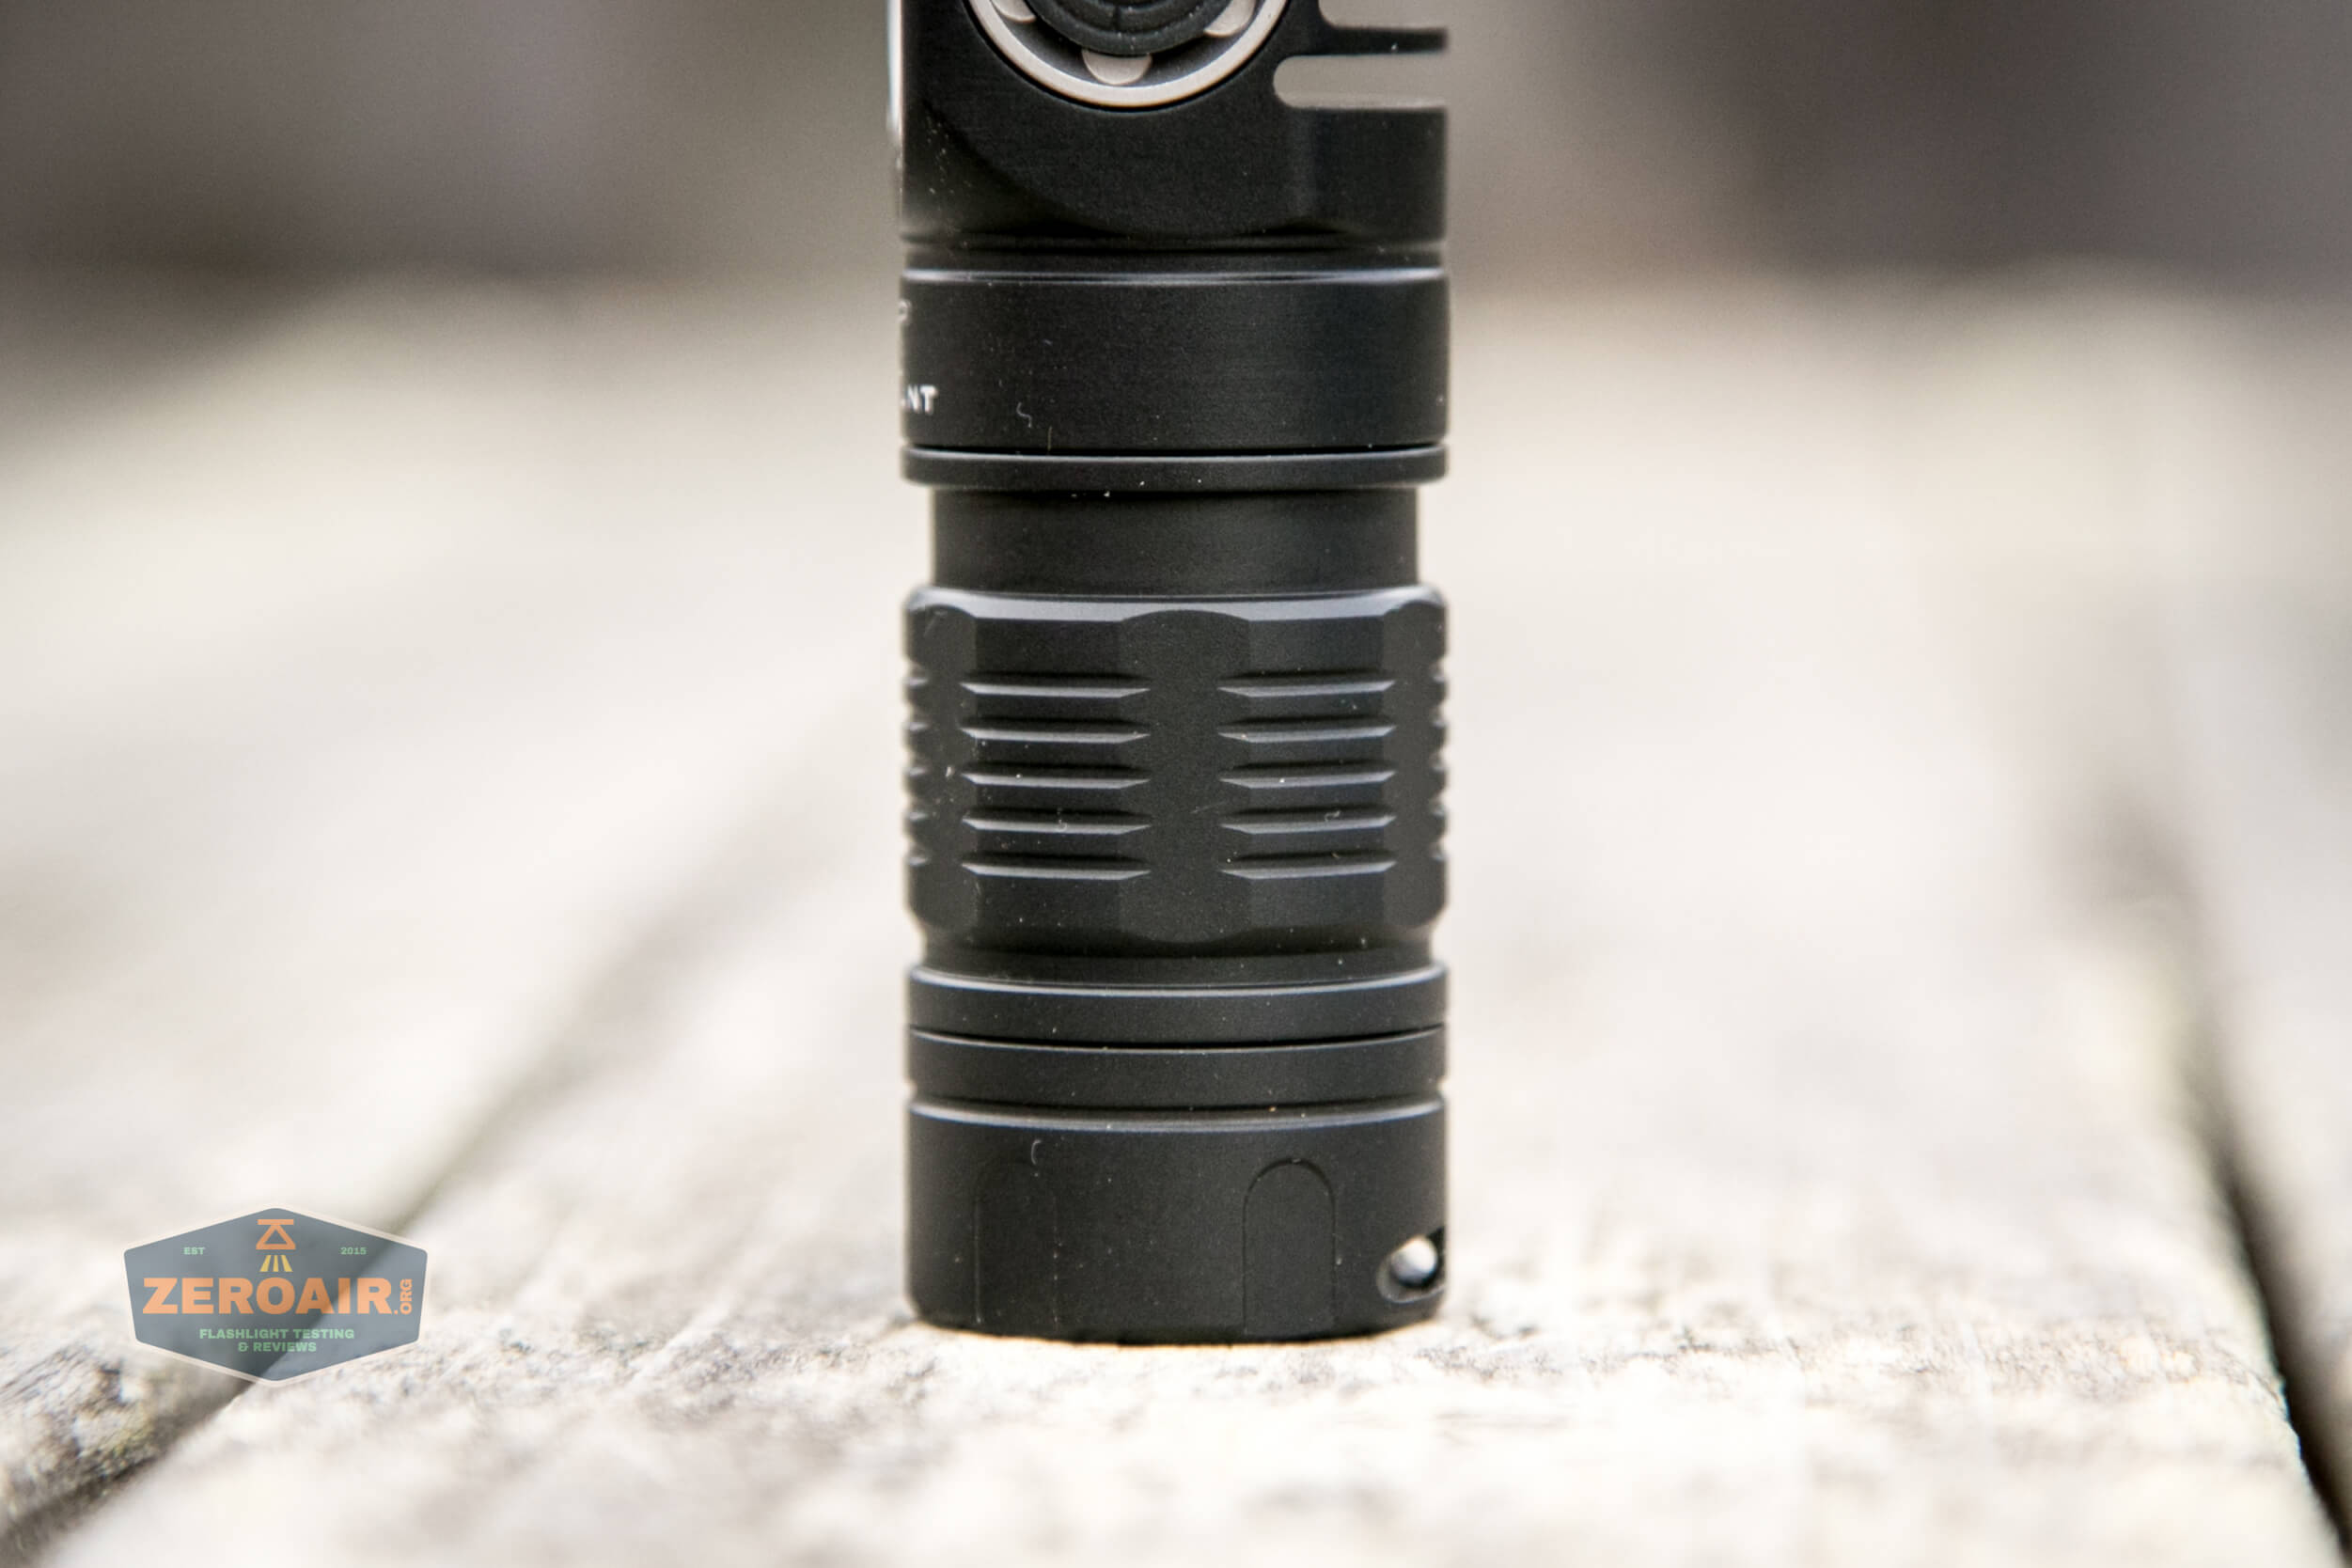
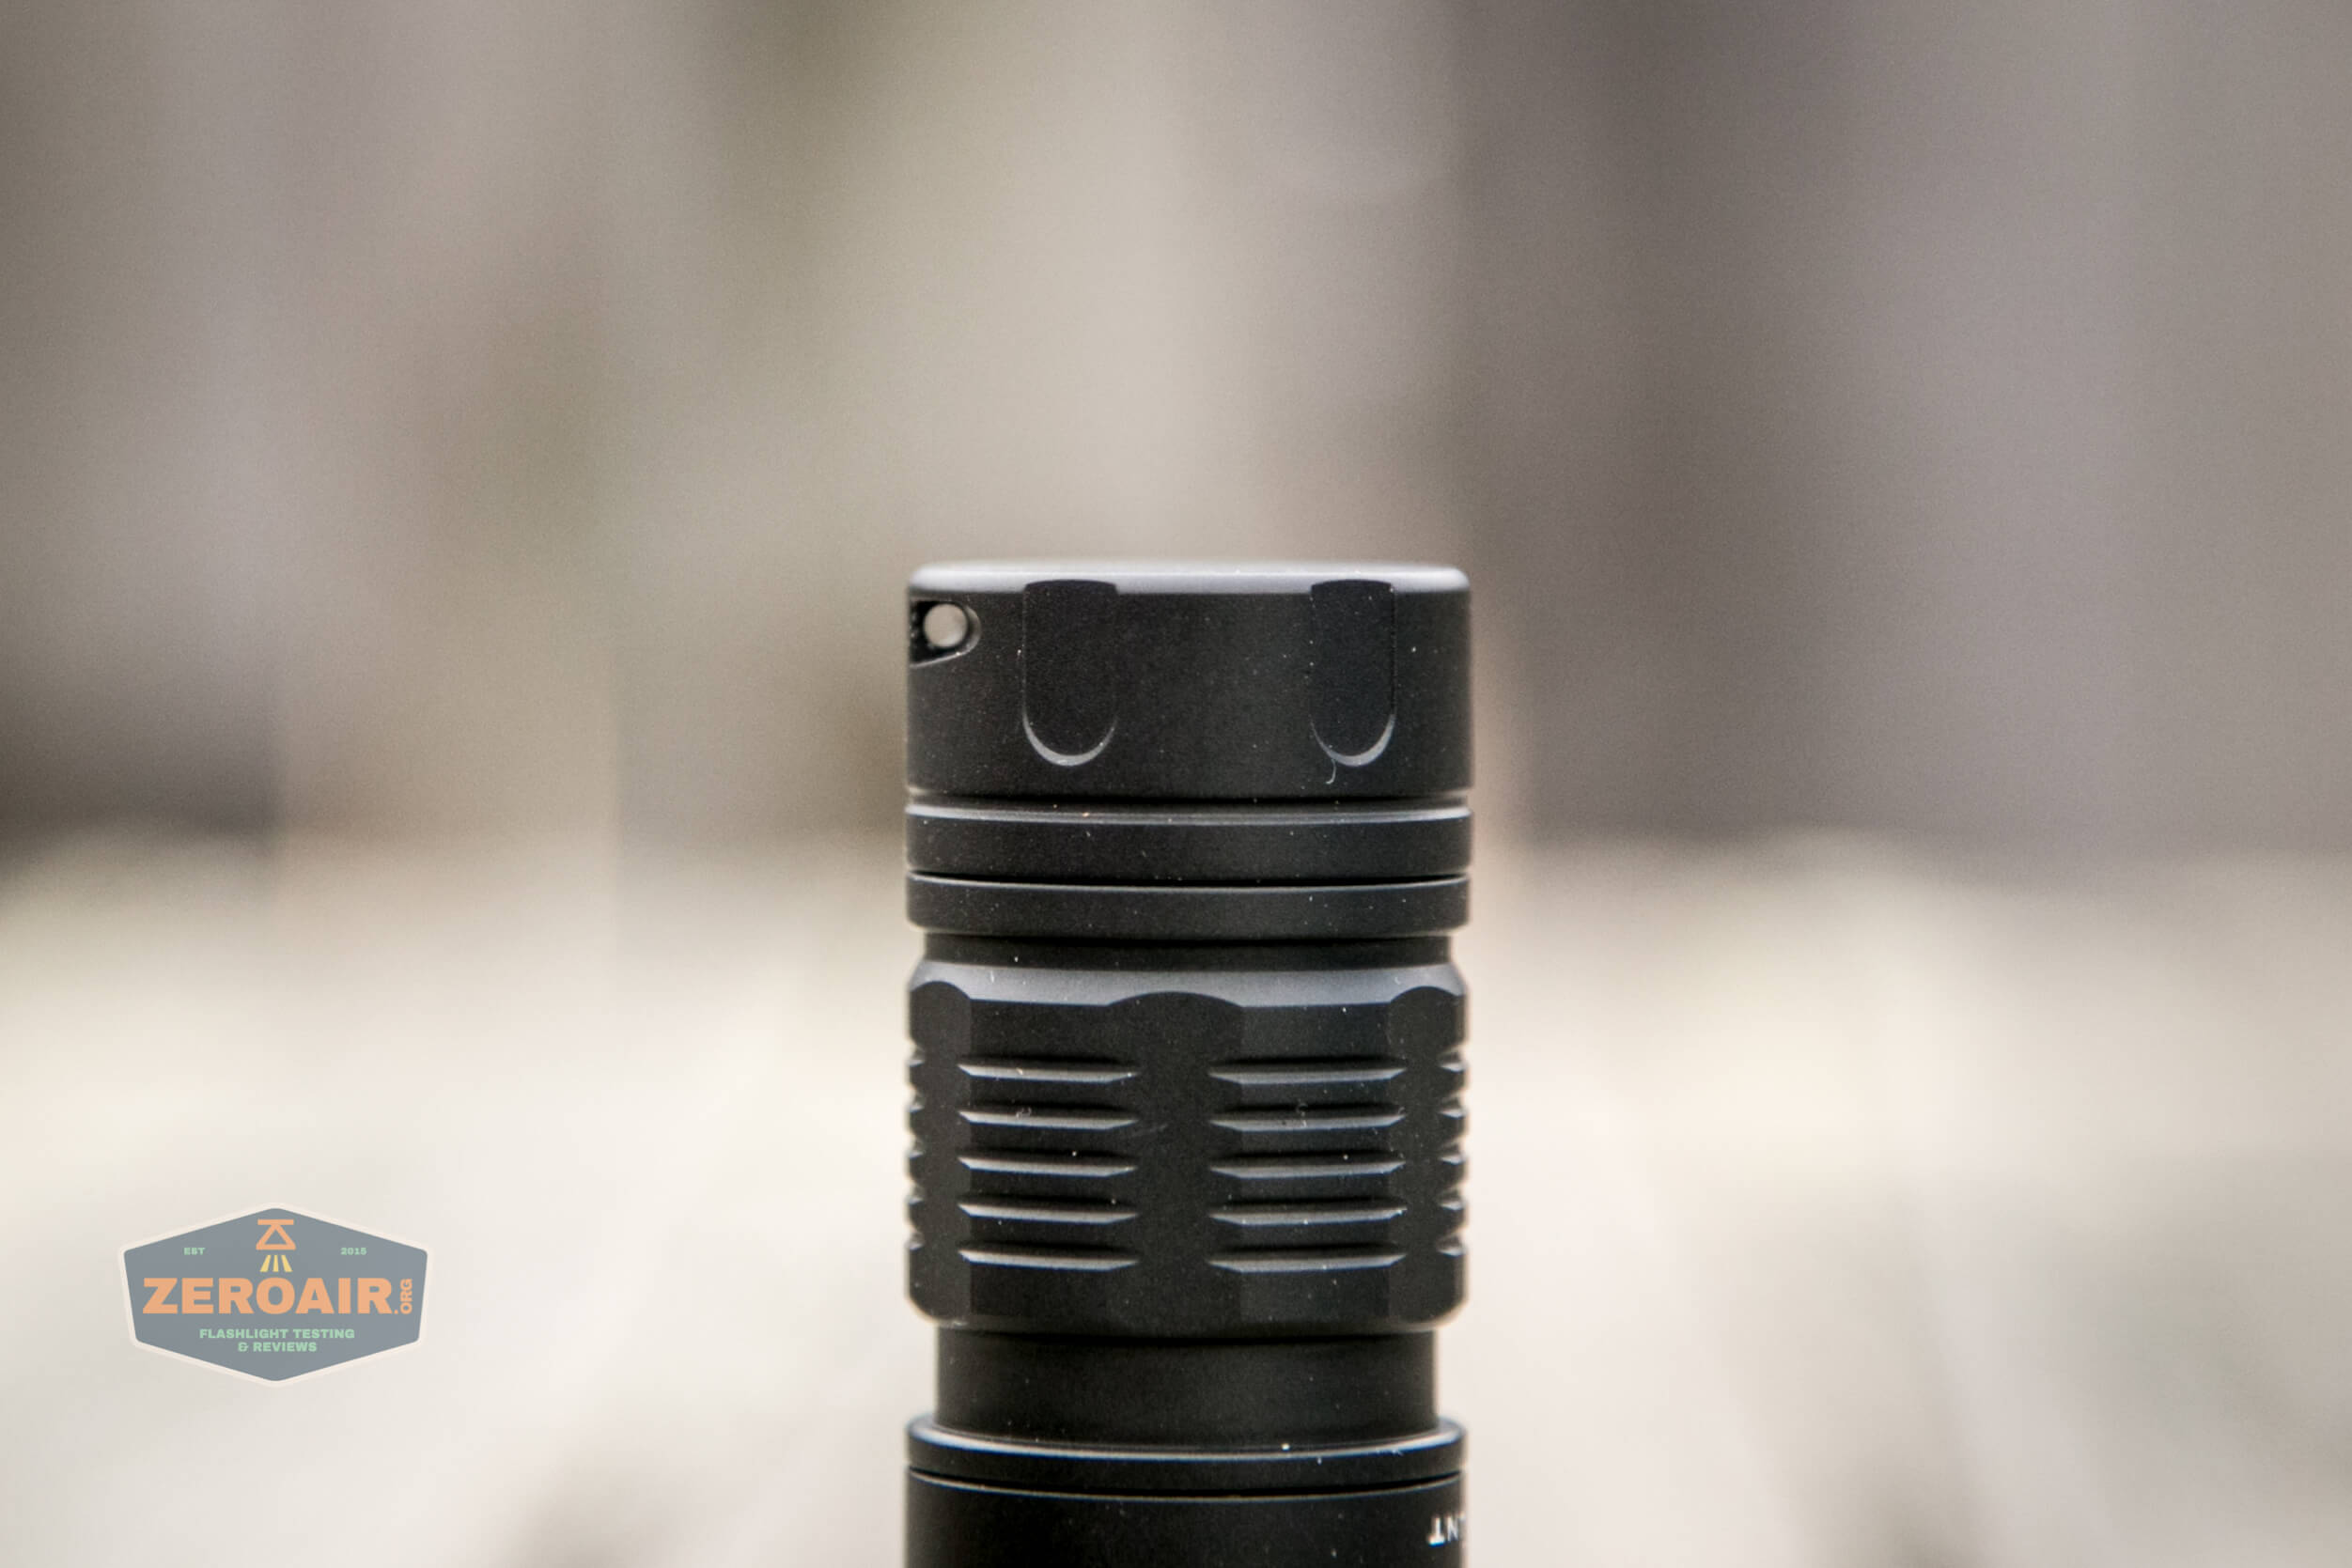
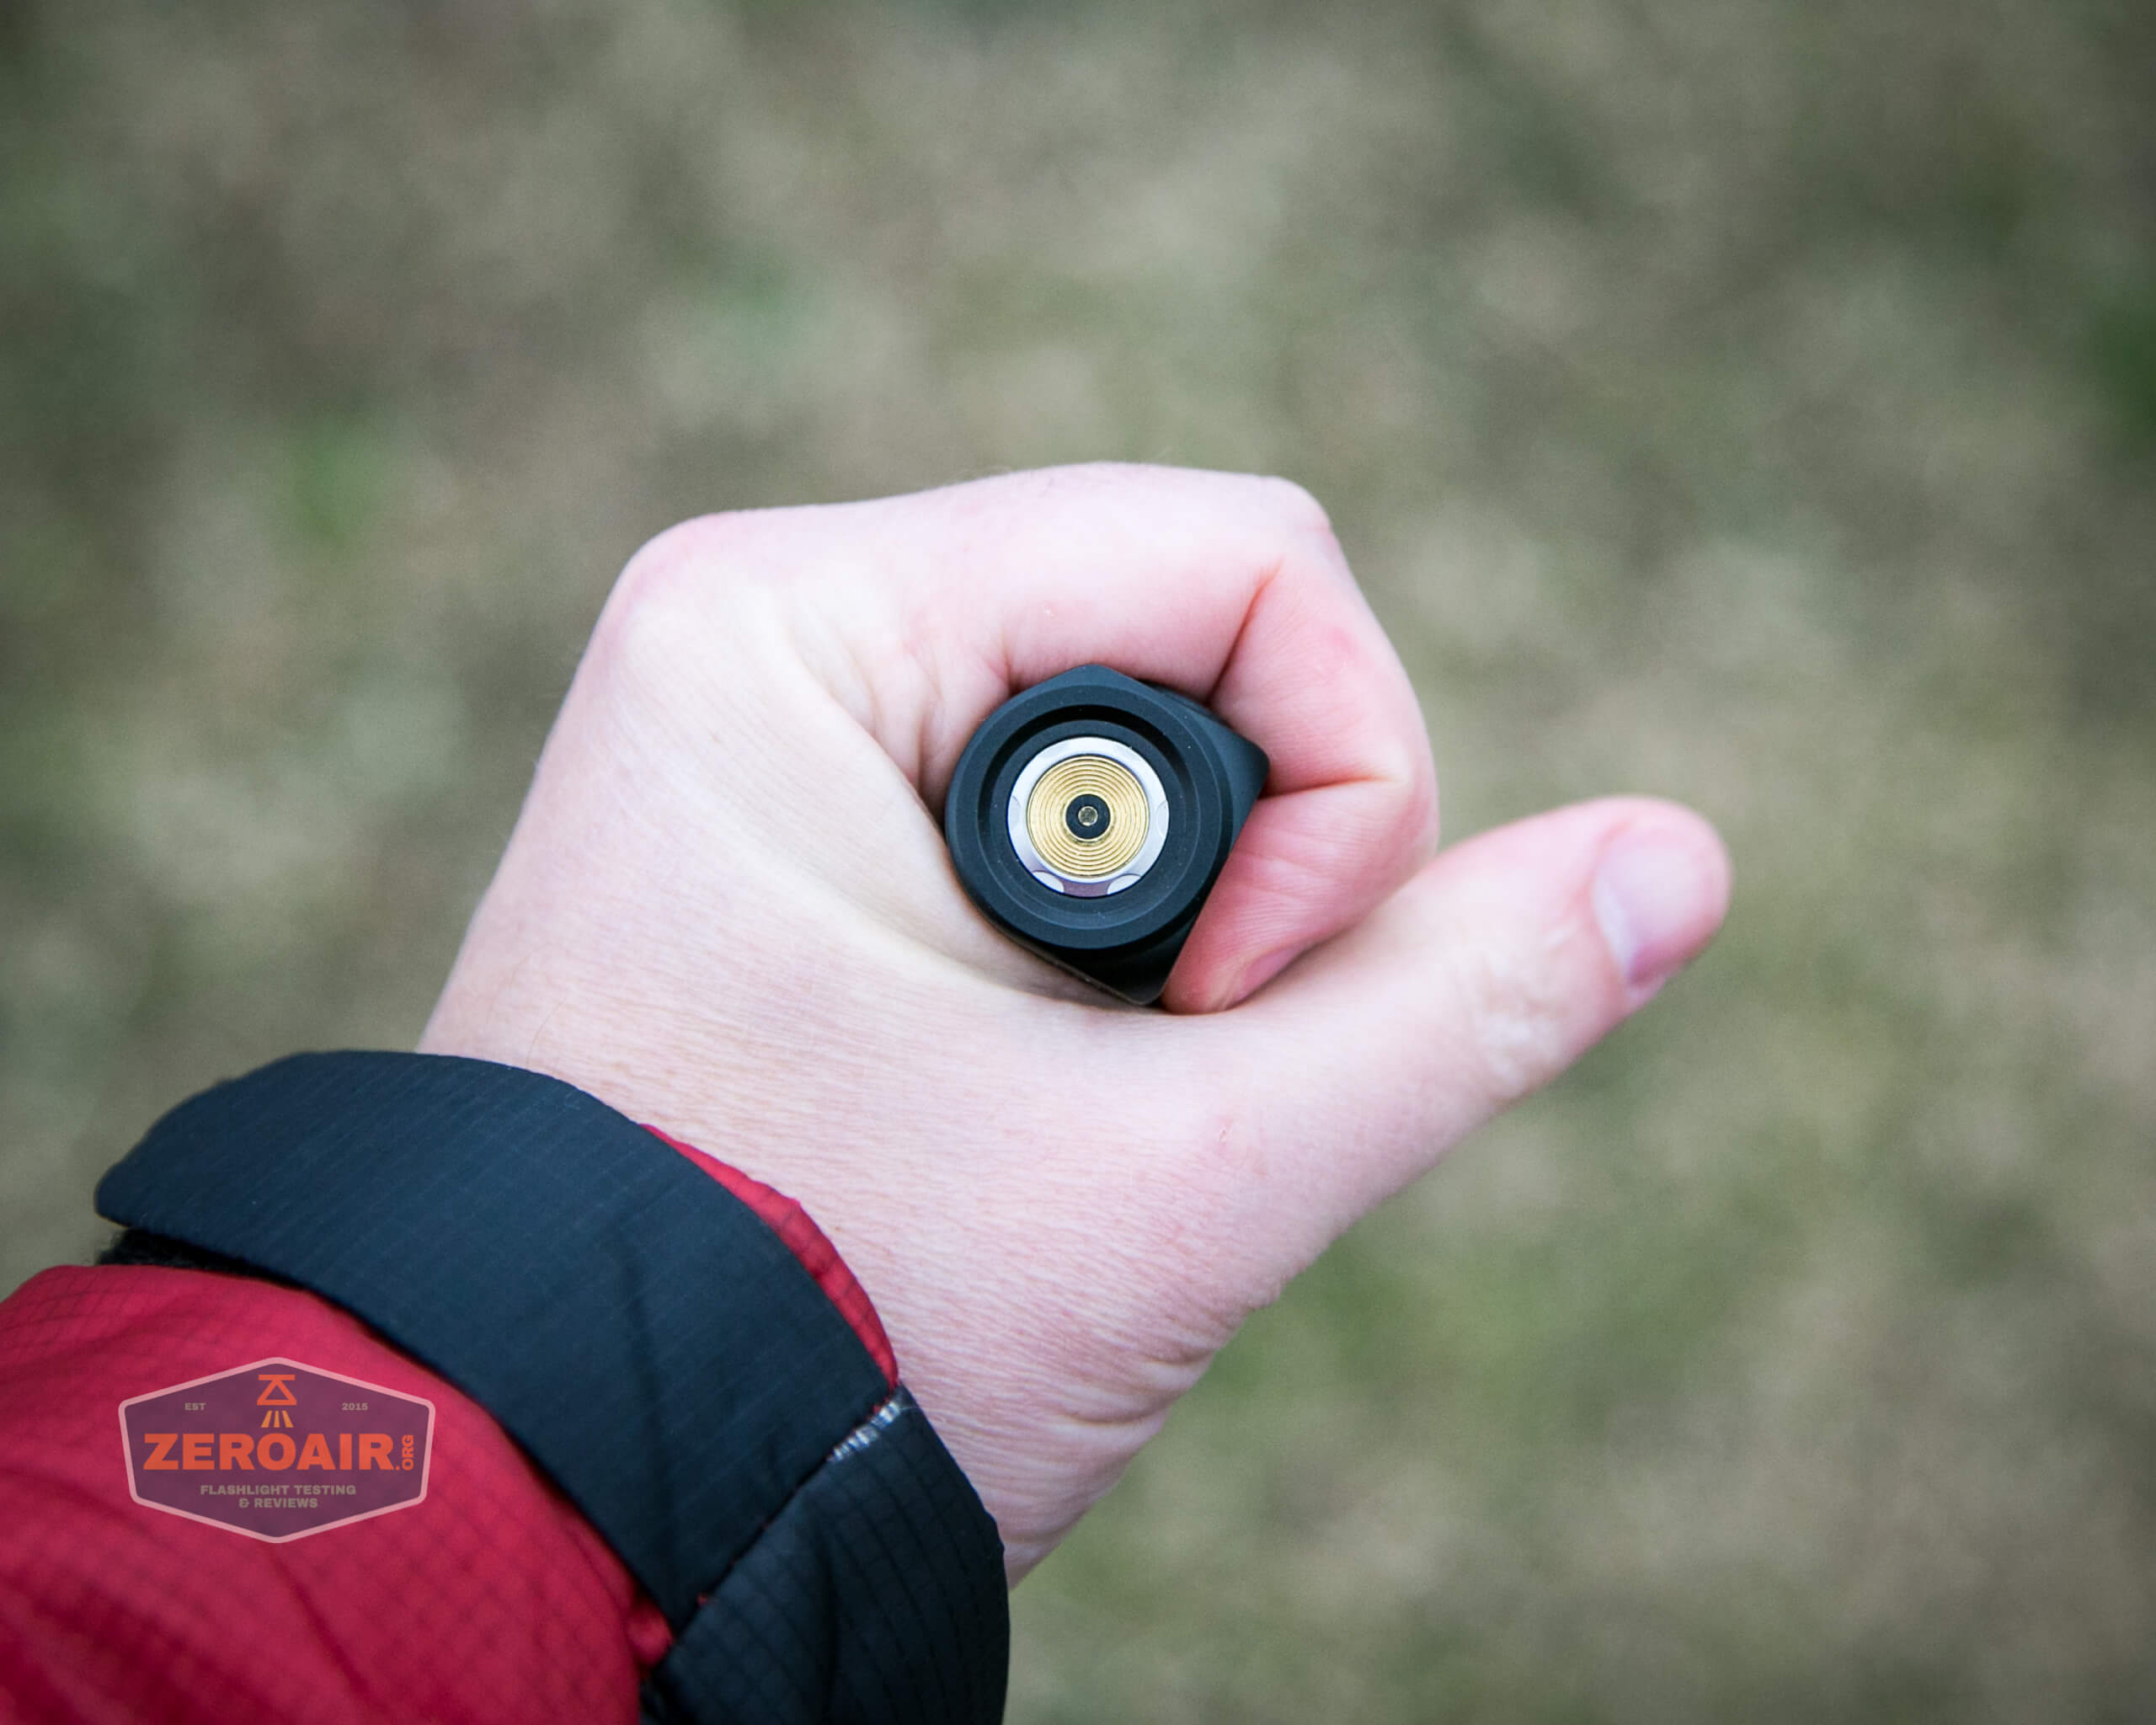
The tailcap is very easy to remove by unscrewing but doesn’t have all that much grip.
Jody at KillzoneFlashlights.com gave me the choice of versions, and of course, I went with this one. Though in retrospect, the reflector version (“H04R Mini”) would have been a very good choice as well. I just really like TIRs. This one is very floody.

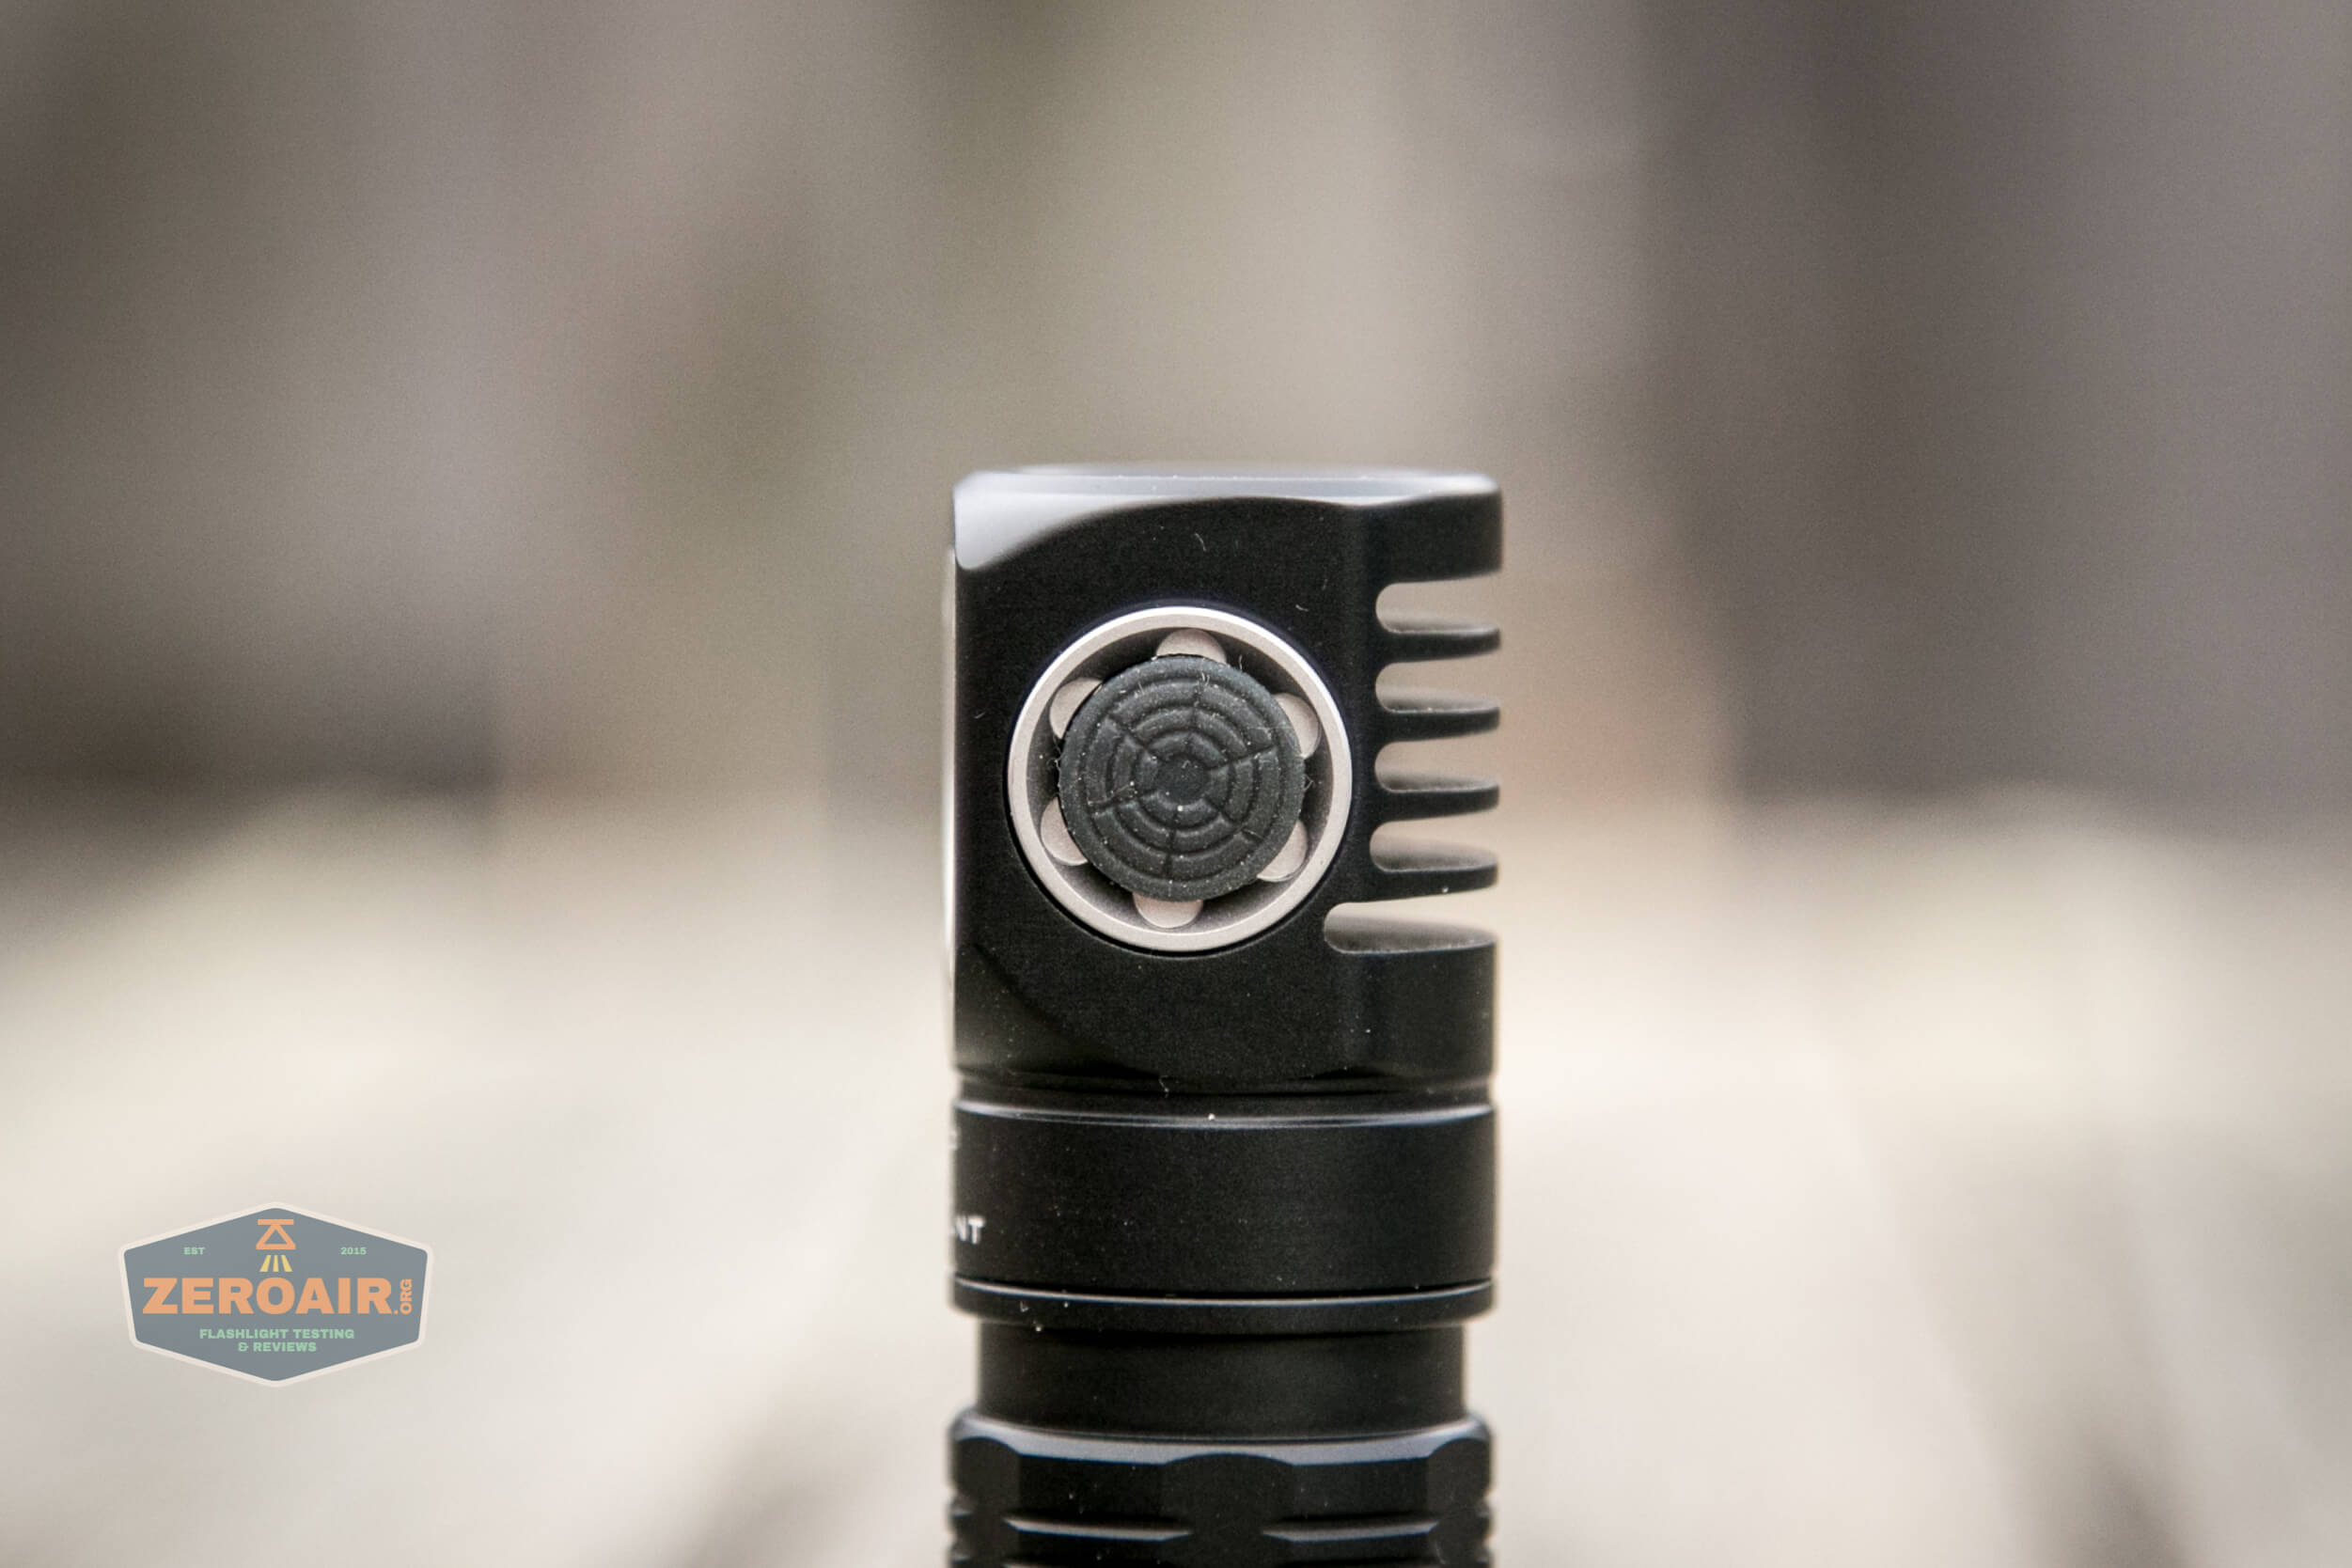
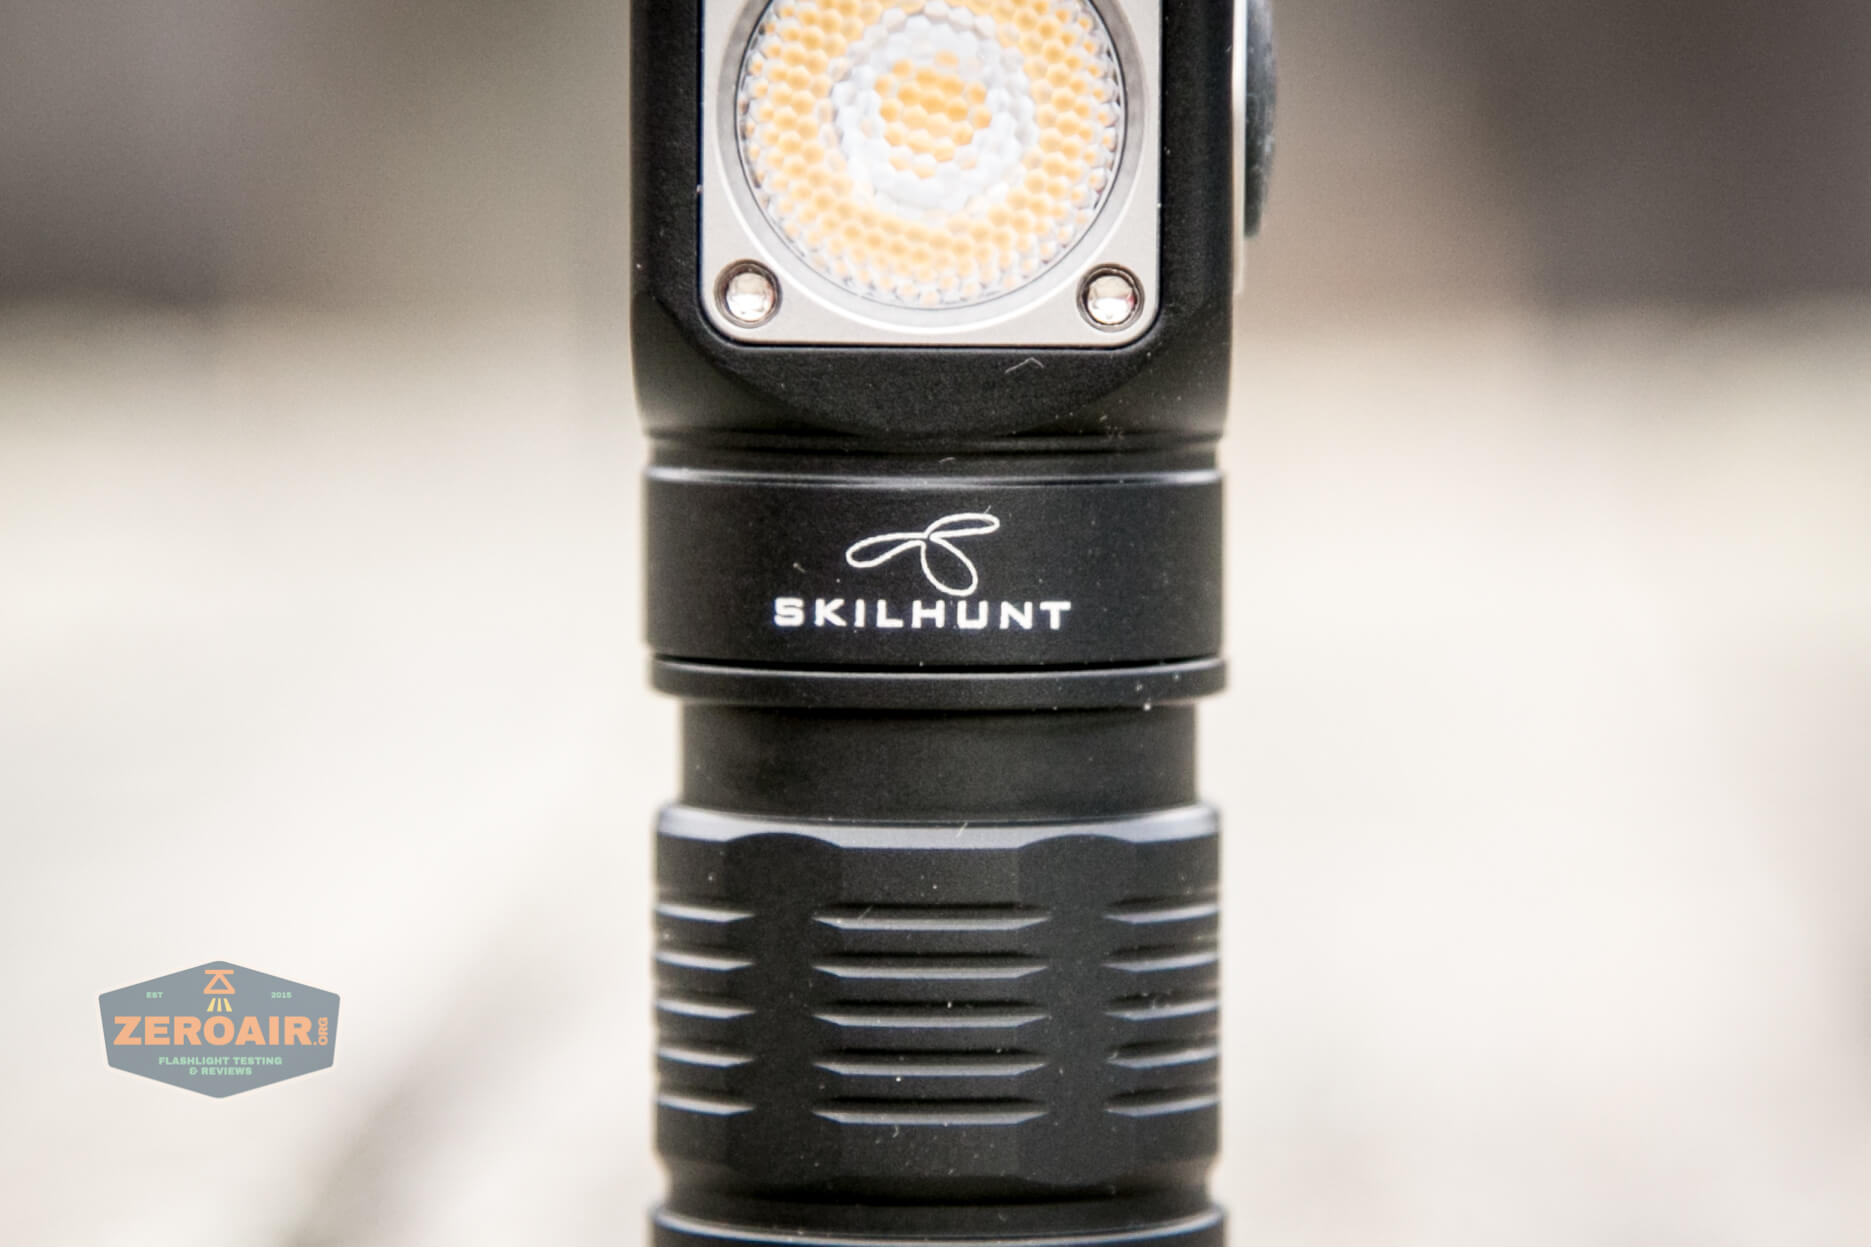
There’s a bit of branding, which you can see here, and also what’s seen above on the side of the head.
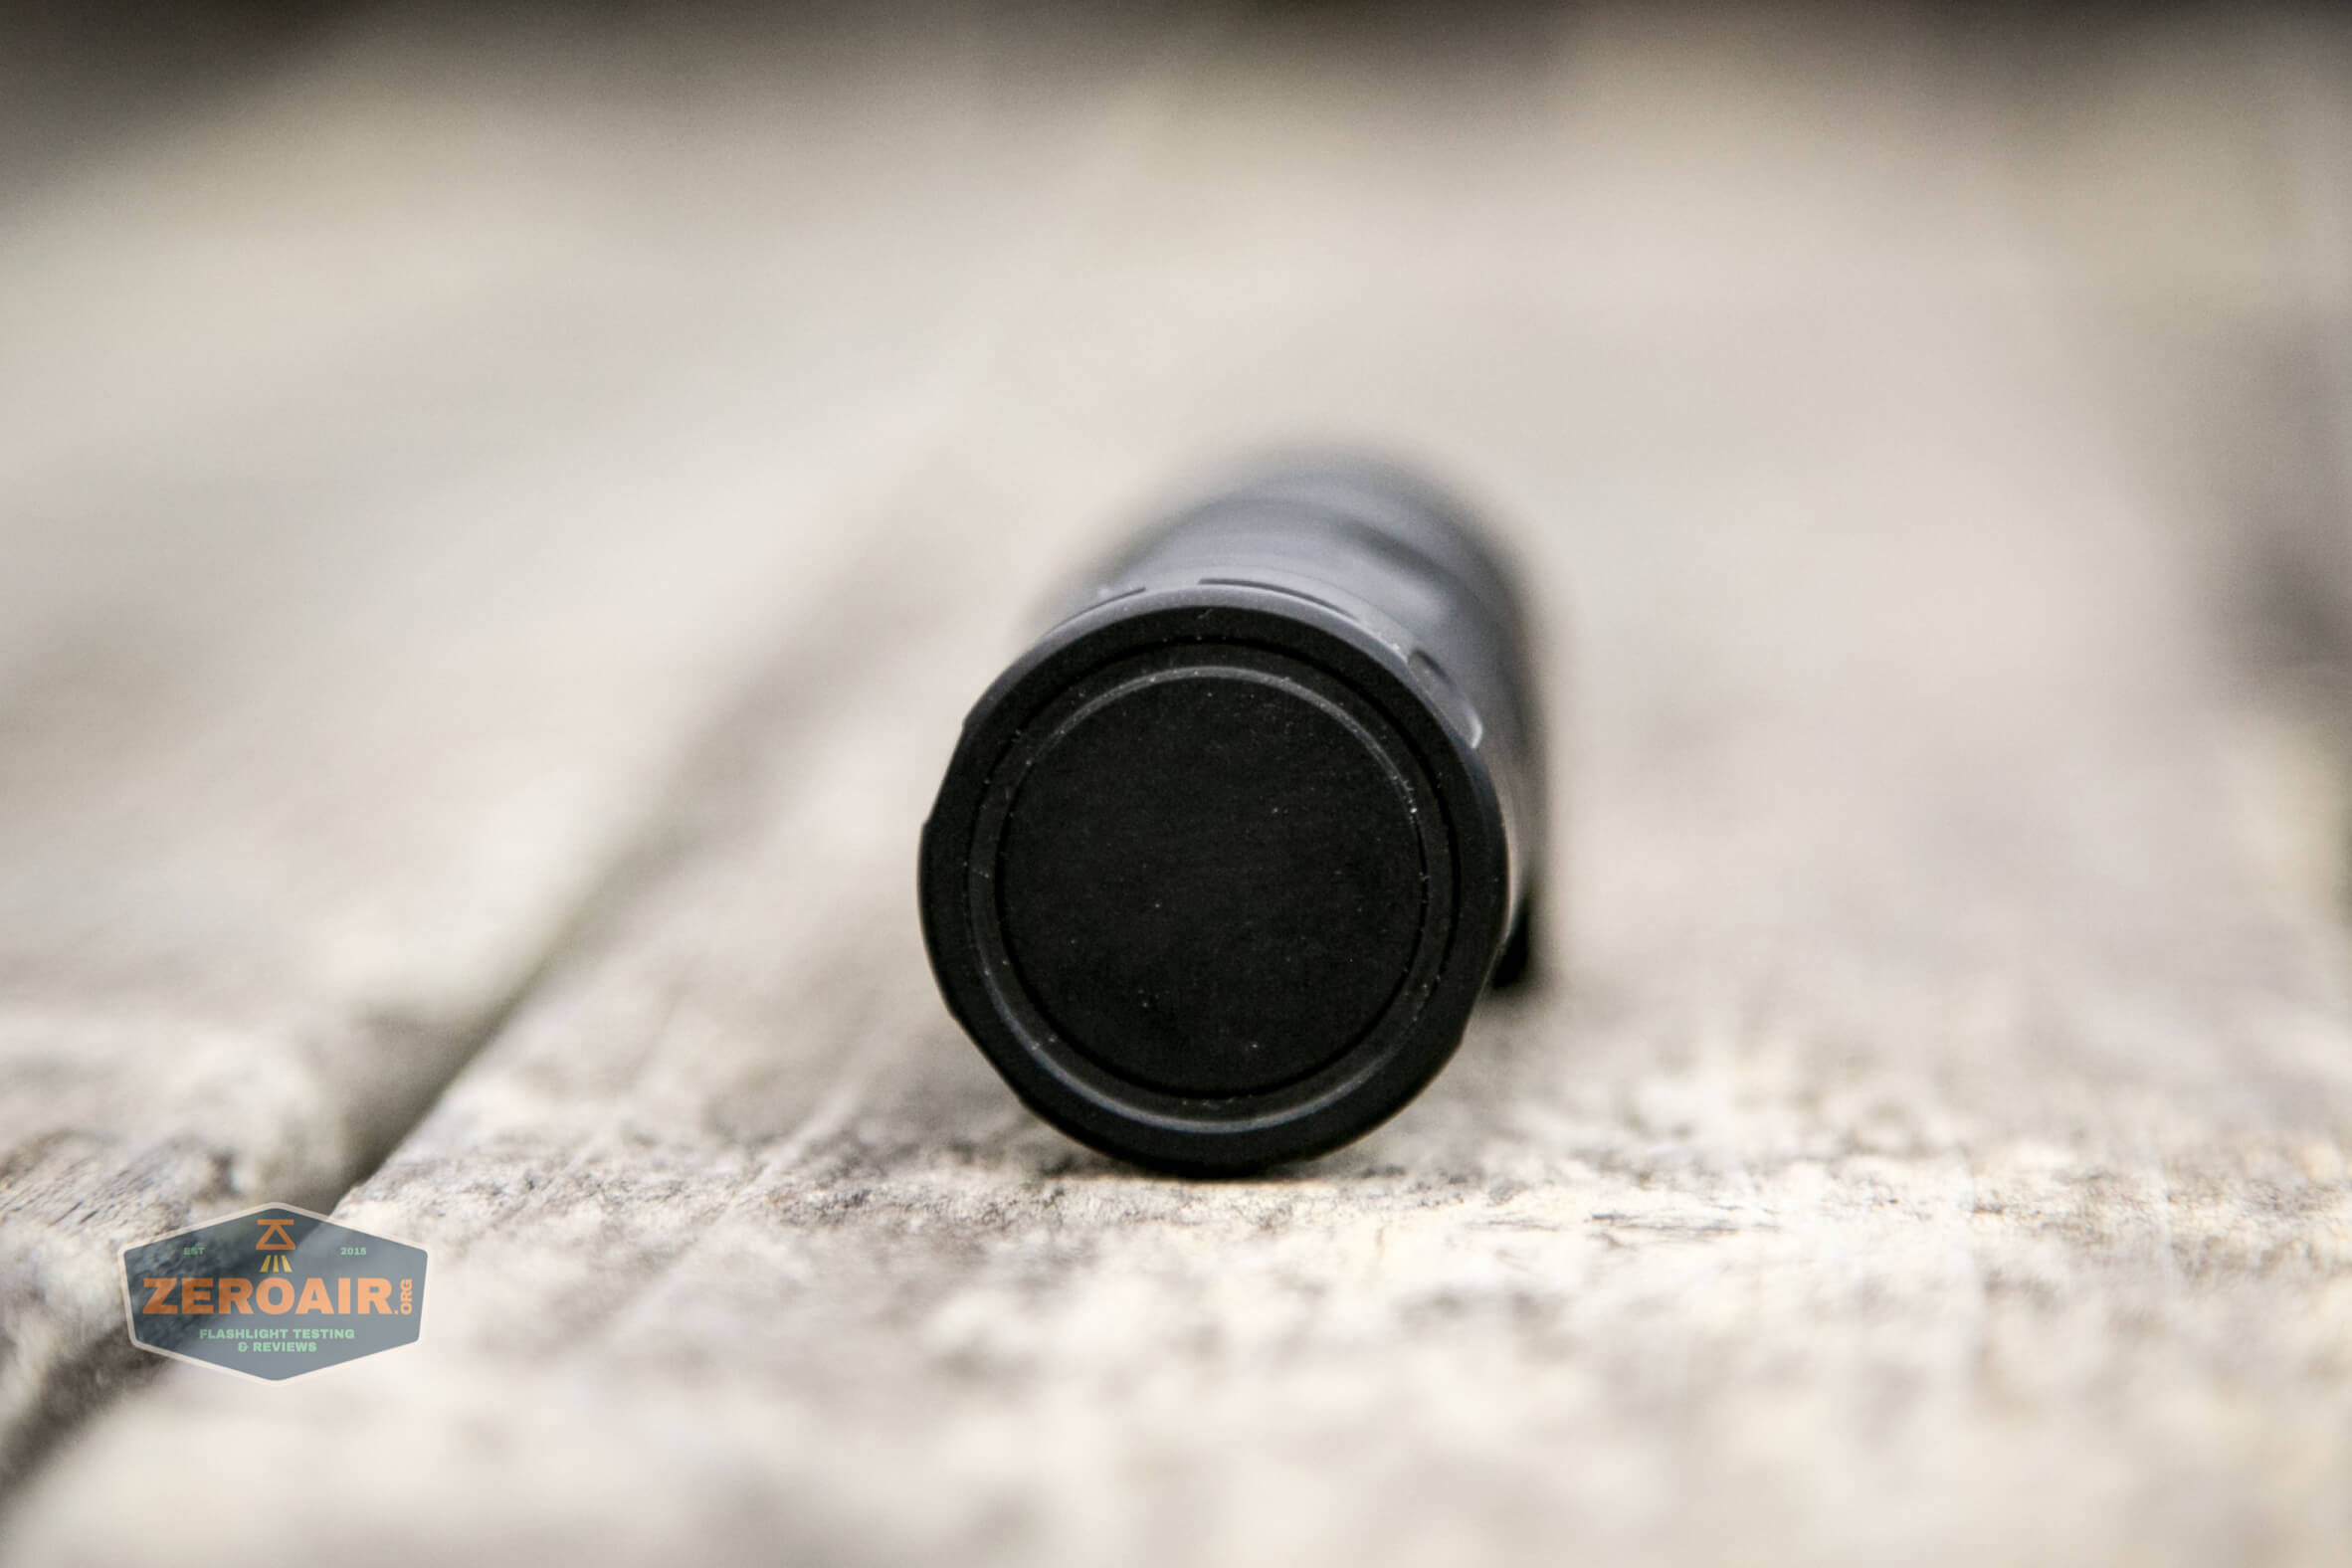
The charge port is exposed on the top of the H04 Mini.
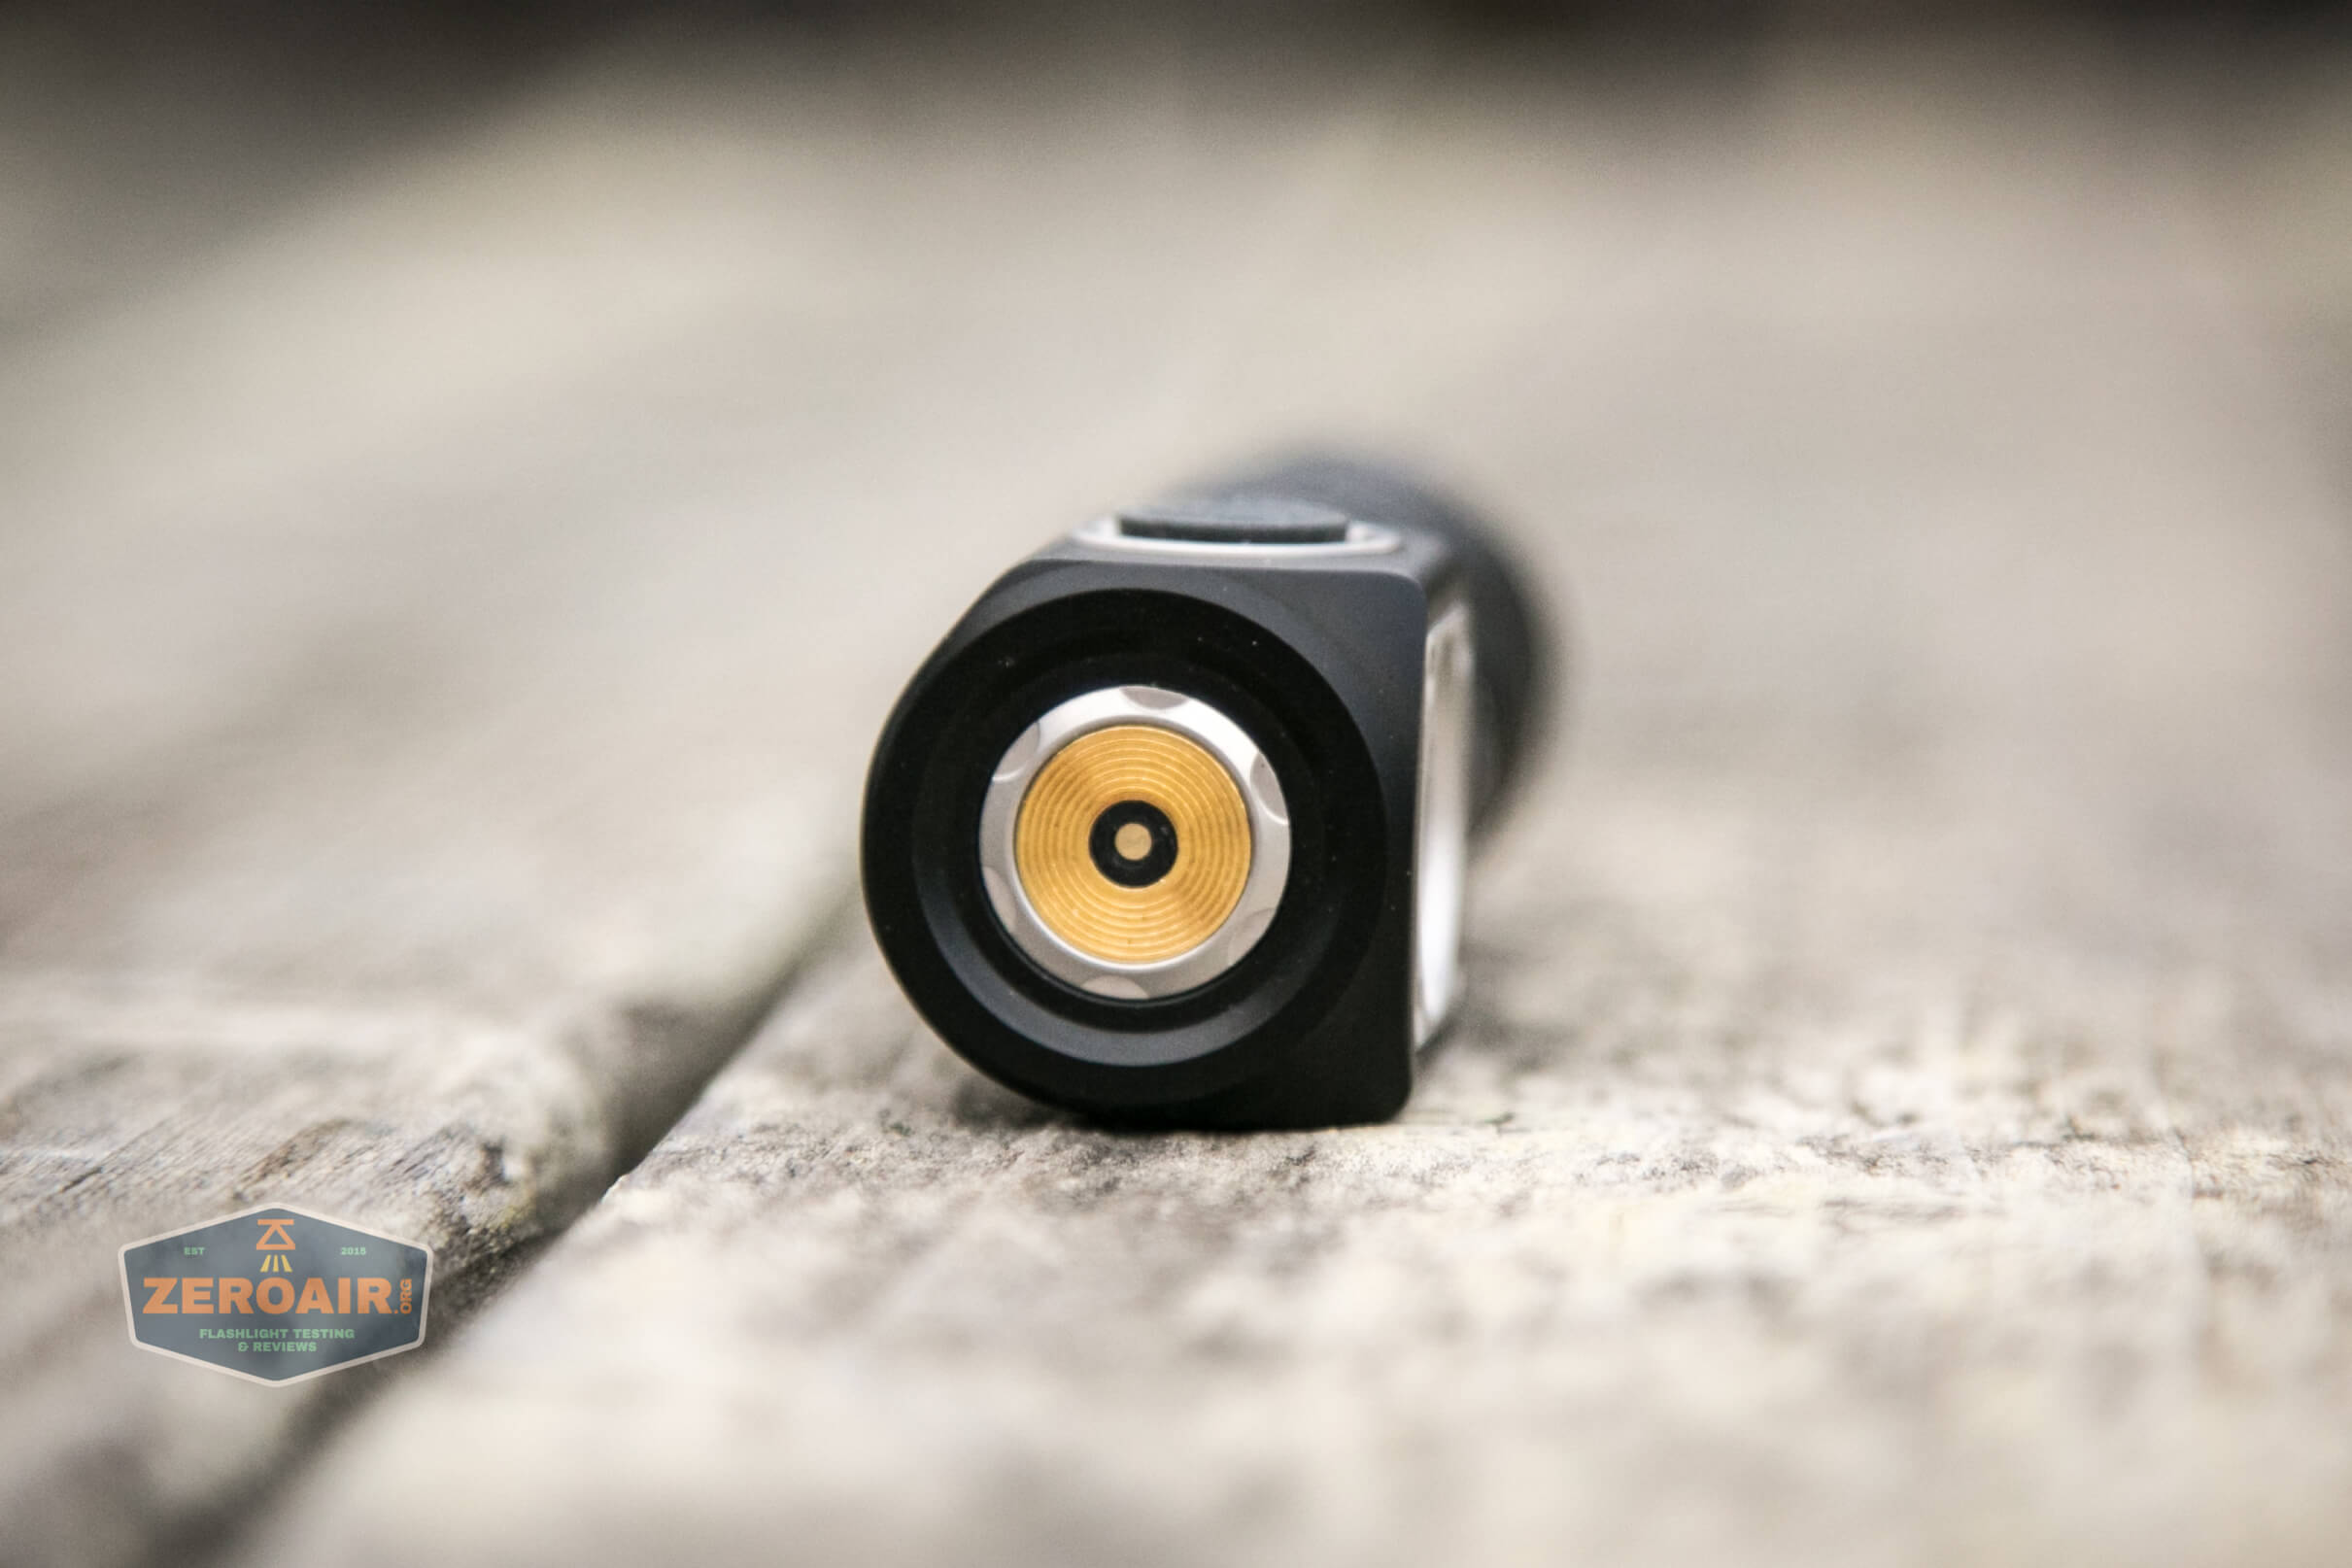
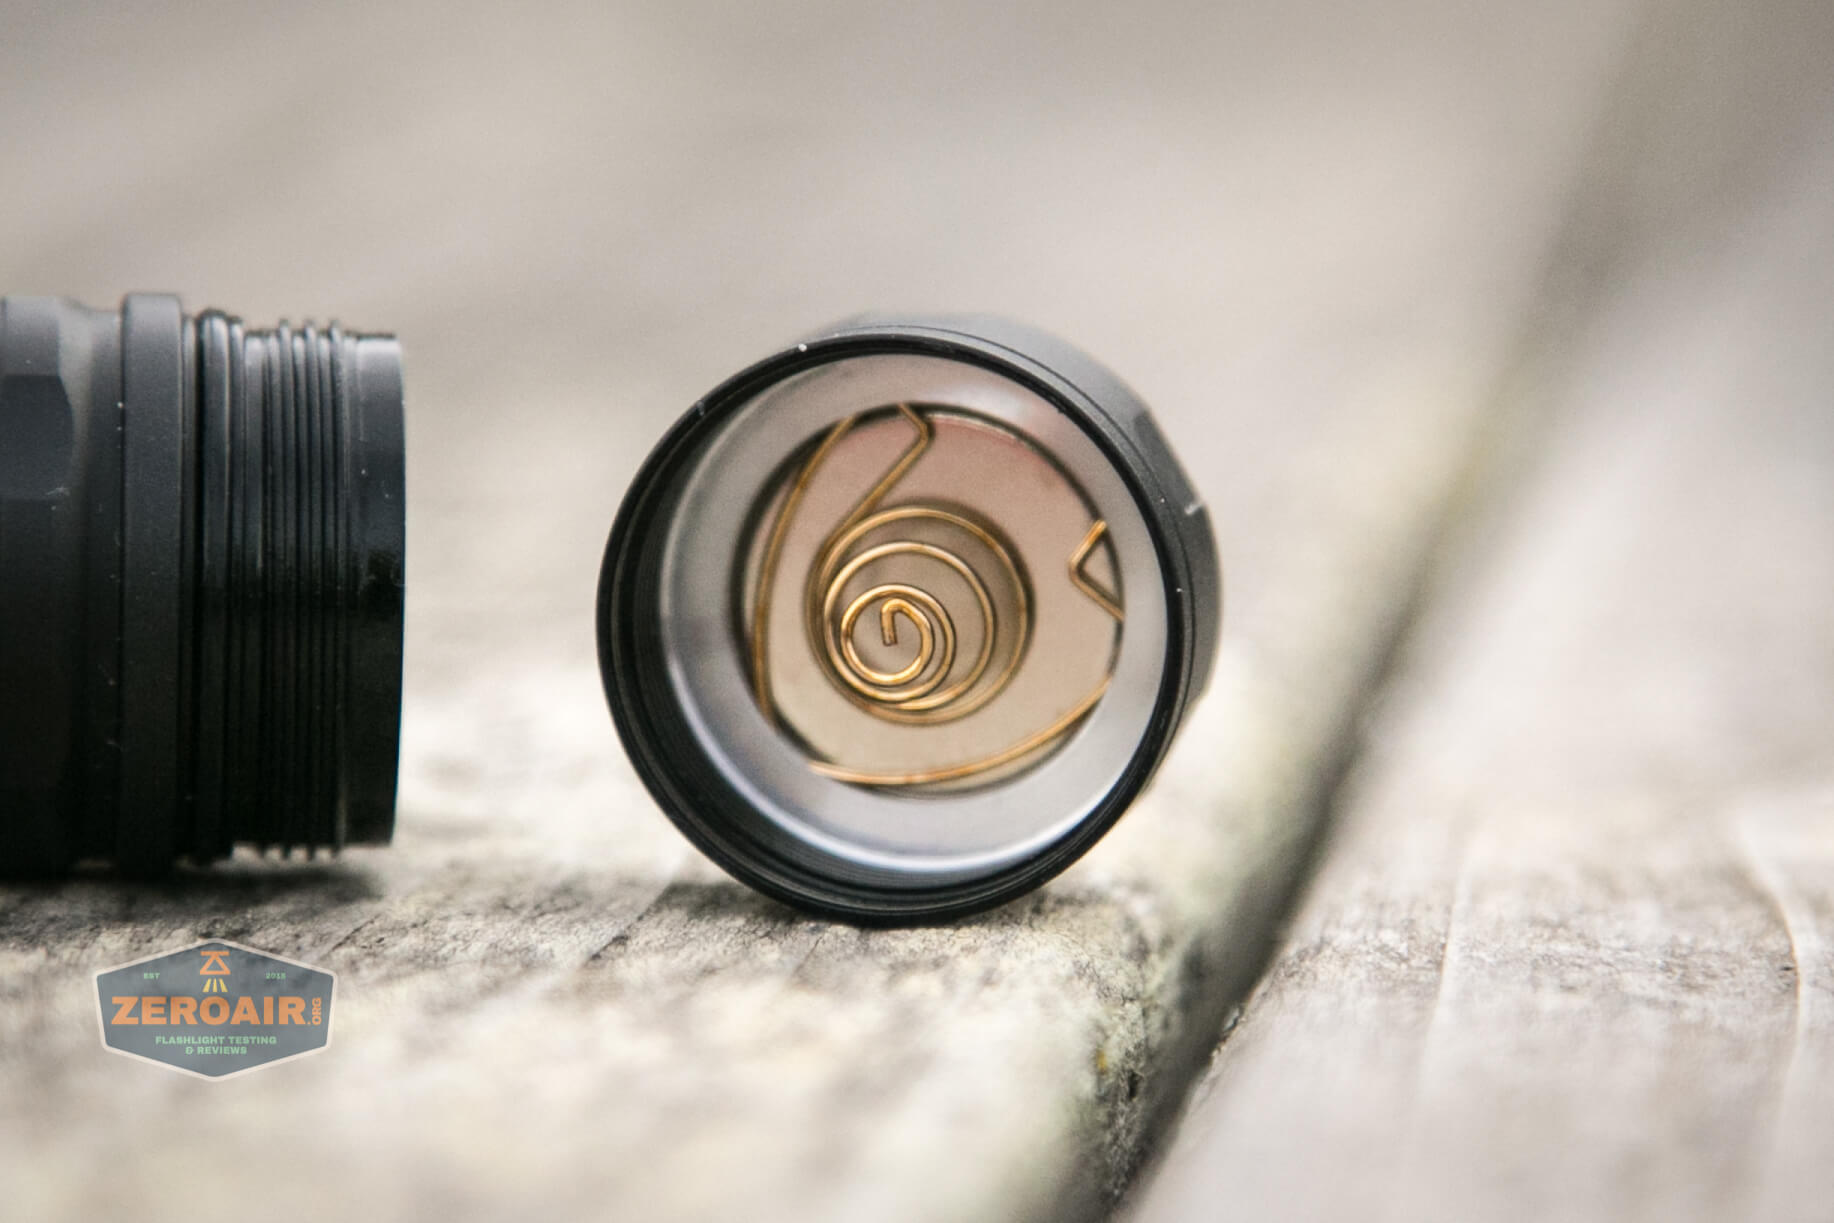
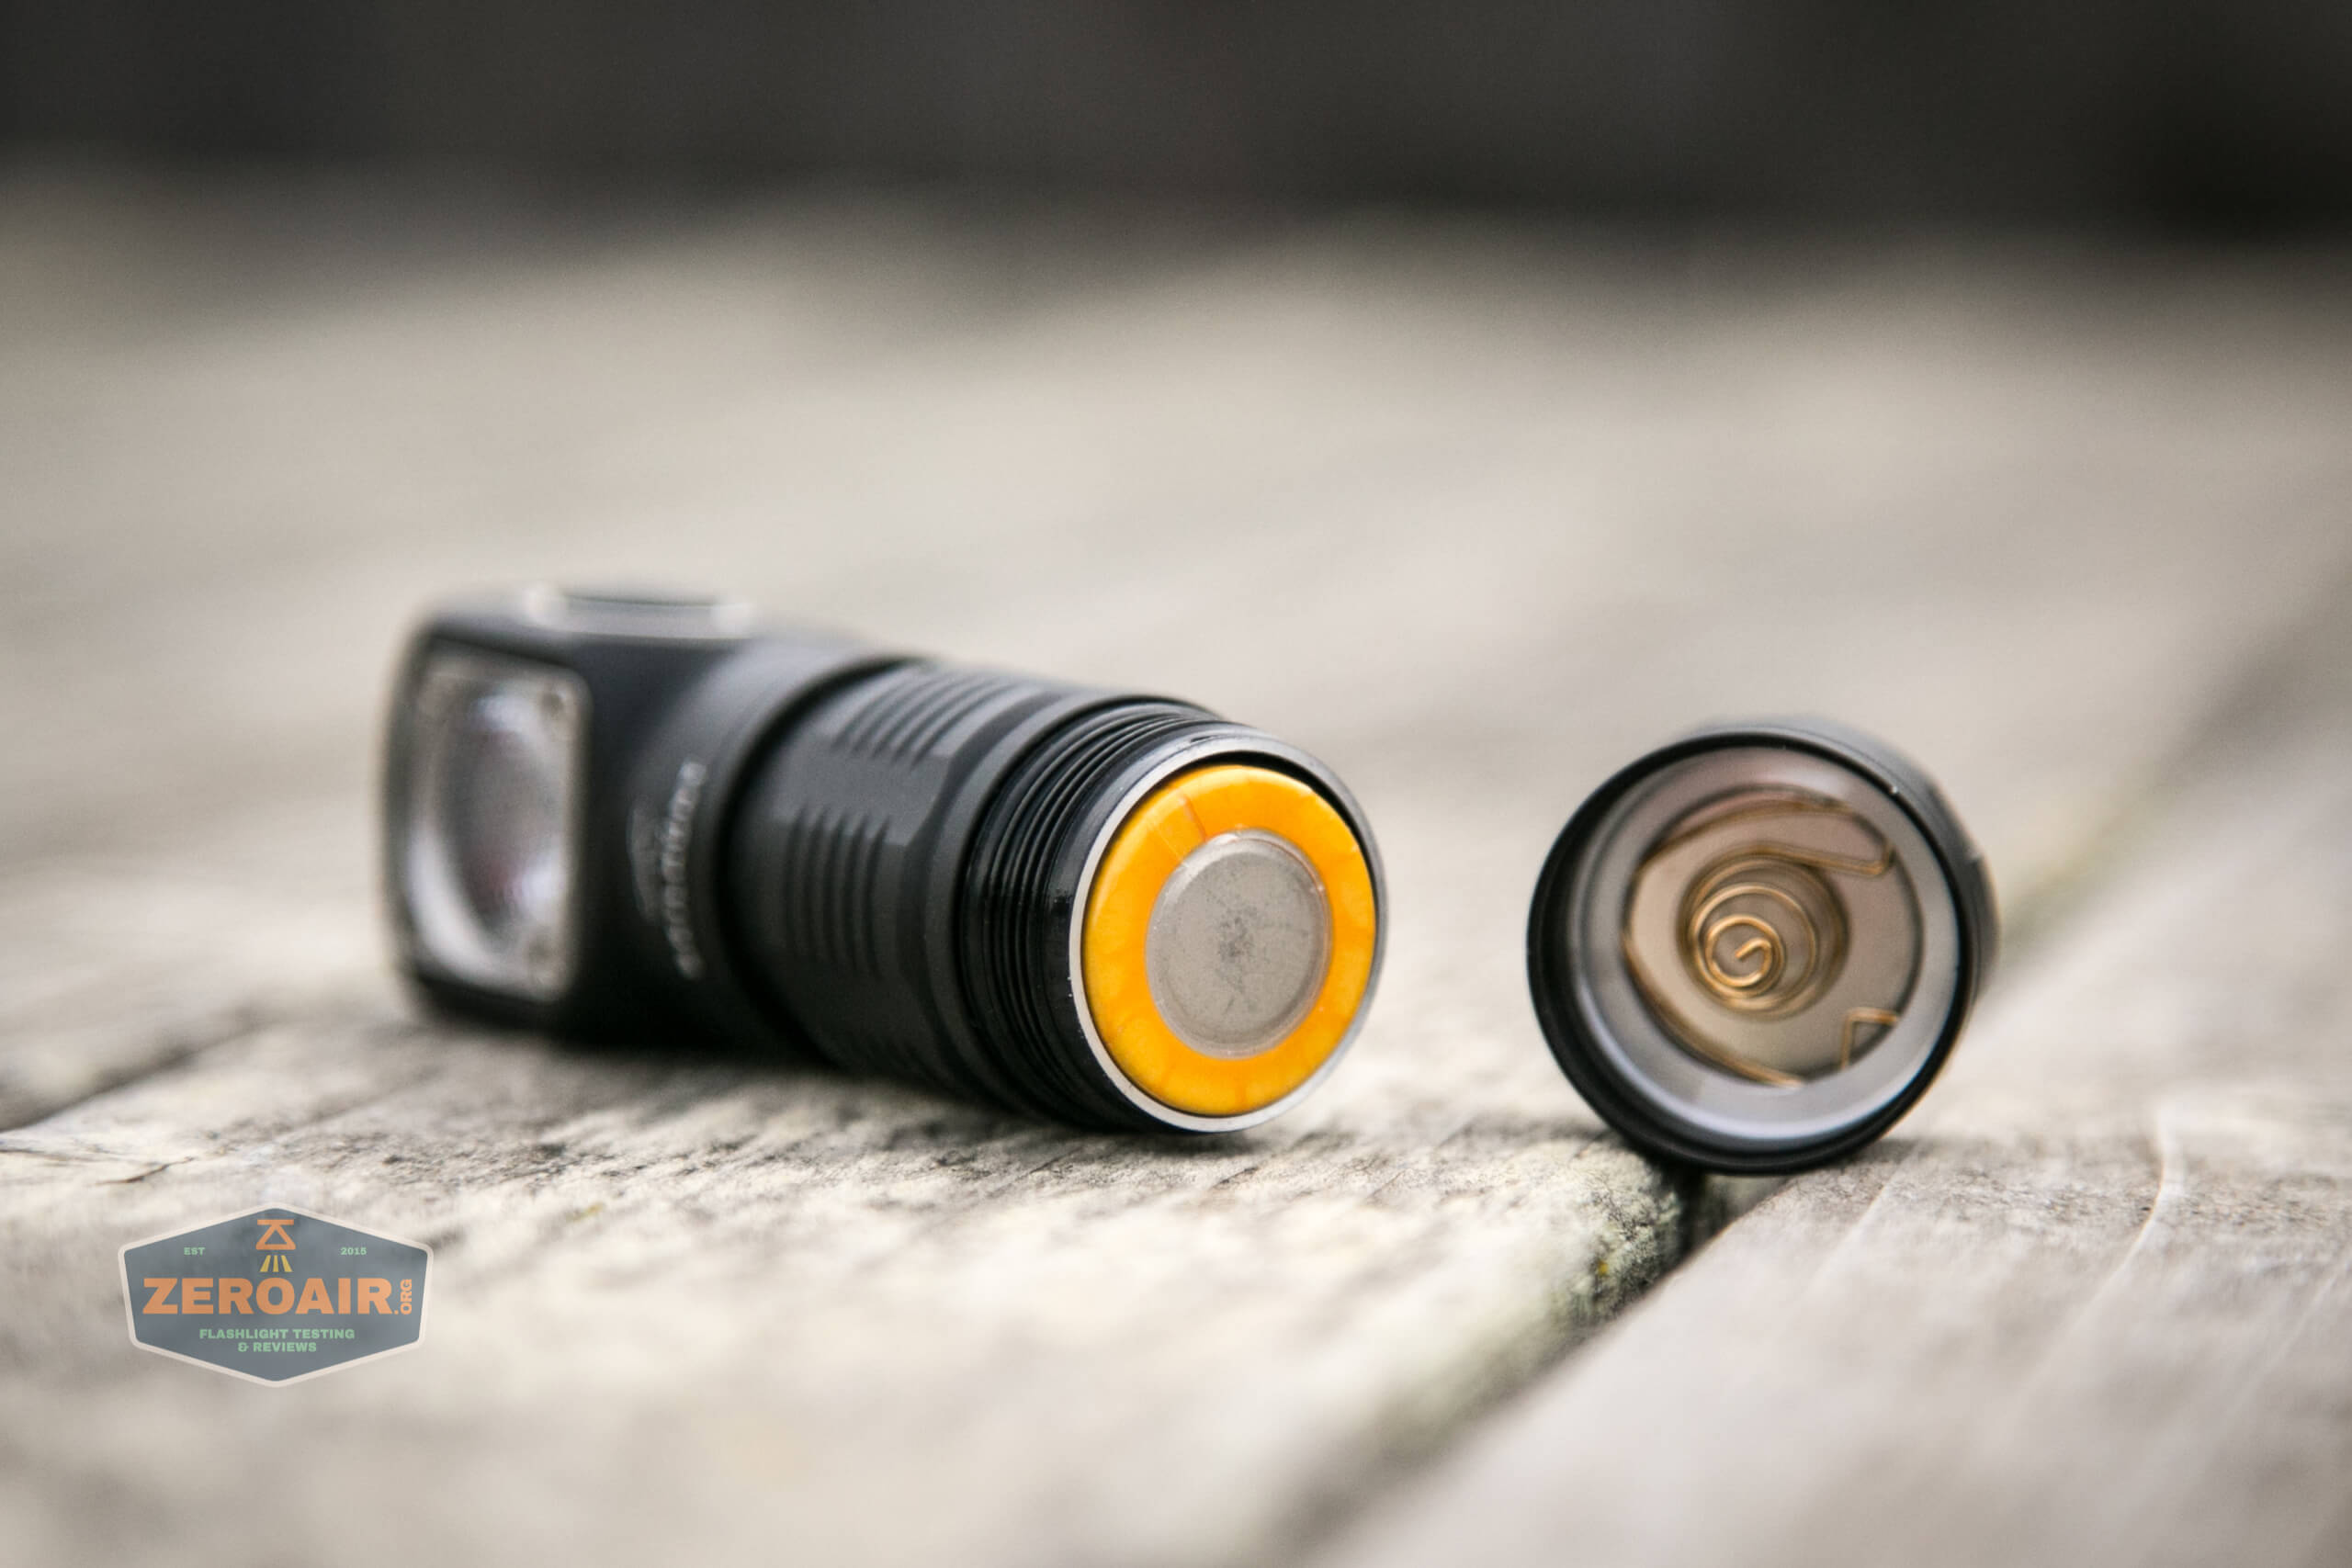
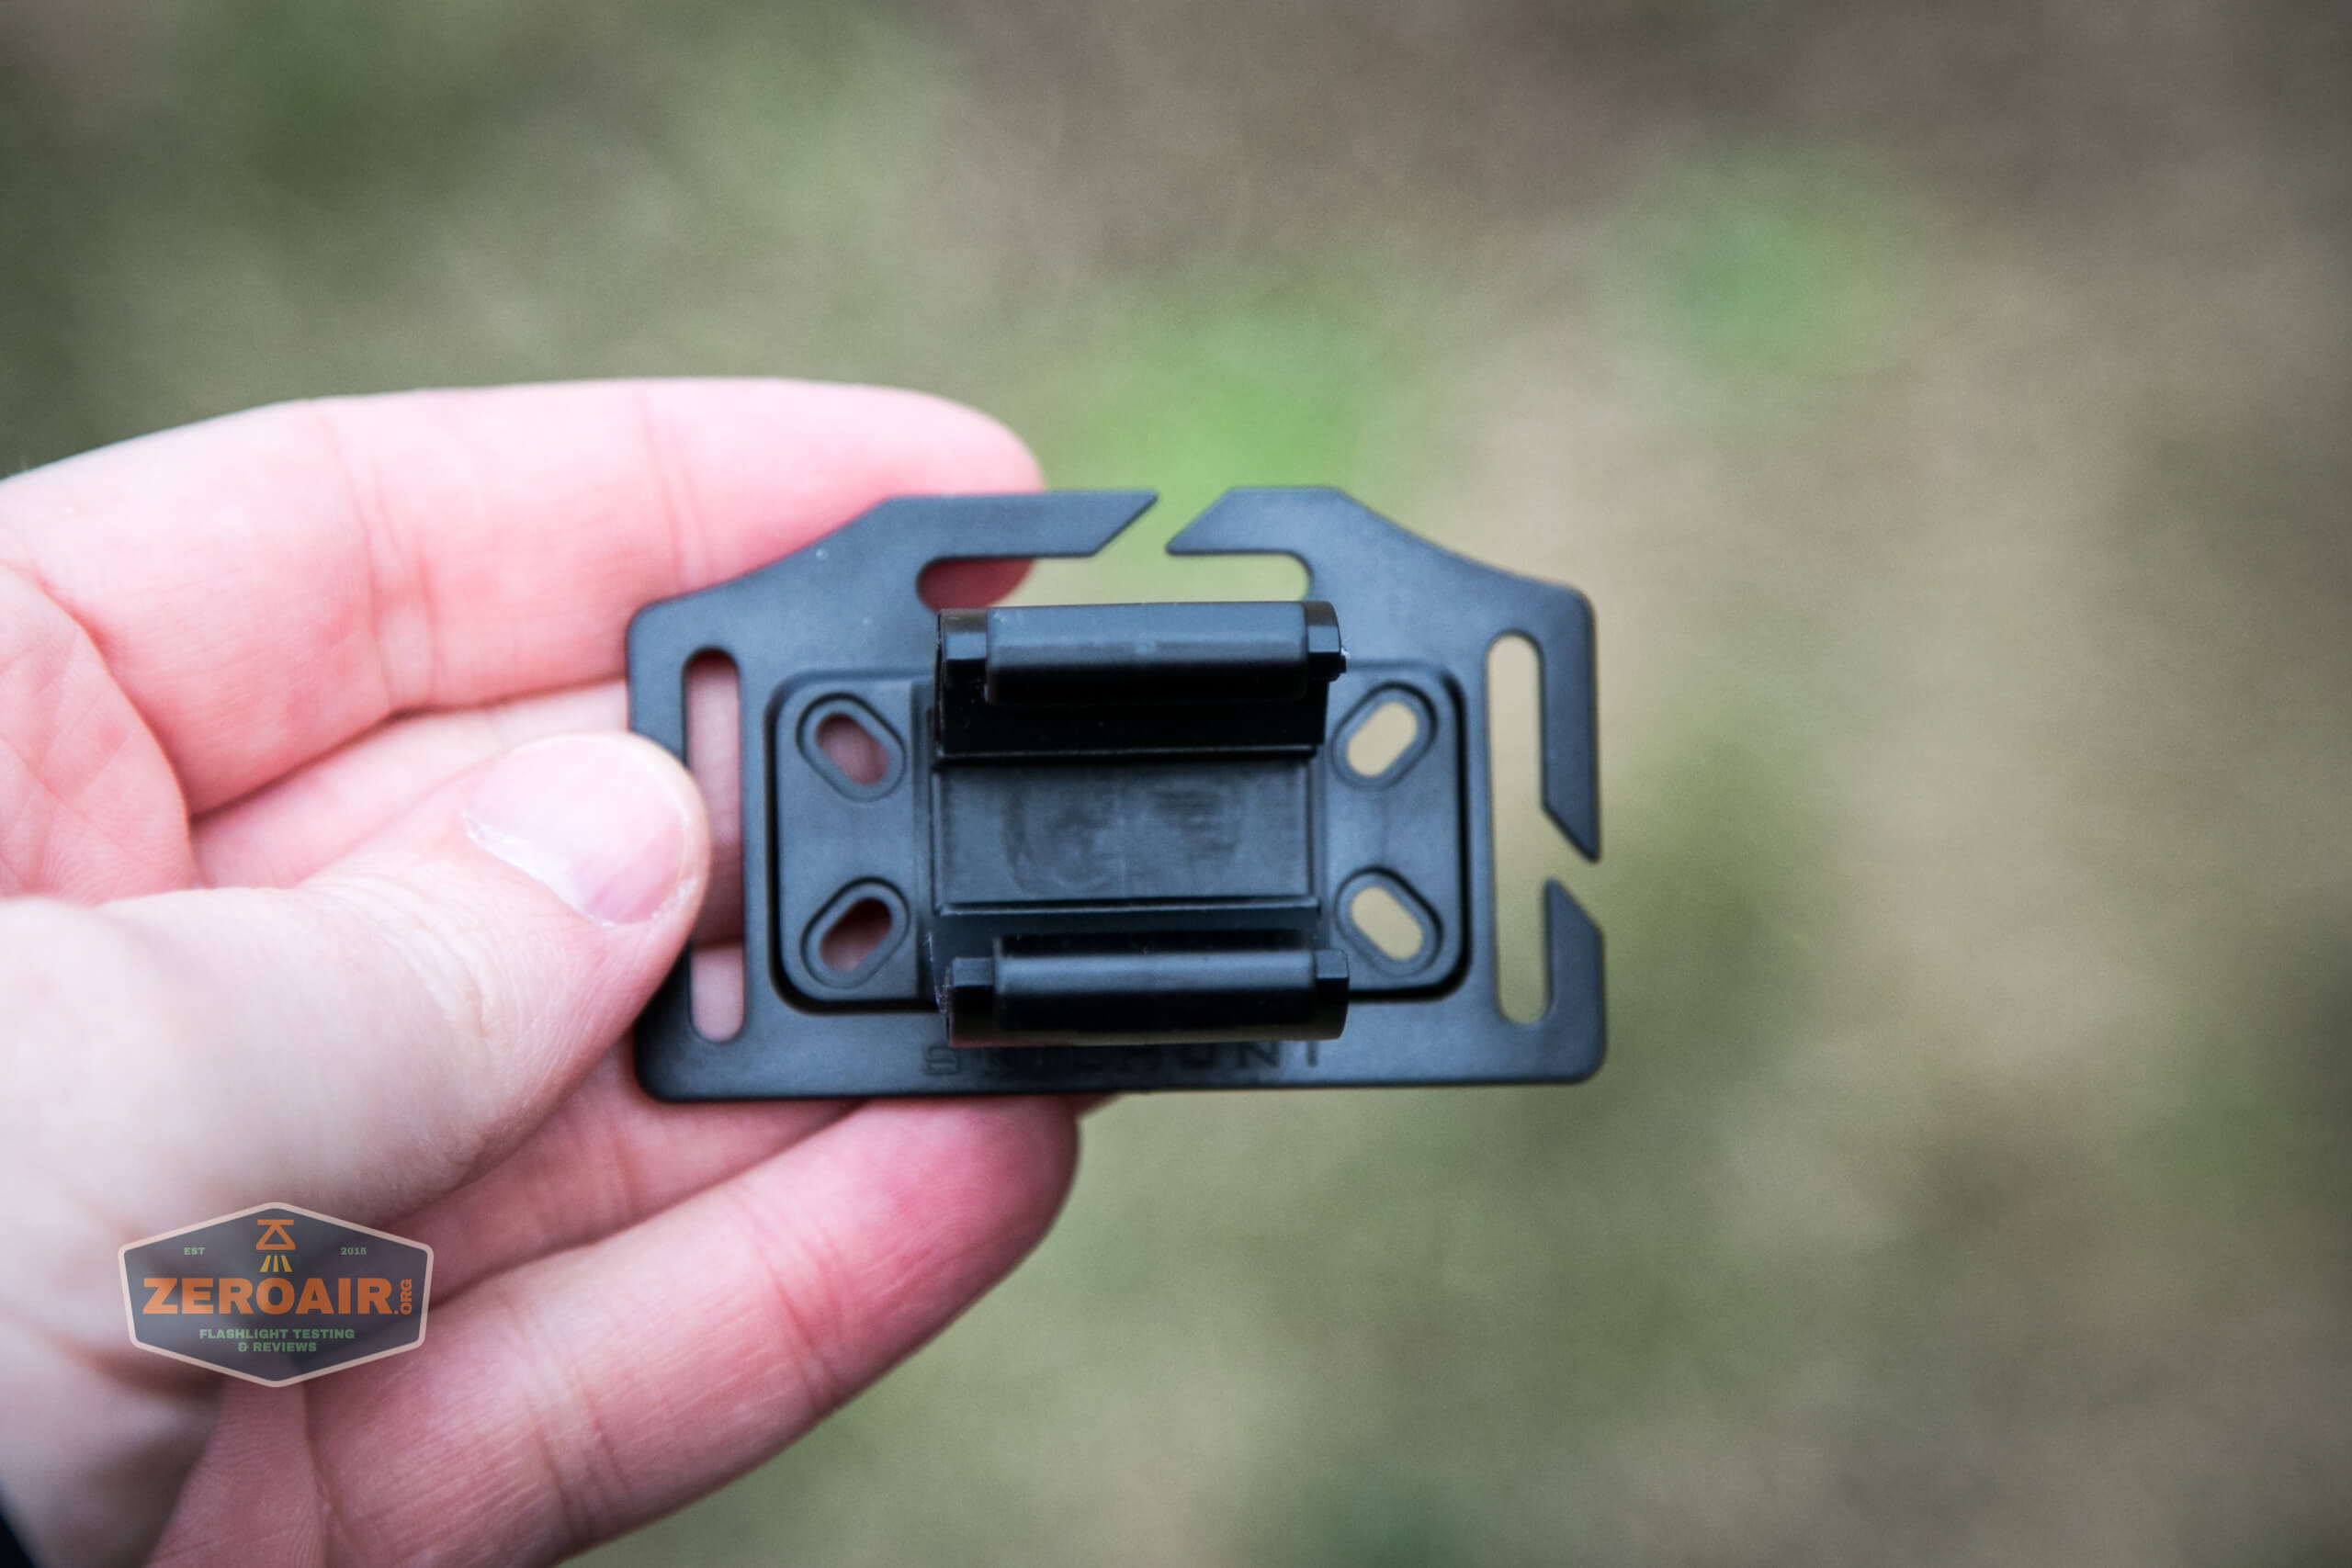
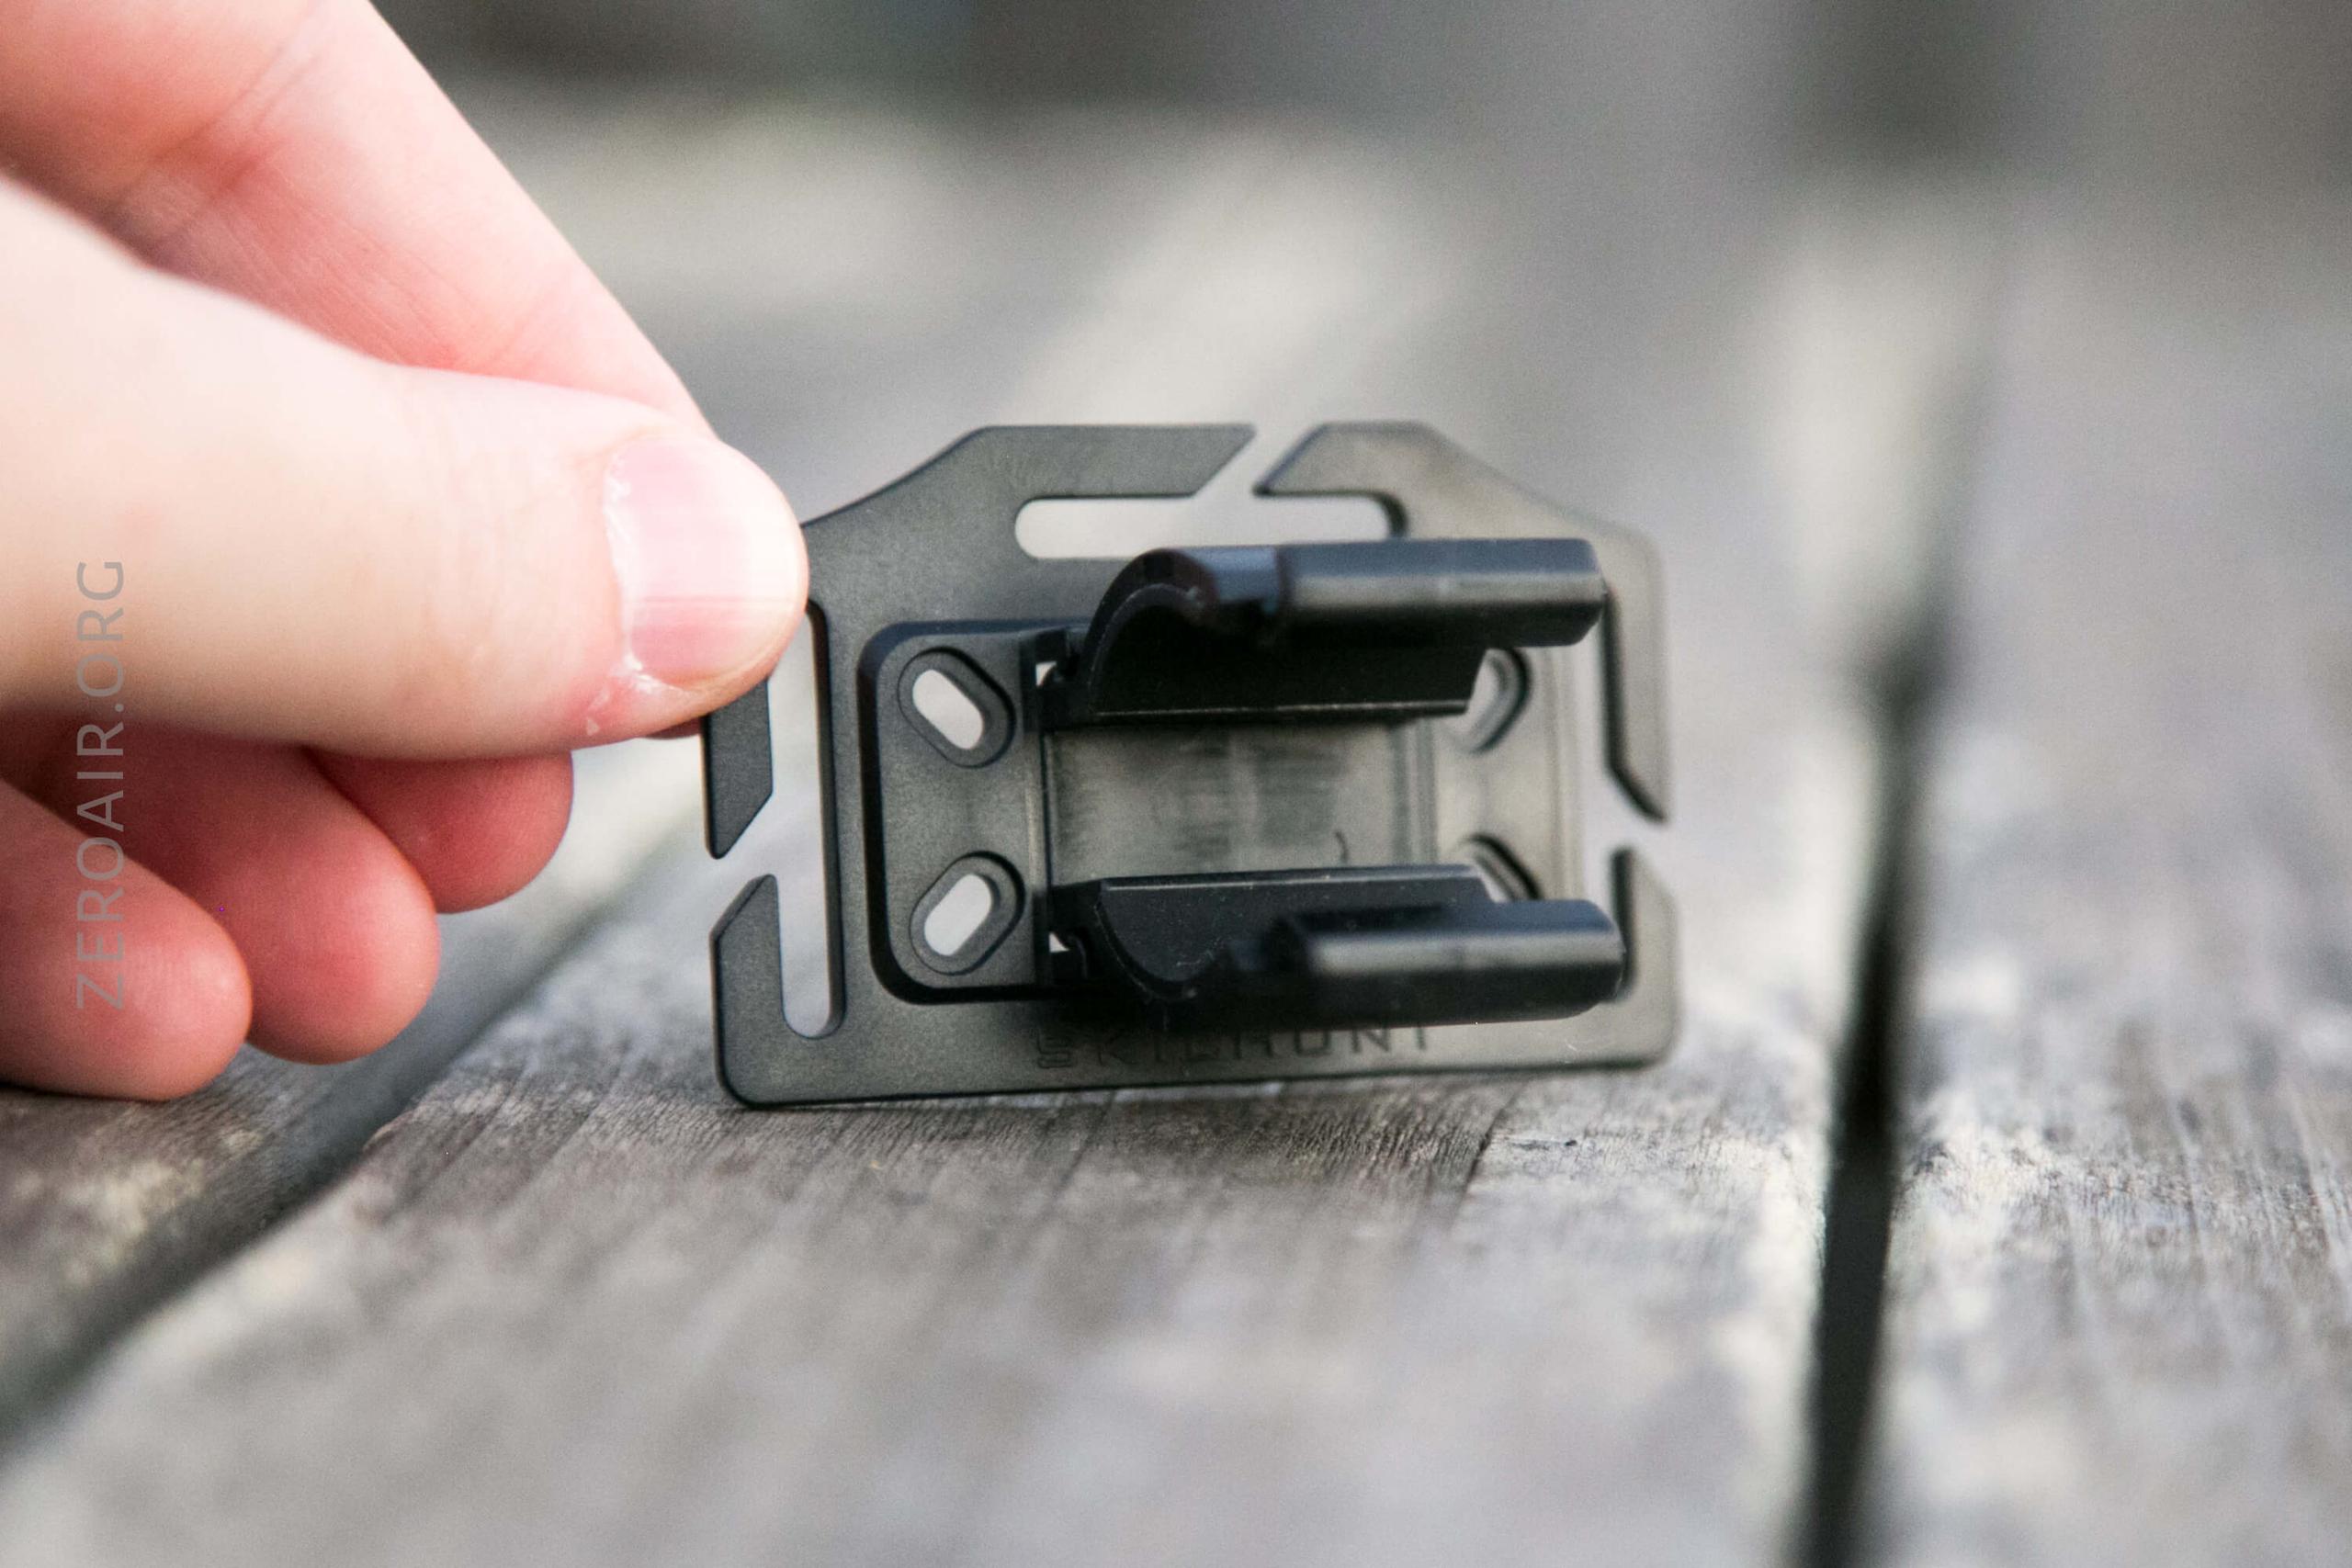
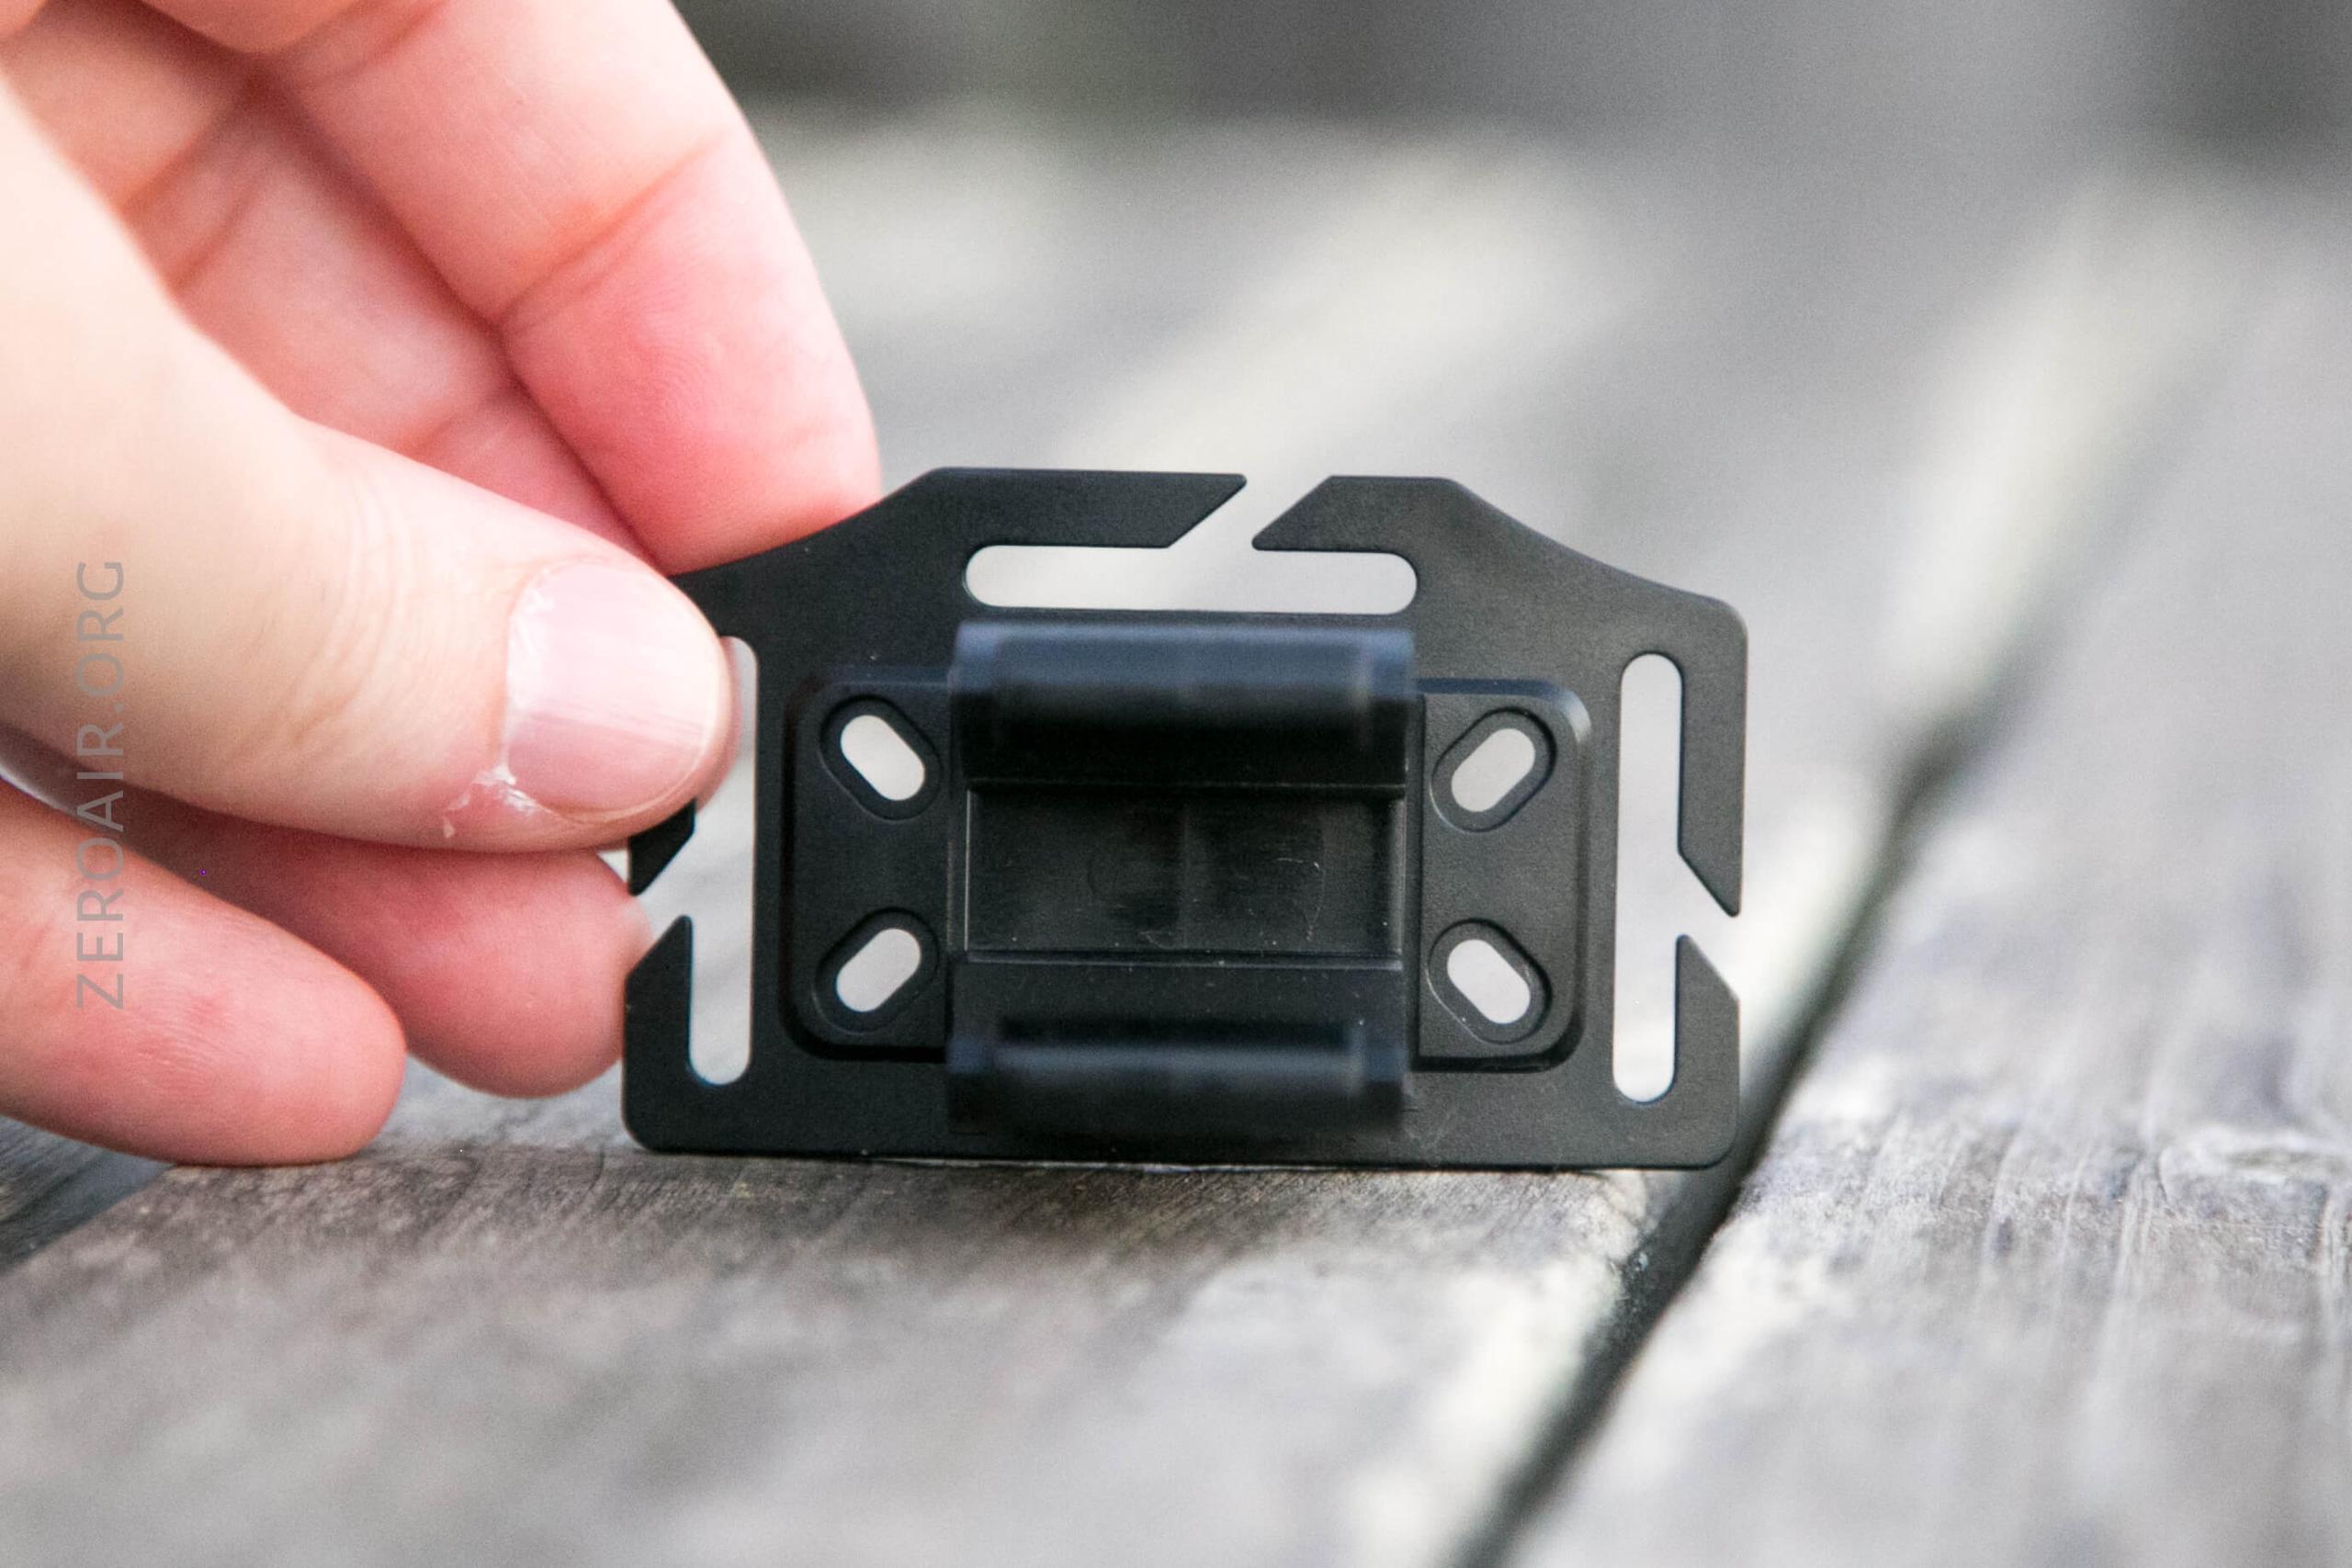
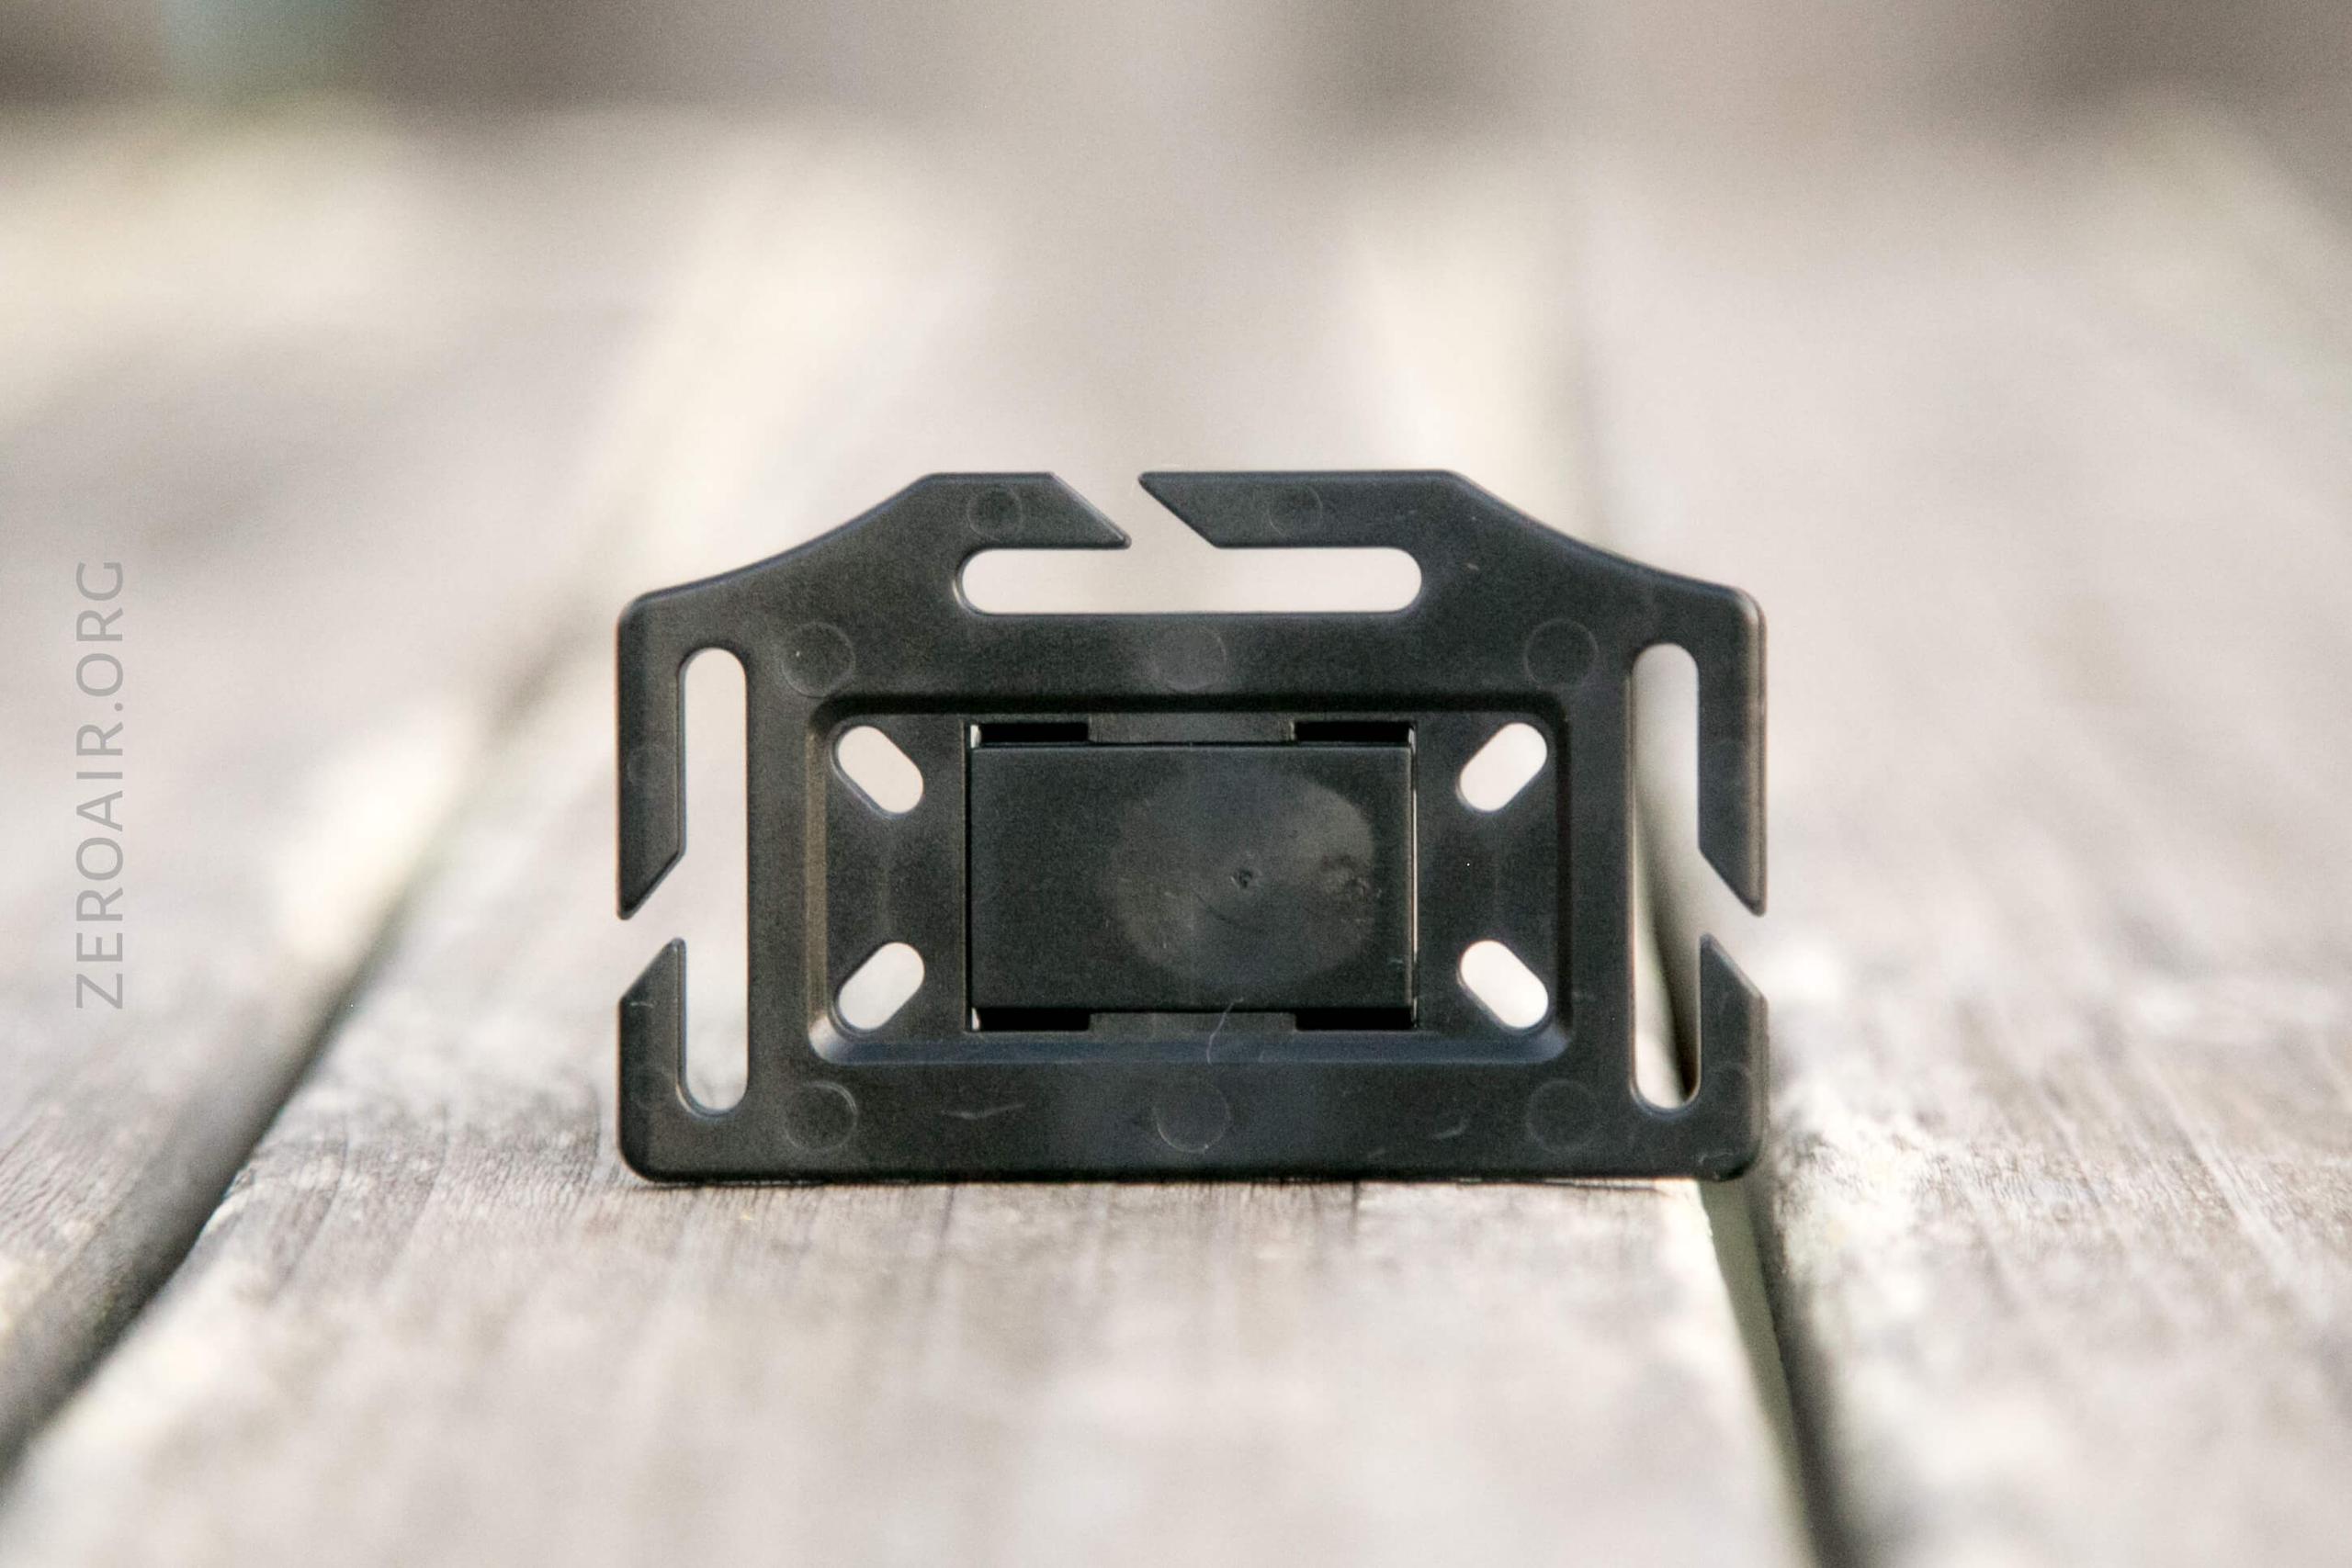
The tailcap is very plain, but inside is a magnet.
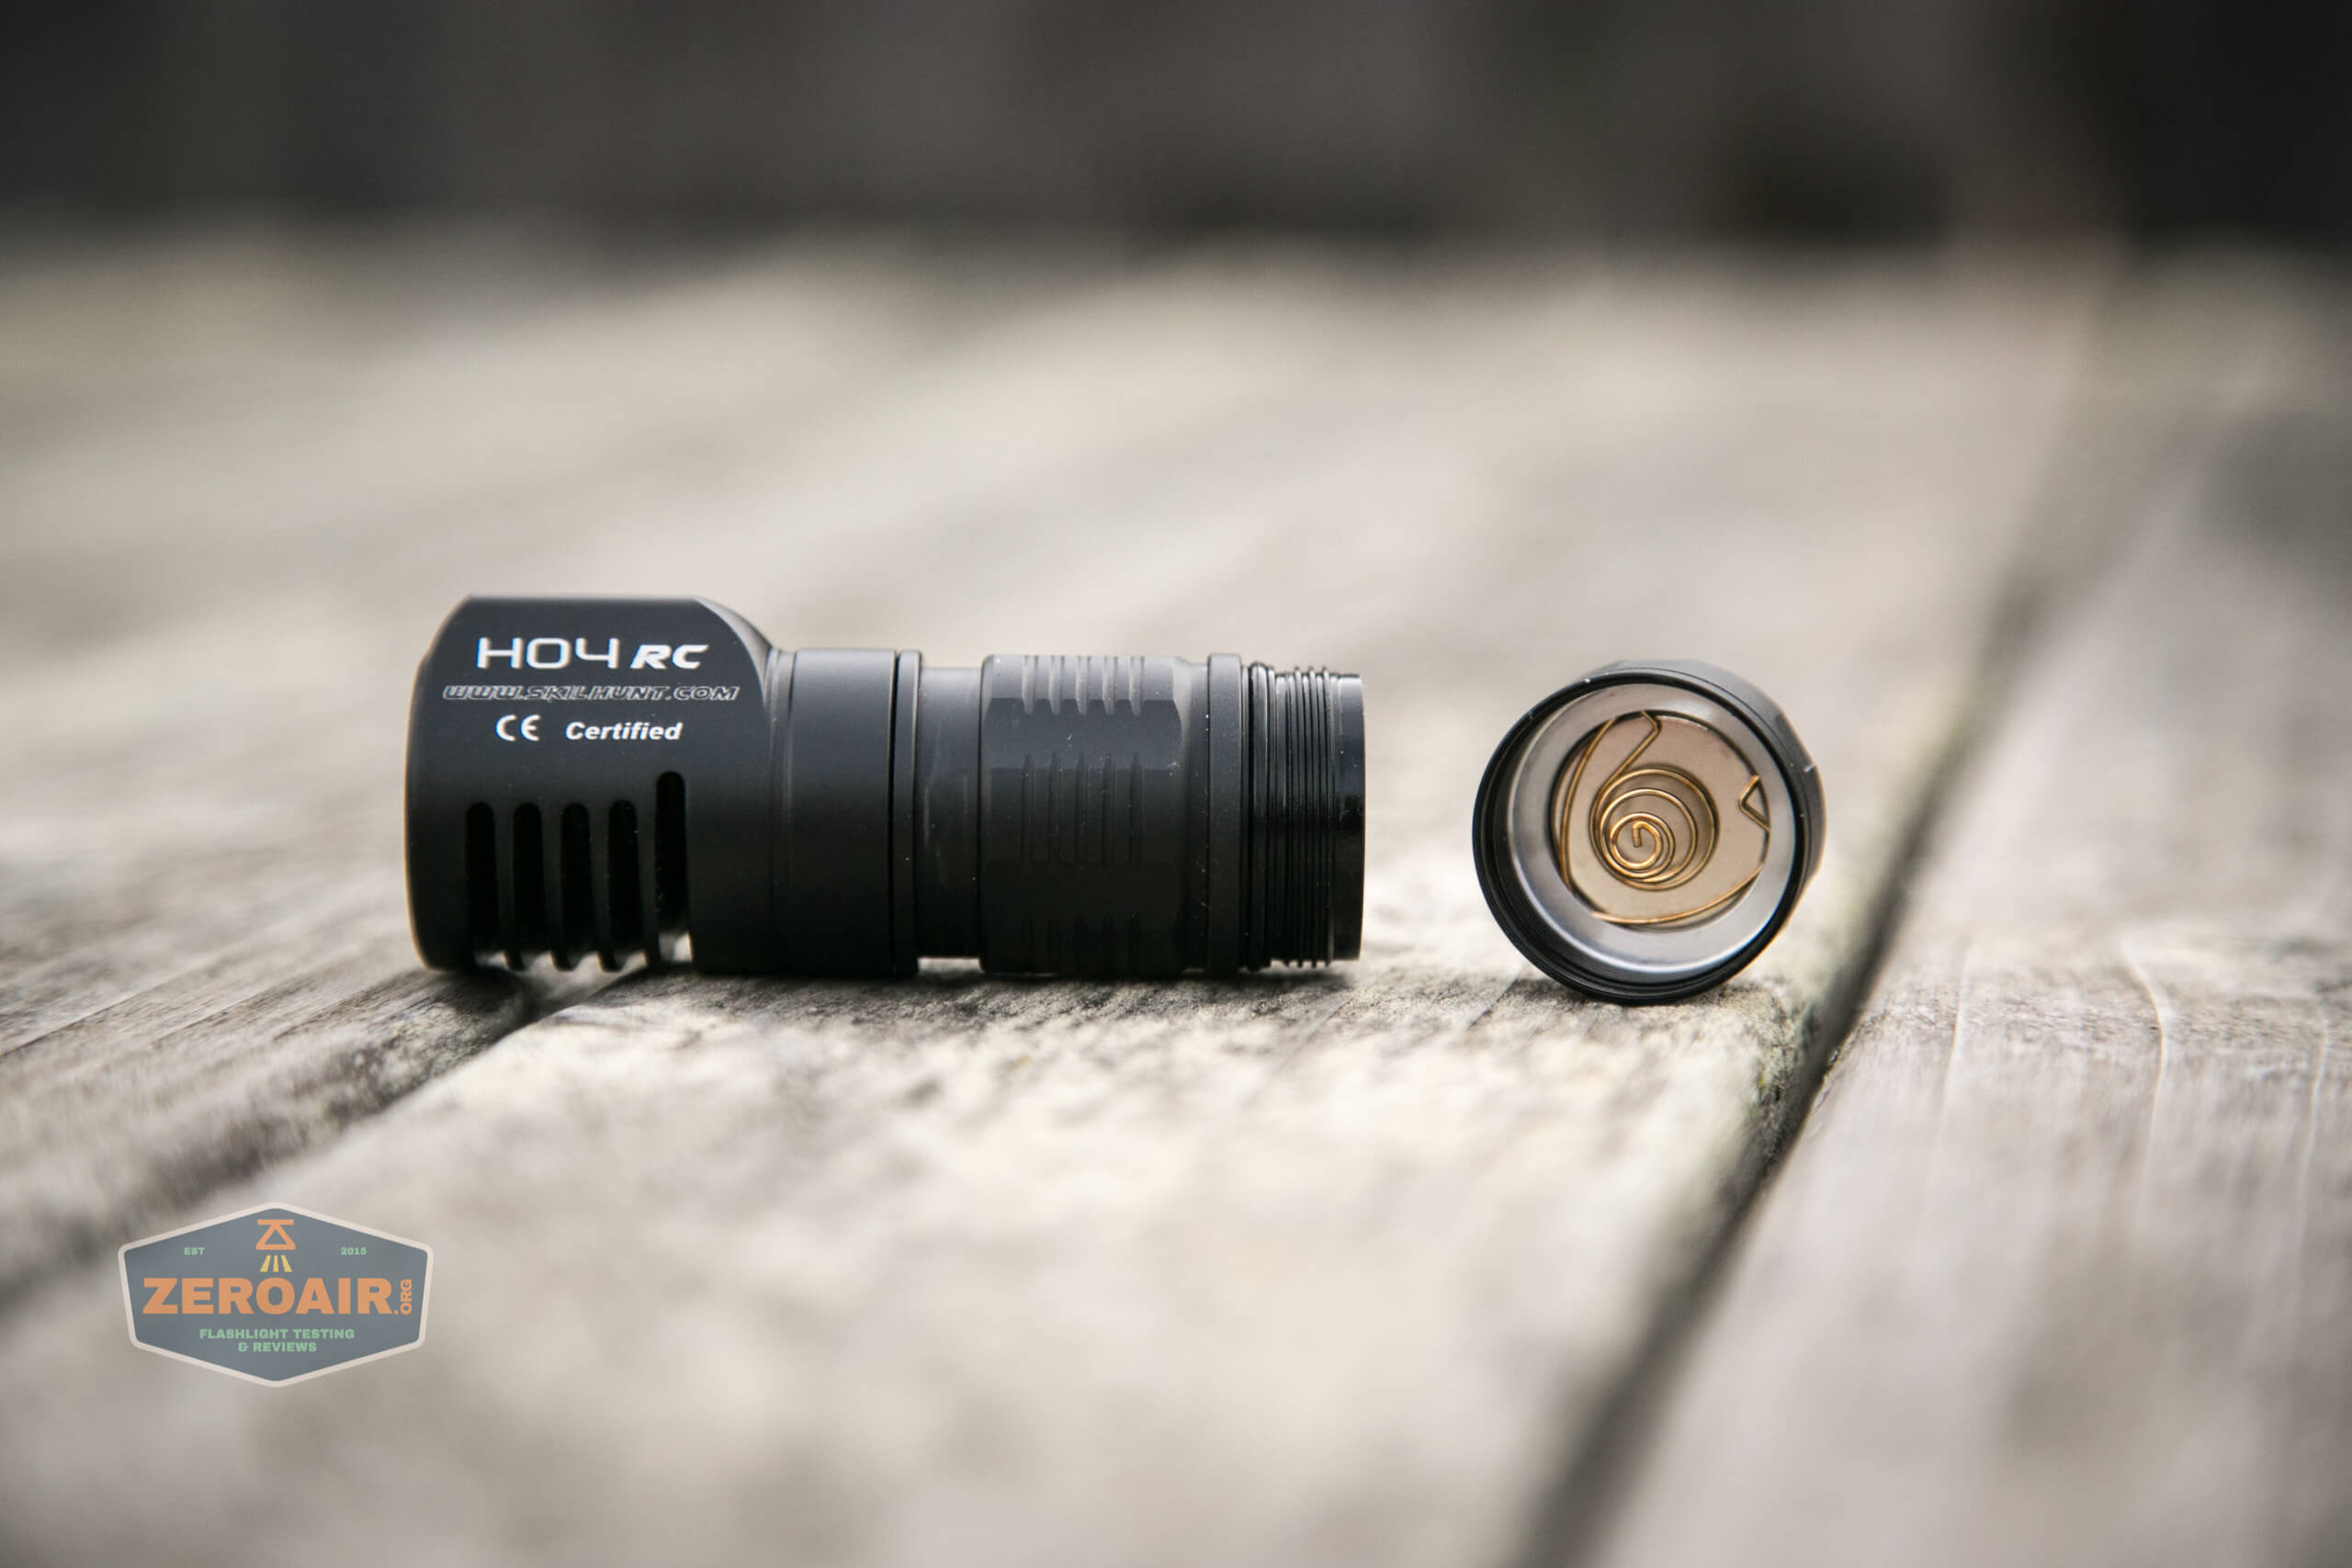
The magnet is easily removable. Just squeeze the legs of this spring, and remove it, then remove the magnet.
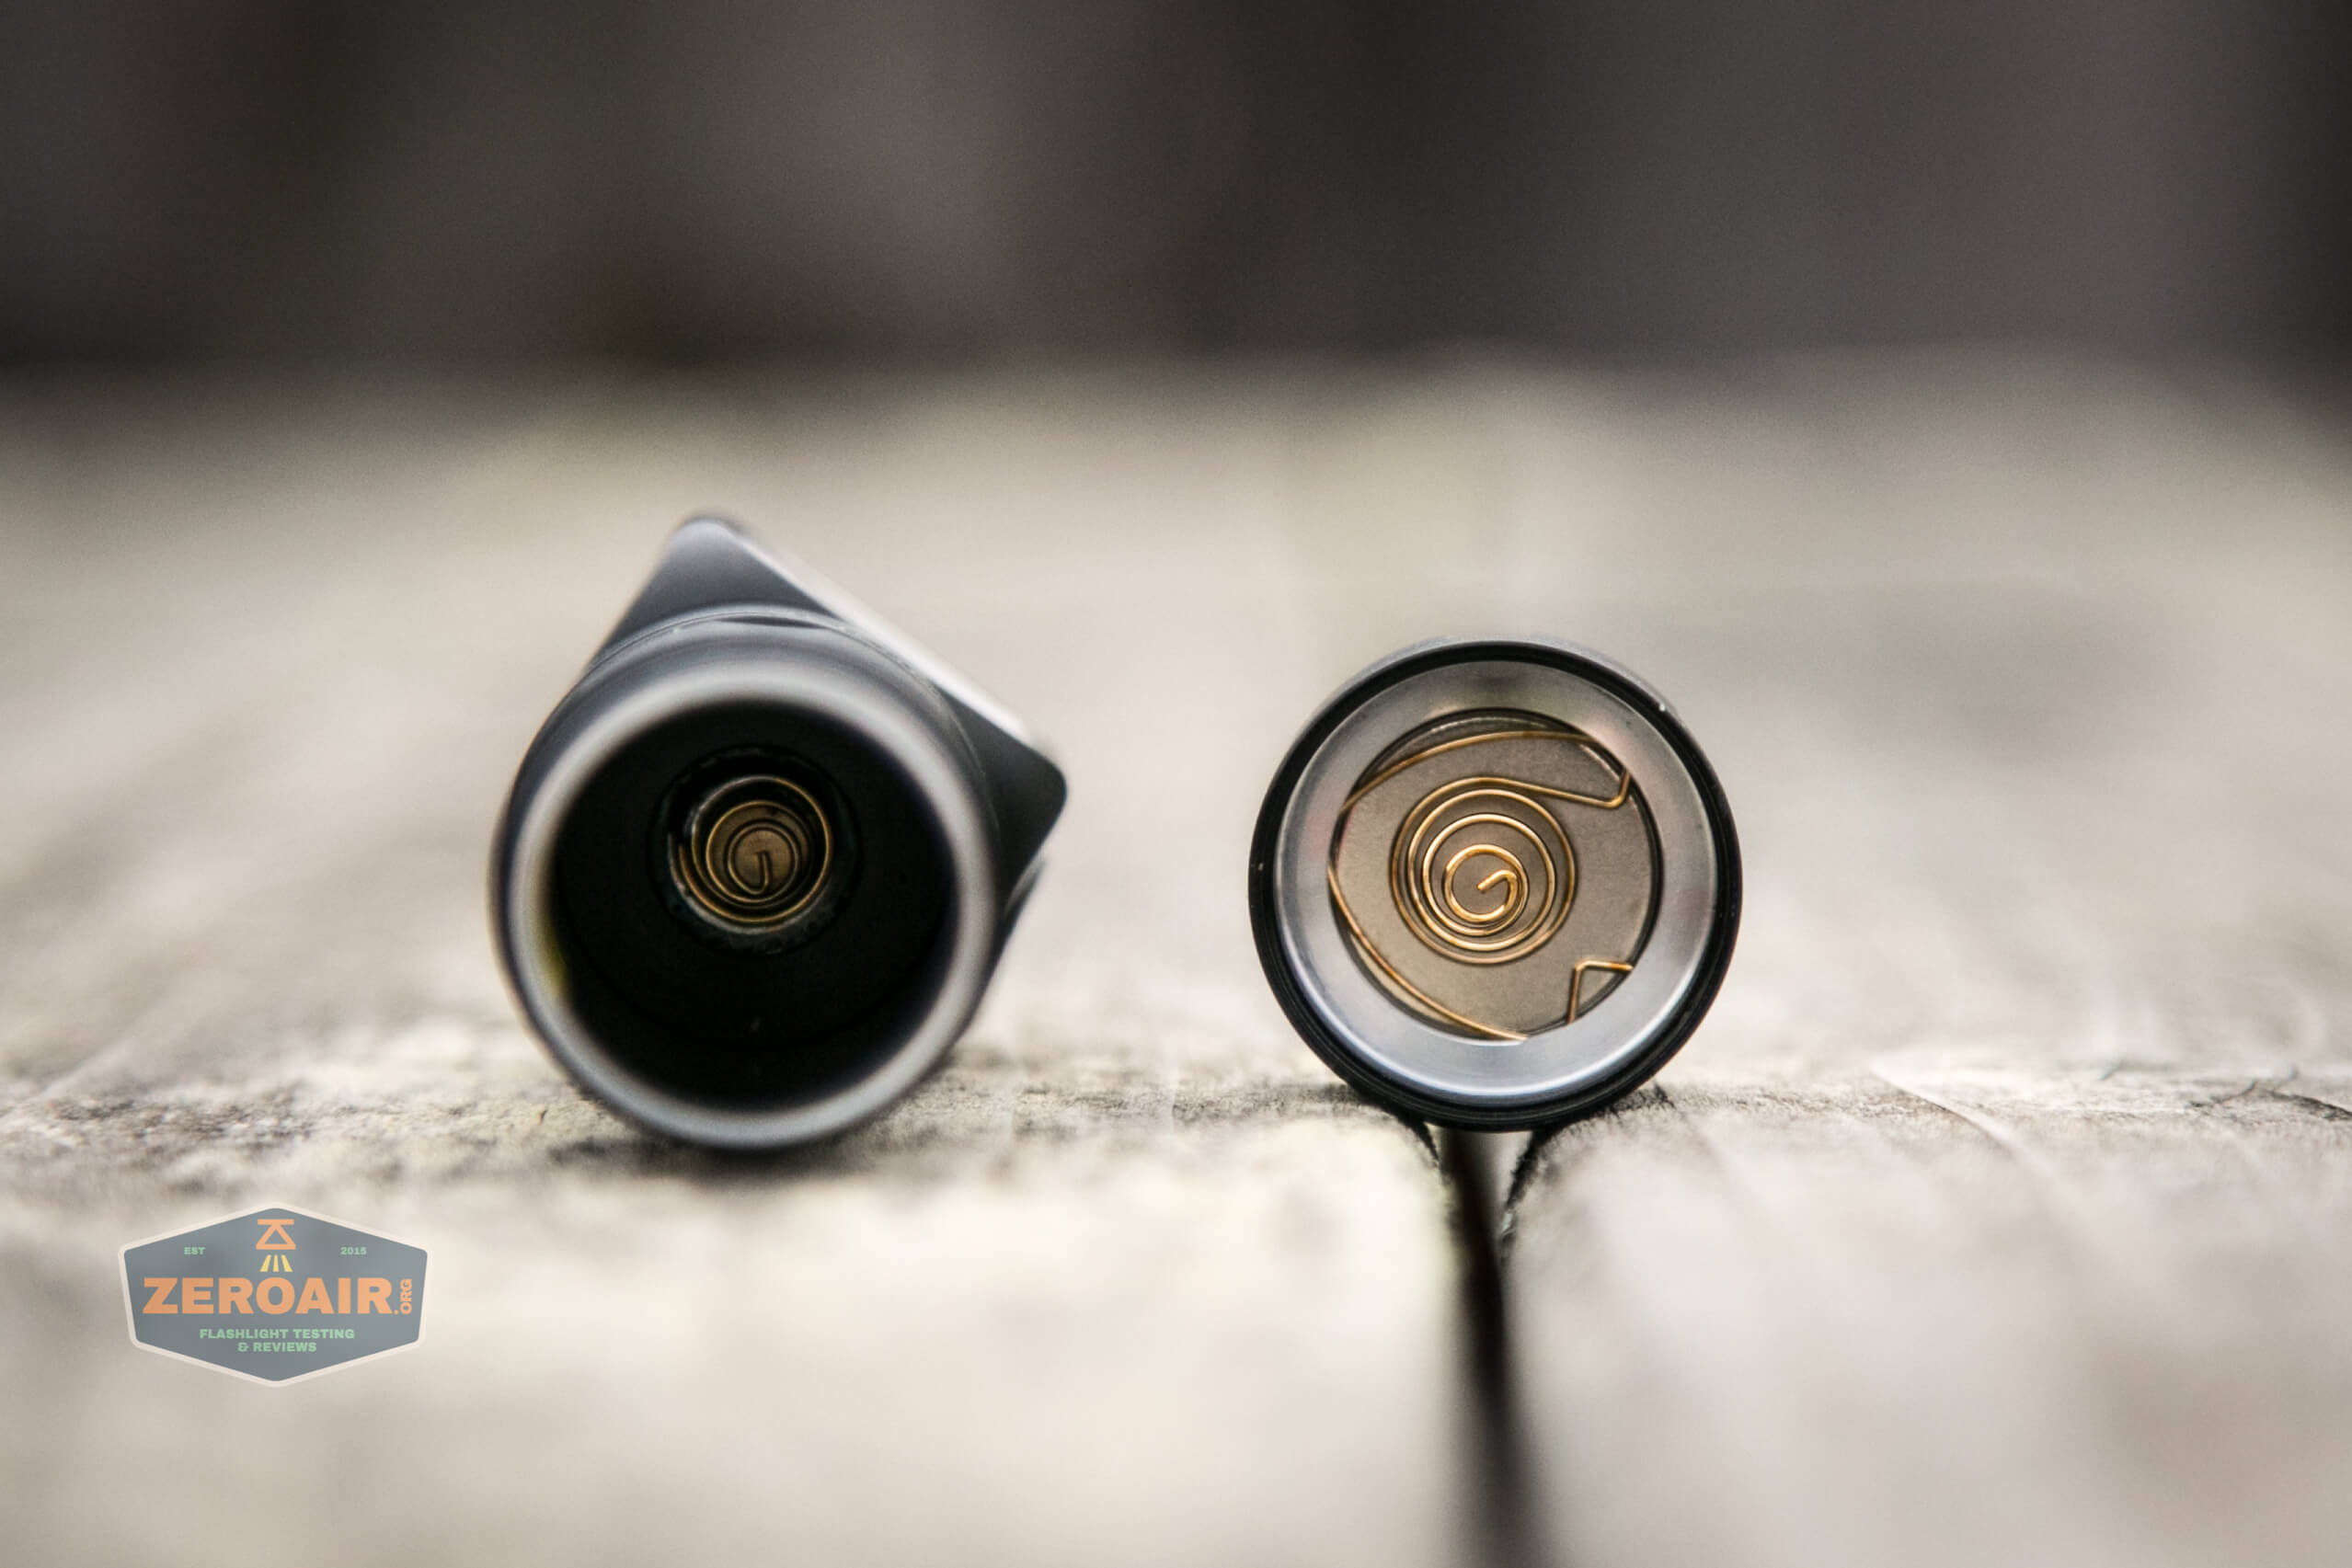
Not the main point of this photo below, but note the threads. They’re square-cut, anodized, well-lubed, and pleasantly short.
Both head and tail have nice, big springs.
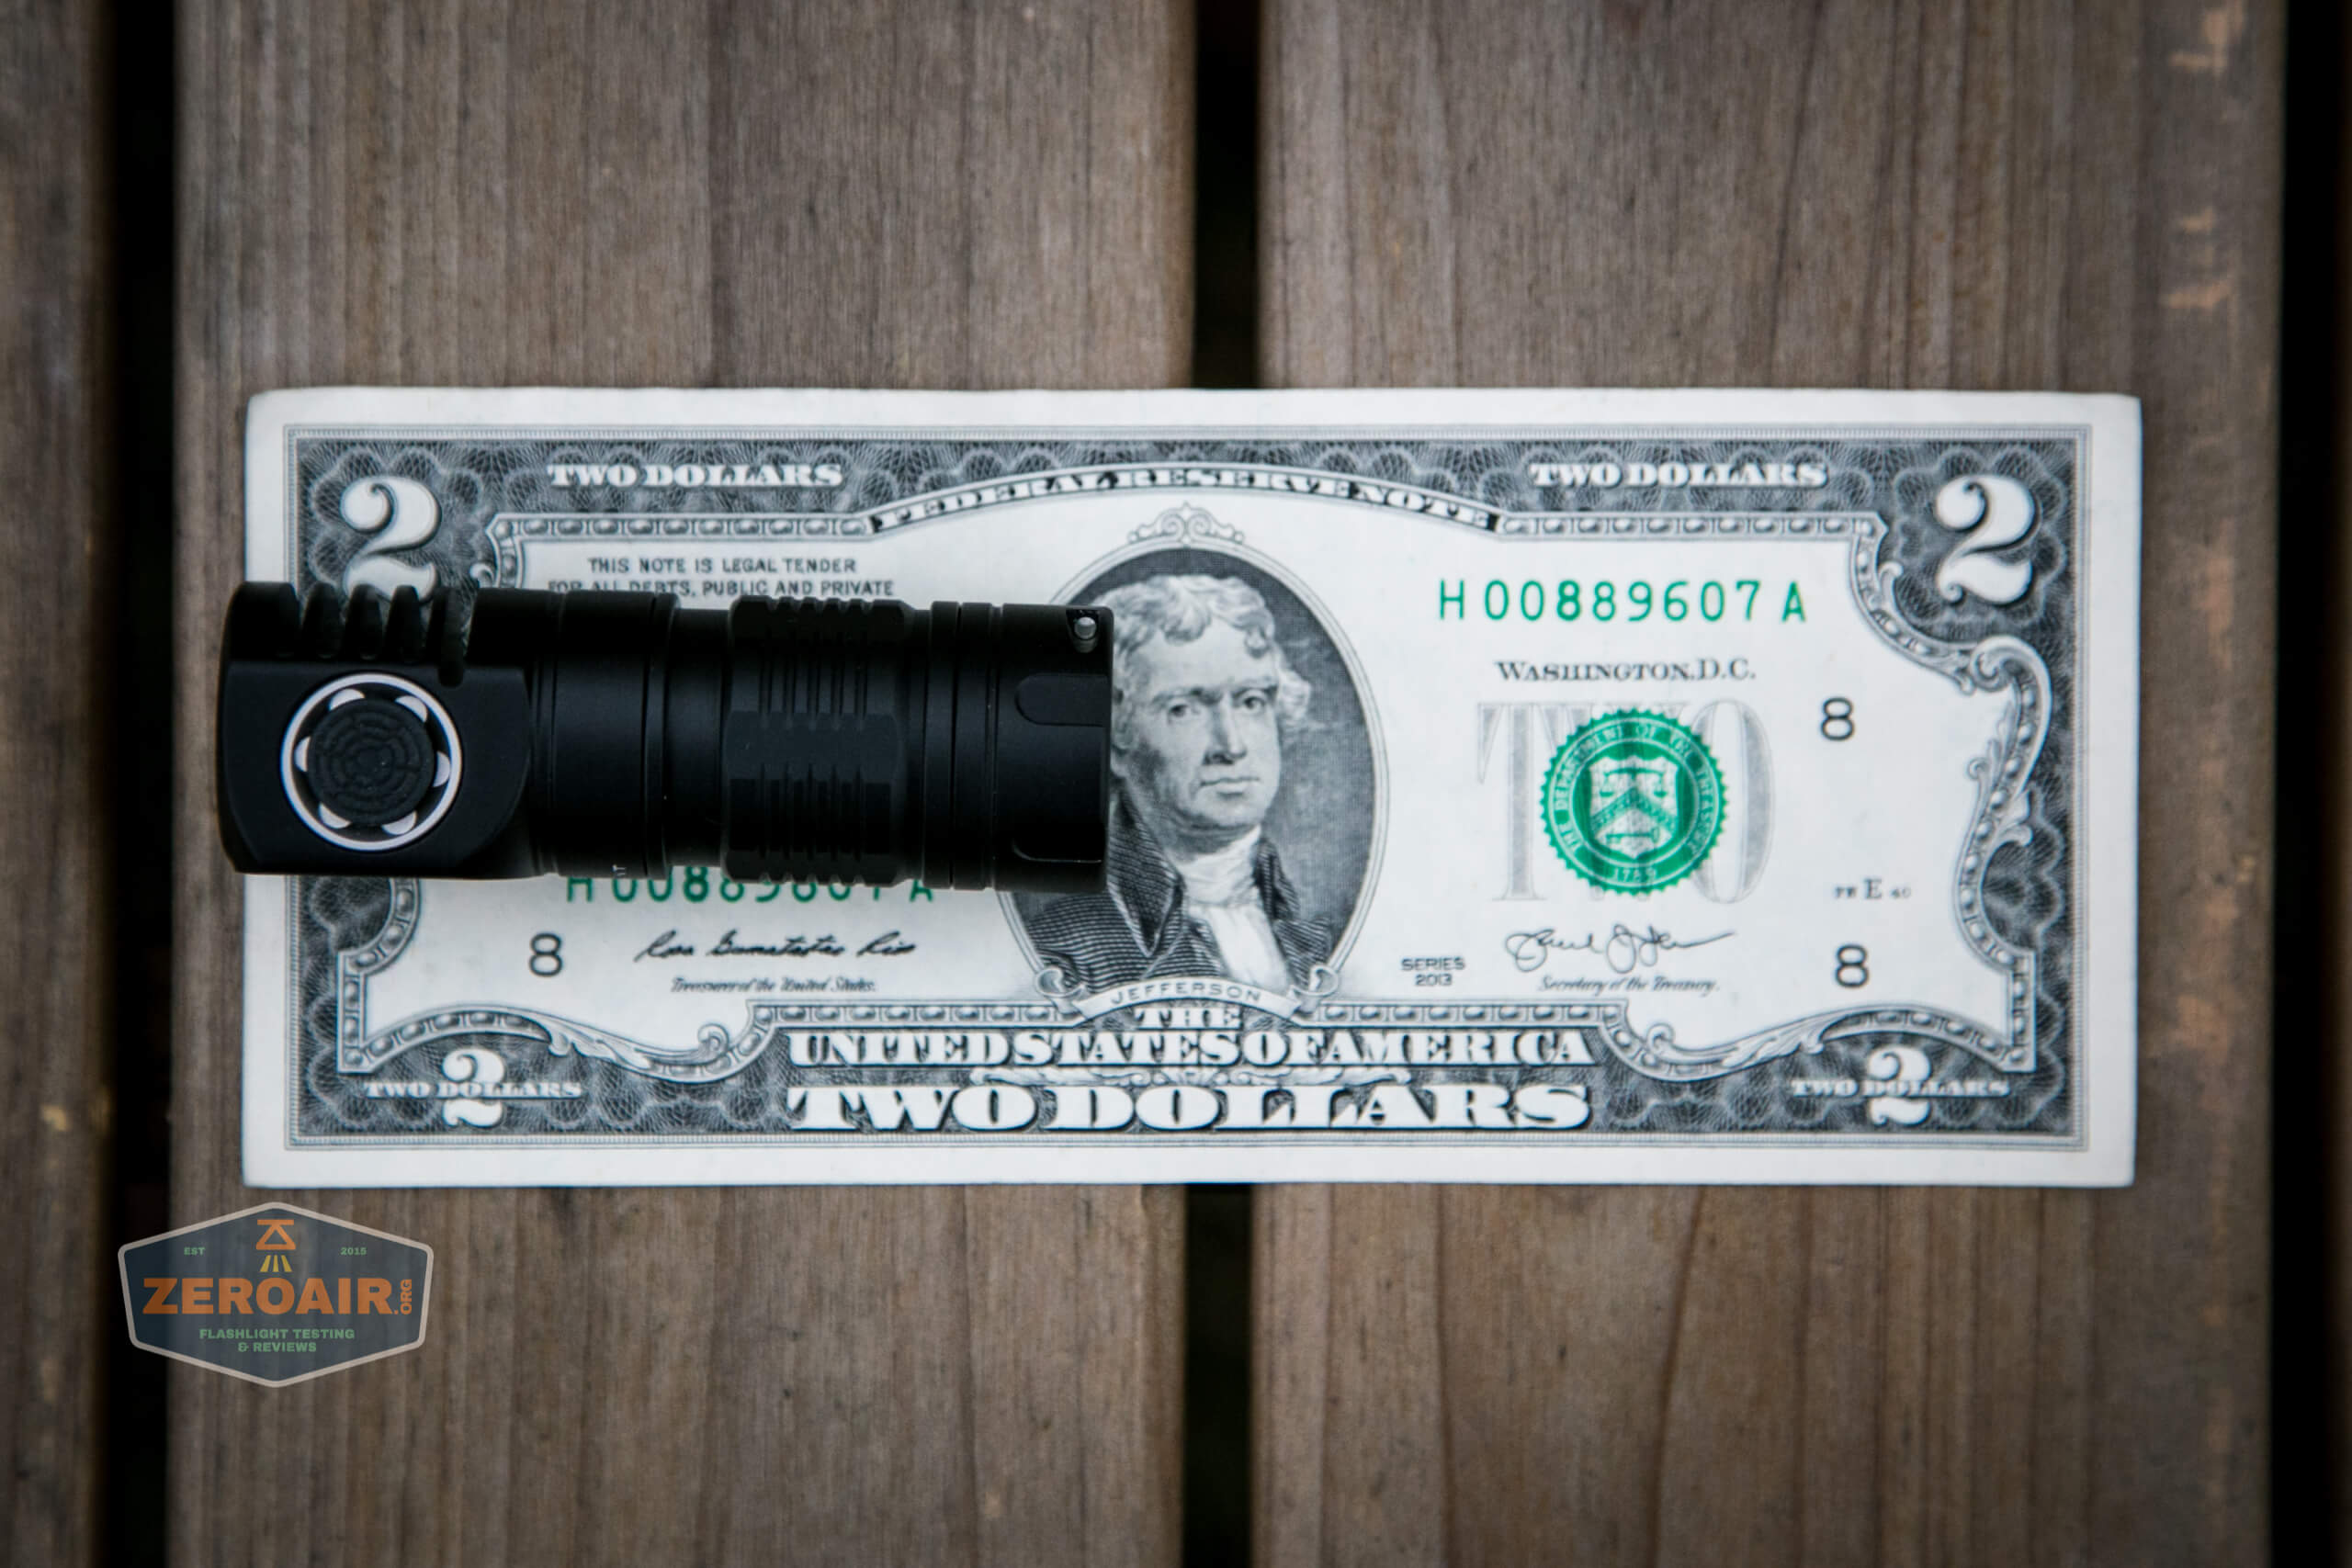
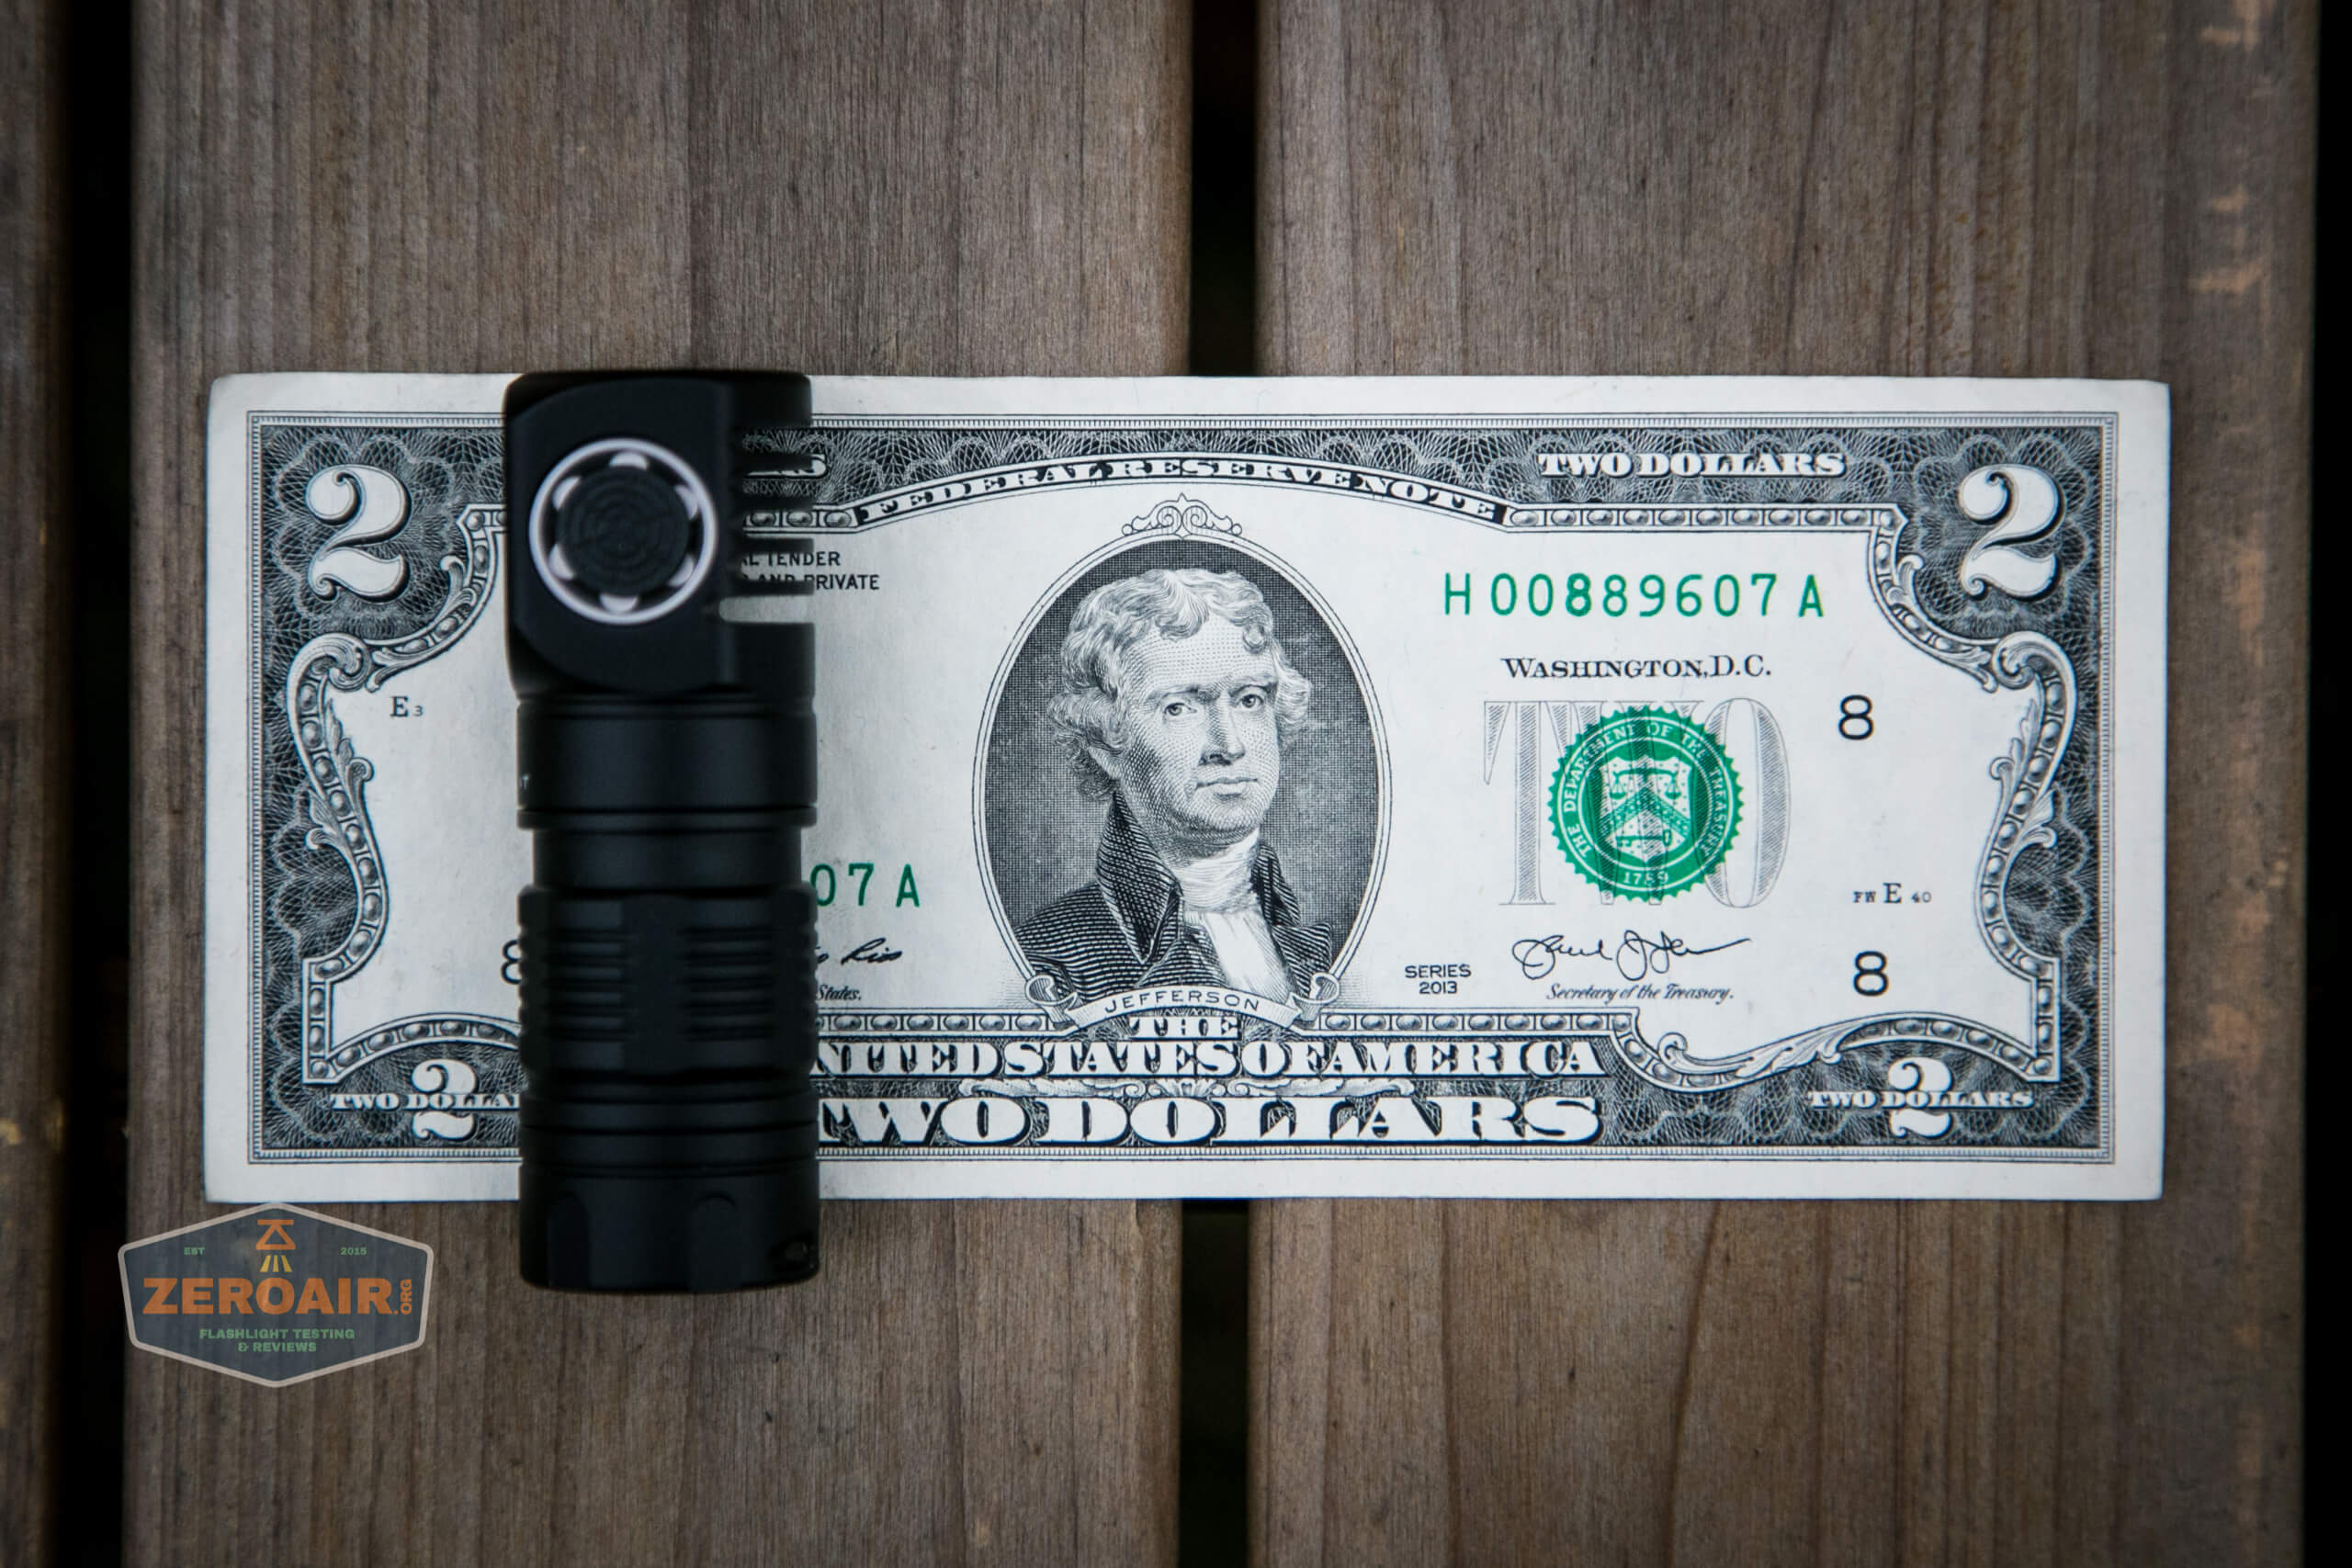
Size and Comps
Length 70.9mm / 2.79 inch
Head diameter 23.5mm / 0.93 inch
Body diameter 23.5mm / 0.93 inch
Weight: 45g / 1.59oz (without battery)


If the flashlight will headstand, I’ll show it here (usually the third photo). If the flashlight will tailstand, I’ll show that here, too (usually the fourth photo).
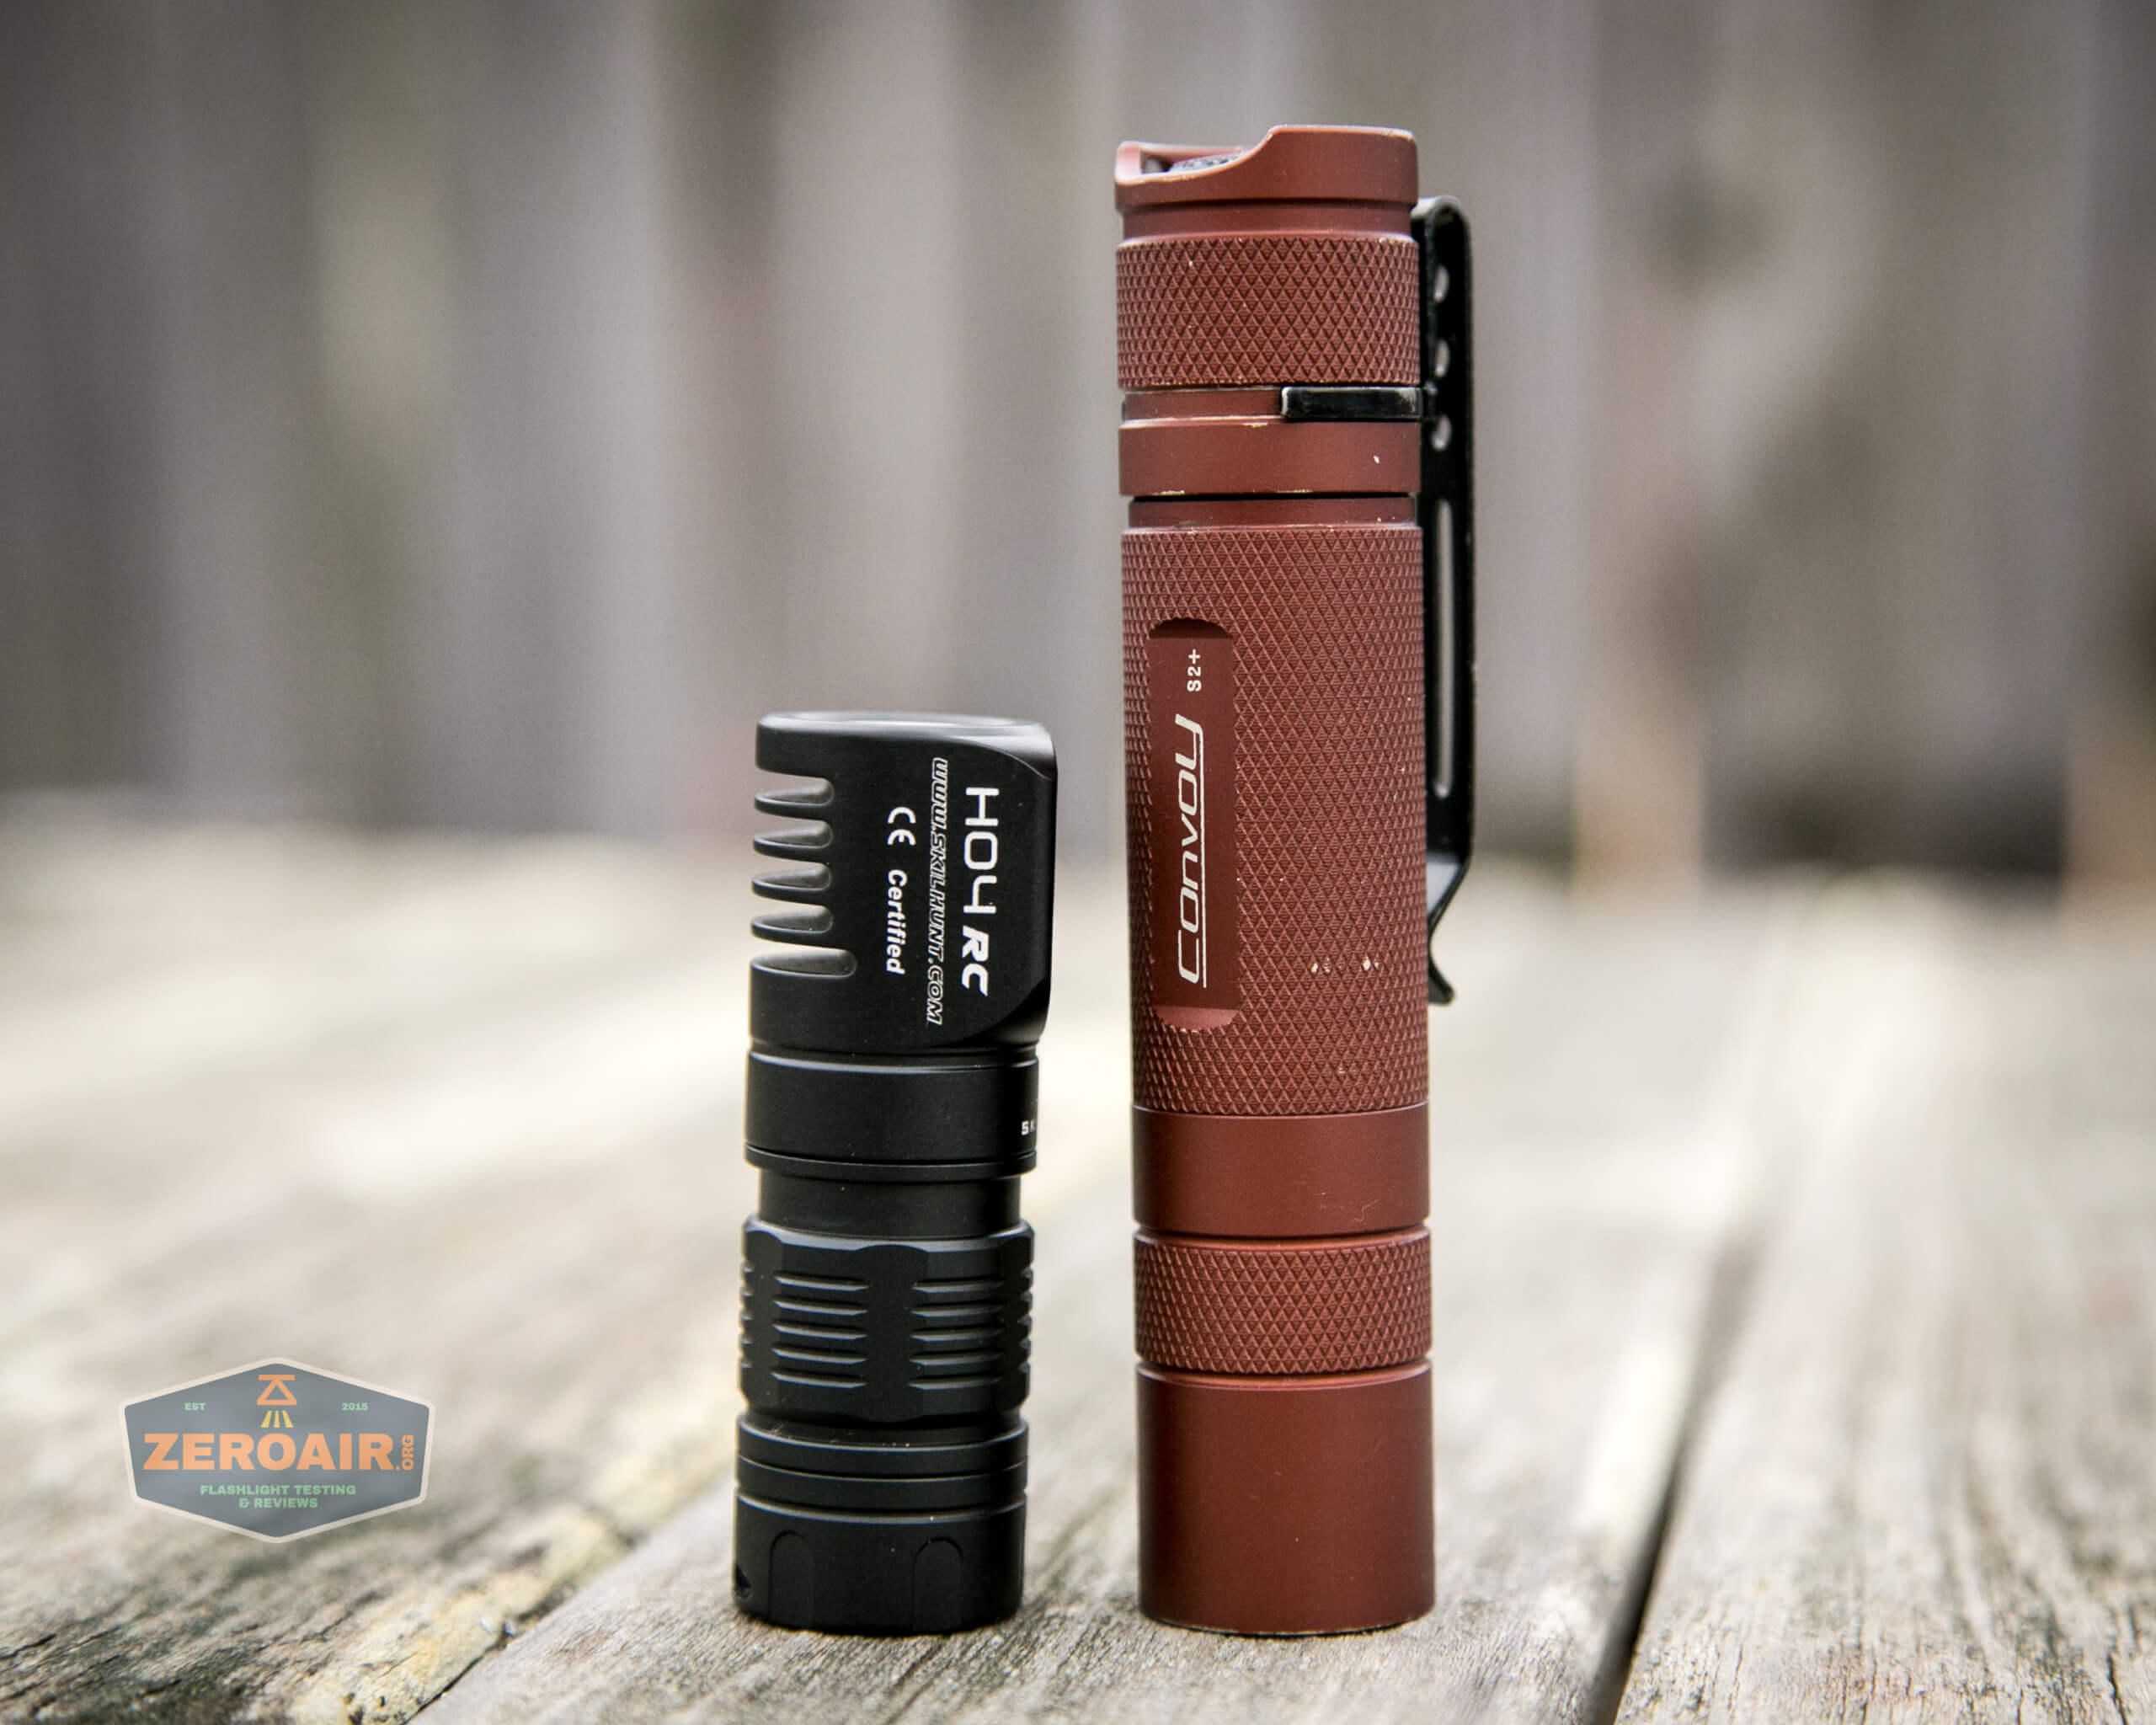
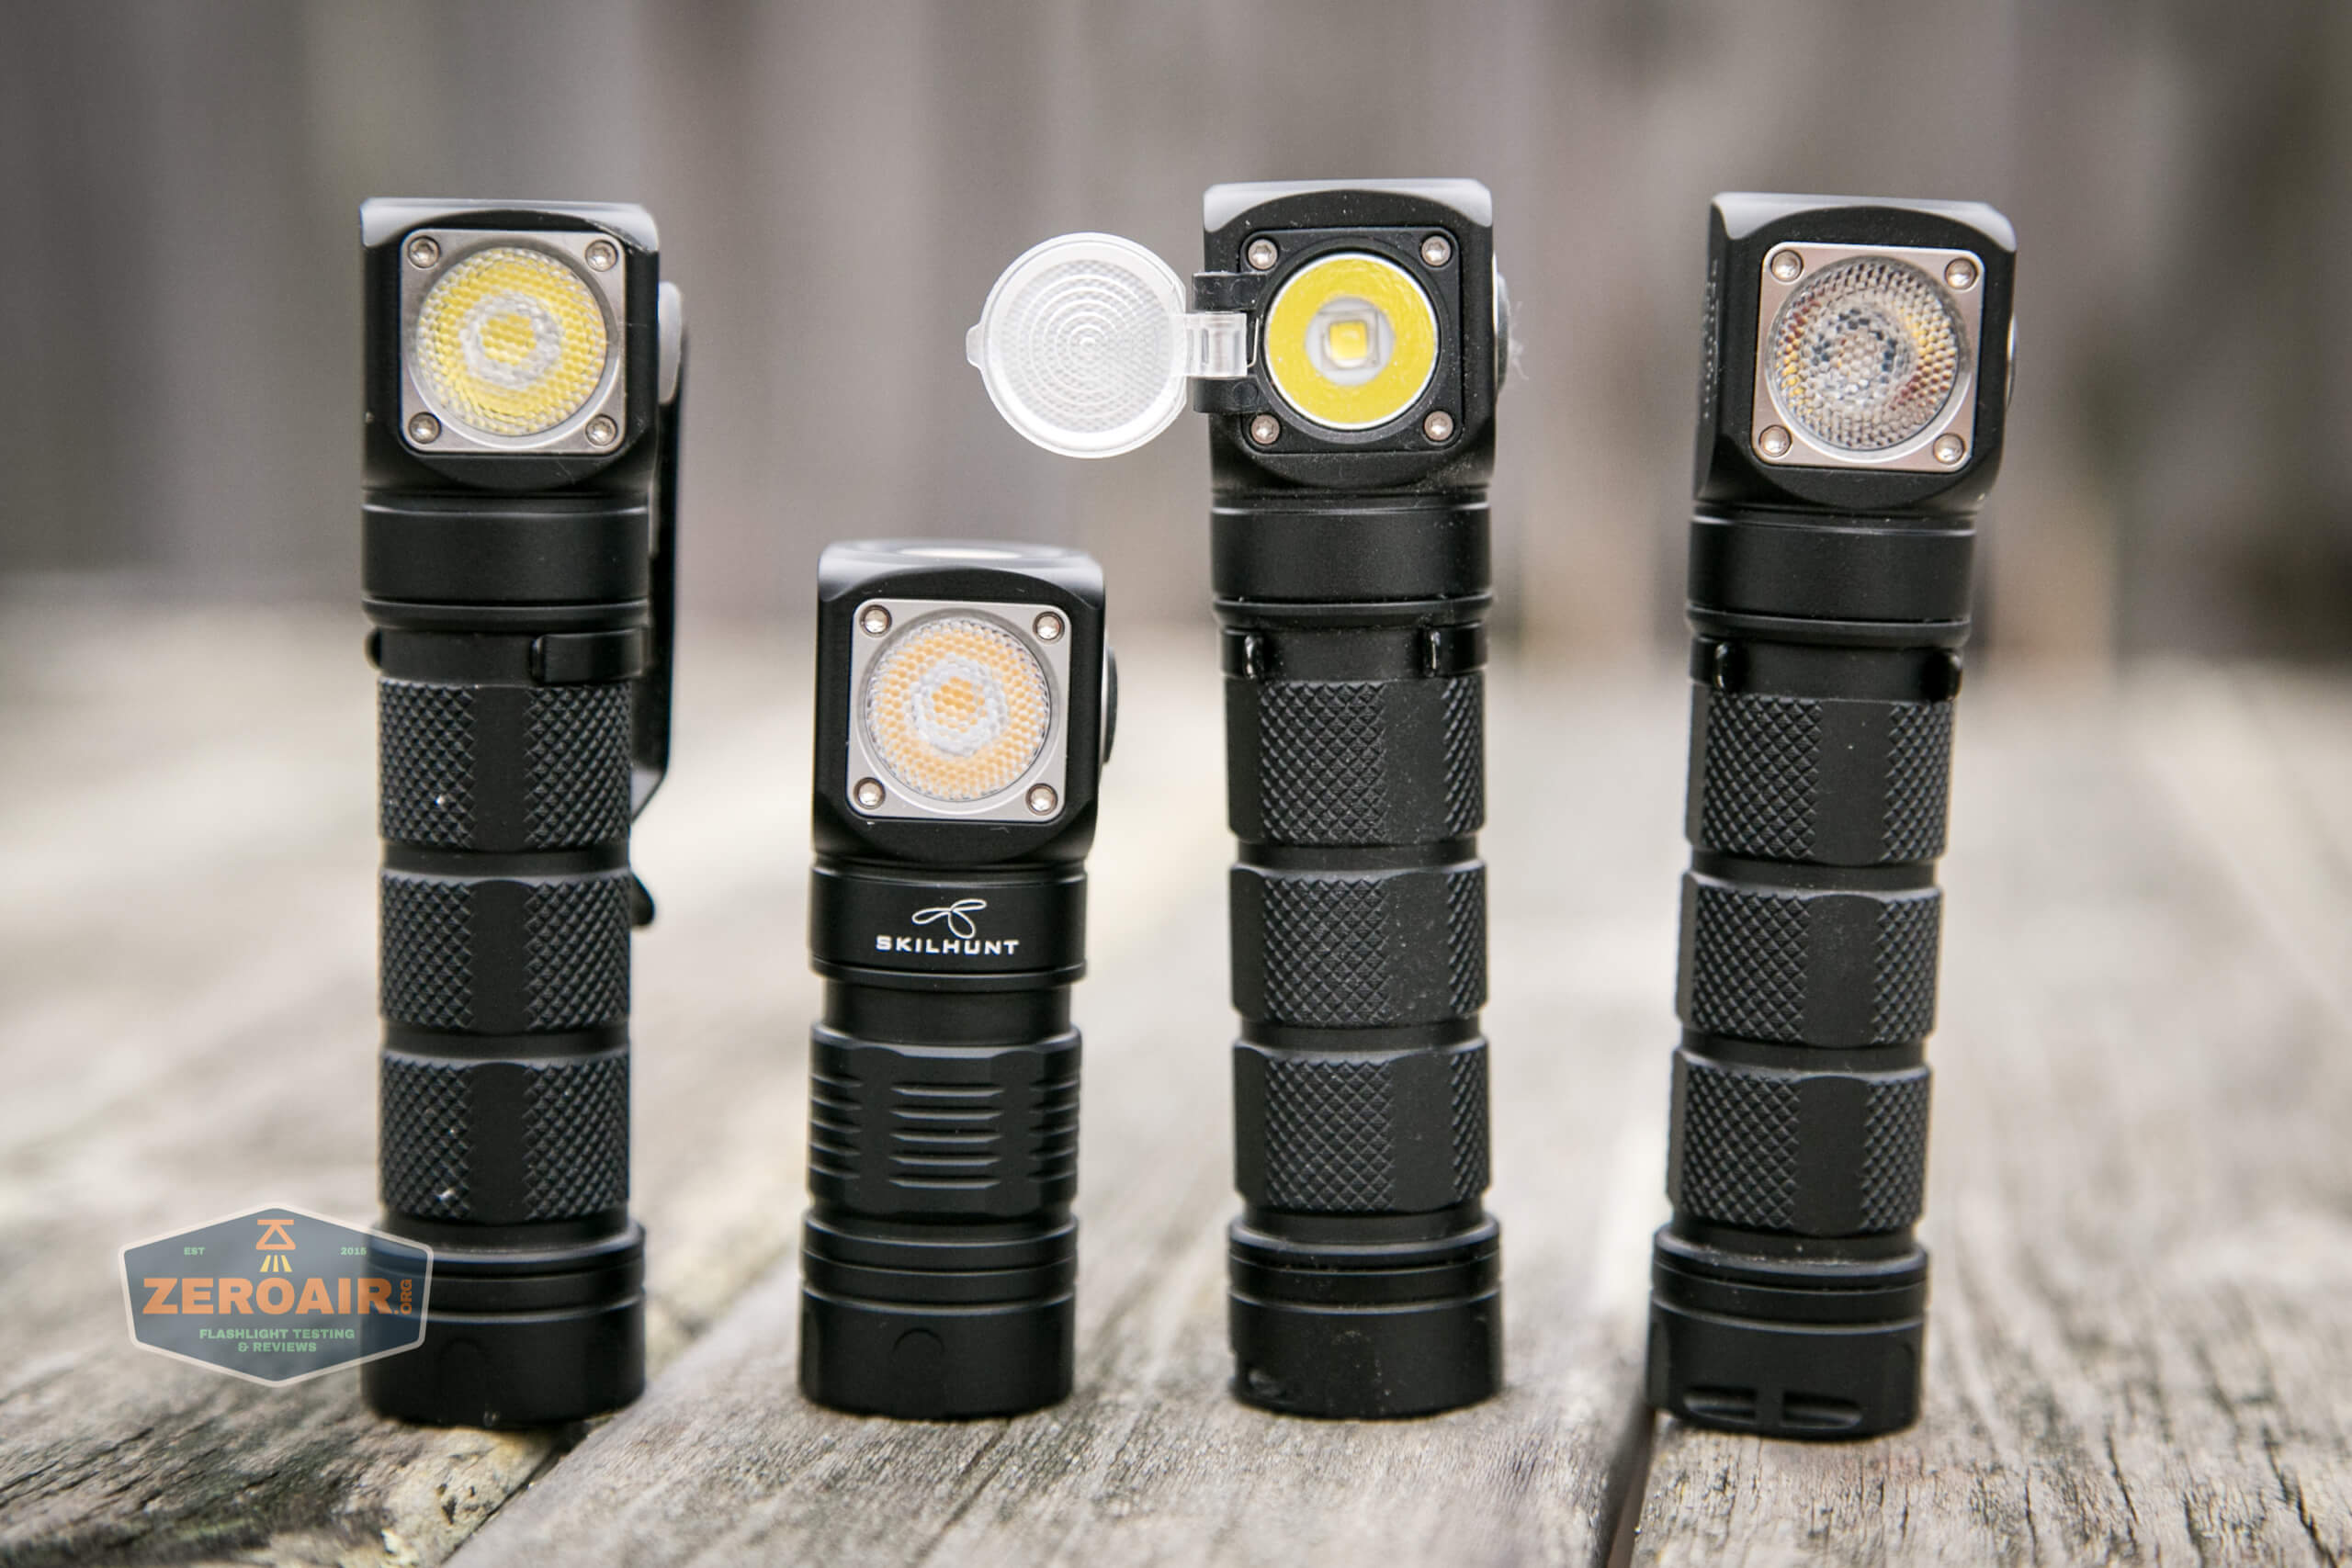
Here’s the test light with the venerable Convoy S2+. Mine’s a custom “baked” edition Nichia 219b triple. A very nice 18650 light.
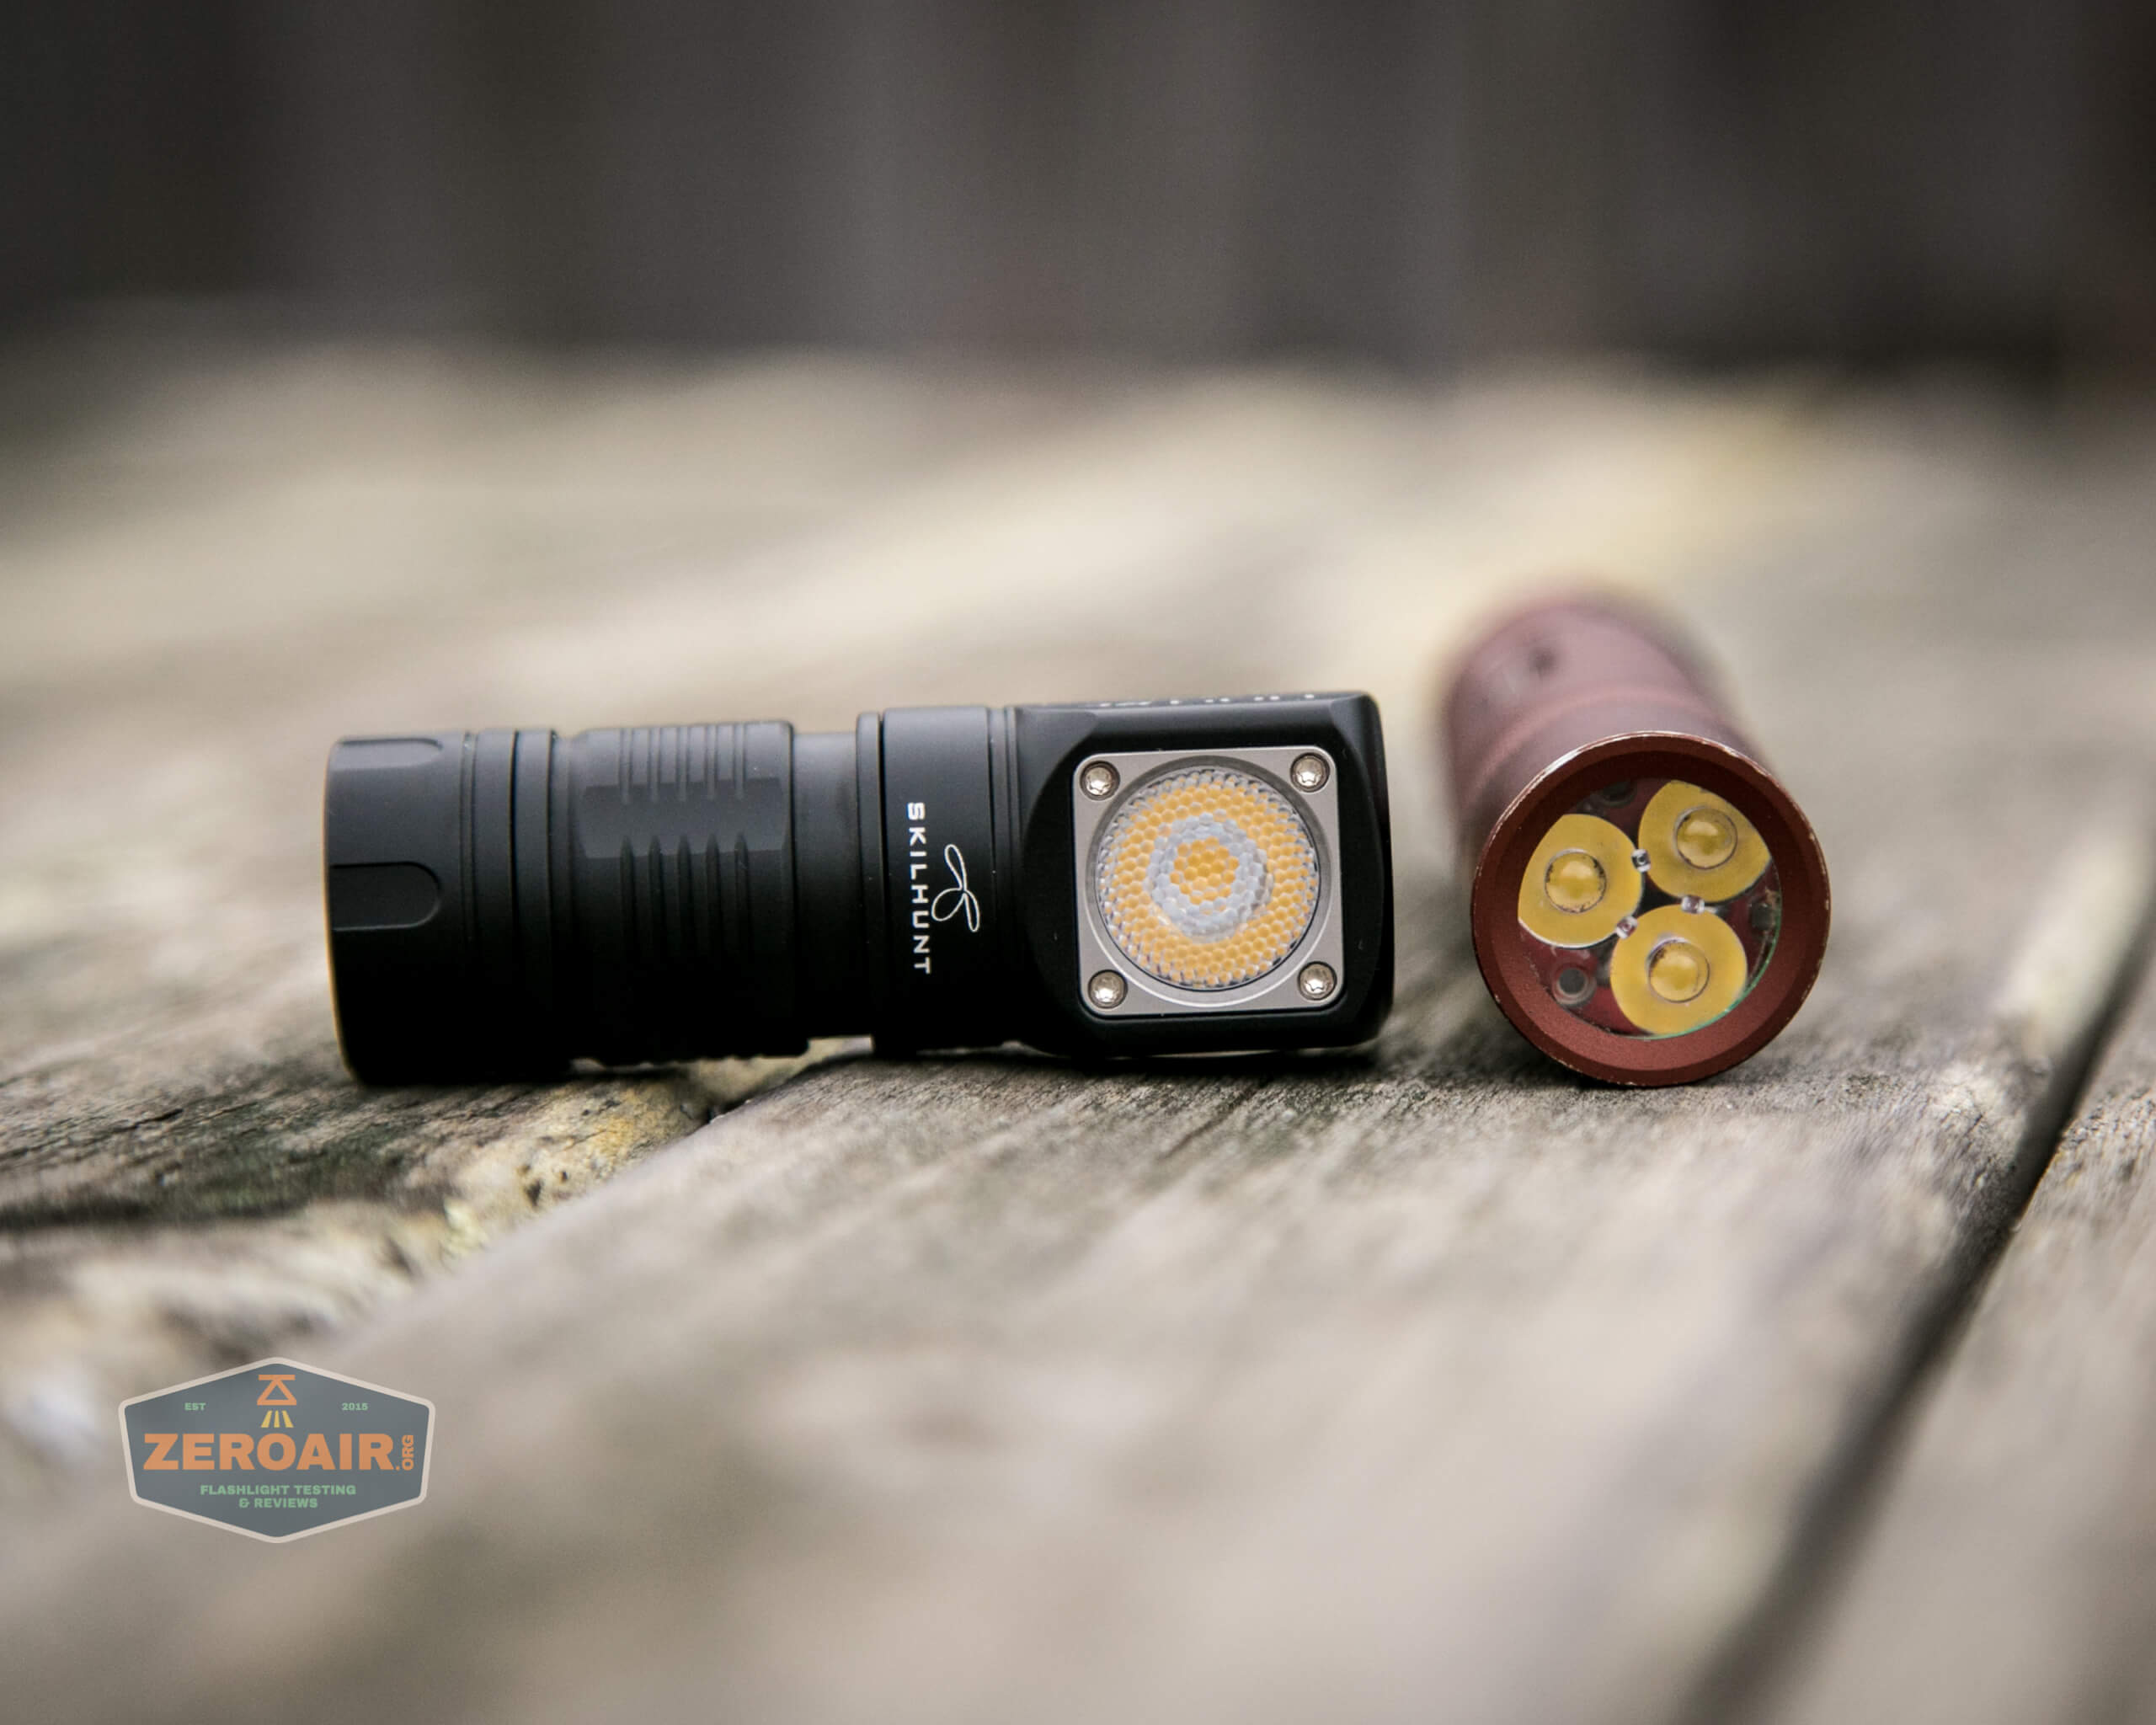
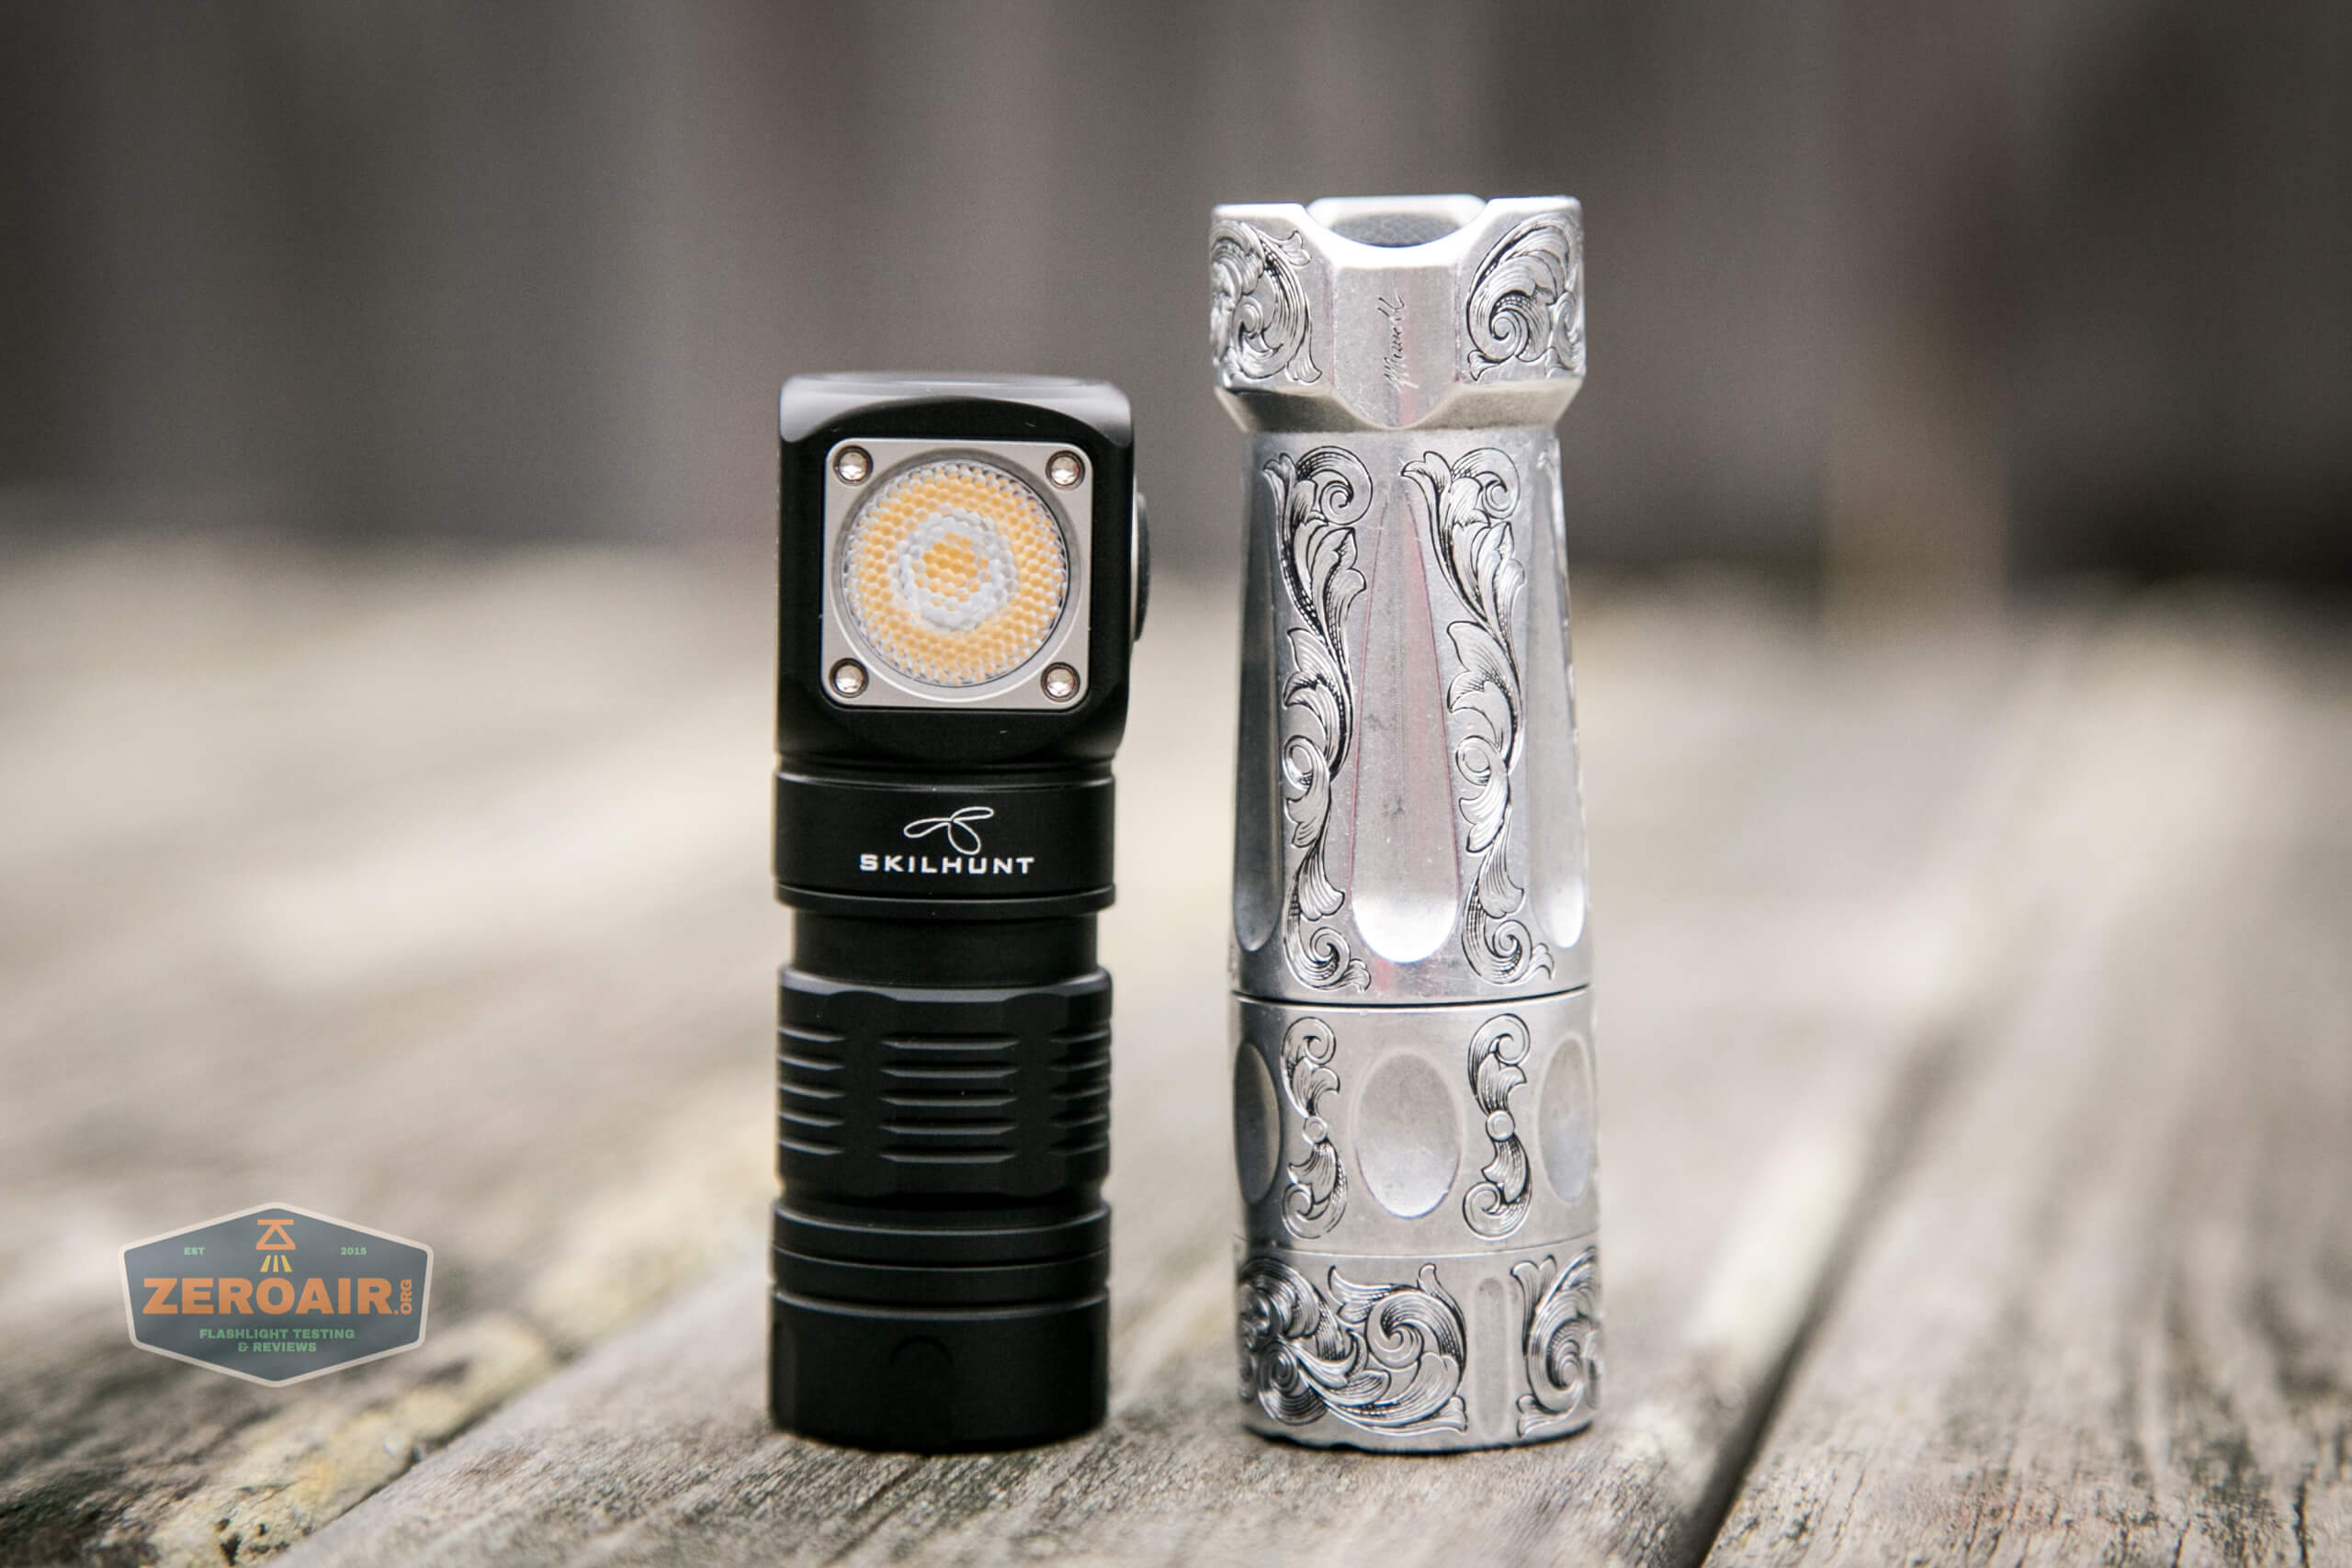
And here’s the light beside my custom-engraved TorchLAB BOSS 35, an 18350 light. I reviewed the aluminum version of that light in both 35 and 70 formats.
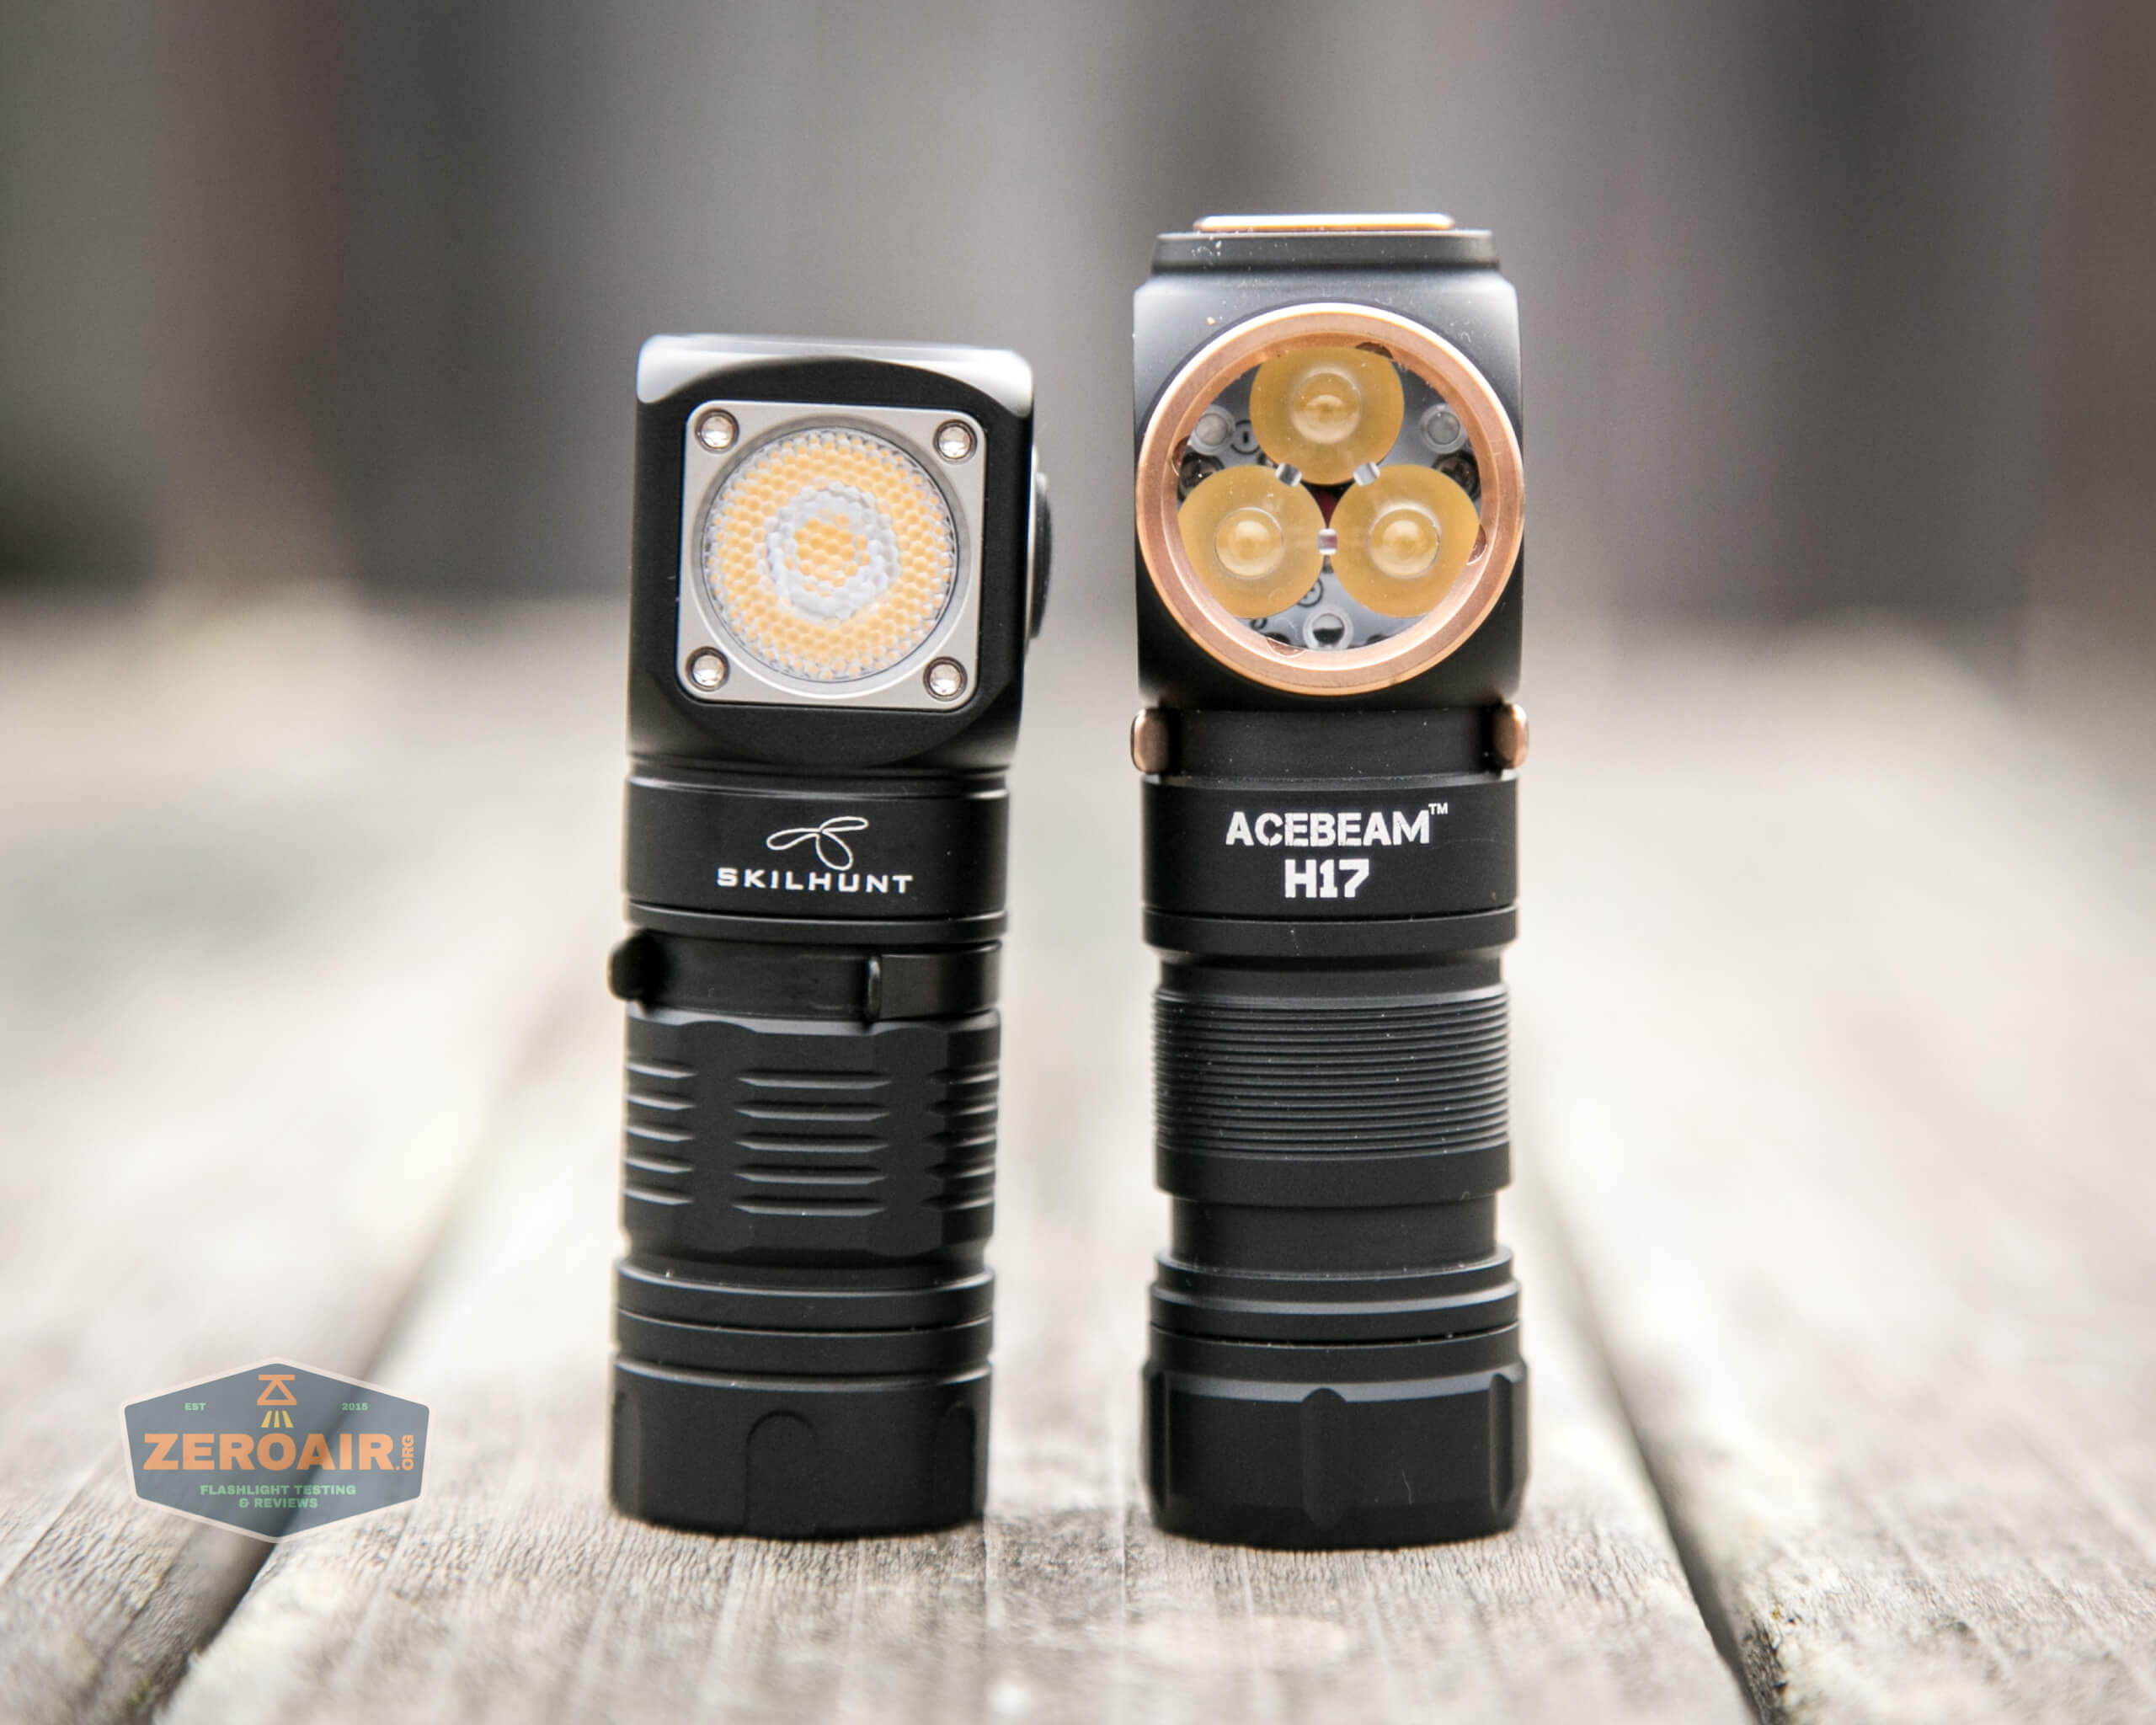
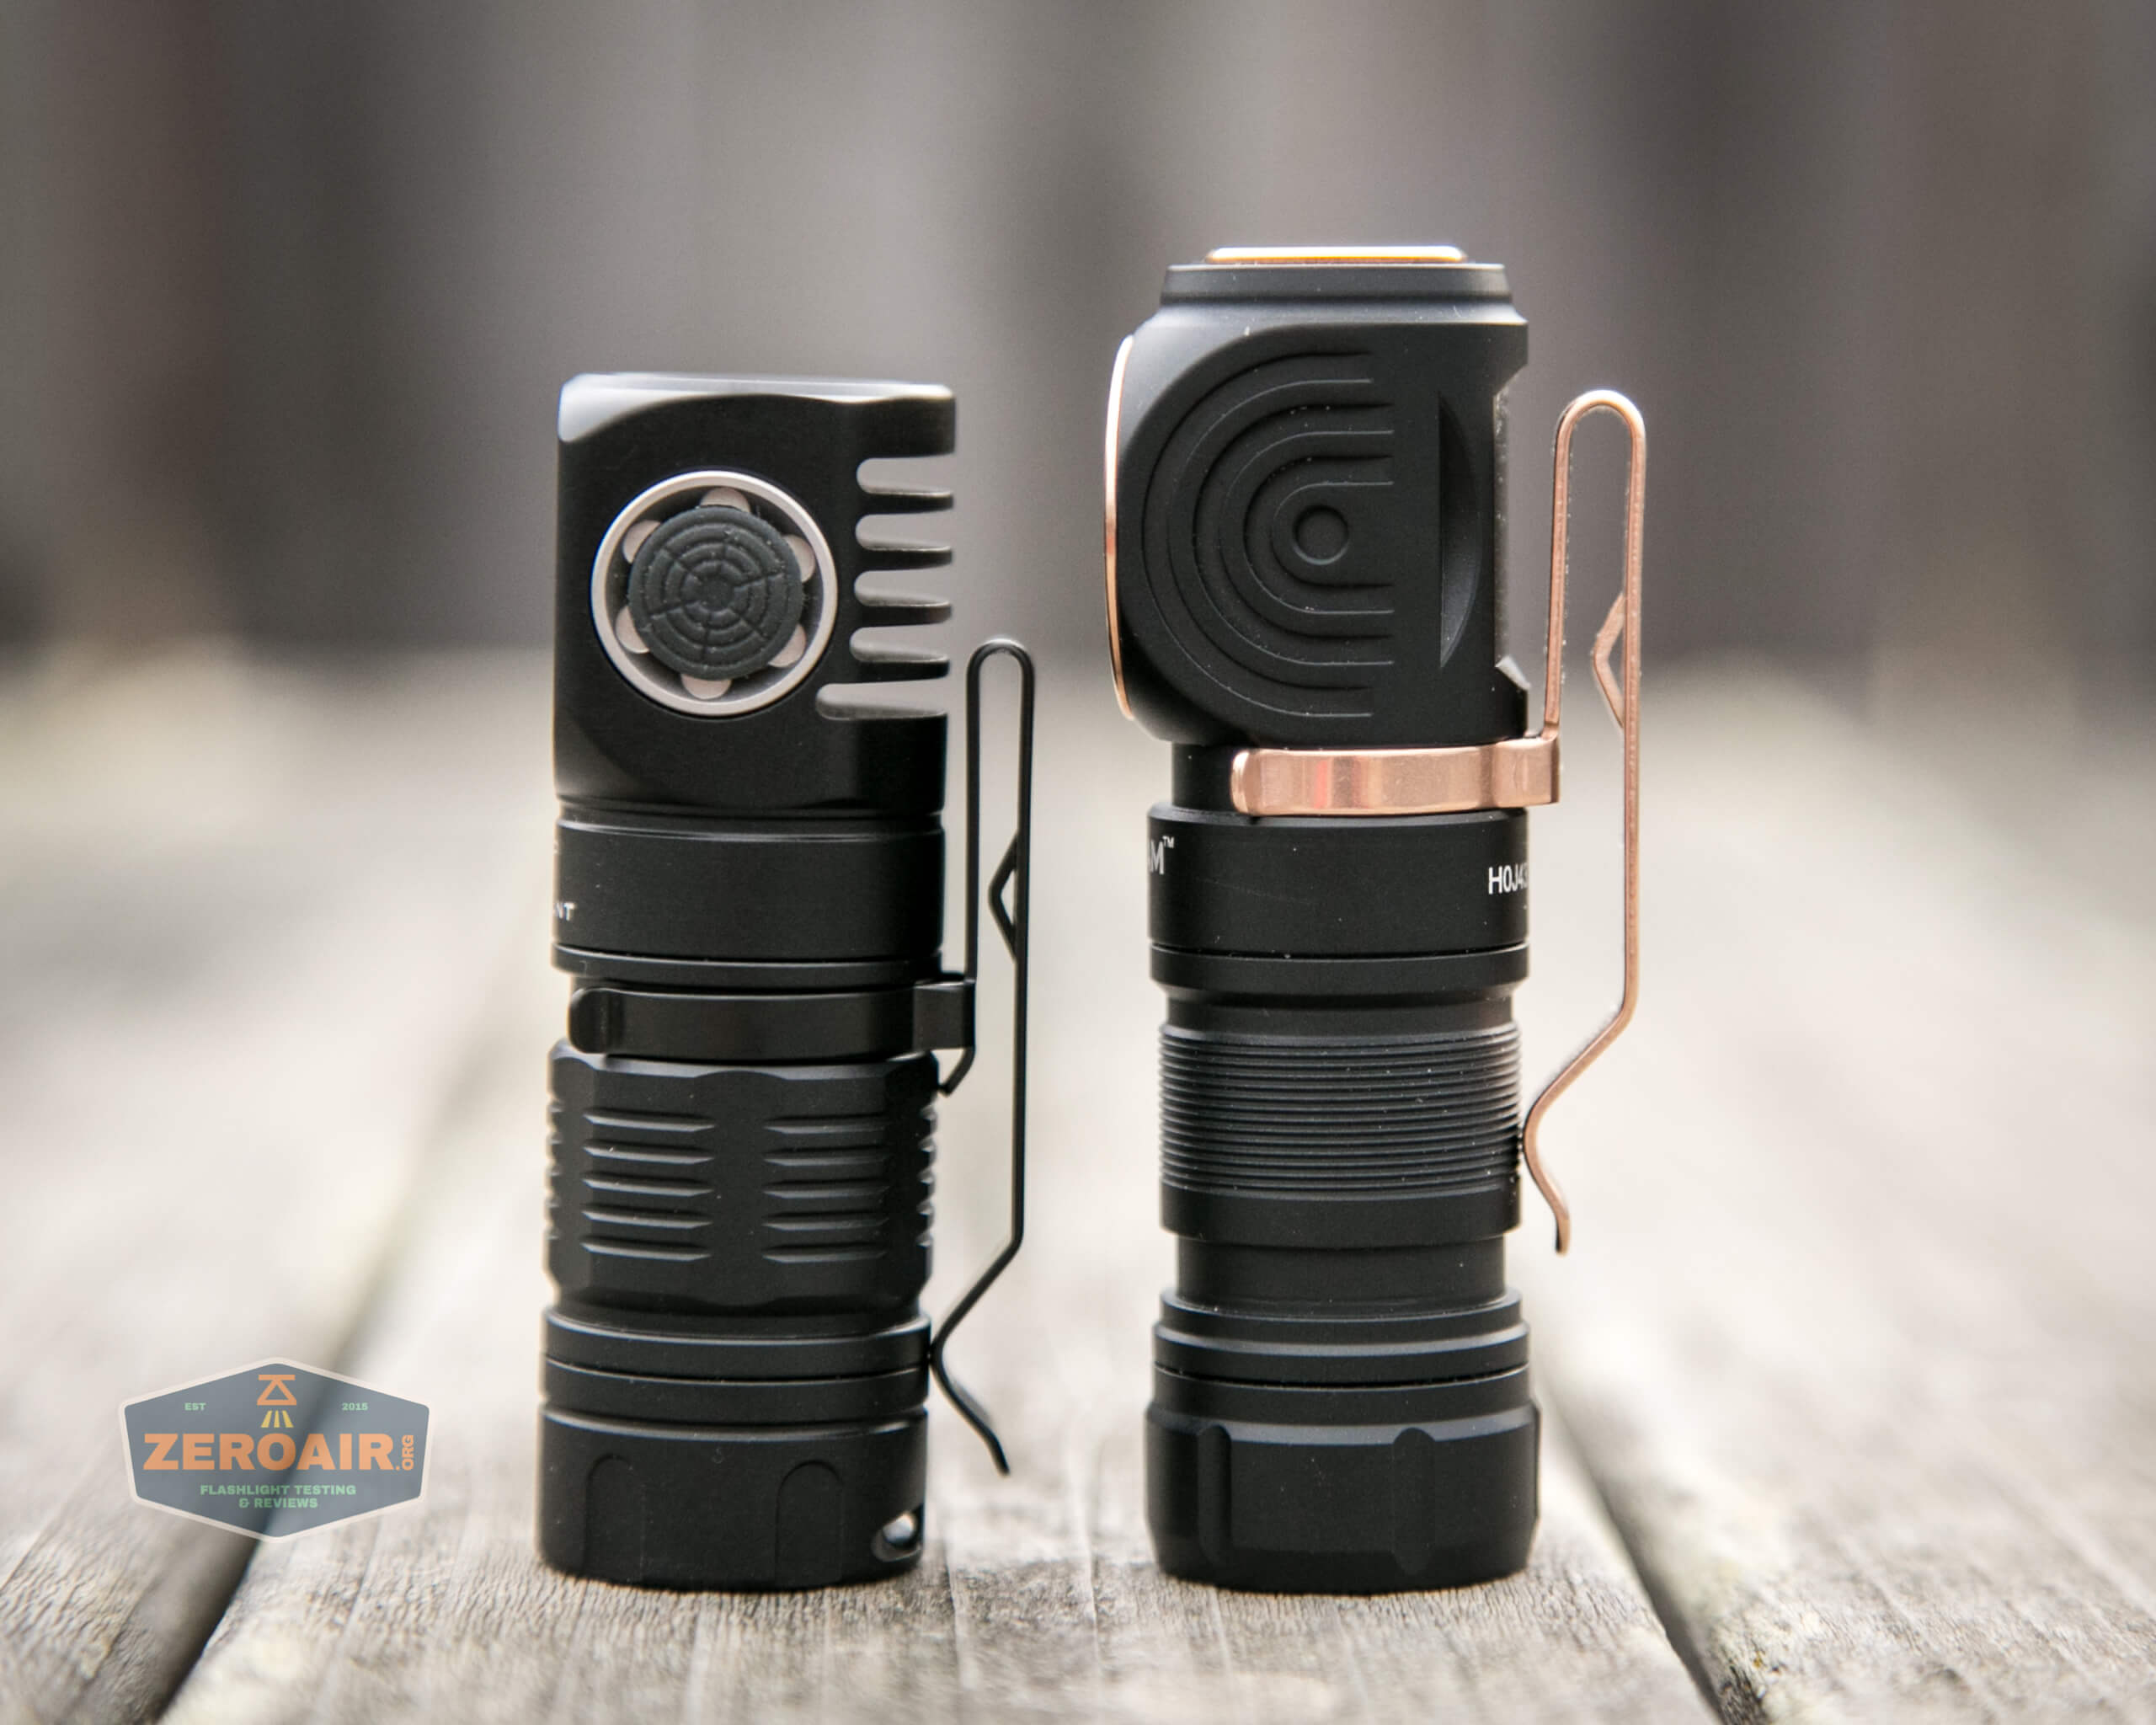
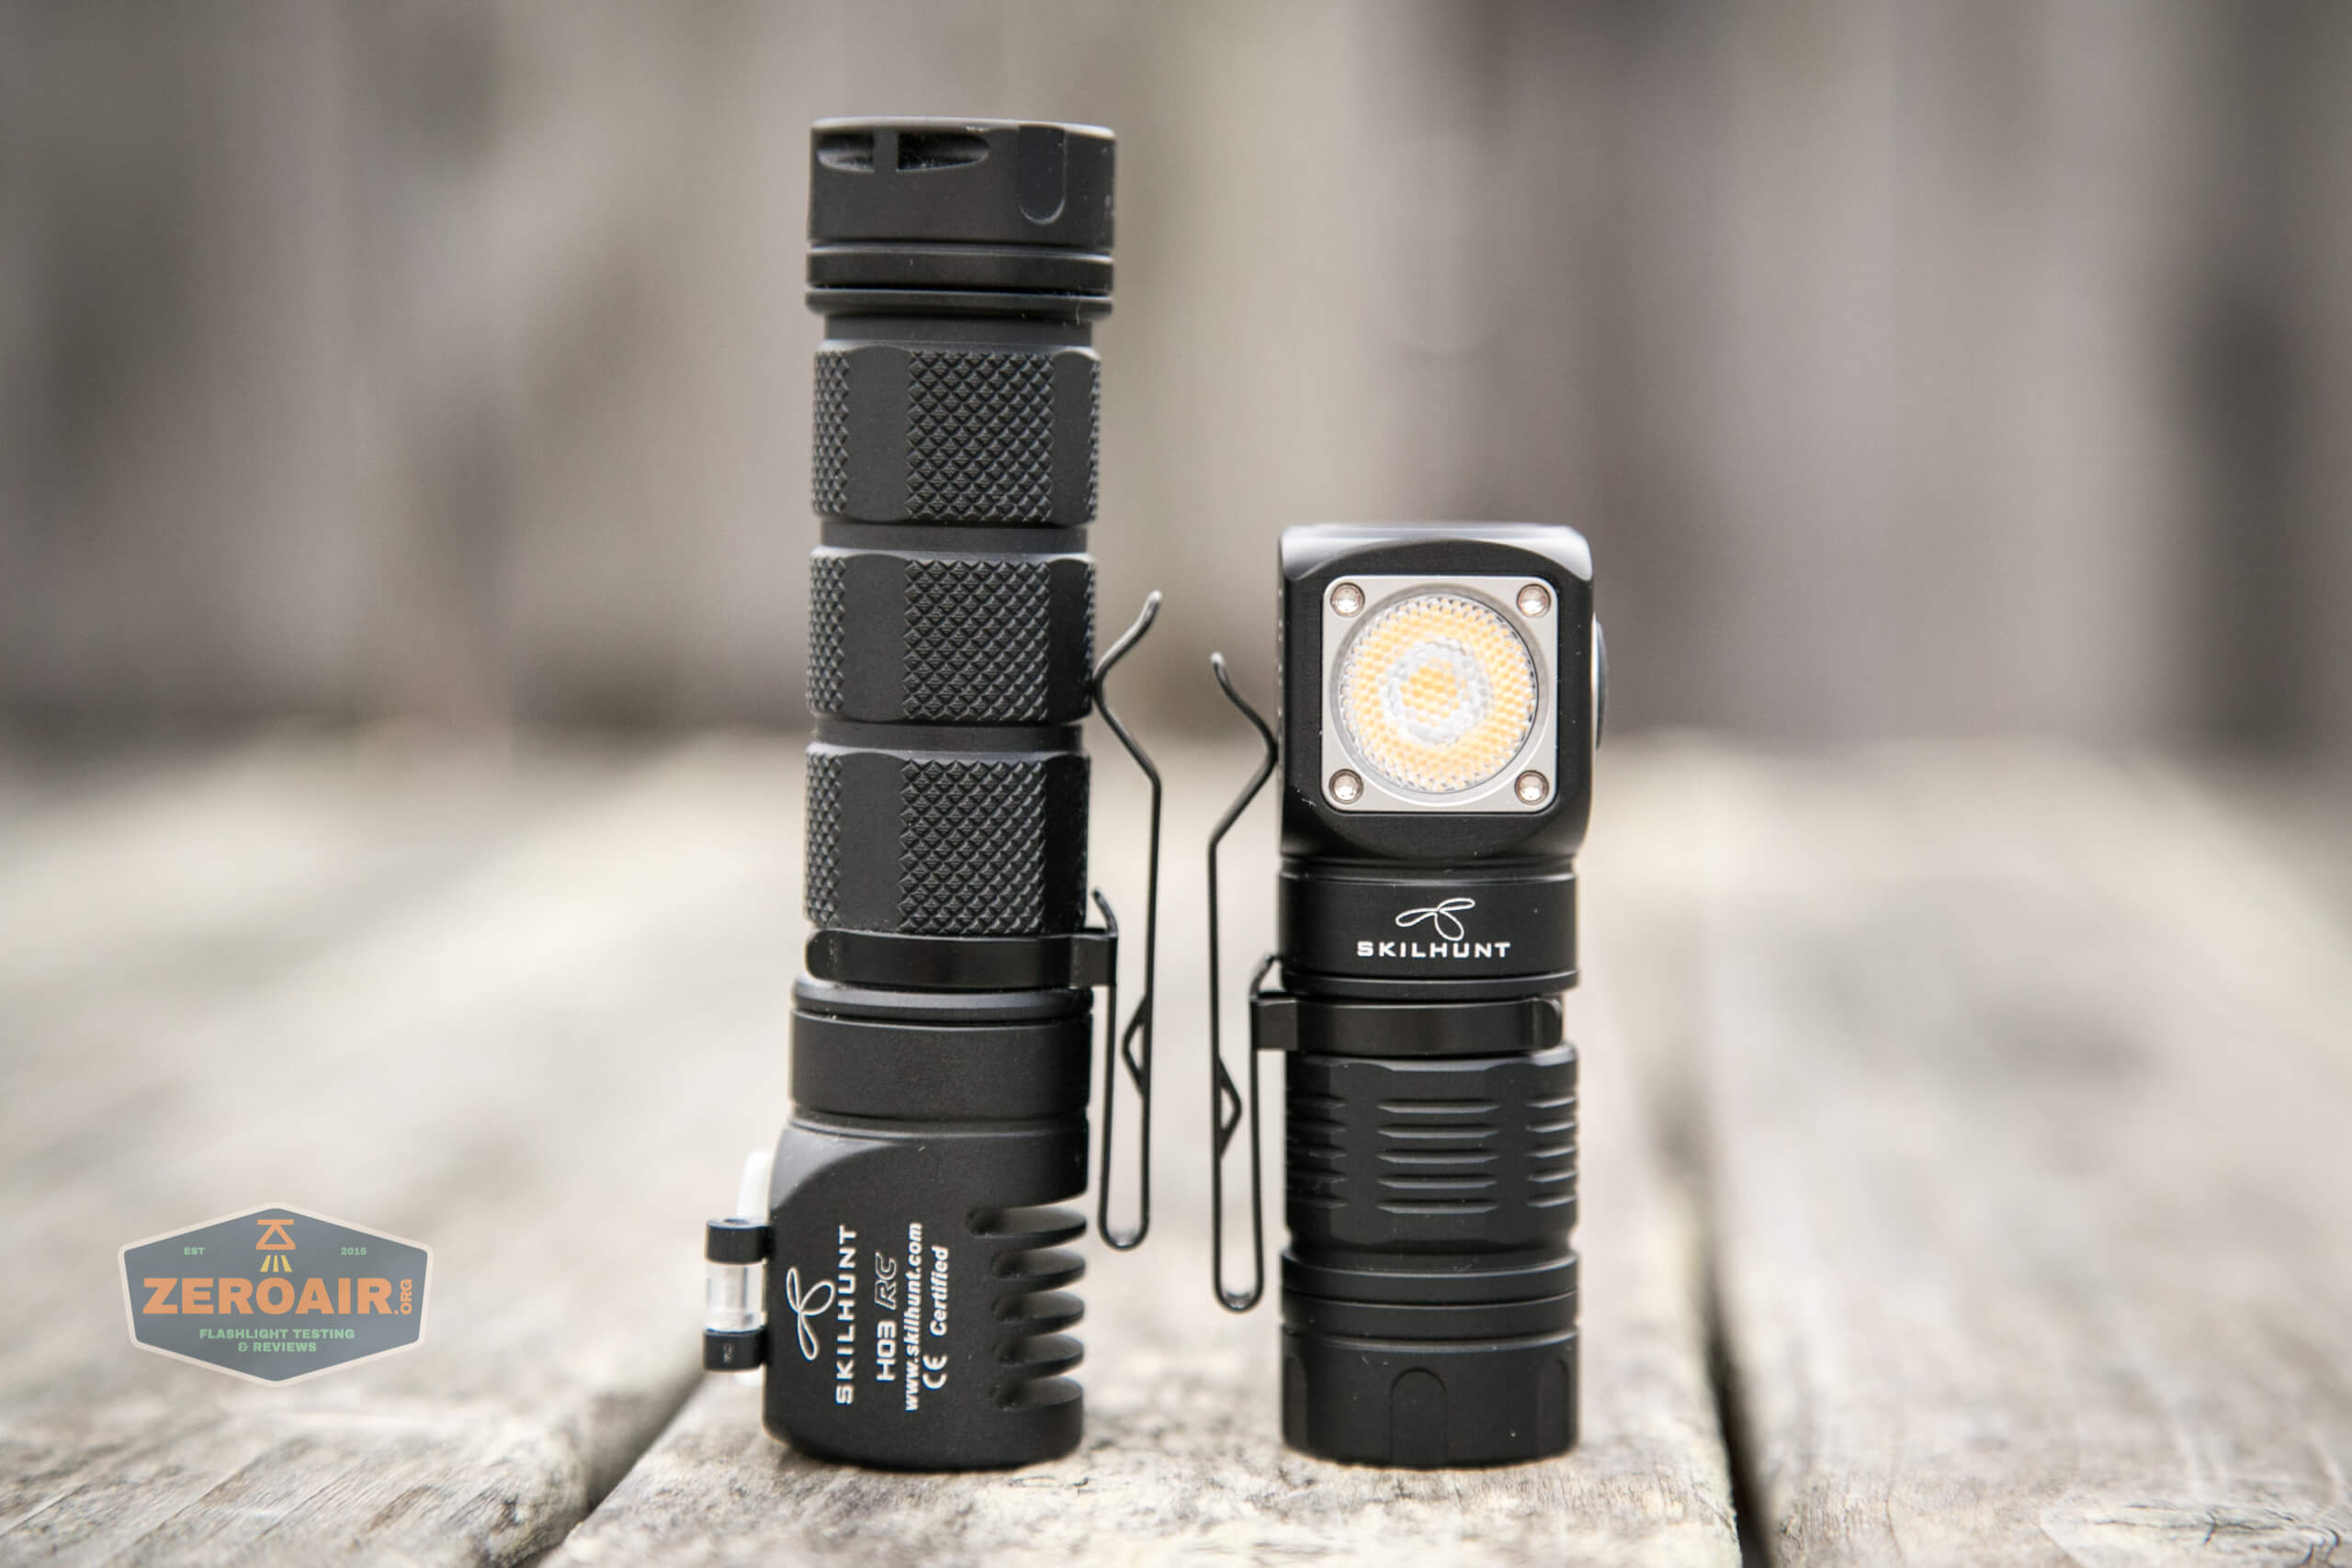
Here’s the H04 Mini RC with another 18350 headlamp I reviewed recently – the Acebeam H17. Great headlamp! Notice it’s much taller than the H04 Mini, though. Interestingly, they have practically the same clip. If you were looking to buy two 18350 headlamps, the H04R Mini and H17 would be a very good combo!
Here are some of my Skilhunt headlamps. I don’t think this is all of them, actually, but it’s what I could grab. The flappy door ones…. I get it. It’s neat and probably super practical, but… It’s just something to break, I think.
Retention and Carry
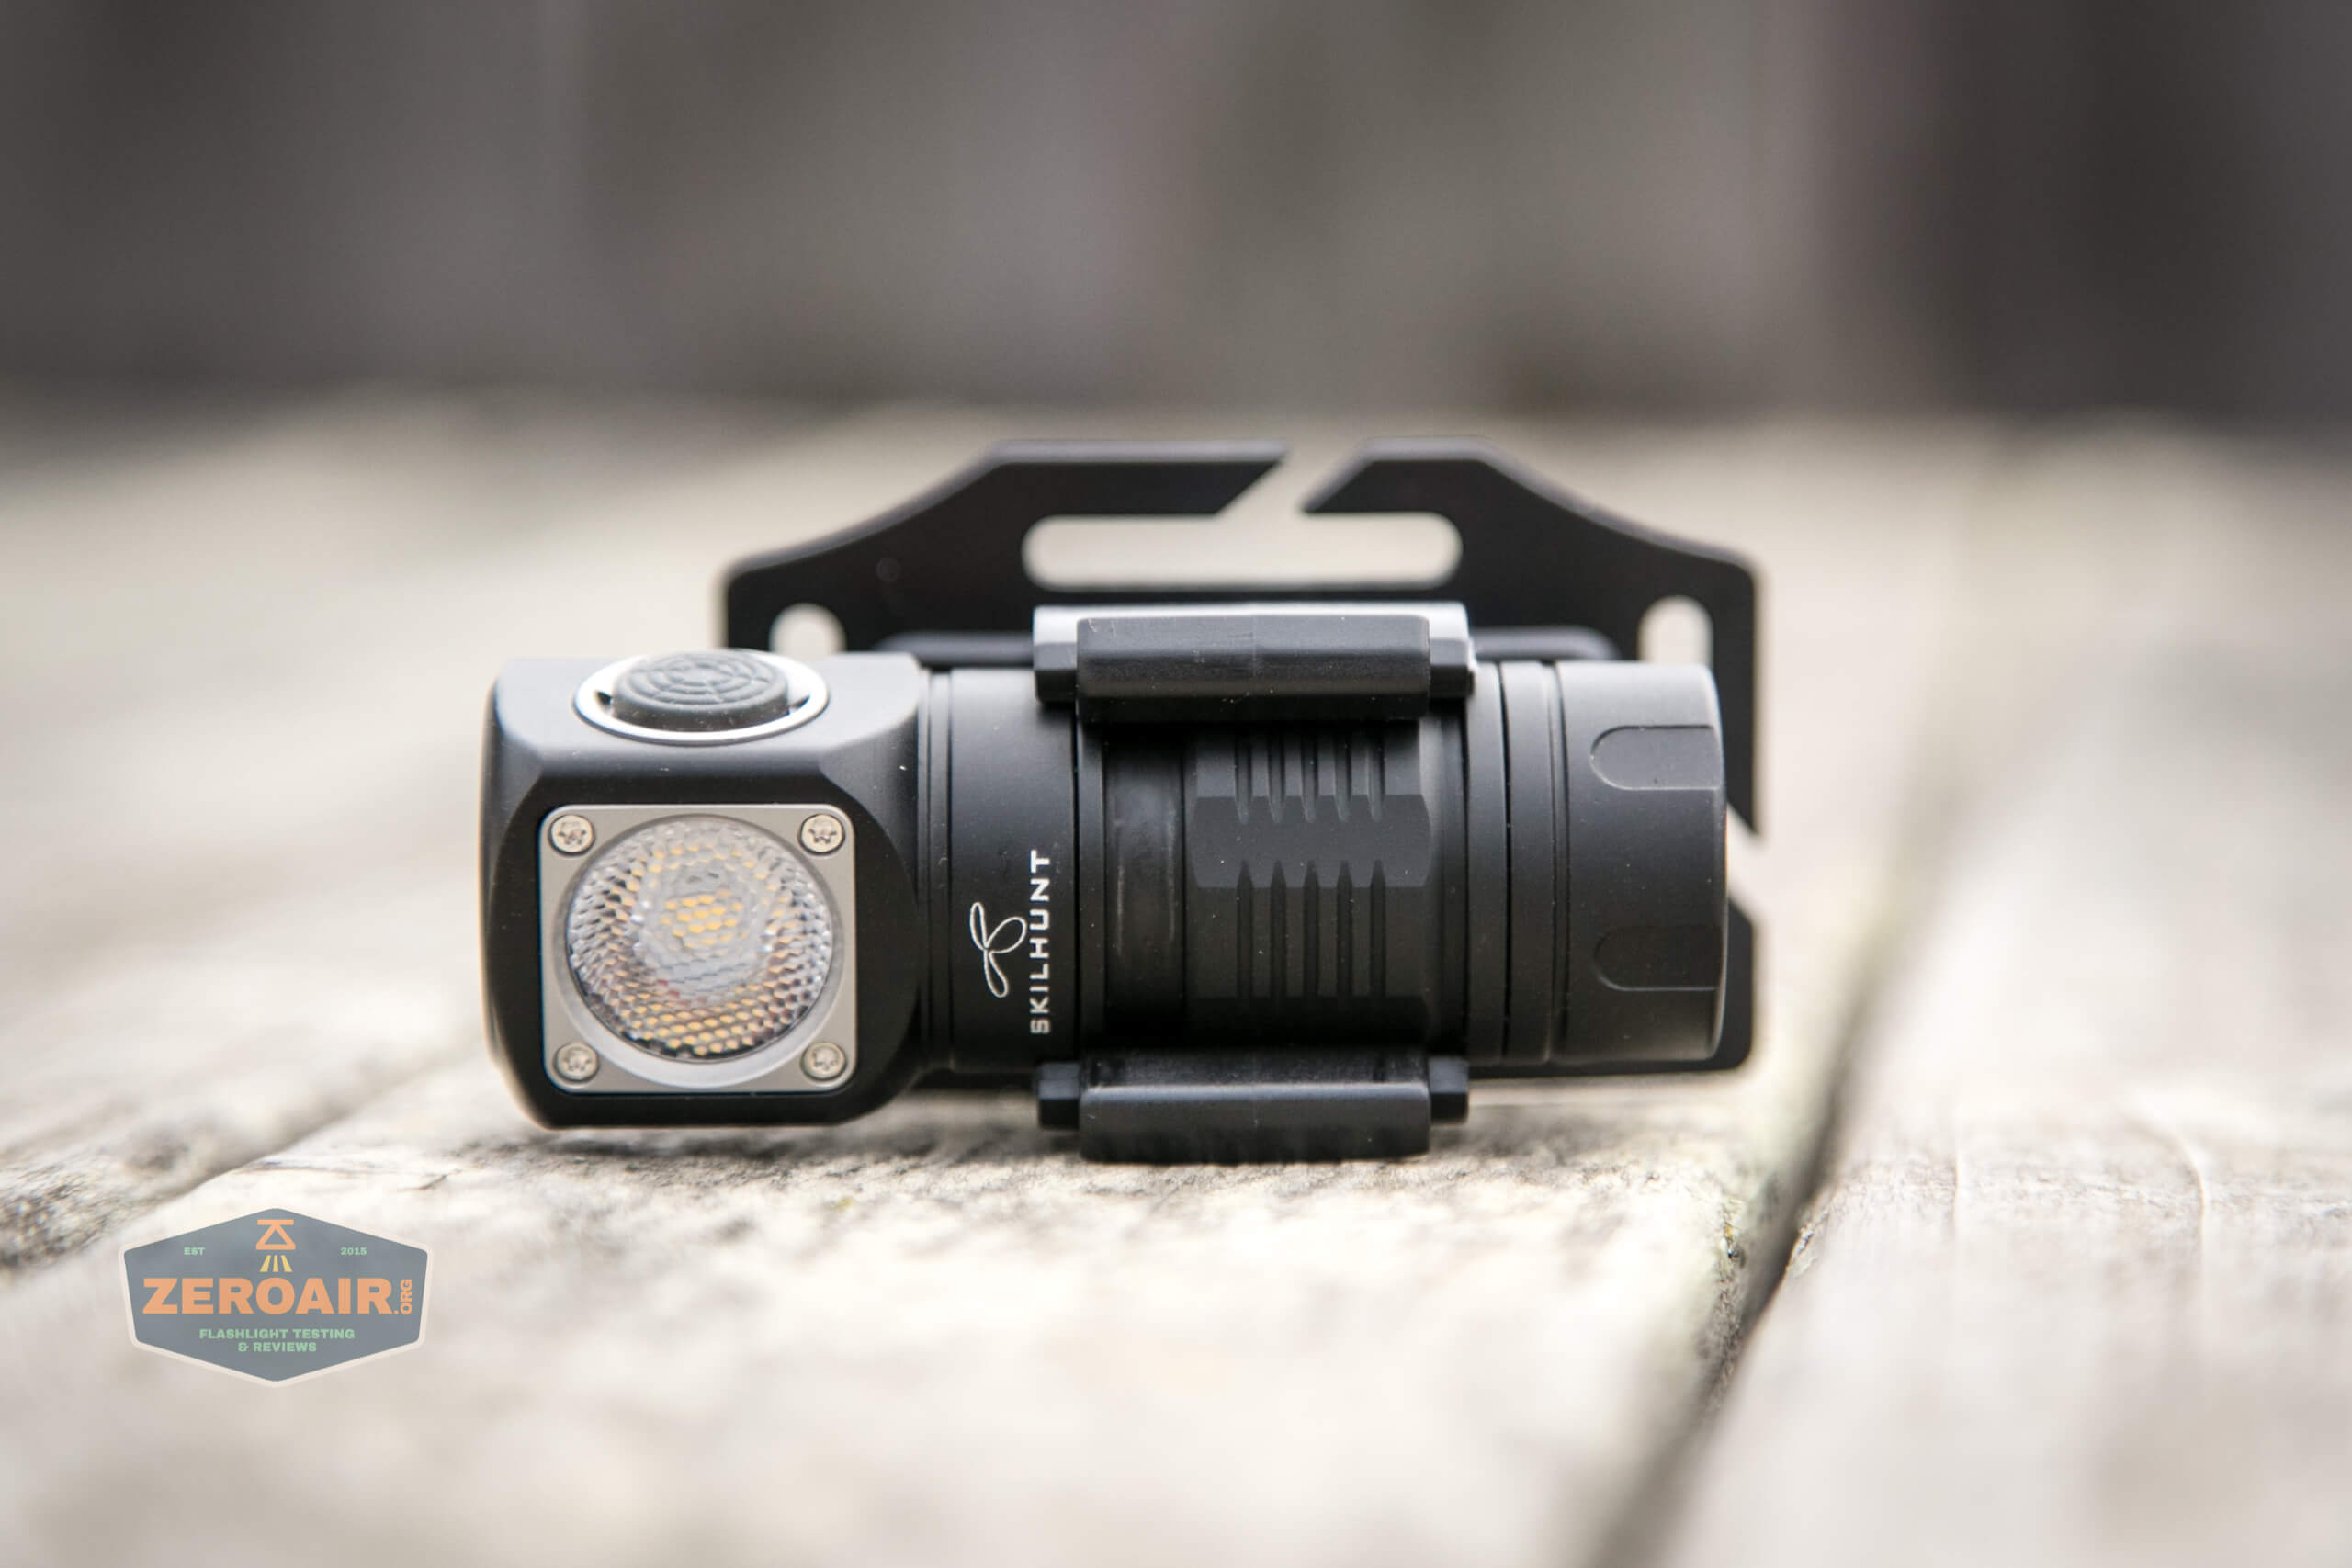
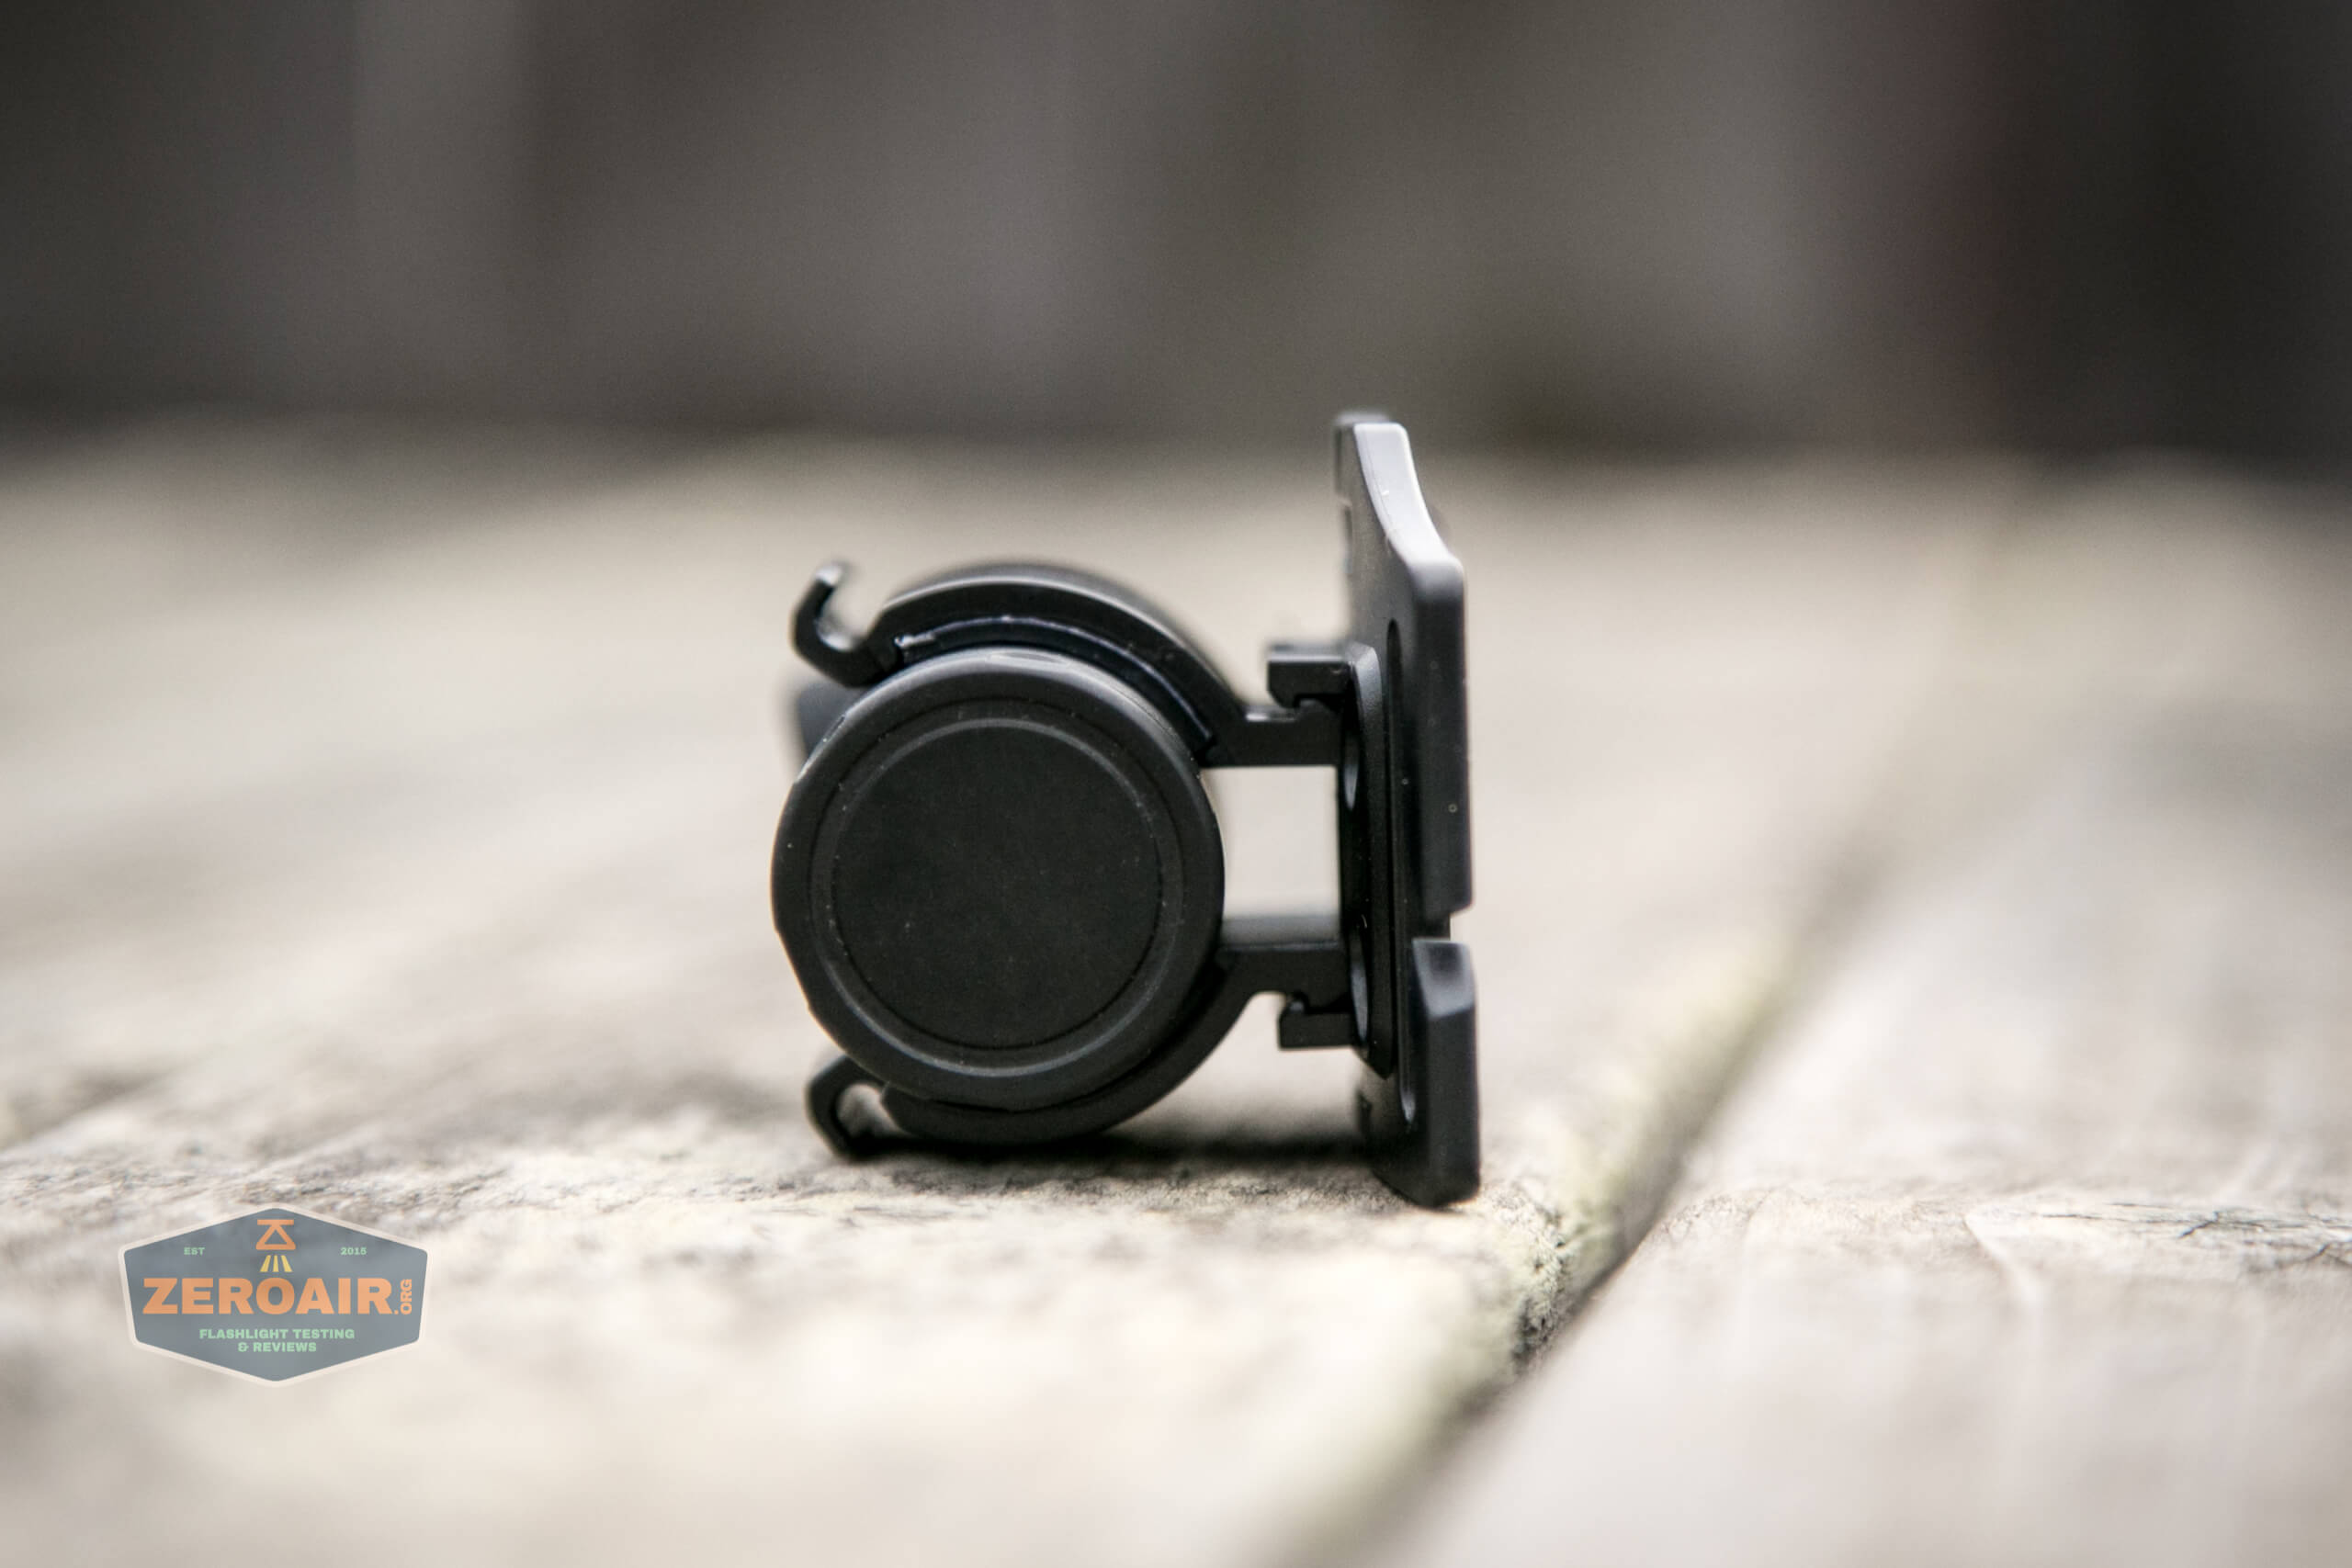
The H04 Mini RC is first and foremost a headlamp. The light clips into the included headband attachment very securely and easily.
There’s even a double security option – o-rings can be looped over the top to hold the light in even better.
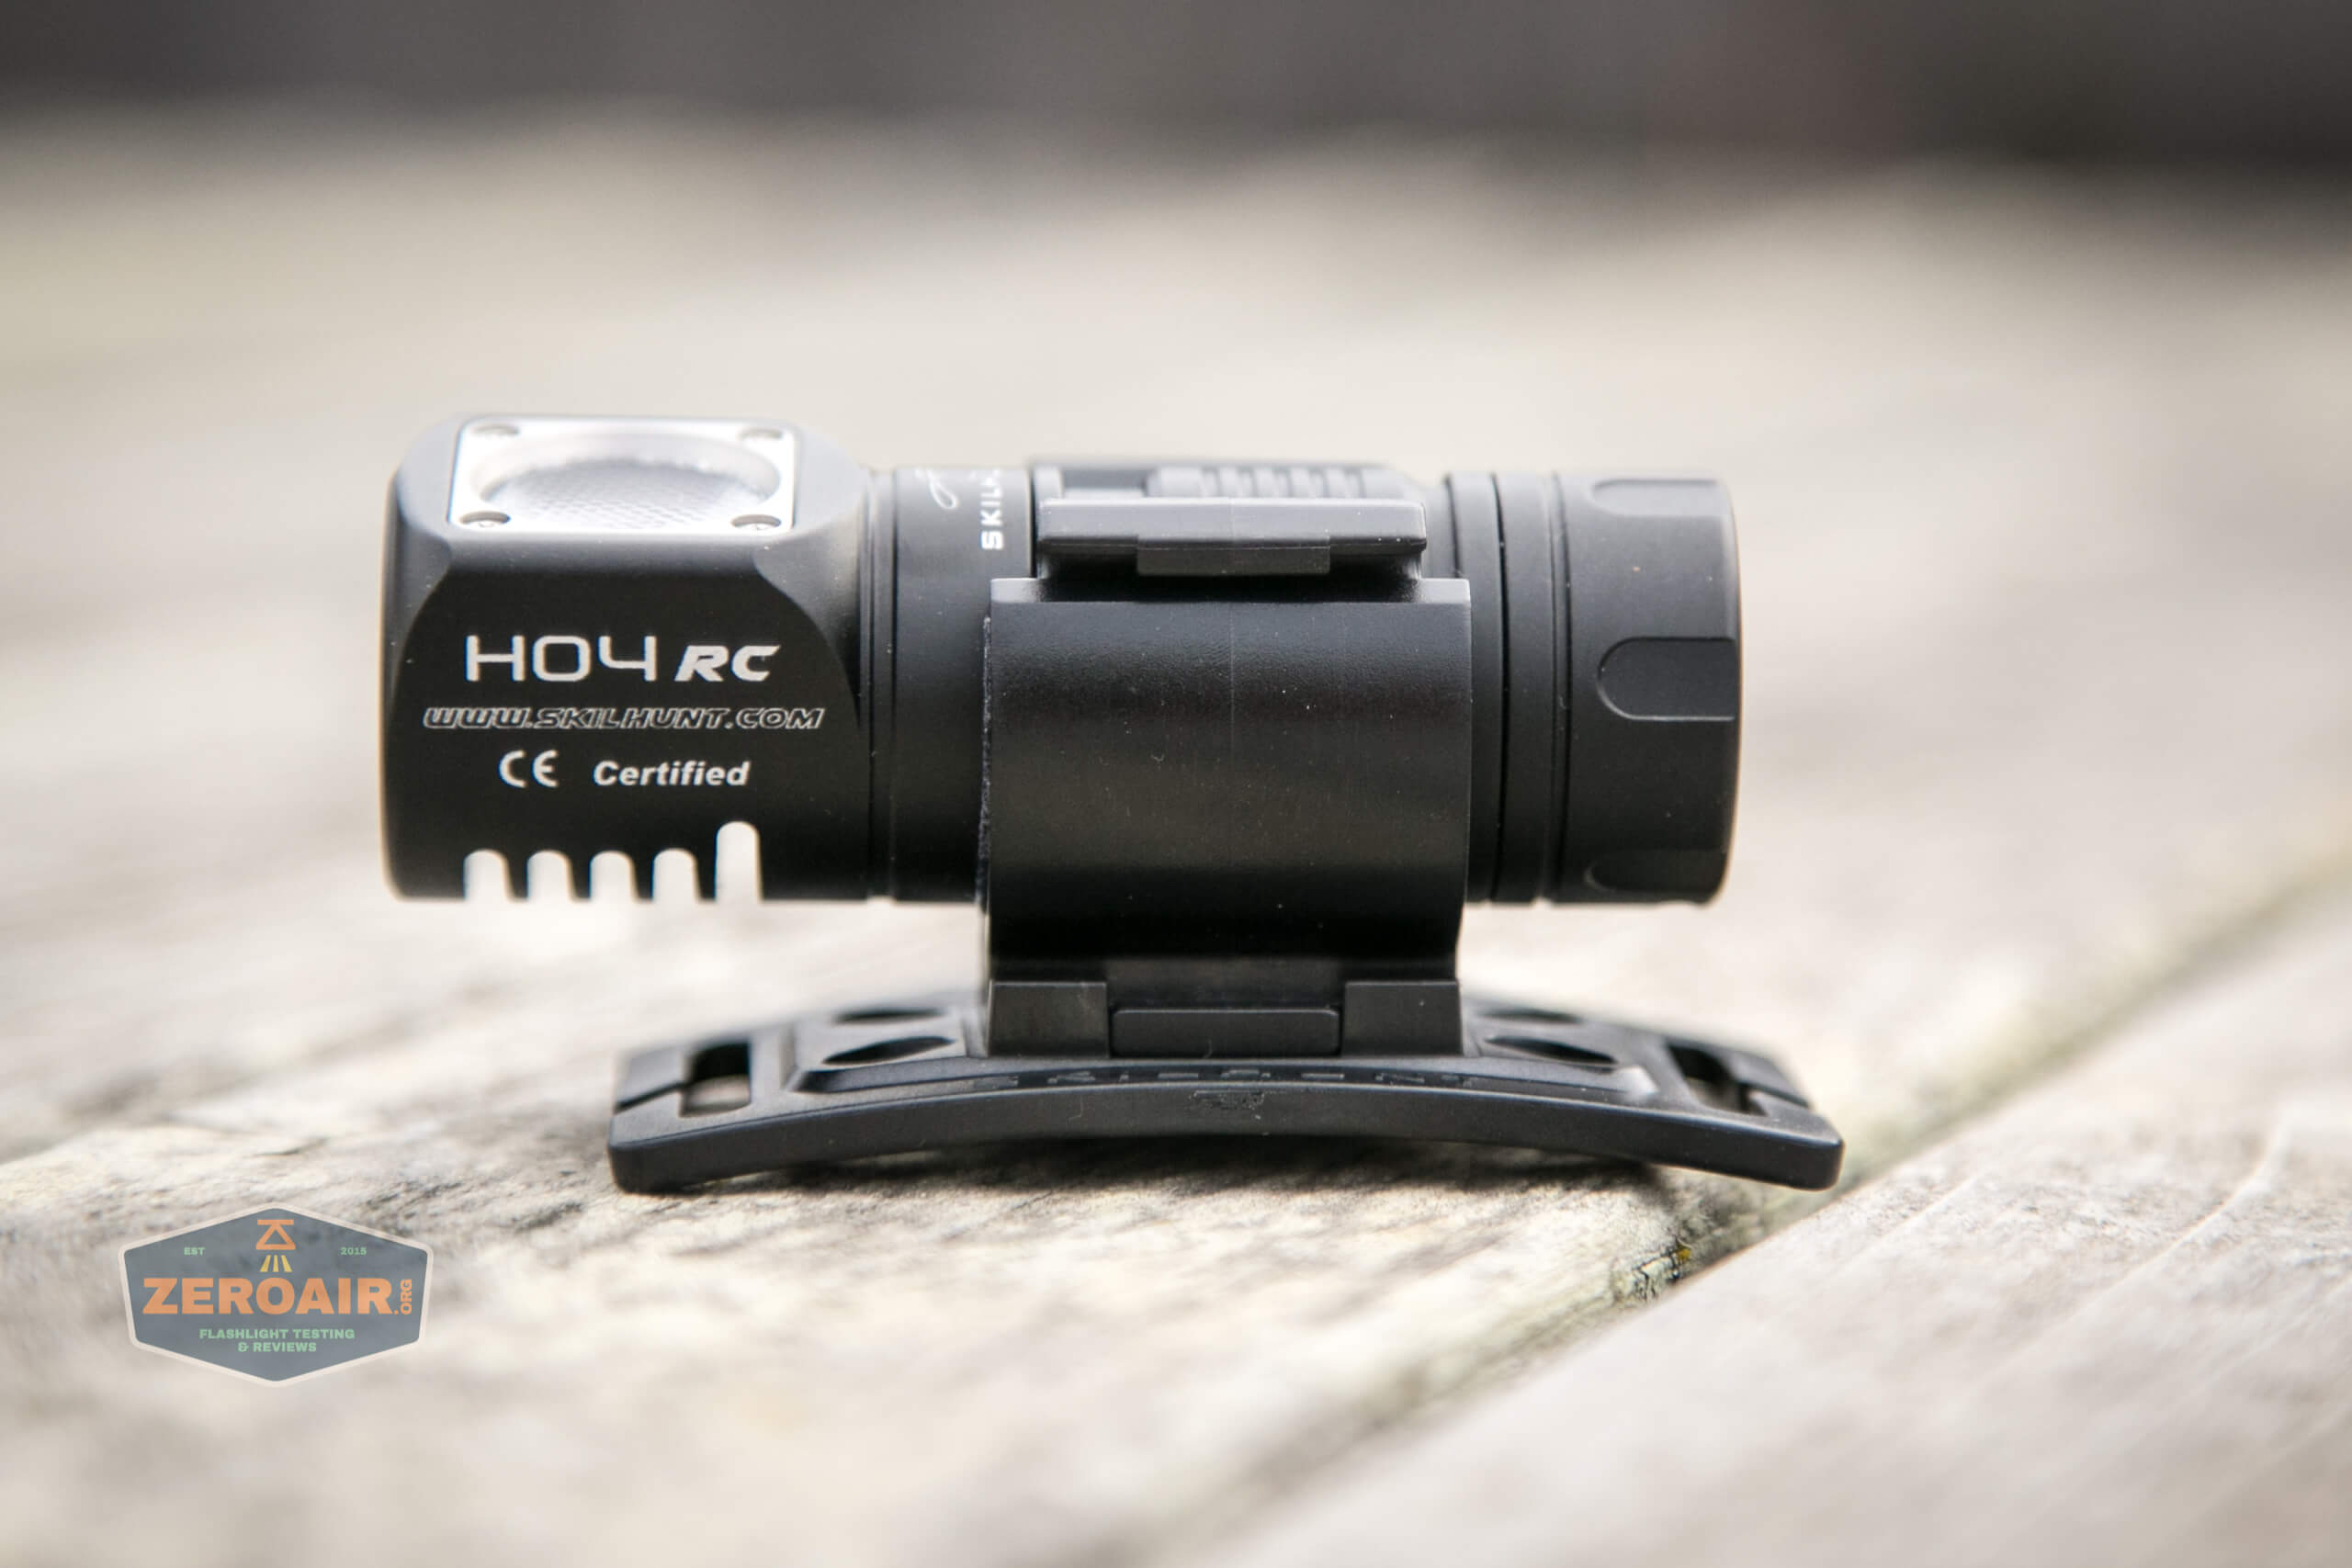
The H04 Mini RC can rotate fairly easily in the connector. There’s room at the back for the pocket clip, too, but you’ll have limited rotation.
The headband is nice and has good Skilhunt branding. It’s a three-piece band, with clips that you’ll have to build up yourself.

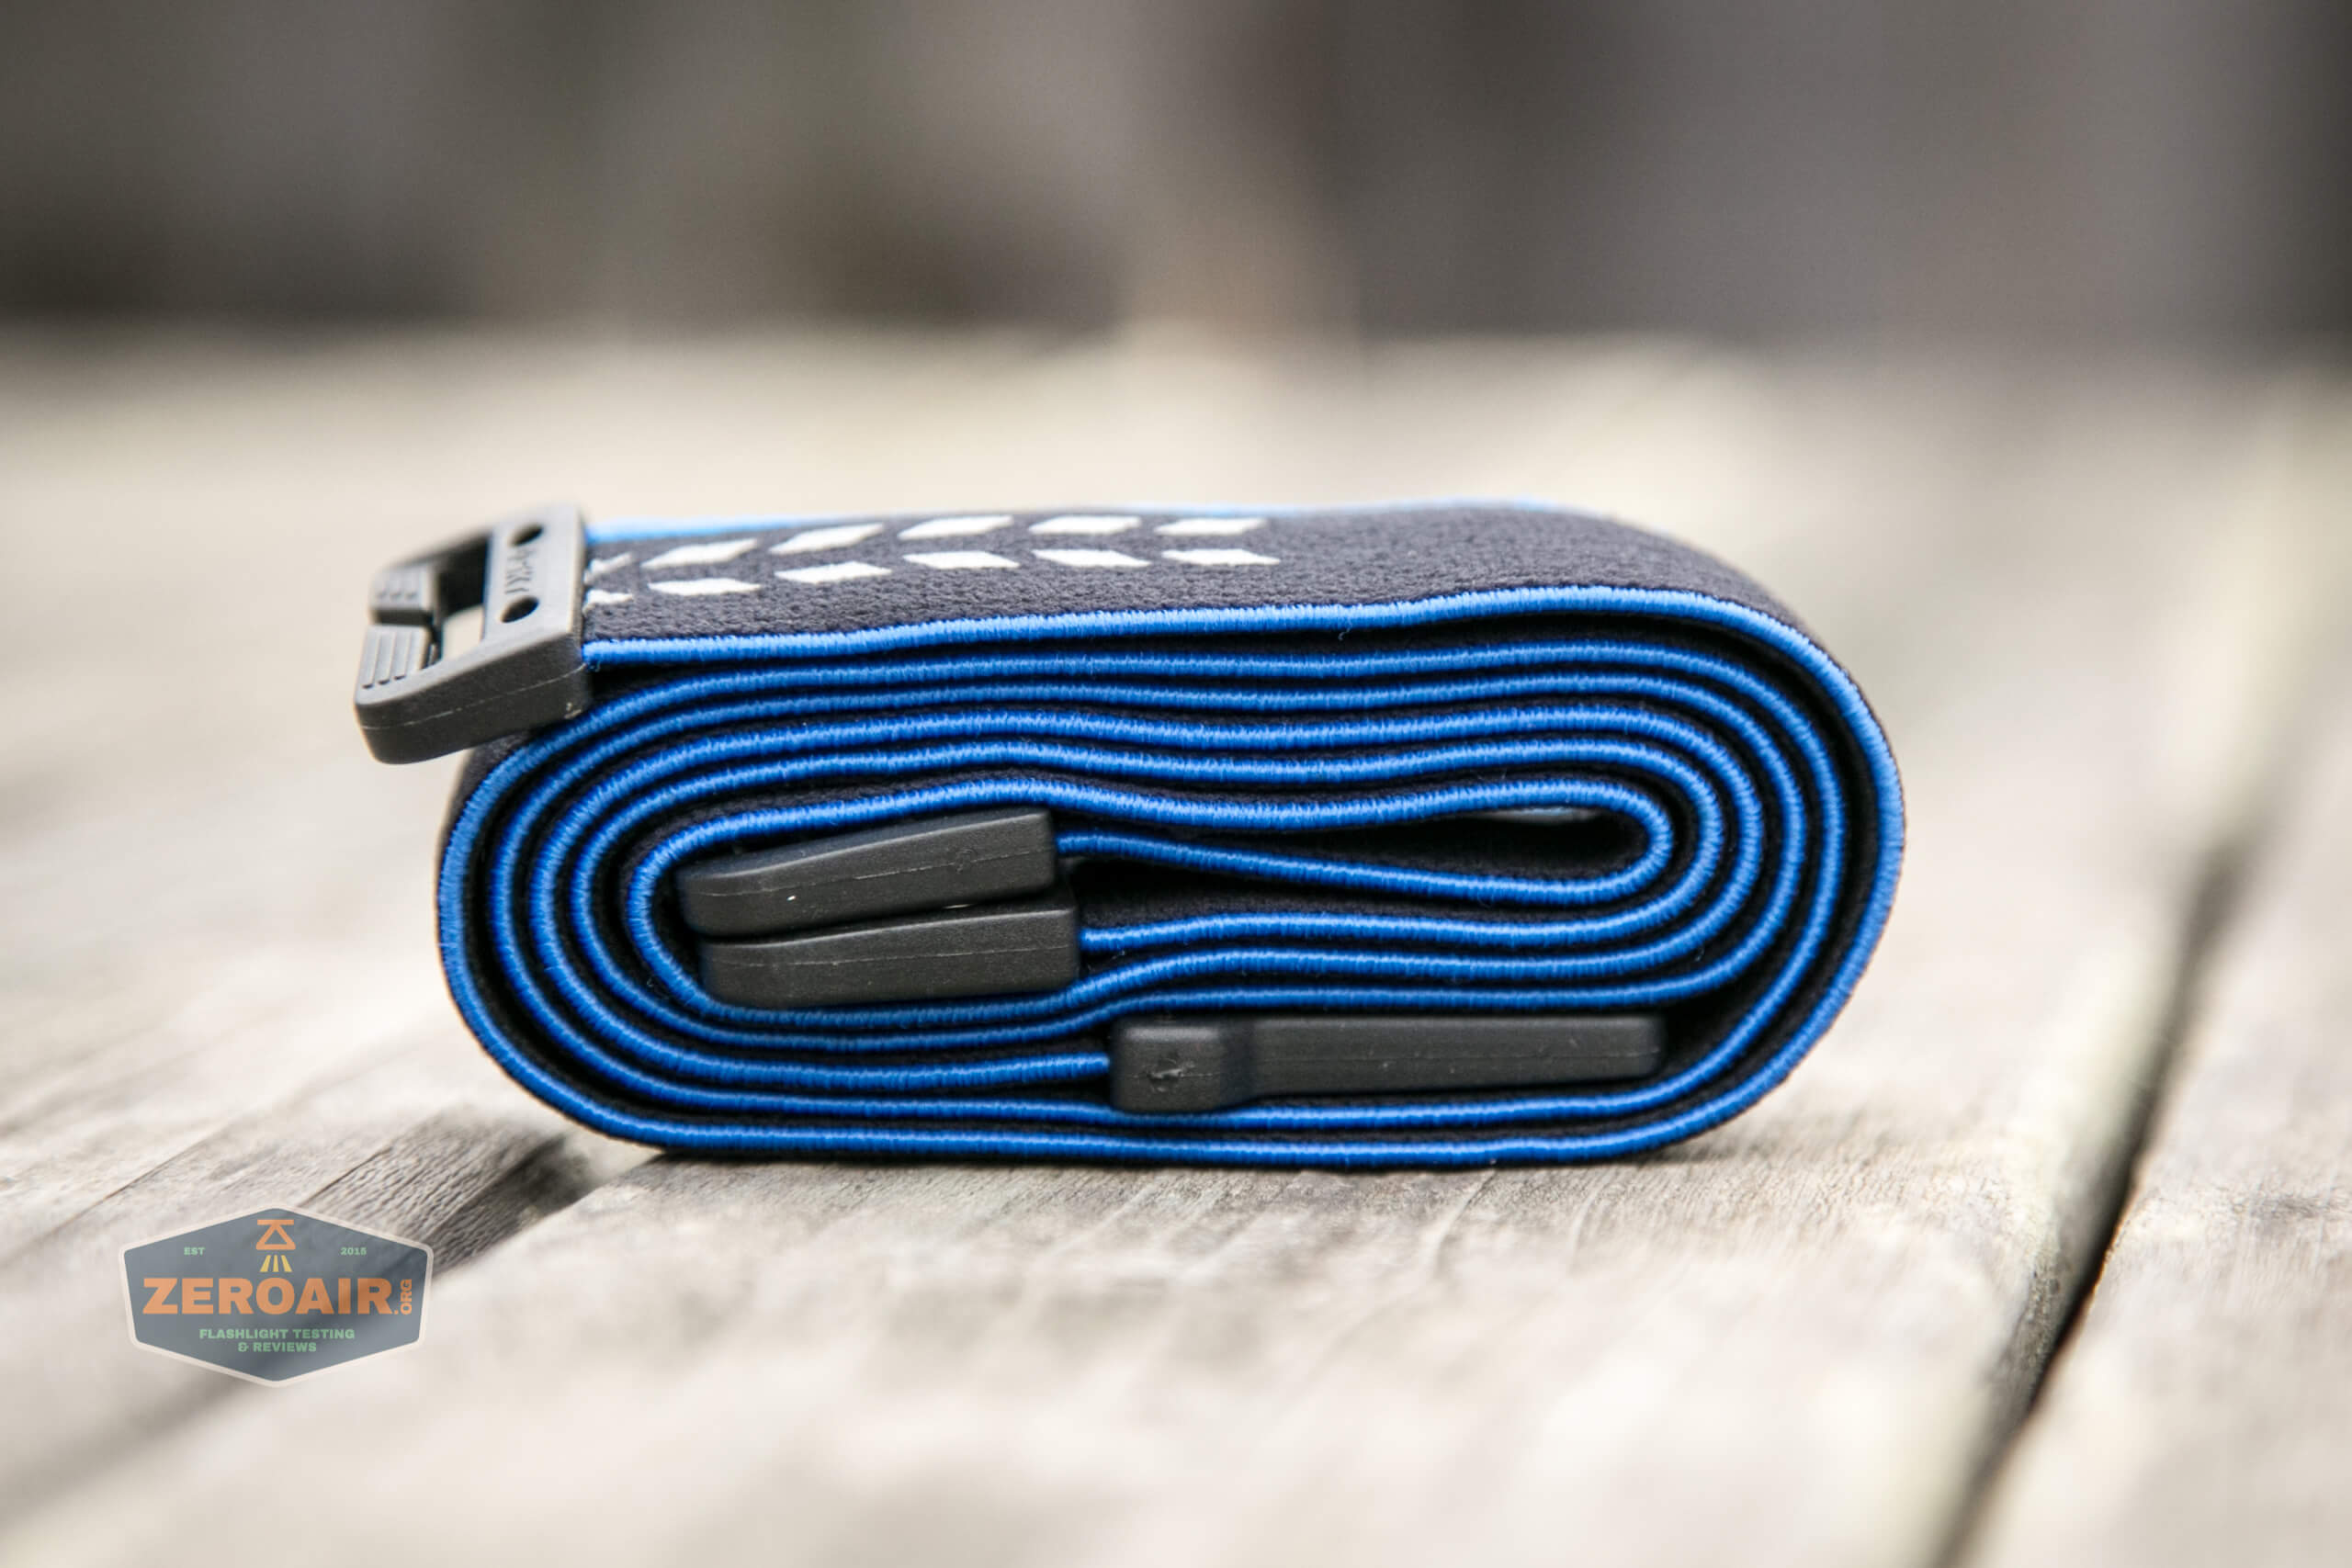
I wish the manual covered how to set this headband up, but honestly, it does not cover that. Here’s a video by Skilhunt that you will 100% need in order to get the straps right:
With this video, it’s very doable.
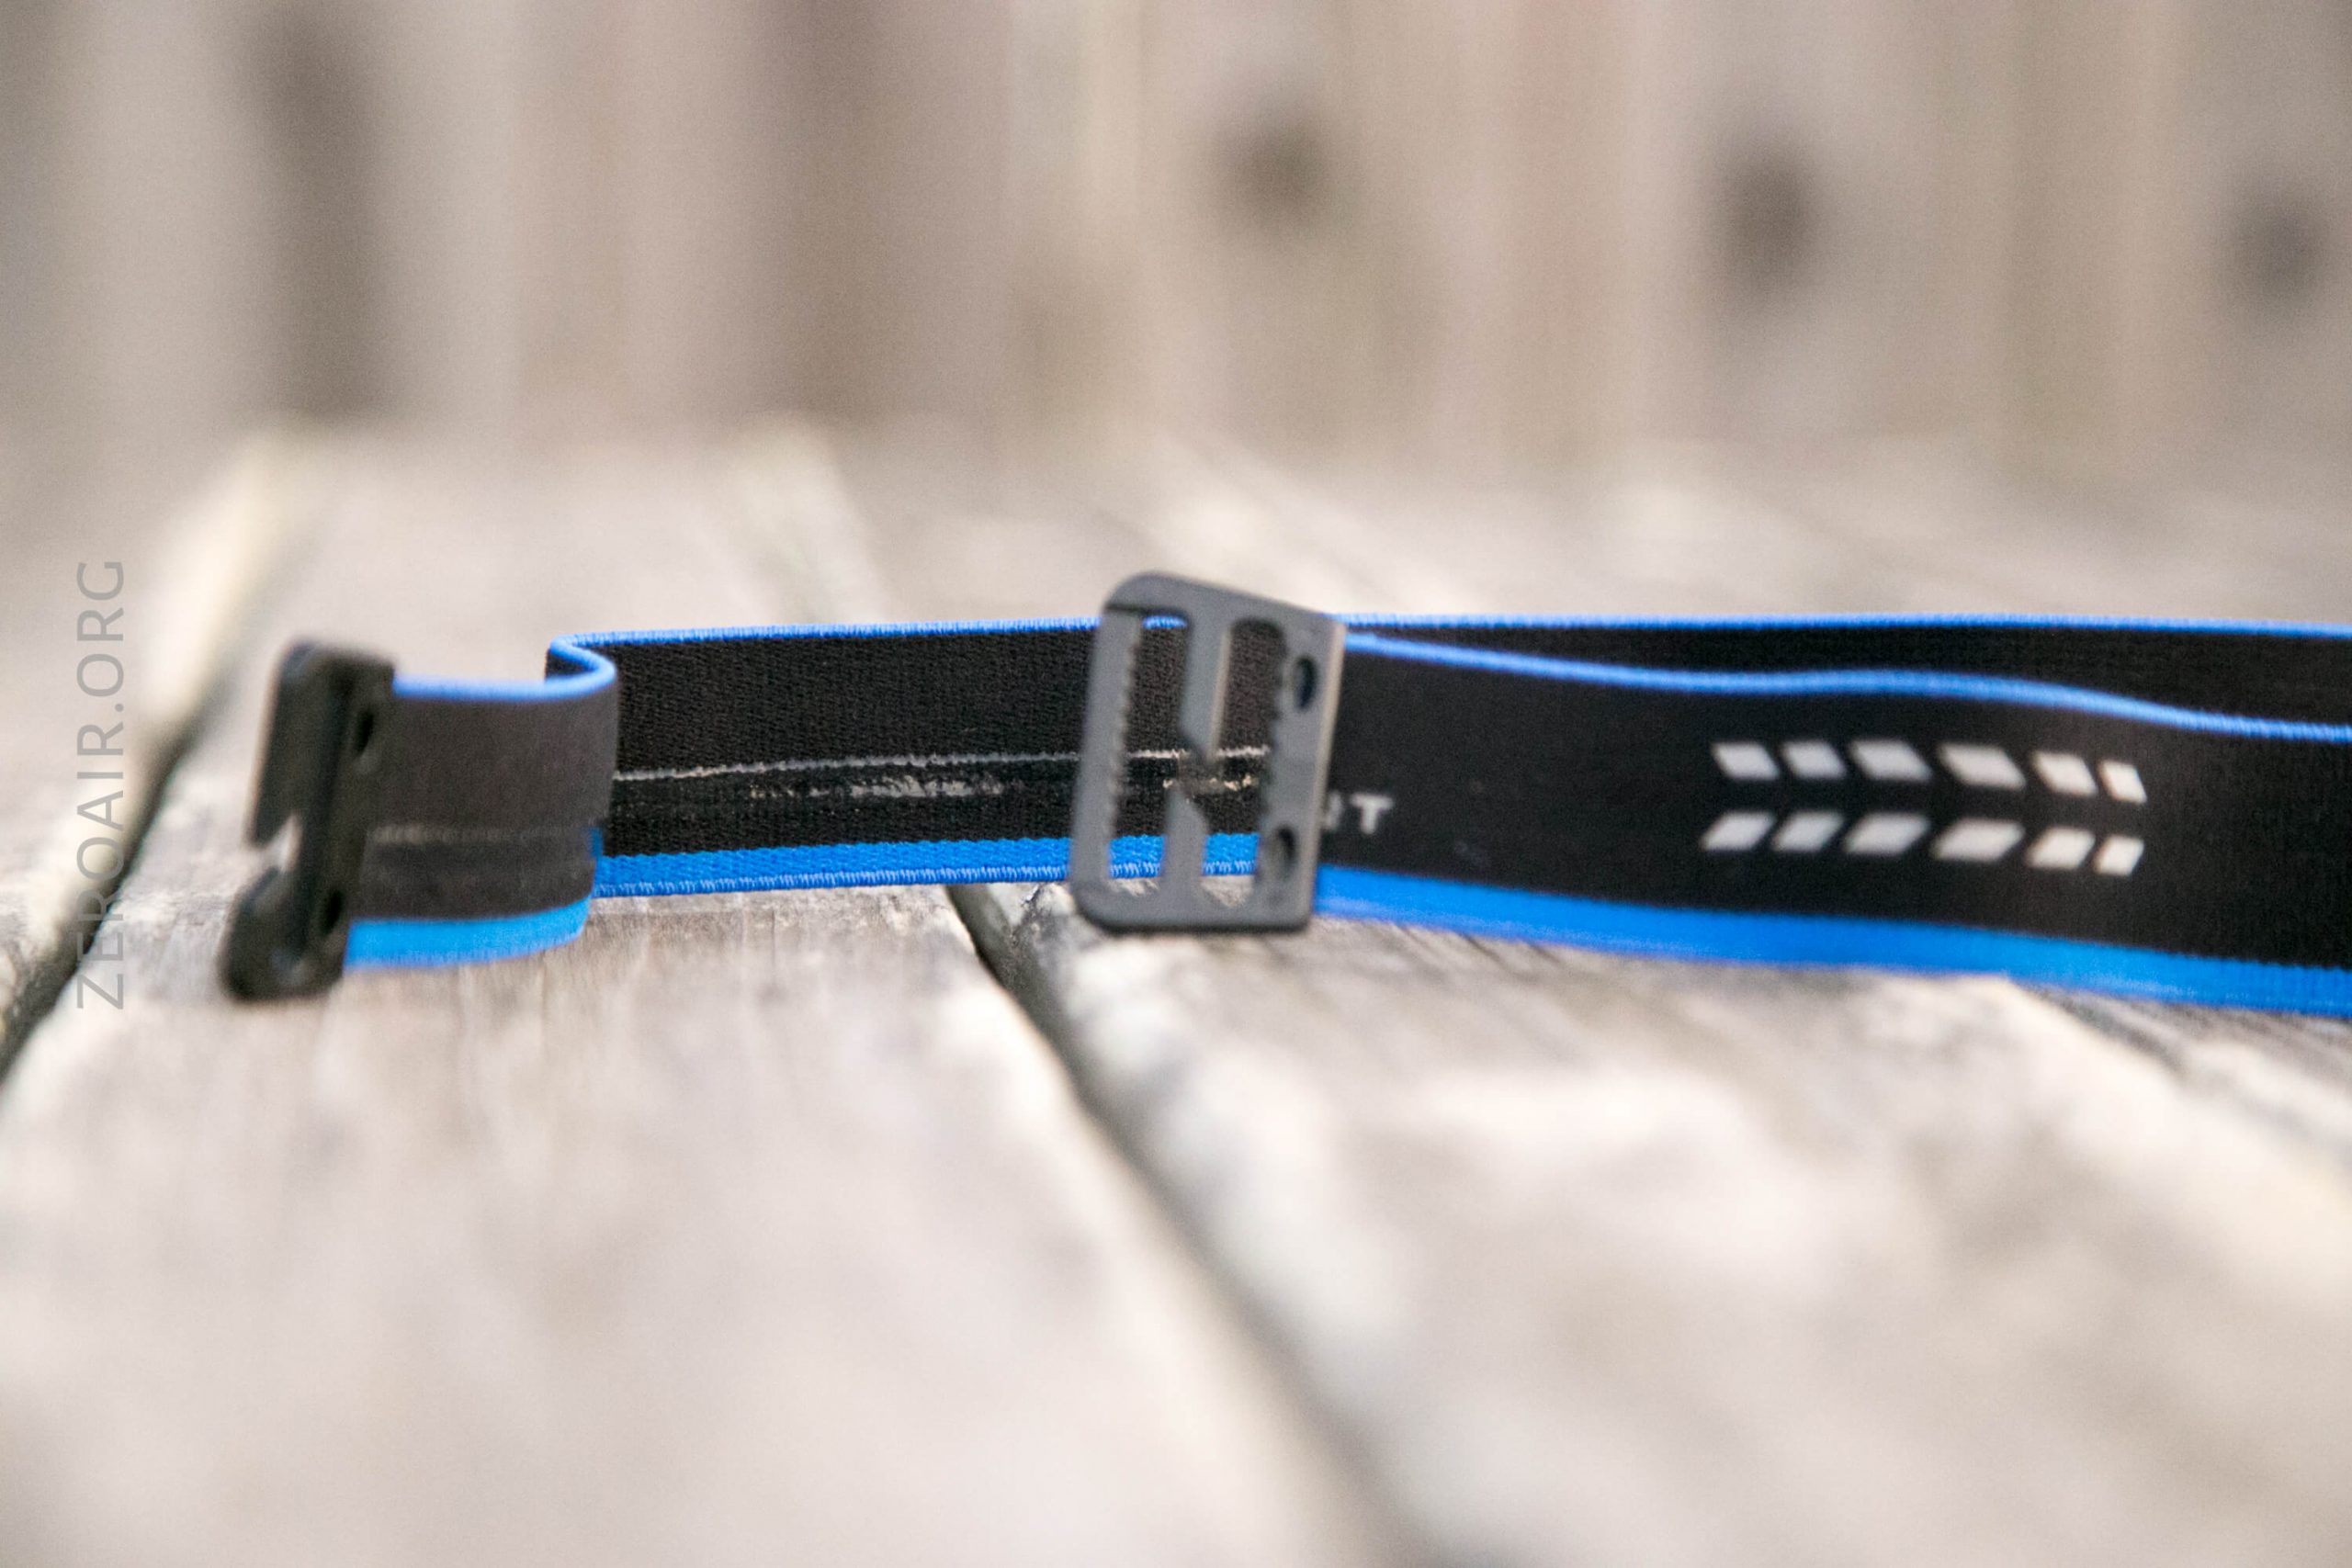
The top strap (seen below) is not completely necessary. The light rides fine without it. But for heavier exertion exercises, it’ll be beneficial.


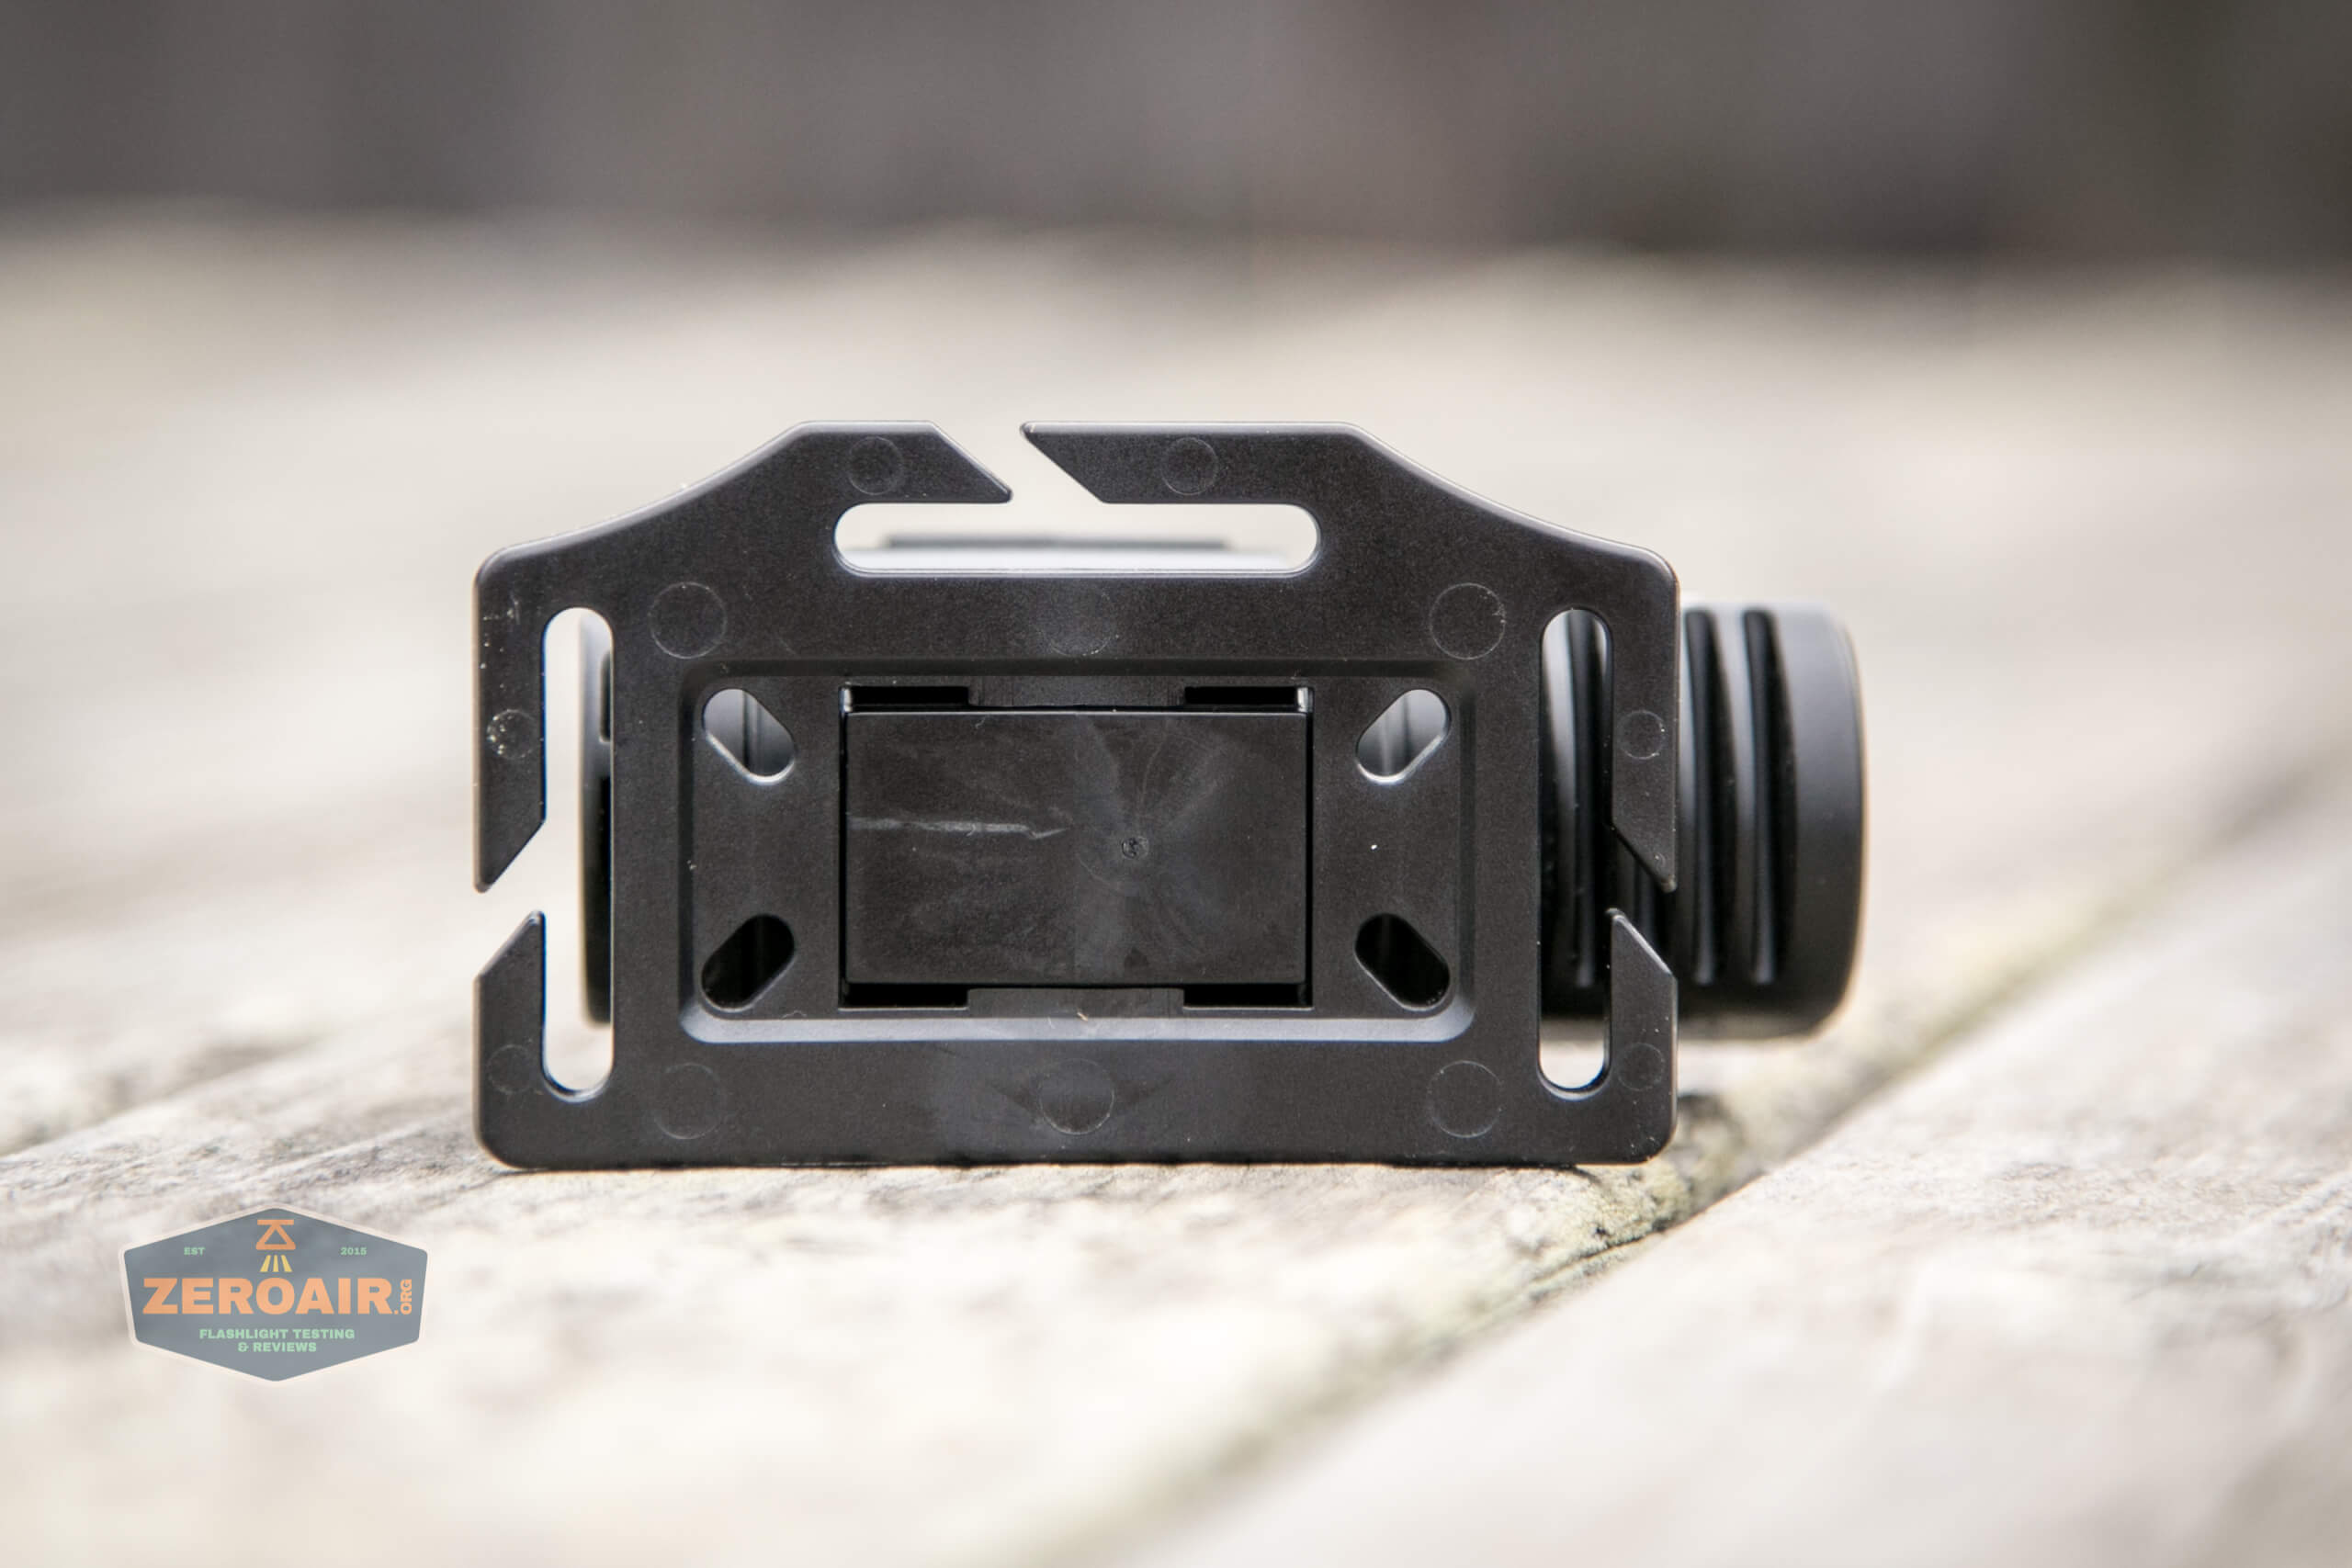
Skilhunt has adopted a clip-in connector, and it works very well.
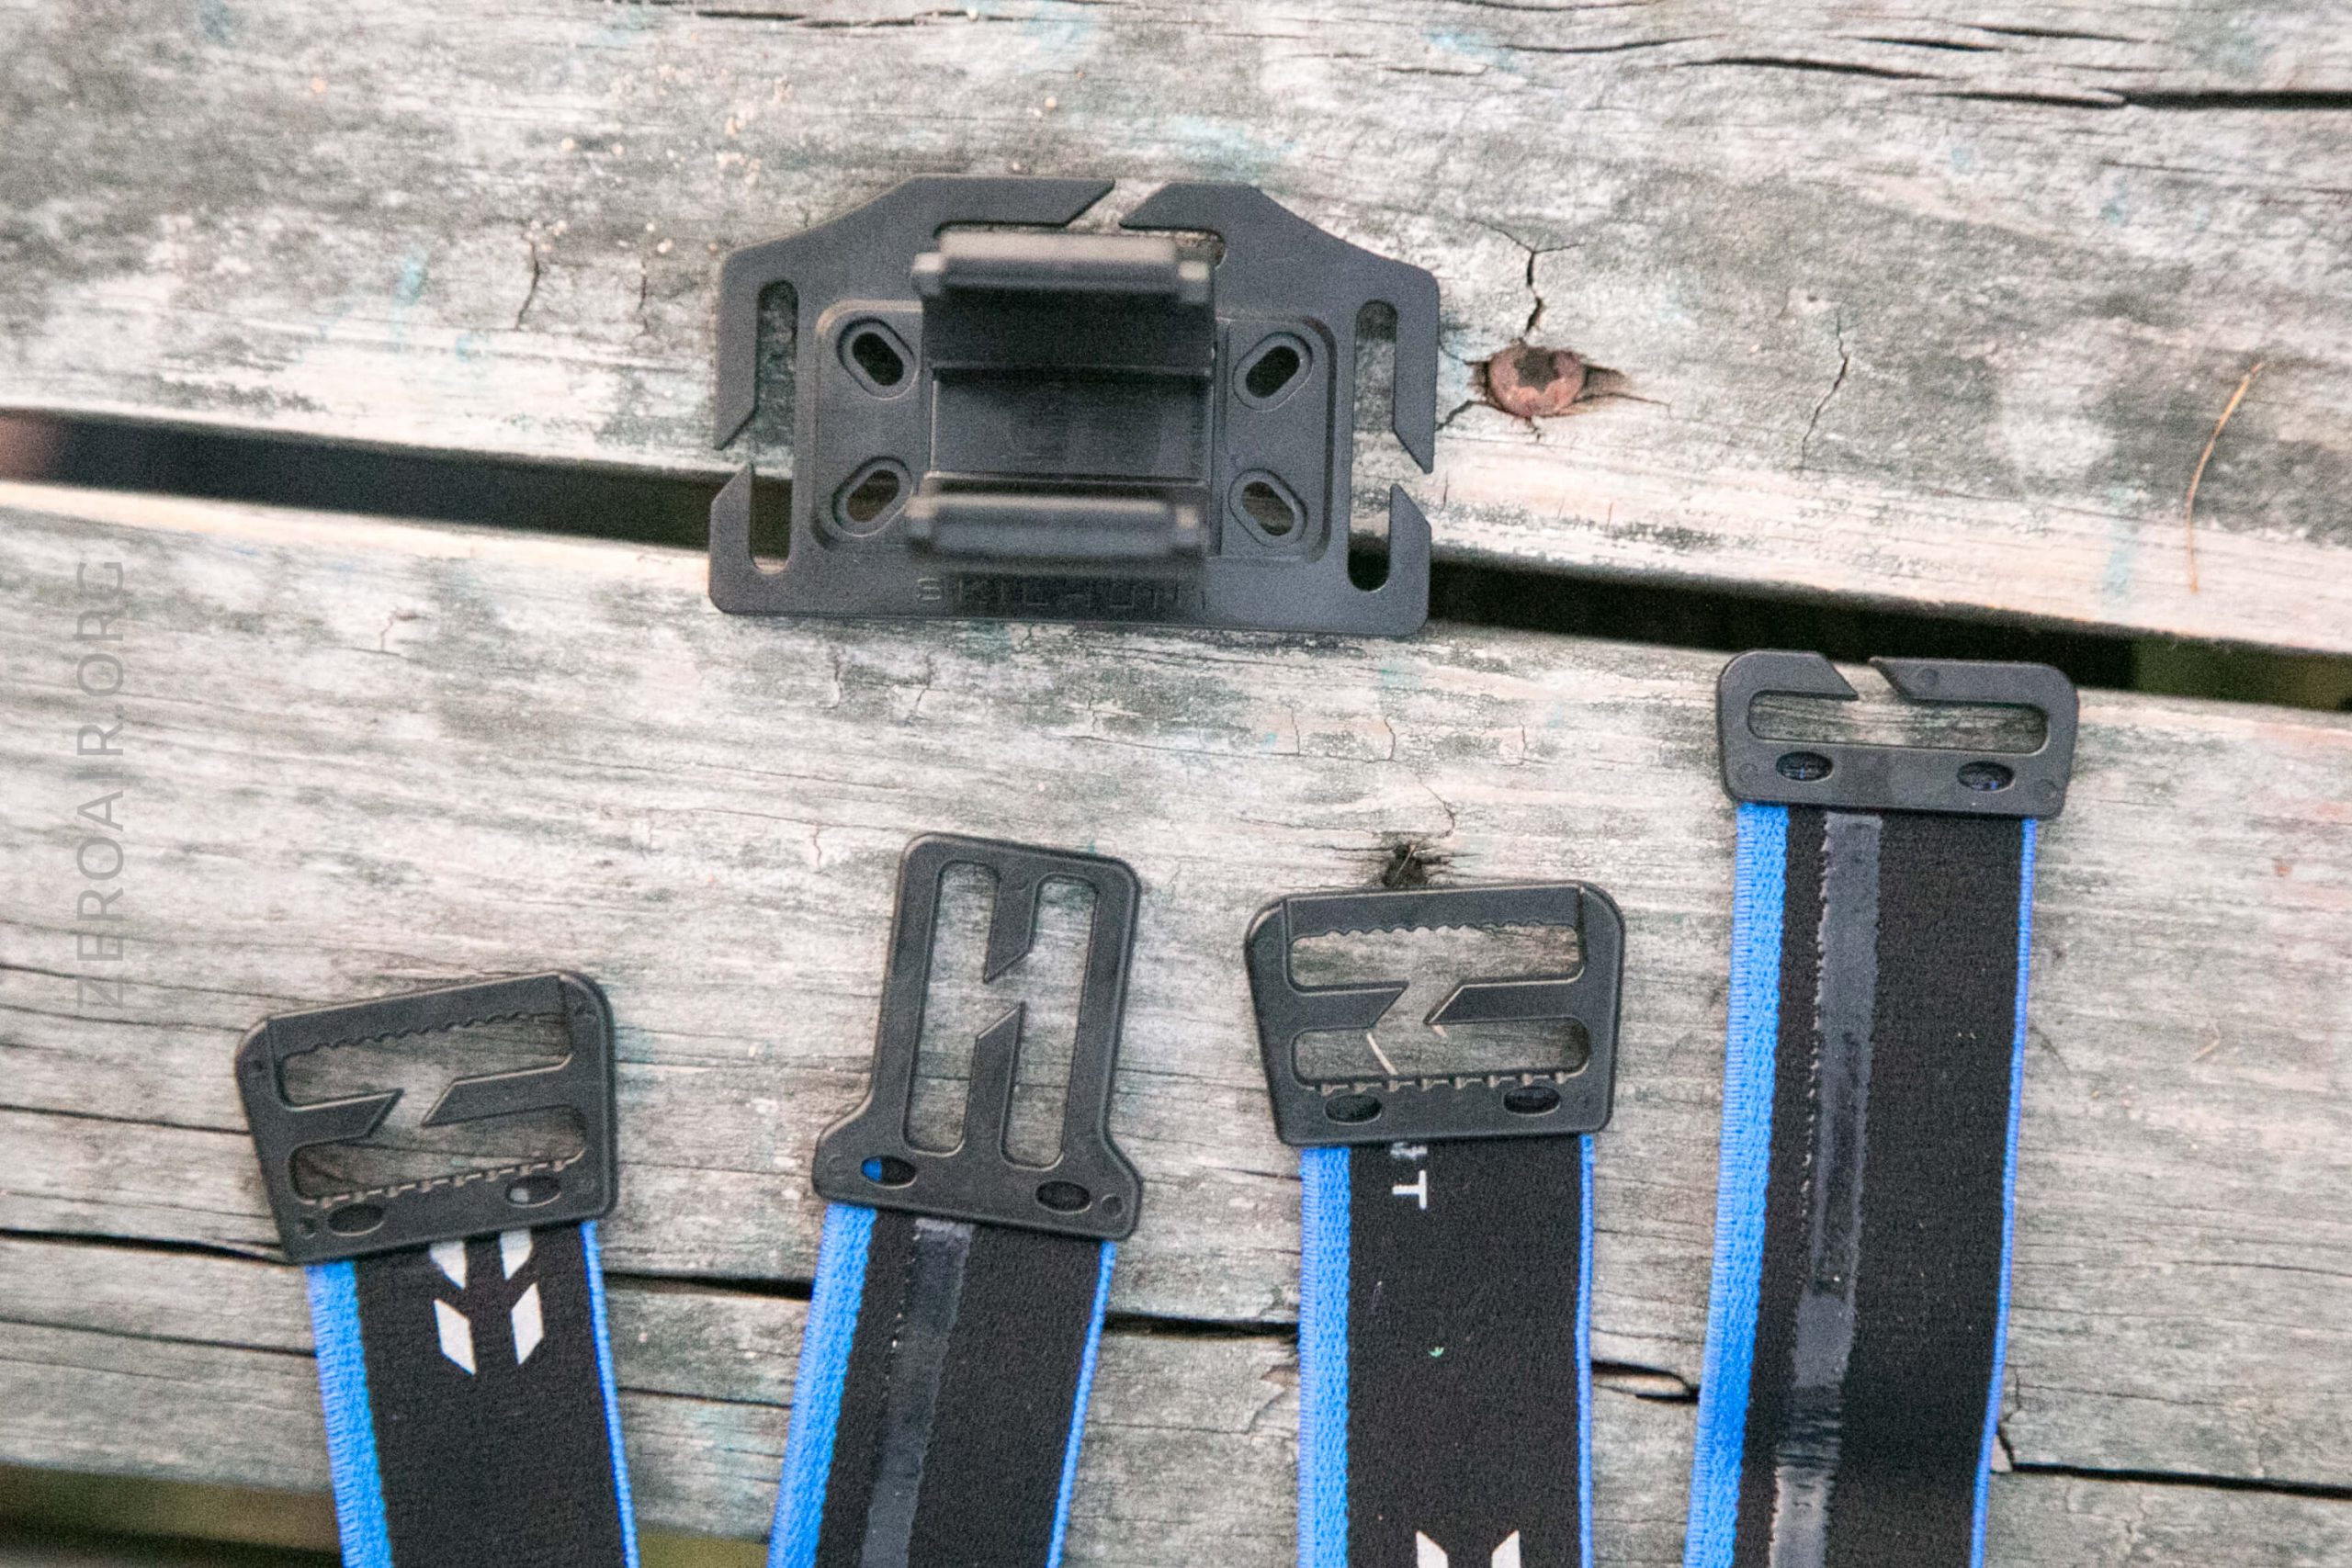
There are even two loops on the outside where the spare o-rings could be placed to doubly secure the light.
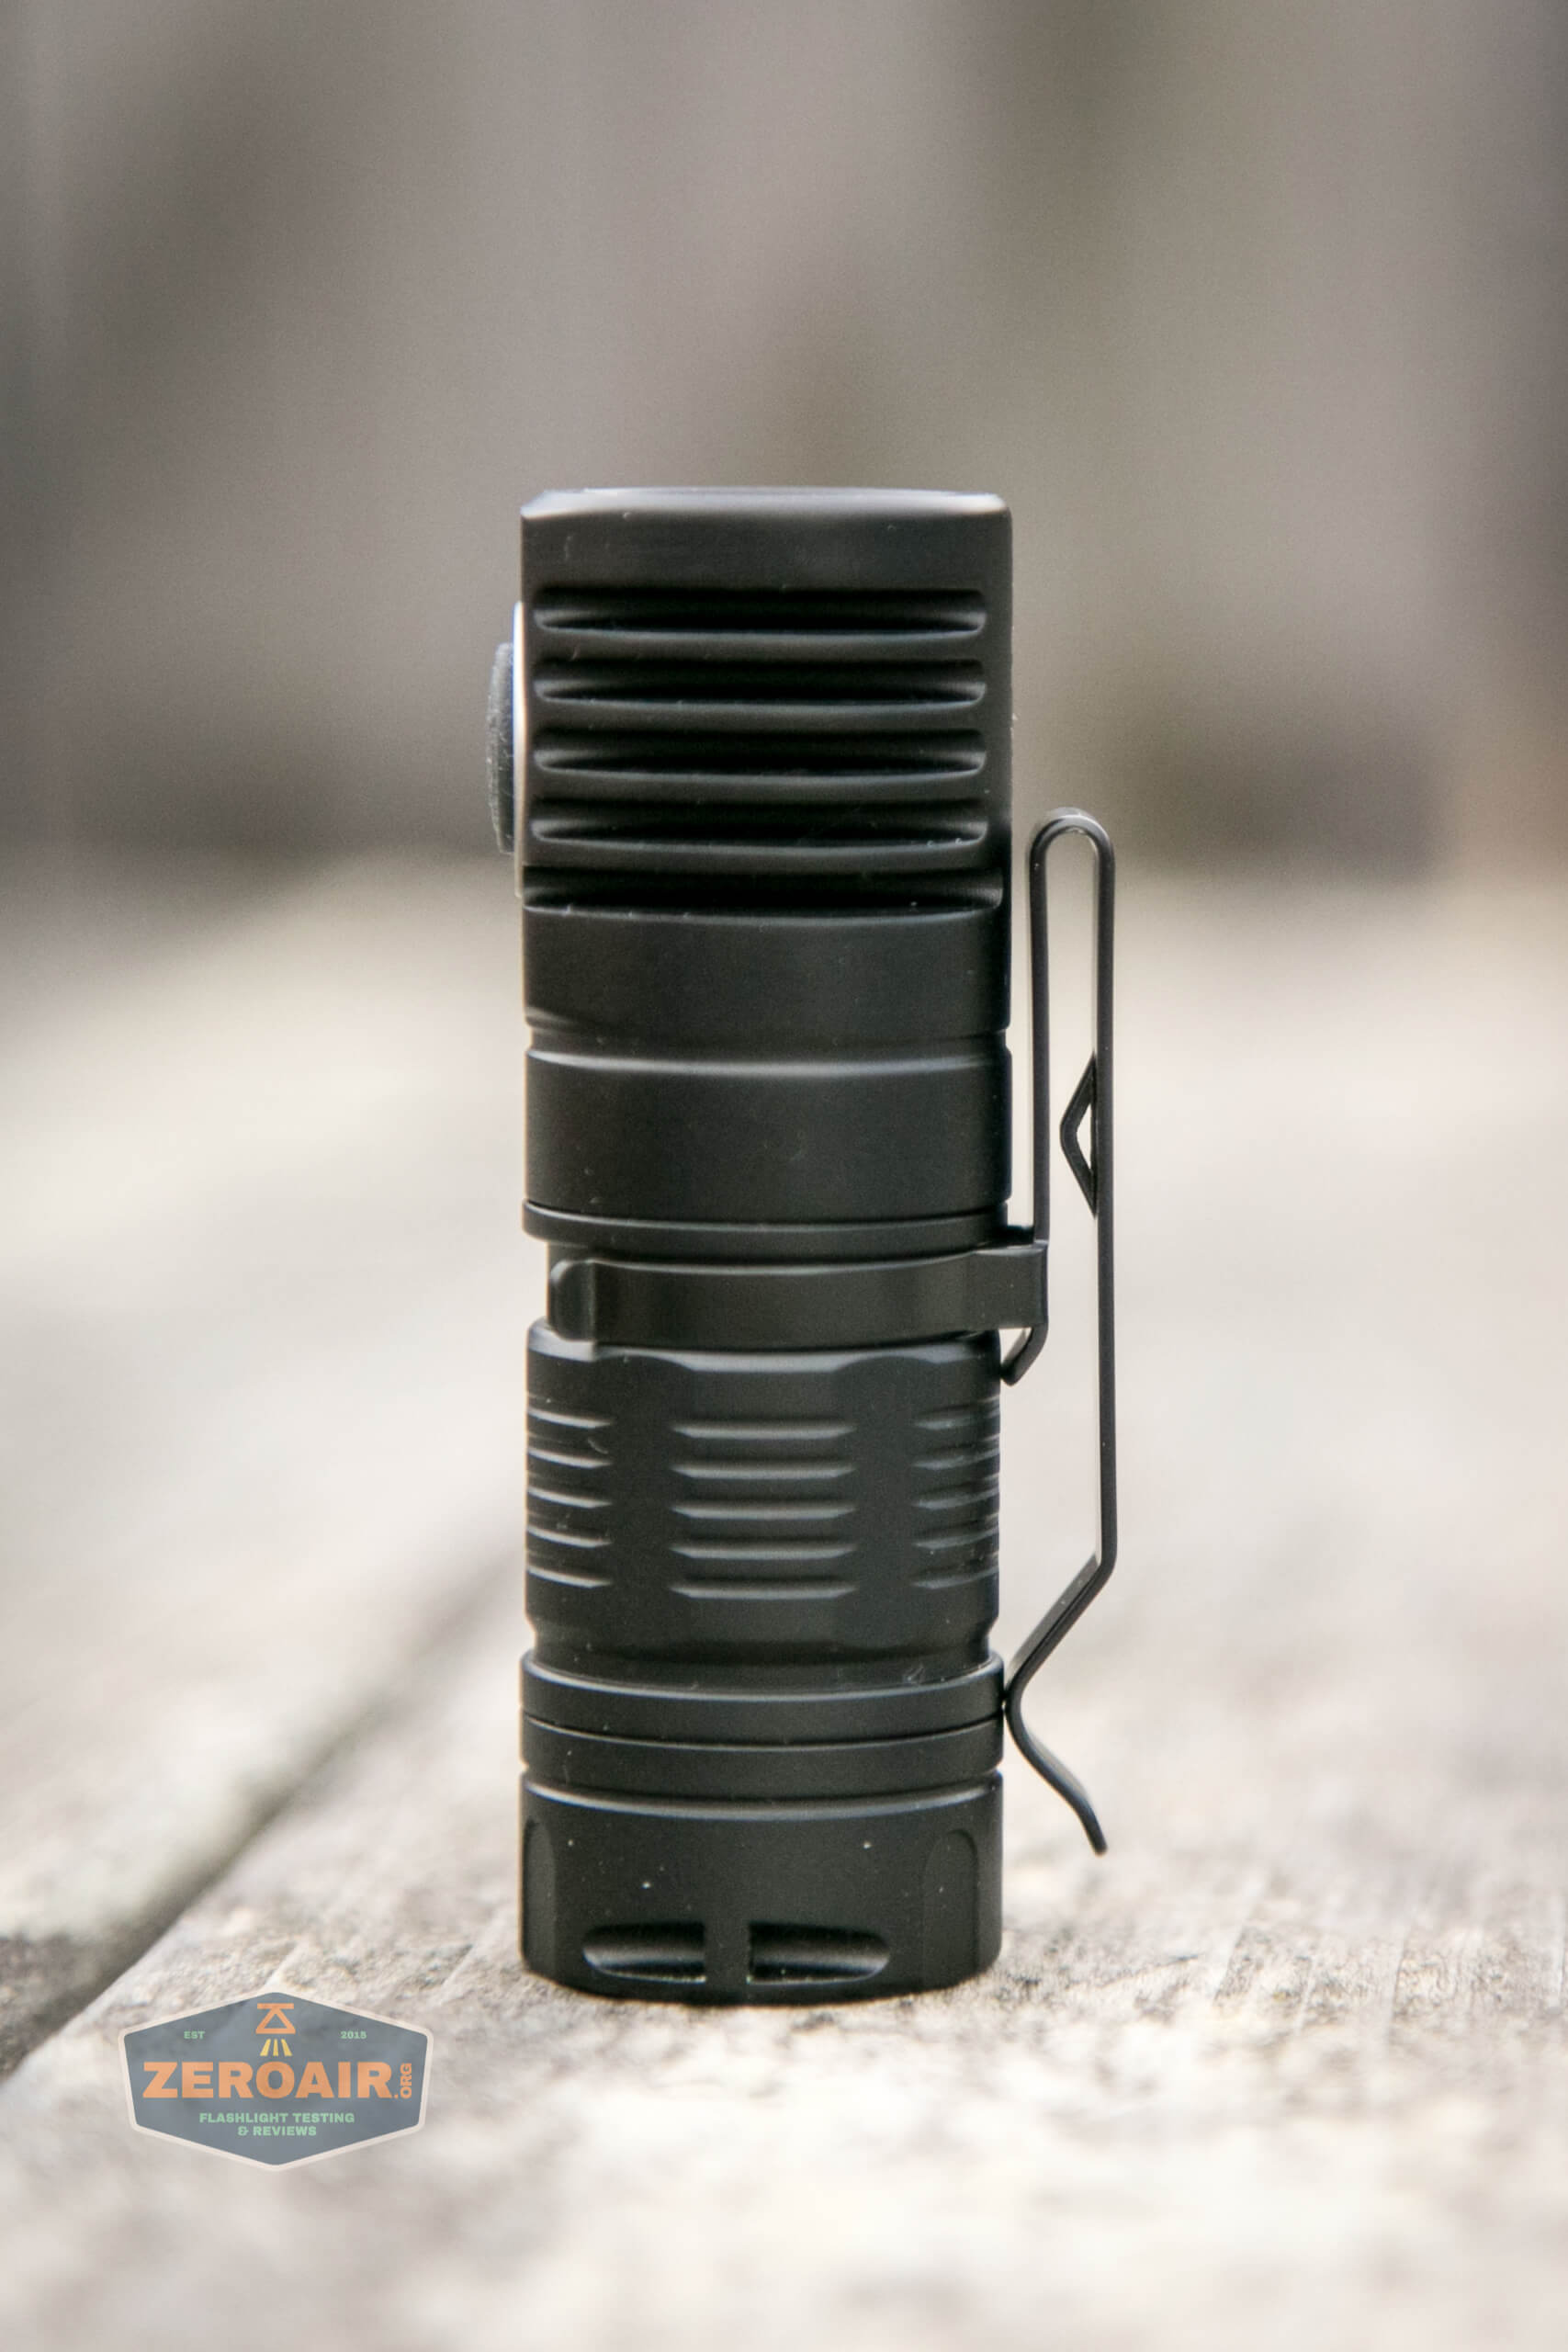
The second option is, of course, the pocket clip. It’s a good clip. Flexible and deep carry, and the fitment is very snug.
Also, the clip can go “up” or “down.”
The clip for the Mini is the same as the clip for the 18650 version.
Power and Runtime
The H04 Mini RC runs on a single lithium-ion cell. It’s sized for a 18350, and an appropriate cell is included.
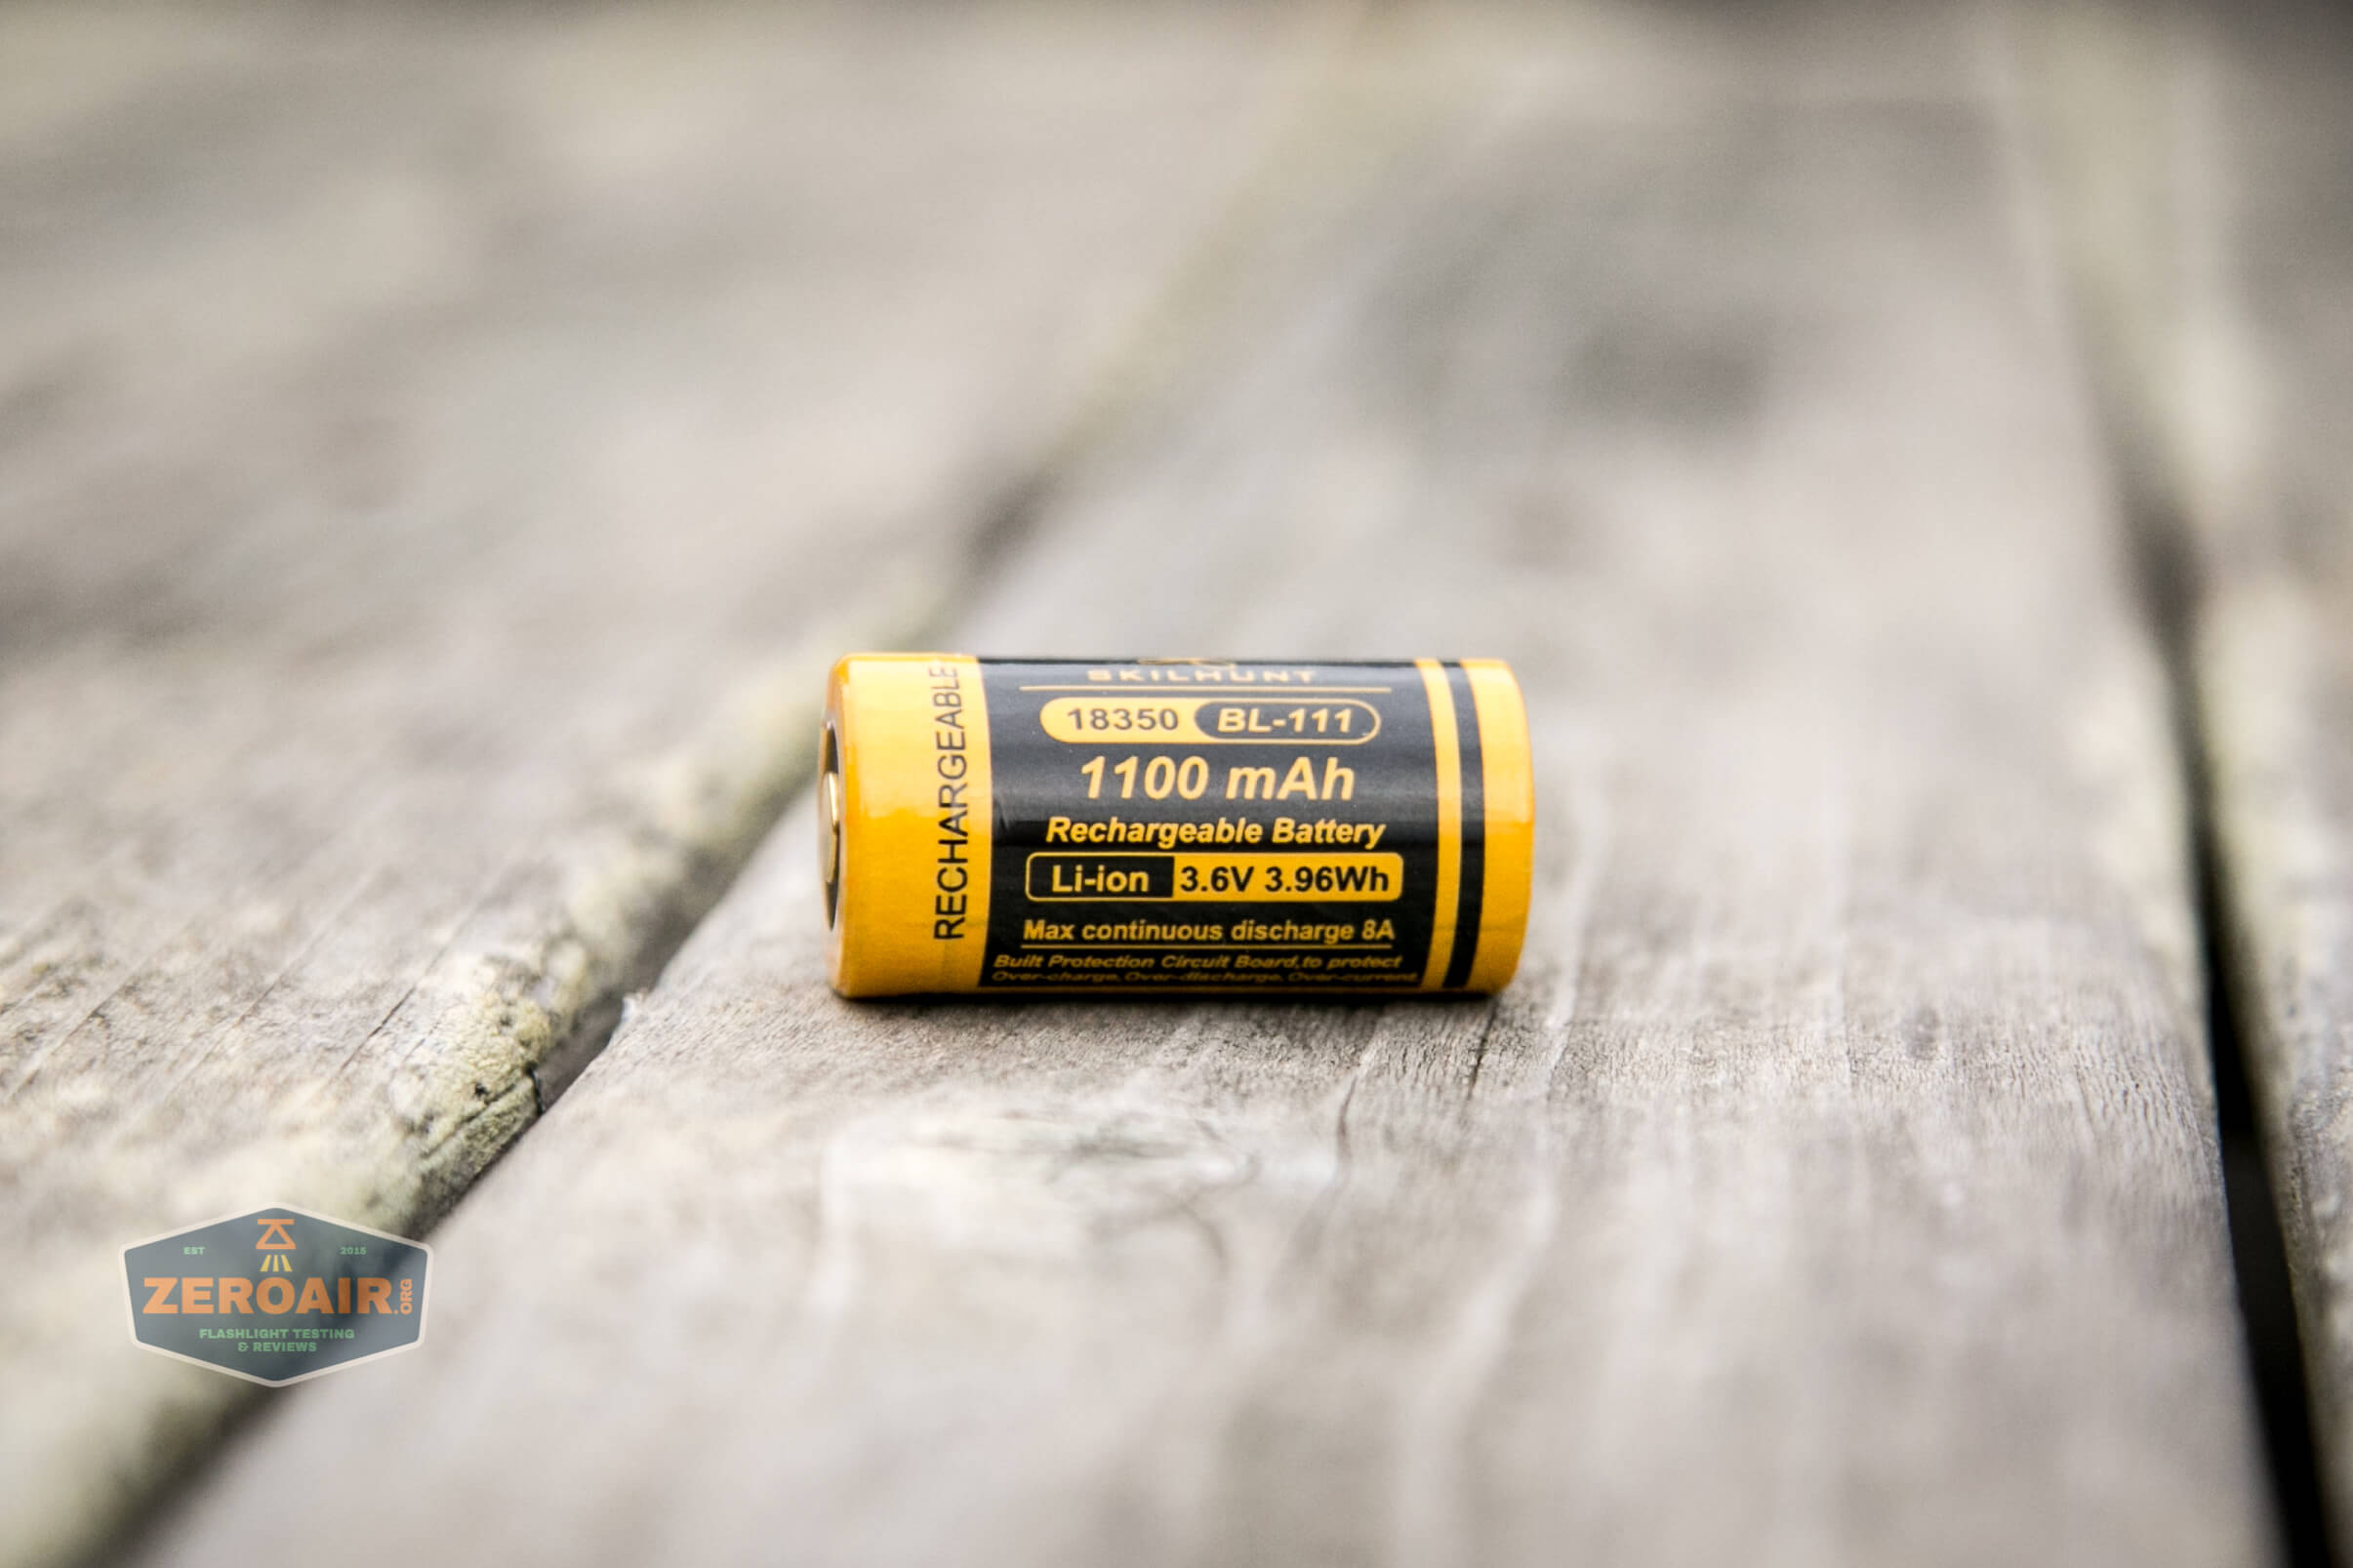
What’s included is a button top, but with springs on the head and tail, any type 18350 should work fine.
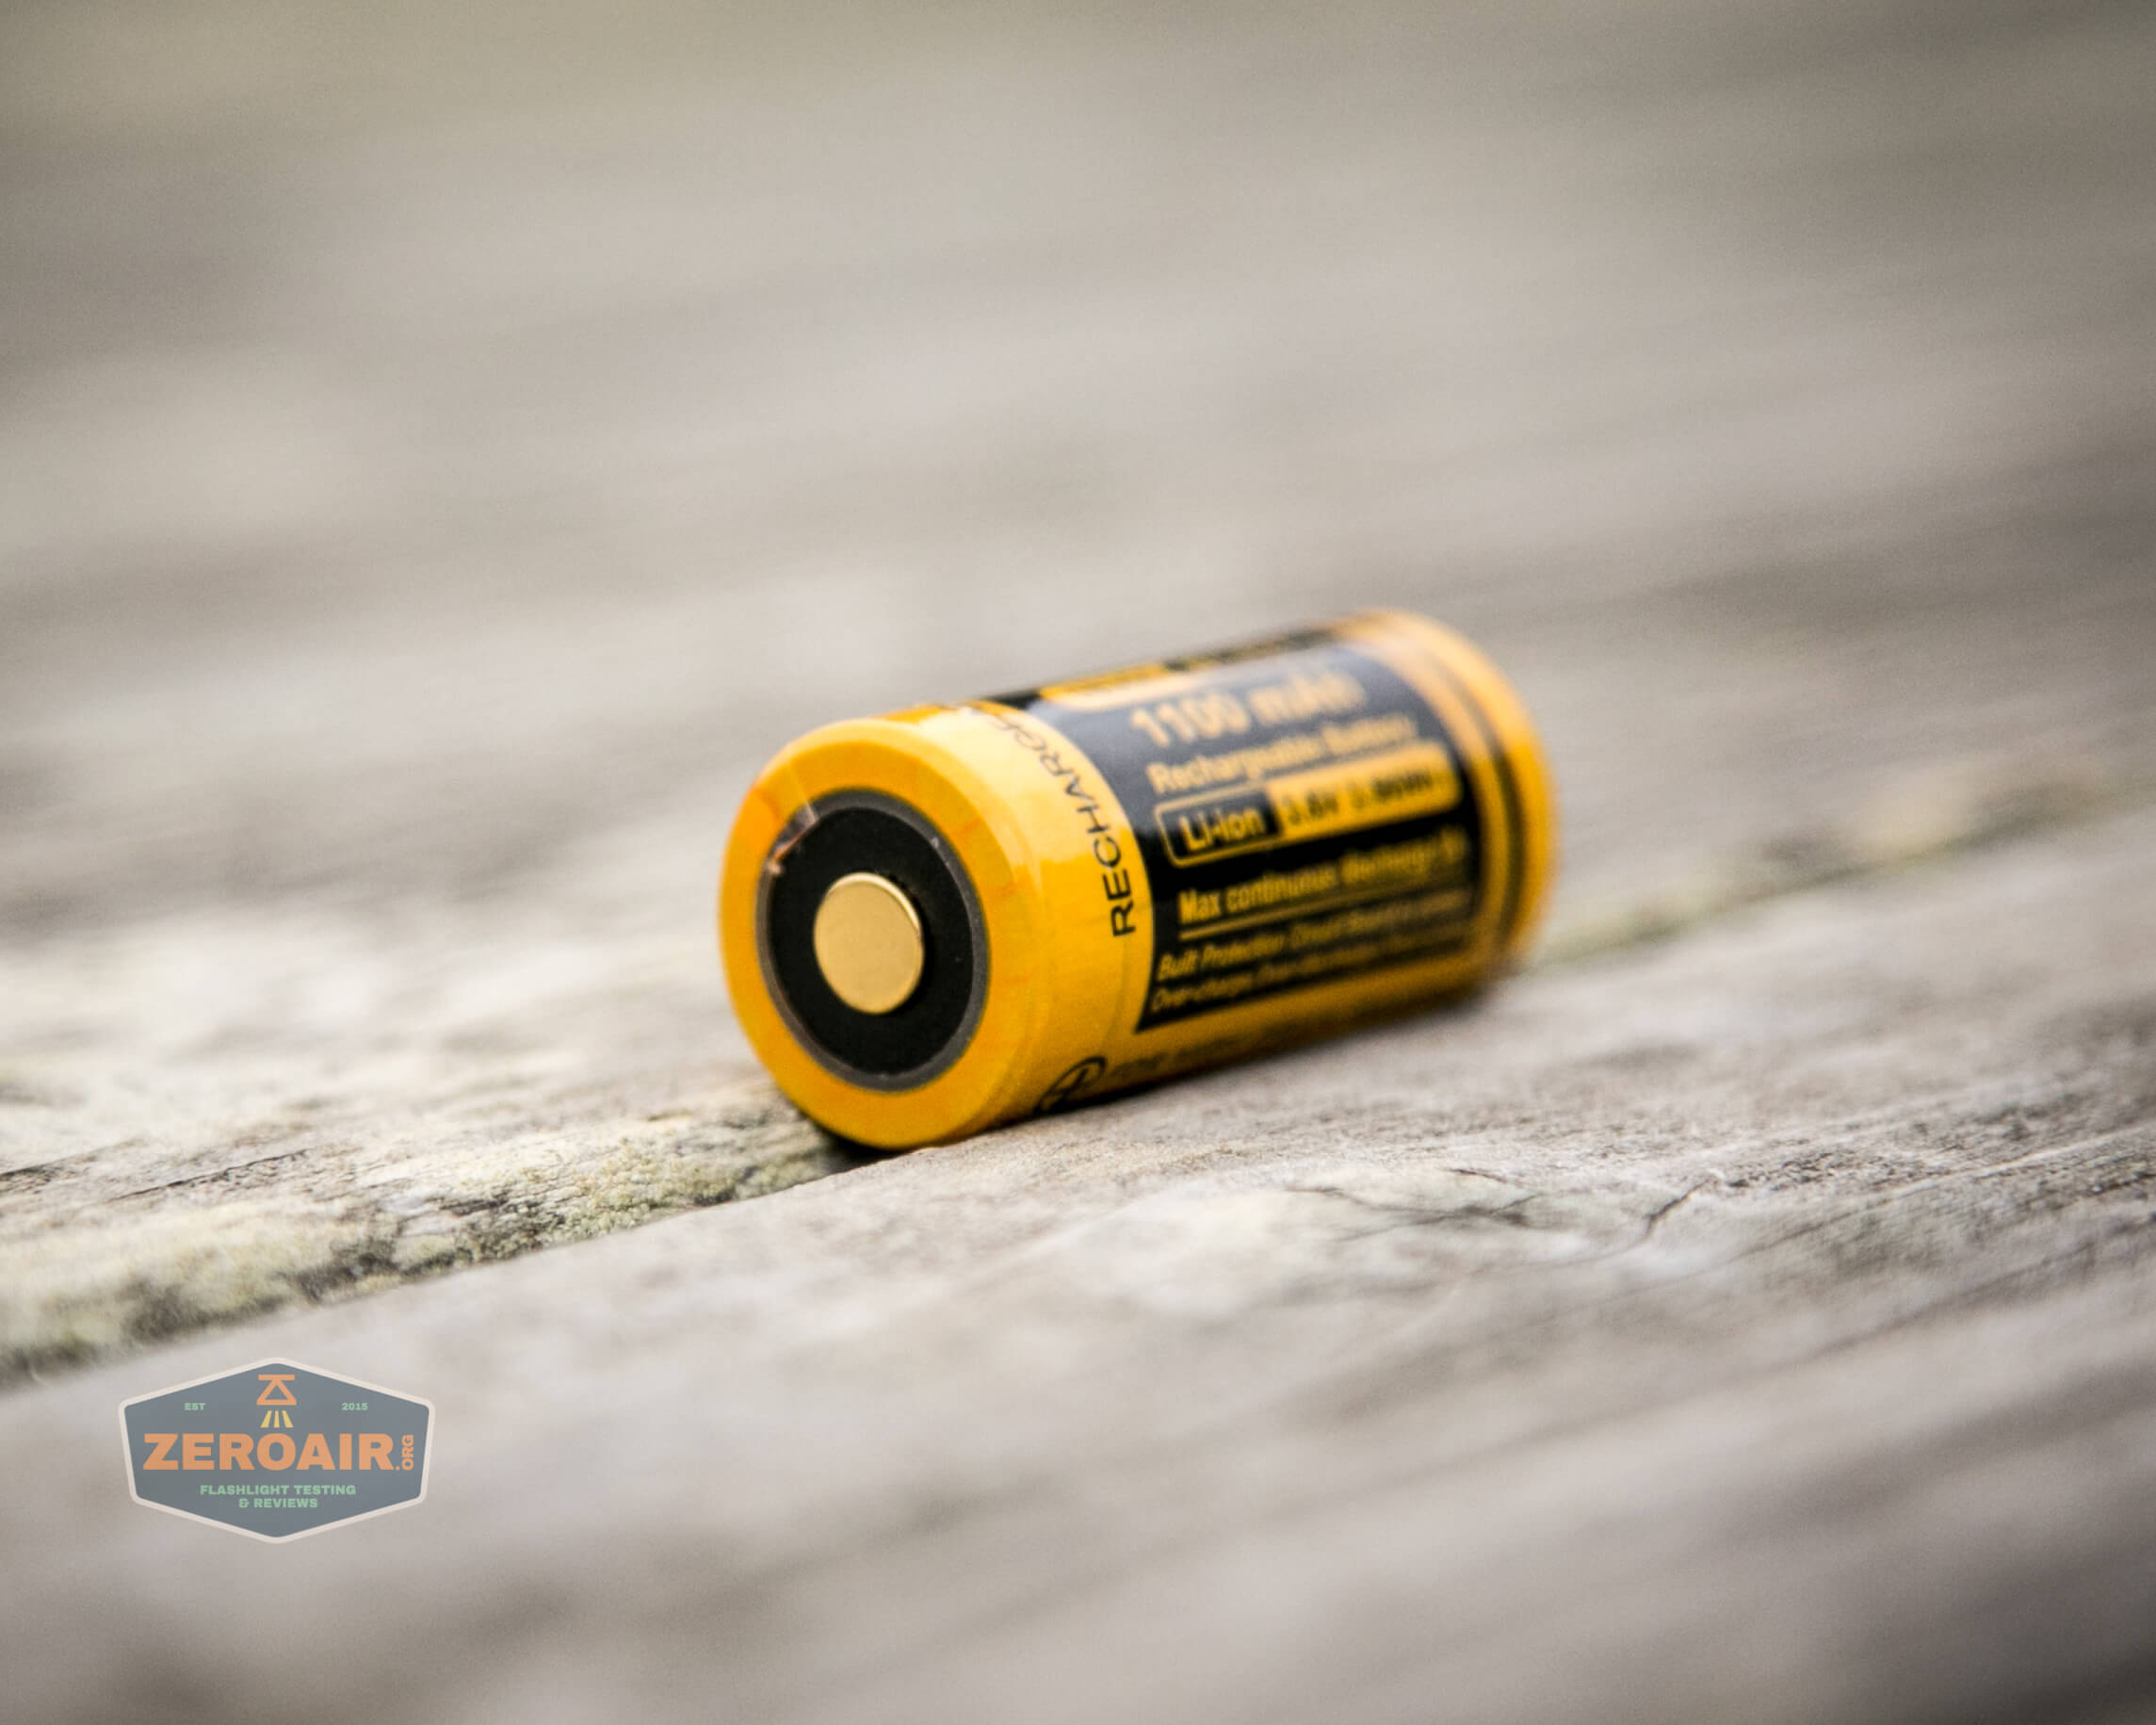
What’s sent is a 1100mAh cell, and that’s a very good capacity for 18350 cells.
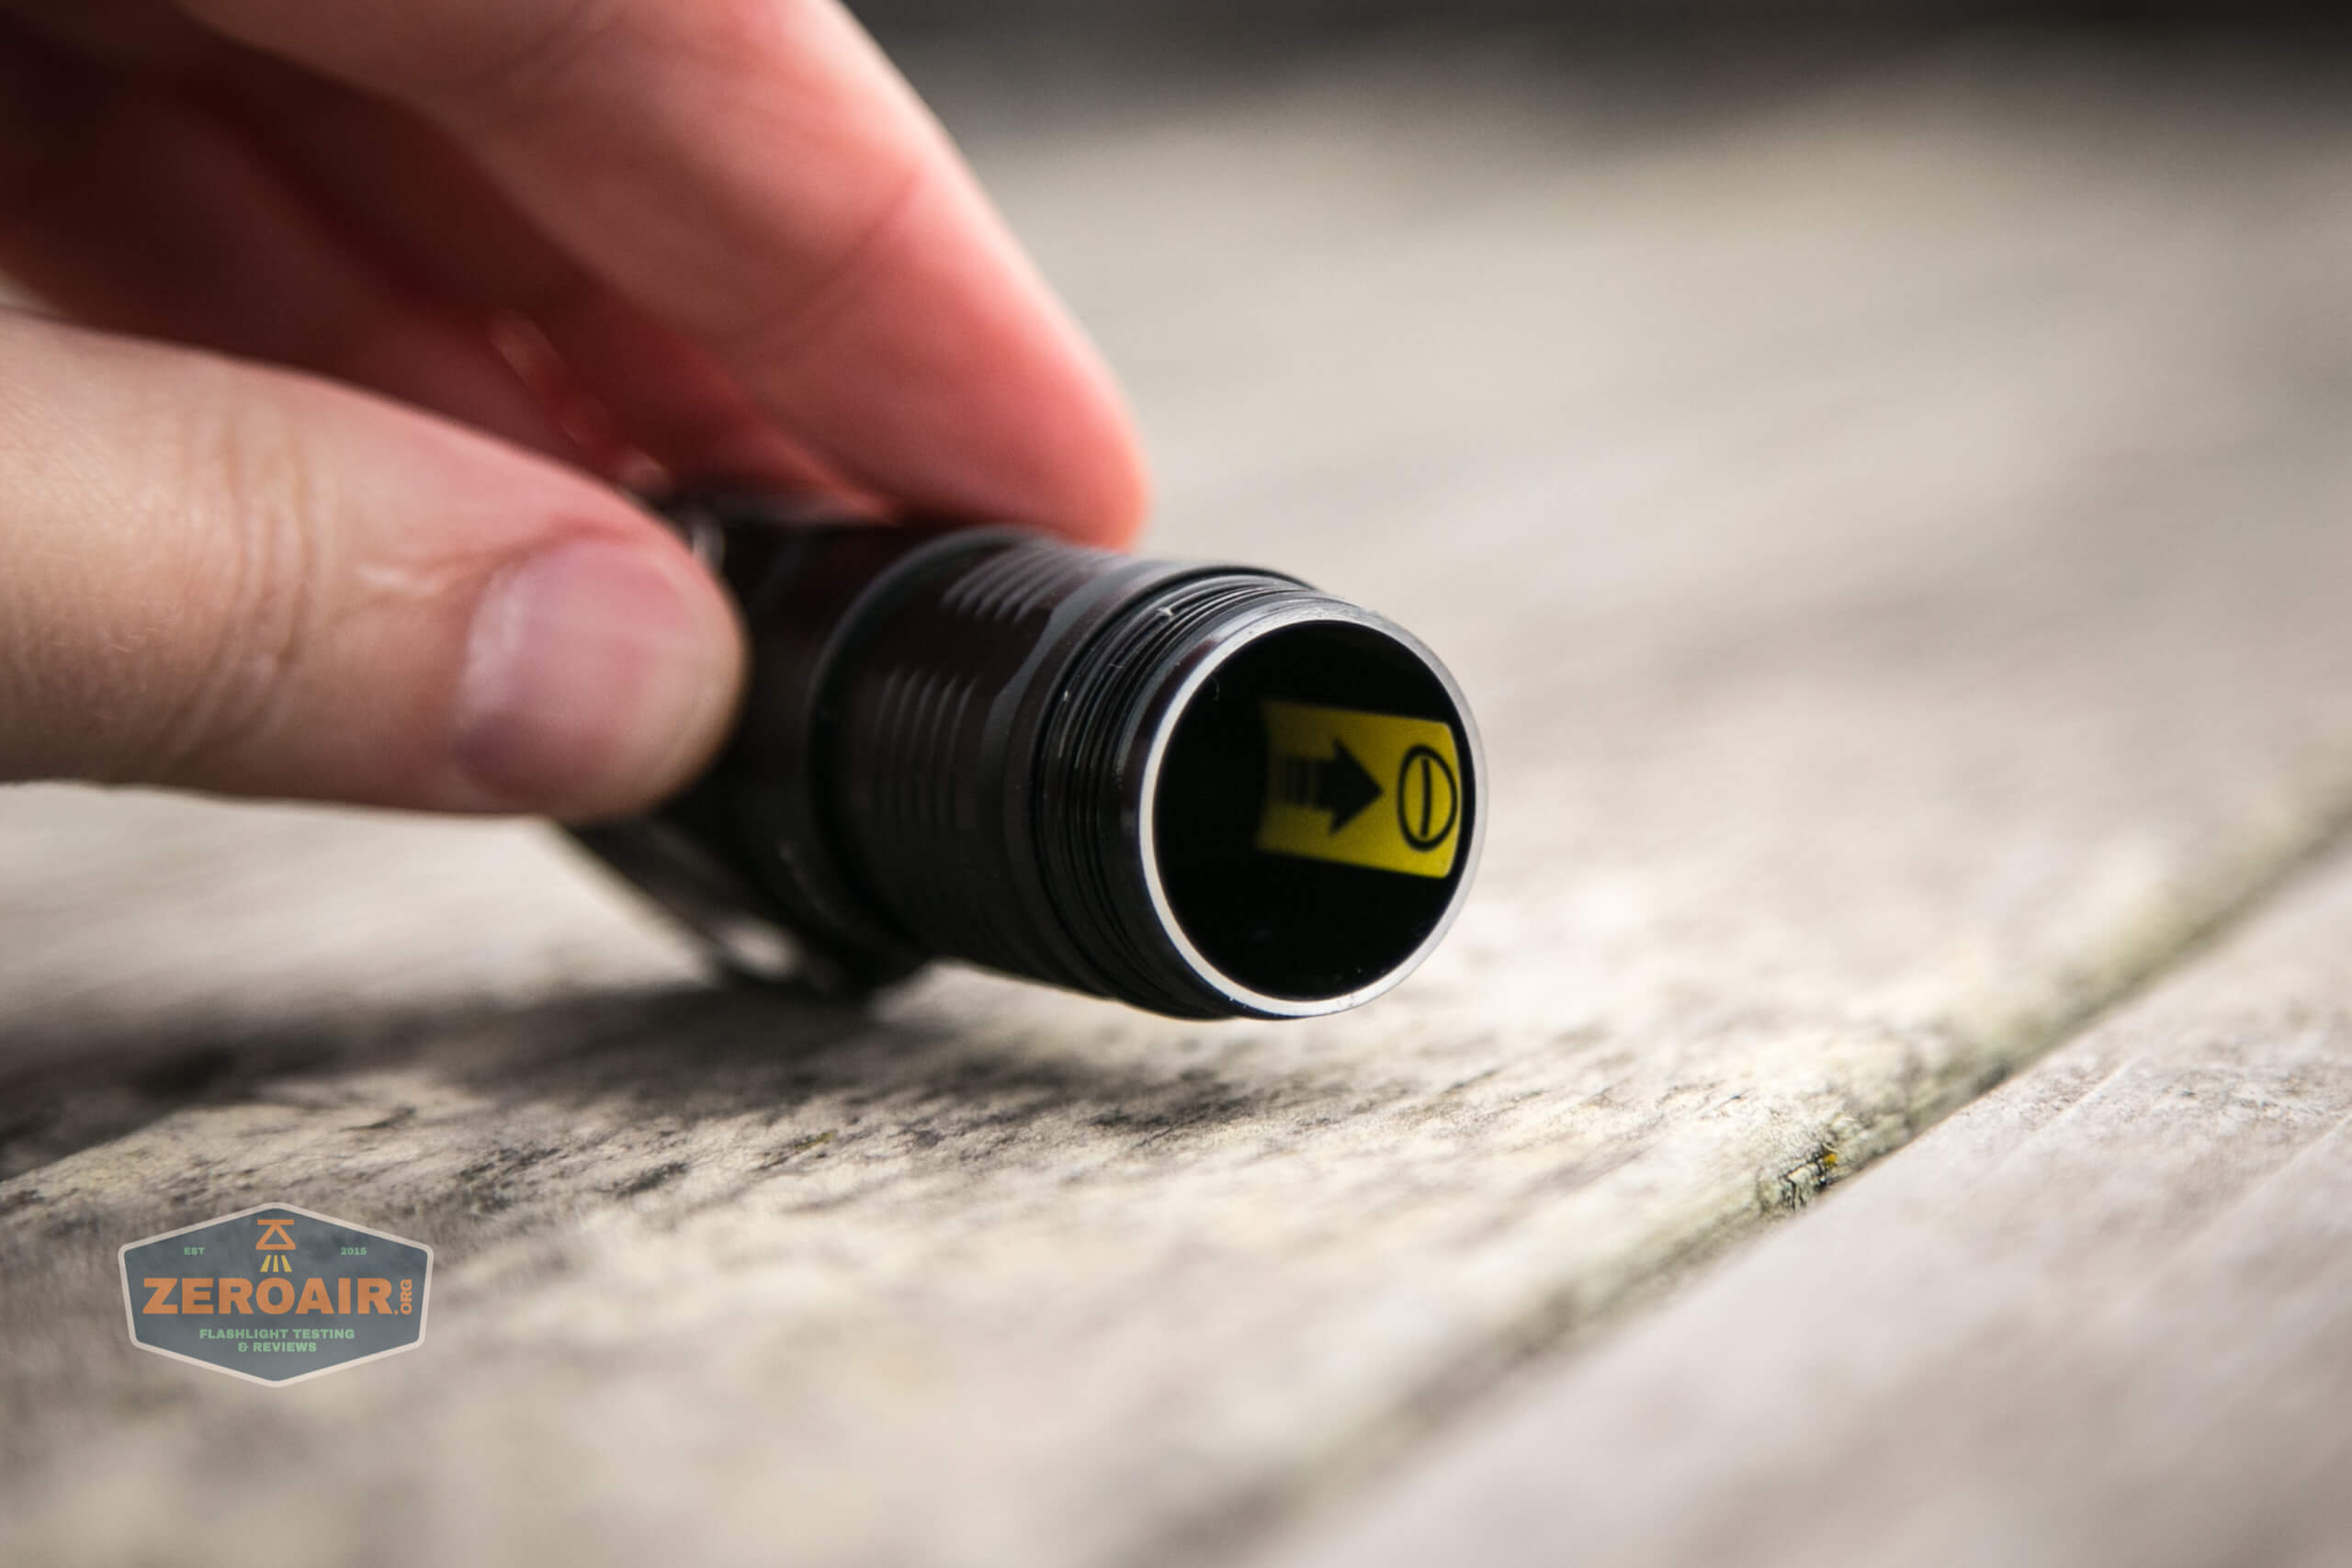
The 18350 is installed into the H04 Mini RC in the usual way for flashlights – positive end toward the head.
And in case you forget that bit of information, there’s a sticker just inside the tube to help.
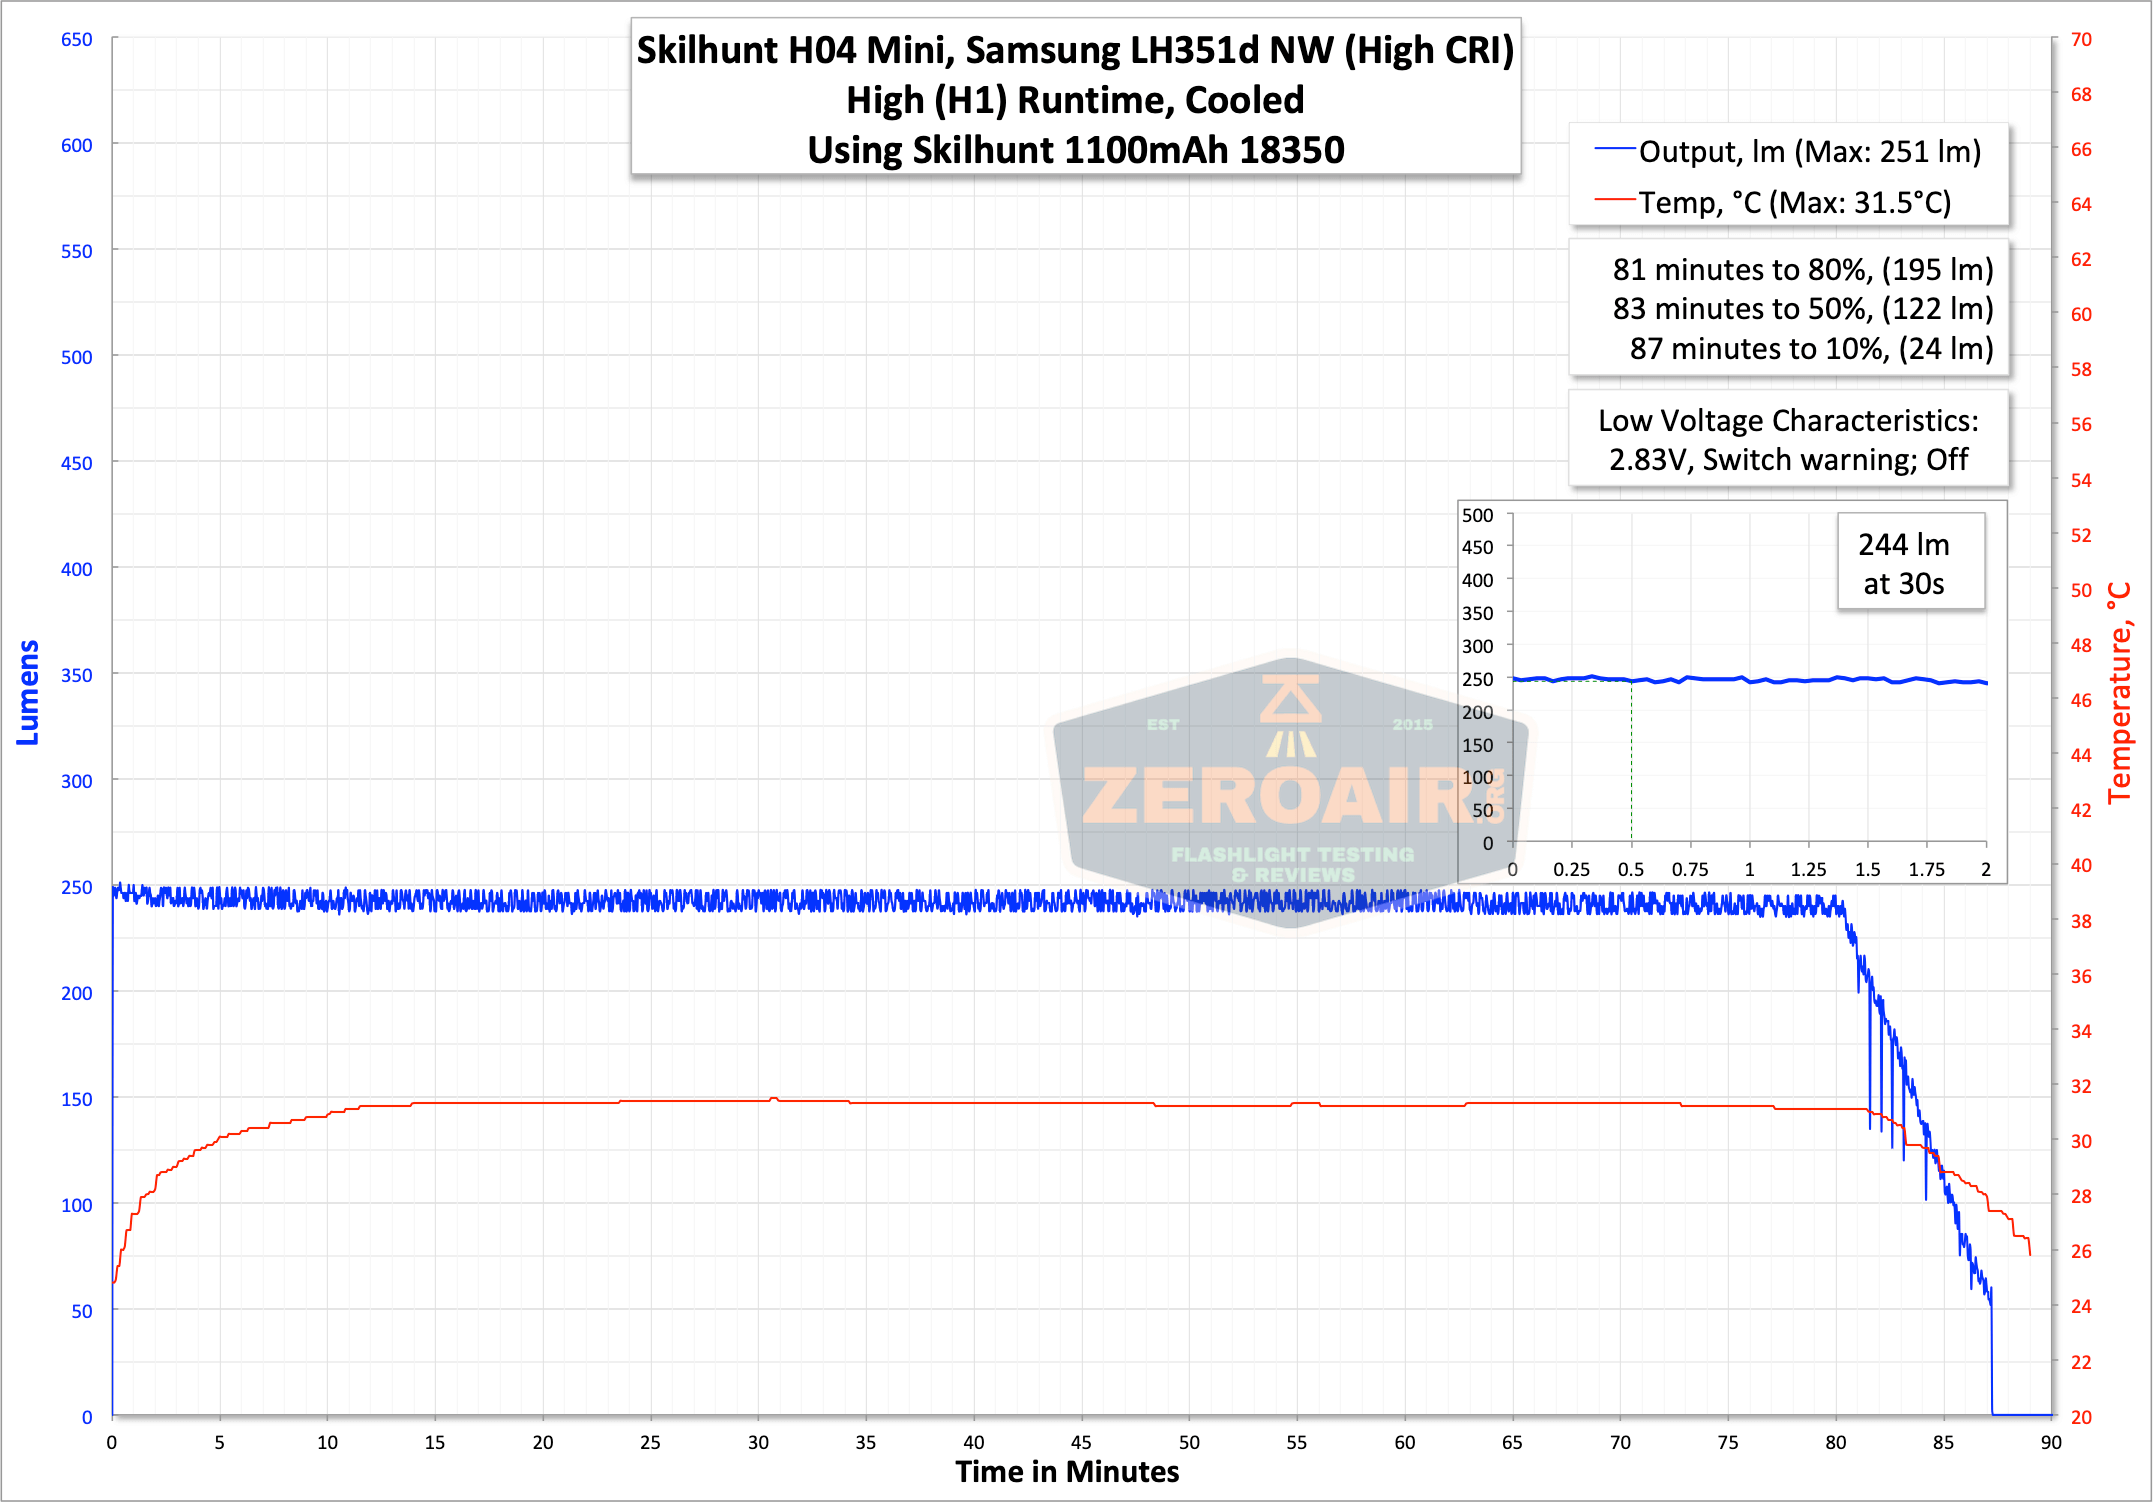
Below are a number of runtimes. Skilhunt has a bit of a history of stating output numbers for only their cool white options. What I’m testing here is the neutral white option, so I wasn’t really expecting this light to hit the claimed numbers. And it didn’t – output falls below the claim by quite a margin. But again, I knew and expected this. On one hand, Skilhunt really needs to make the packaging suitable for all iterations of a light. On the other hand, Skilhunt, thank you so much for offering NW options in this great emitter, and I can live with the packaging.
Output holds reasonably high for over two minutes, even at the highest output. Then it is very stable for 45 or so minutes, and finally drops off as the cell becomes depleted.
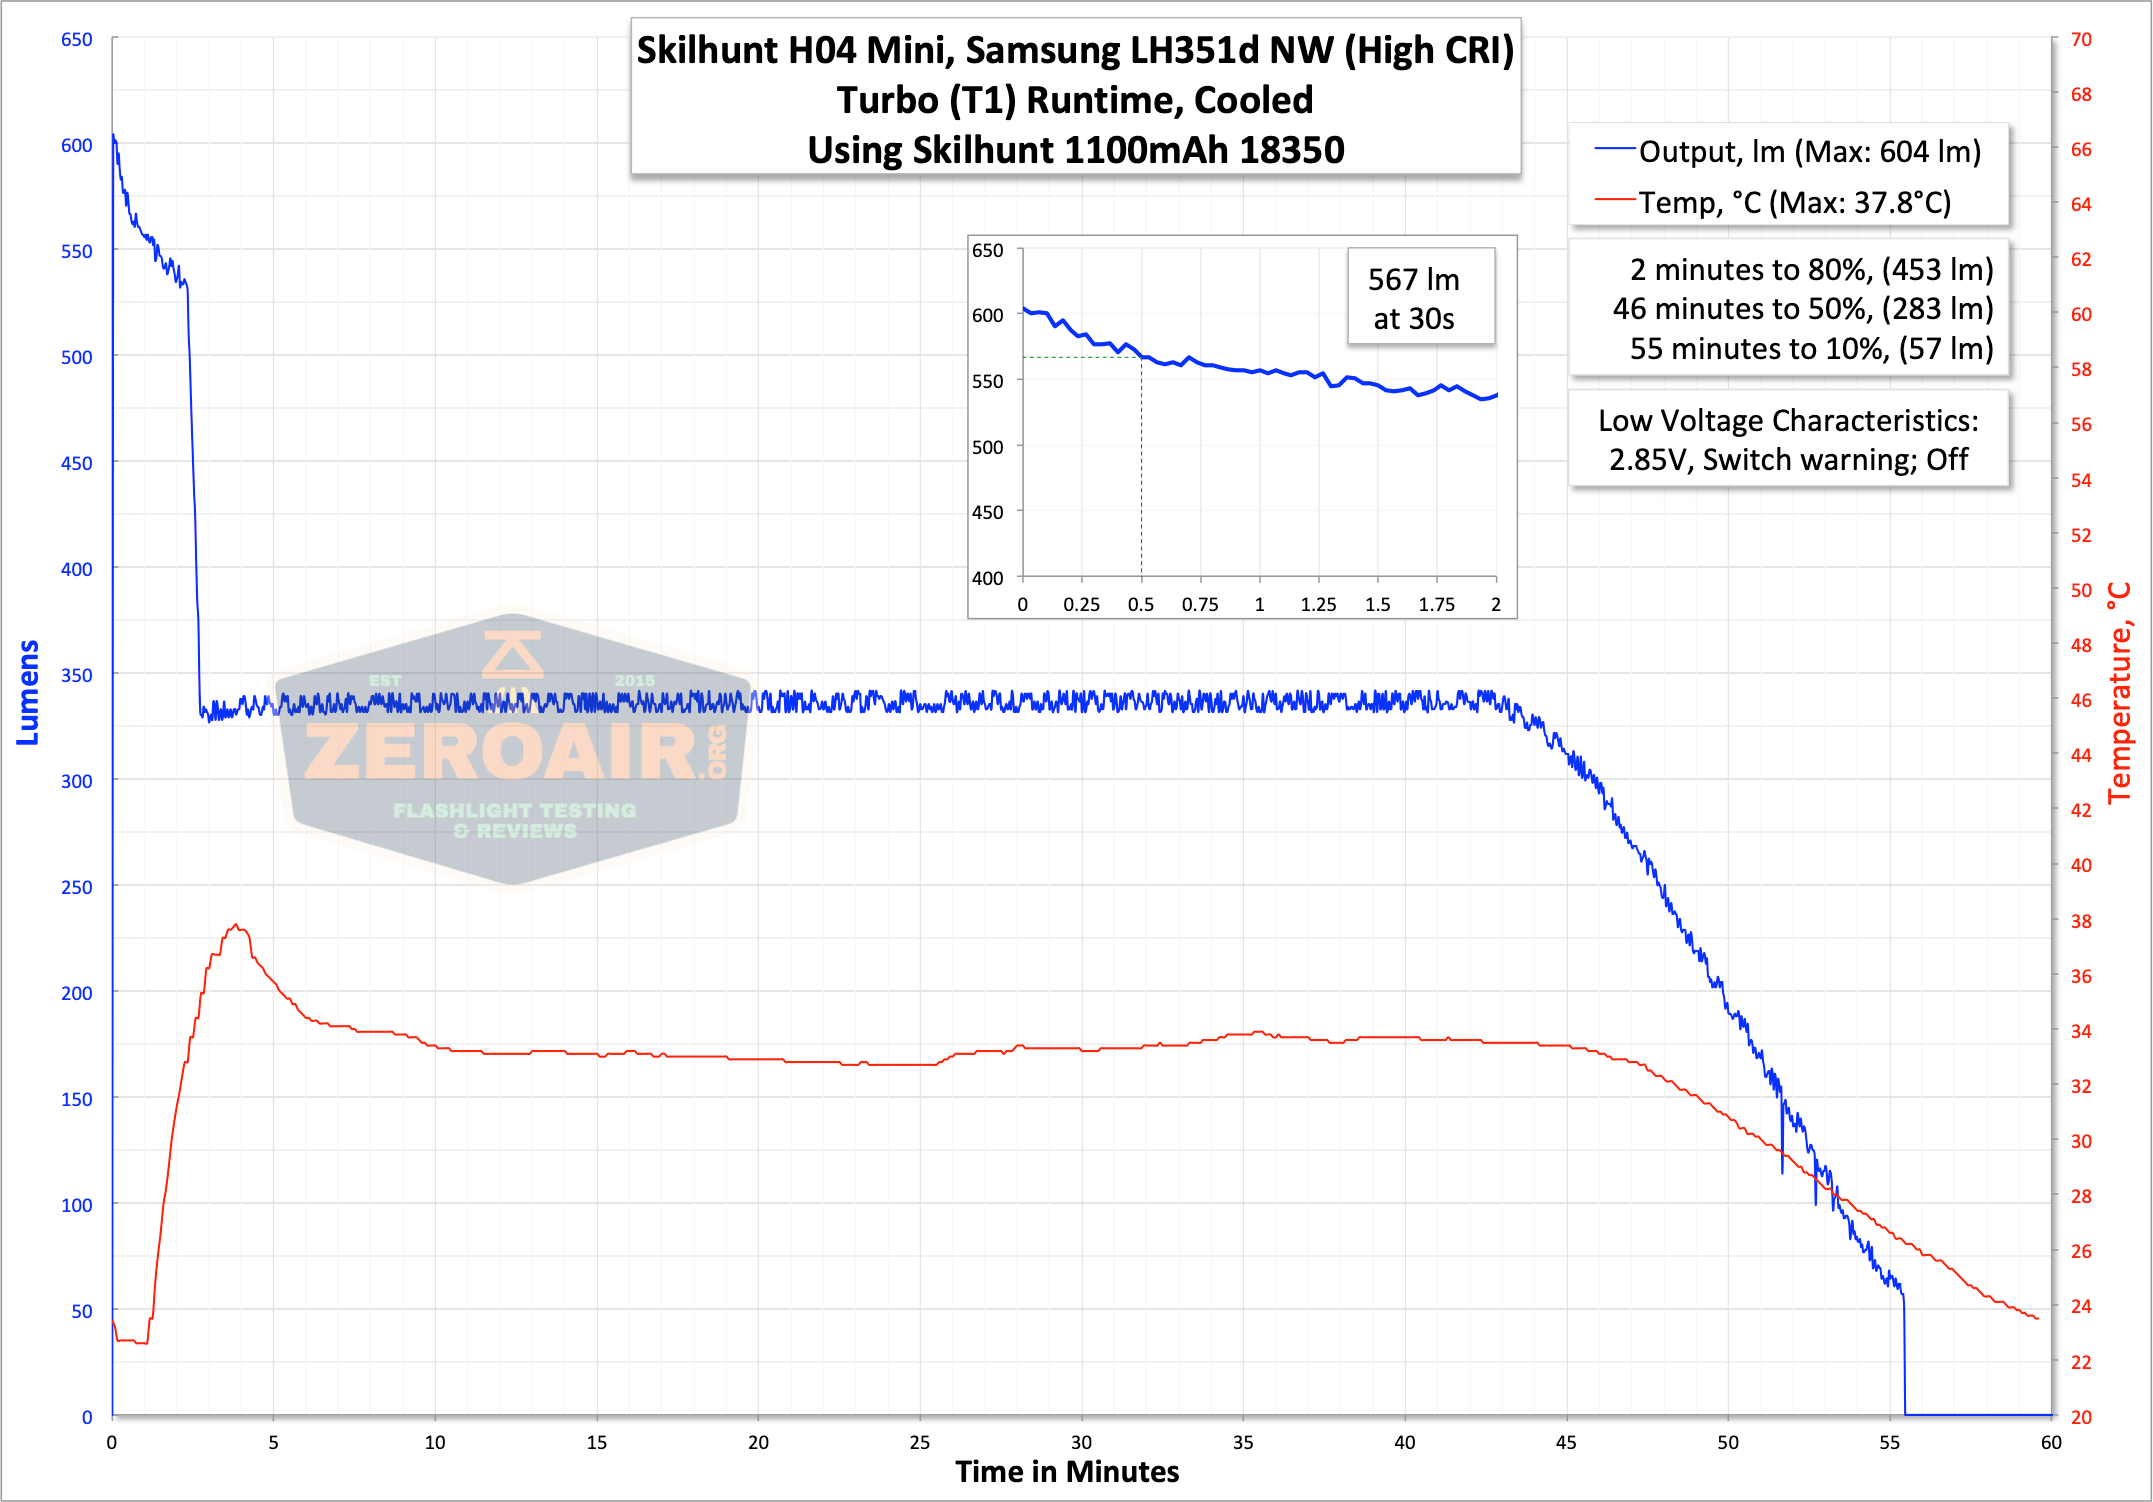
Turbo (T2) is quite stable for nearly the duration until the cell becomes depleted.

The switch helps to warn the user that the cell voltage is low, too, as follows:
Red blink 4x: >80%
Red blink 3x: 80%-50%
Red blink 2x: 50%-20%
Red blink 1x: <20%
Note that this only happens around 3 seconds after the light is turned on, and only indicates for around 5 seconds. (I can not say specifically what indication does during runtimes, either – the manual doesn’t even include the information above, about percentages.) Also note this is a departure from other H04 lights, which had a red and blue indicating option.
In all cases, low voltage protection was observed.
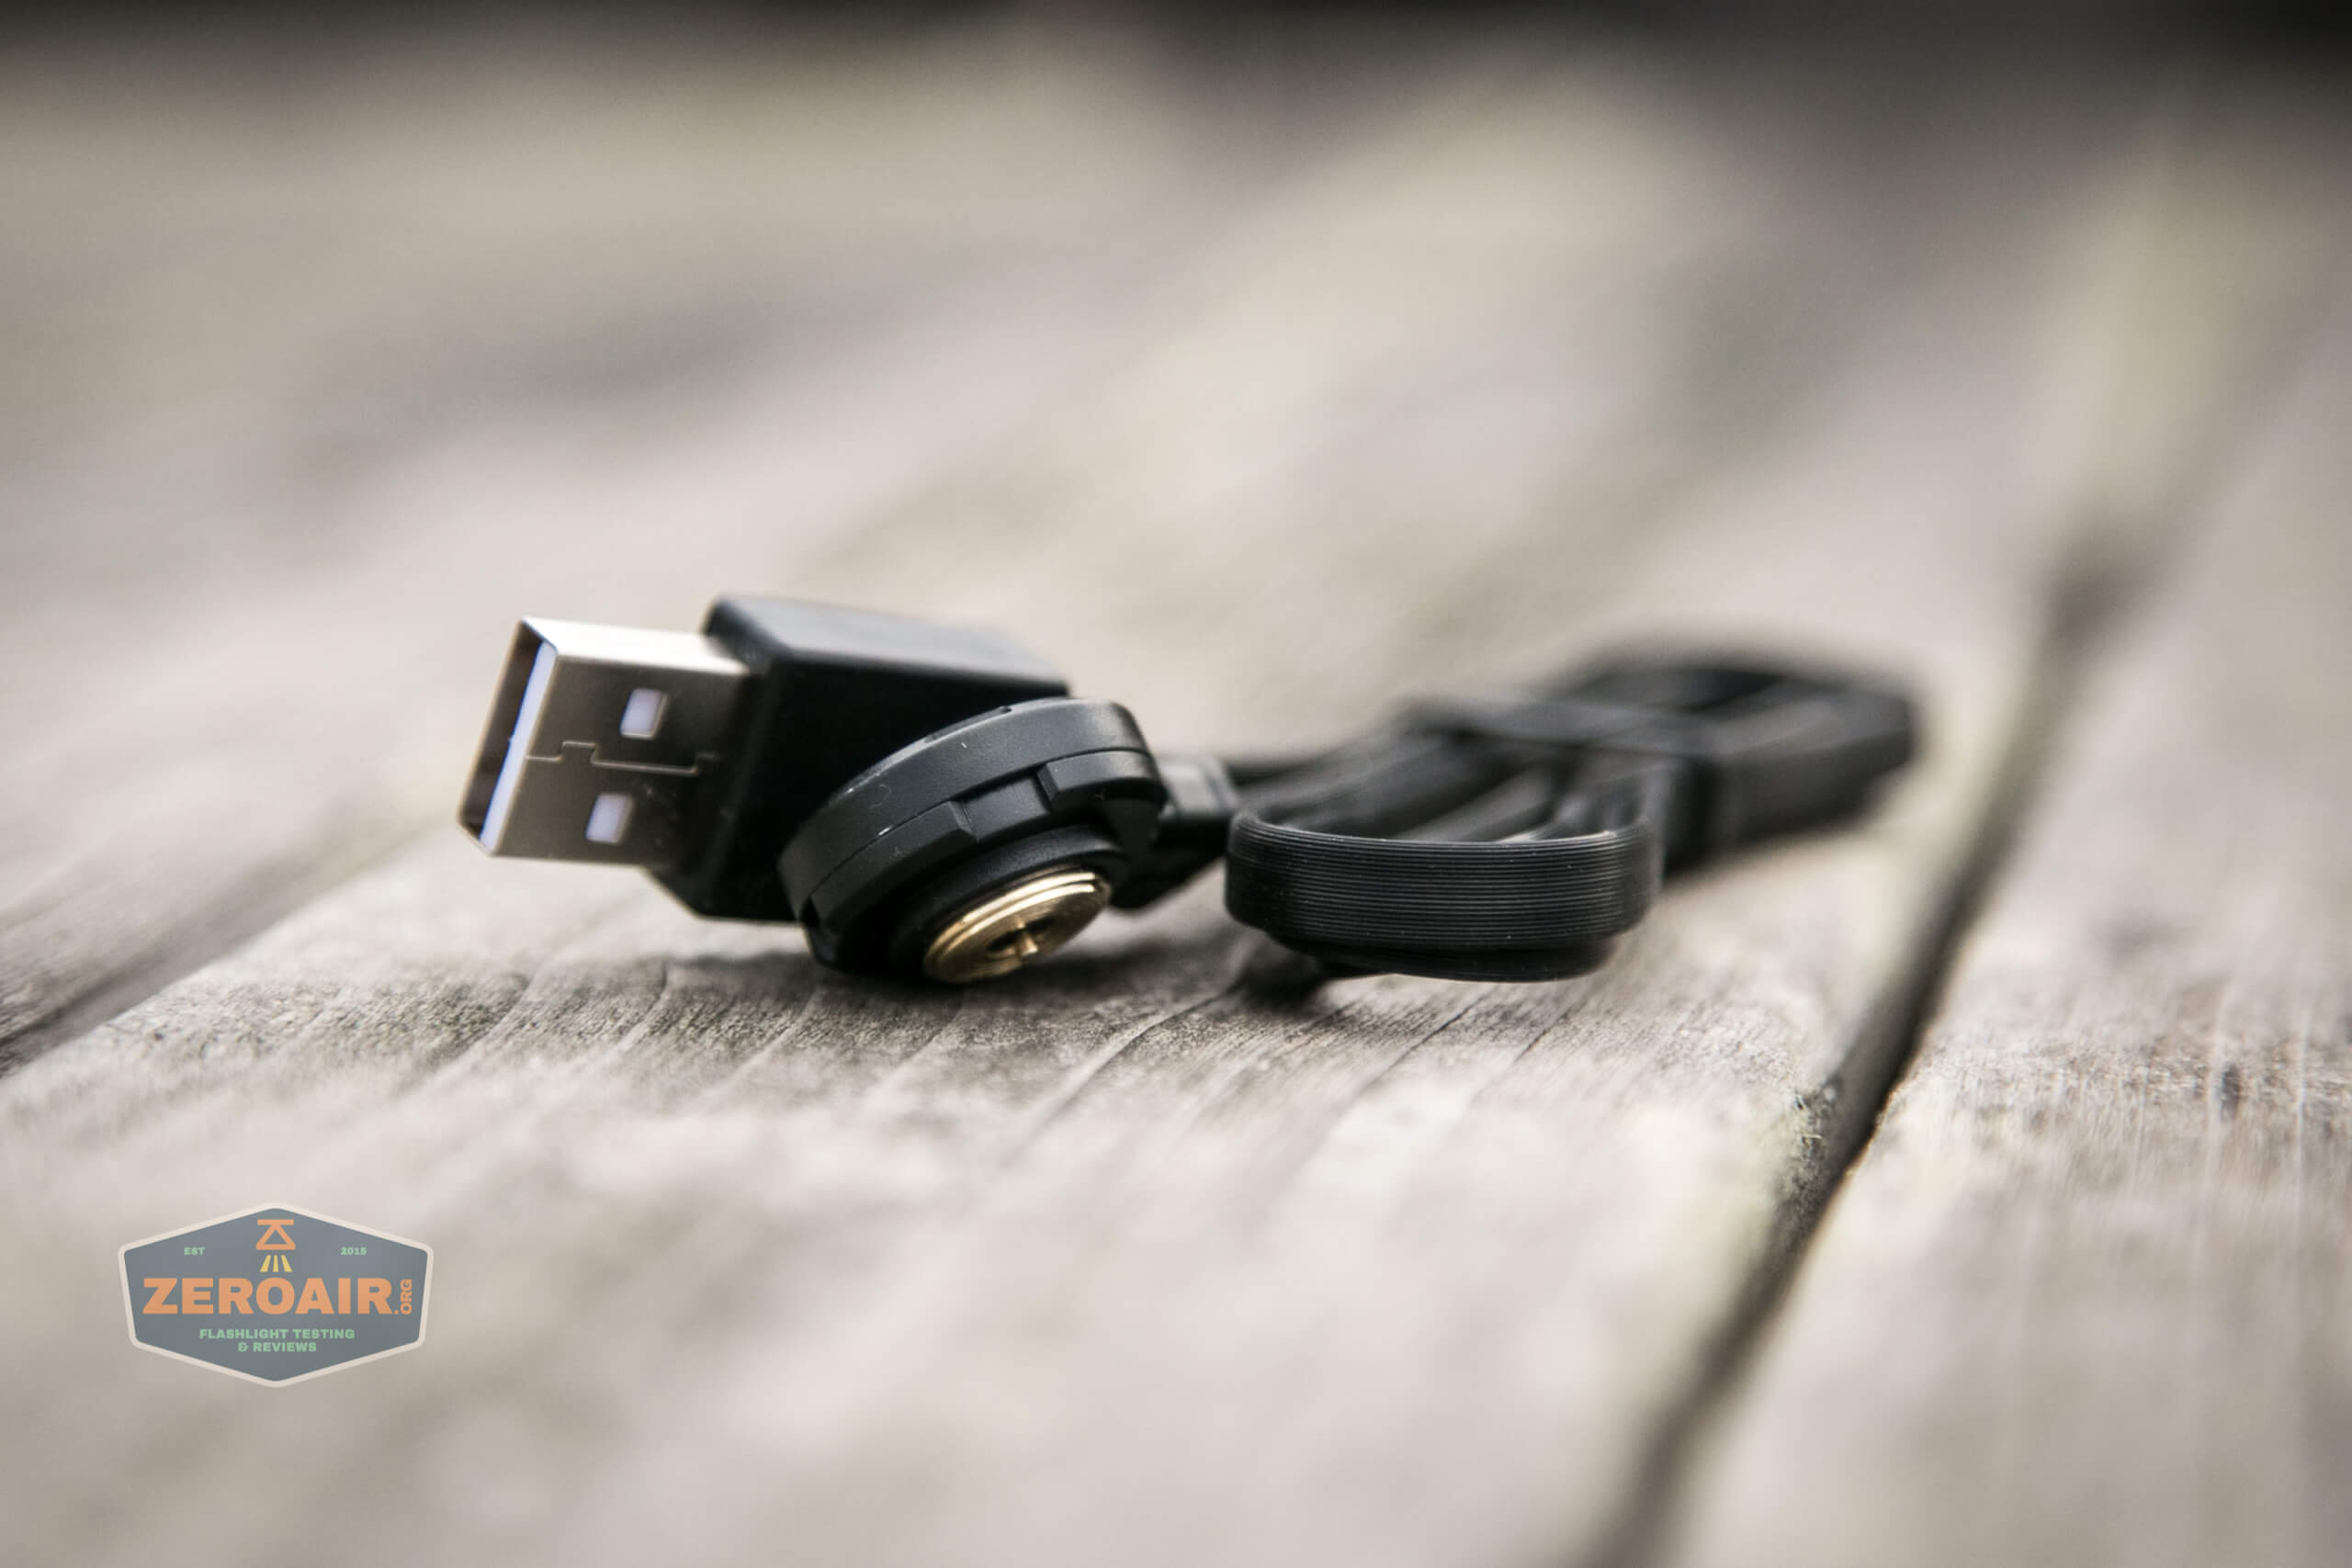
The H04 Mini RC also has built-in charging, just like the bigger H04 headlamps. This charging is by way of a magnetic charge port in the top of the light.
A proprietary cable is included. This is the same type as is used on other Skilhunt lights, so if you’ve “bought in,” you’ll be all set to use this on your other Skilhunts, too.
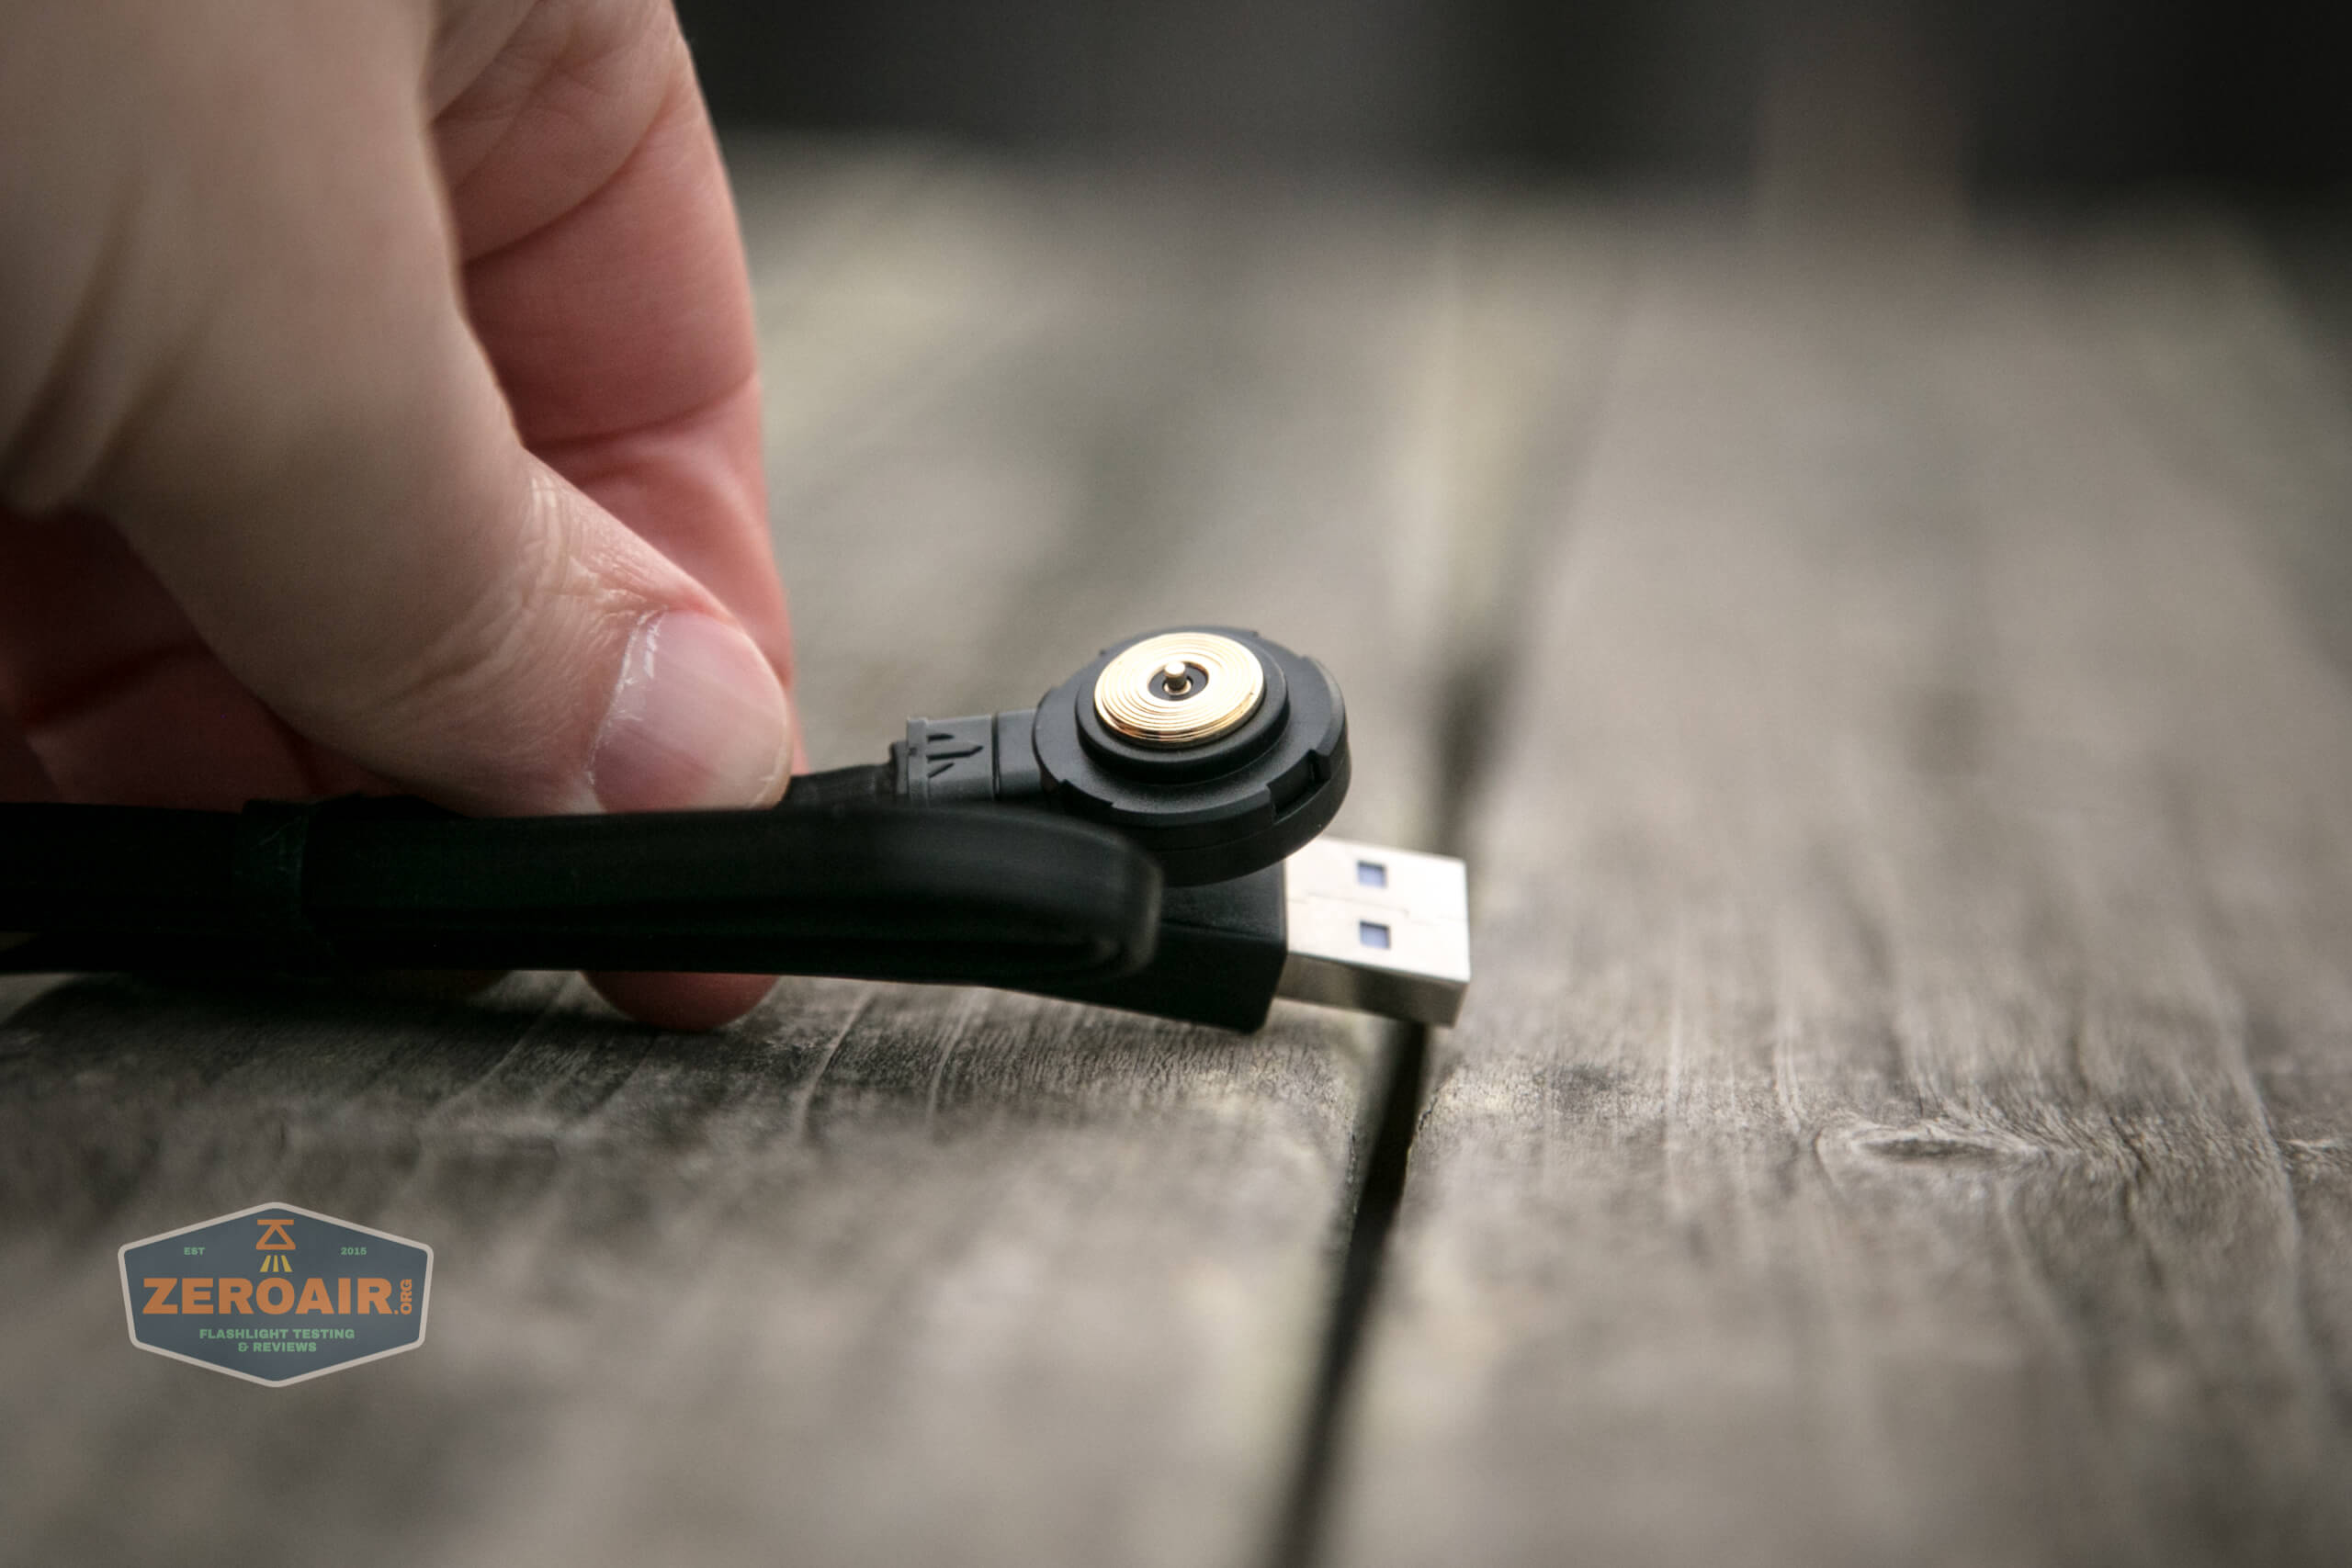
The charger also has a little indicator as well – while charging, the indicator is red. When complete, it’s blue.

Charging proceeds at around 1A, which is perfectly acceptable for this 1100mAh cell. One amp is just under 1C, so “just right.” Note from the graph below that charging is extremely consistent.
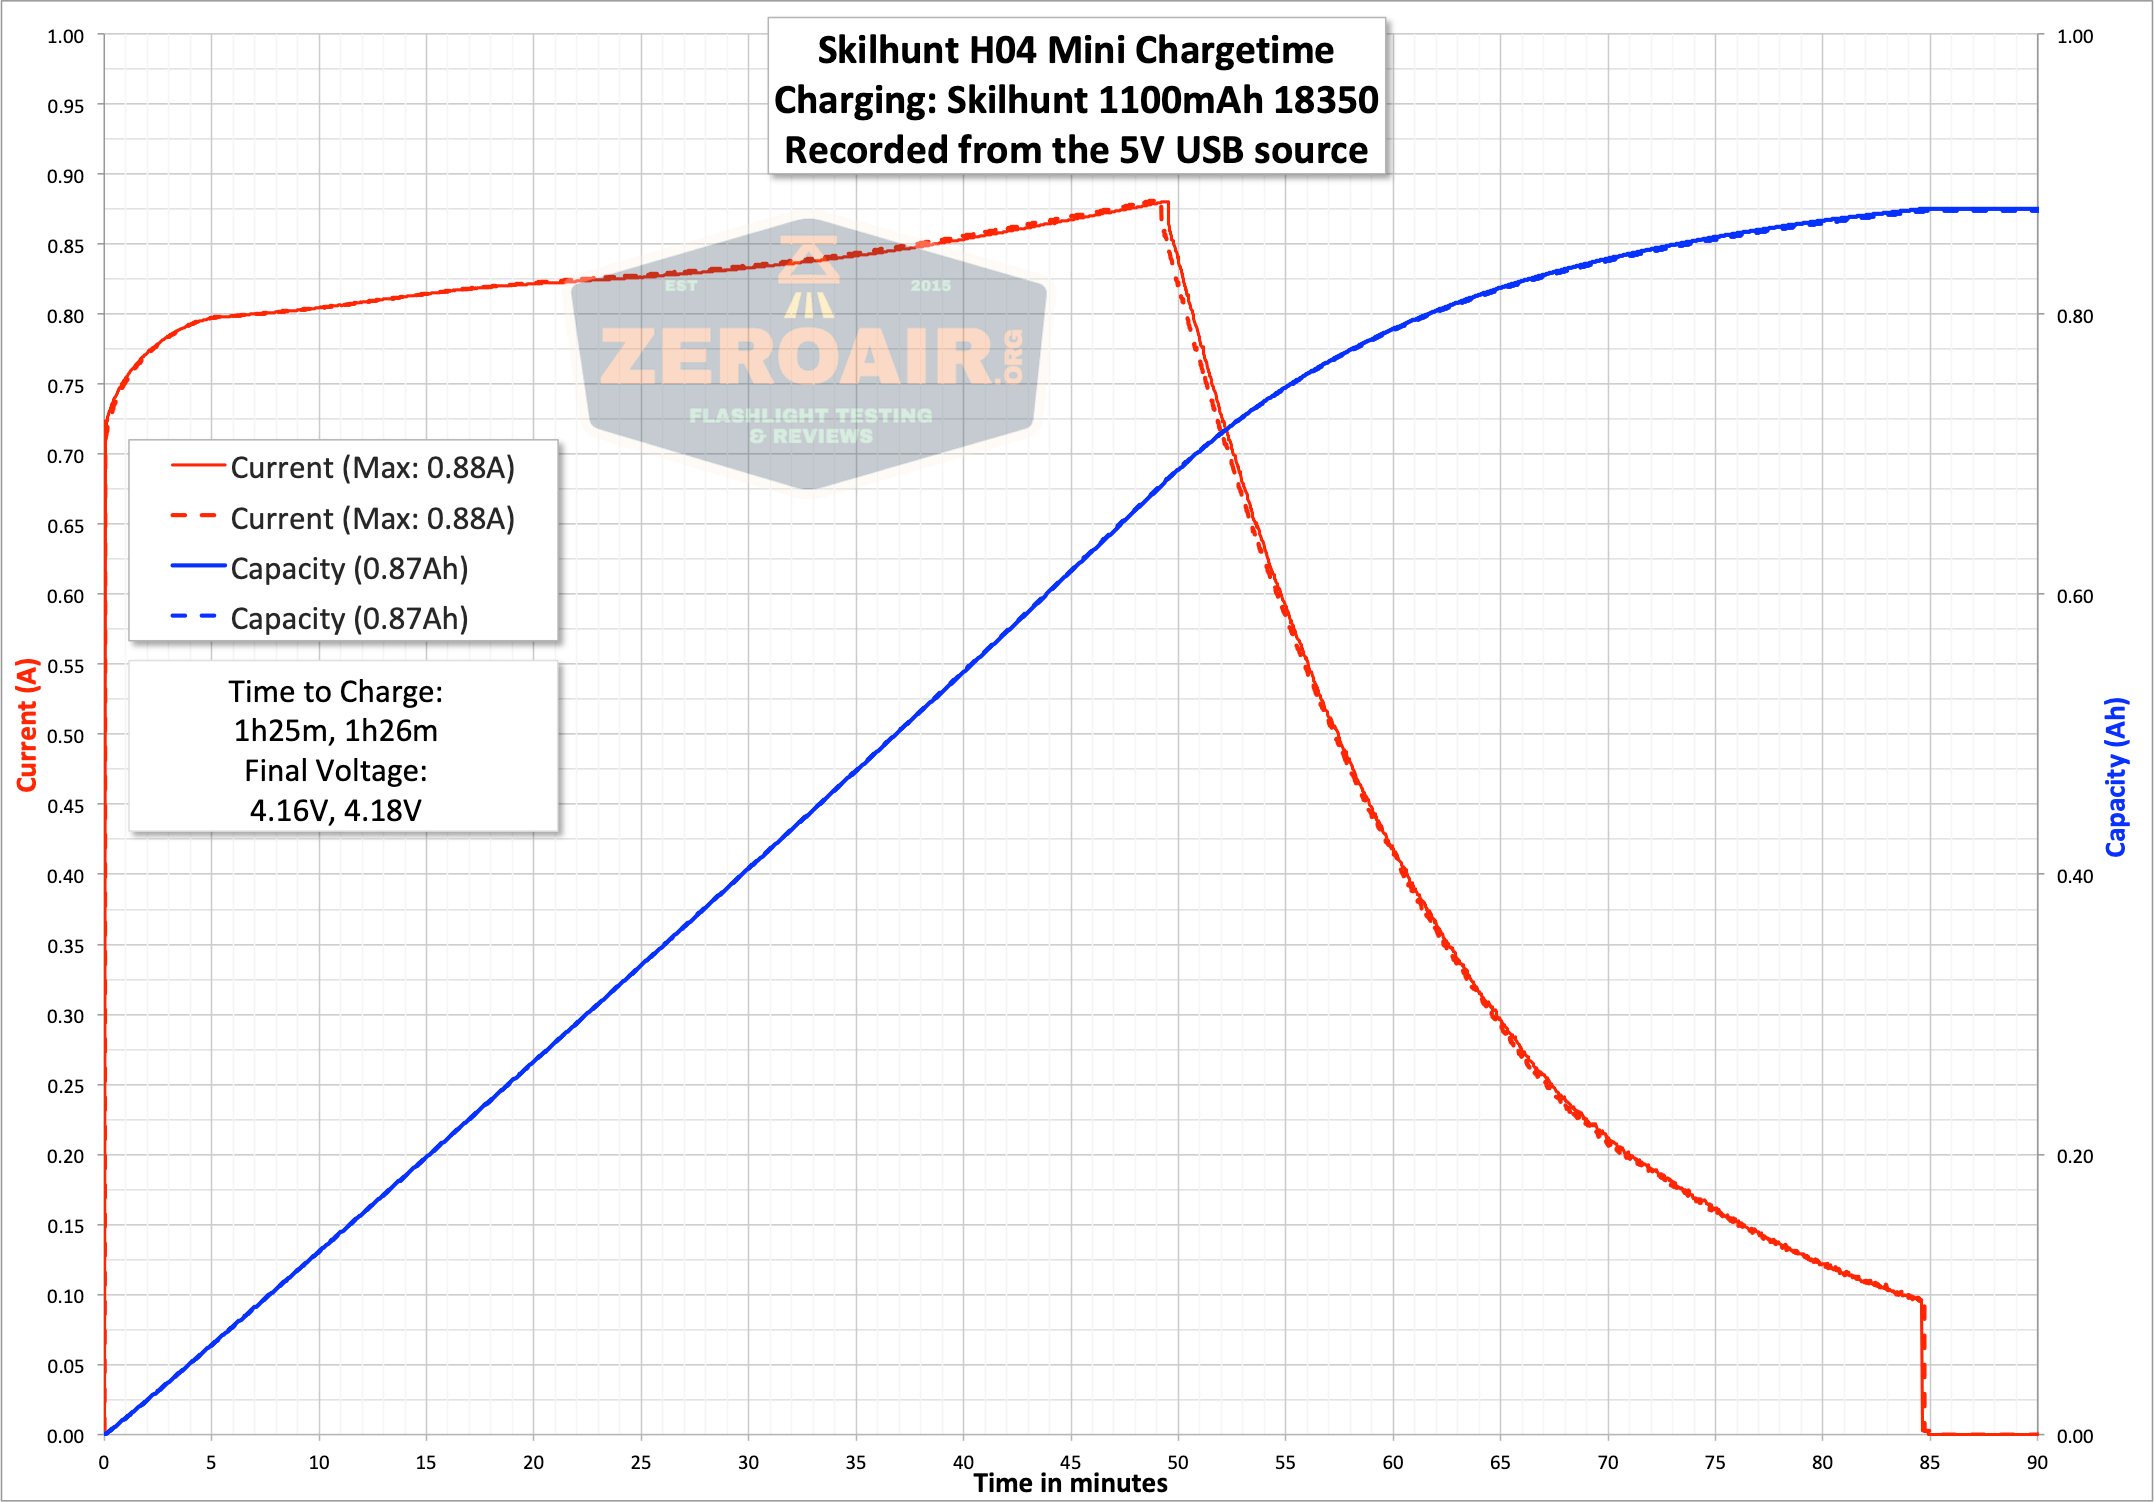
Shutoff on bench power at 2.9V. Runtimes confirm LVP.
Modes and Currents
| Mode | Mode Claimed Output (lm) | Claimed Runtime | Measured Lumens | Tailcap Amps |
|---|---|---|---|---|
| T1 | 1000/500 | 2m/50m | 567 | 2.24 |
| T2 | 500 | 60m | 354 | 1.02 |
| H1 | 350 | 100m | 244 | 0.61 |
| H2 | 130 | 4.5h | 108 | 0.23 |
| M1 | 70 | 8.5h | 56 | 0.12 |
| M2 | 20 | 23h | 26 | 0.06 |
| L1 | 3 | 140h | 10 | 0.04 |
| L2 | 0.5 | – | ~ | 0.02 |
Pulse Width Modulation
One thing to love about these lights is the lack of PWM. No mode has even a ripple of PWM.

Here you can see a “baseline” – a chart with almost no light hitting the sensor.
Then there’s the Ultrafire WF-602C flashlight, which has some of the worst PWM I’ve seen. It’s so bad that I used a post about it to explain PWM! Here are multiple timescales (10ms, 5ms, 2ms, 1ms, 0.5ms, 0.2ms) to make comparing this “worst” PWM light to the test light easier. That post also explains why I didn’t test the WF-602C at the usual 50us scale.
User Interface and Operation
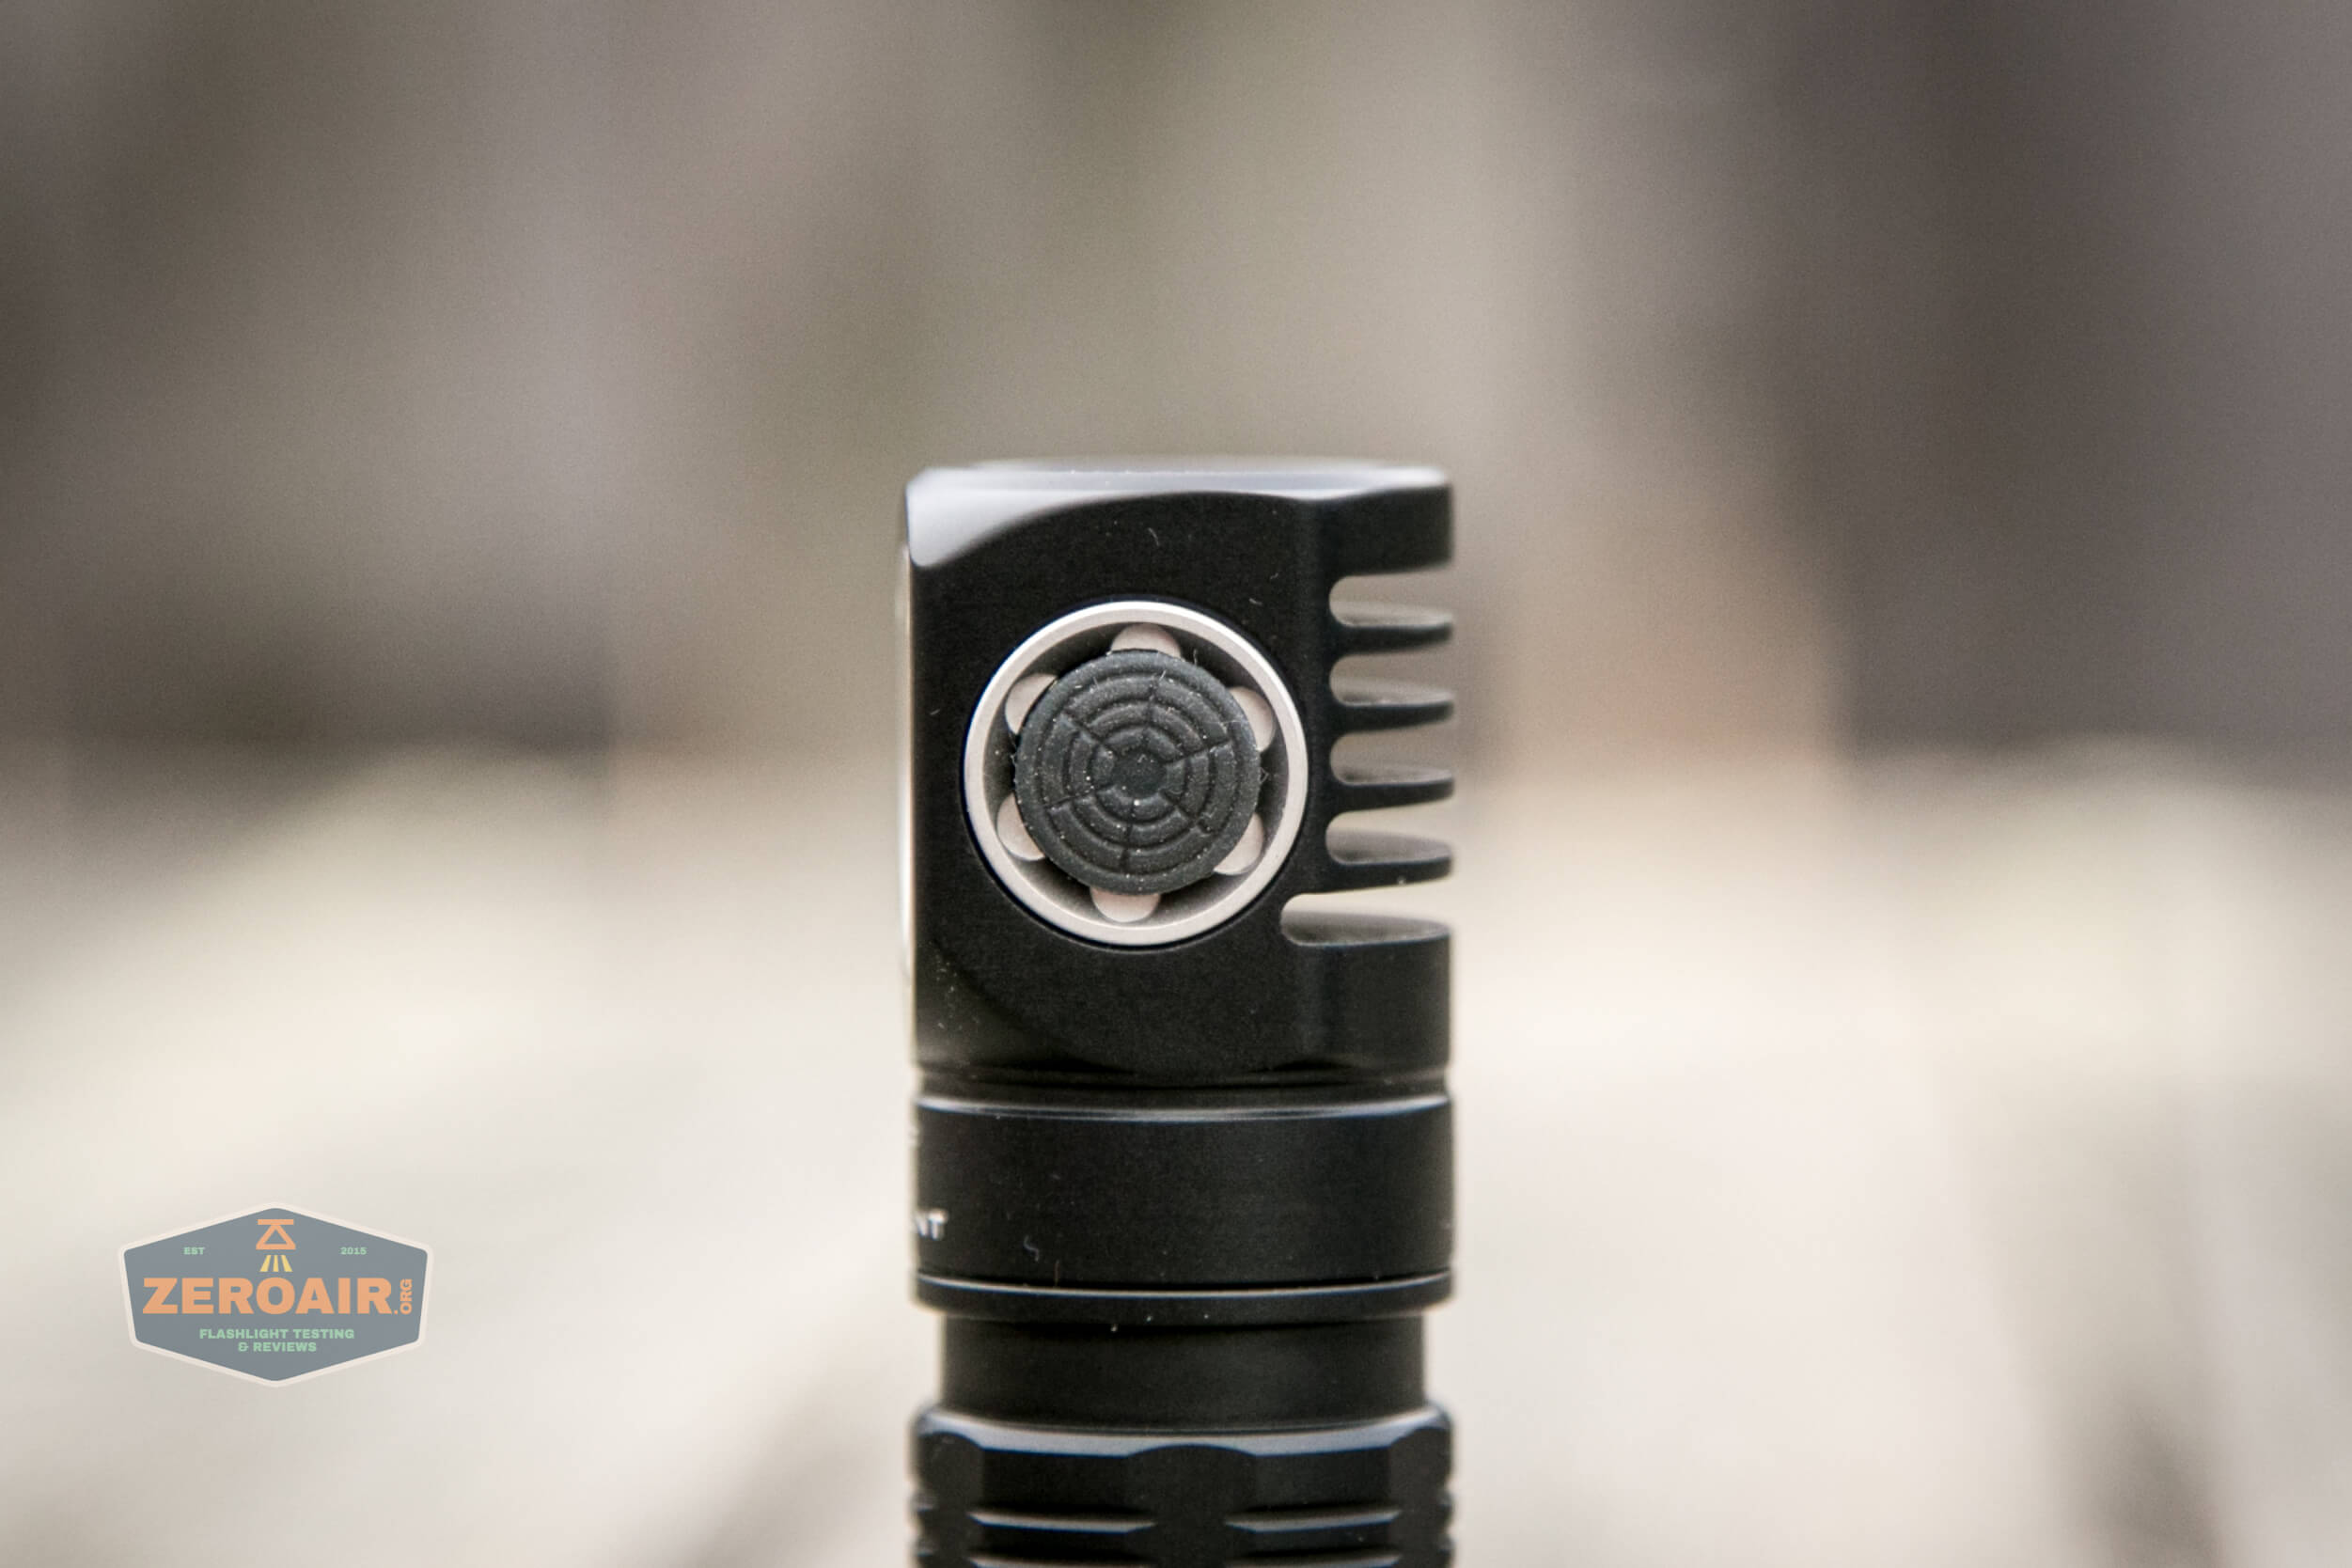
The H04 Mini RC is operated by a single switch. It’s an indicating e-switch on the head. The switch has a silicone cover and is translucent. It requires minimal force and has a positive, quiet actuation.
There are two mode groups. Mode A and Mode B. To switch between these Modes, hold the switch from off for 5s. The light will flash a few times to indicate the change. Mode A is the more traditional Skilhunt option and the one I’ve used here for the review. It has more output levels.
Mode A Table:
| State | Action | Result |
|---|---|---|
| Off | Hold 5s | Group switch (Indicated by 3 flashes on main emitter)^ |
| Off | Hold 1.5s | Lockout (allows momentary L2) |
| Lockout | Hold 1.5s | Unlock to low mode |
| Lockout | Click | Turn switch indicator on/off (Switch indicator = red blink by switch) |
| Off | Hold 0.5s | Low (L1 or L2, whichever was last selected) |
| Off | Click | On, Mode Memory (after ~3s, switch indicates battery level for 5s*) |
| Off | Double Click | Turbo (T1 or T2, whichever was last selected) |
| Any | Triple Click | Strobe (memorized strobe). Strobe options: Fast strobe (S1) > Beacon (S2) > Slow strobe (S3) |
| On | Hold (0.5s) | Off |
| On | Click | Mode advance (LMHT cycle, of your memorized modes from each level) |
| On | Double Click | Advance between sub levels (ie T1 goes to T2 and back, M1 goes to M2 and back) – Memorized to the selected Submode. (Including Strobe**) |
| Strobe | Click | Main mode (memory) |
Mode B Table:
| State | Action | Result |
|---|---|---|
| Off | Hold 5s | Group switch (Indicated by 3 flashes on main emitter)^ |
| Off | Hold 1.5s | Lockout (Momentary memorized L1 or L2 is possible) |
| Lockout | Hold 1.5s | Unlock to low mode |
| Lockout | Click | Turn switch indicator on/off |
| Off | Hold 0.5s | Lowest programmed option (Can be L1/L2 but might also be M1 or whatever). |
| Off | Click | On, Mode Memory (Switch indicates battery level for 5s*) |
| Off | Double Click | Turbo (T1 (always T1)) |
| Off | Triple Click | Memorized strobe mode SOS.^^ Strobe options: Fast strobe (S1) > Beacon (S2) > Slow strobe (S3) |
| Strobe | Double Click | Strobe advance (and memorize) |
| On | Click | Off |
| On | Hold | Mode advance (LMHT cycle, depending on what modes you’ve selected – you can actually add all the subgroups from T2 all the way down to L2 for 8 modes total in the main rotation!). On the flip side of that, it’s possible to remove all modes down to two modes (with T1 always accessible via double click). It seems that any two (non T1) modes can be selected! |
| Strobe | Click | Off |
| On | Triple Click | Enter programming mode. Main emitter will ramp output from lowest (L2) to T2. The indicating switch will be red if the output is active in the mode cycle, or not lit if the output level is inactive in the mode cycle. When the light cycles past a mode you want to iterate (in or out of the main cycle), click the switch. |
| Programming Mode | Click | Turn output (L2 through T2) on (red switch) or off (switch not lit) |
| Programming Mode | Hold 1.5s | Exit programming mode |
| Programming Mode | Triple Click | Restore to defaults (confirmed by light turning off) |
| Strobe Group | Hold 1s | Iterate output level for active strobe mode (L M or H). This “Hold” isn’t persistent – hold again (separate “hold” action) to change output level again. Each strobe can have a different output level. |
^ The manual says the indicator for switching between the two groups is three fast then three slow by main emitter (entering Mode B) or three slow then three fast (entering Mode A) but I find that it’s actually just three flashes (period.) Three low flashes = entering Mode B. Three higher flashes = entering Mode A.
* Battery indicator: Constant Blue: 80-100% power. Flashing Blue: 50-80% power. Constant Red: 20-50% power. Flashing Red: <20% power. If cell is below 3.0V, the indicator switch flashes 3x every 2 seconds.
** Strobe subgroups: S1=Fast strobe, S2=Beacon, S3=SOS.
^^ Triple click from on in Mode B is tricky because this enters programming mode! I programmed Low out of the sequence once by accident doing this.
Mode A and Mode B are both useful and very similar except a few important, polarizing things. A requires a hold for off. B requires only a click for off (but requires hold for mode advance).
Mode B with all the programming looks absolutely confusing but it’s pretty straightforward once you get the hang of it. I’ll probably stick with Mode A just because I like some of the choices to be made for me, and I don’t mind hold for off. If you’re a “click for off” then you can still set the light up just like Mode A but you’ll have the click for off…. Both groups are very good, and it’s nice to see this level of consideration going into a UI!
I’m a little surprised that Skilhunt hasn’t just “moved on” to offering a ramping UI, but I’m also pleased that they haven’t. I’d rather have specific outputs like this, and this is a good implementation.
LED and Beam
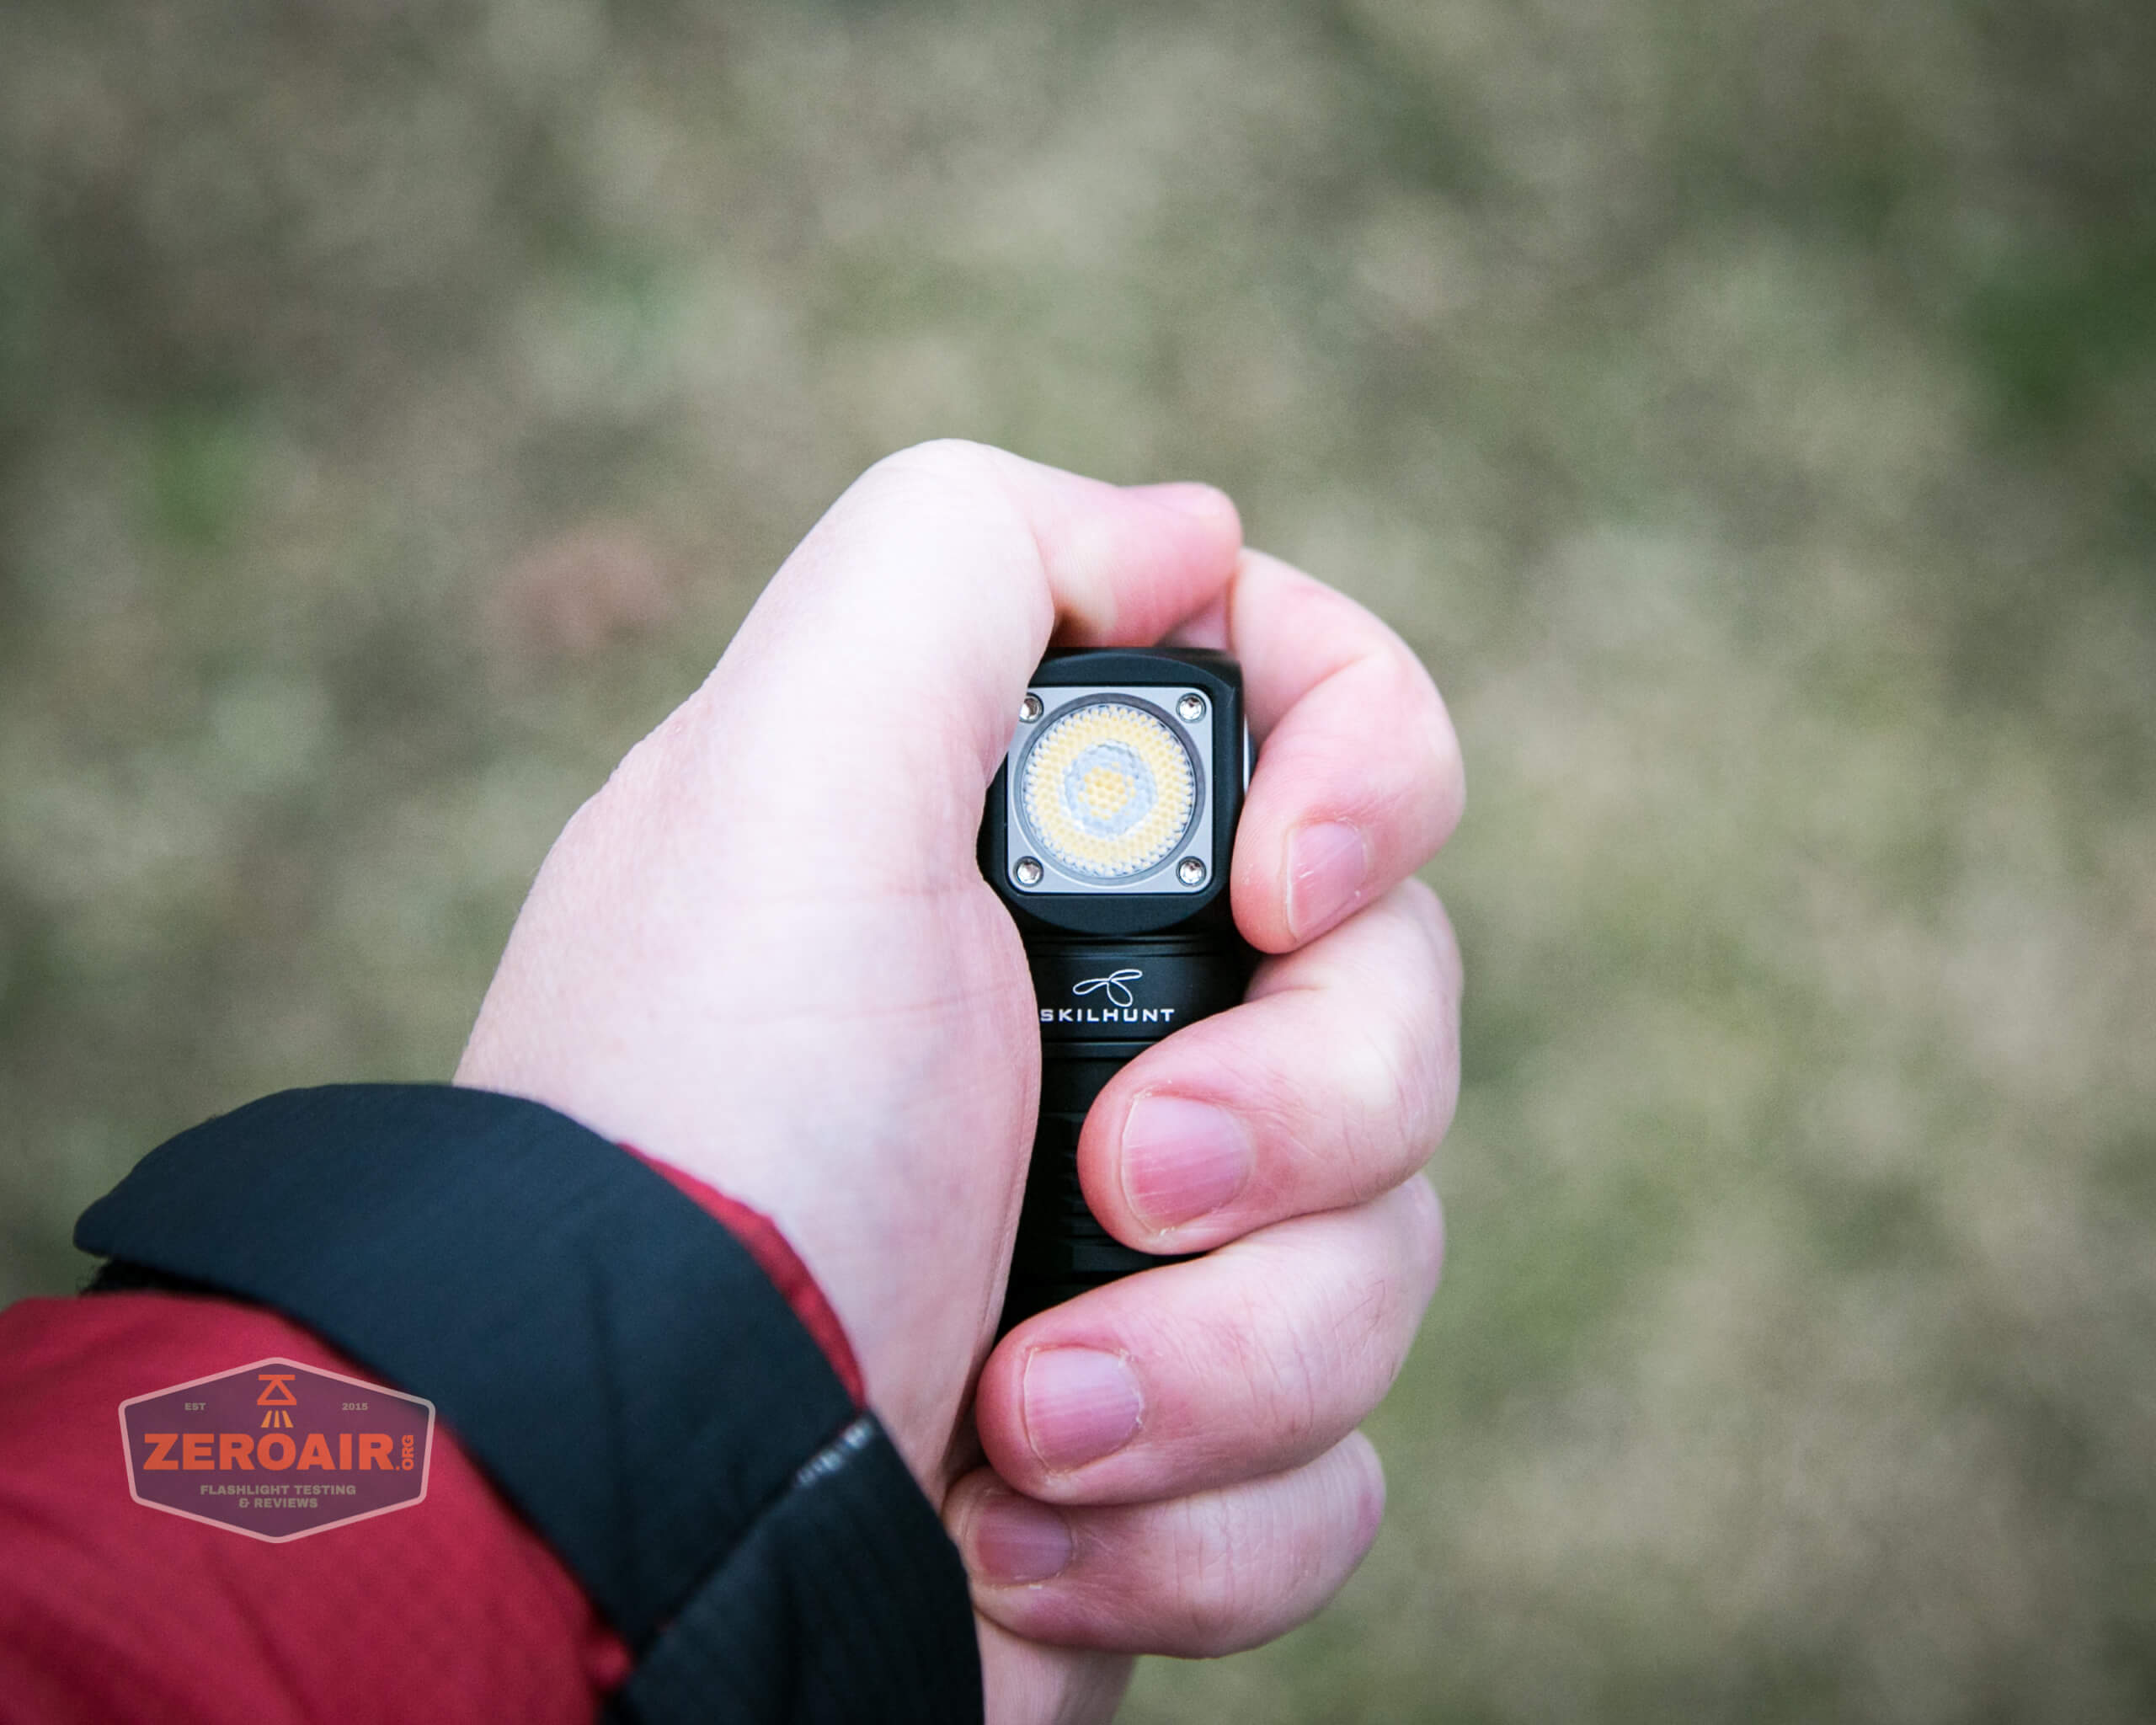
The emitter here is a Samsung LH351d and has a “High CRI” of 90 CRI. It’s a great choice, and I love the beam from it. The emitter sits at the base of a dimpled TIR optic, which provides a beam that has a spot and rolls off into a good bit of spill, too.
Beamshots
These beamshots always have the following settings: f8, ISO100, 0.3s shutter, and manual 5000K exposure. These photos are taken at floor level, and the beam hits the ceiling around 9 feet away.


Tint vs BLF-348 (KillzoneFlashlights.com 219b version) (affiliate link)
I keep the test flashlight on the left and the BLF-348 reference flashlight on the right.

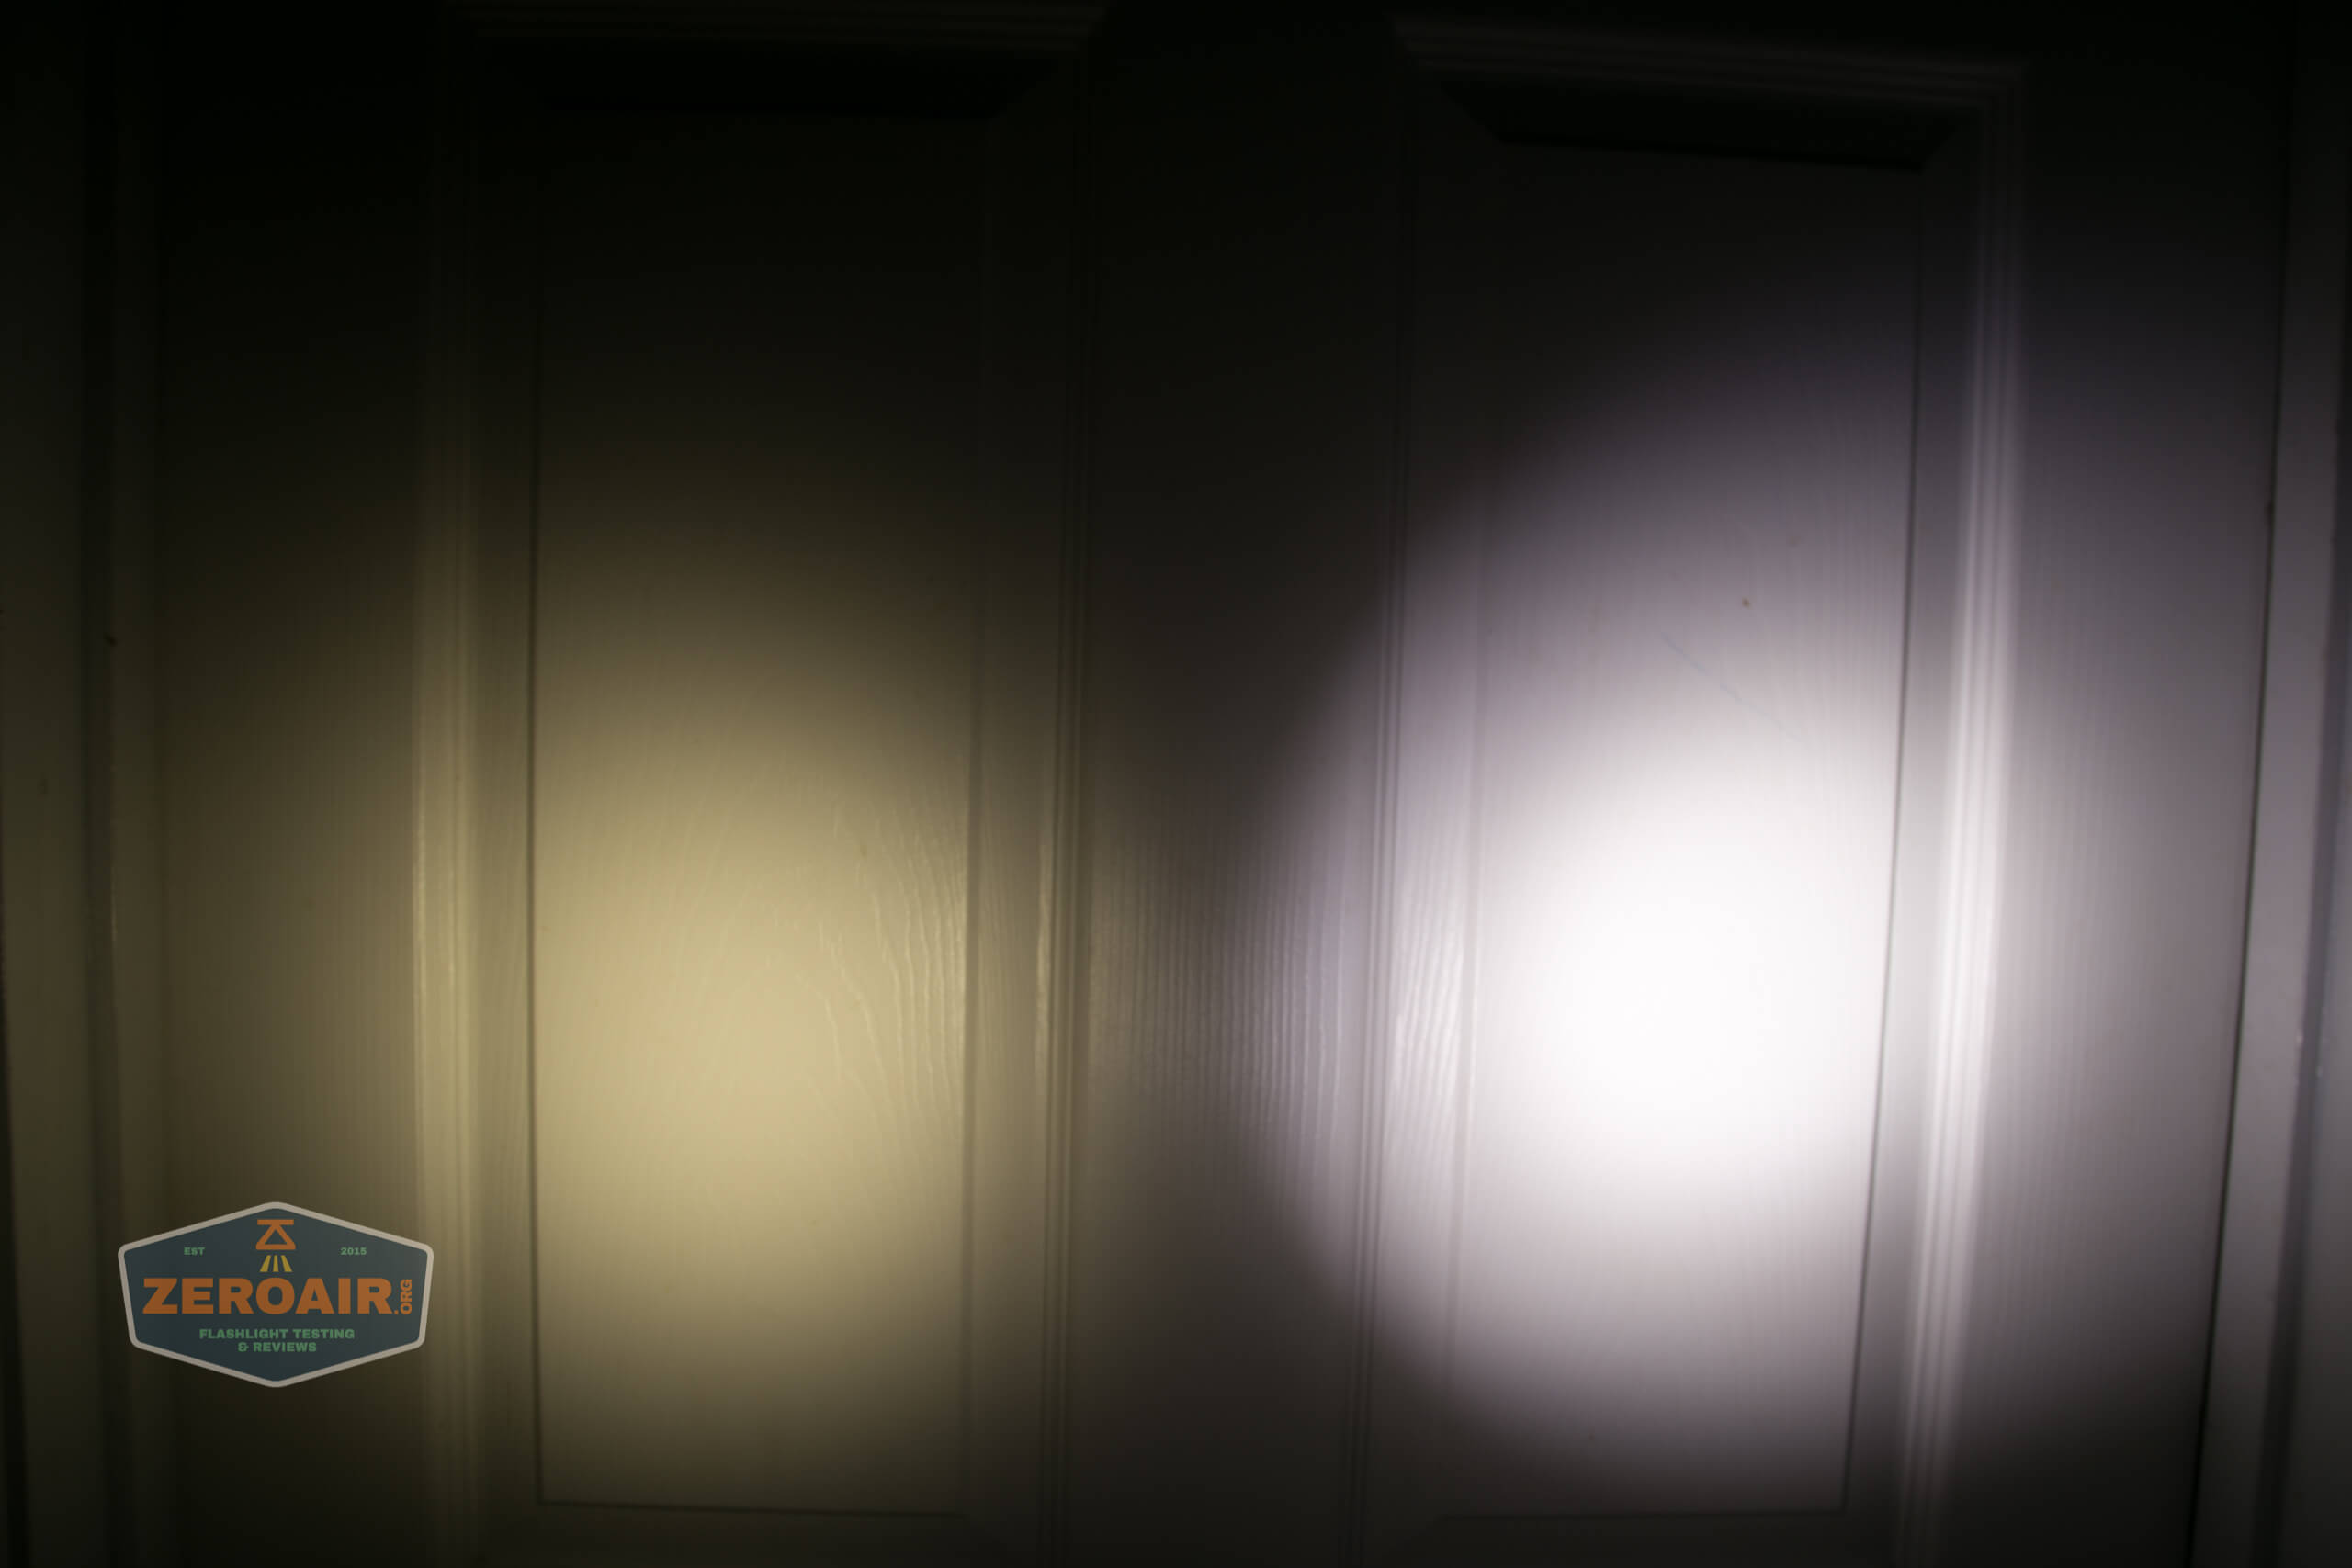


I compare everything to the KillzoneFlashlights.com 219b BLF-348 because it’s inexpensive and has the best tint!
Conclusion on the Skilhunt H04 Mini RC Headlamp
What I like
- GREAT smaller package of the venerable H04 RC headlamp
- High CRI
- Very versatile user interface
- Simple user interface
- Three options for beam shape
- Quick access/removal clip-in connector on headband
- Magnetic charging is reliable and works very well
- Uses standard 18350 cells
What I don’t like
- Price on these Skilhunts is creeping up.
Notes
- This light was provided by KillzoneFlashlights.com for review. I was not paid to write this review.
- This content originally appeared at zeroair.org. Please visit there for the best experience!
- Please use my Amazon.com referral link to help support zeroair.org!
Discover more from ZeroAir Reviews
Subscribe to get the latest posts sent to your email.
It would be great if you could give the measured weight of the light, battery, straps, and other stuff including the magnetic charge cable. This applies to all portable stuff but especially to a miniature thing like this. Nice review!
You talked me into it, thanks for another great review!
side note: my H03 headband has always driven me a little crazy, sure SEEMS like I put it together right.
Saw your quote “Here’s a video by Skilhunt that you will 100% need in order to get the straps right:” and watched the video.
Nope. I had it wrong. BIG difference now. Thanks!!!
haha great on the video helping! I couldn’t do it without the video.
Enjoy your new H04 Mini RC!
Finally arrived, very nice. Would prefer a rubber attachment point but I’ll get used to the clip. I use it while climbing around in machines and occasionally bump my head so I’ll be using your o-ring suggestion for extra security.
There’s a little pre-flash on a couple of the lower levels but since it’s not an EDC pocket light I can tolerate a minor annoyance.
With 1400mAh batteries available the 18350 size gets better and better.
I have an H03 18650 and it’s great but the size and weight make a difference.
Thanks again for all the effort you put in to your reviews,