Fenix HM61R Rechargeable Headlamp Review
The Fenix HM61R Rechargeable headlamp comes in a slim package that includes a versatile red secondary emitter. Read on for testing!
Official Specs and Features
Here’s a link to the Fenix HM61R Rechargeable Headlamp product page.
Versions
As far as I can see, there’s just one version of the Fenix HM61R rechargeable headlamp.
Price
The Fenix HM61R rechargeable headlamp is available from Fenix-Store.com for $84.95. That includes the 18650 seen in this review, too!
Short Review
This Fenix headlamp is not all that, unlike some other 18650 headlamps I’ve seen and reviewed here. But the built quality is commensurate with the price. The user interface is very good. There’s a nice secondary which doesn’t suffer from some silly bad beam profile. Multiple carry options are included – and that includes a clever headmount, too. All in all, this is a very solid offering from Fenix.
Long Review
The Big Table
| Fenix HM61R Rechargeable Headlamp | |
|---|---|
| Emitter: | Luminus SST-40 |
| Price in USD at publication time: | $84.95 |
| Cell: | 1×18650 |
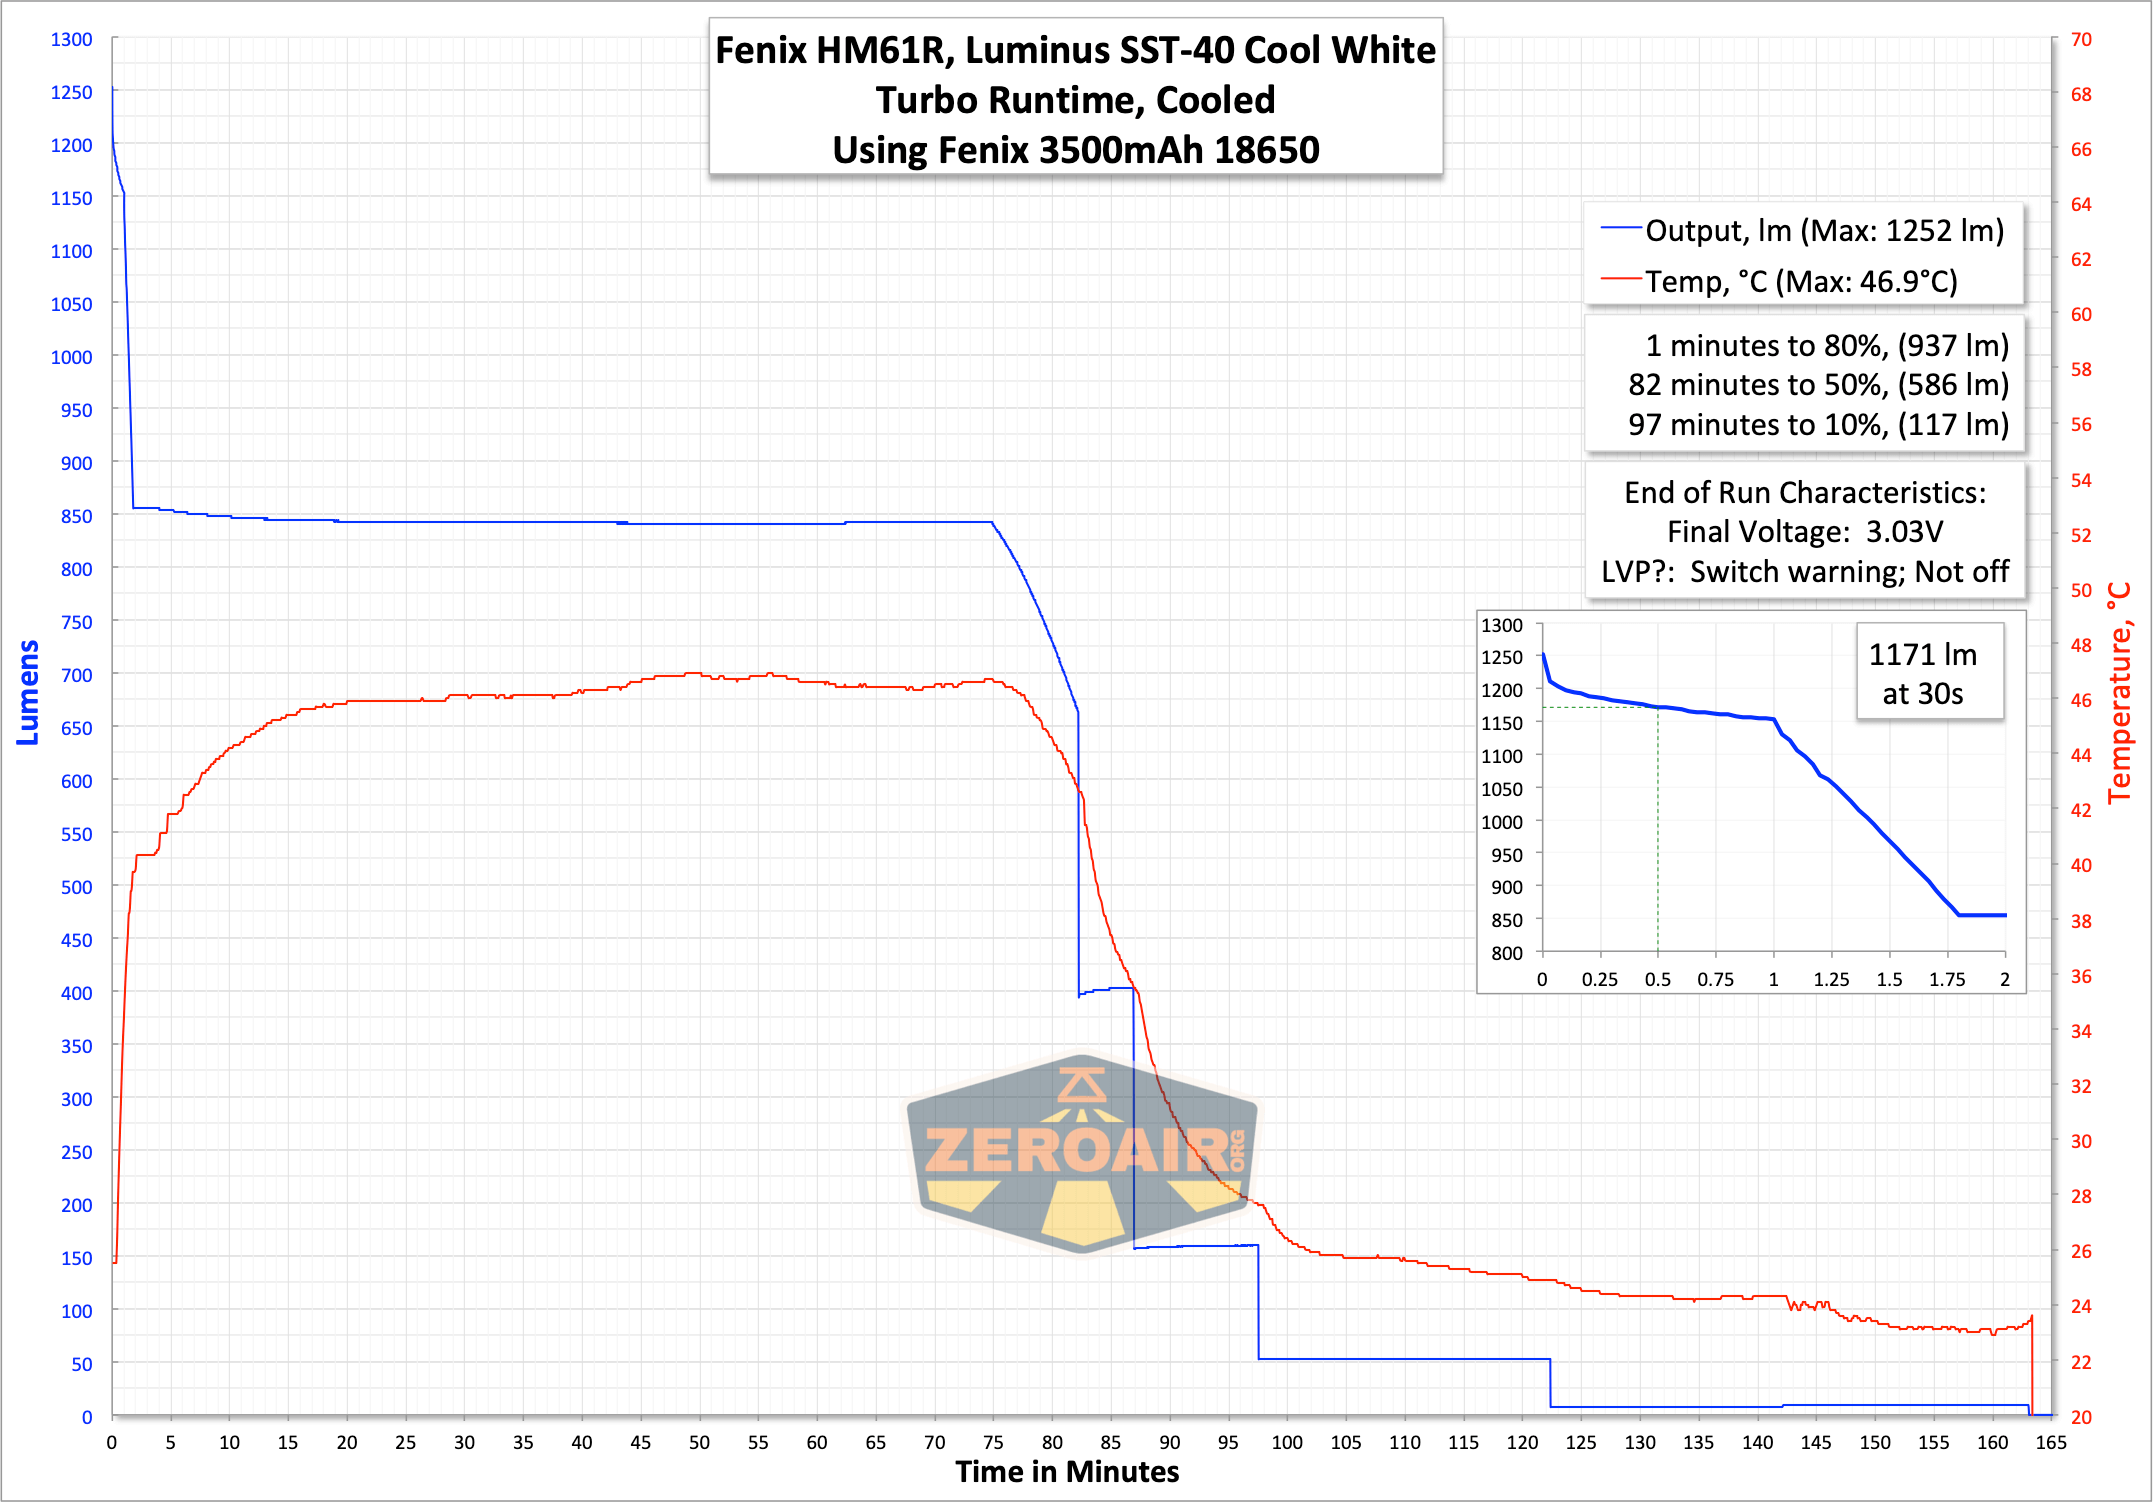
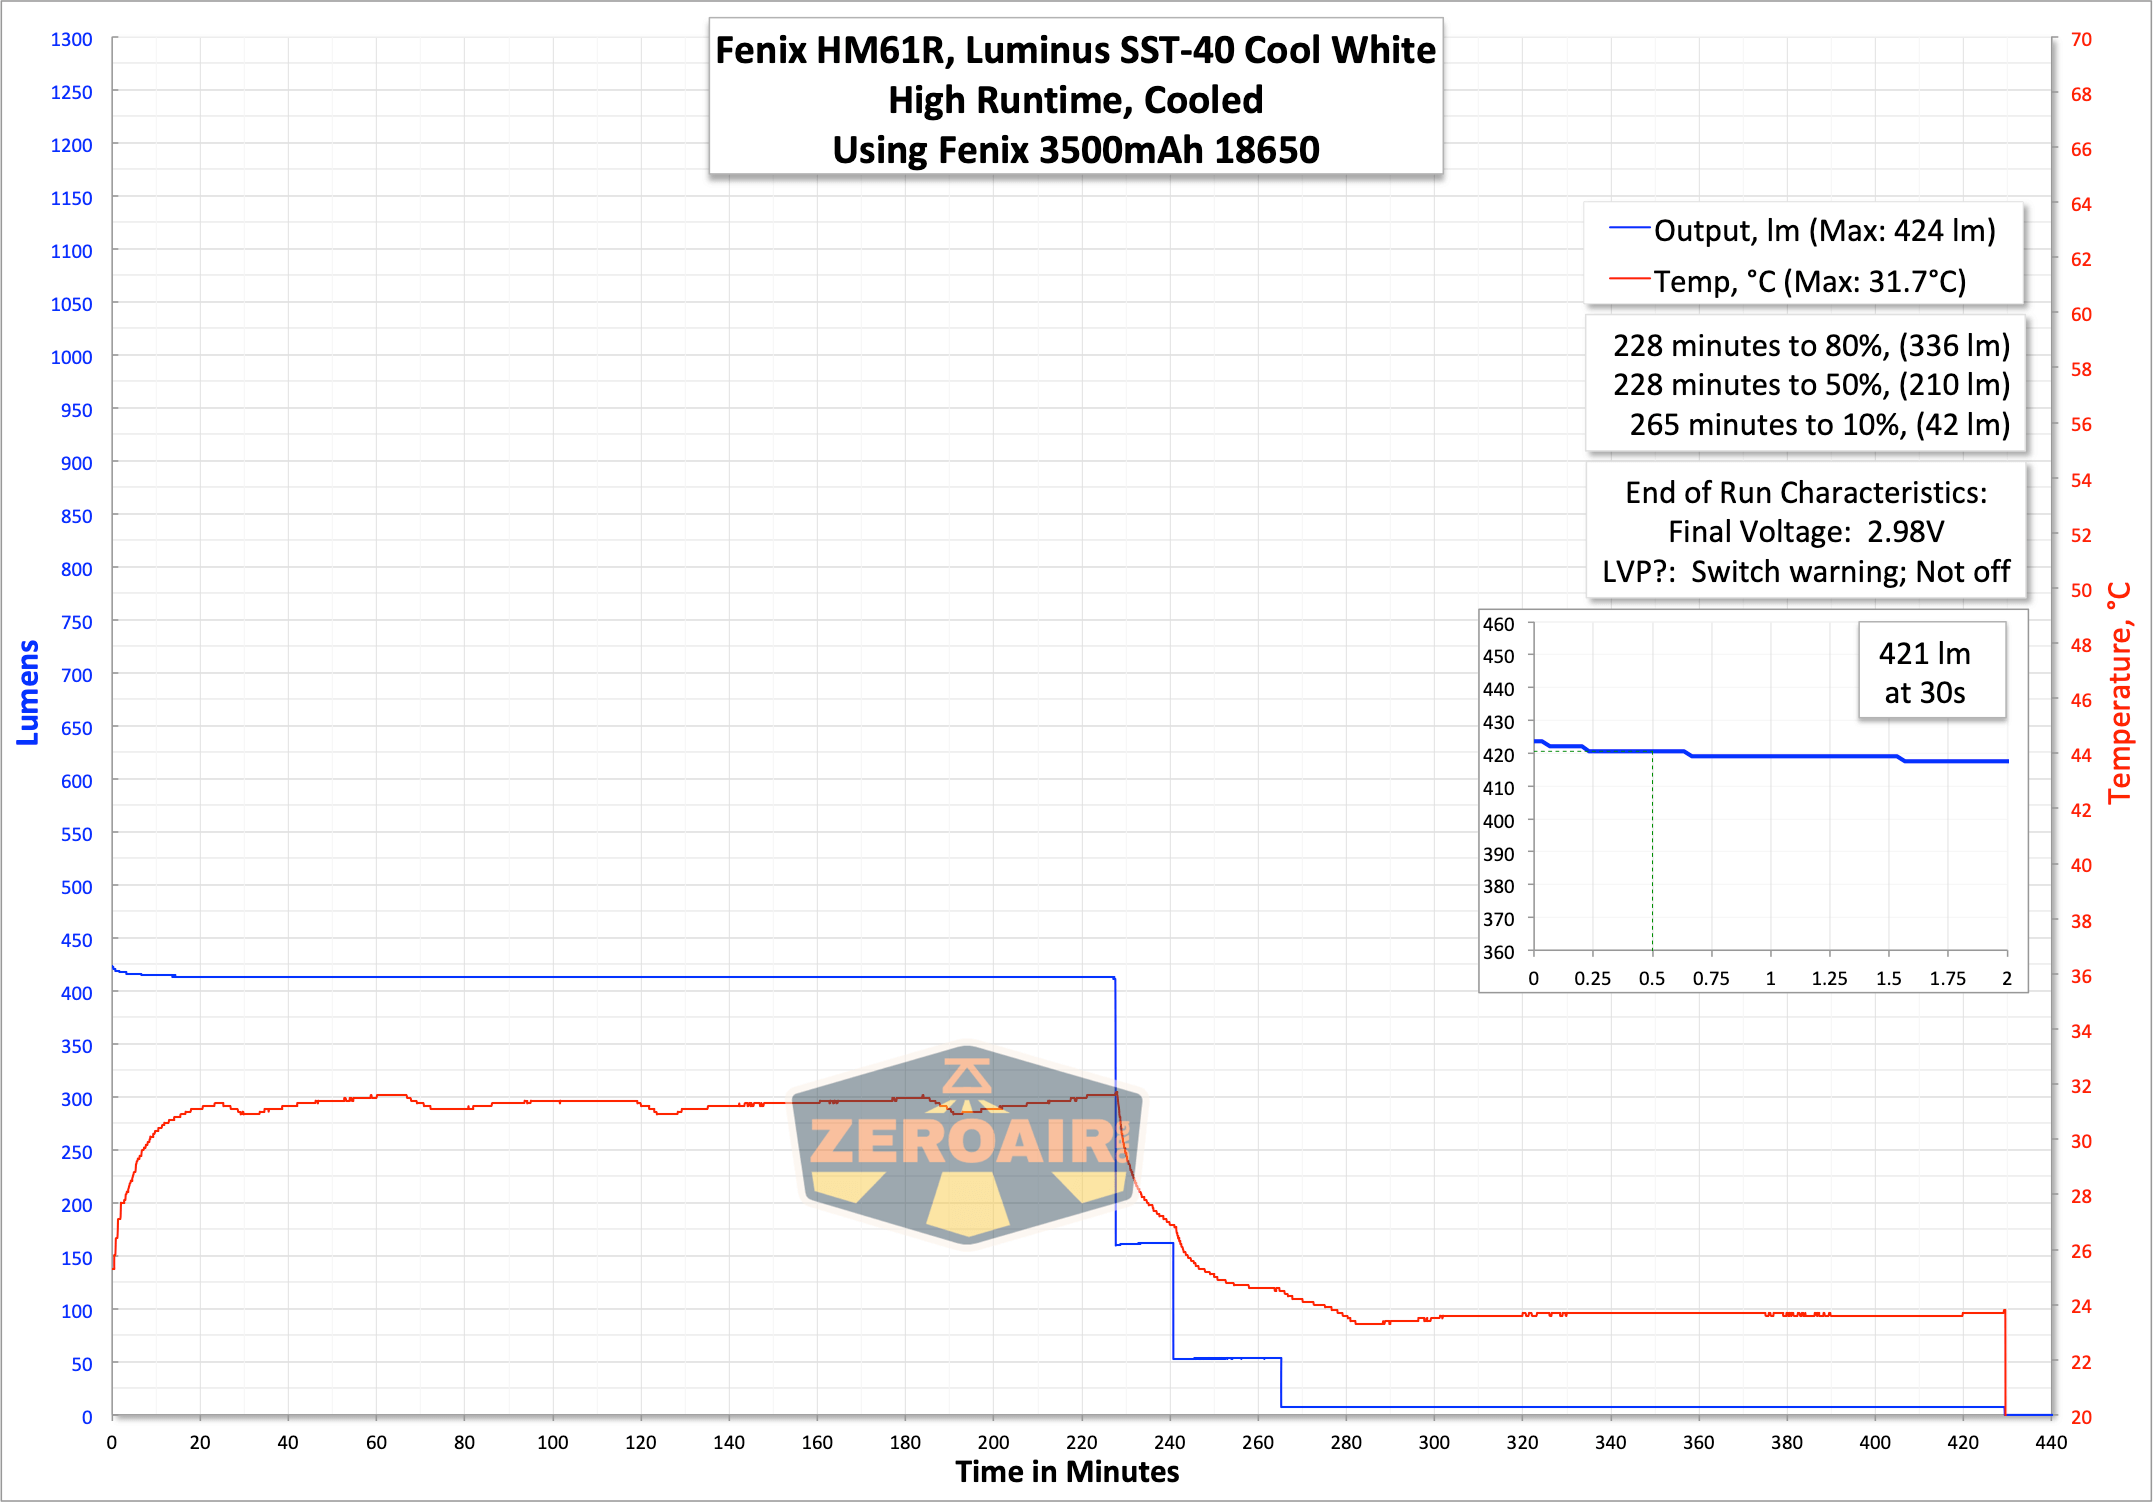
| Turbo Runtime Graph | High Runtime Graph |
| LVP? | Switch Warning |
| Switch Type: | E-Switch |
| Quiescent Current (mA): | 0.83 |
| On-Board Charging? | Yes |
| Charge Port Type: | Proprietary Magnetic |
| Charge Graph | |
| Power off Charge Port | “With cell: All modes Without cell: All modes” |
| Claimed Lumens (lm) | 1200 |
| Measured Lumens (at 30s) | 1171 (97.6% of claim)^ |
| Candela per Lumen | 3.9 |
| Claimed Throw (m) | 145 |
| Candela (Calculated) in cd (at 30s) | 377lux @ 3.649m = 5020cd |
| Throw (Calculated) (m) | 141.7 (97.7% of claim)^ |
| All my Fenix reviews! | |
^ Measurement disclaimer: Testing flashlights is my hobby. I use hobbyist-level equipment for testing, including some I made myself. Try not to get buried in the details of manufacturer specifications versus measurements recorded here; A certain amount of difference (say, 10 or 15%) is perfectly reasonable.
What’s Included
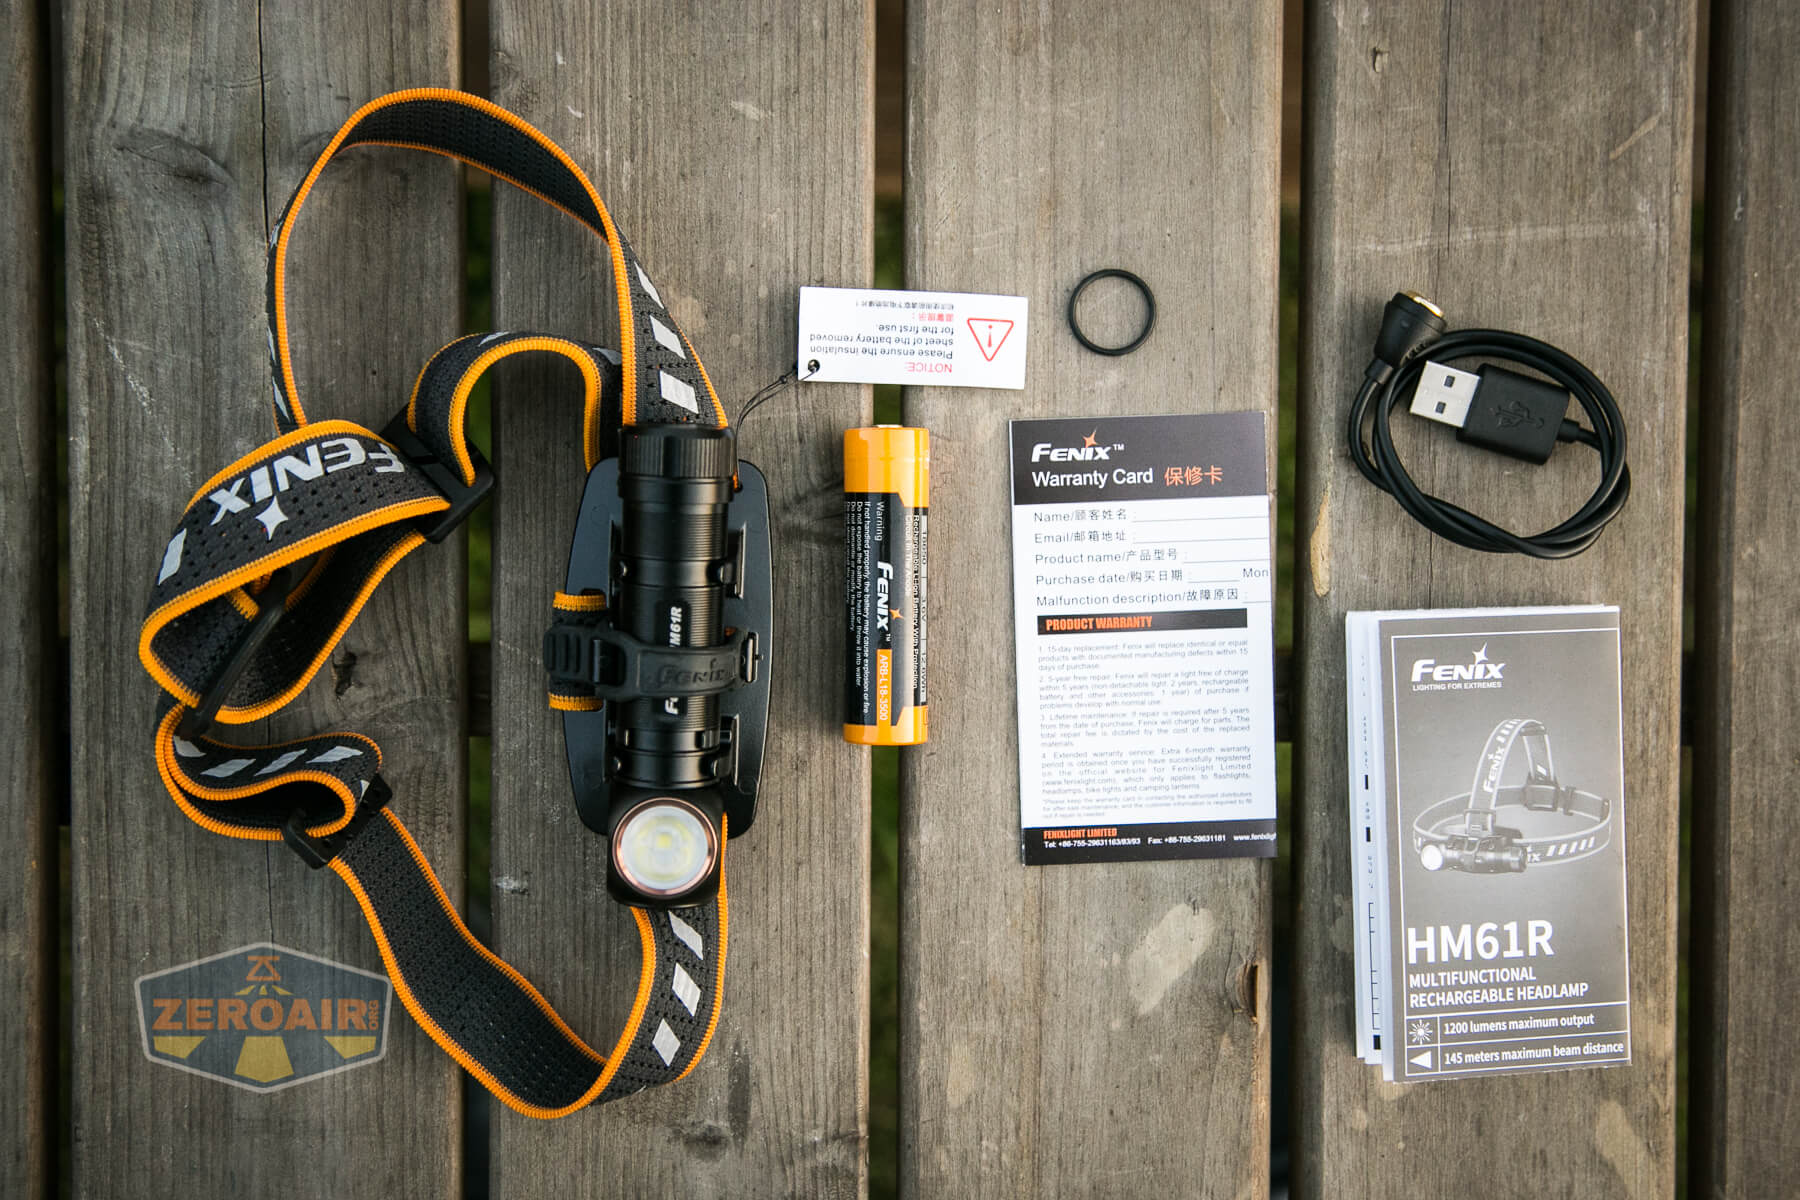
- Fenix HM61R Rechargeable Headlamp
- 3500mAh rechargeable 18650 battery
- Magnetic Charging Cable
- Headband
- Headband Mount
- Spare O-ring
- User Manual
- Warranty Card
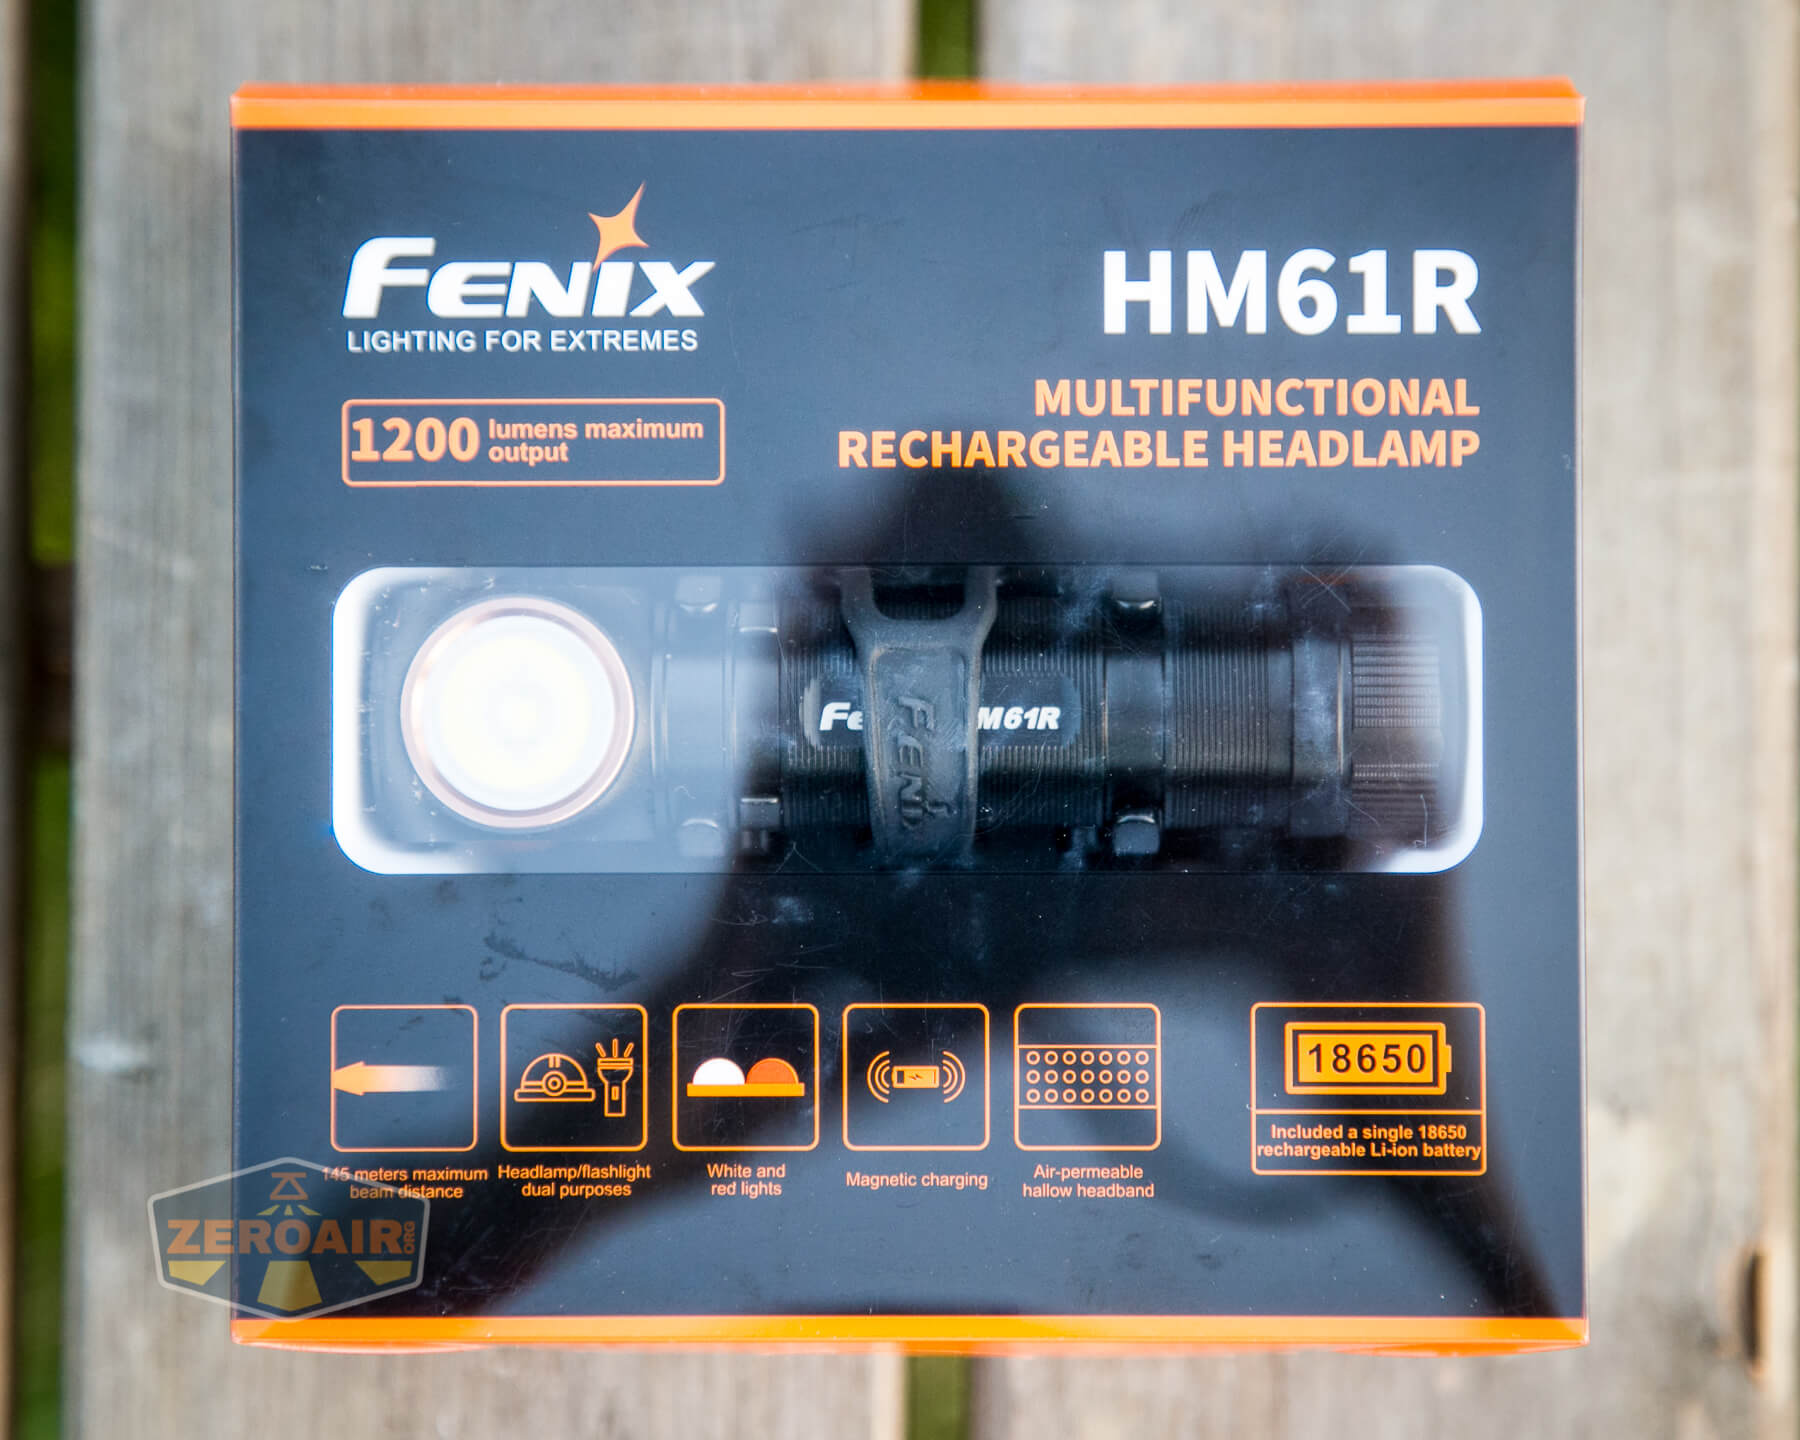
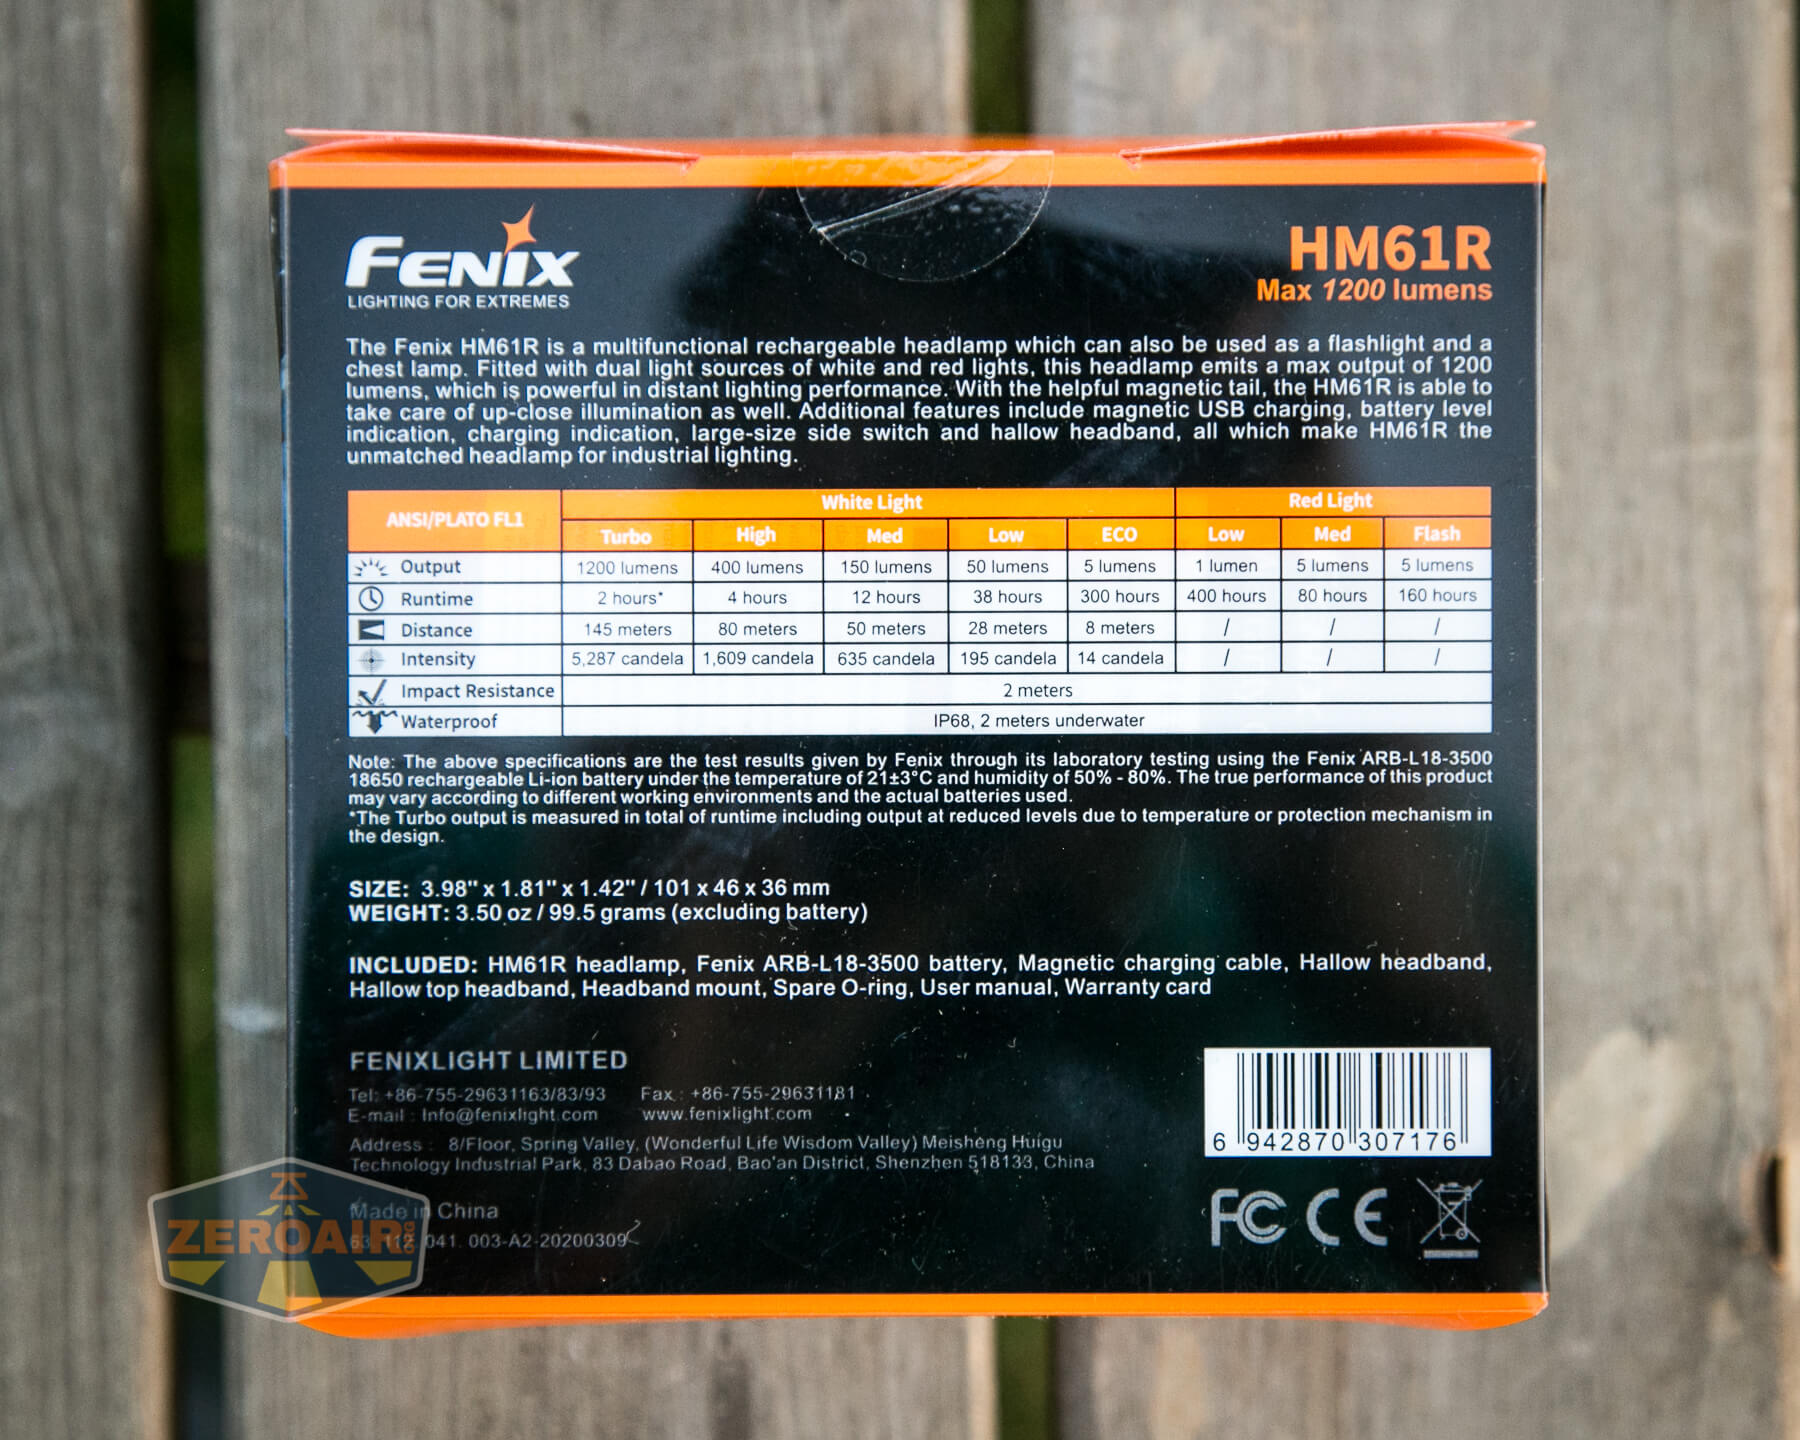
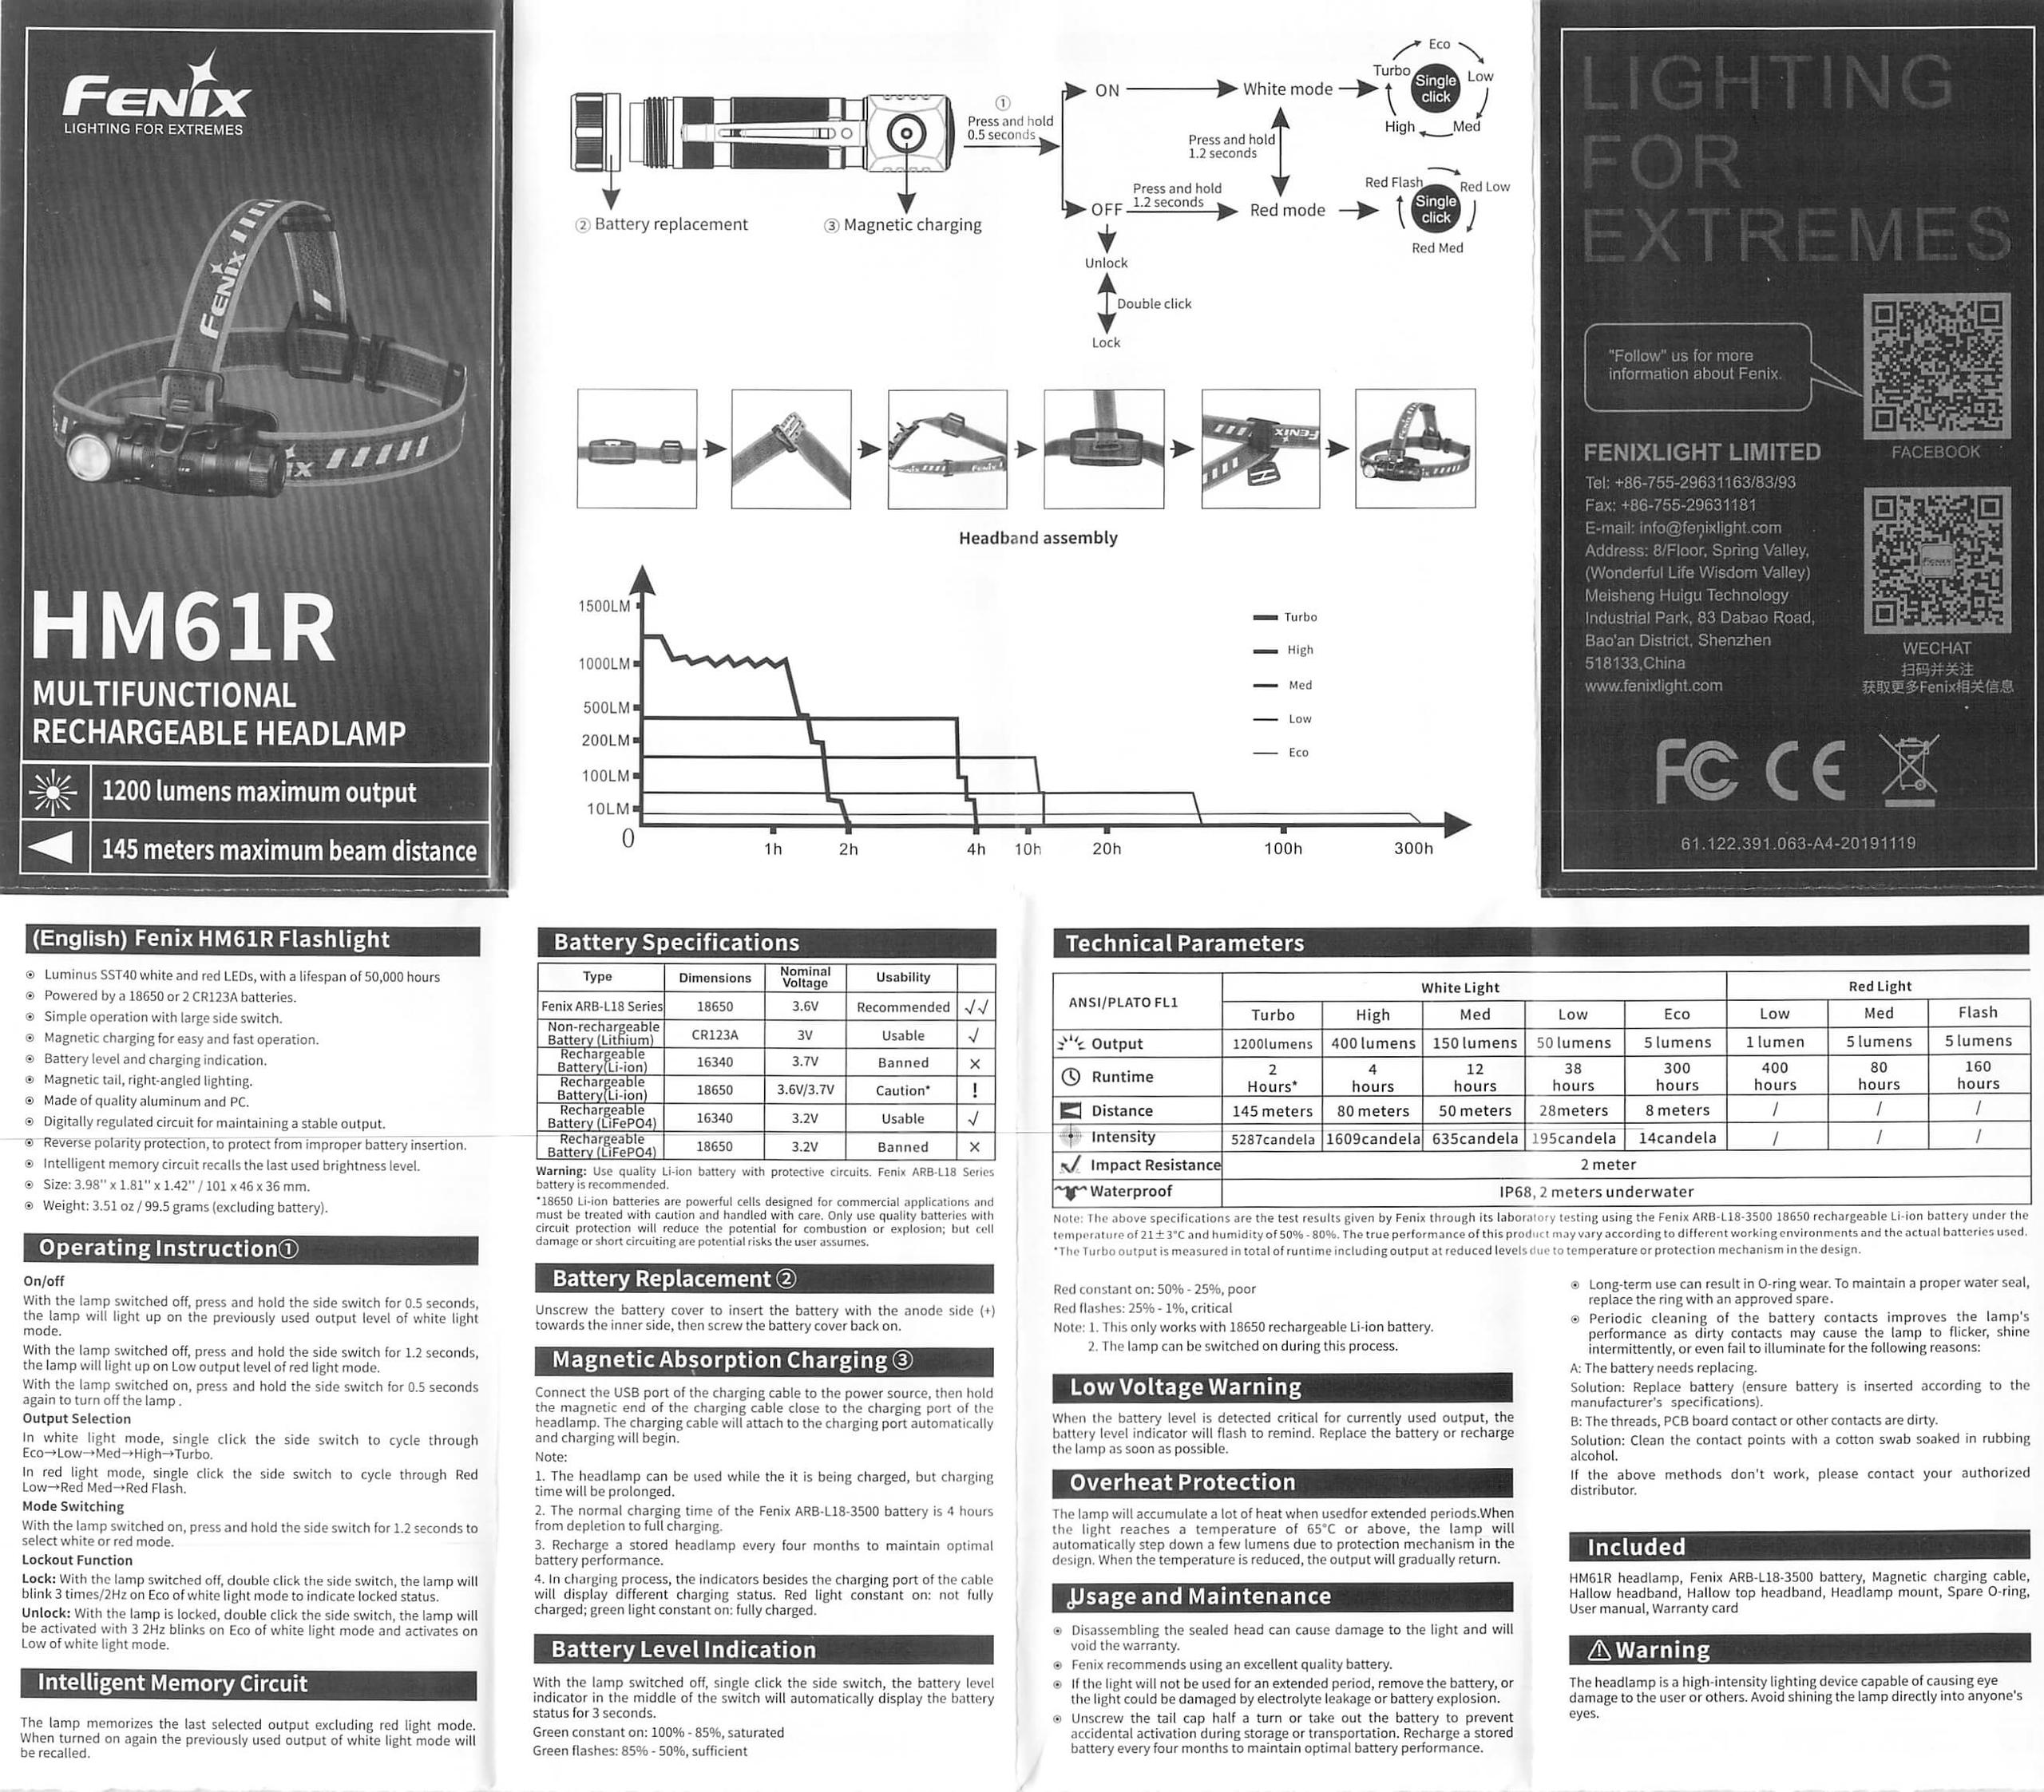
Package and Manual
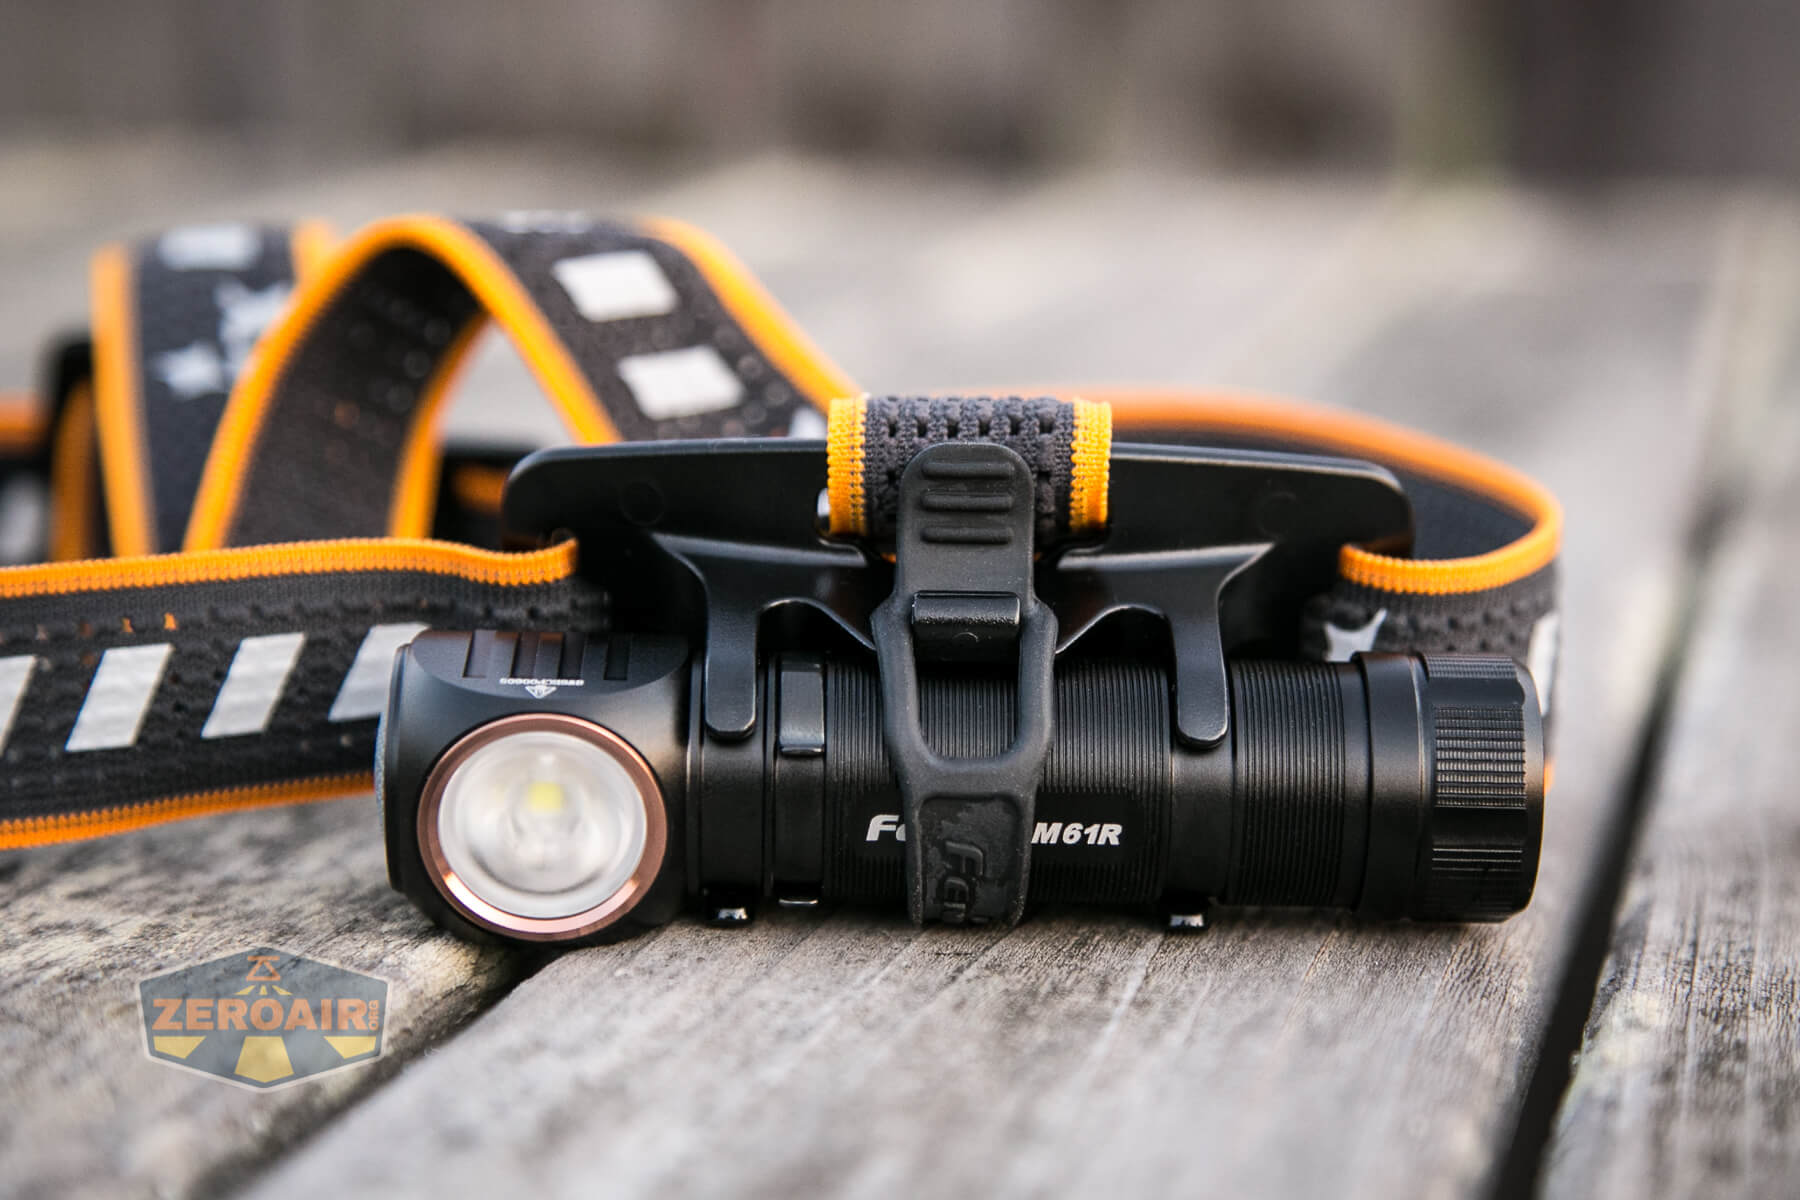
Build Quality and Disassembly
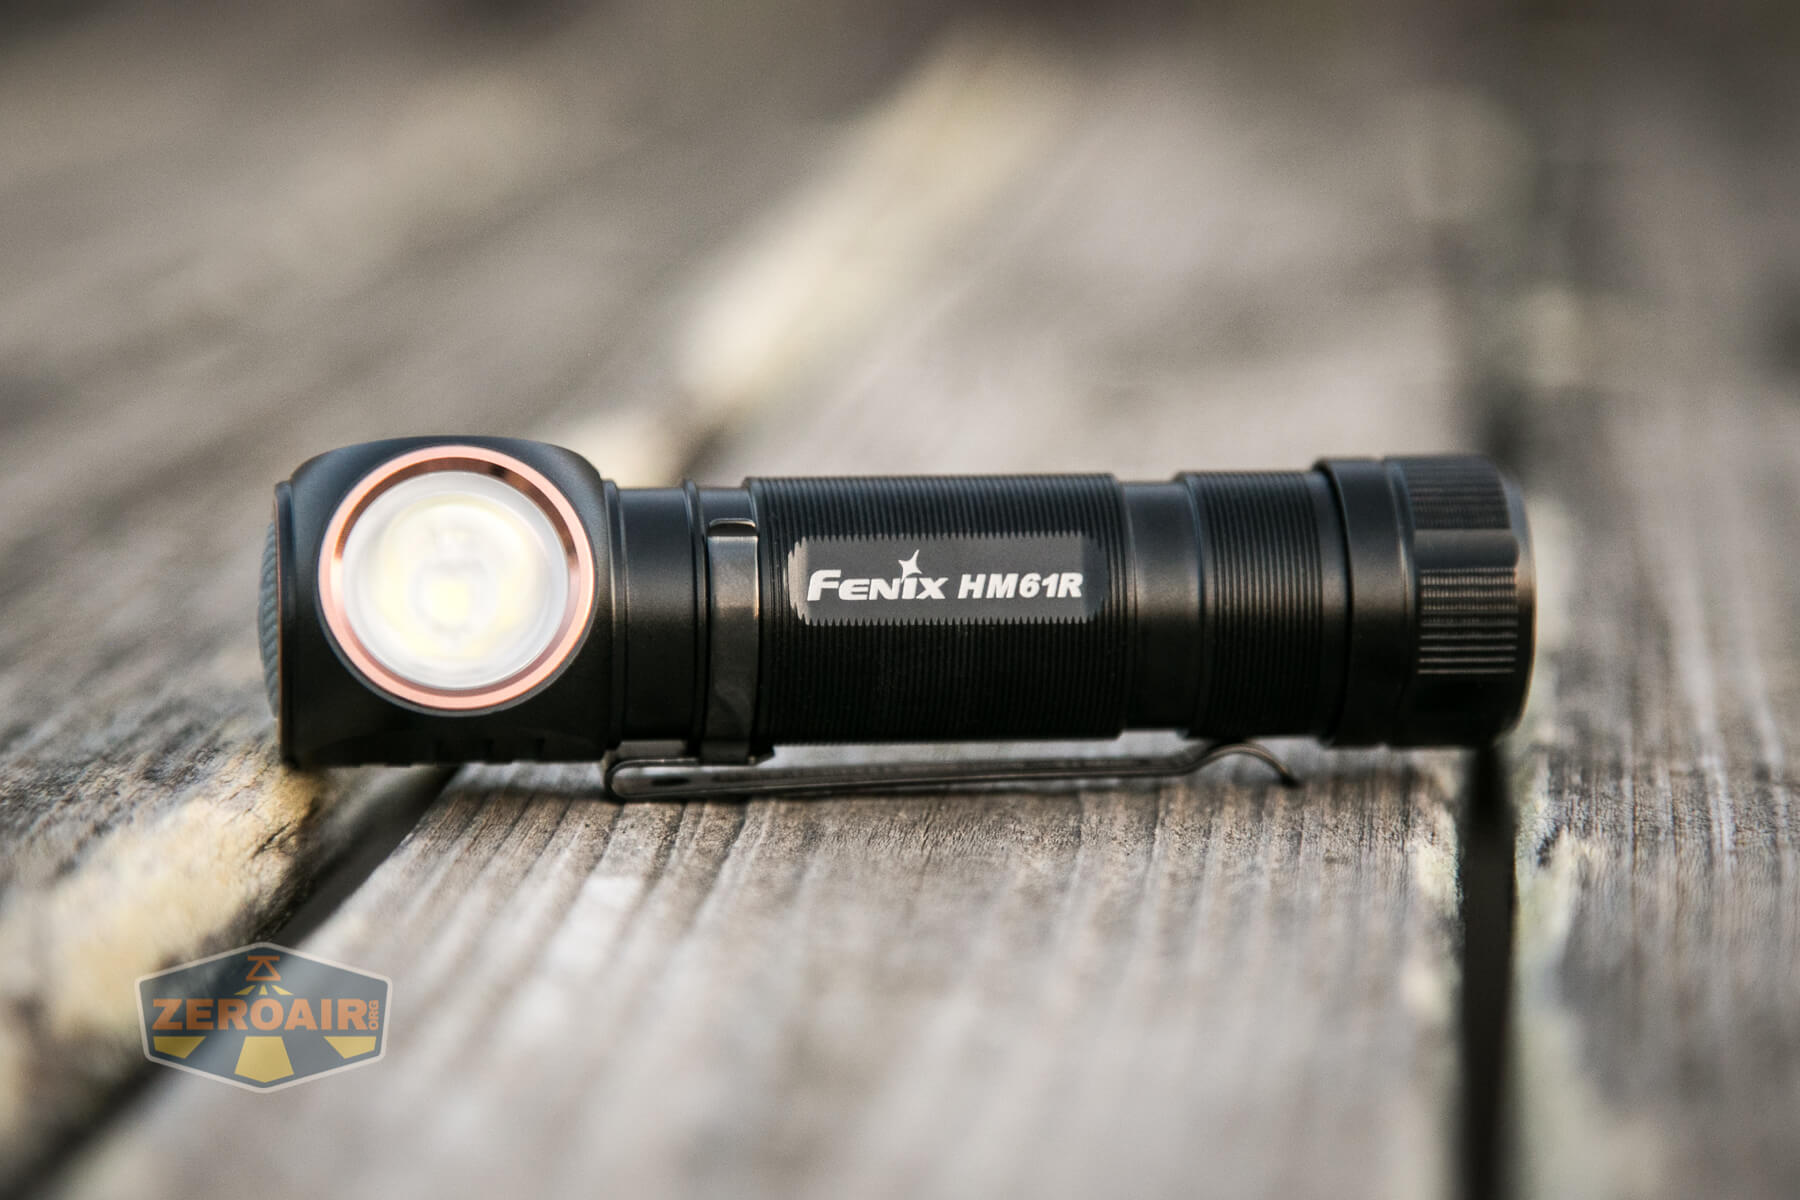
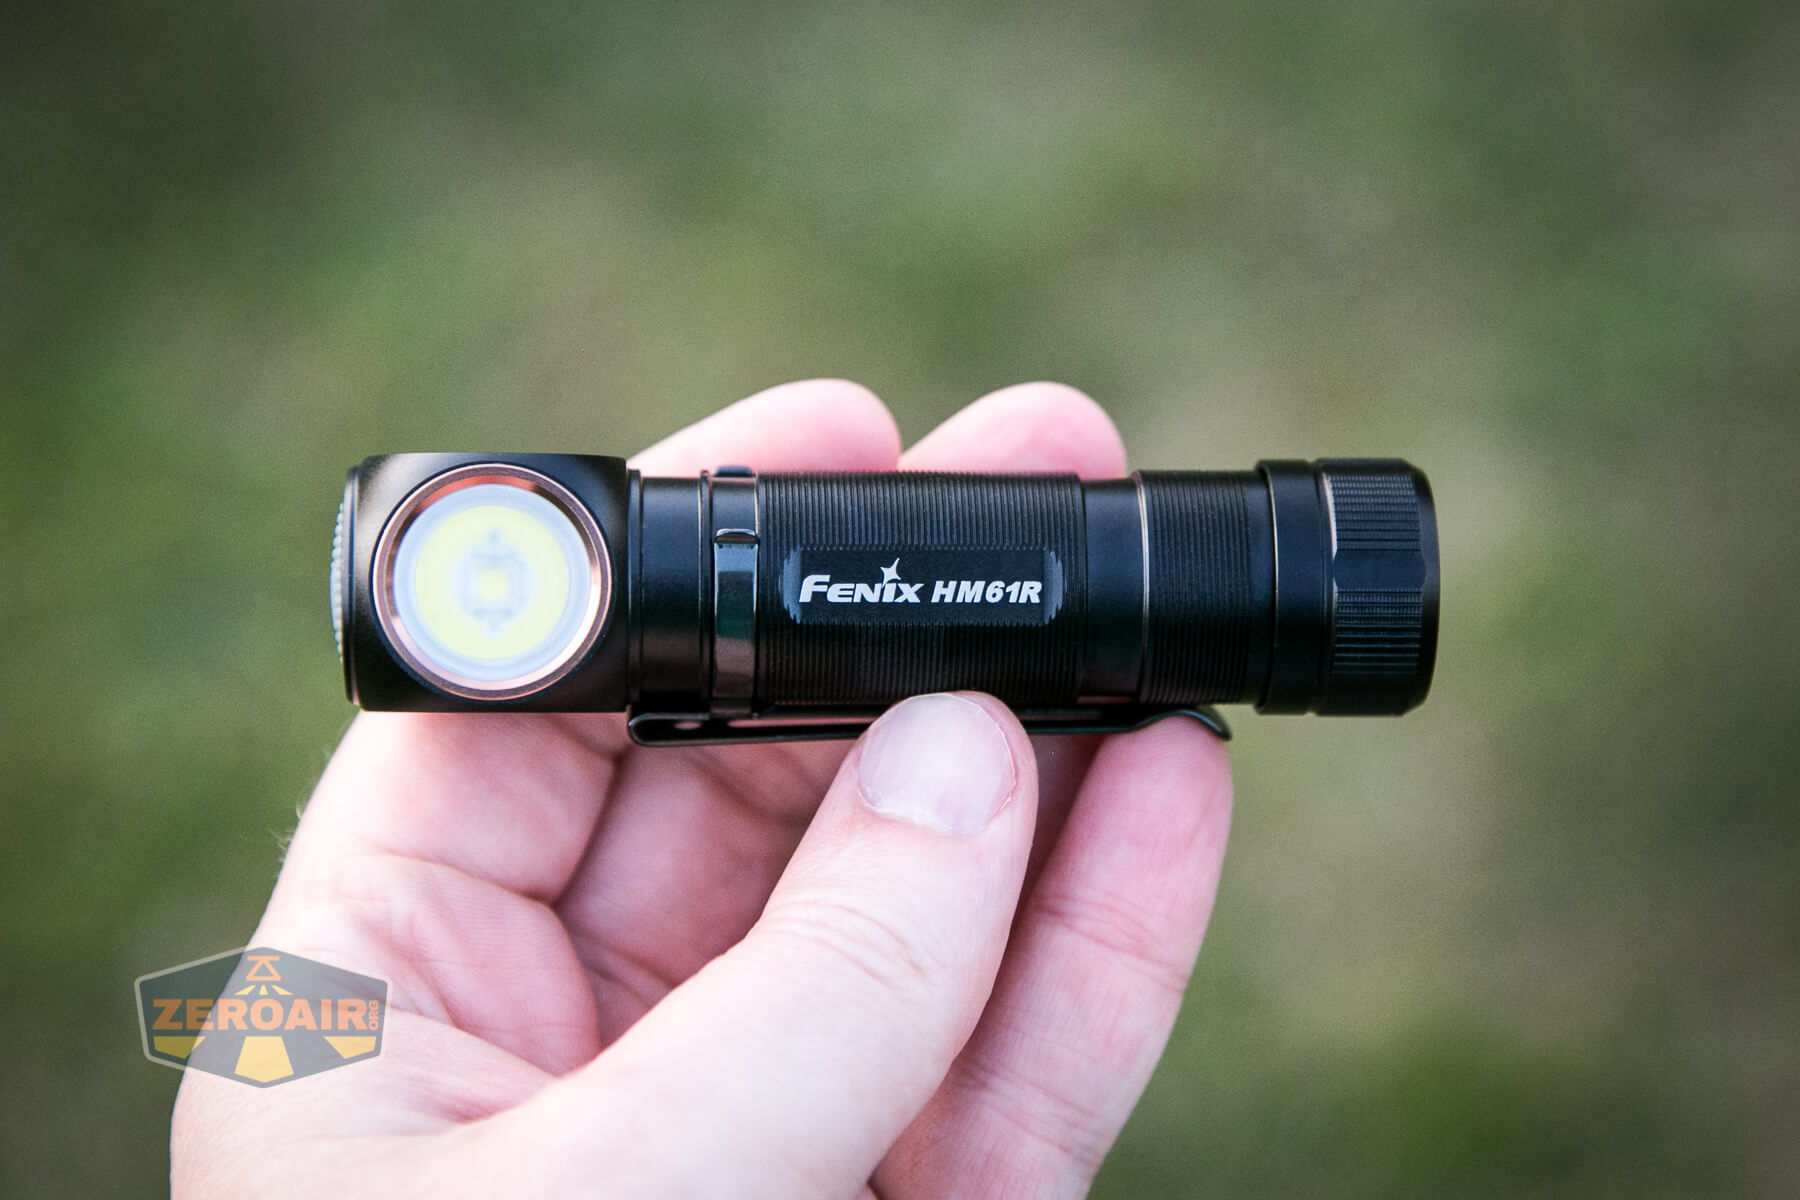
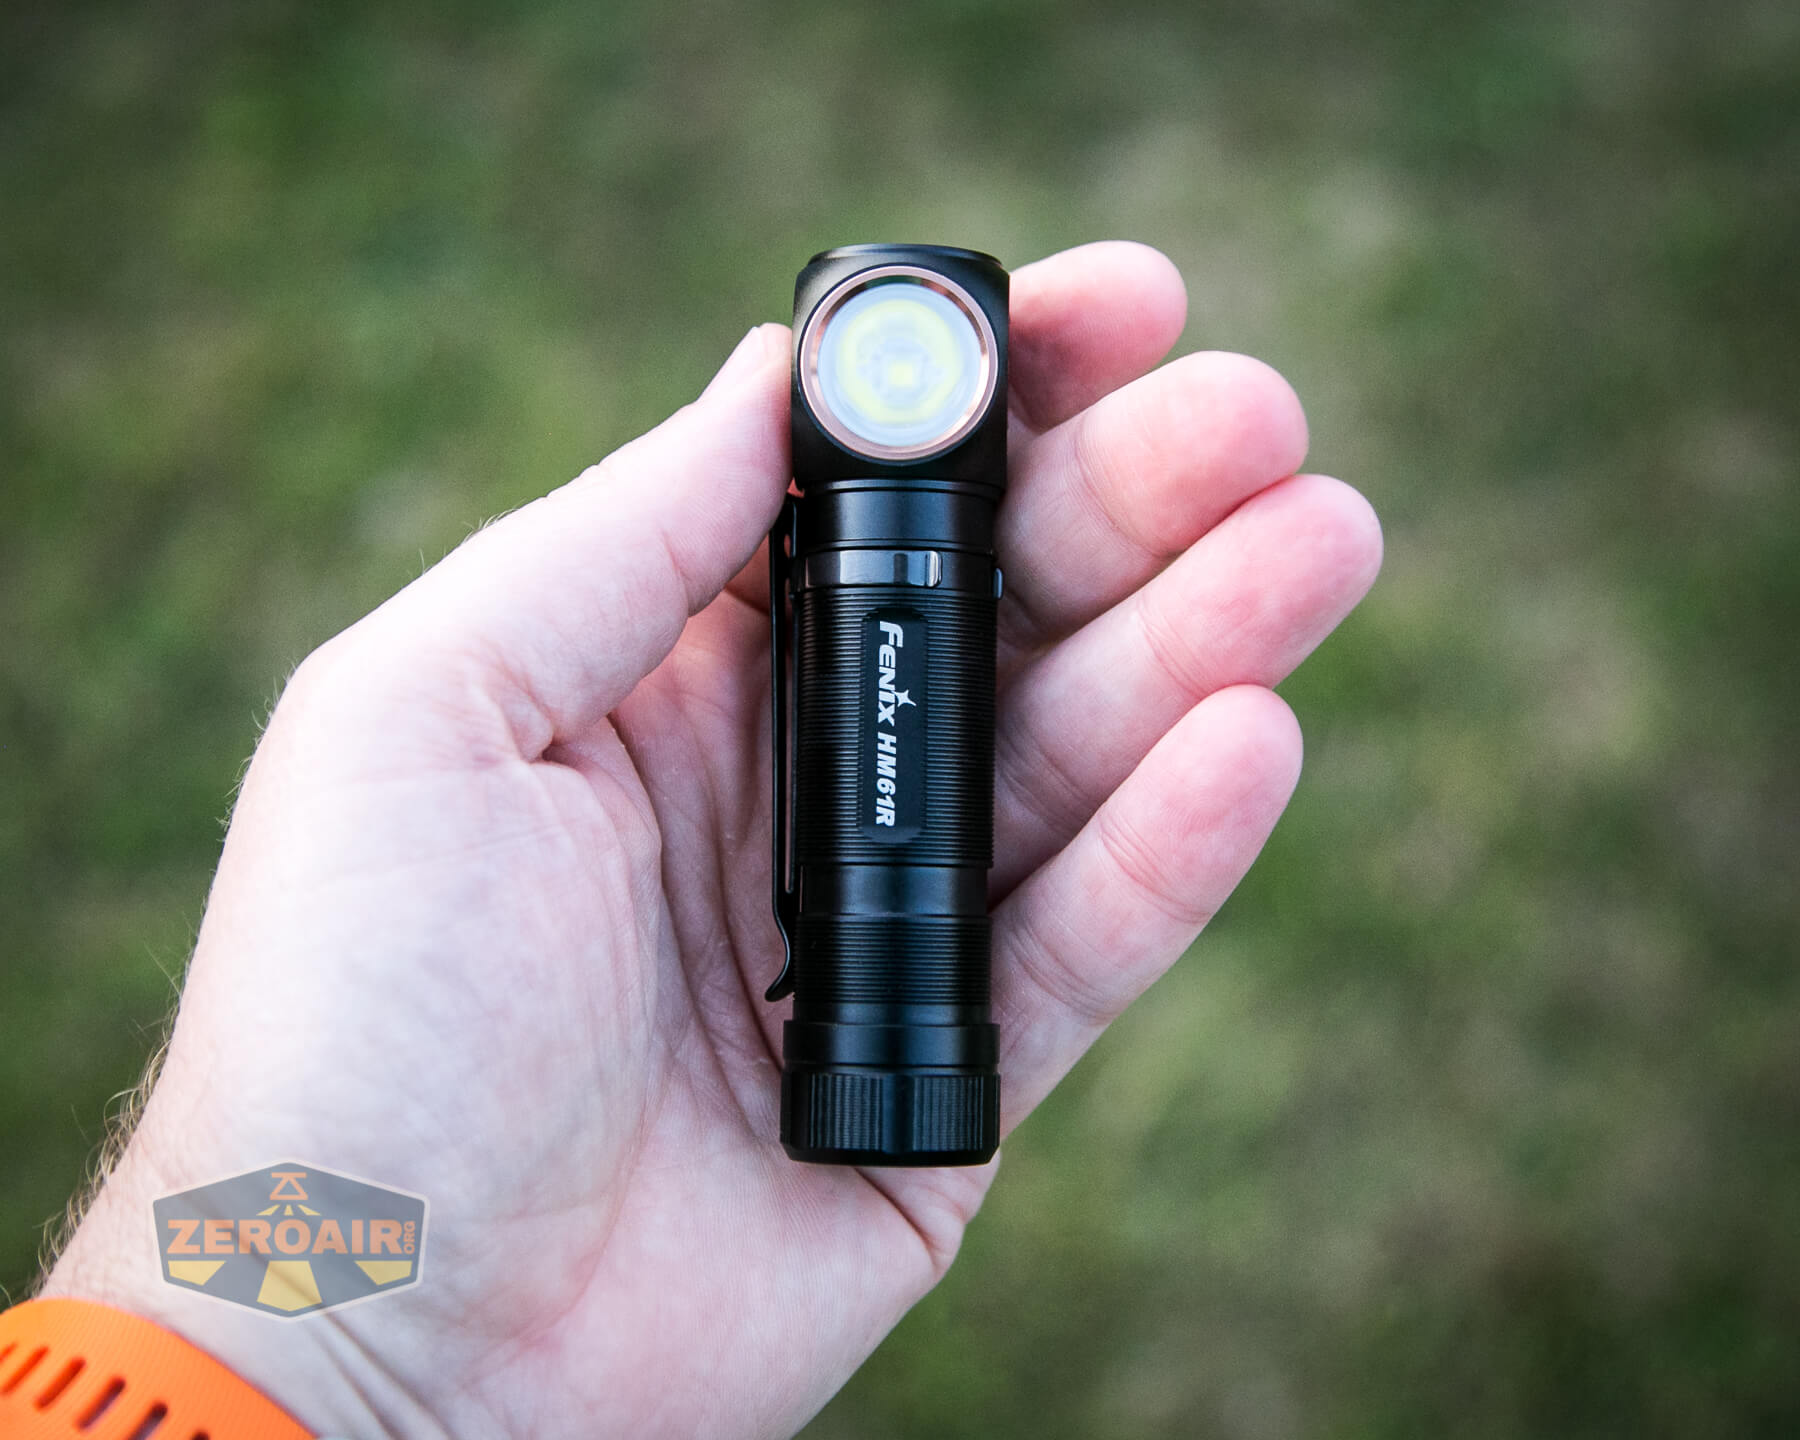
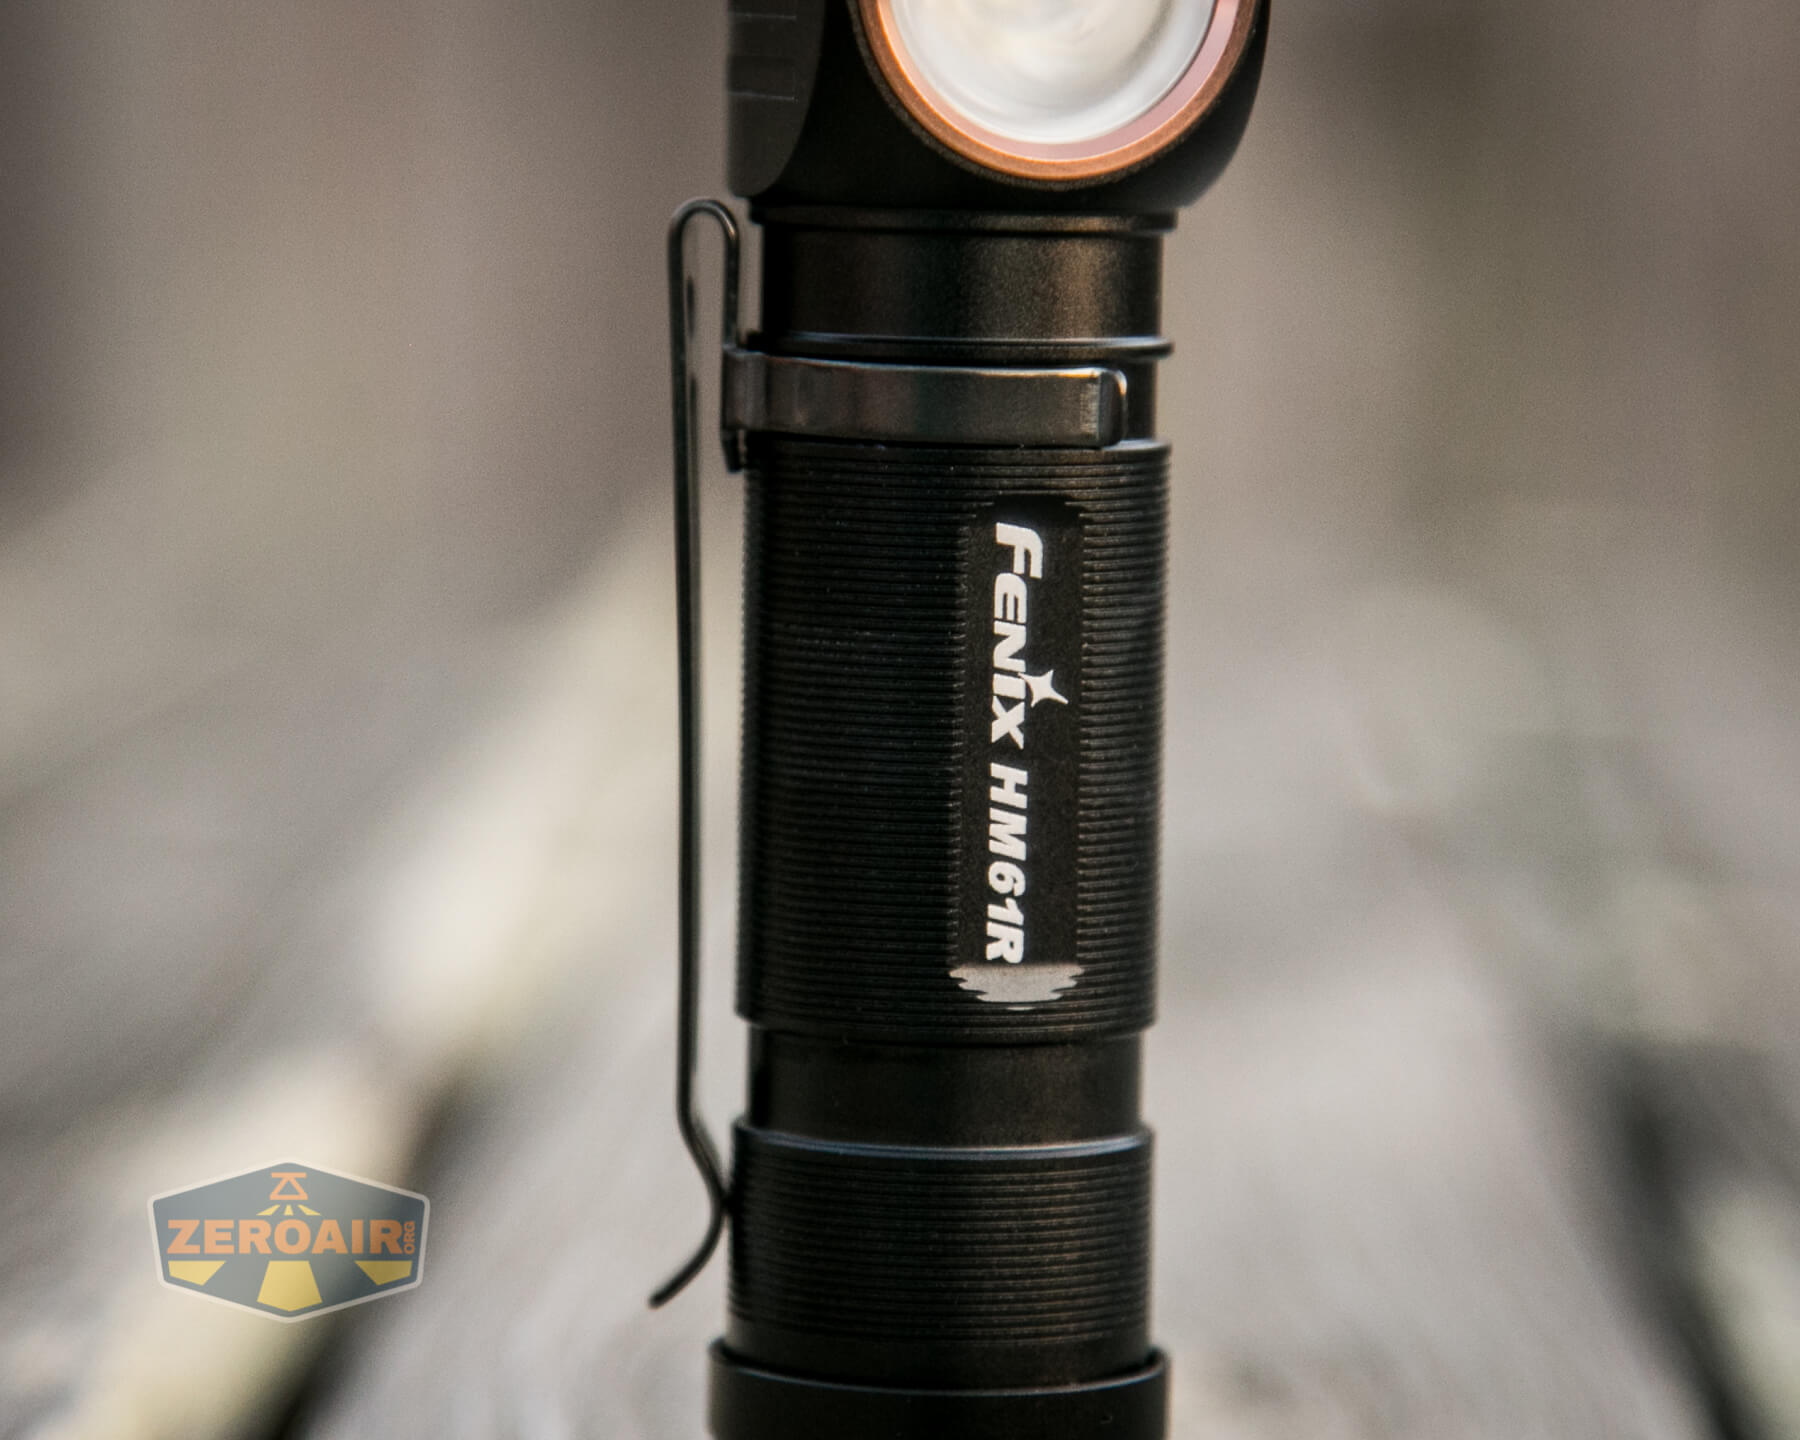
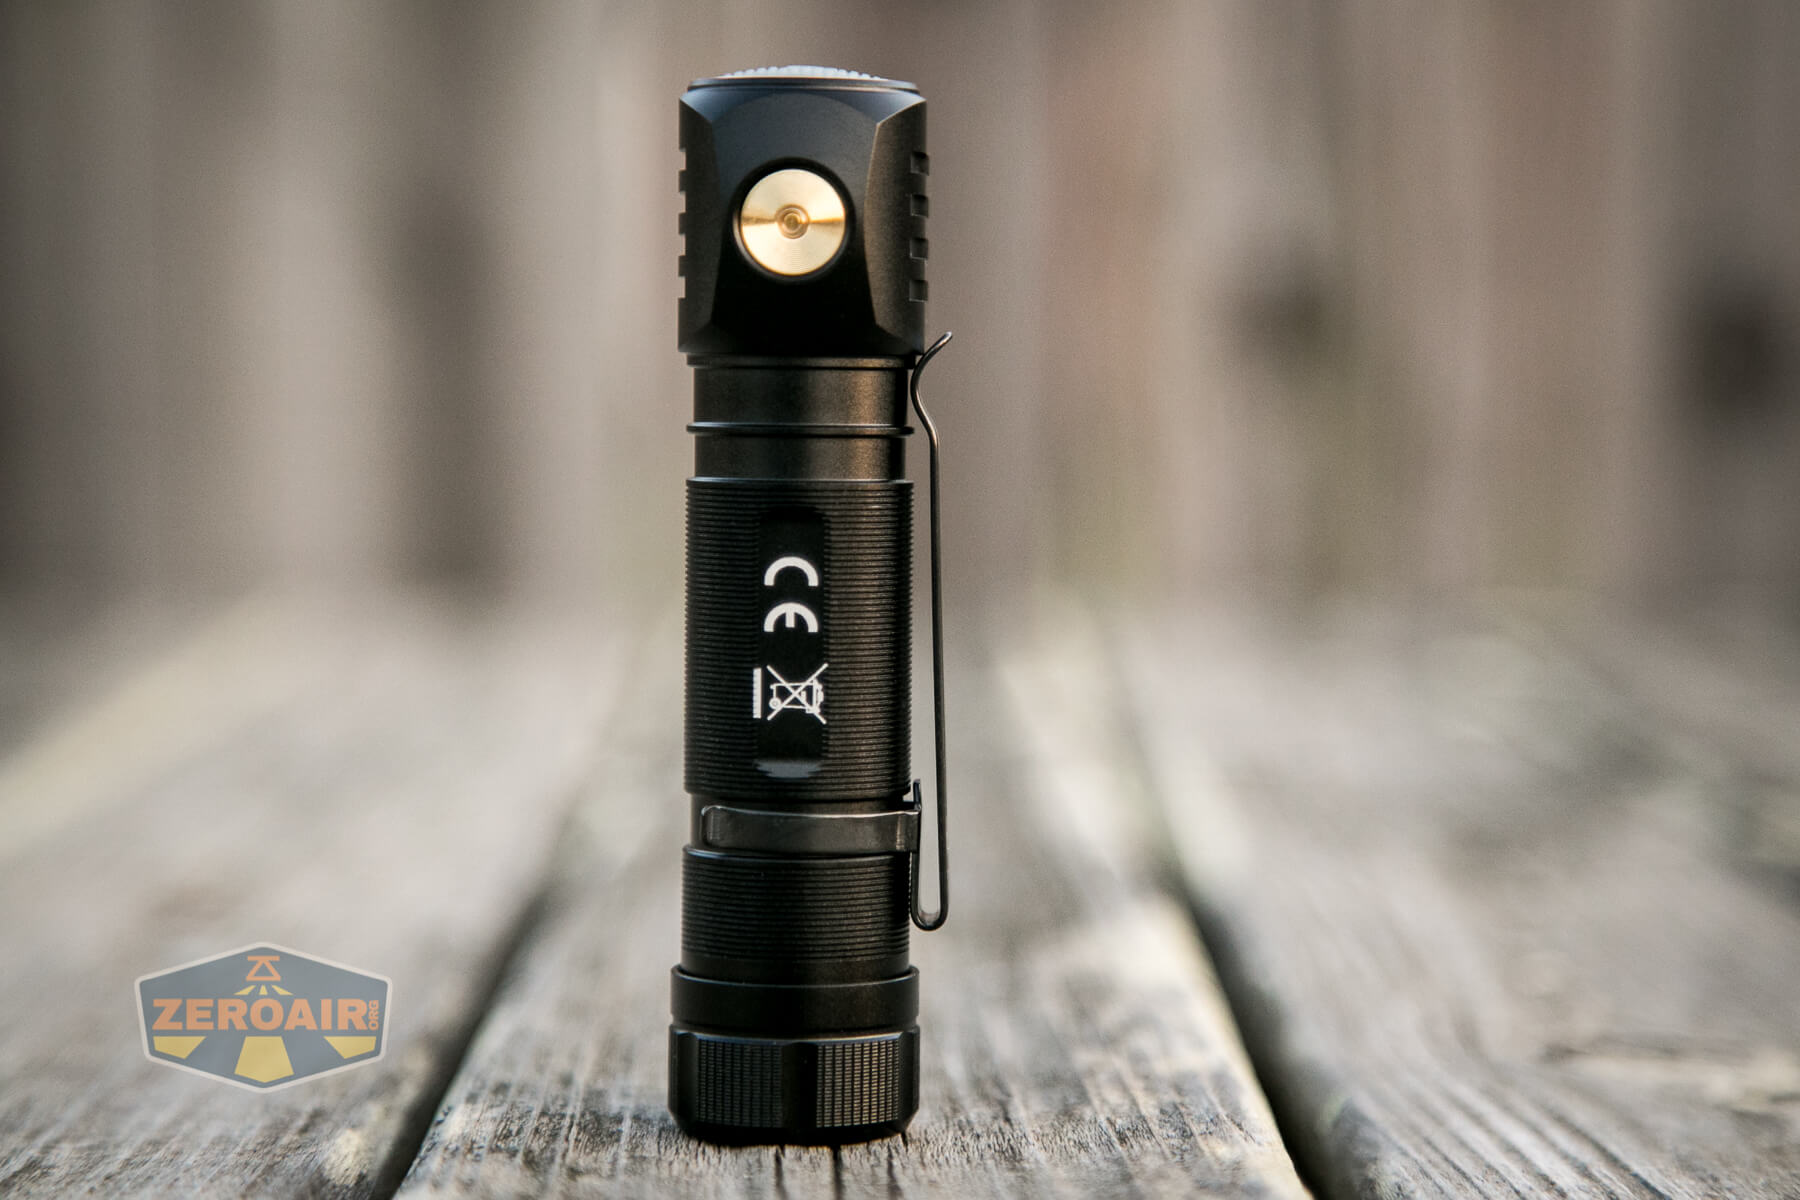
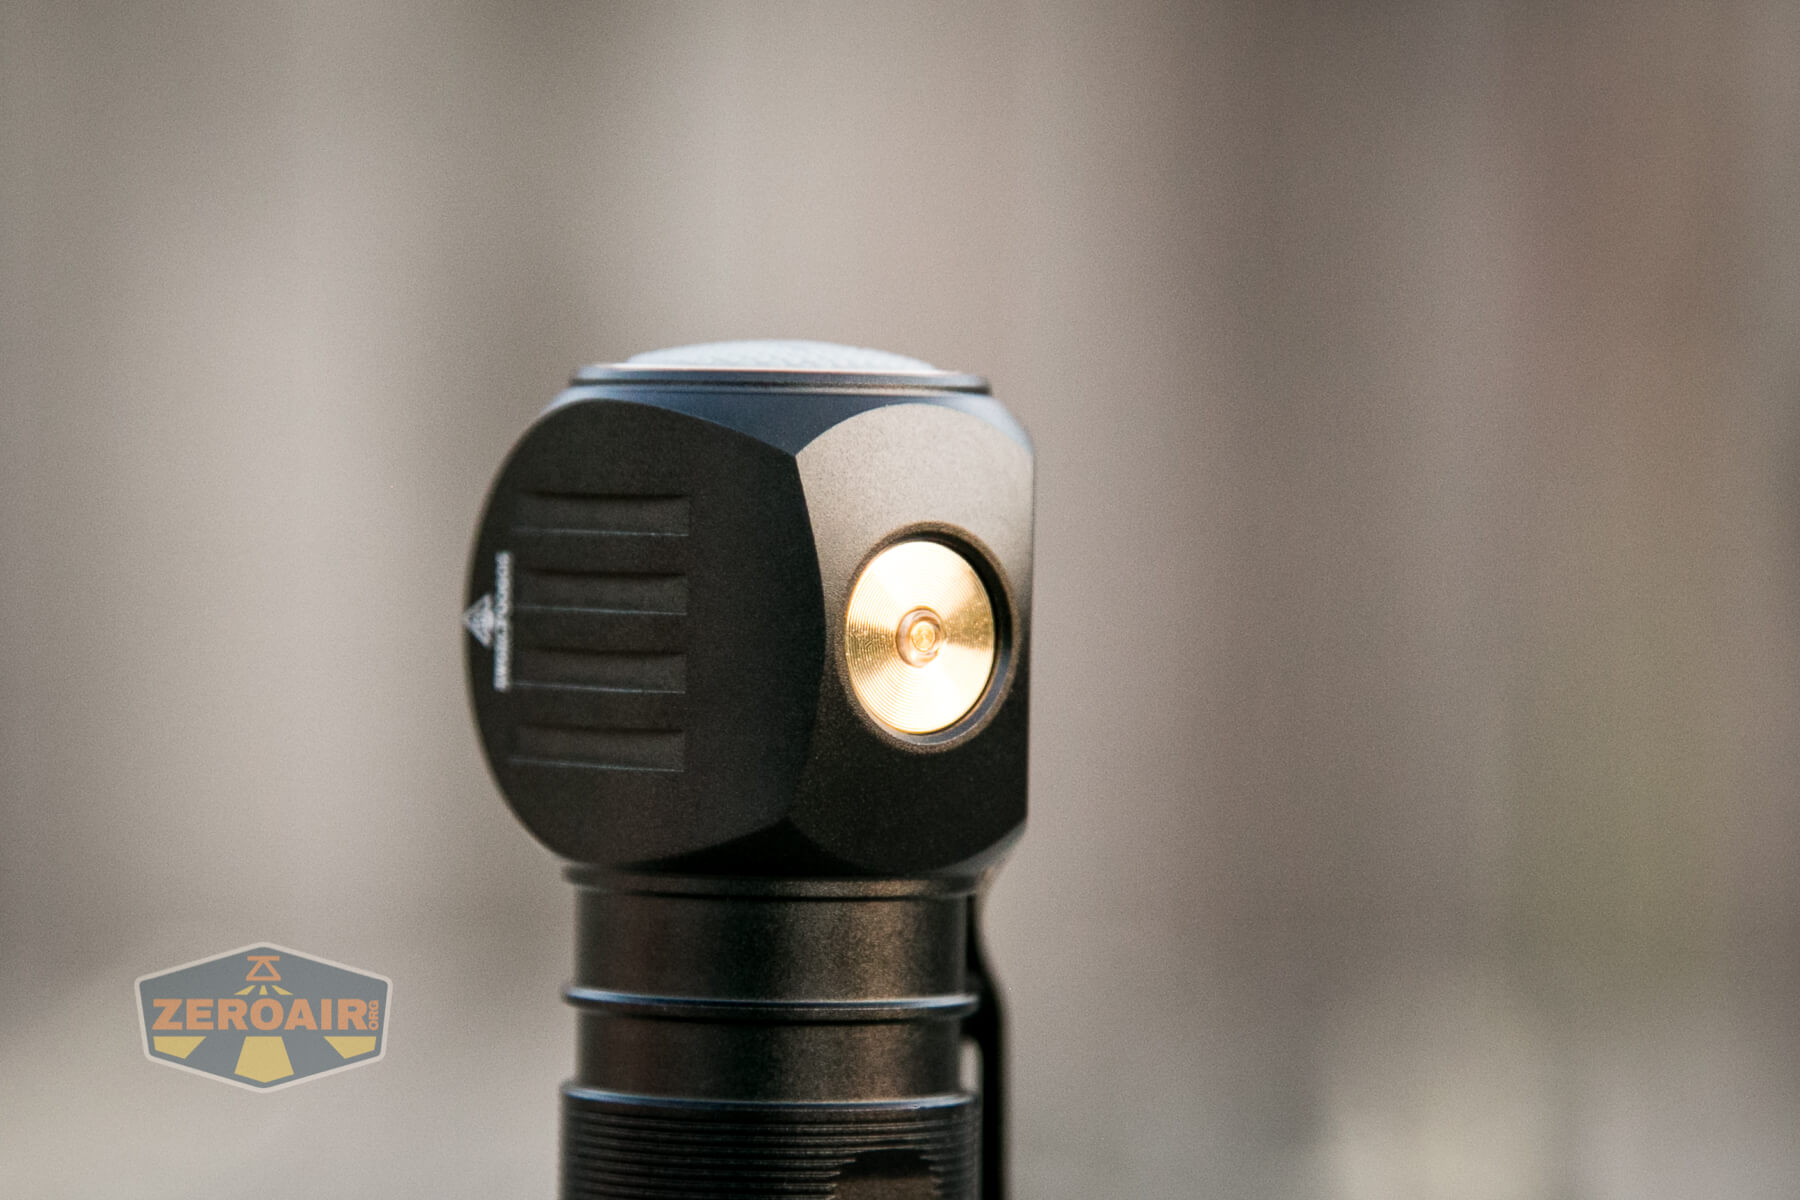
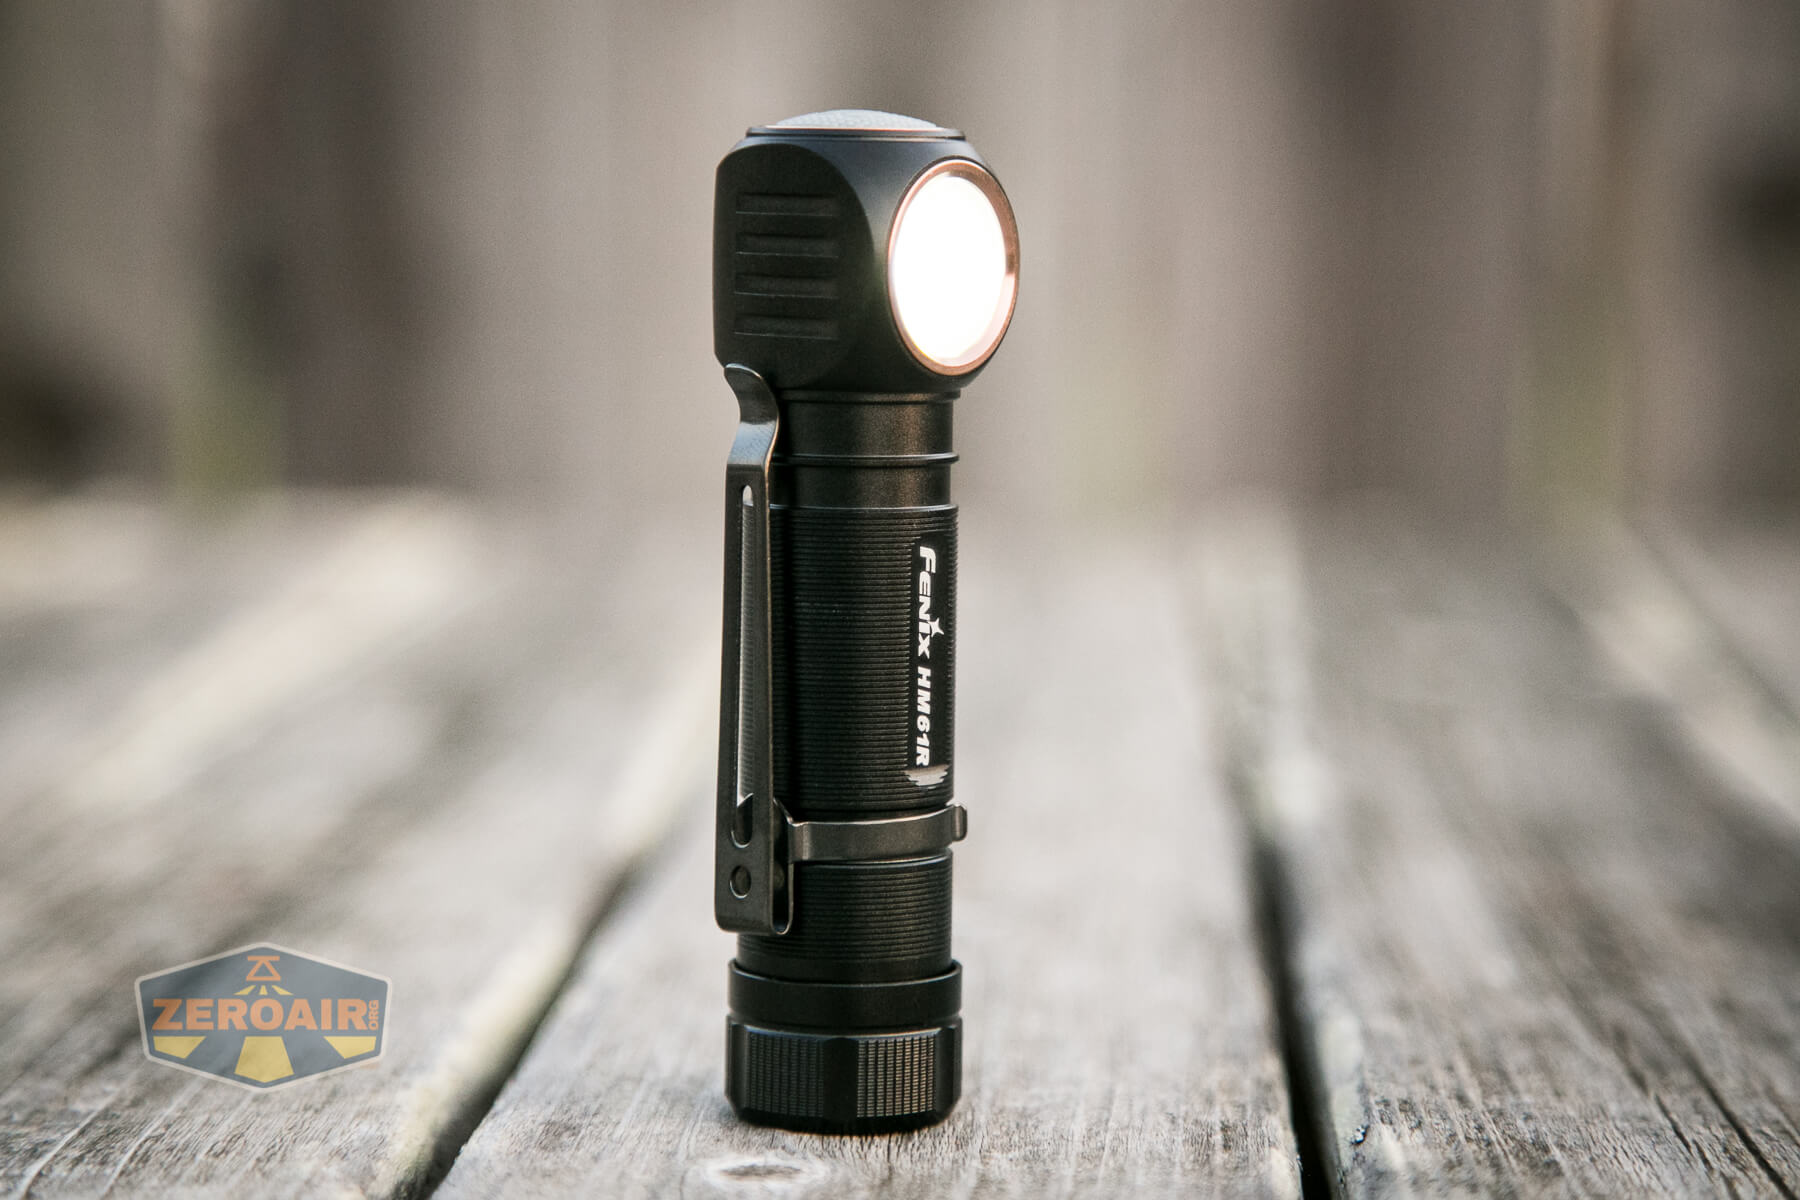
While this Fenix headlamp is “just a right-angle 18650 flashlight,” it has a very high build quality. It somehow manages to feel sleeker than other lights in this category (at least among the many copies I own, some of which you can see below).
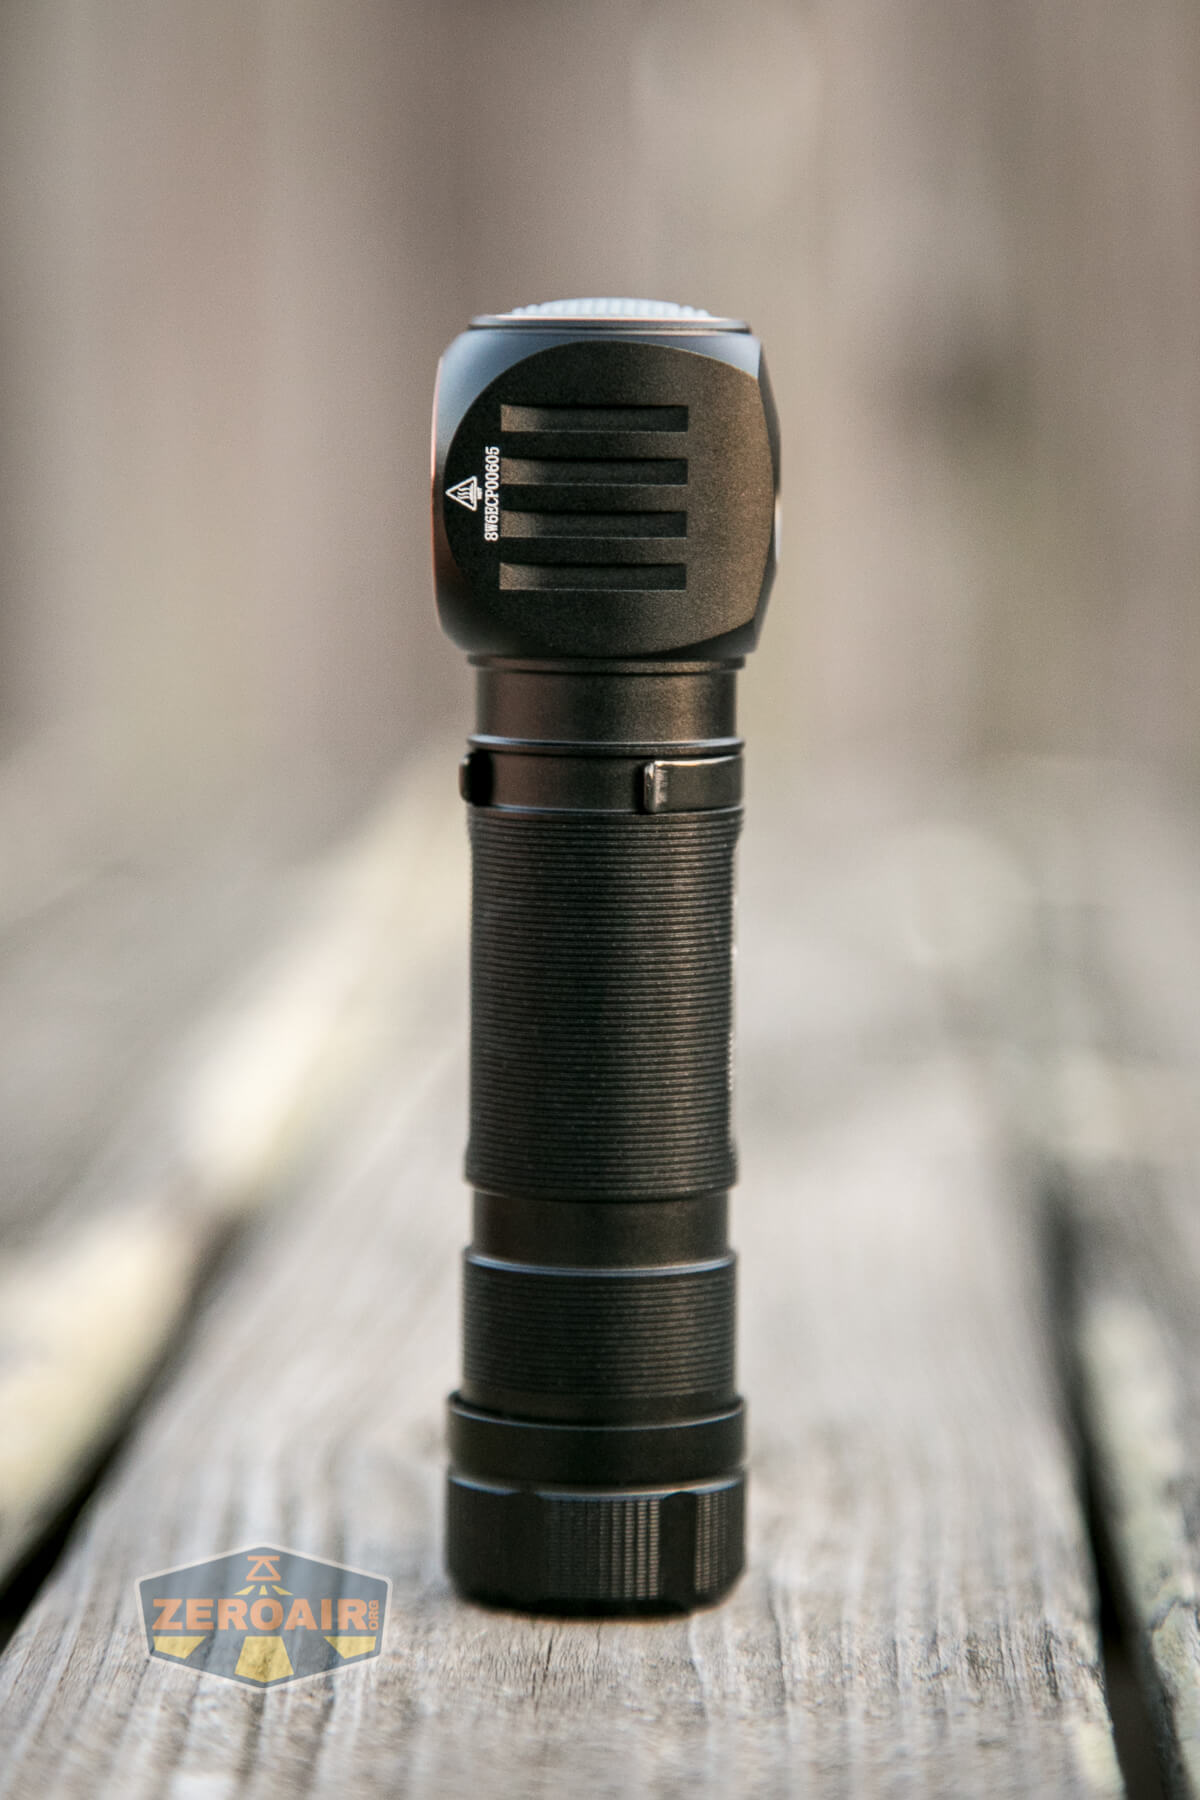
I think the perceived sleekness has to do with the head shape. It tapers very nicely toward the back.
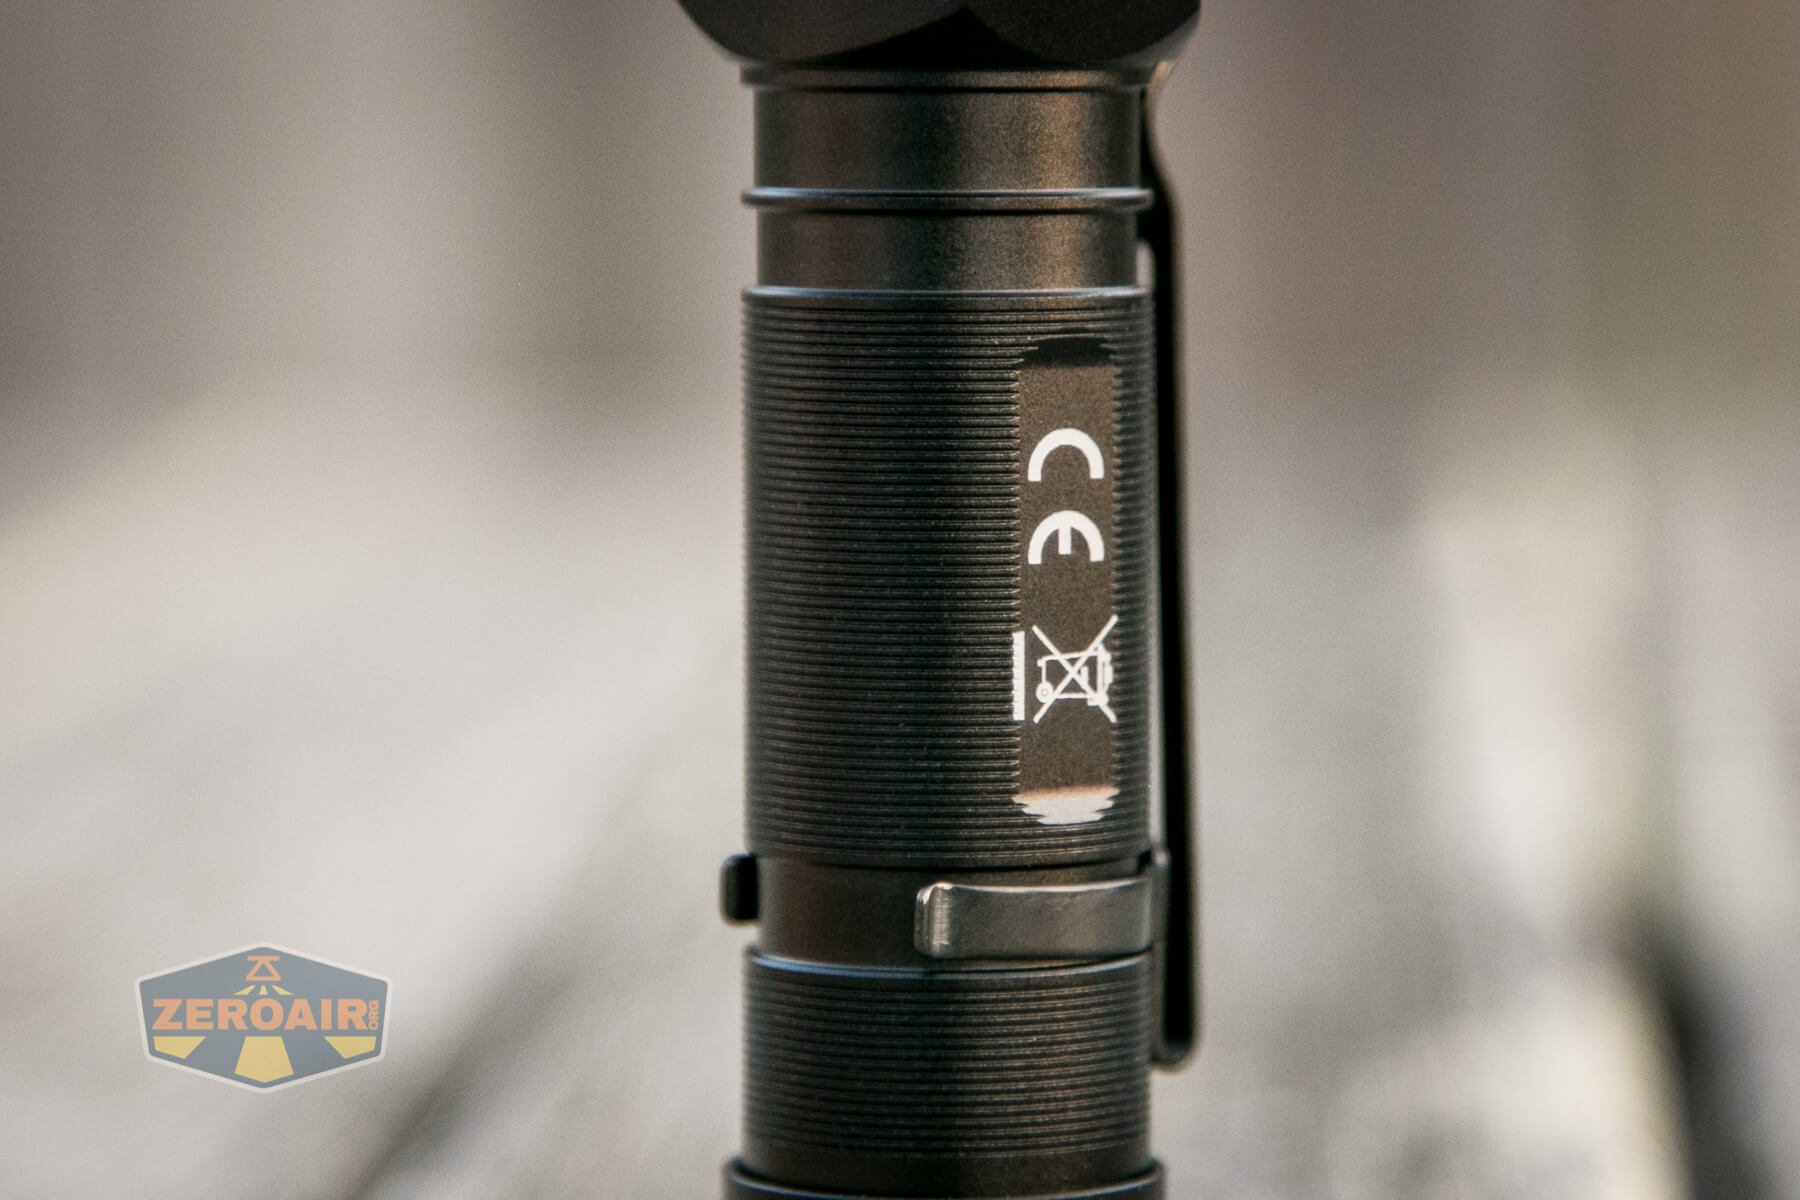
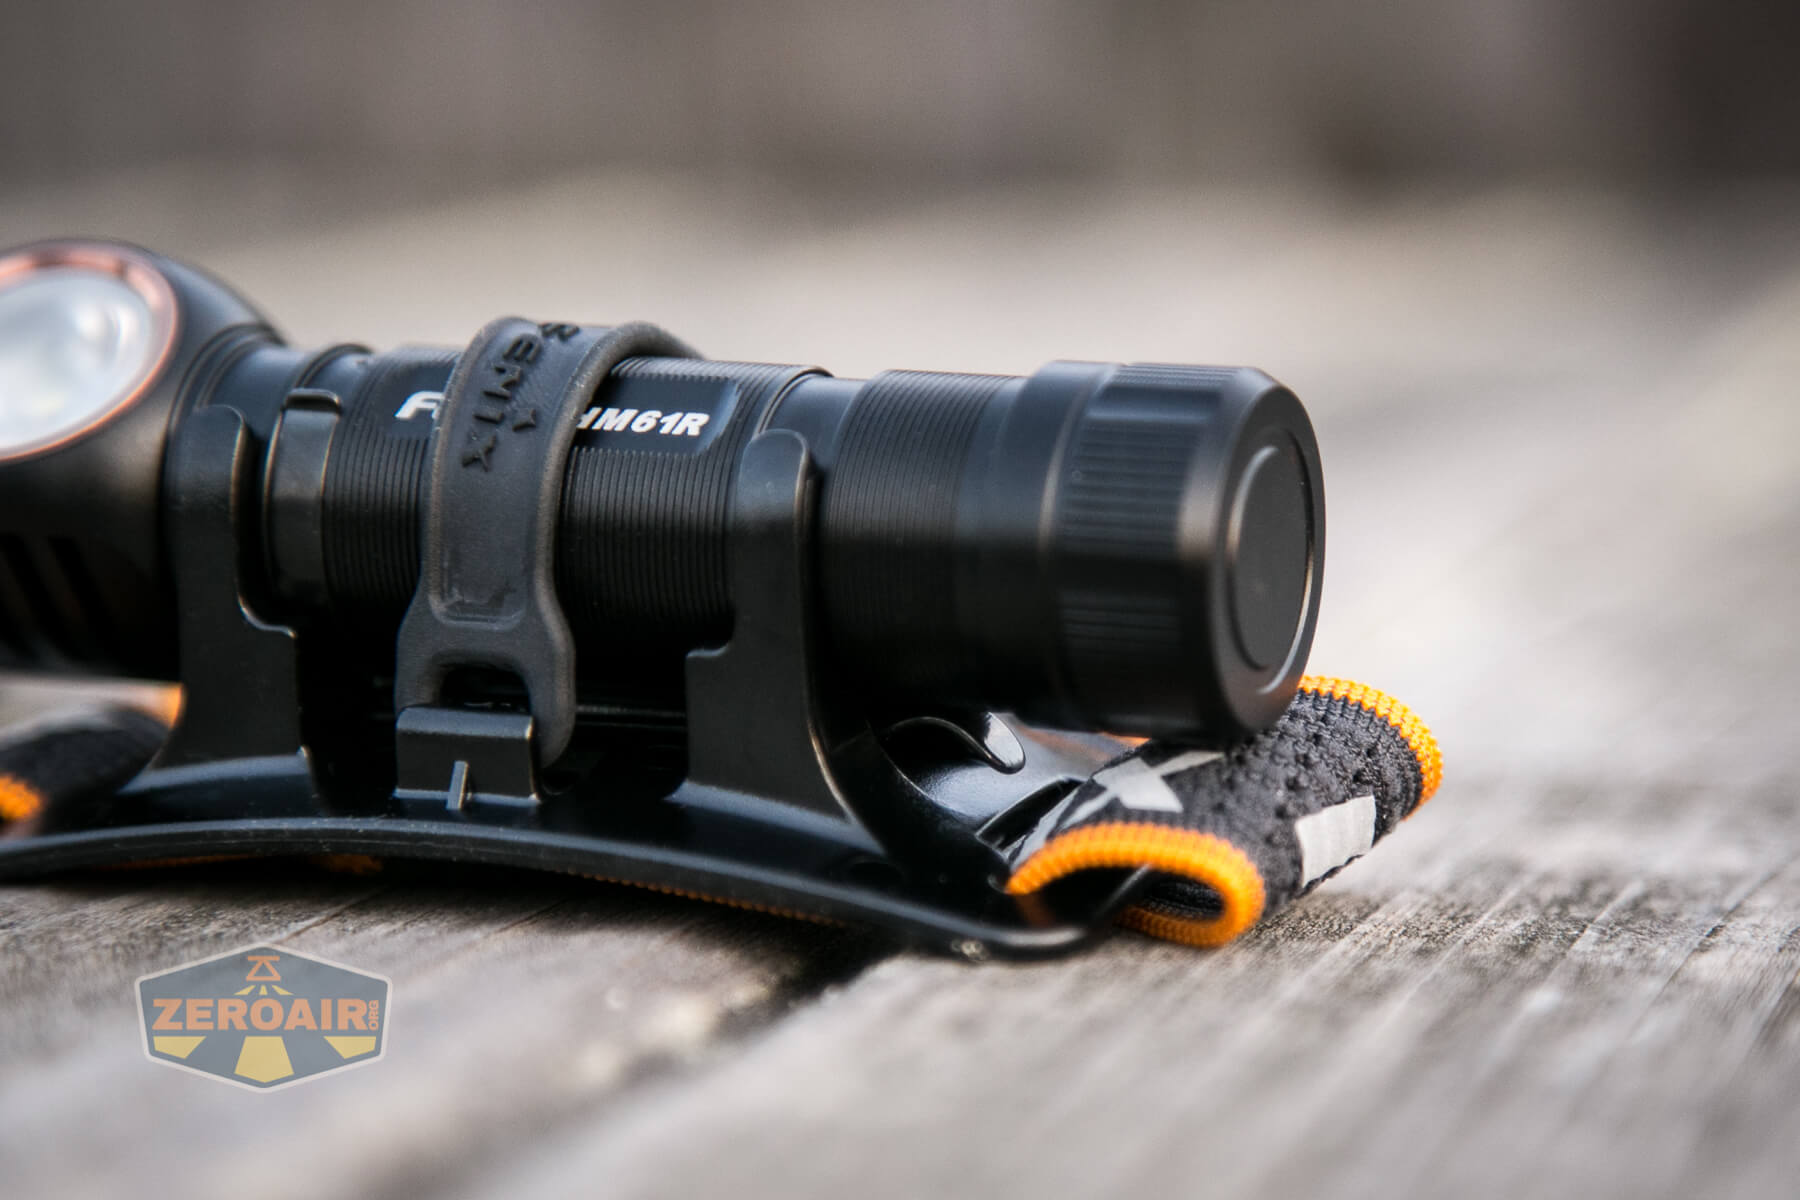
The body isn’t overrun with grip, but this banding is sufficient in my experience. Primarily, this light is probably going to be in the headband anyway. And in that sense/usage, the banding will help with the user experience.
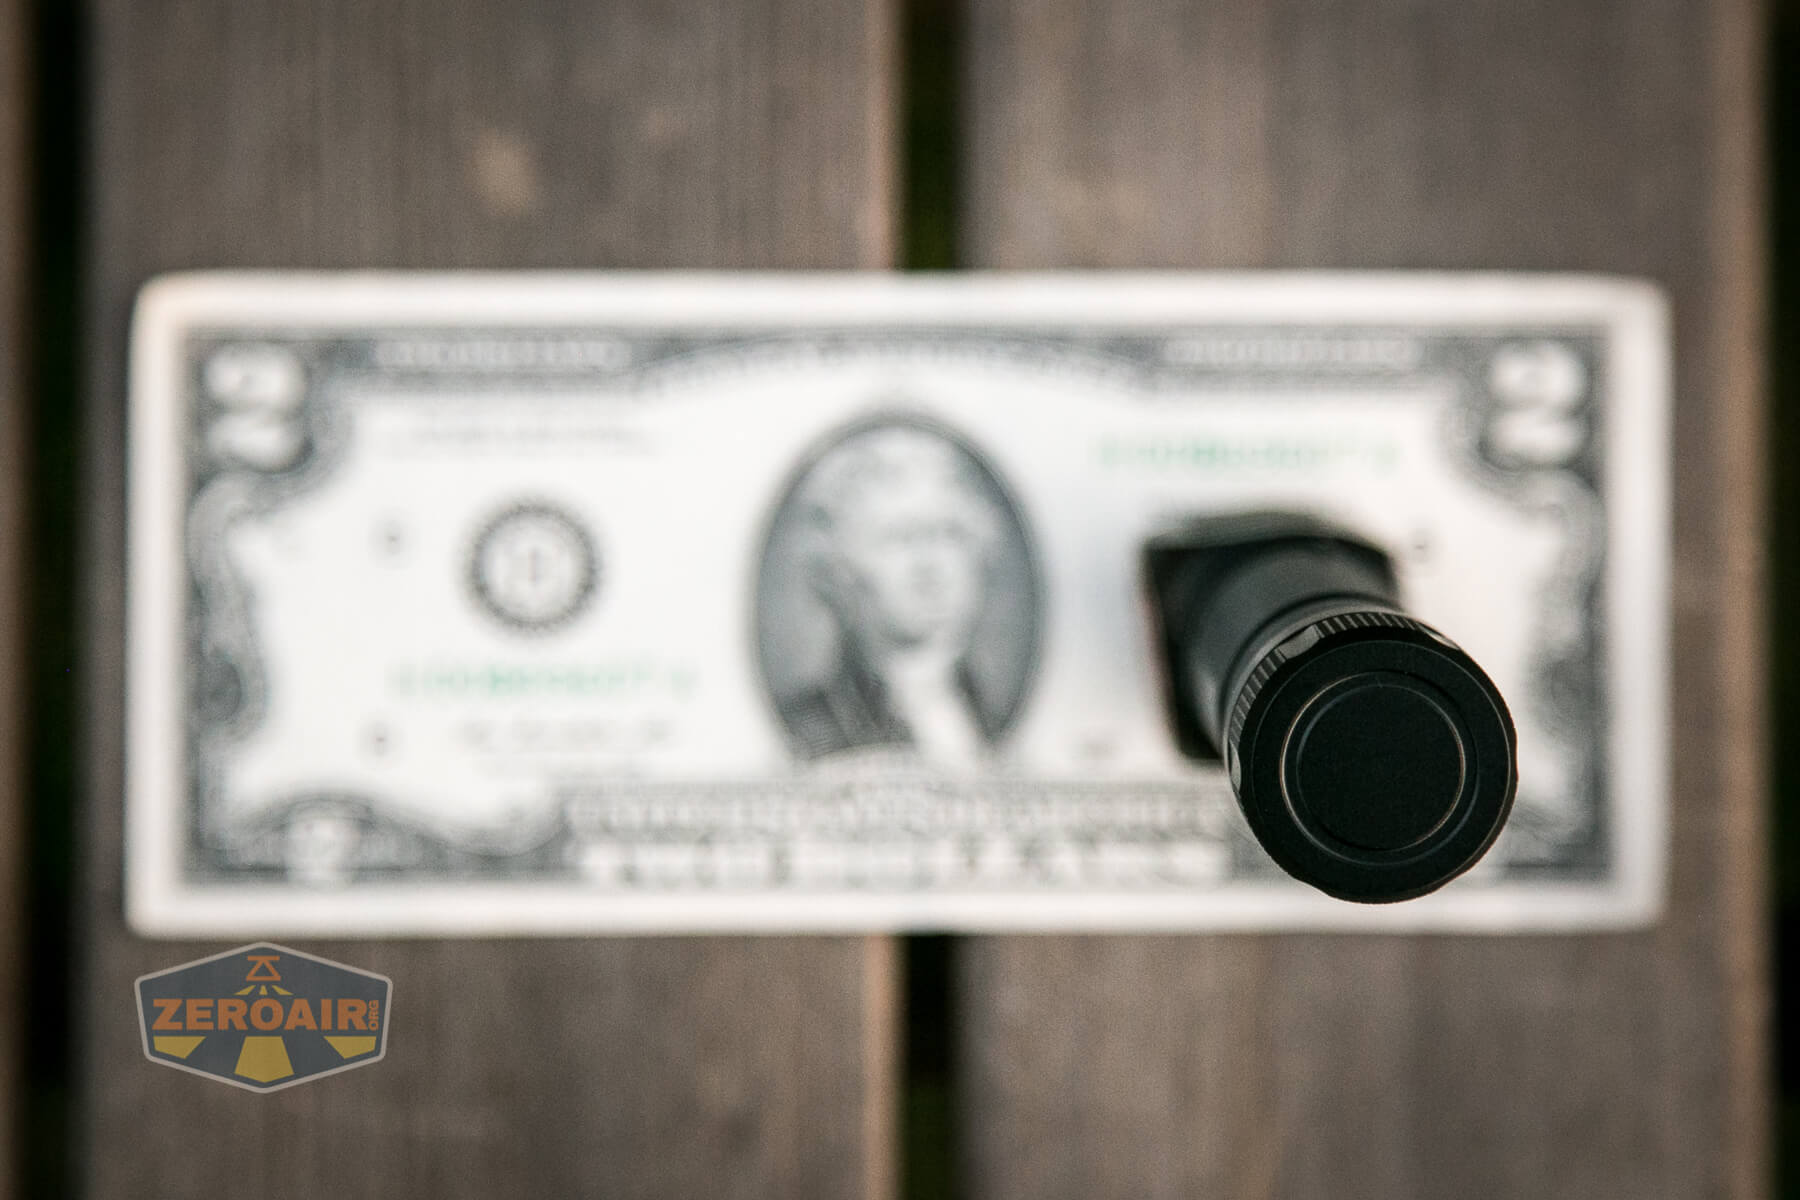
The tailcap is another place where nice touches are evident. If you choose to swap the cell (you might not – there’s built-in charging), you’ll find the tailcap to be very “soft” in-hand. The usually sharp edge has been beveled very heavily, and the grip isn’t knurled, so it doesn’t grab skin too aggressively.
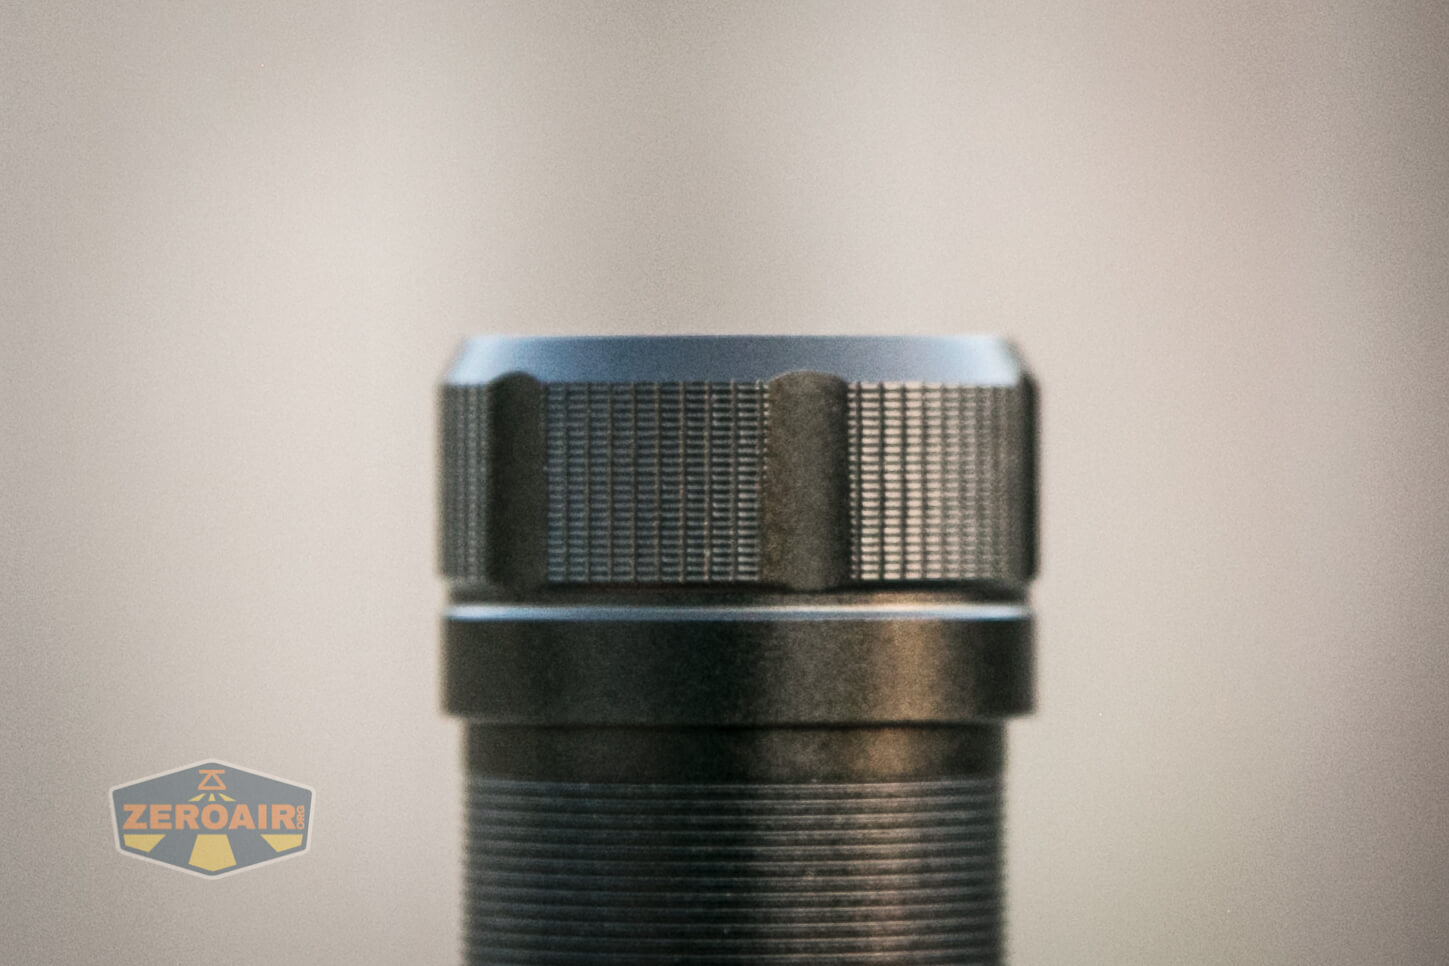
These big beefy threads also lead to a pleasant experience. They’re smooth, square-cut, anodized, and well-lubed. Since they’re anodized, an electronic lockout is possible by loosening the tailcap just a bit (maybe 1/8th of a turn). If you noticed the quescent current from the table above, you’ll note that mechanical lockout is probably something you’ll want to do – the parasitic drain is fairly high here.

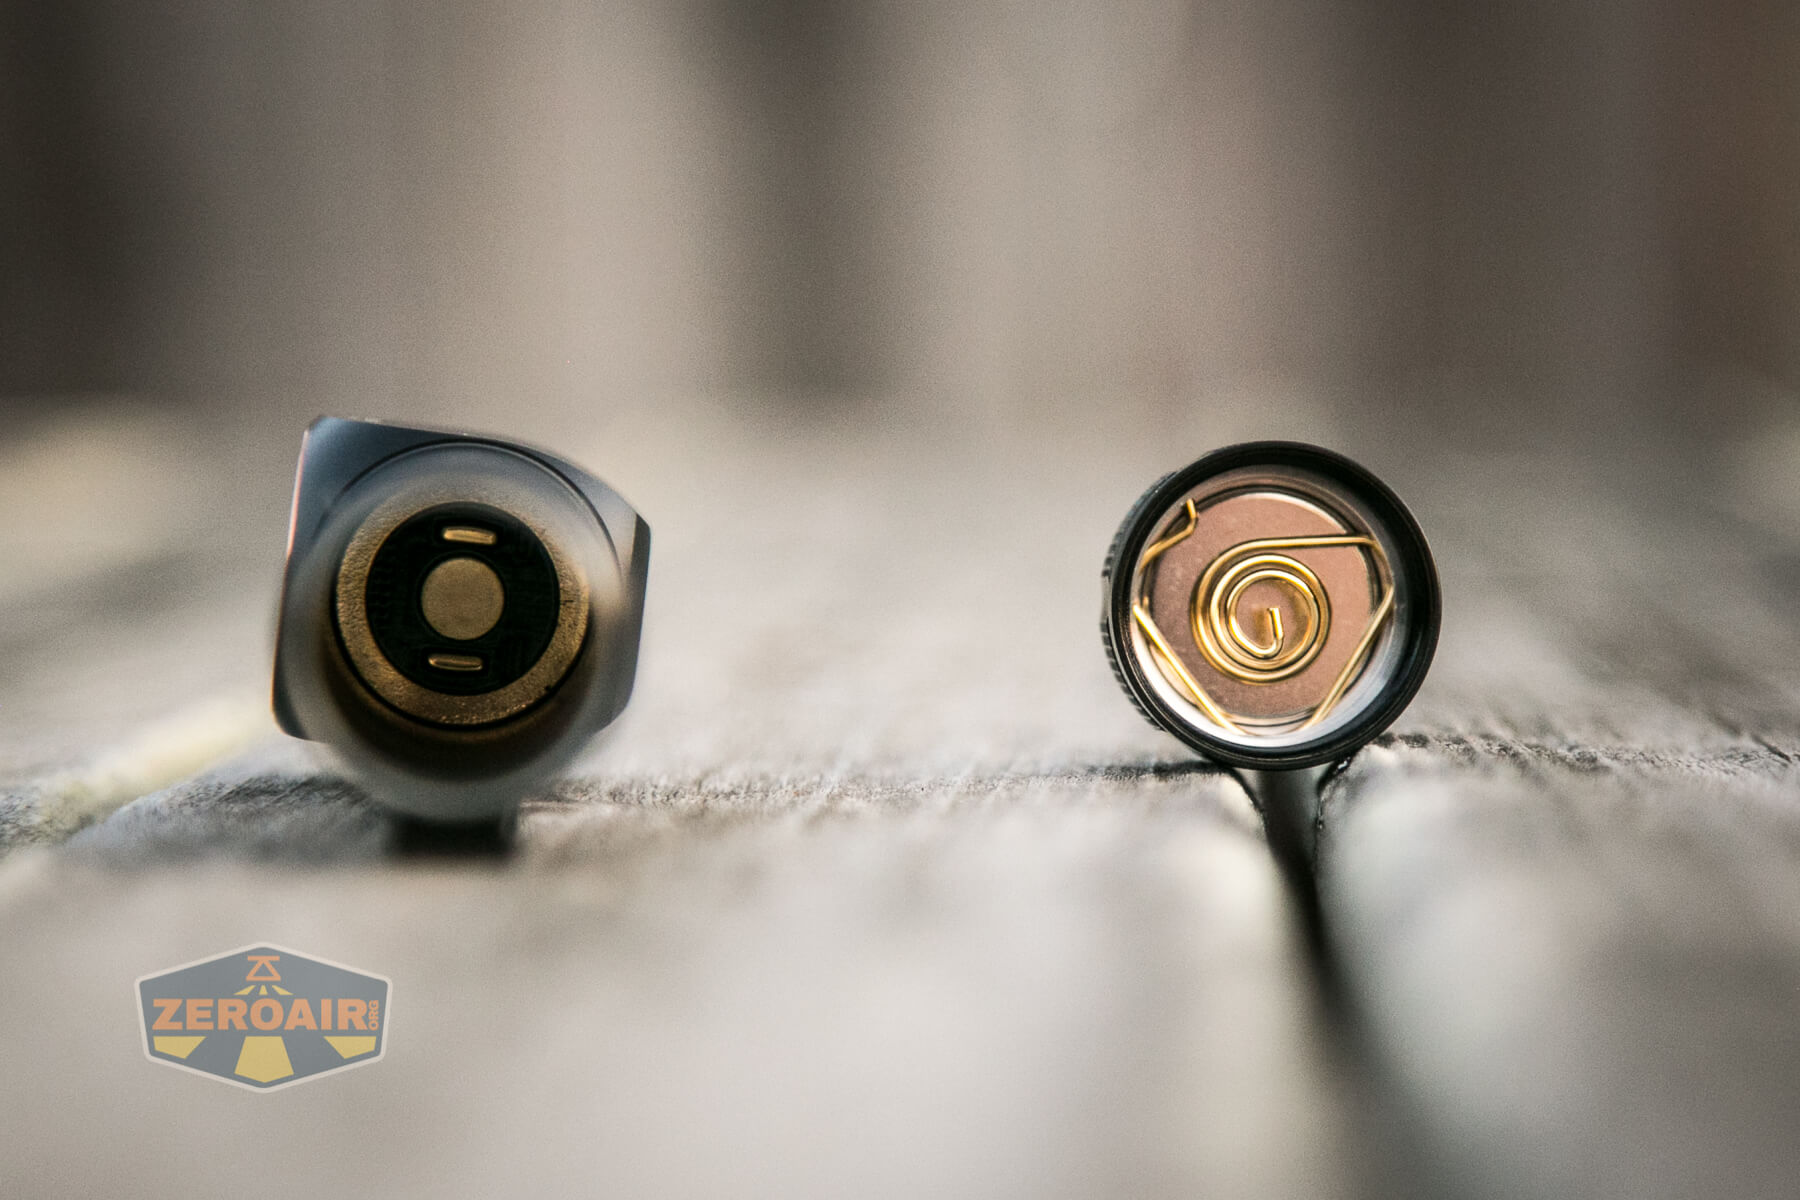
Here you can see the magnet in the tailcap. I didn’t overstress it, but that spring did look to be removable. You could probably remove that magnet if you wish.

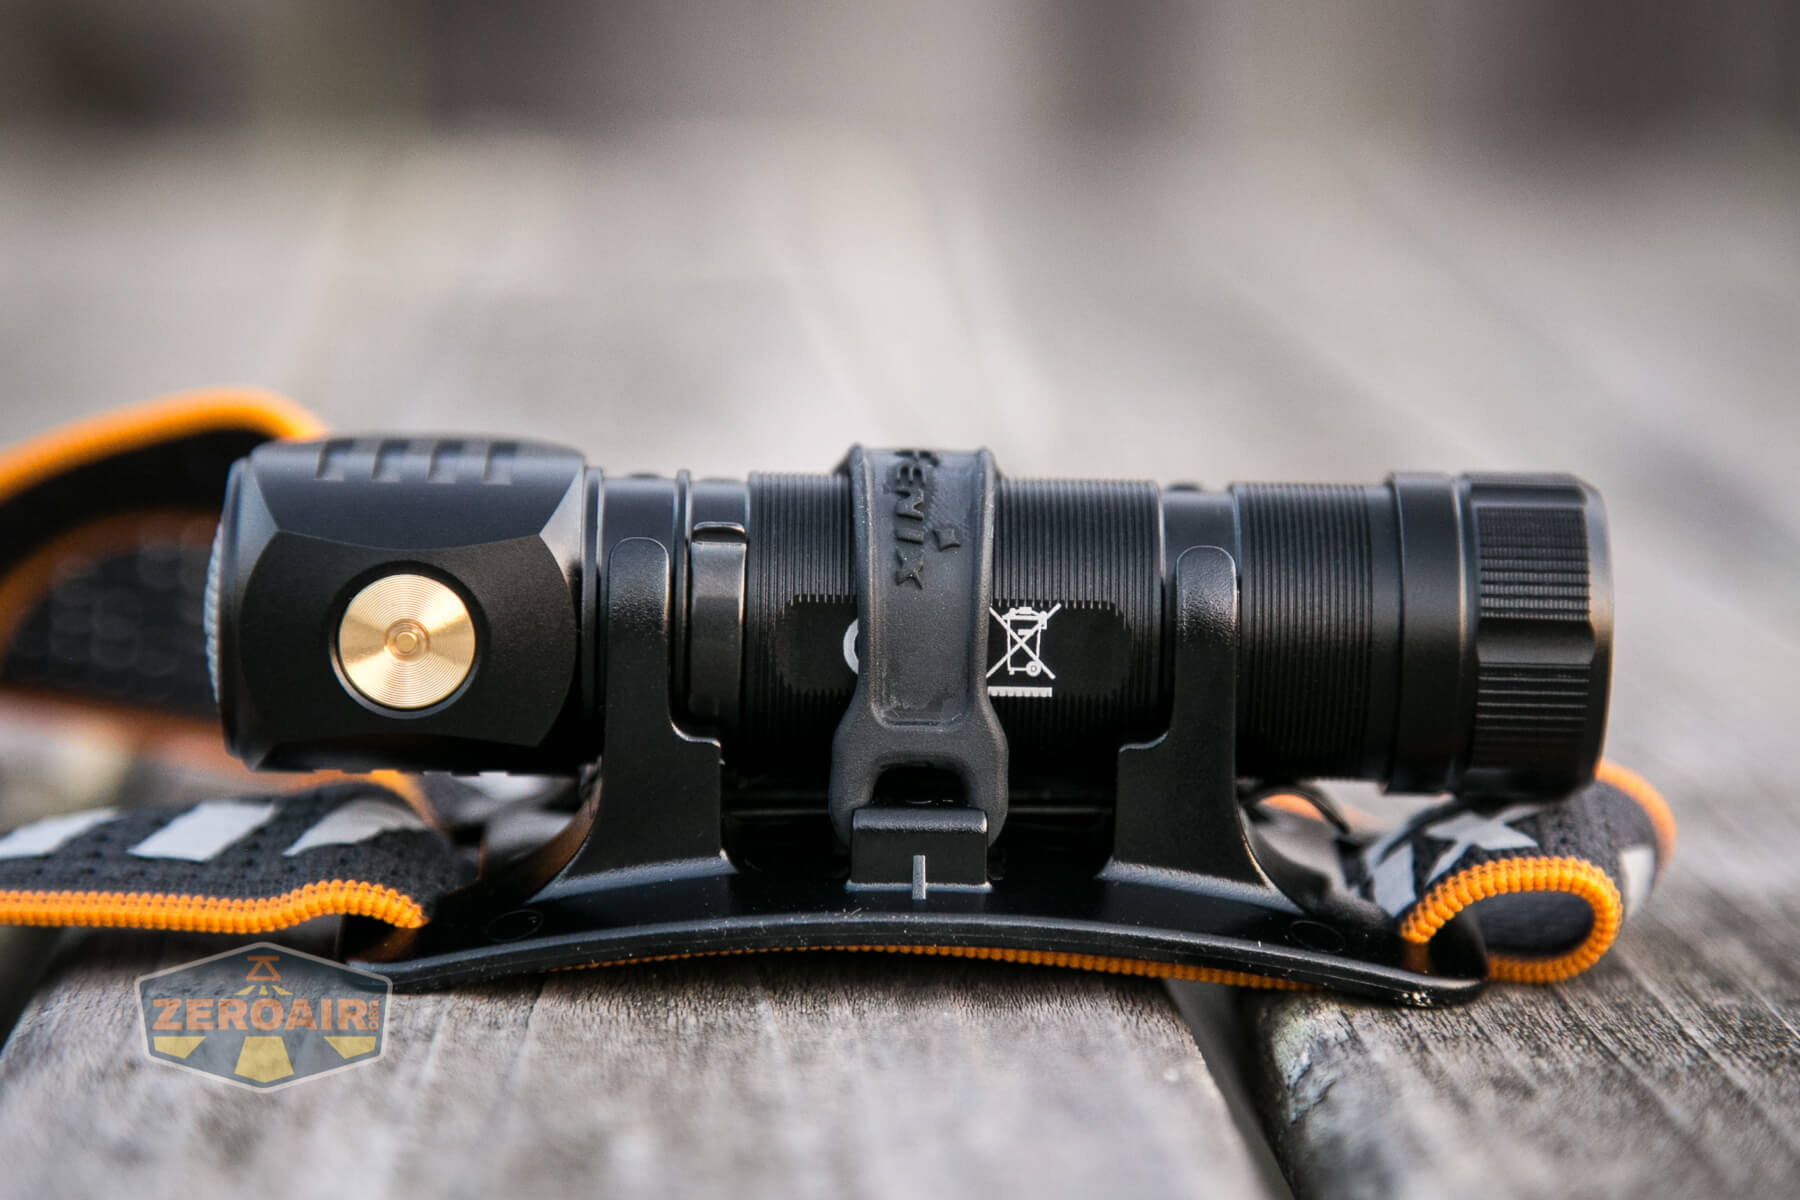
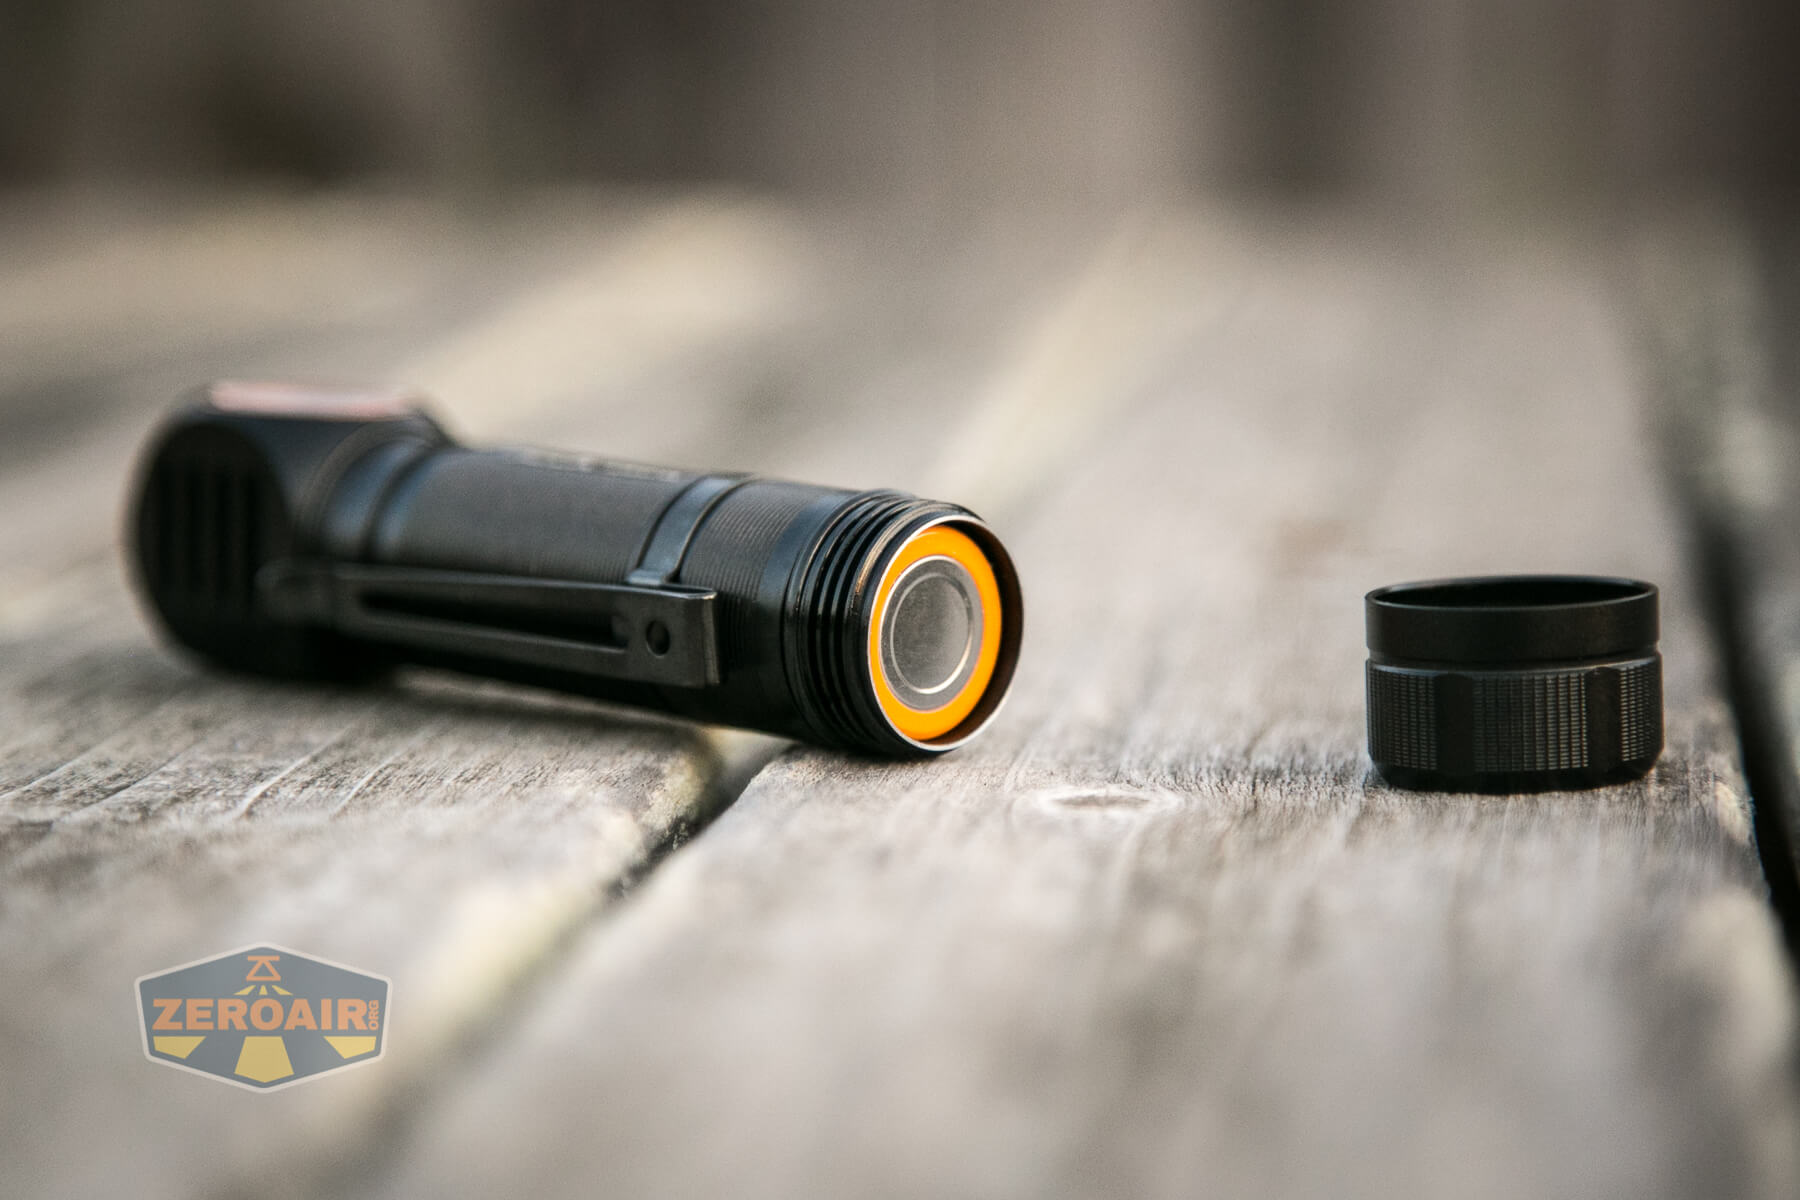
The head contact is just a flat brass button.
I didn’t access the head end. The head doesn’t come off the cell tube, and the bezel is either press-fit in or screwed in with no access from the outside. It’ll take a lot of determination to do emitter swaps on this headlamp.
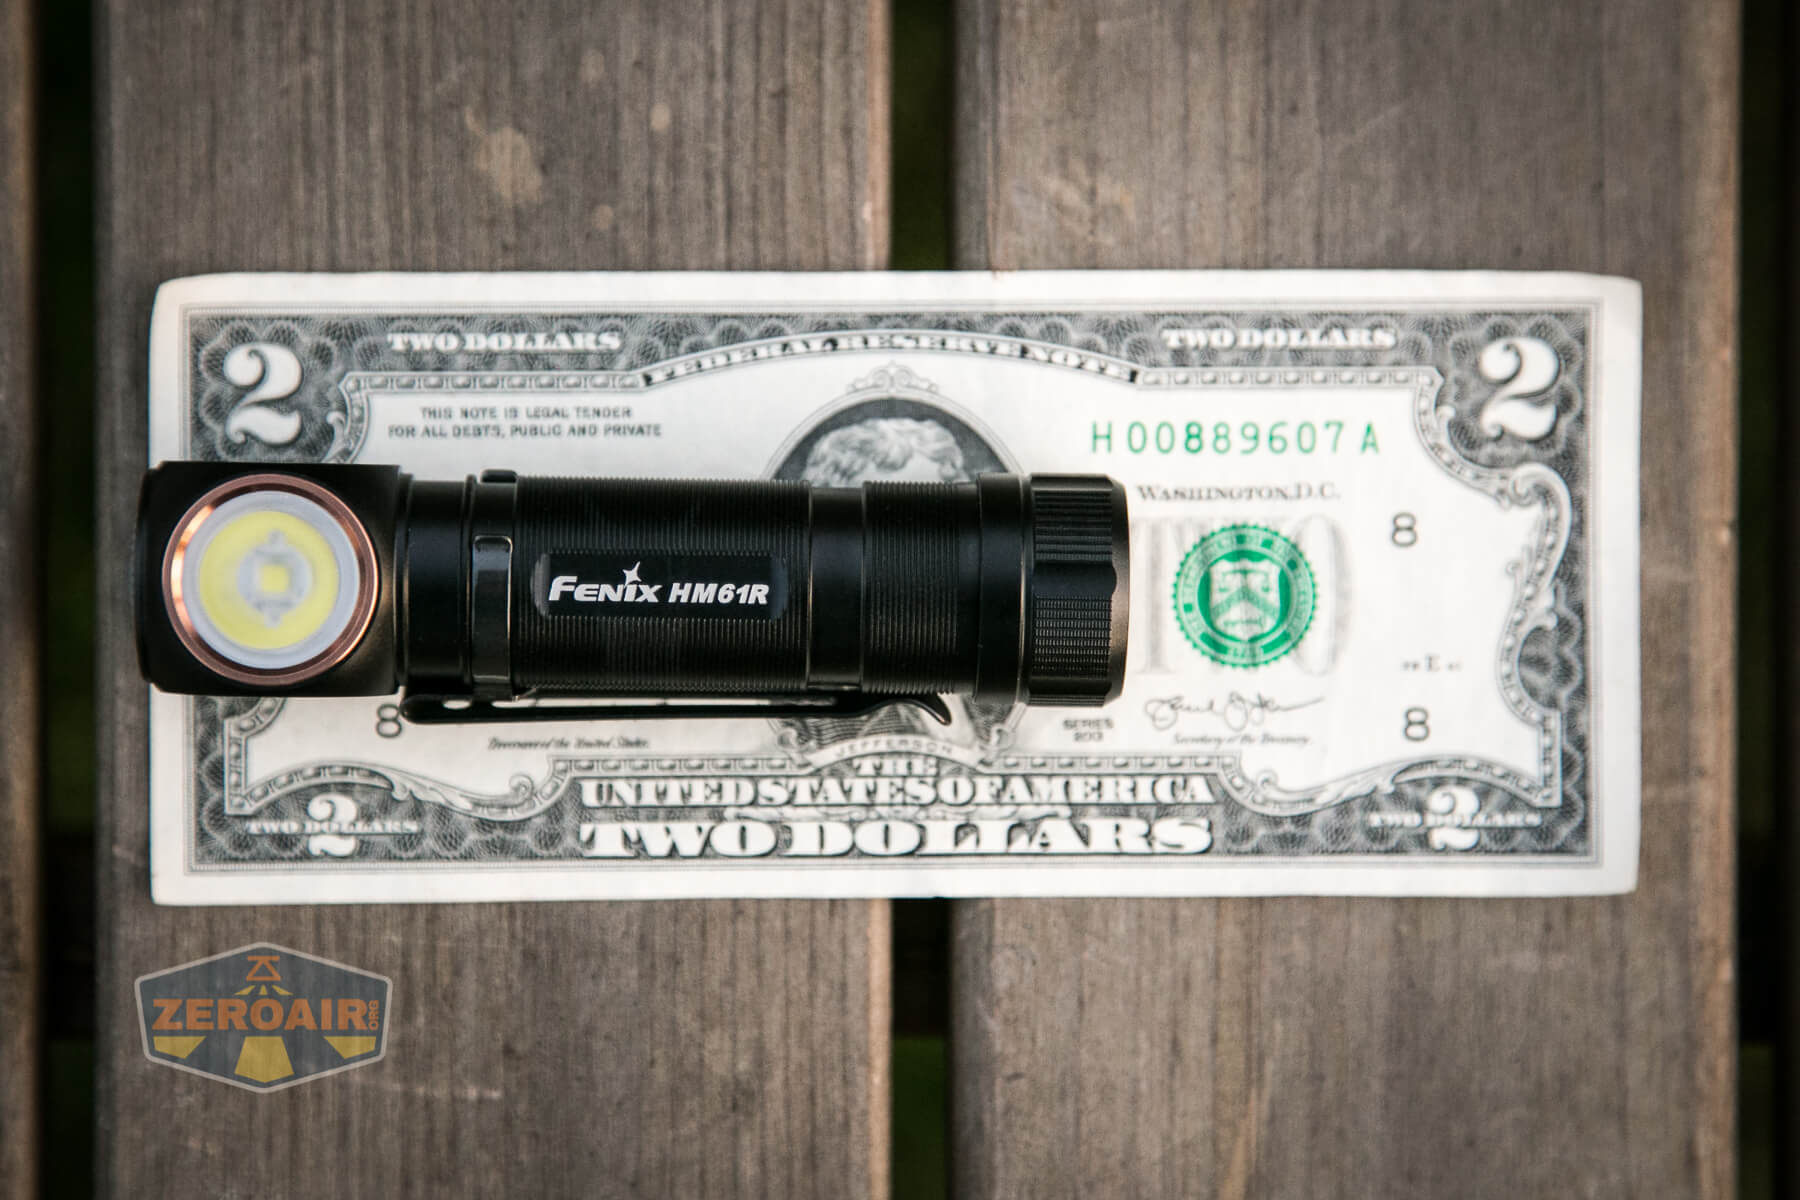
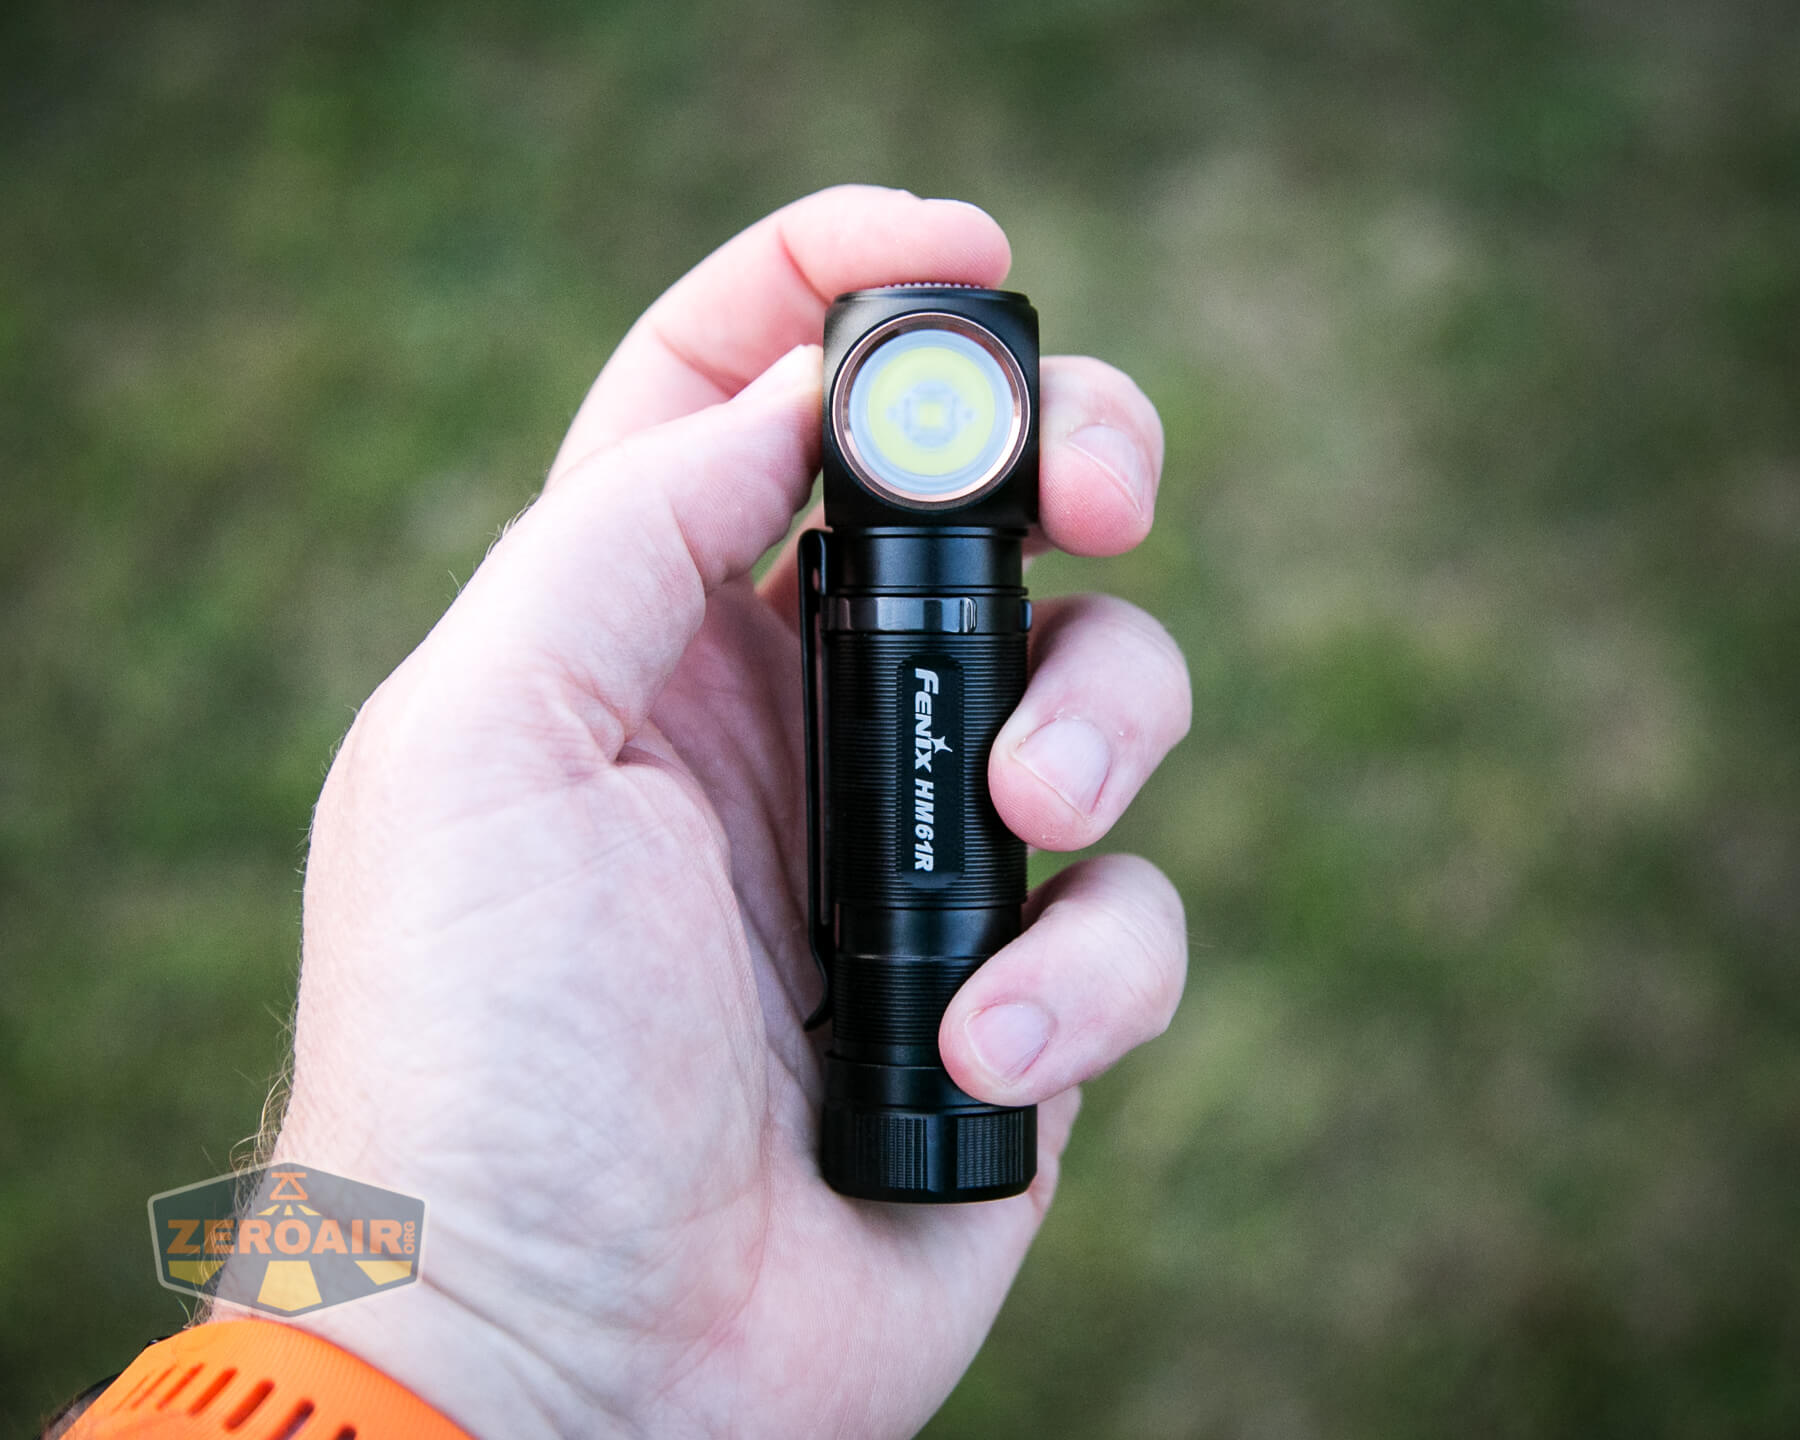
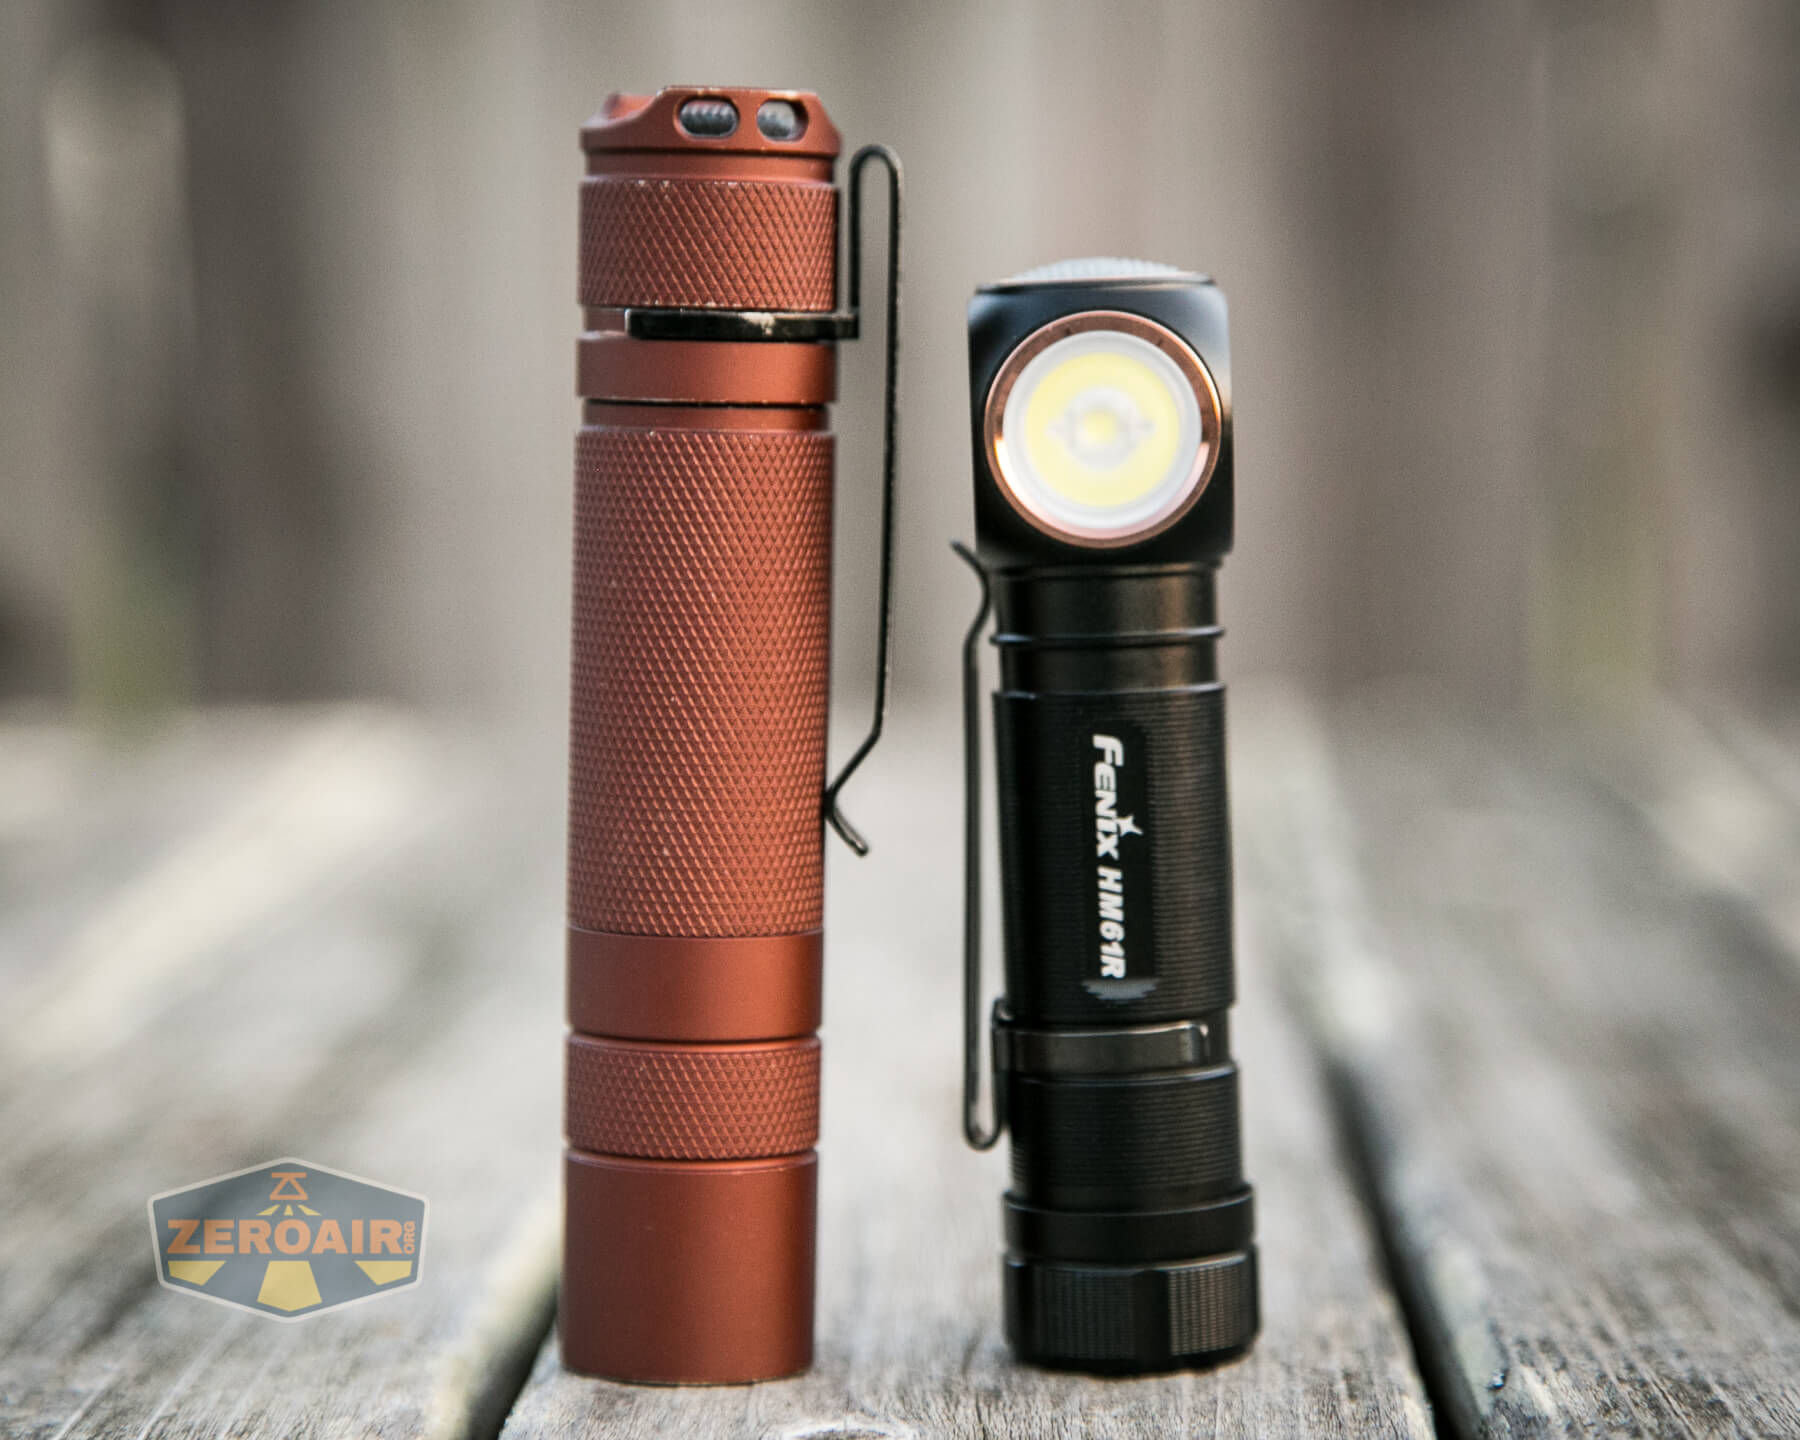
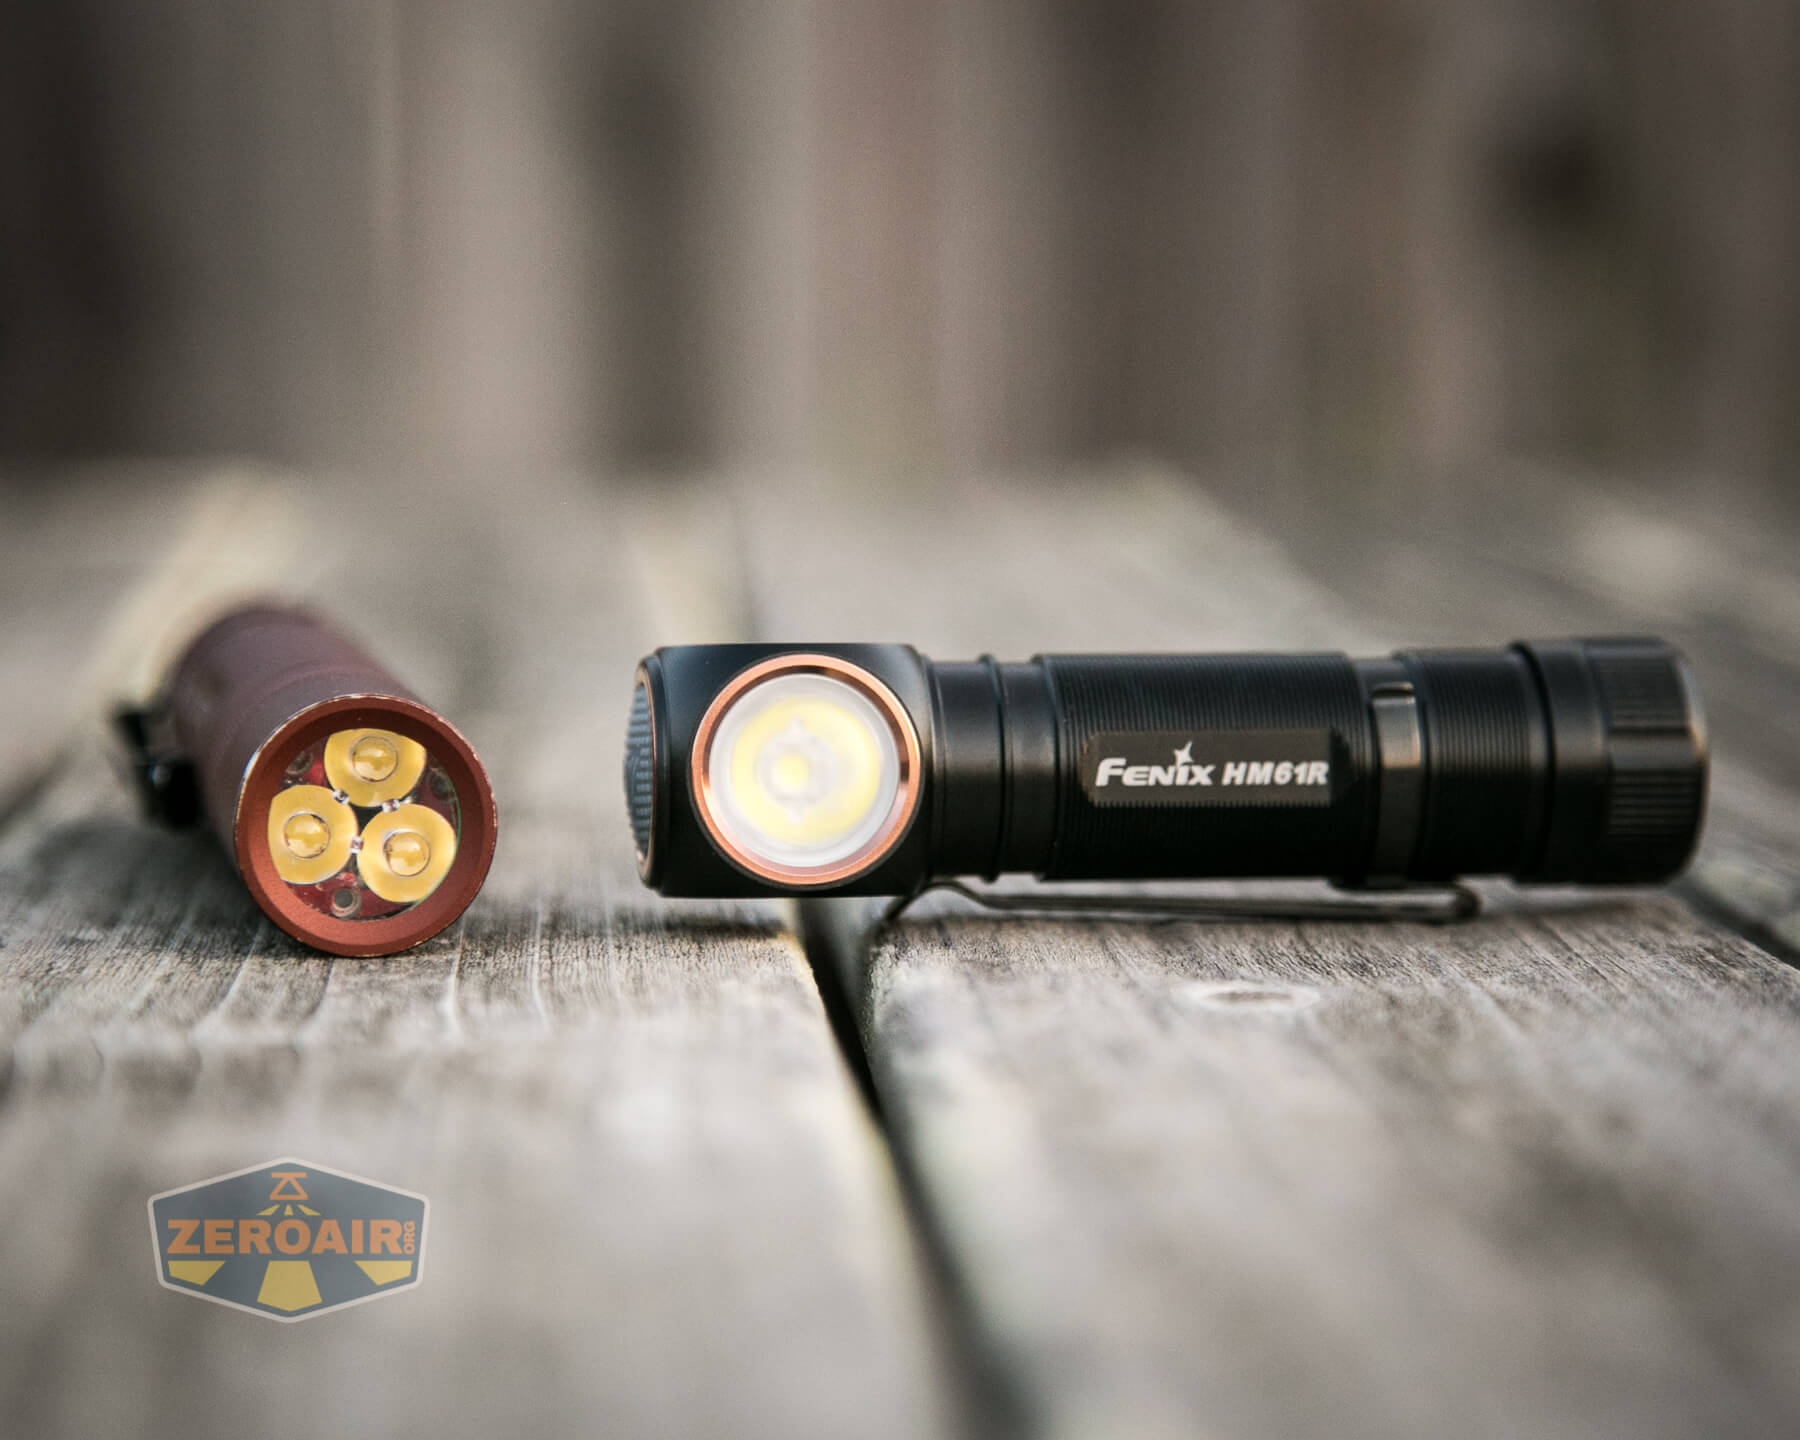
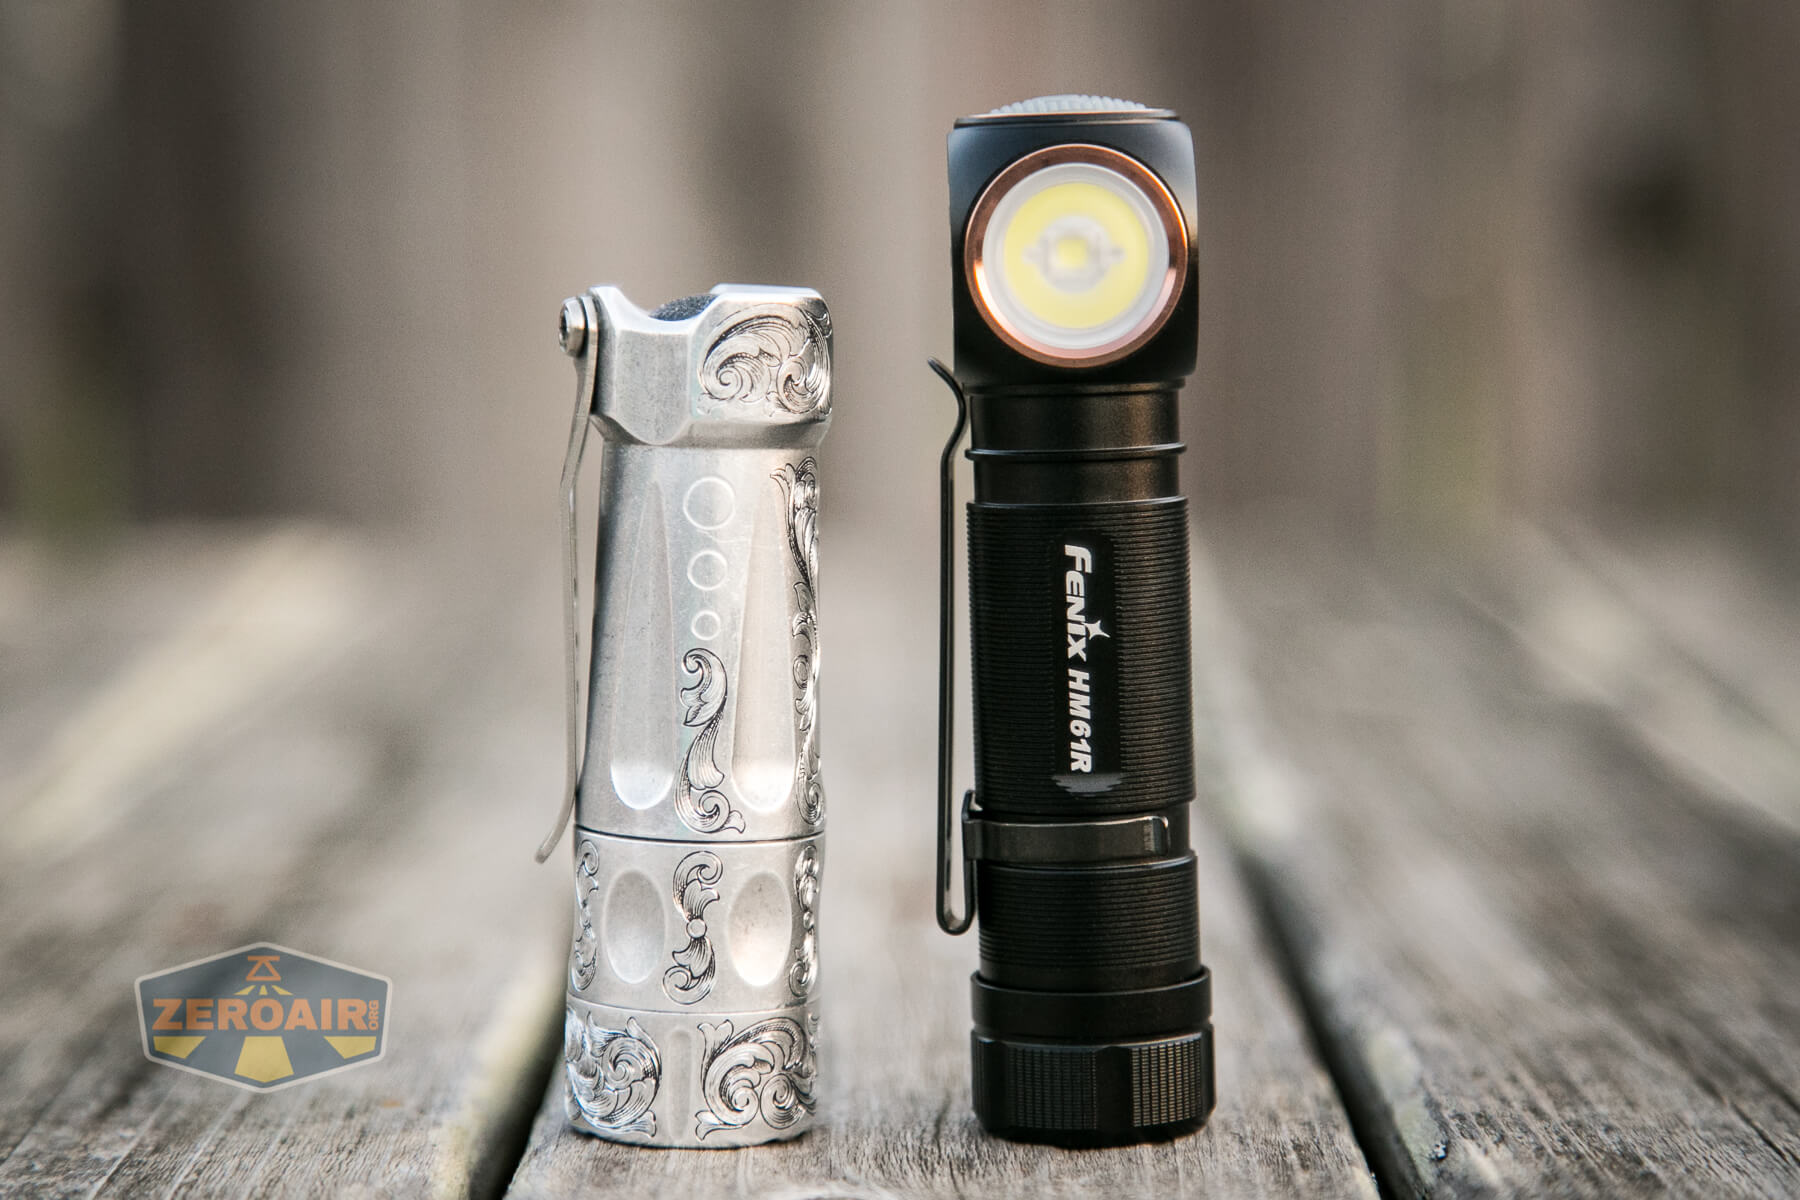
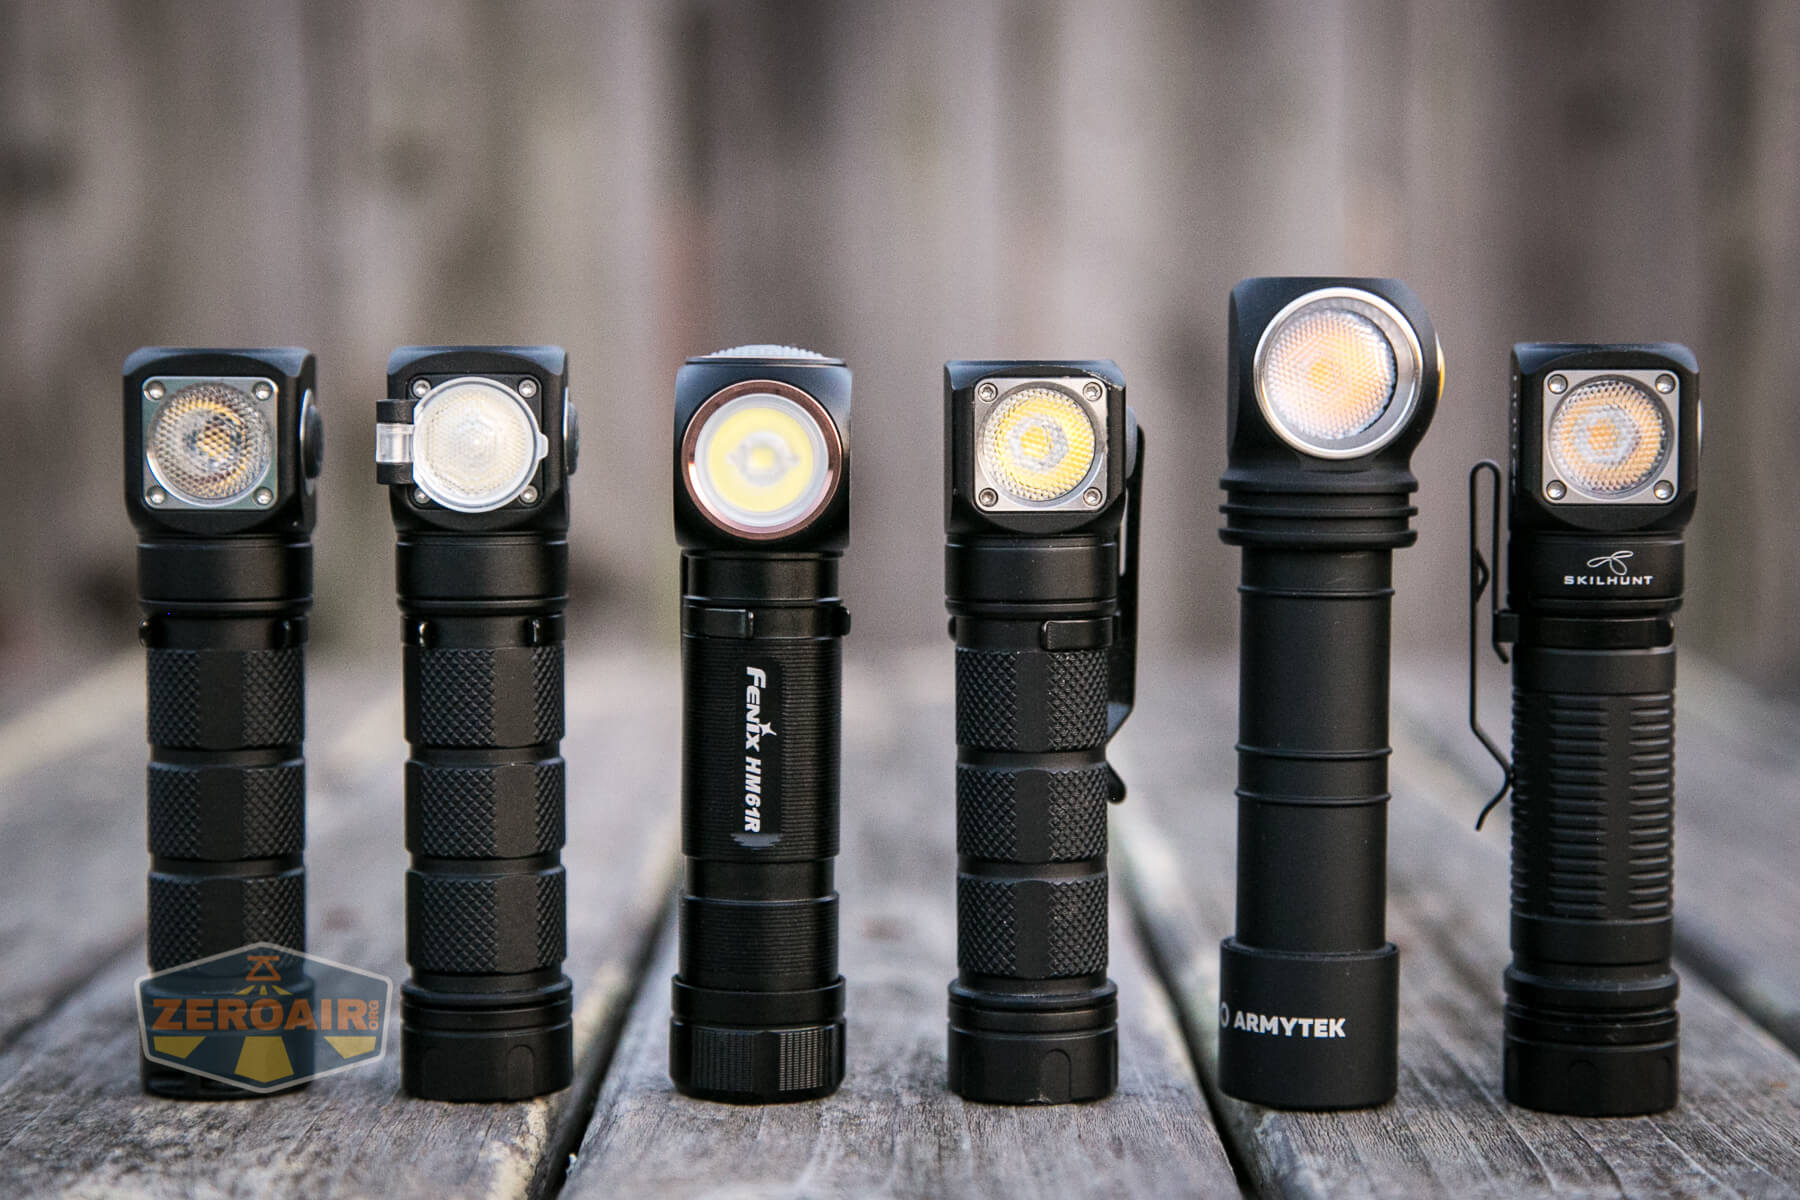
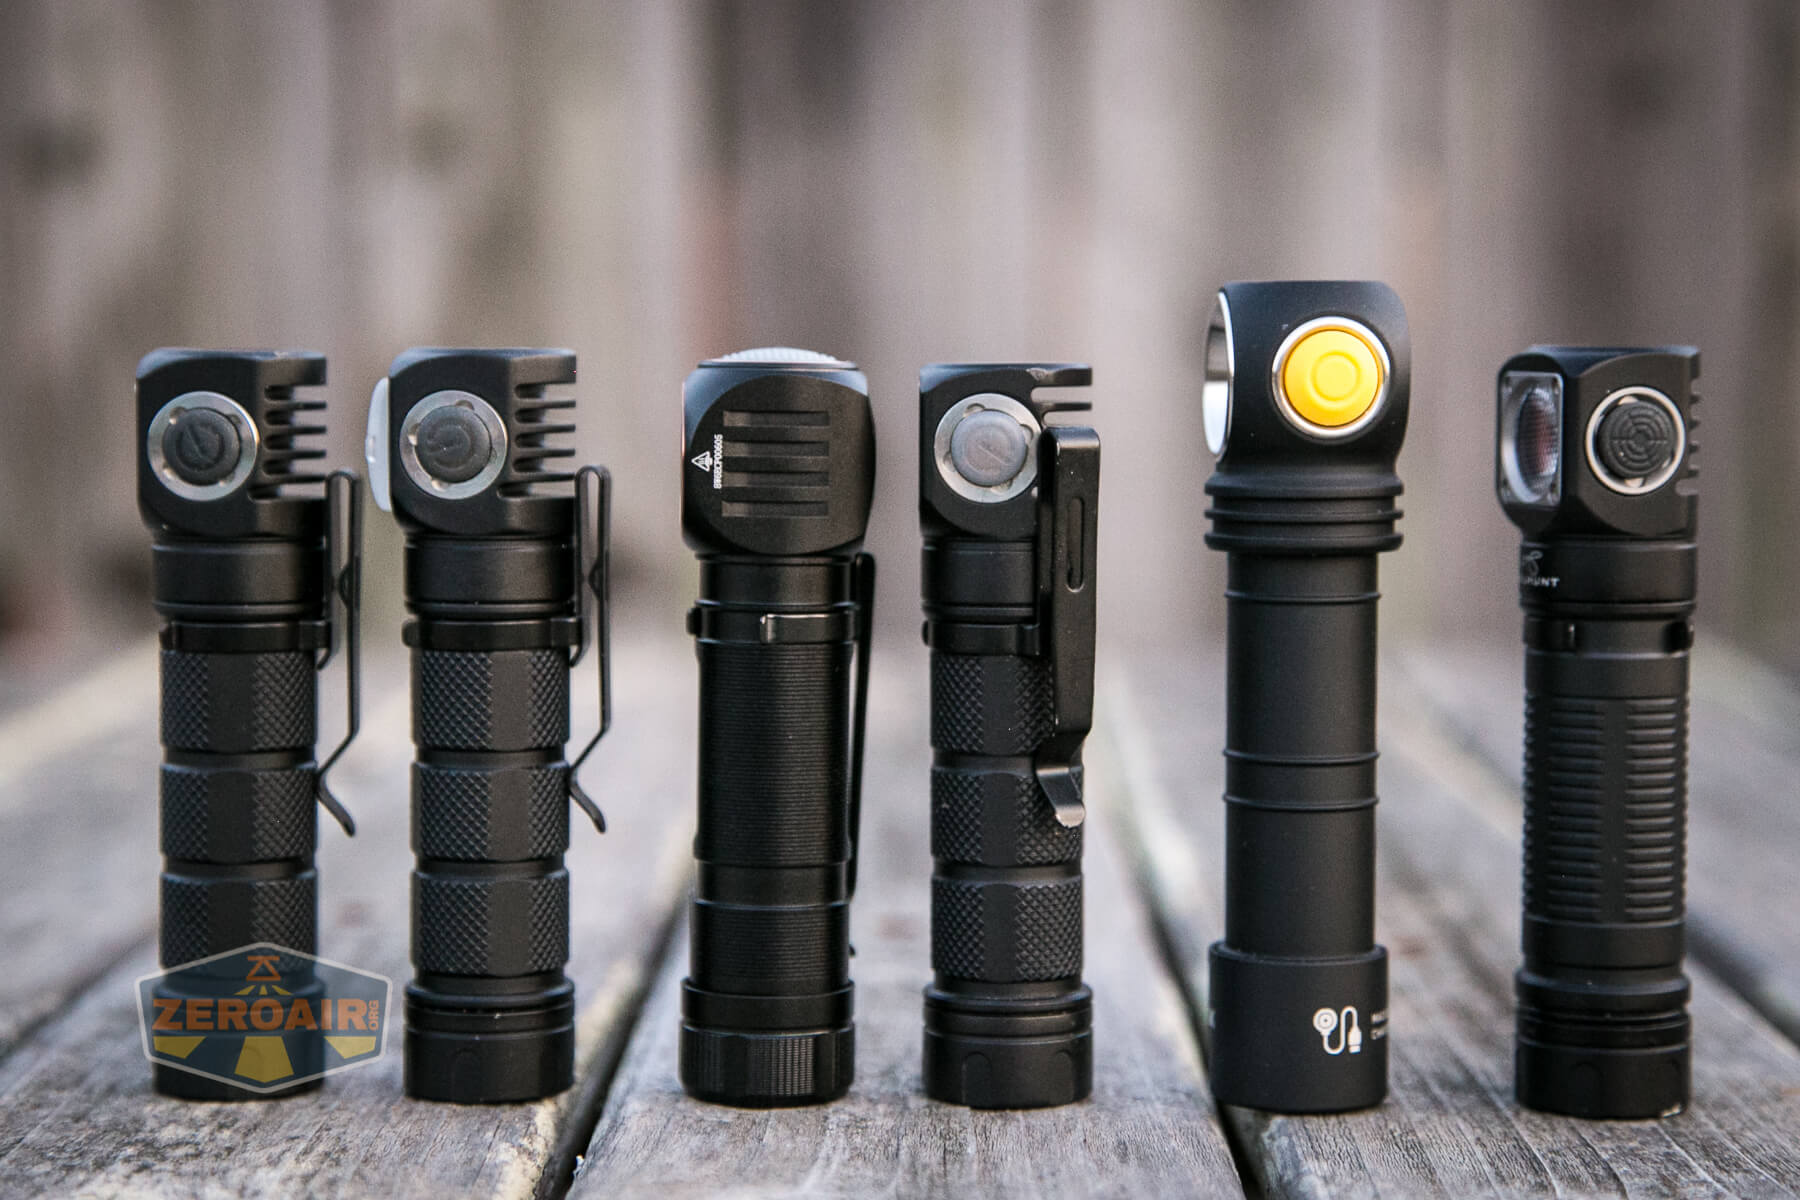
Size and Comps
Length: 3.98″
Head Diameter: 1.81″
Body Diameter: 1.42″
Weight: 3.51oz (Excluding Battery)

If the flashlight will headstand, I’ll try to show it here. If the flashlight will tailstand, I usually show that here, too.
Here’s the test light with the venerable Convoy S2+. Mine is a custom “baked” edition Nichia 219b triple. A very nice 18650 light!
And here’s the light beside my custom-engraved TorchLAB BOSS 35, an 18350 light. I reviewed the aluminum version of that light in both 35 and 70 formats.
Here you can see the Fenix HM61R Rechargeable Headlamp with some other 18650 headlamps. It competes very well in size. The Skilhunt H03 and H04 are stalwarts in this category, and the HM61R is essentially the same size, with as many or more features.
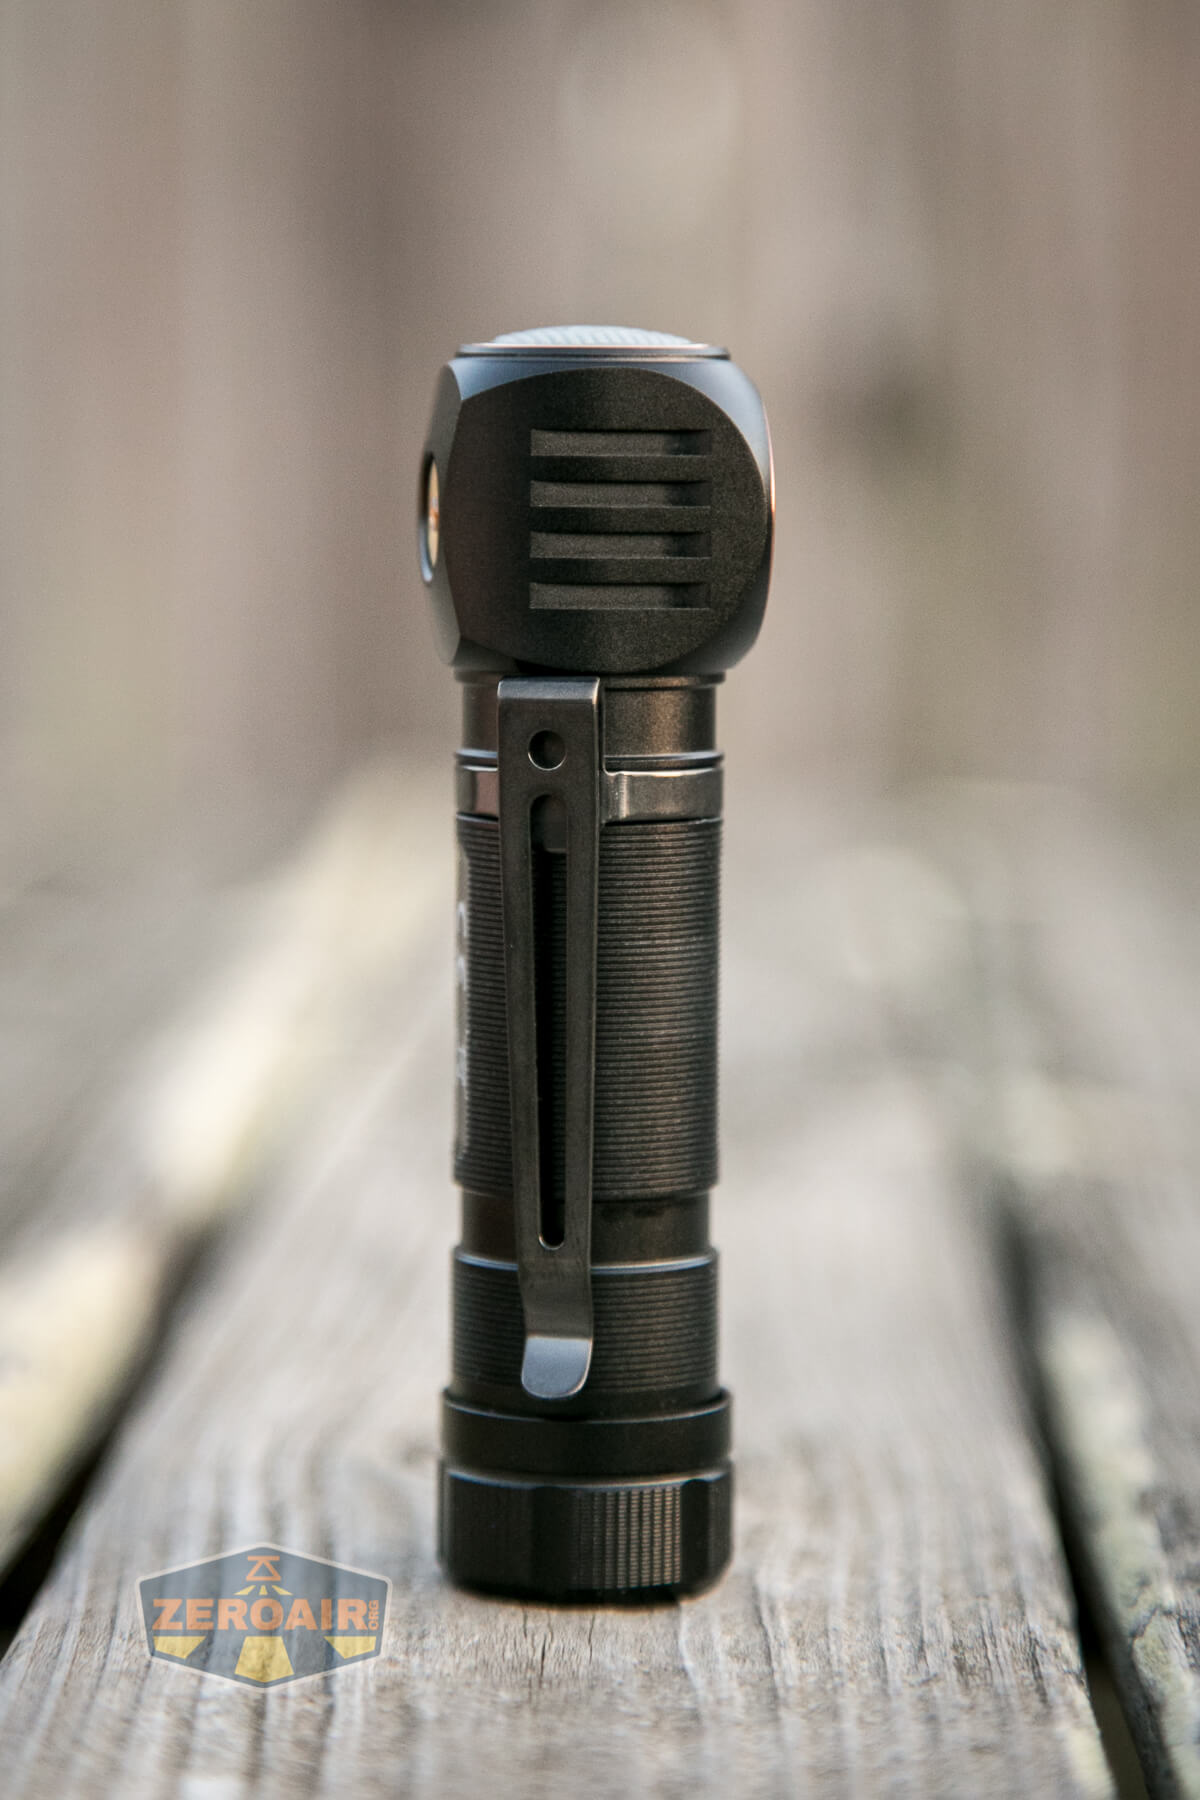
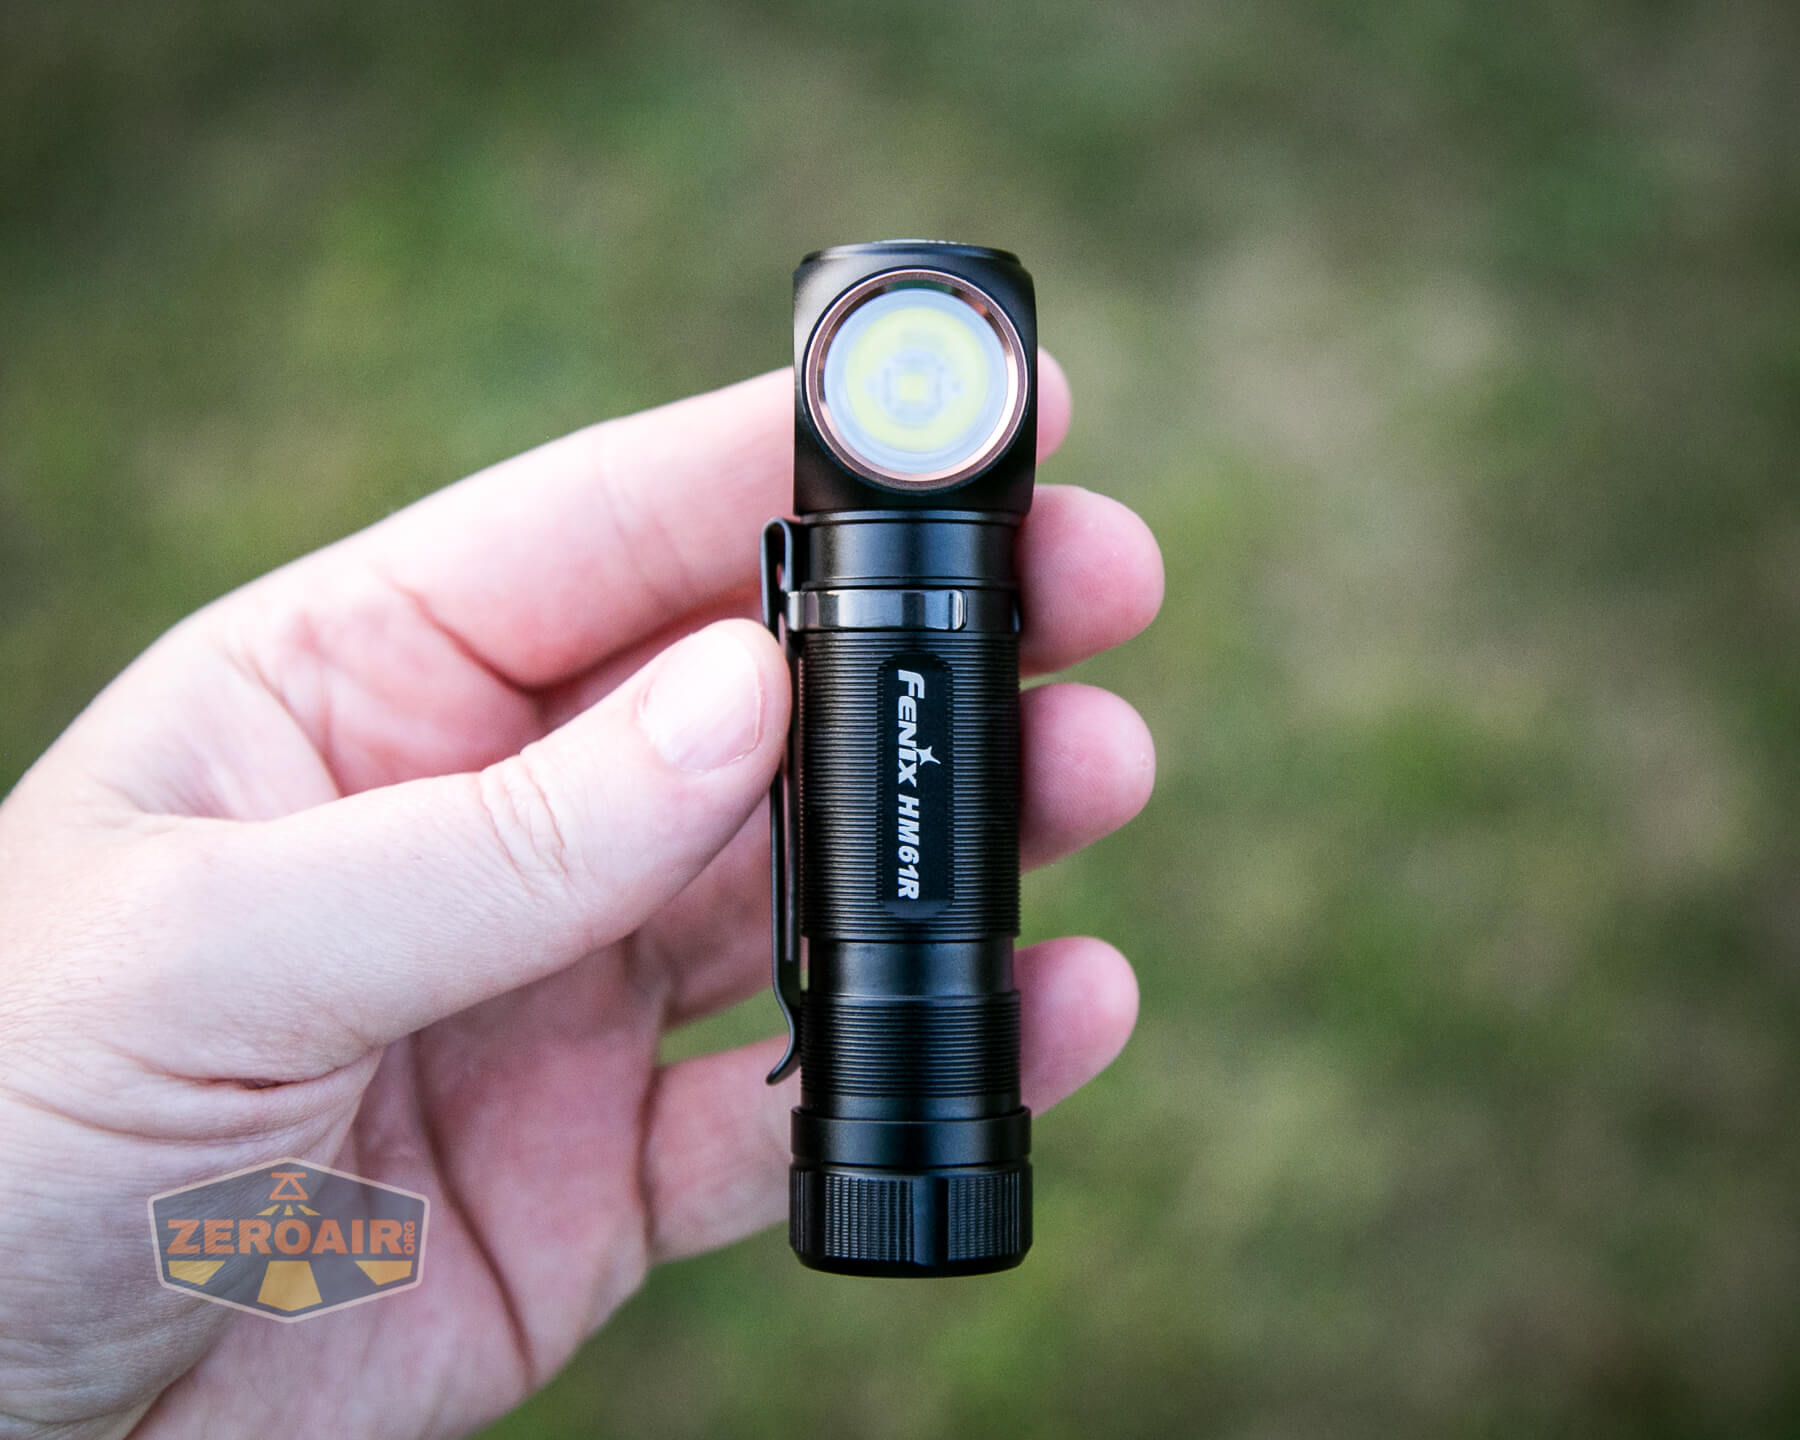
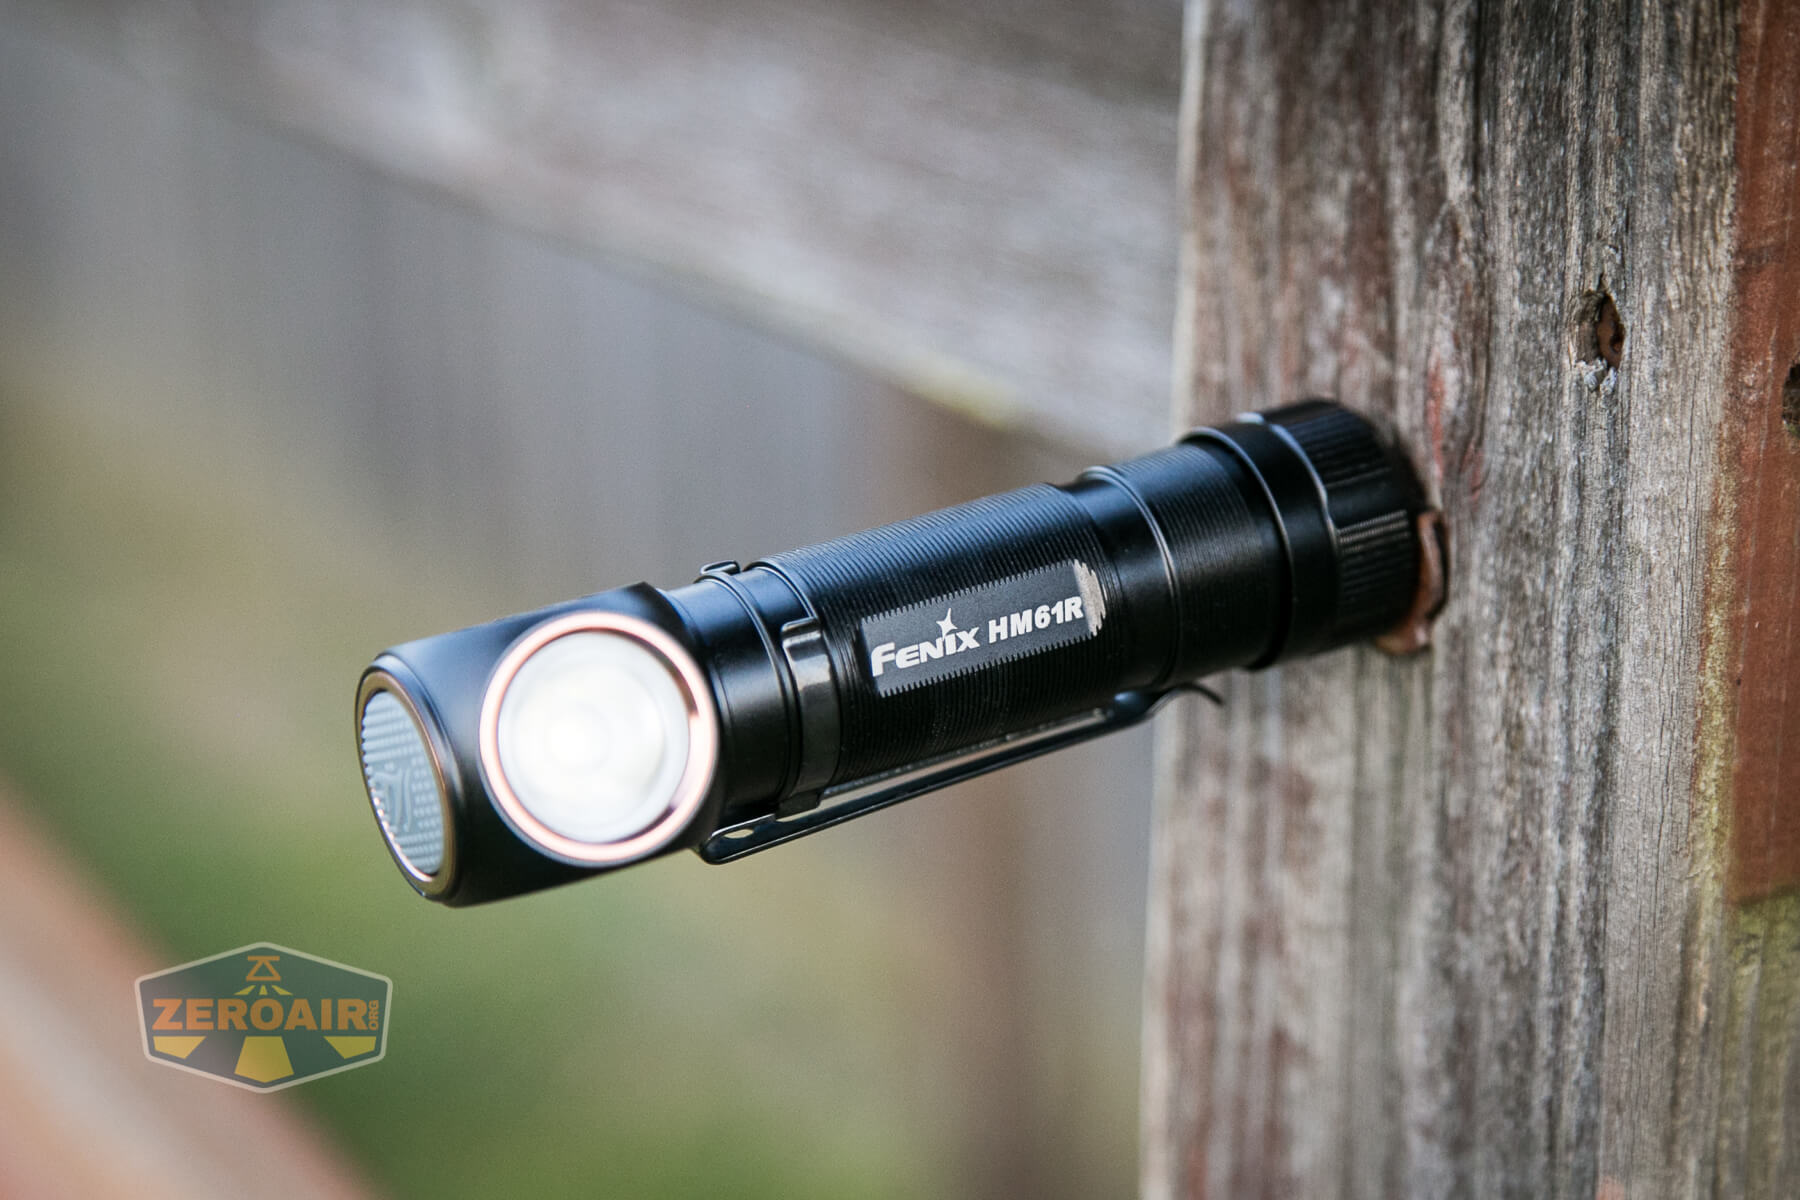
Retention and Carry
Though this is primarily a headlamp (headlamp is right there in the name), the Fenix HM61R isn’t “headlamp” in the way the HM65R-T is. The HM61R can easily be carried as a pocket light or a number of ways.
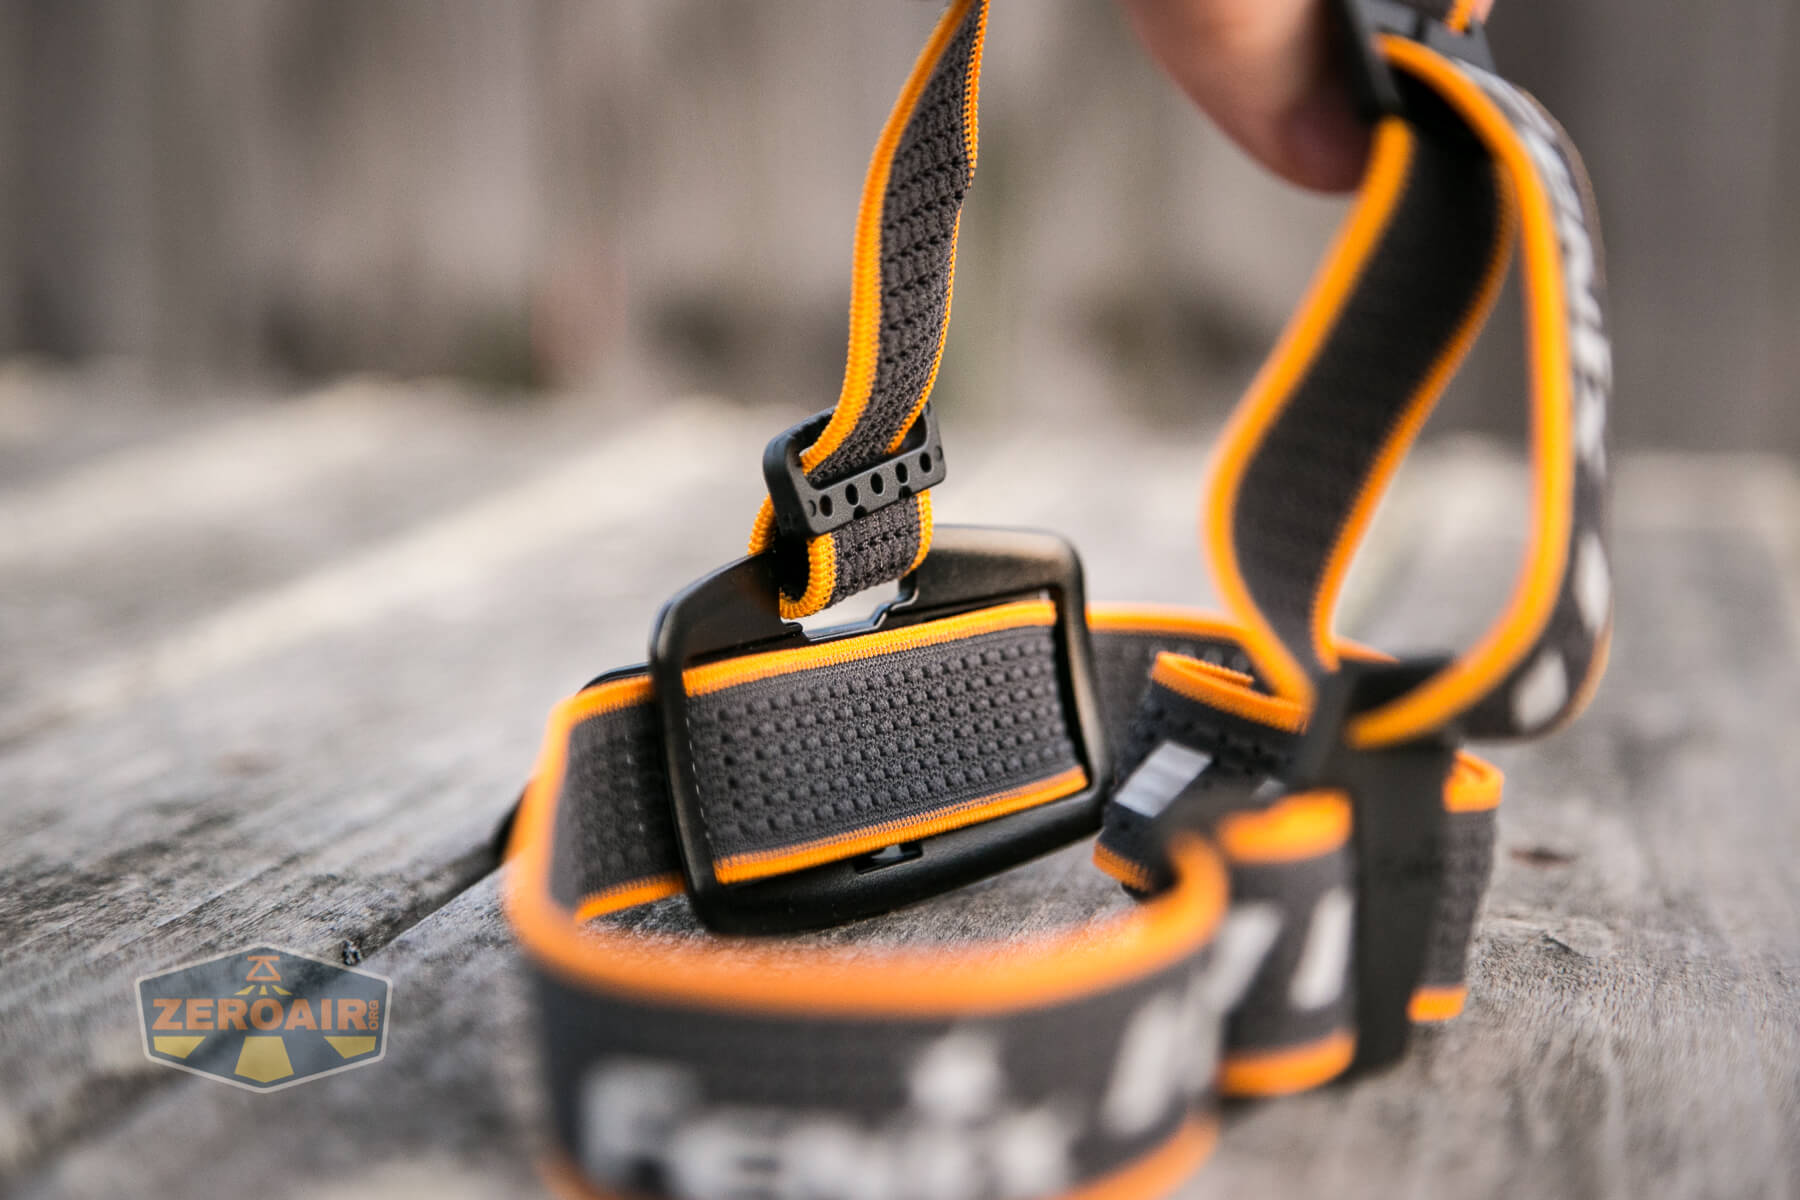
But first, let’s talk about this headband. The manual paints a different picture, but this headband comes fully “built up.” You don’t have to worry about connecting the over-the-top band.
The part you can see below, where the light actually connects, is hard plastic. It has a nice contour, so does fit comfortably.
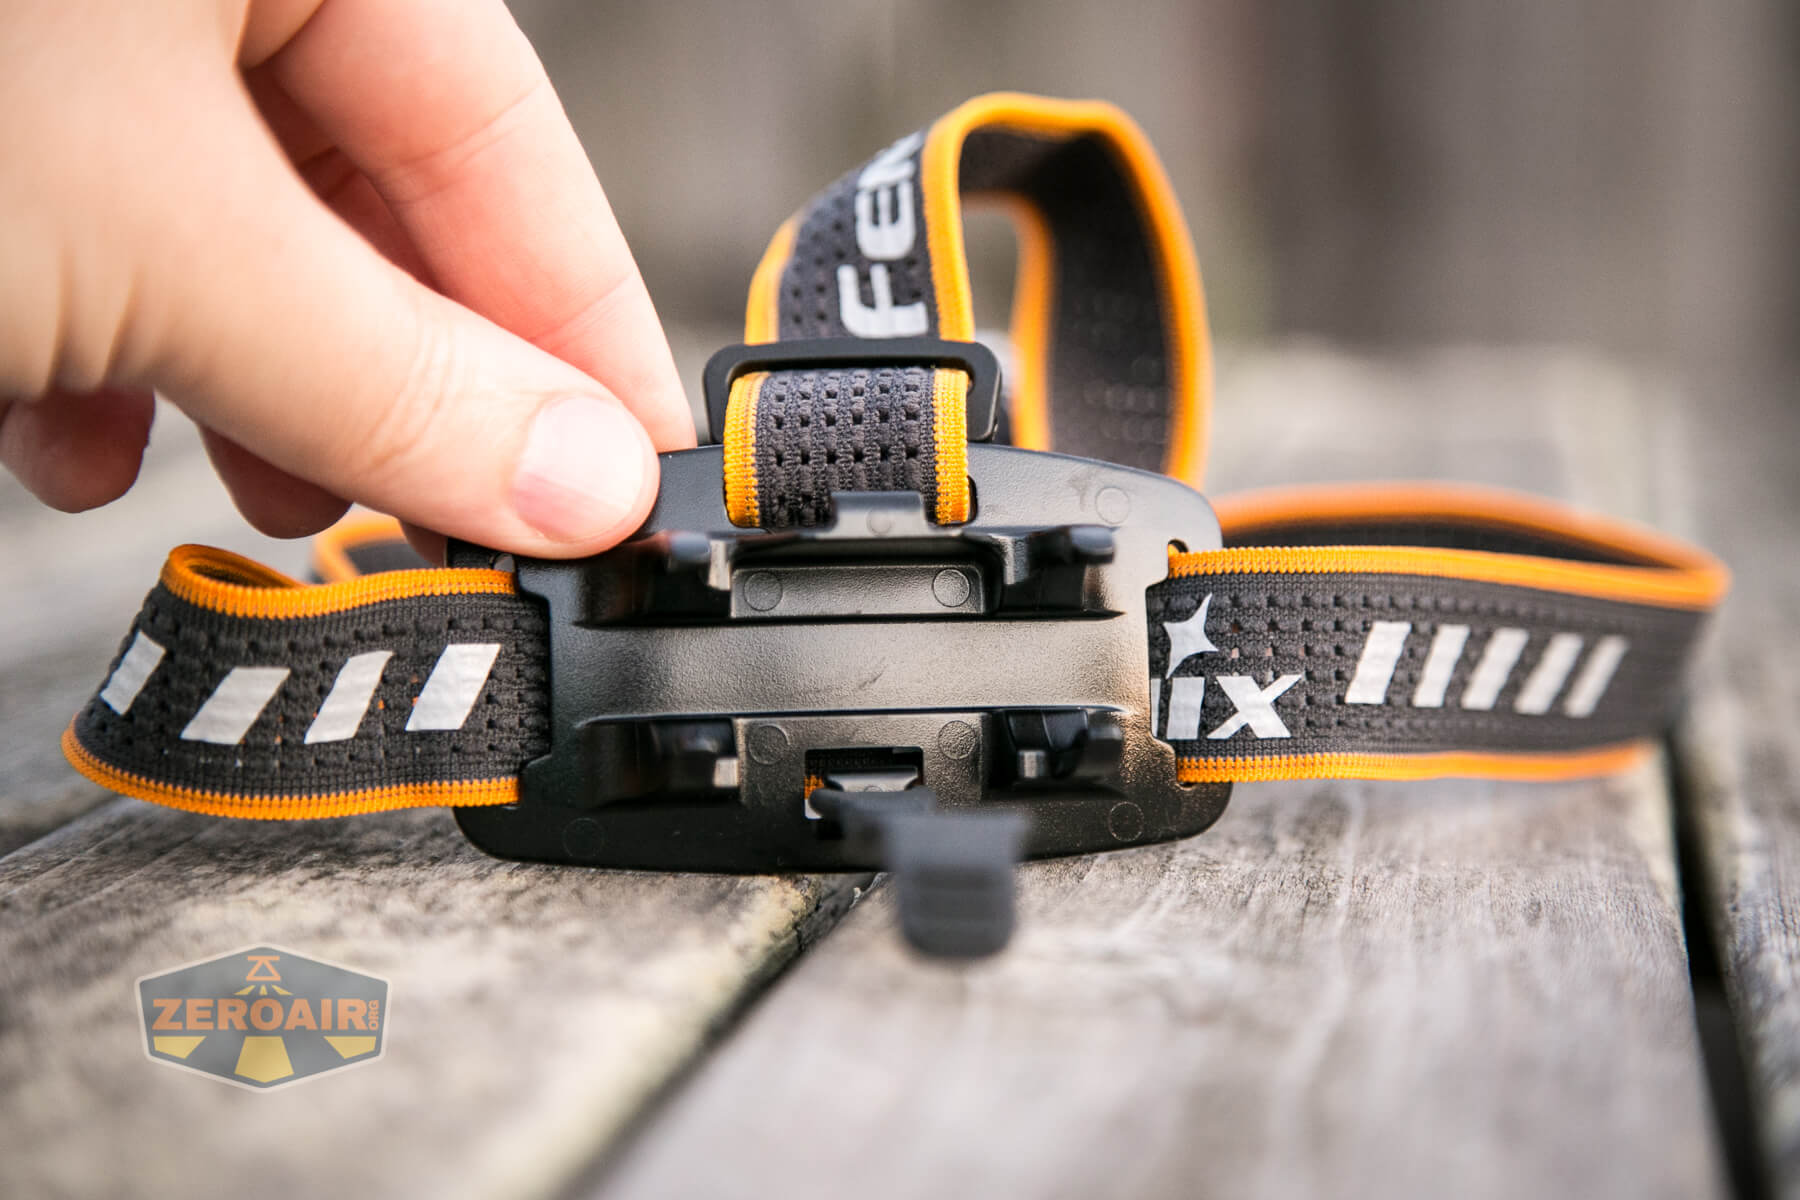
That channel you can see at the back of the connector is important – more on that later.
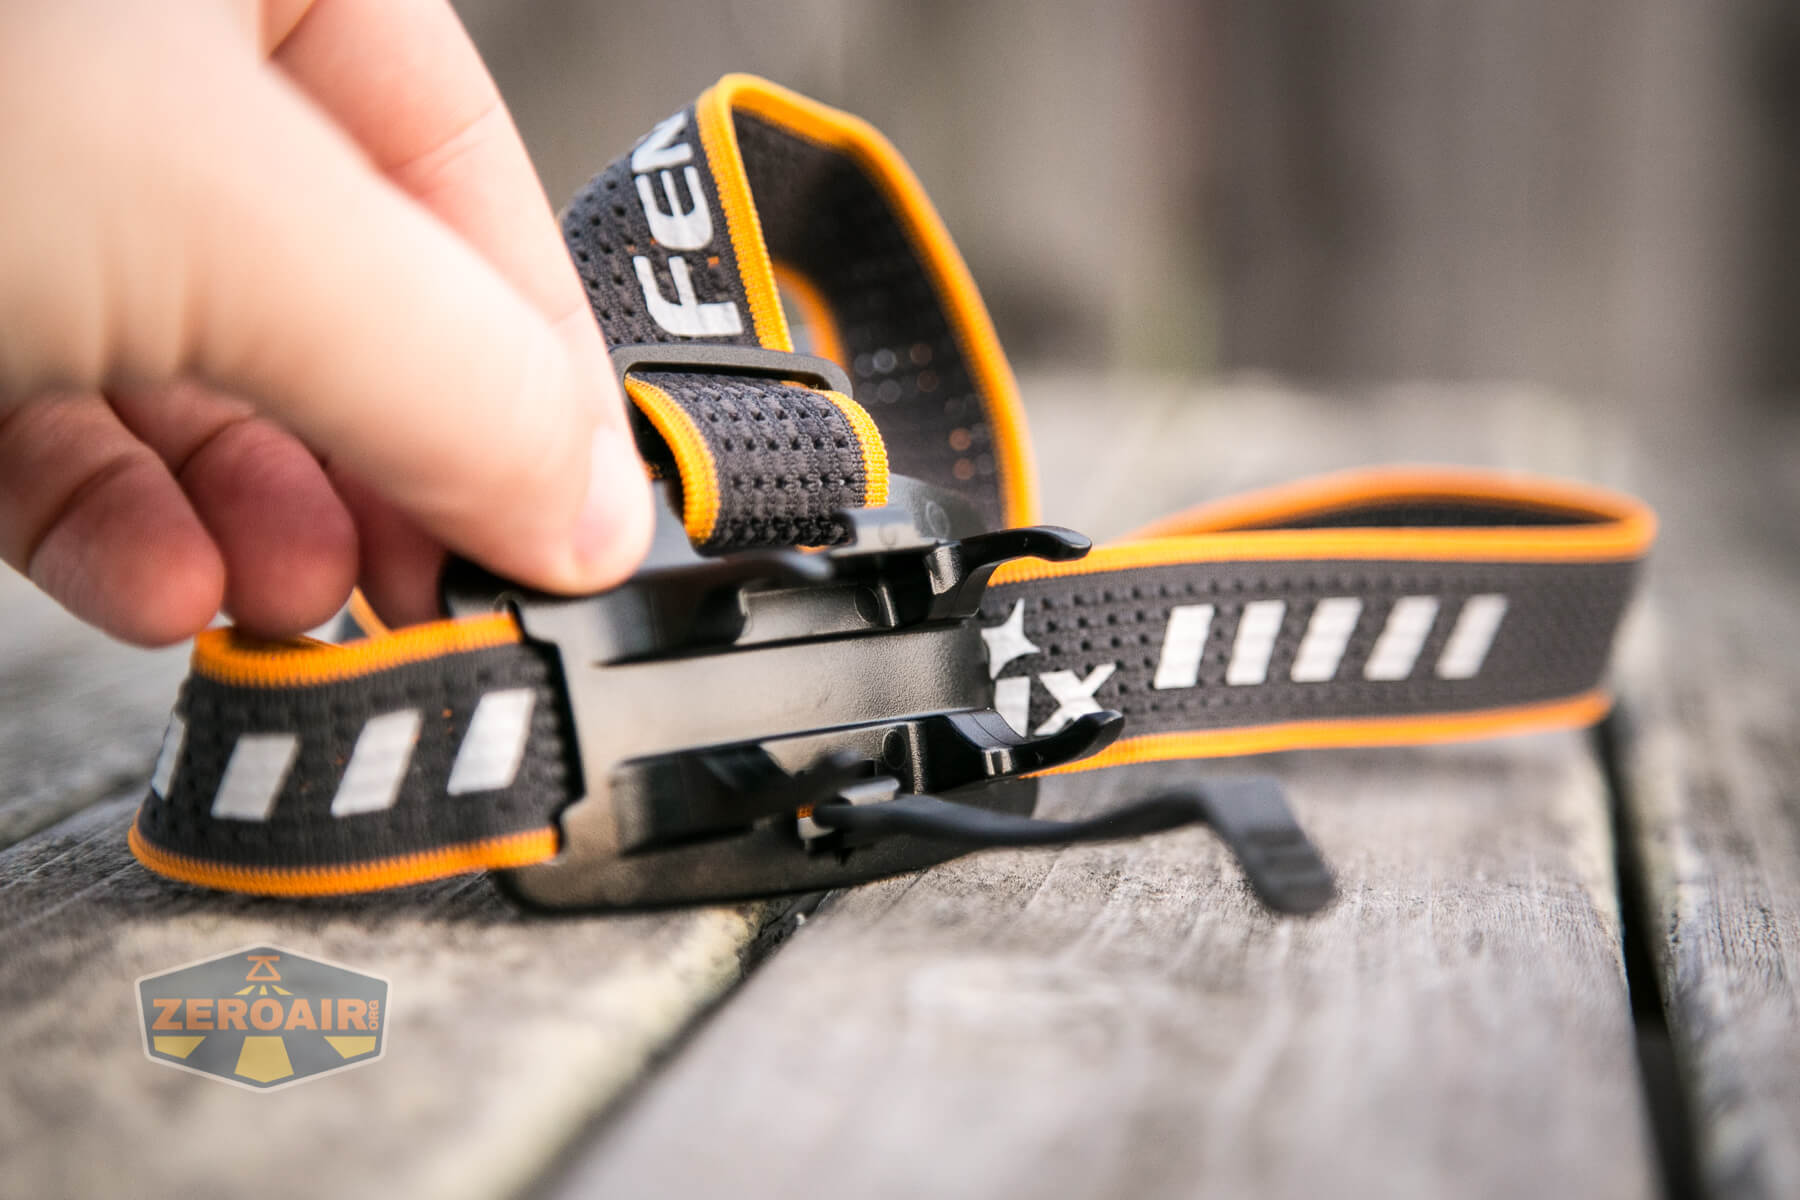
It would be possible to remove the over-the-top band. The easiest way would be to leave that connector you can see below in place. The harder (more permanent) way would be to unthread that back connector, too. Either way would work. That back connector is not hard plastic like the front light mount. It’s soft and very flexible.

You’ll still have the connection point on the front, even if you remove the over-the-top band.
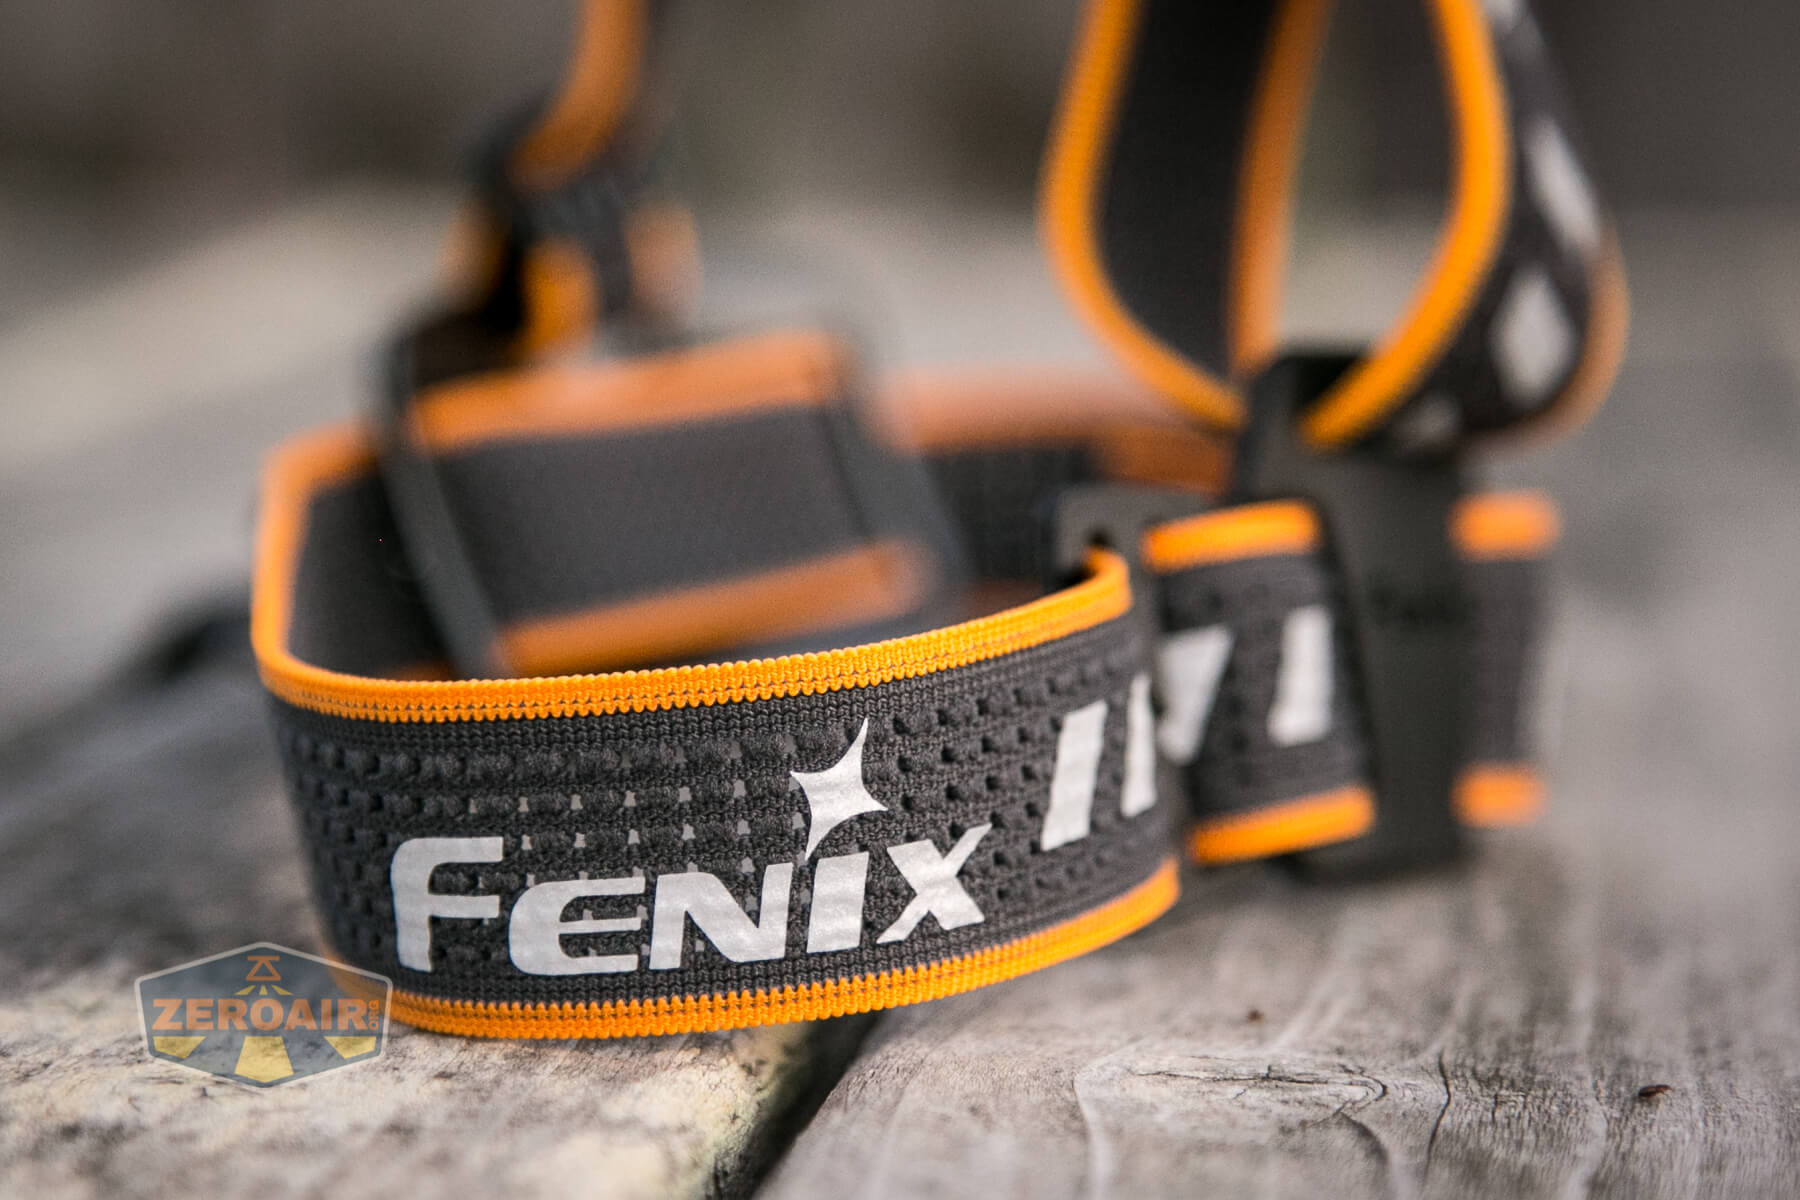
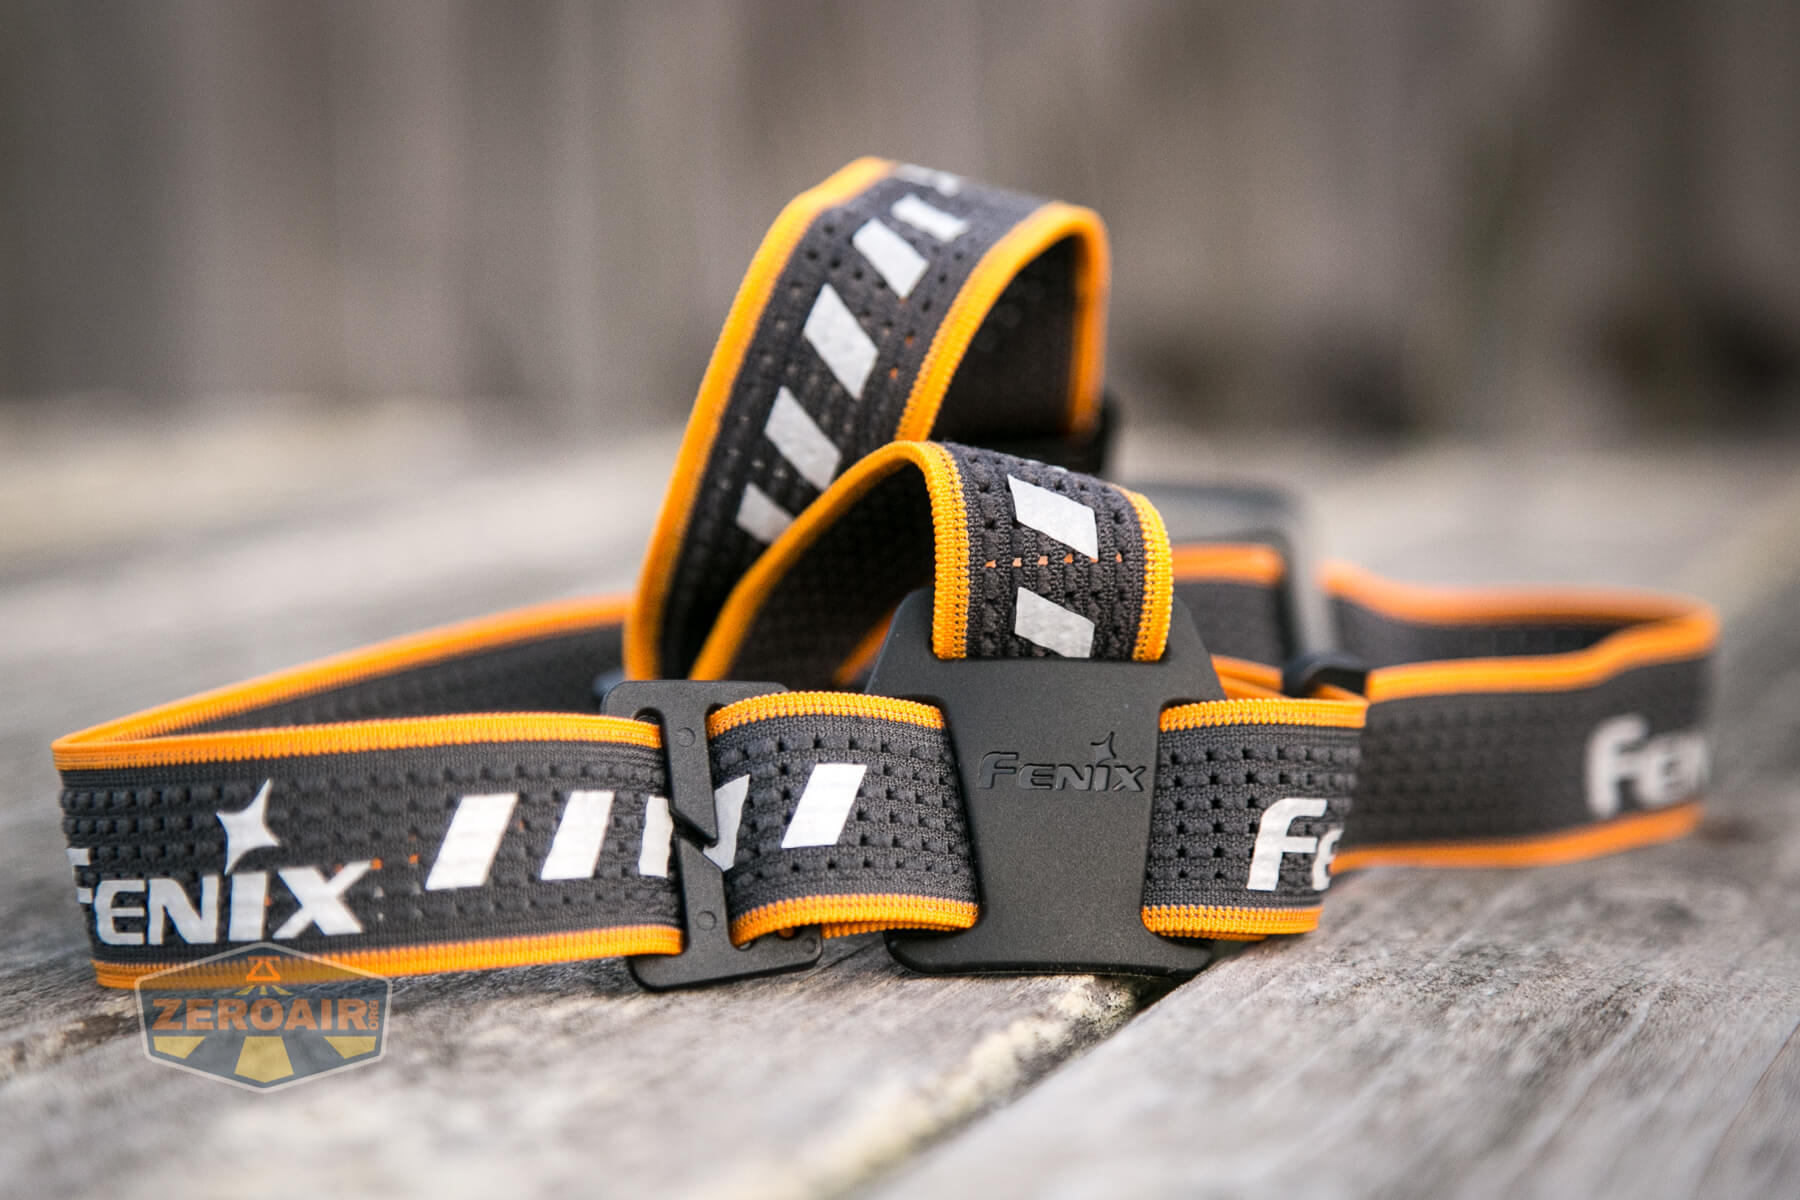
This band is very branded and stretchy.
The HM61R rechargeable headlamp attach points are much like the Armytek mount. You can see a review of one like that here. It’s a good and well-regarded mount.
First, the light clicks into these two arms. It’s a clicky and very positive connection.
As a backup or security for the mount, there’s this stretchy band that pulls over the headlamp and fits over a groove on the top side of the headlamp.
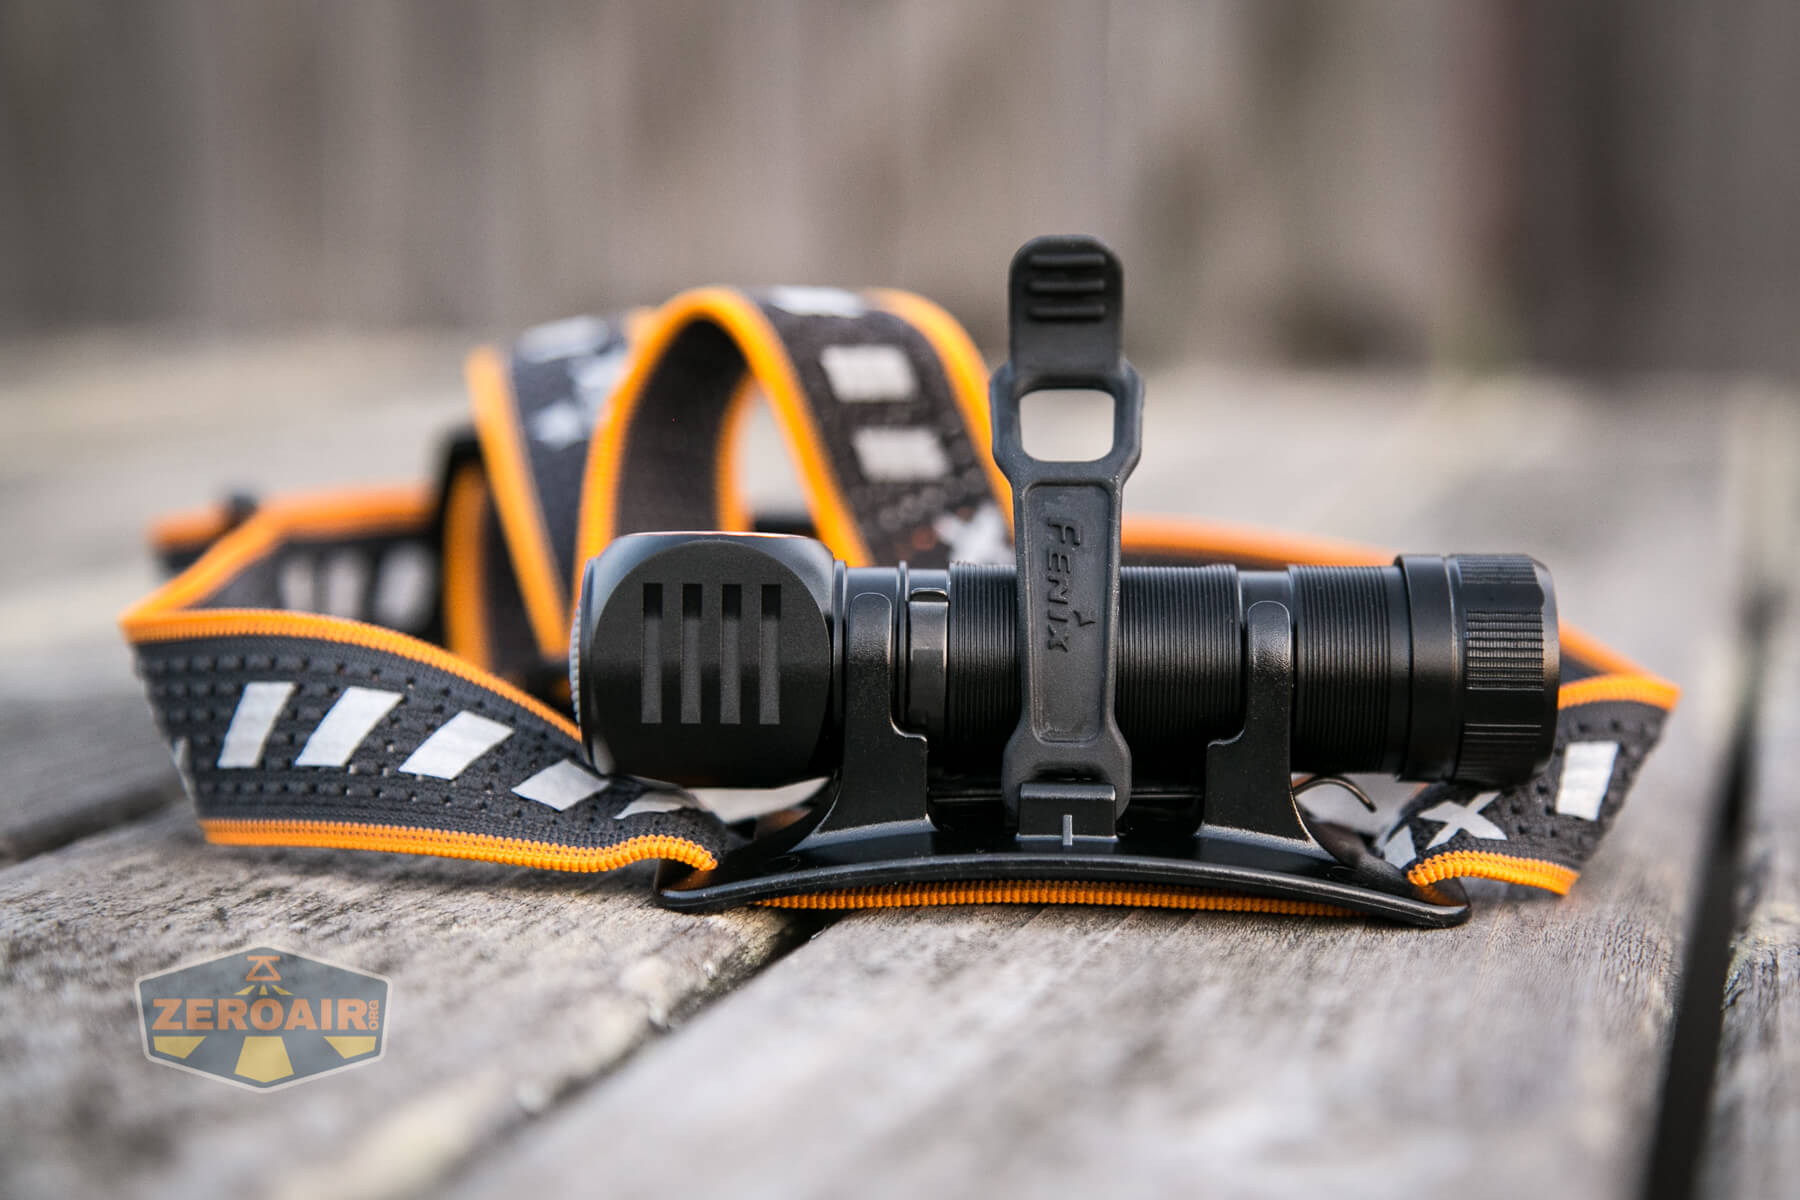
This mounting system is very secure.
Another thing you can see both above and below is that the headband mount can be used with the pocket clip attached.
Not only that, but the headlamp may still be rotated (or adjusted/pointed) while in the band and with the clip installed. That’s what the channel at the back of the mount (mentioned and shown above) allows. The clip slips into this groove and stays there while the light is rotated.
The pocket clip is a standard friction-fit clip and can connect only on the head end.
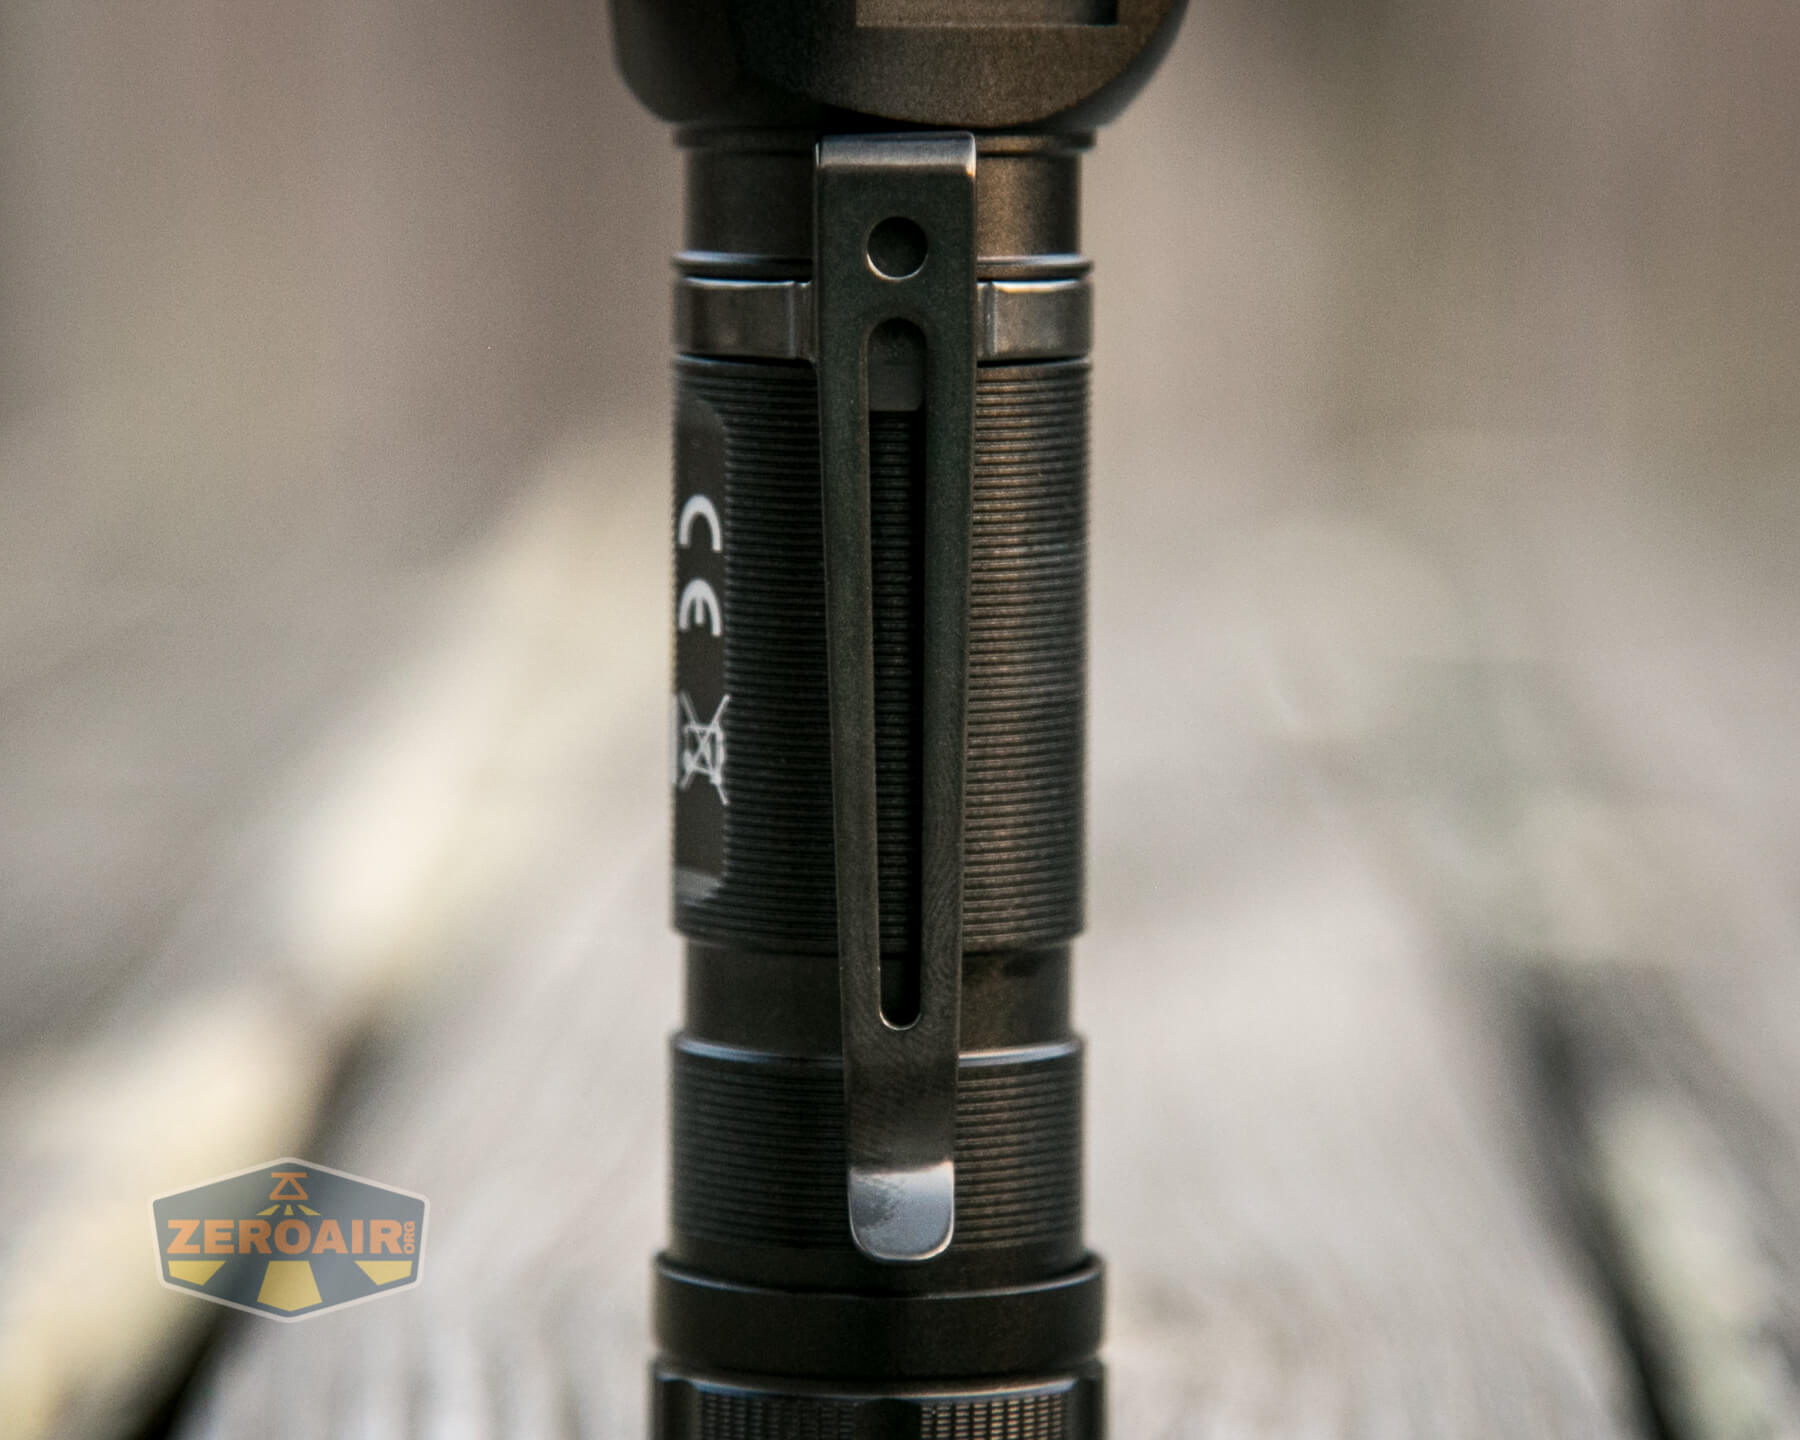
Clip hug!
Technically, the clip can also be friction-fit over the headband groove on the tail end, but that does mean the headband can’t be used.
Finally, there’s a magnet in the tailcap. This magnet is strong enough to hold the light horizontally.
Power and Runtime
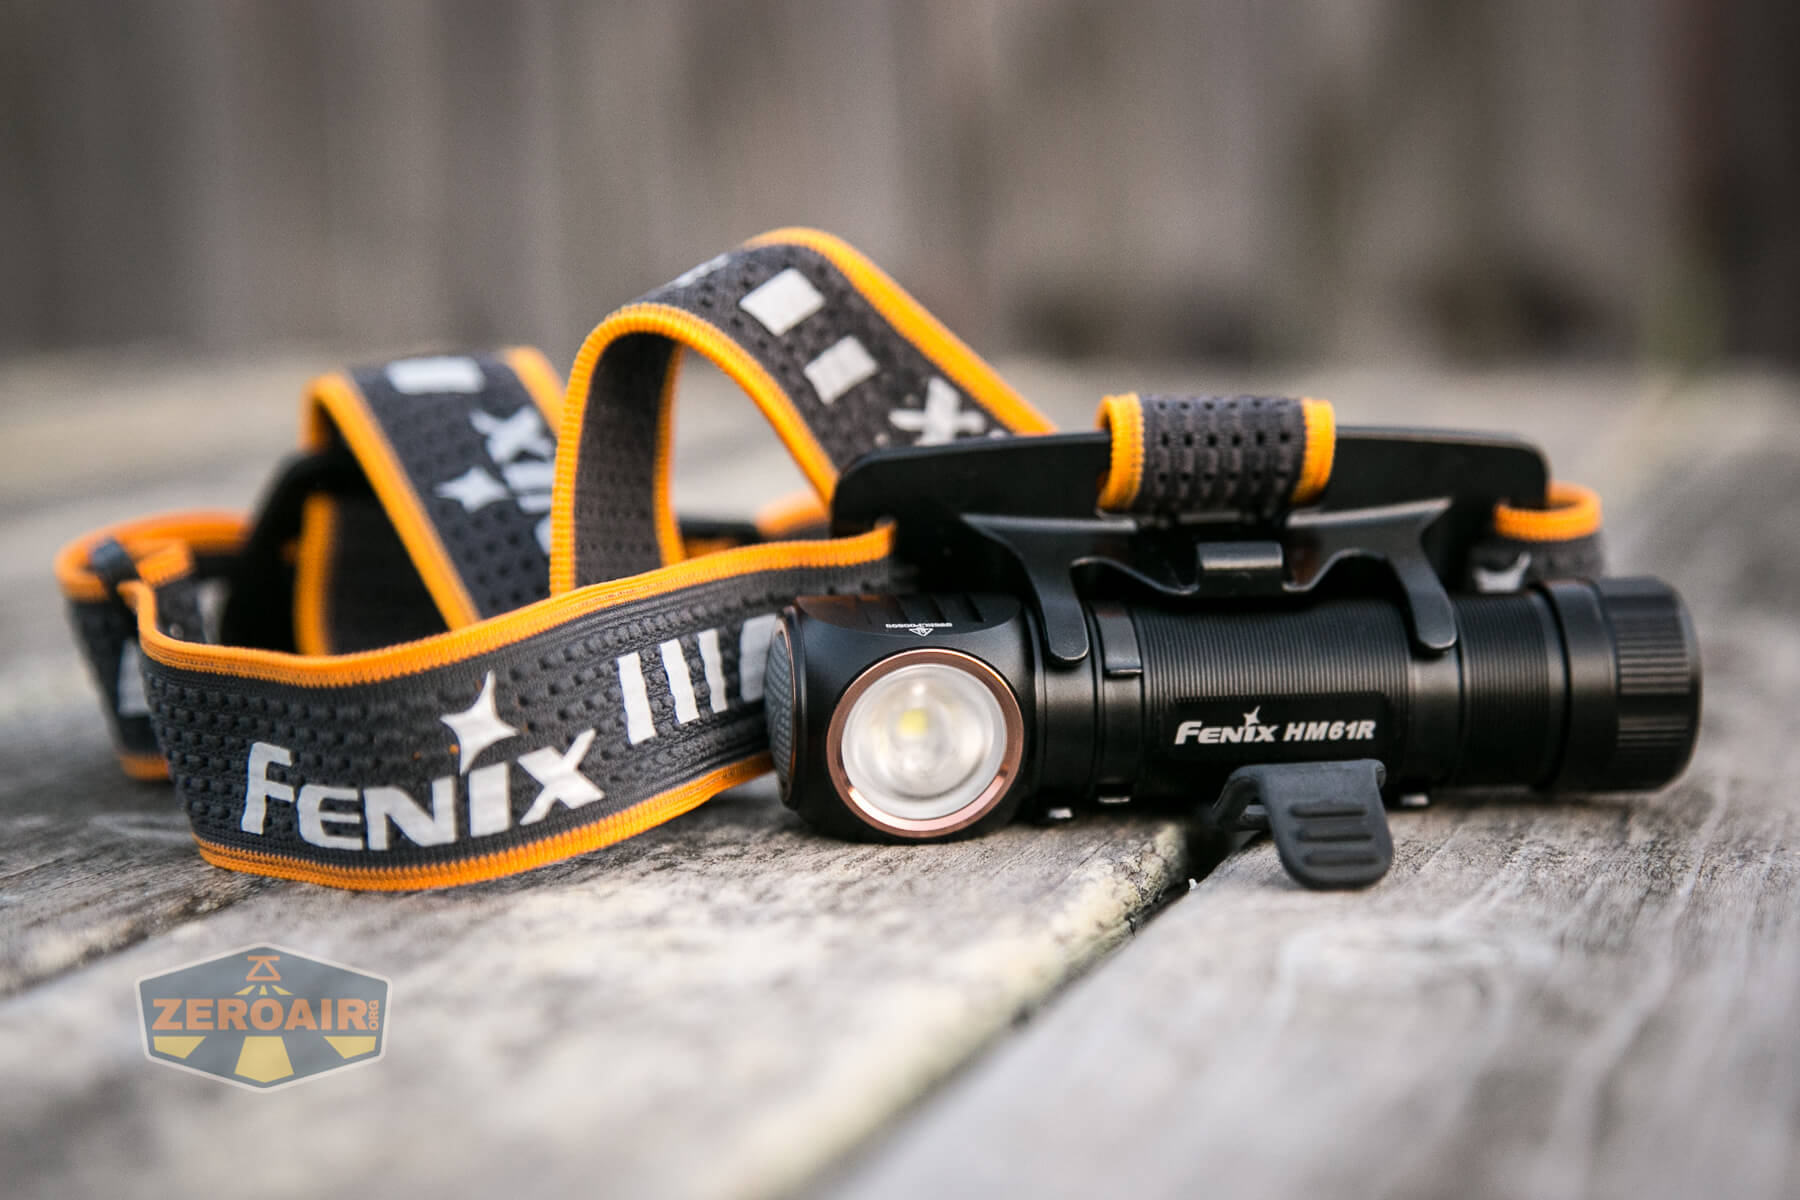
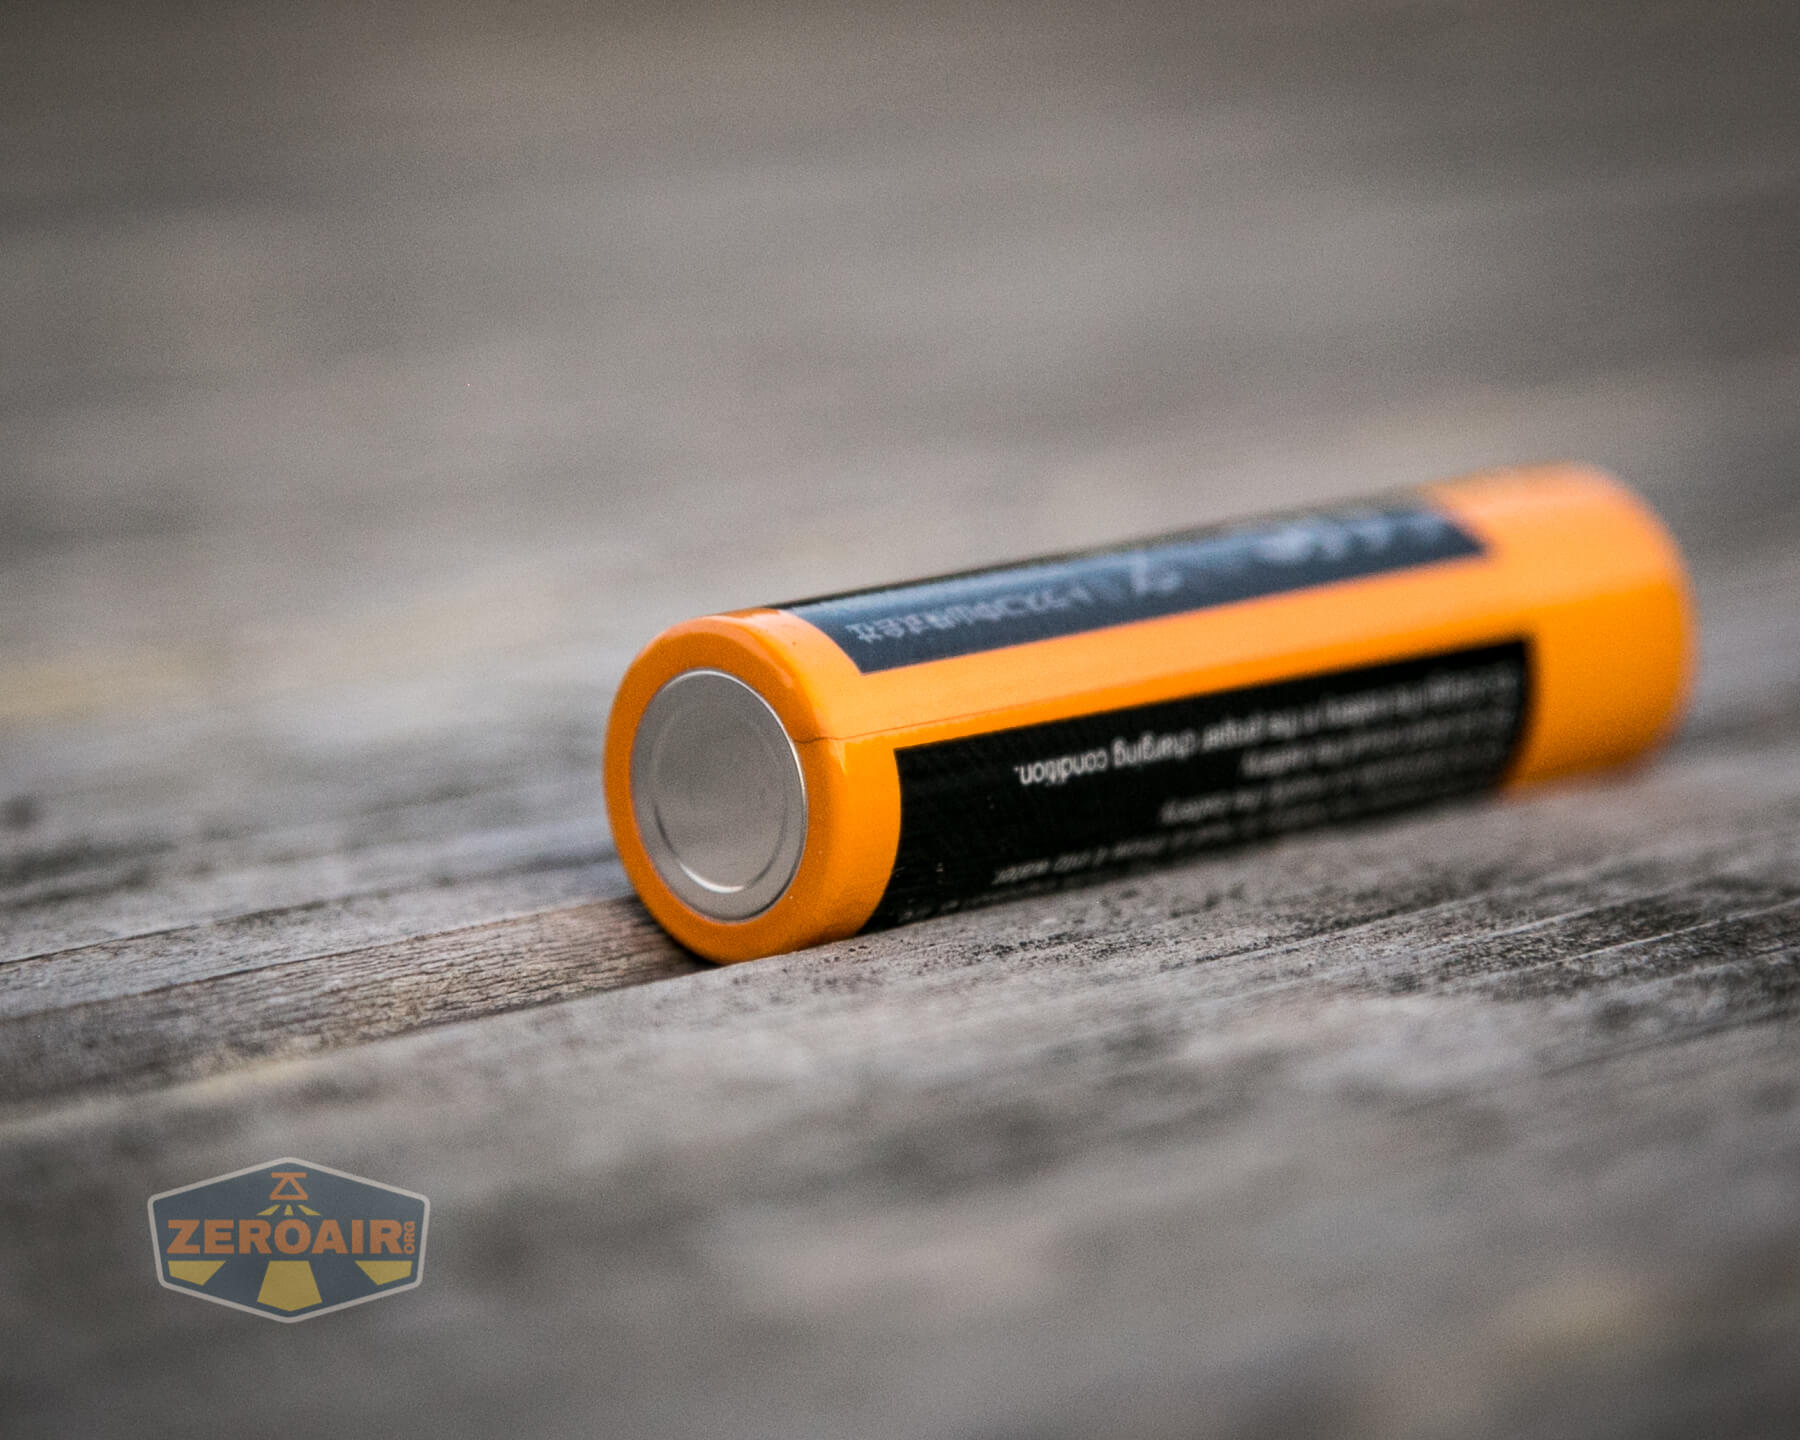
The HM61R is powered by a single 18650 cell, and one is included in the package. It’s a 3500mAh button top 18650.
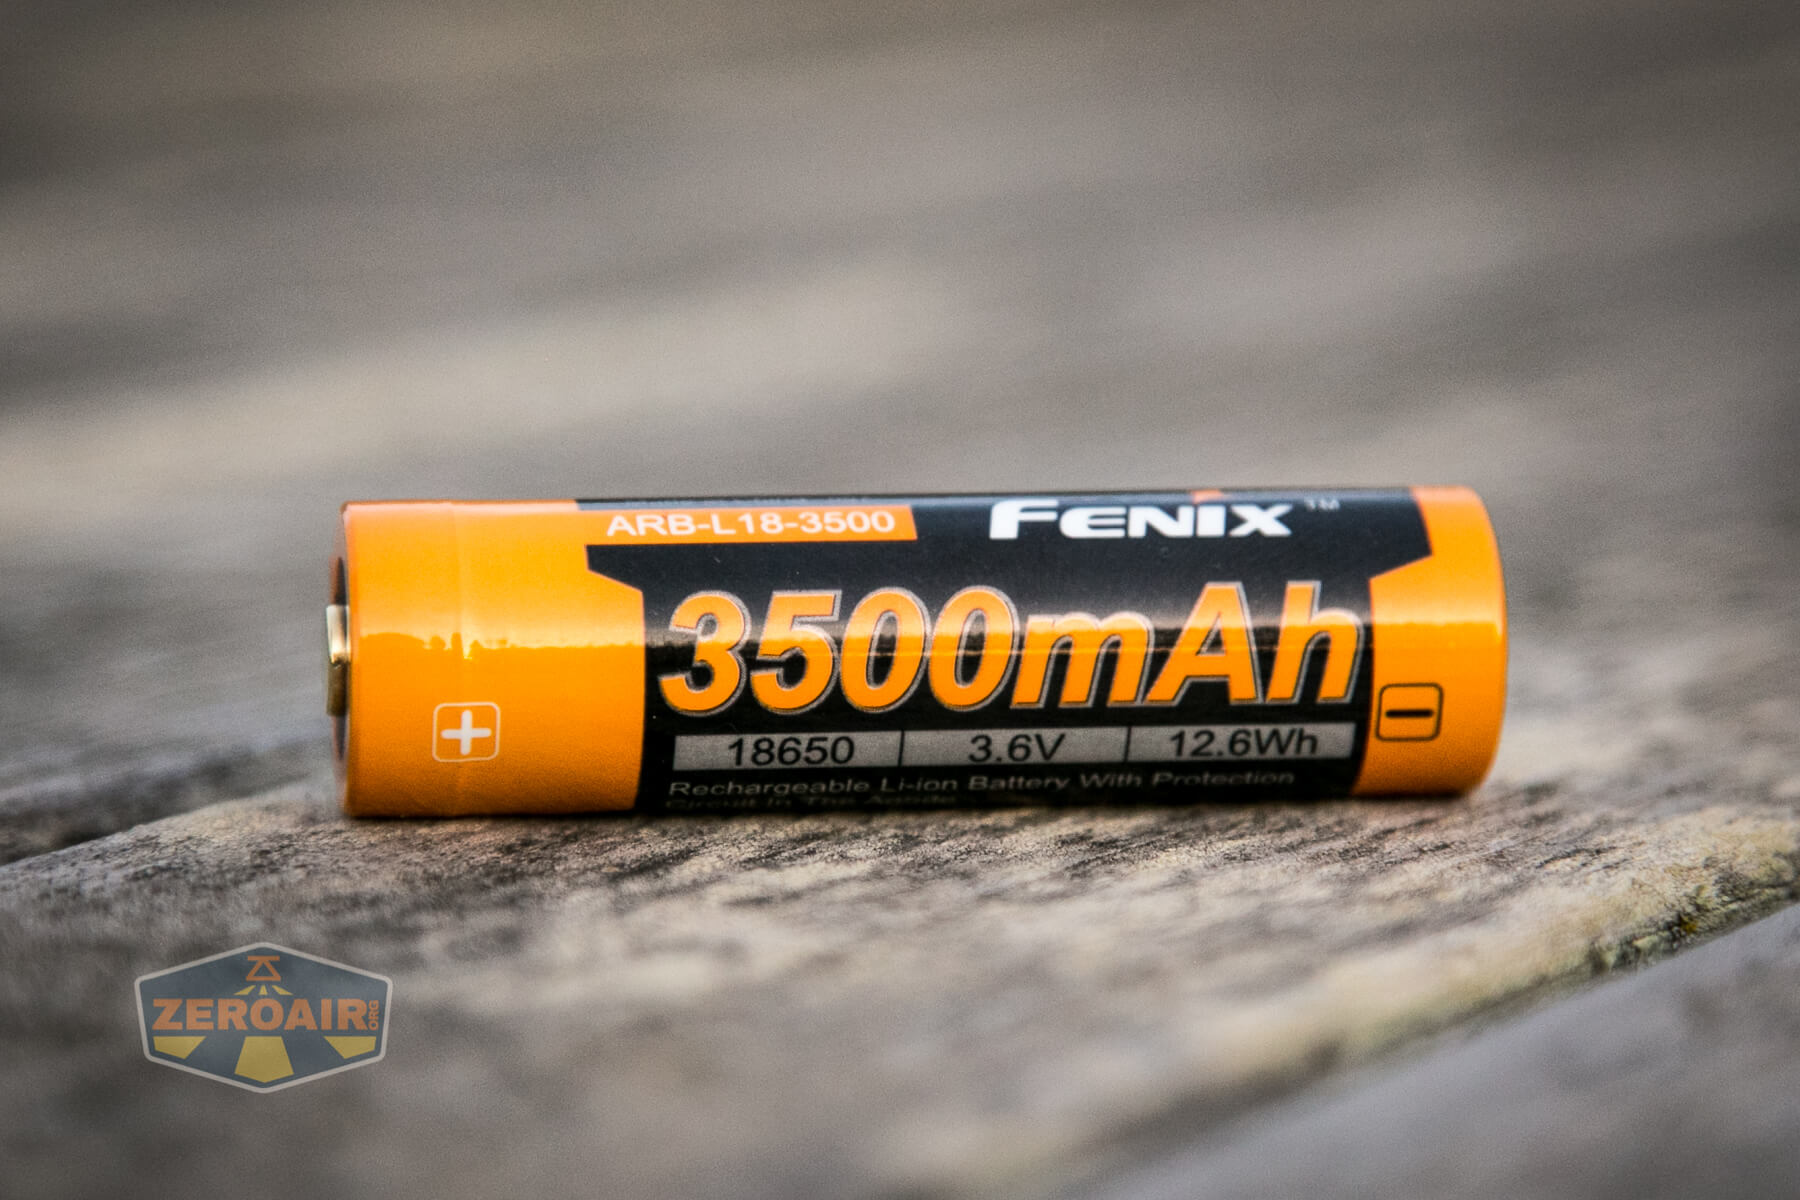
The included cell is a button top, and you’ll have to use a button top. Flat top cells will not work.
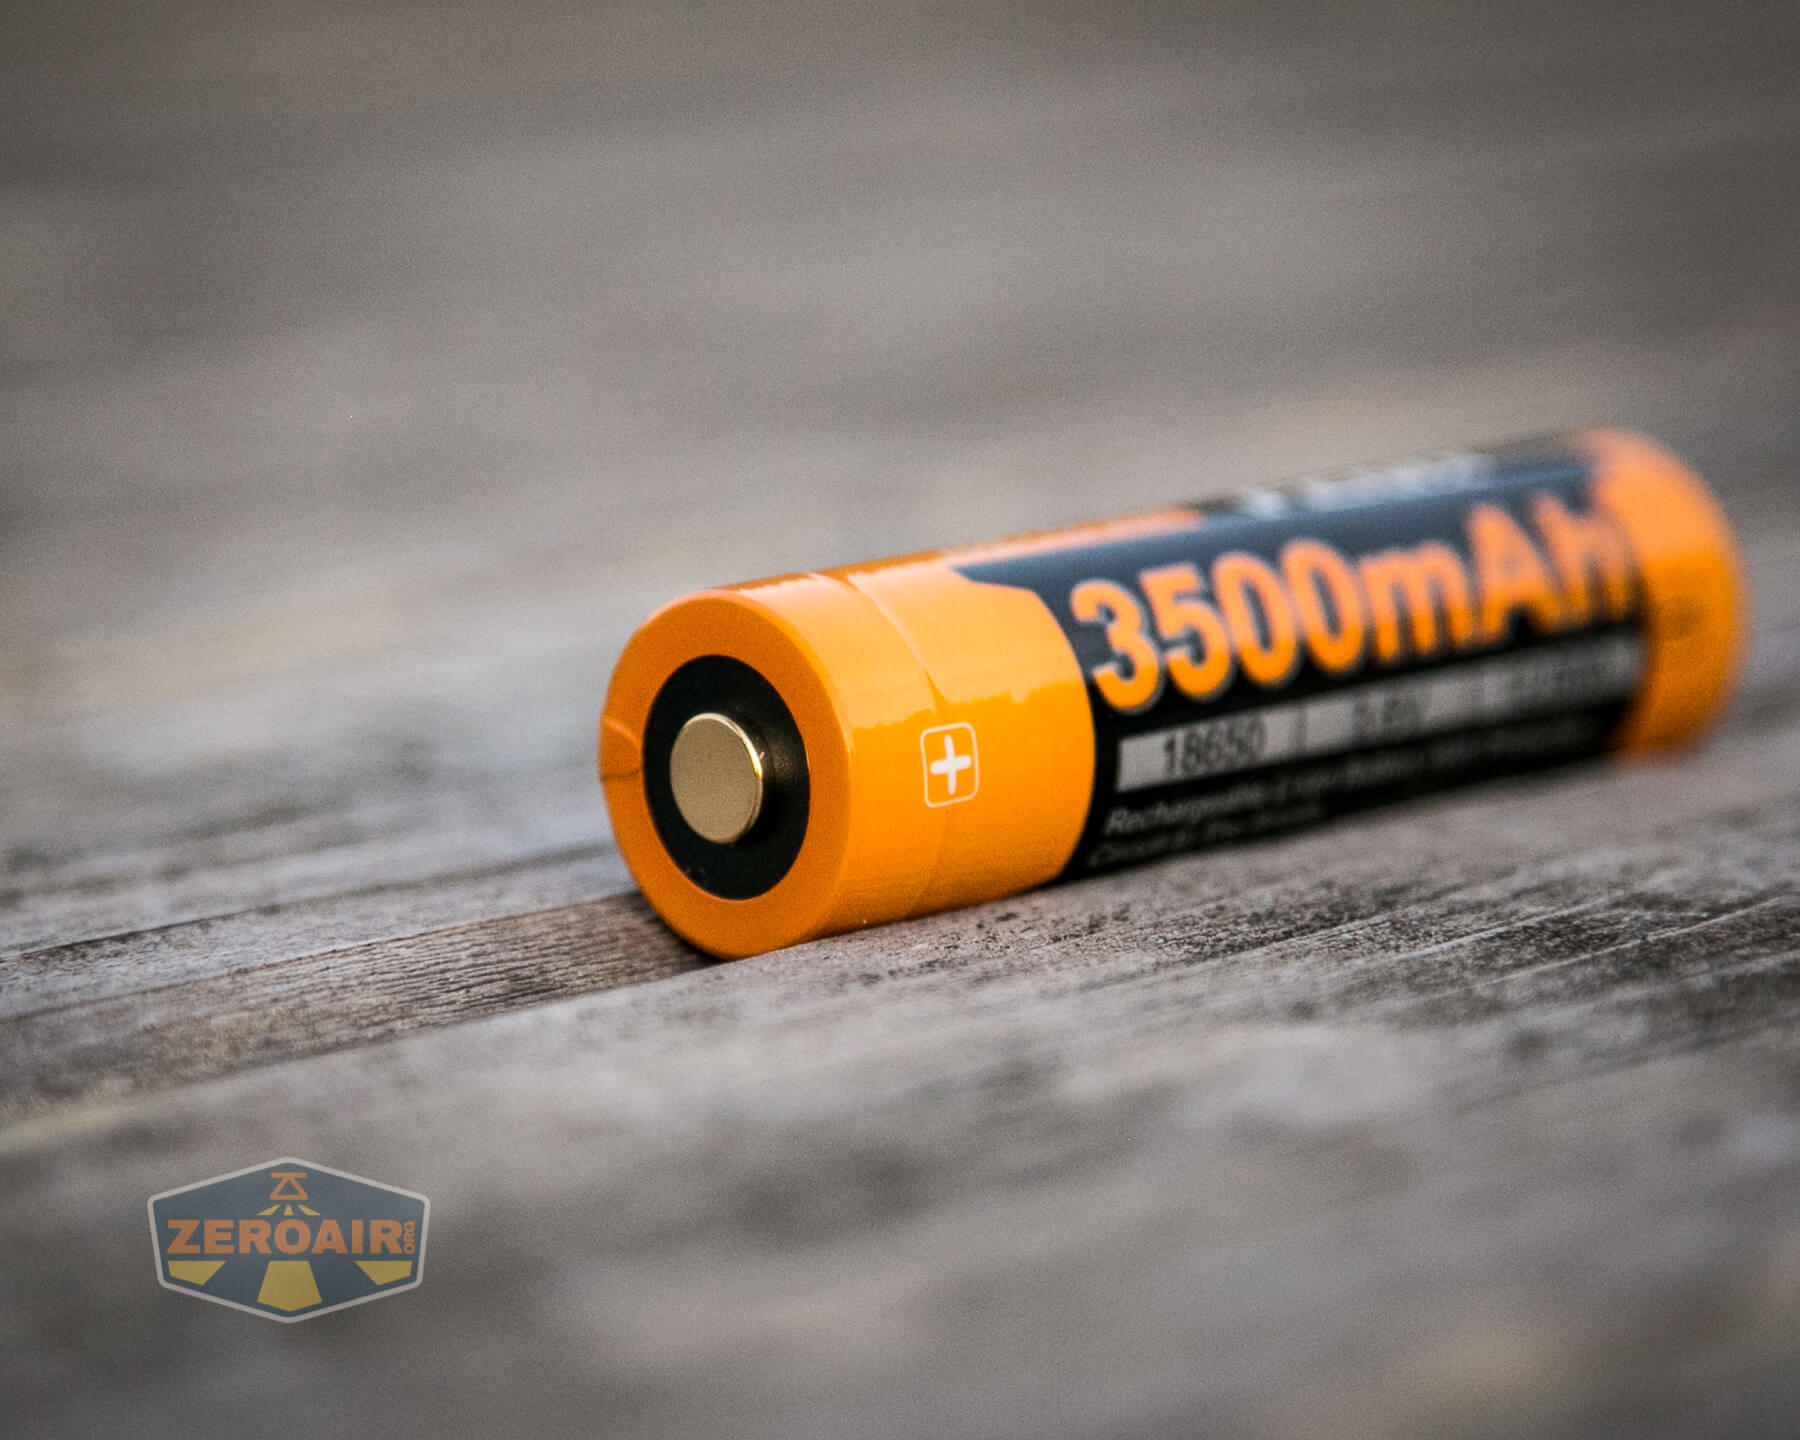
The cell goes into the Fenix HM61R in the normal way – the positive end goes in first.
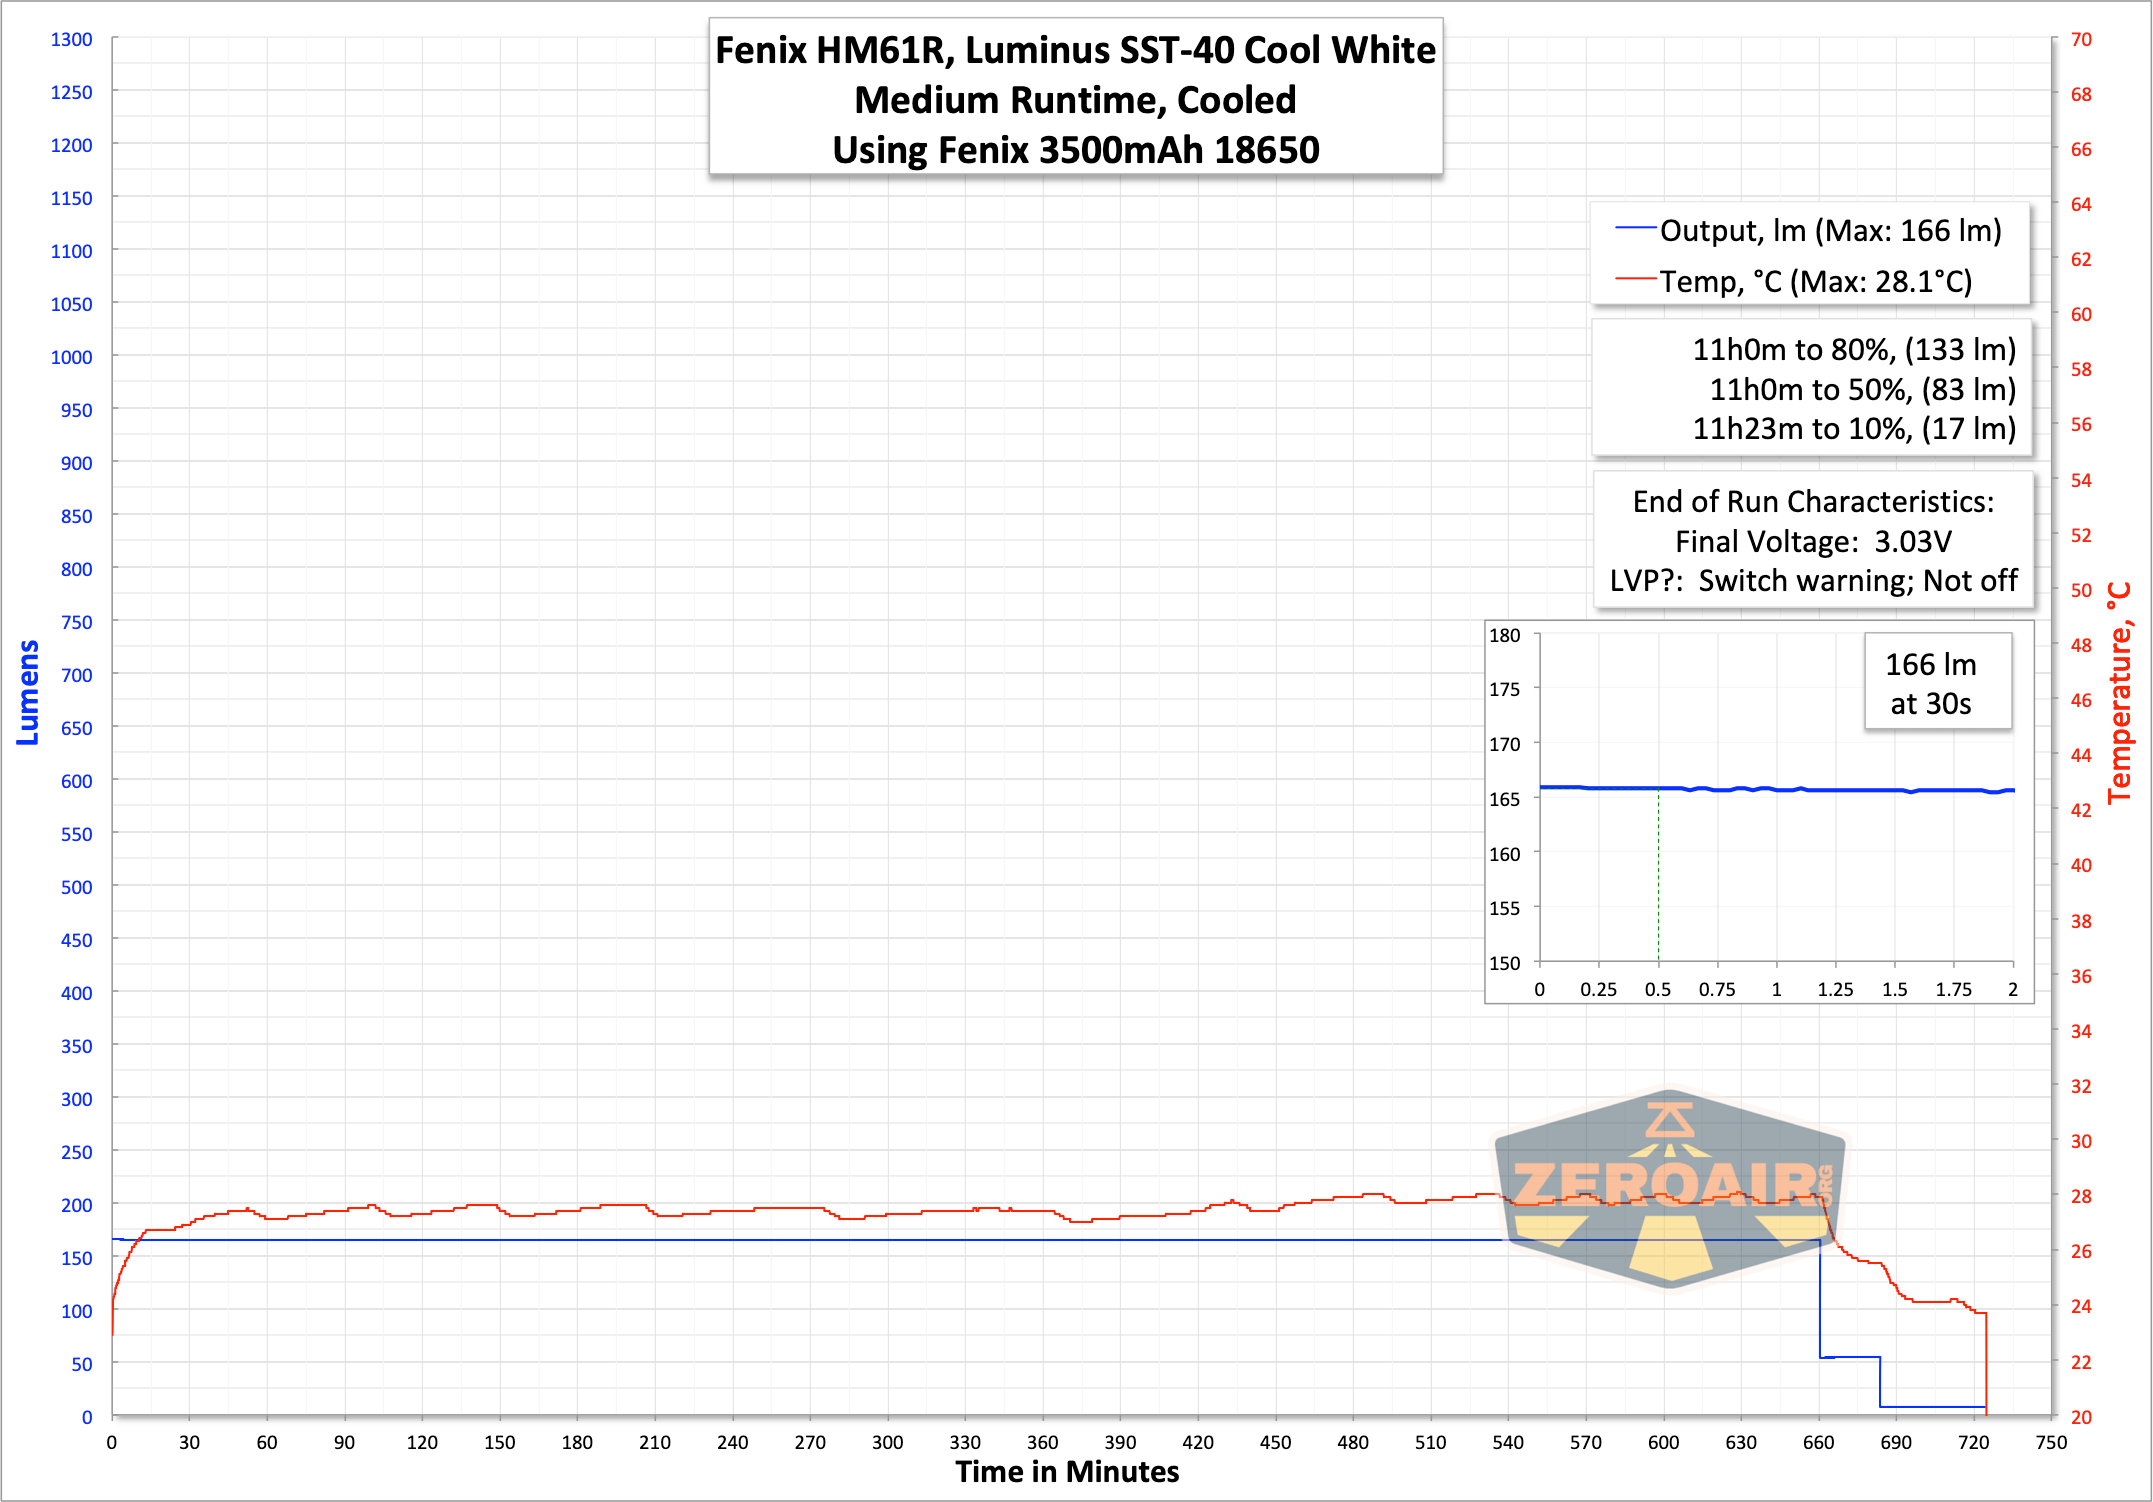
Below you can see a few runtime graphs. I didn’t observe low voltage protection on the bench power, but during these tests, you can see that the output clearly steps down very far. Also, at this point, the switch is indicating low voltage by blinking red. The switch does more, but we’ll talk about that later.
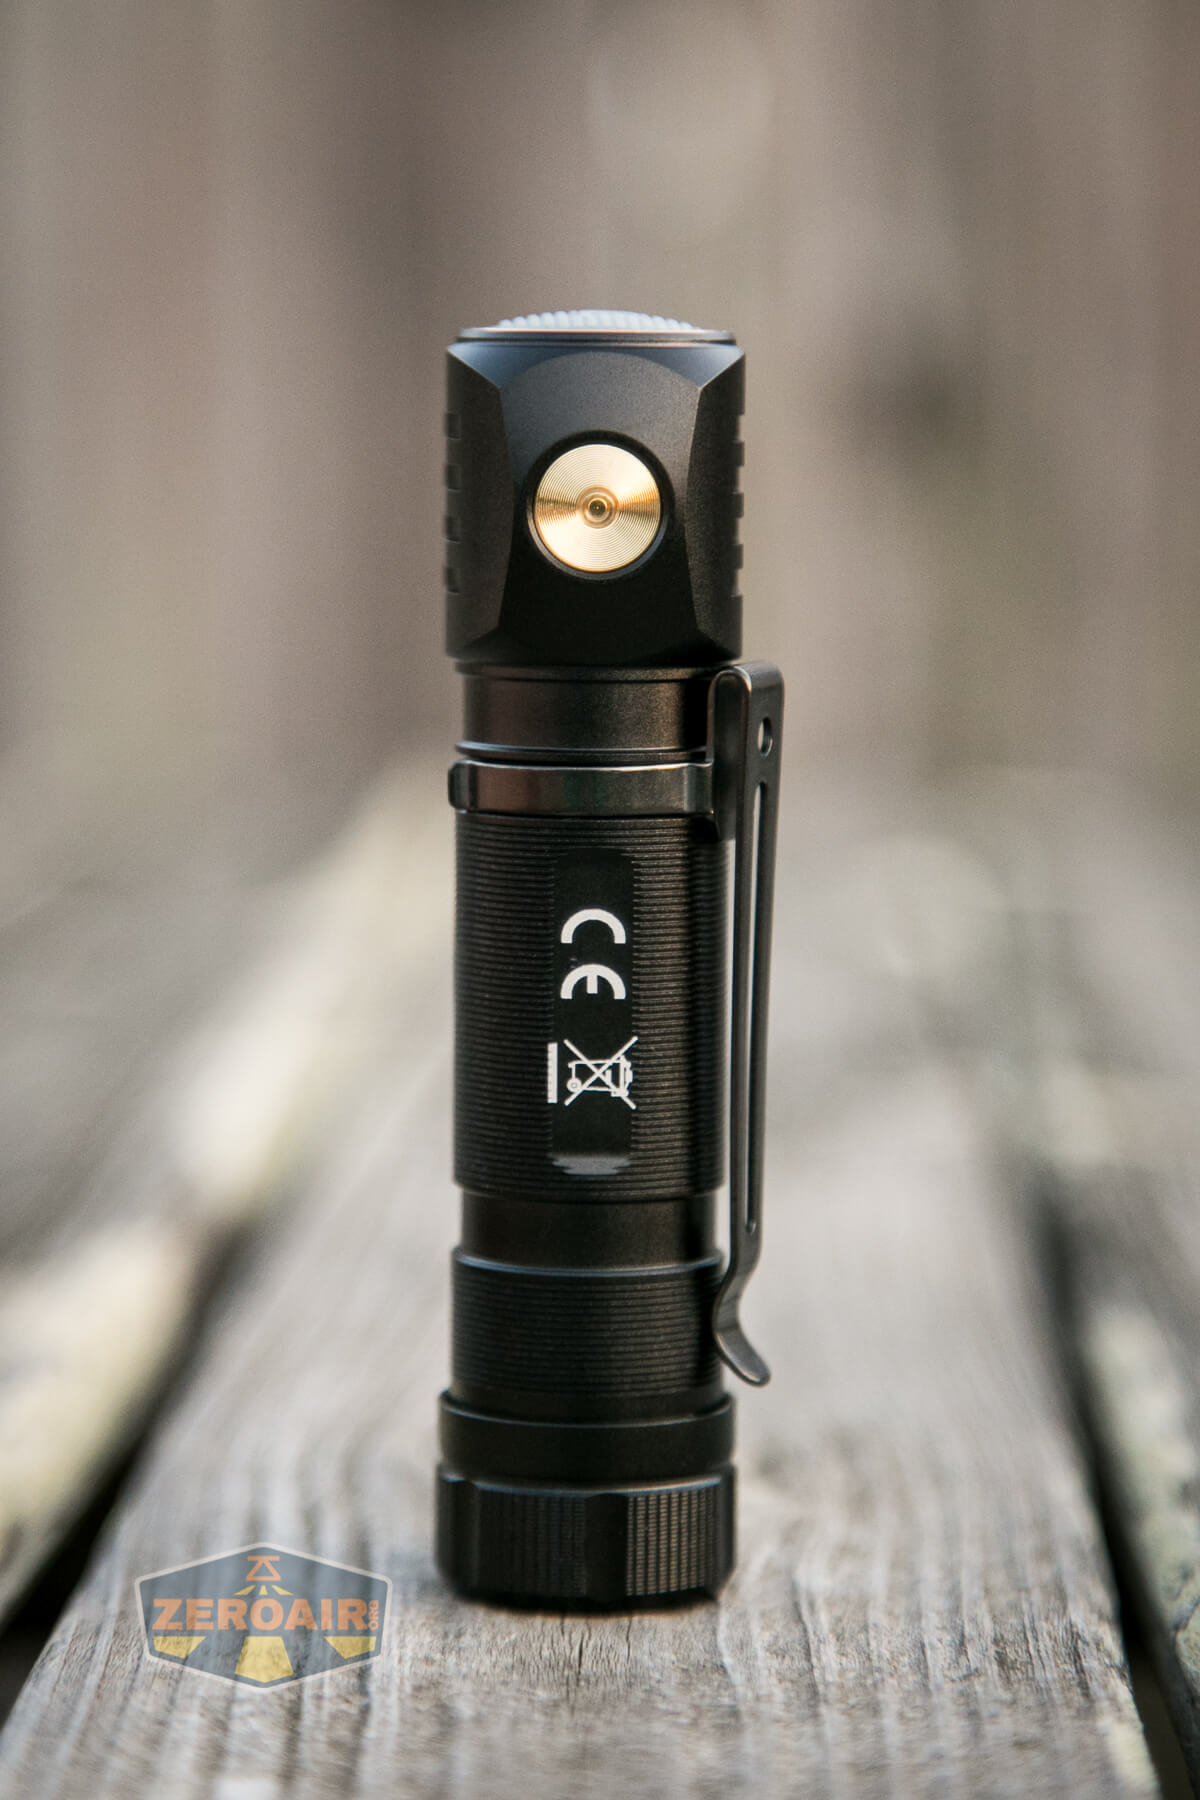
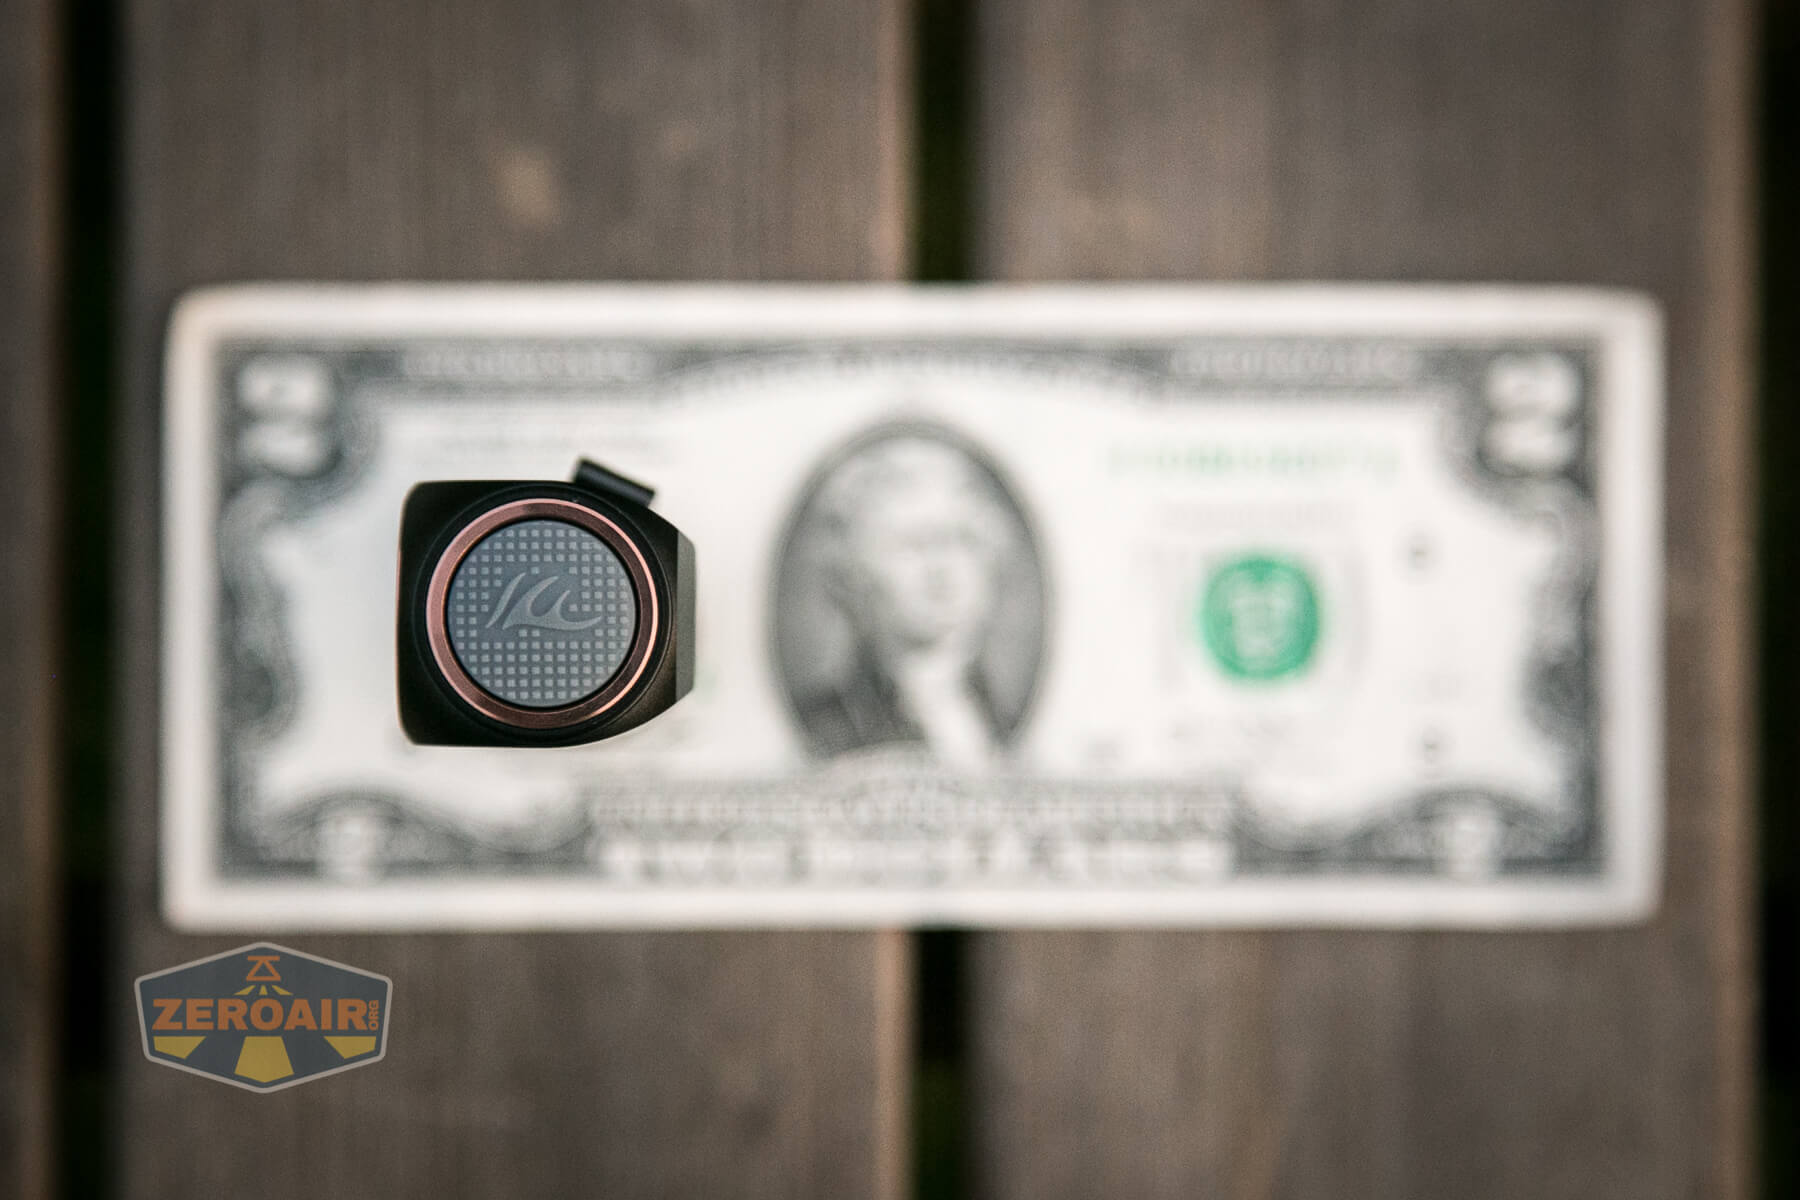
Charging
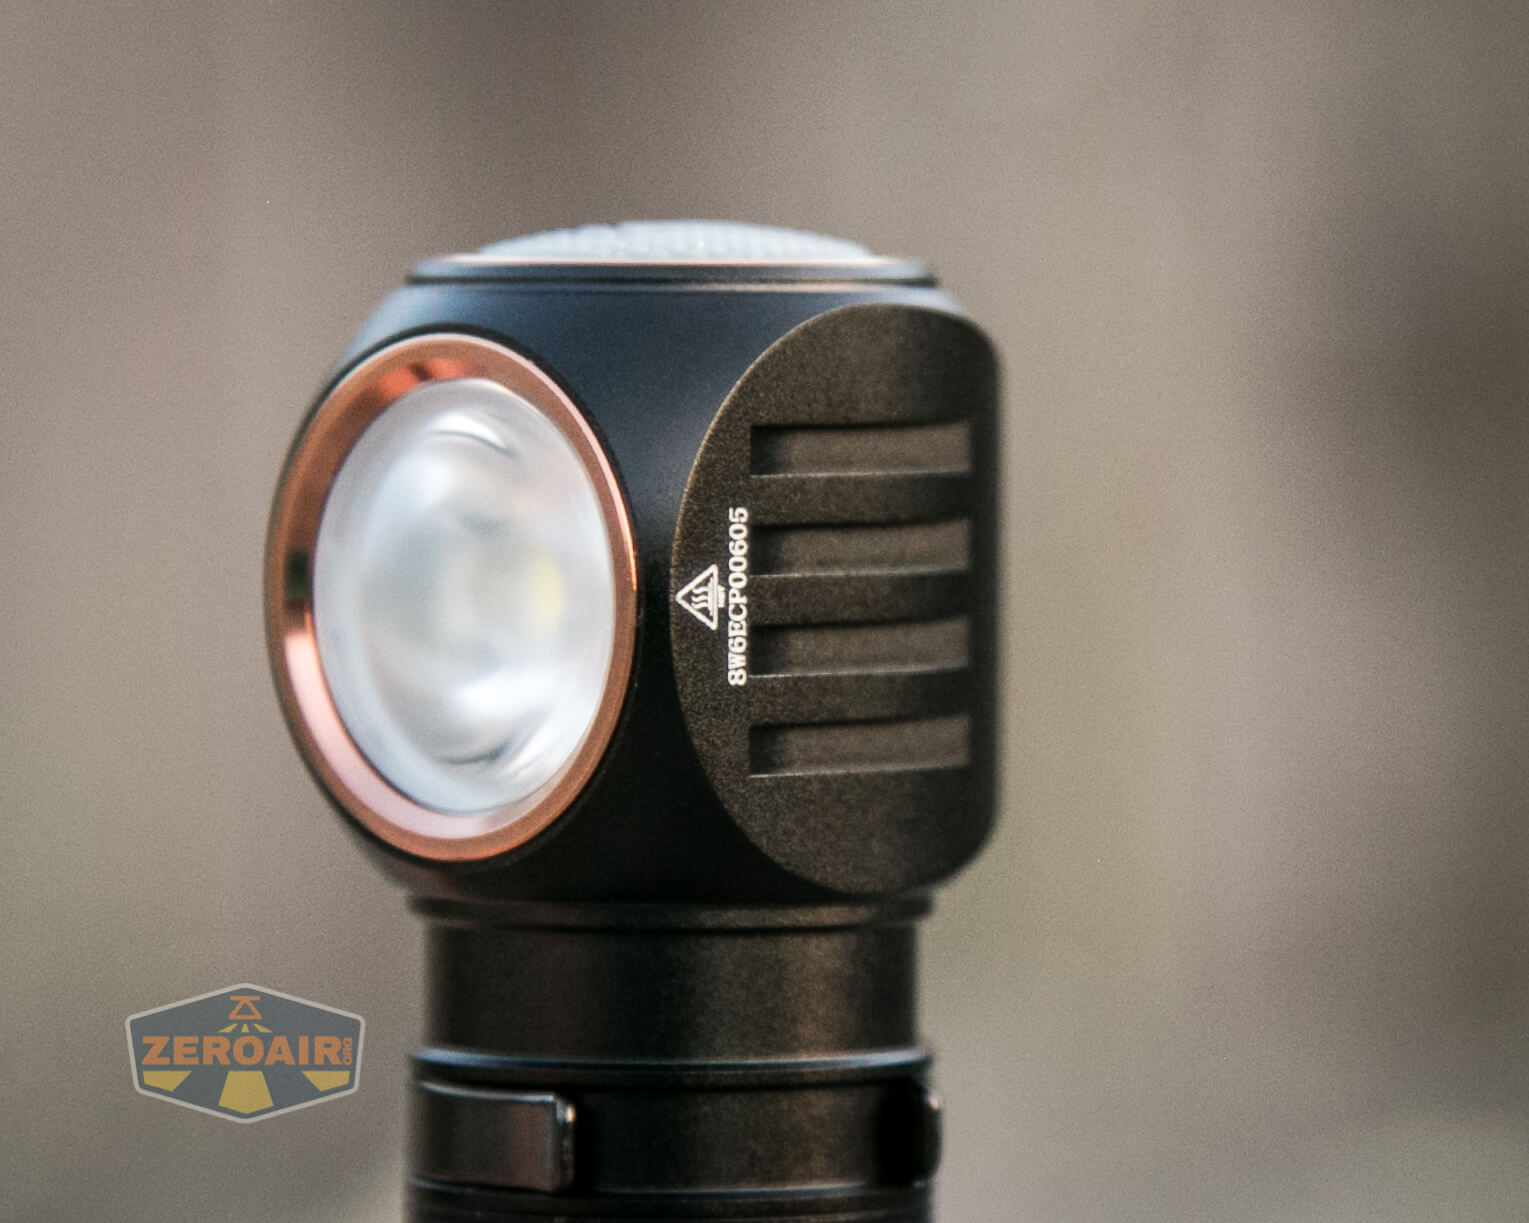
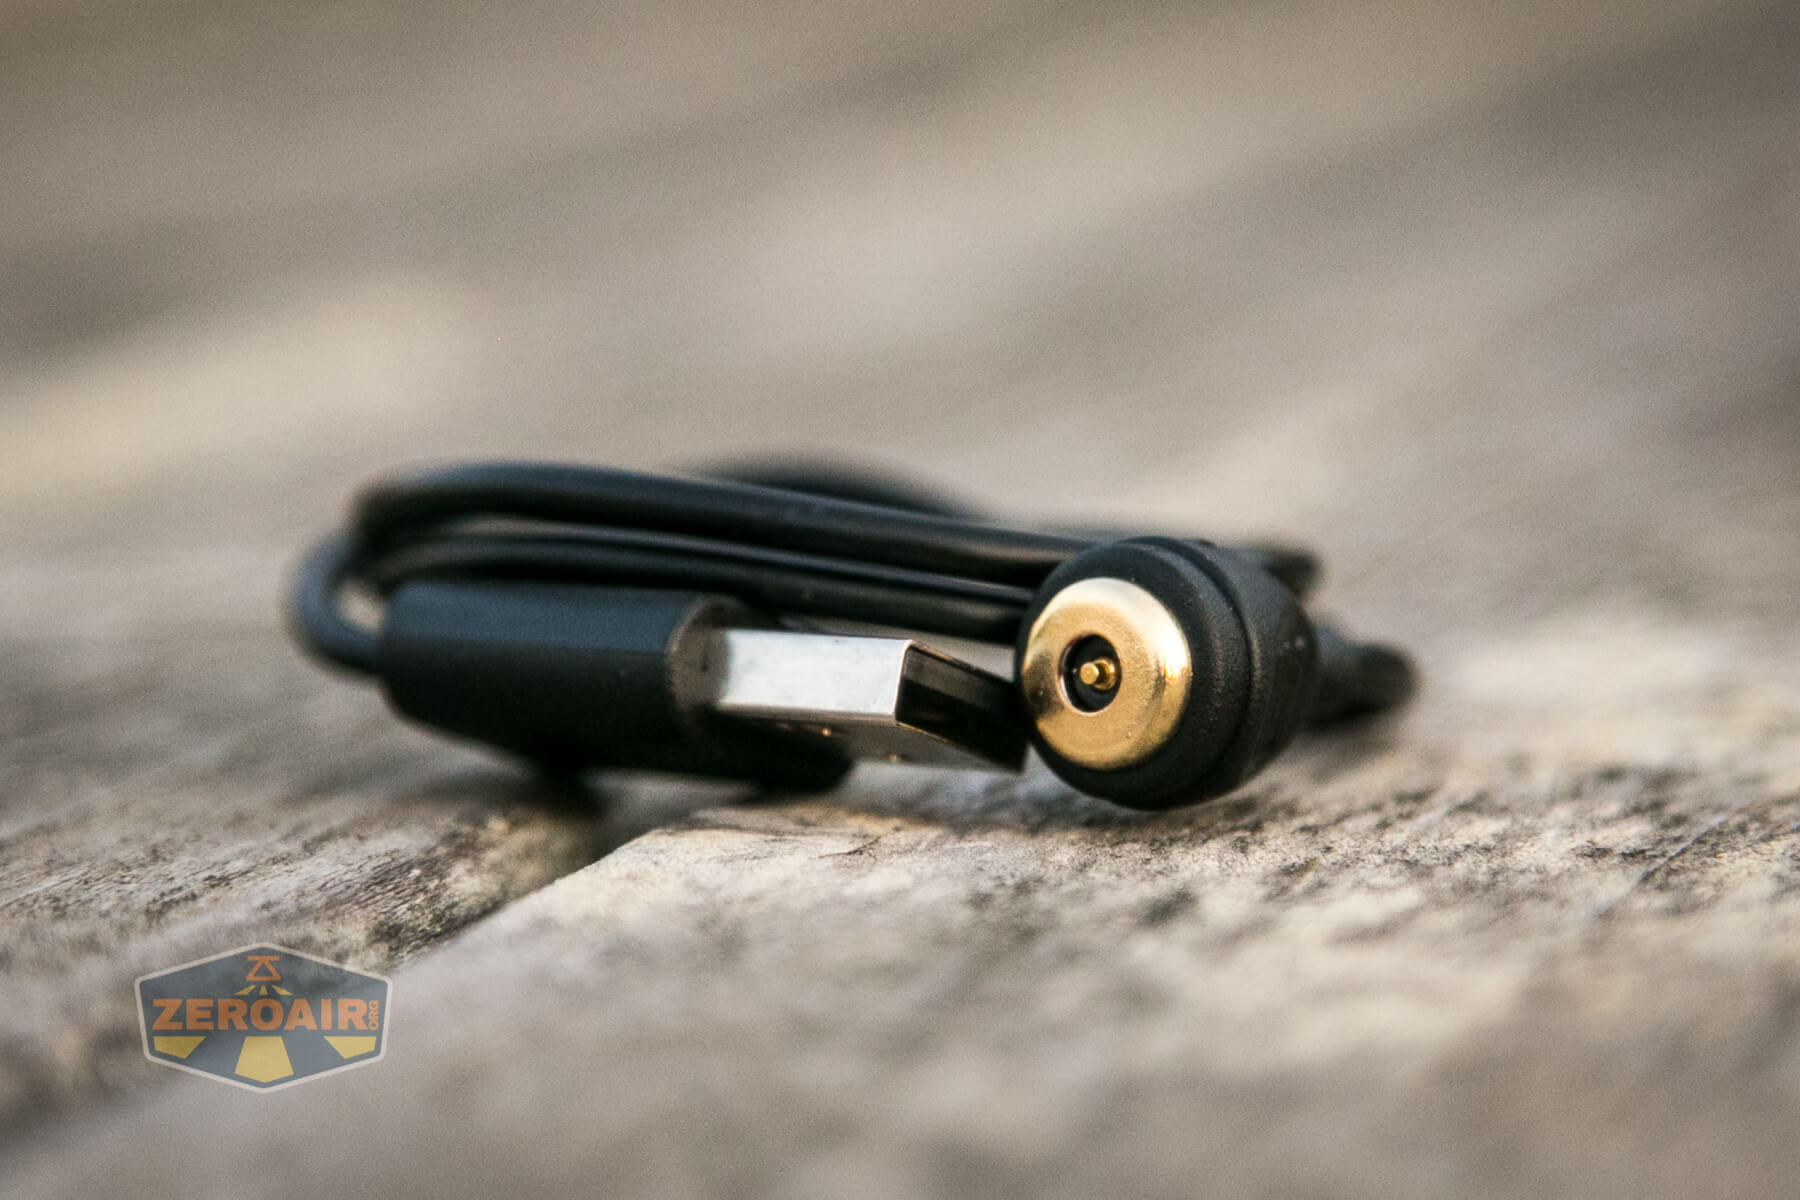
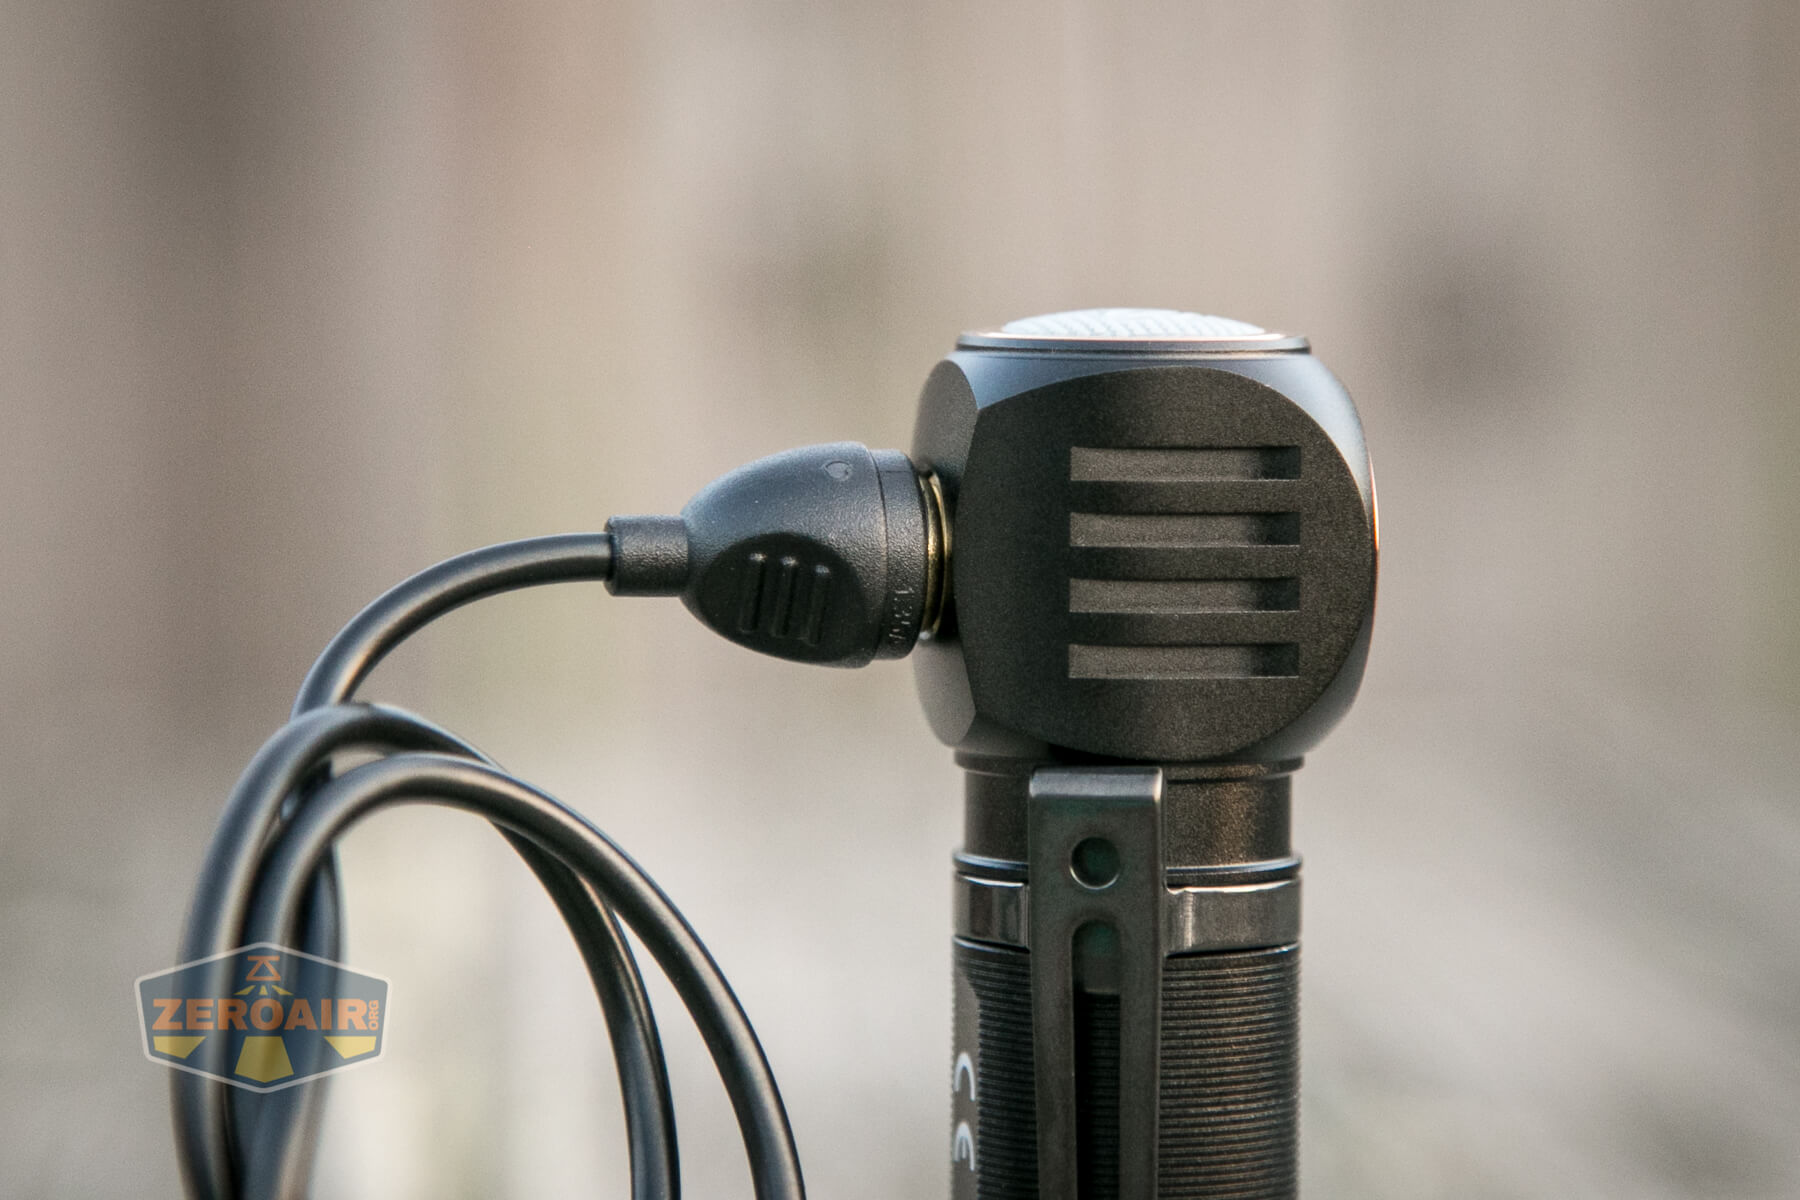
While the Fenix HM61R headlamp does have a recharging feature, it’s by way of a proprietary magnetic connector on the head.
I’m 100% positive this connector looks exactly like a character from Star Wars, but also completely drawing a blank on which one. That’s just a bit endearing, to be honest.
A cable is included. It’s USB to proprietary magnetic.
There’s a tiny LED on the charger that indicates charge status. While charging, the indicator will be red. When either not charging (disconnected) or charging is complete, the indicator will turn green (according to the manual), or orange (according to my usage).
It’s unclear if the indicator will turn orange or green, to be honest. You might say, “Well, why didn’t you wait til it was complete to know?” During testing, I did wait. I checked the logger and could clearly see that charging had stopped, but as you can see in the graph below, stopped might not also mean completed. I have no way to know if the charging would top the cell by being left on the charger for longer, or if 4.13-4.15V is “about done.”
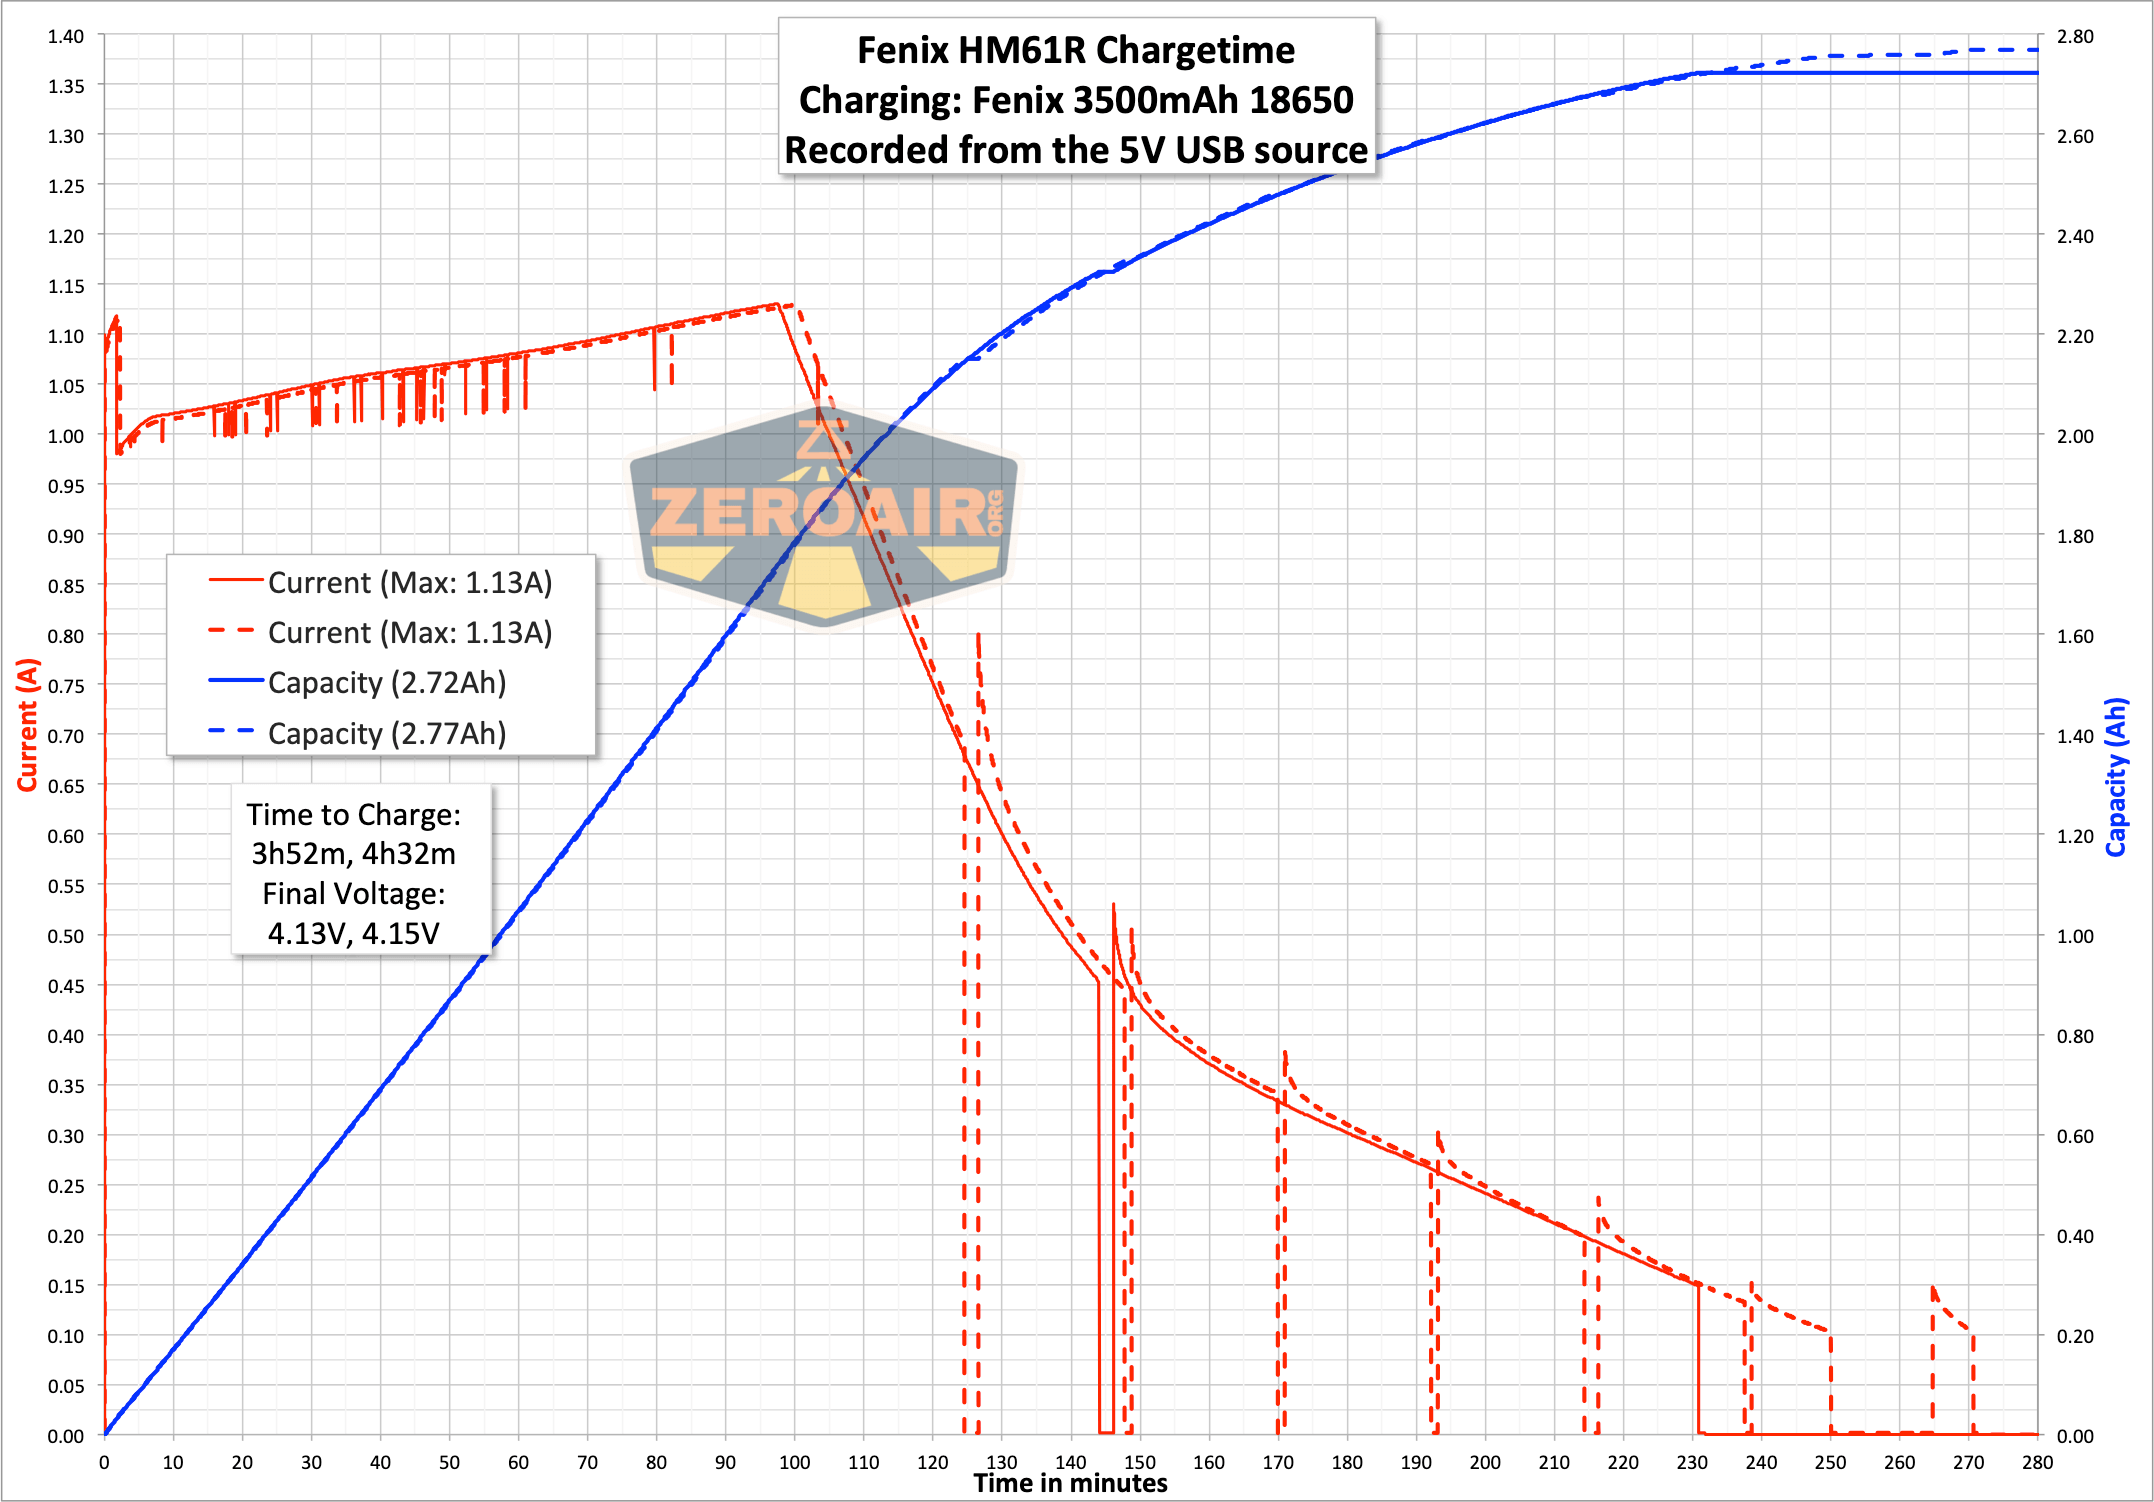
Either way, the charging is “good enough” – it’ll switch from red, no matter what it switches to – green or orange. And 4.15V ish is just about full – topping the cells off with a bay charger really does not add much to the cell.
Another great feature about this charging is that it charges standard button top cells – there’s nothing special about the setup.
Modes and Currents
| Mode | Mode Claimed Output (lm) | Claimed Runtime | Measured Lumens | Tailcap Amps |
|---|---|---|---|---|
| Turbo | 1200 | 2h | 1171 | 3.24 |
| High | 400 | 4h | 421 | 0.70 |
| Med | 150 | 12h | 166 | 0.24 |
| Low | 50 | 38h | 53 | 93mA |
| Eco | 5 | 300h | 6 | 15.2mA |
| Low – Red | 1 | 400h | – | 9.41mA |
| Med – Red | 5 | 80h | – | 55.4mA |
Pulse Width Modulation
There isn’t any PWM at all on the white light.

The lower red output does have PWM.

Here you can see a “baseline” – a chart with almost no light hitting the sensor.
Then there’s the Ultrafire WF-602C flashlight, which has some of the worst PWM I’ve seen. It’s so bad that I used a post about it to explain PWM! Here are multiple timescales (10ms, 5ms, 2ms, 1ms, 0.5ms, 0.2ms) to make comparing this “worst” PWM light to the test light easier. That post also explains why I didn’t test the WF-602C at the usual 50us scale.
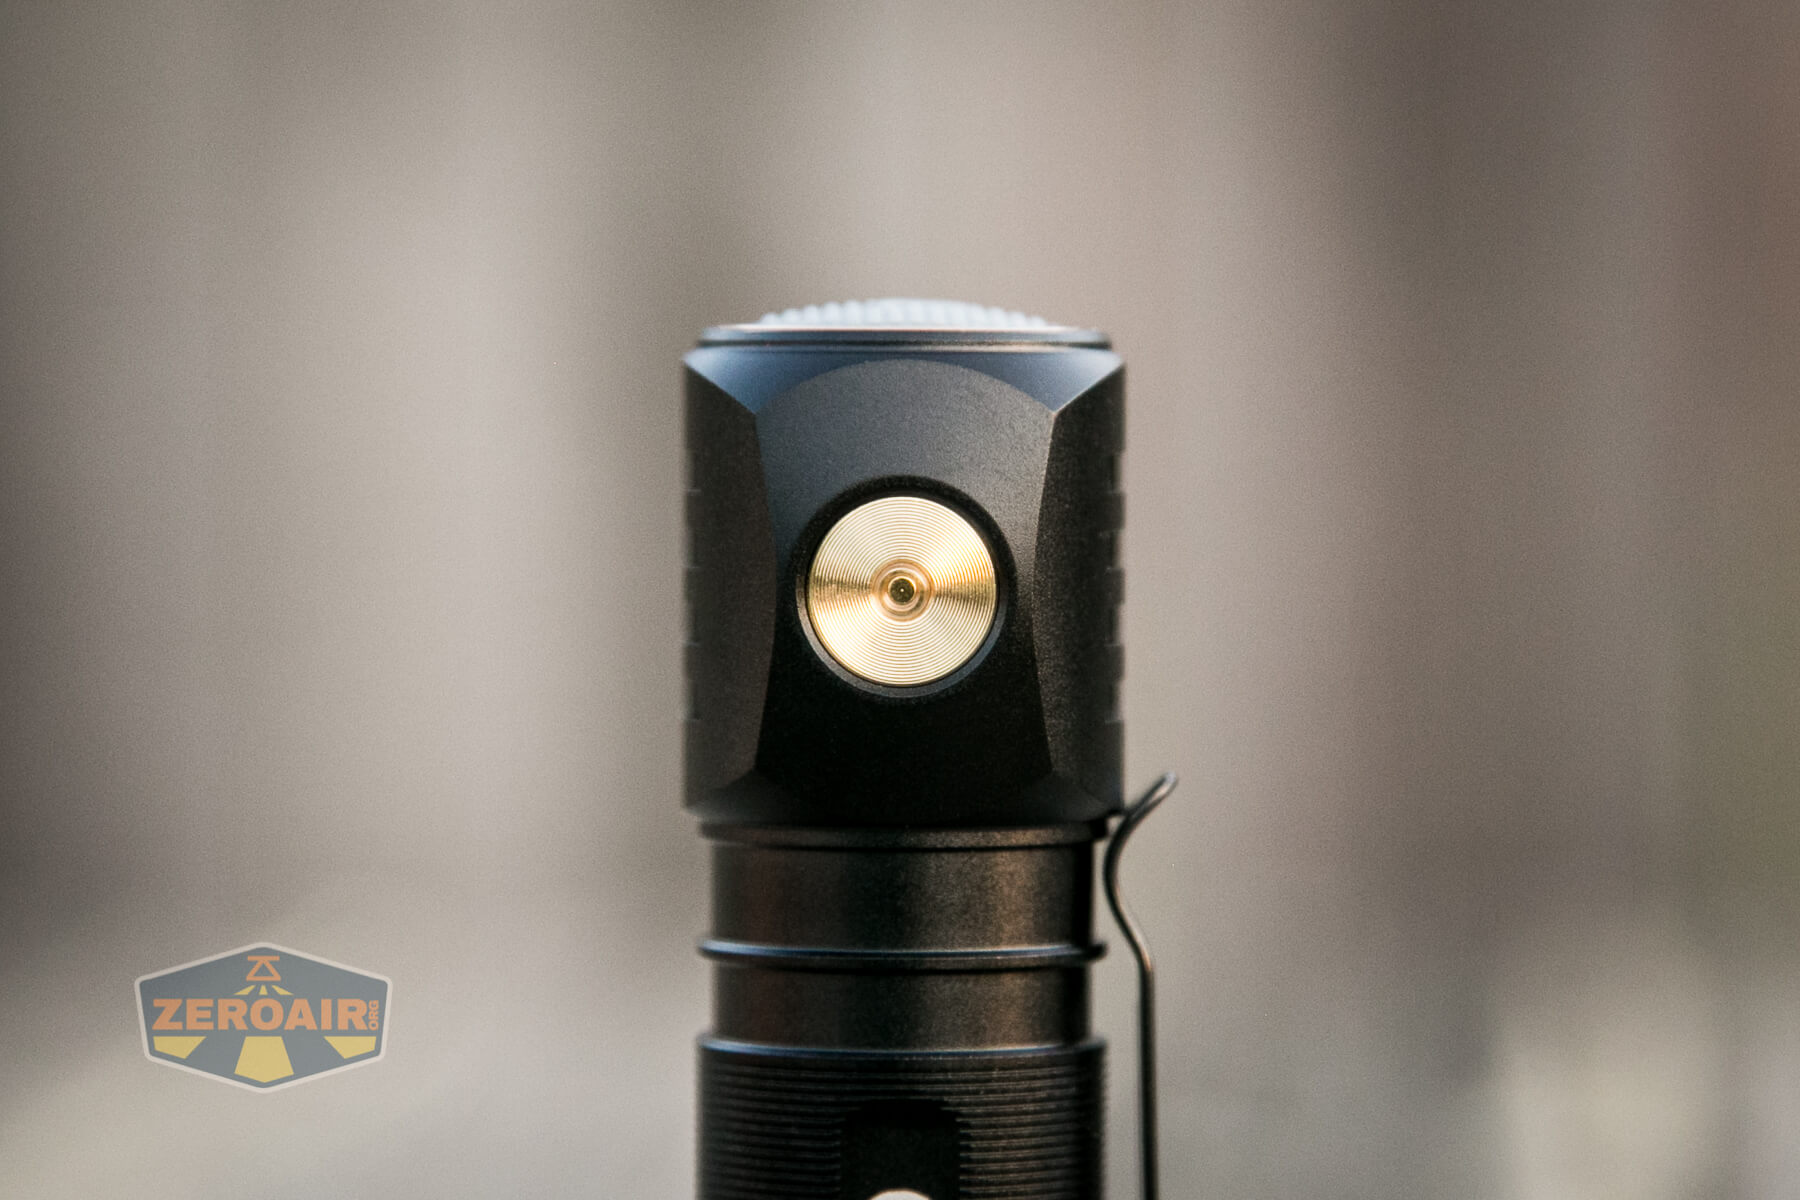
User Interface and Operation
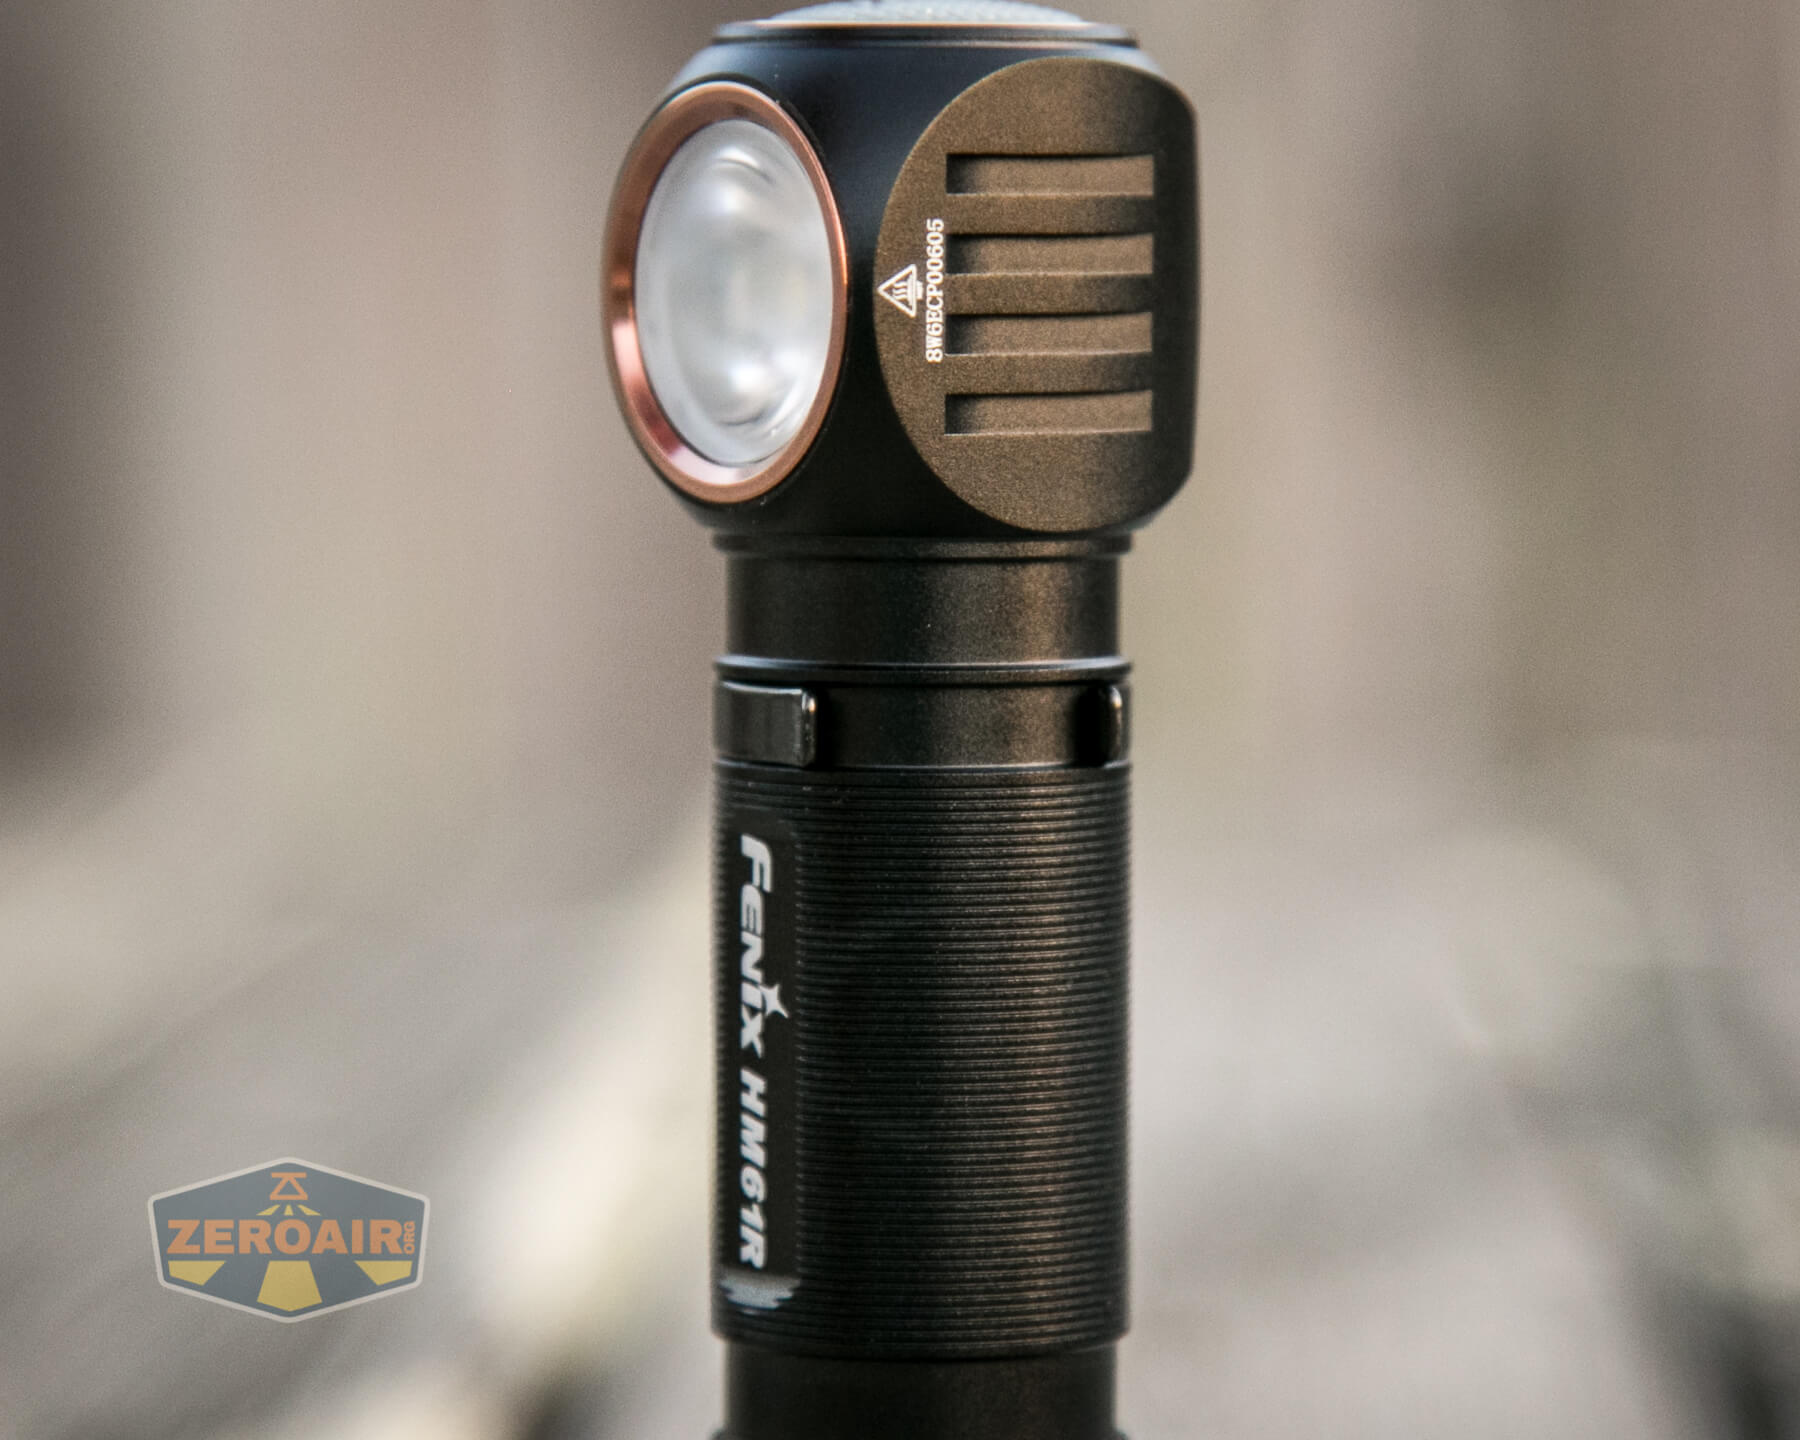
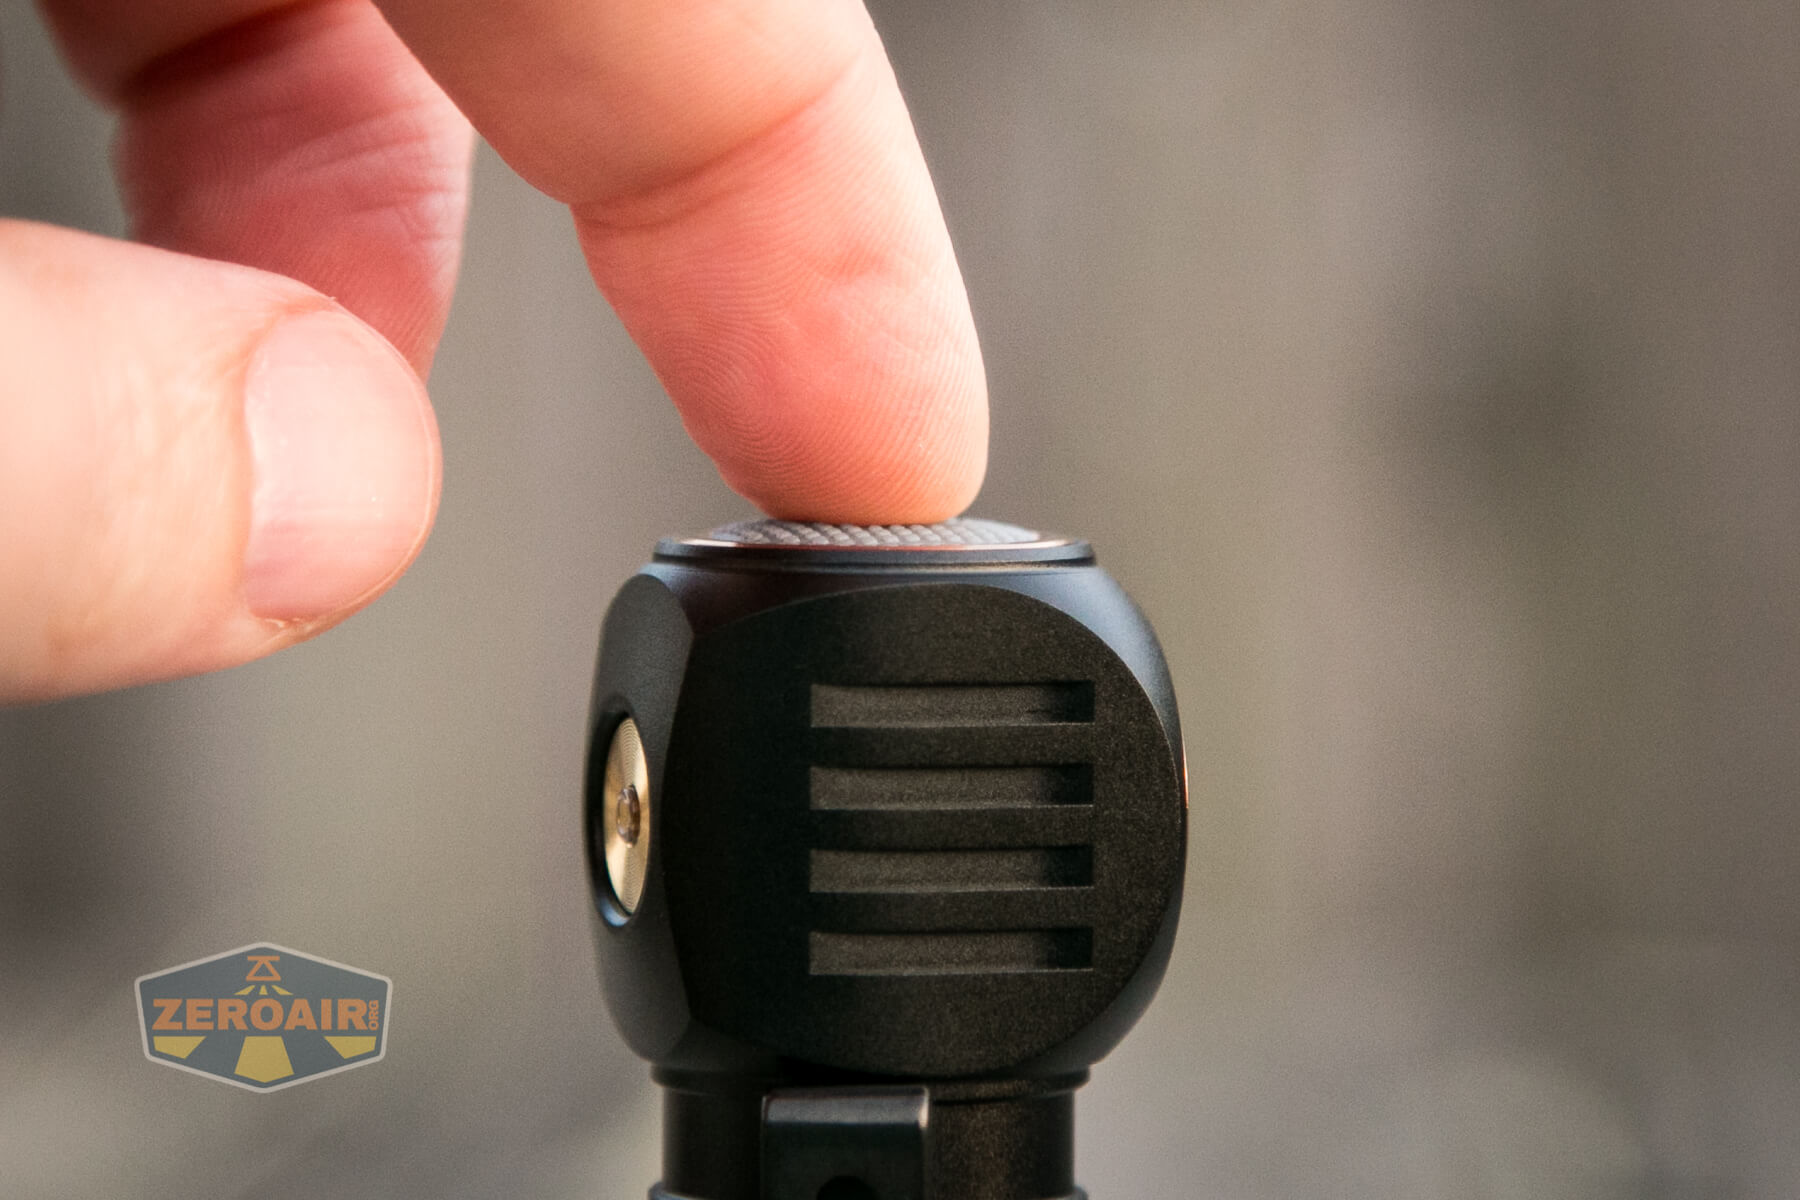
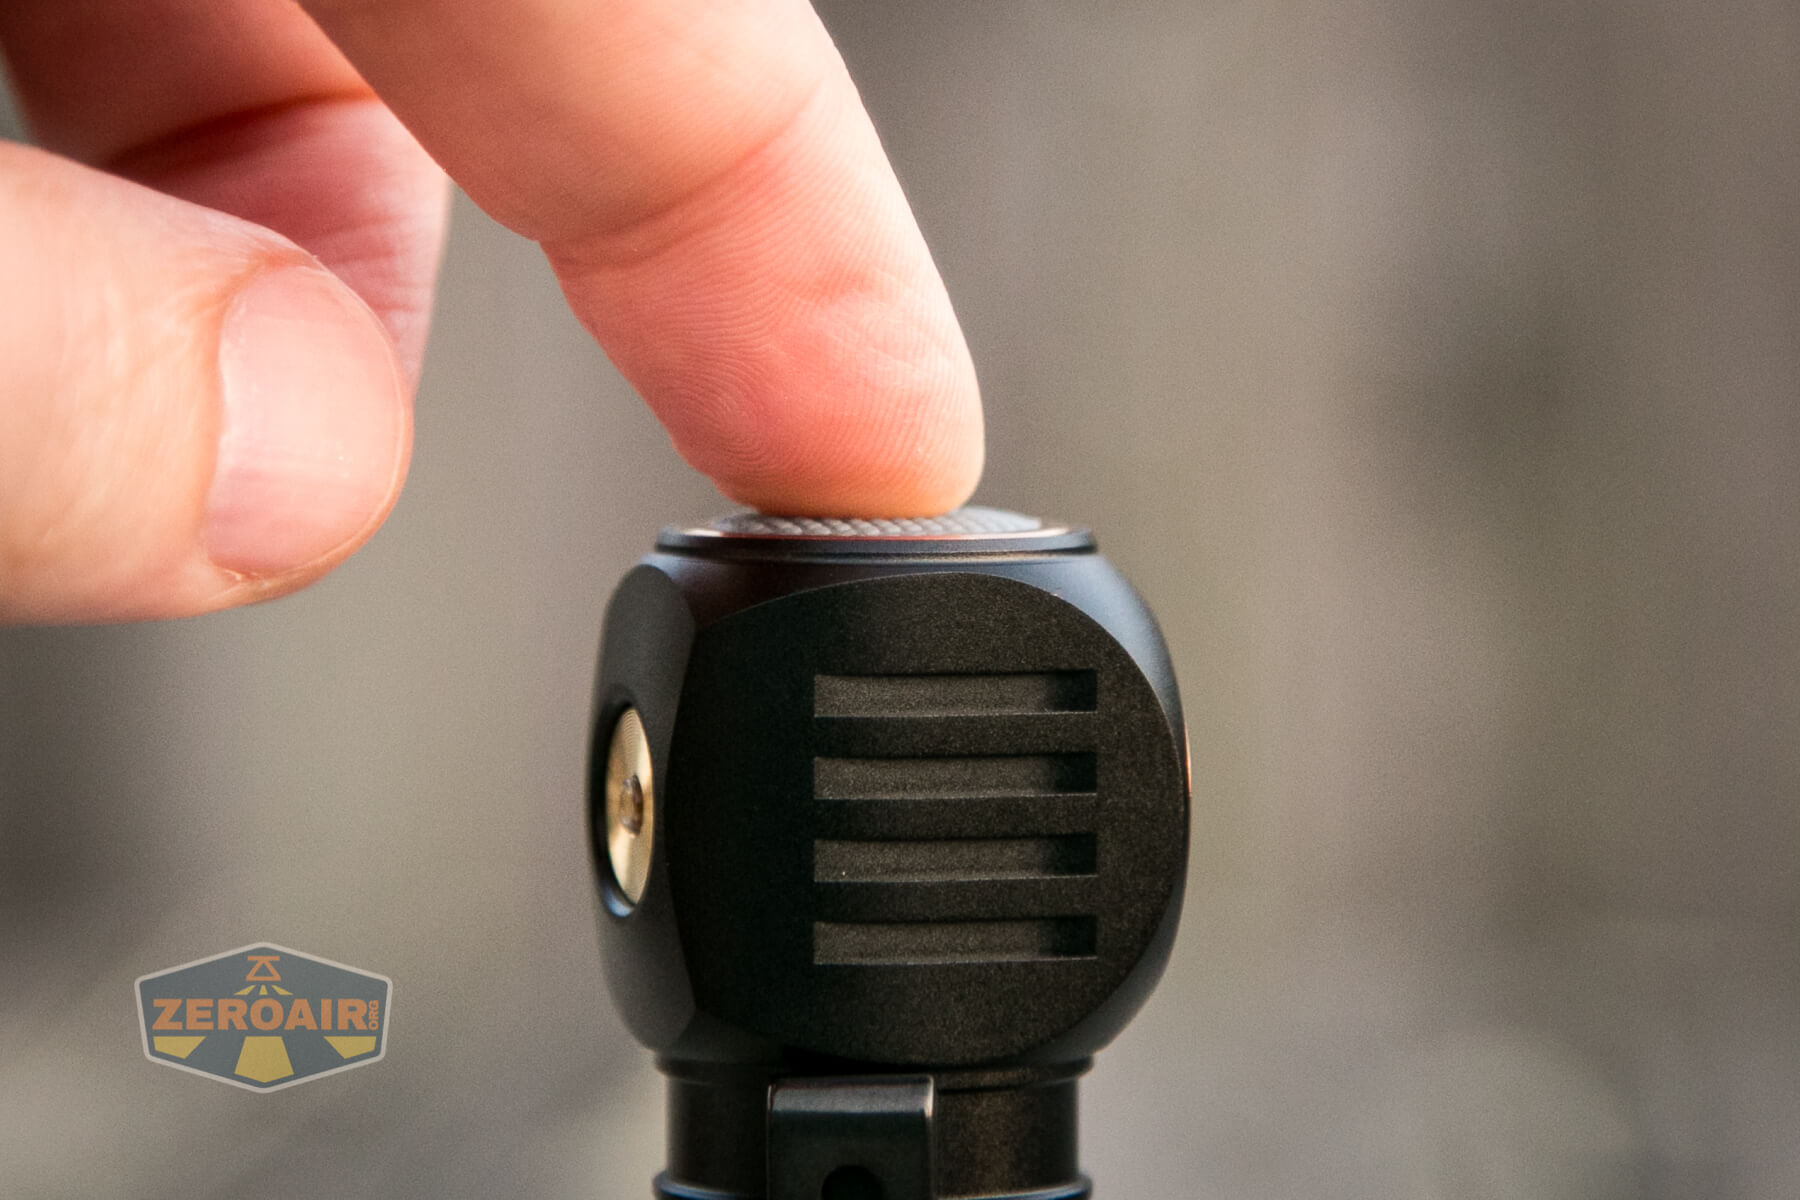
The Fenix HM61R rechargeable headlamp has a single e-switch for operation. It’s on the top side of the head and is a very nice switch. It’s big, easy to access, and easy to press.
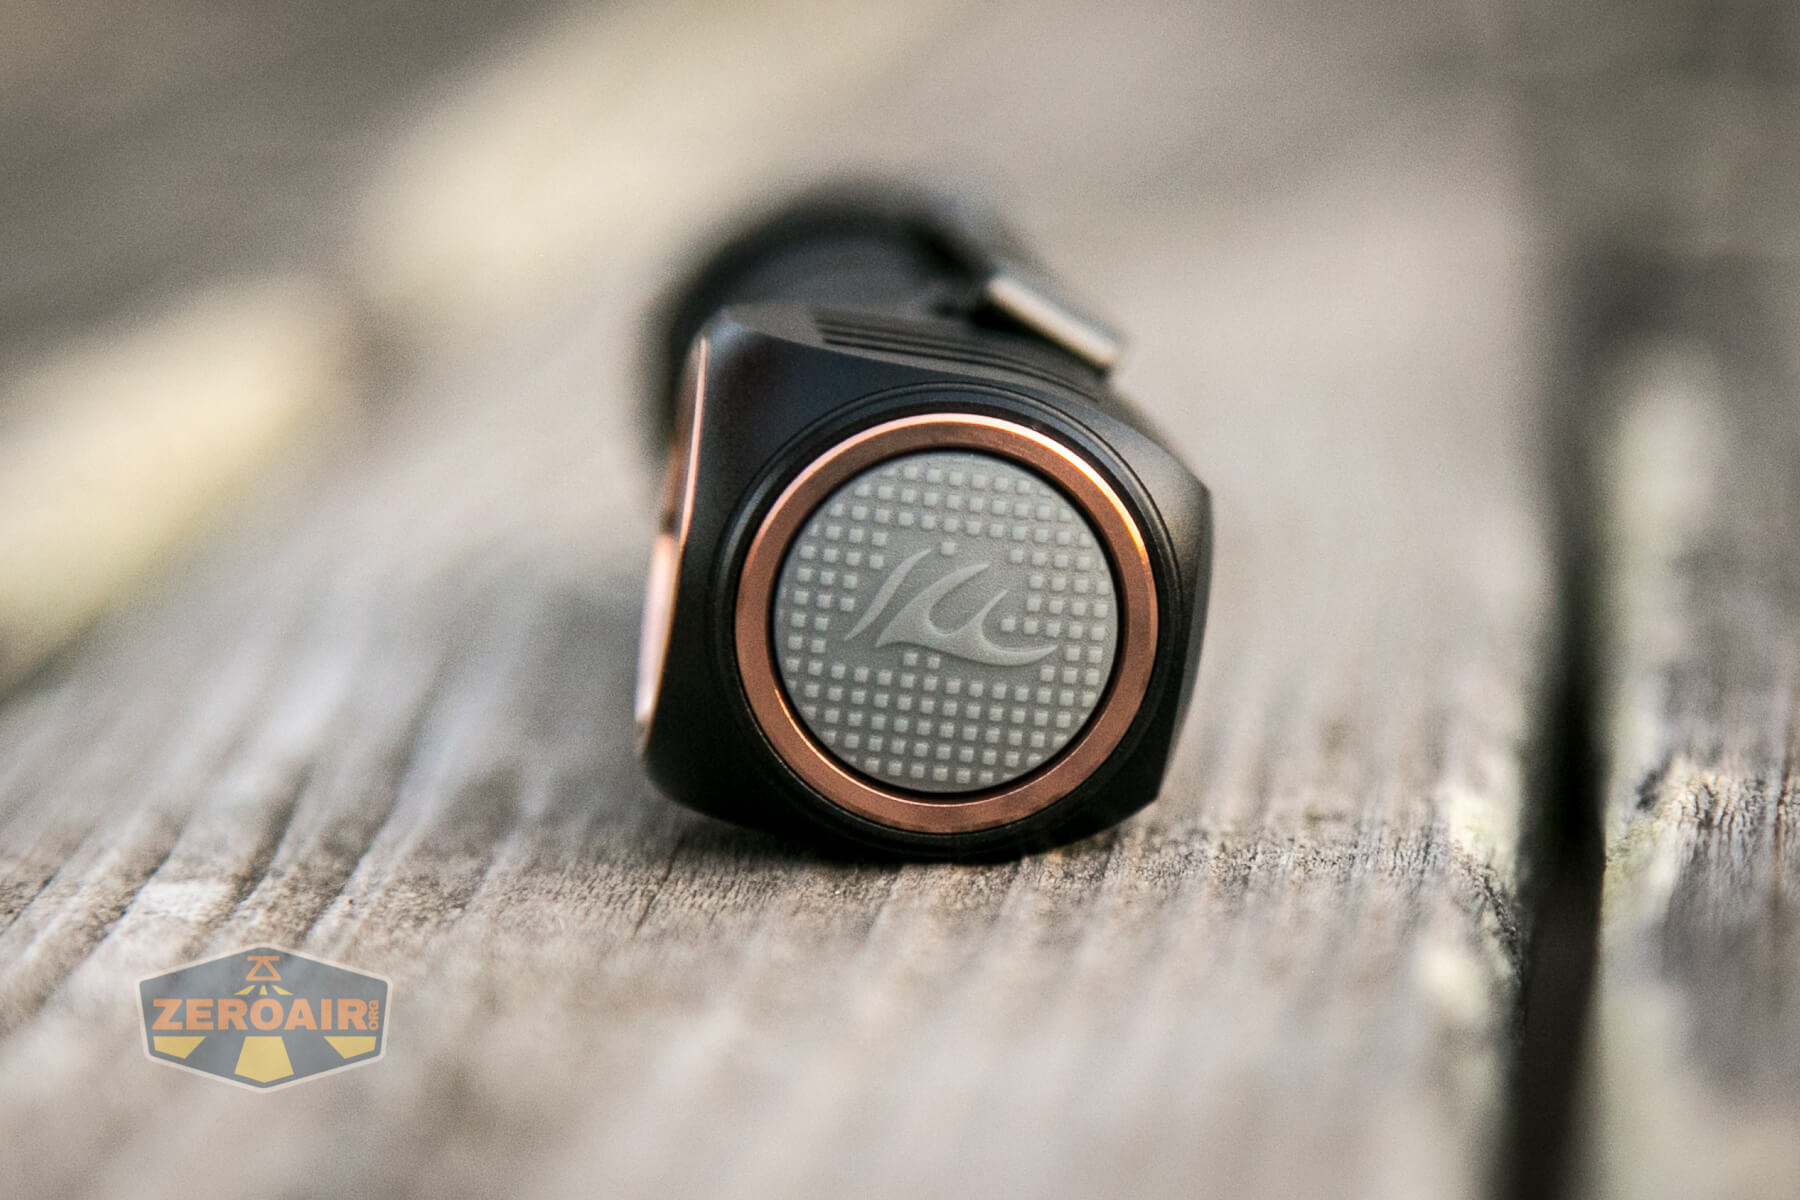
The action is very low.
With regards to the headband mount, the light can go into the mount in either orientation, so it is suitable for both righties and lefties.
Here’s a user interface table!
| State | Action | Result |
|---|---|---|
| Off | Click | Battery status indicator in switch^ |
| Off | Hold (0.5s) | On (Mode Memory) |
| Off | Hold (1.2s) | Red Low (Technically mode memory White first) |
| On – White | Click | Mode advance (Eco > Low > Med > High > Turbo) |
| On – Red | Click | Mode advance (Low > Med > Flash) |
| On | Hold (1.2s) | Iterate red (always to Low) / white (always to mode memory) |
| Off | Double Click | Lockout (indicated by 3 blinks from main emitter) |
| Lockout | Double Click | Unlock (to on!) |
The battery status is reported as follows:
Steady Green: 100-85%
Blinking Green: 85-50%
Steady Red: 50-25%
Blinking Red: 25-1%
The user interface is quite simple, really, and I like it.
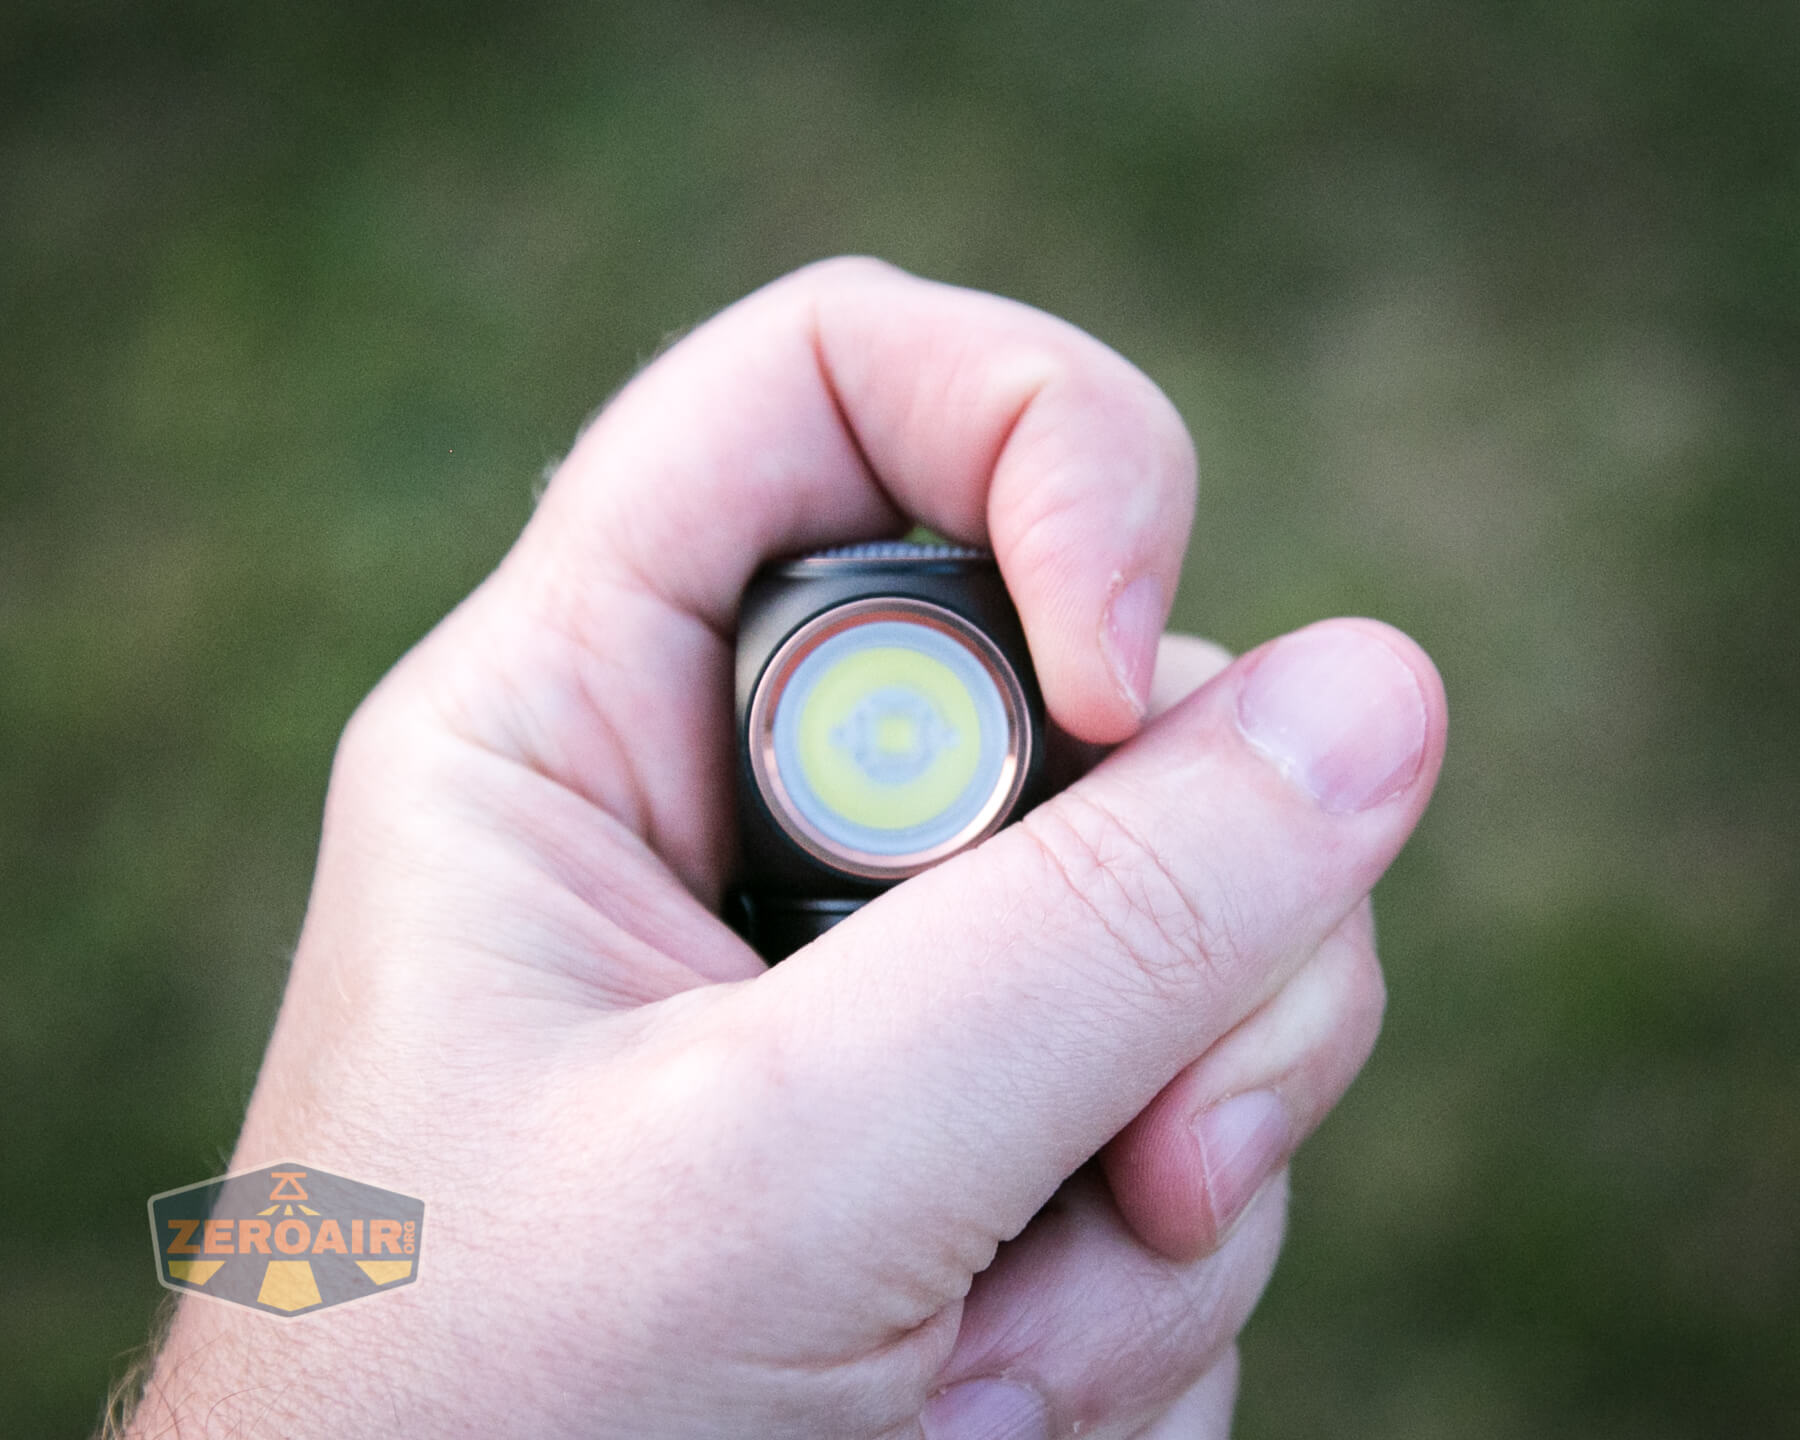
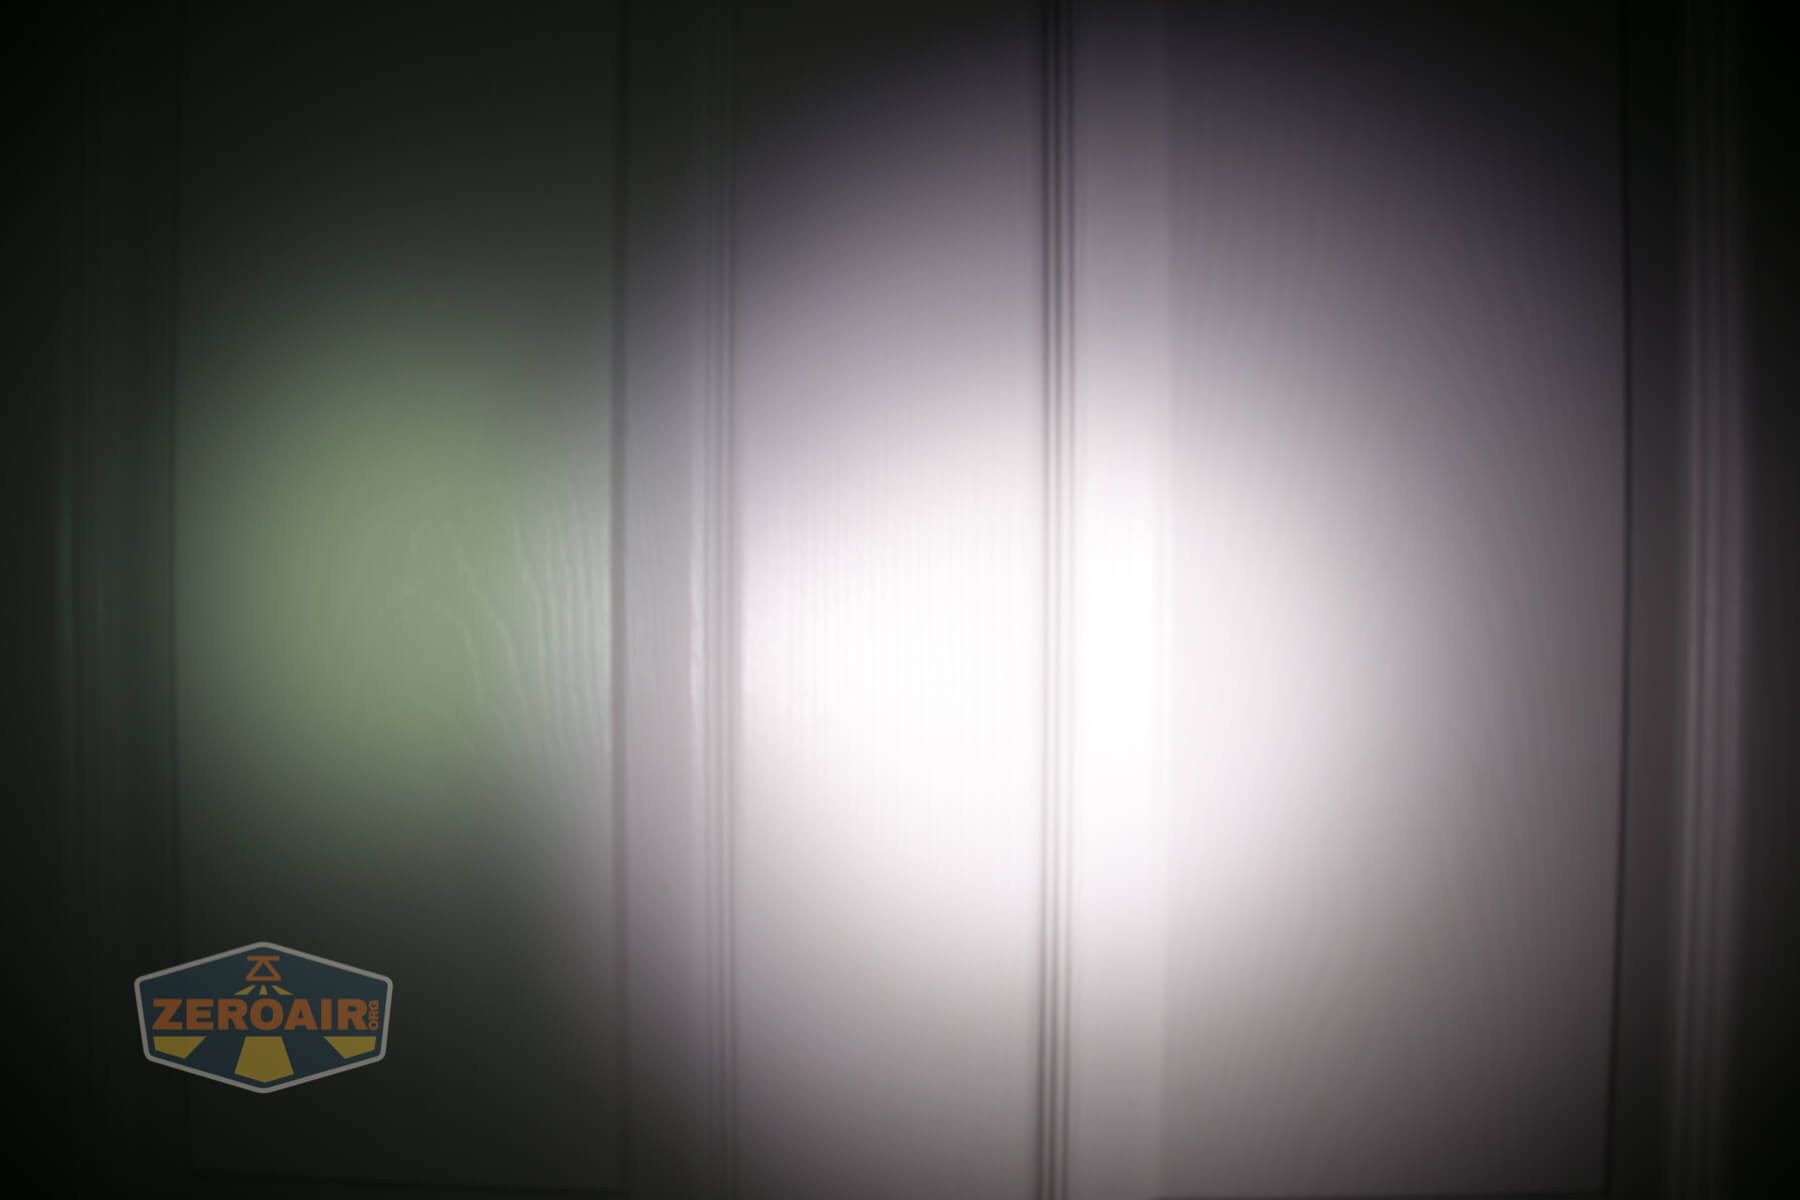
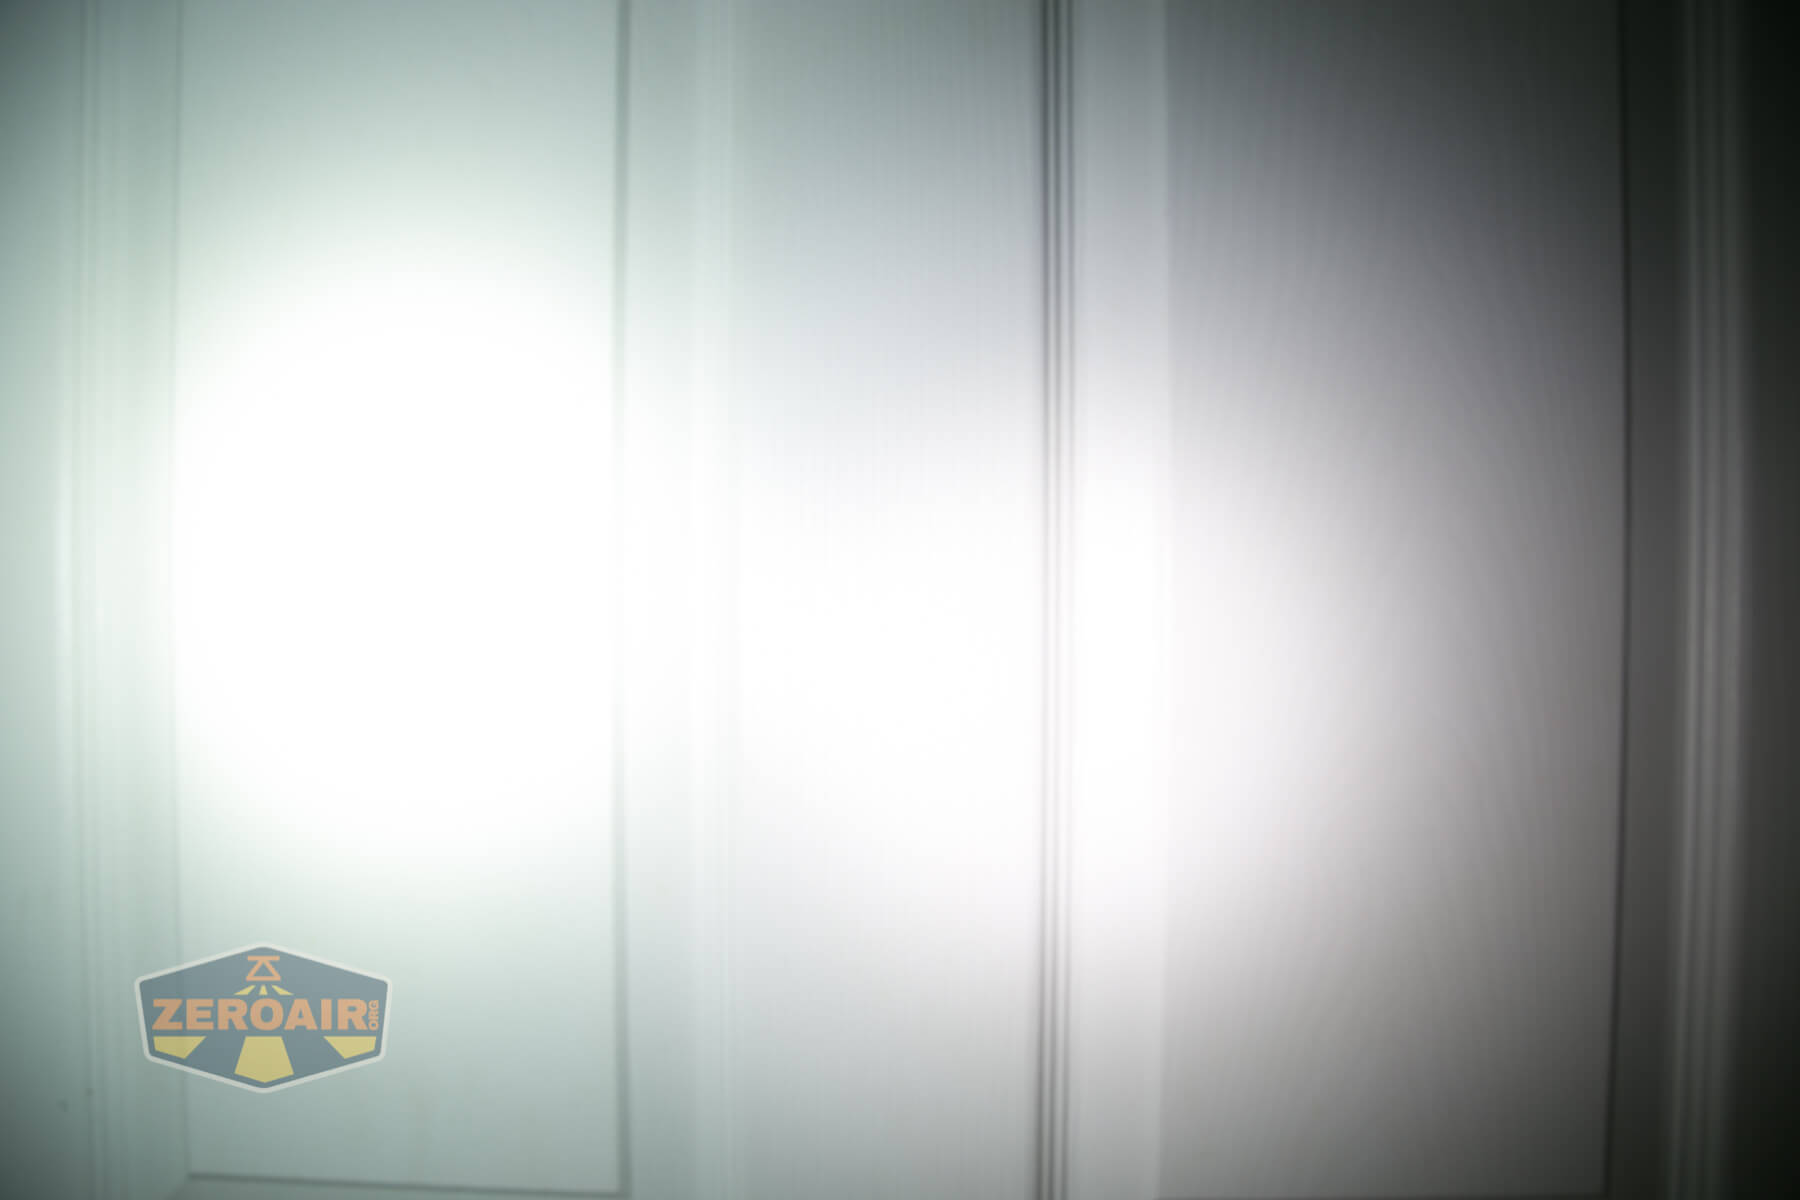
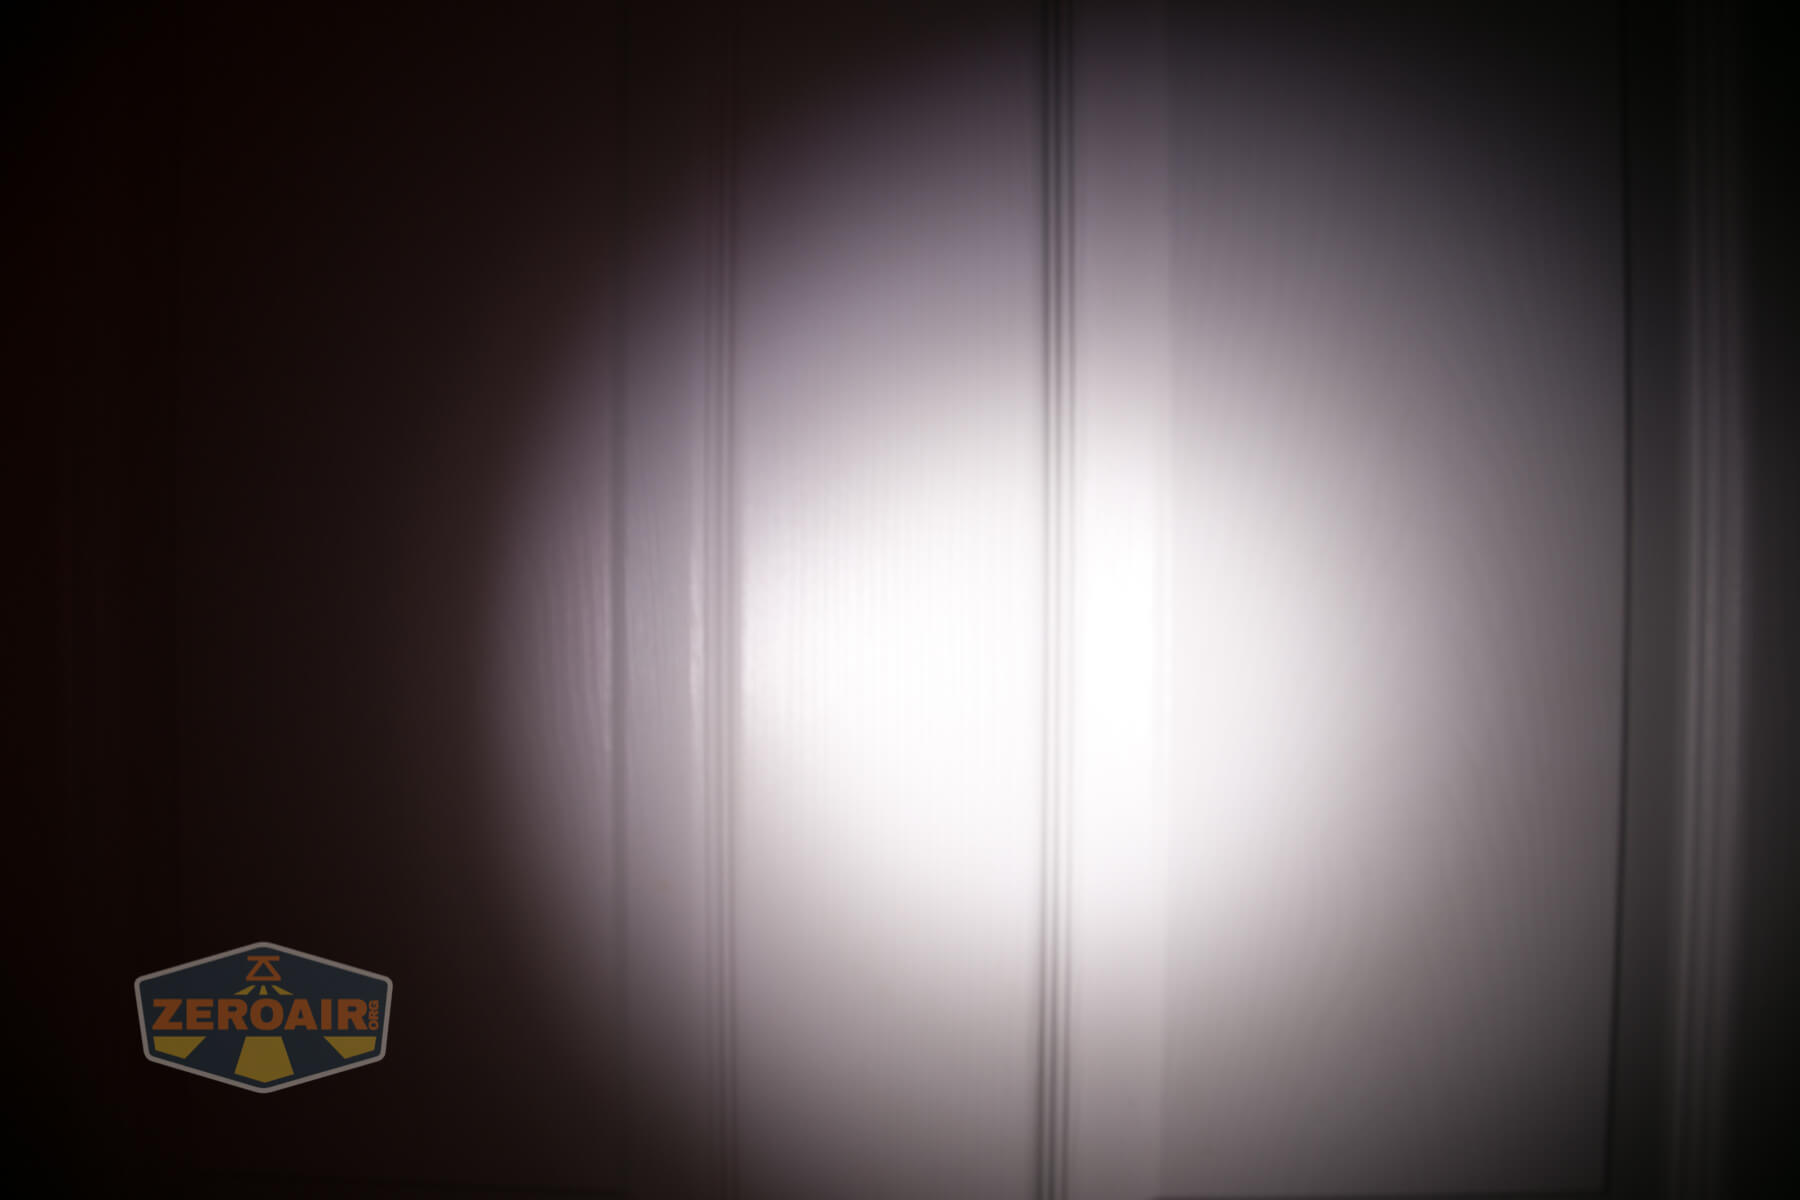
LED and Beam
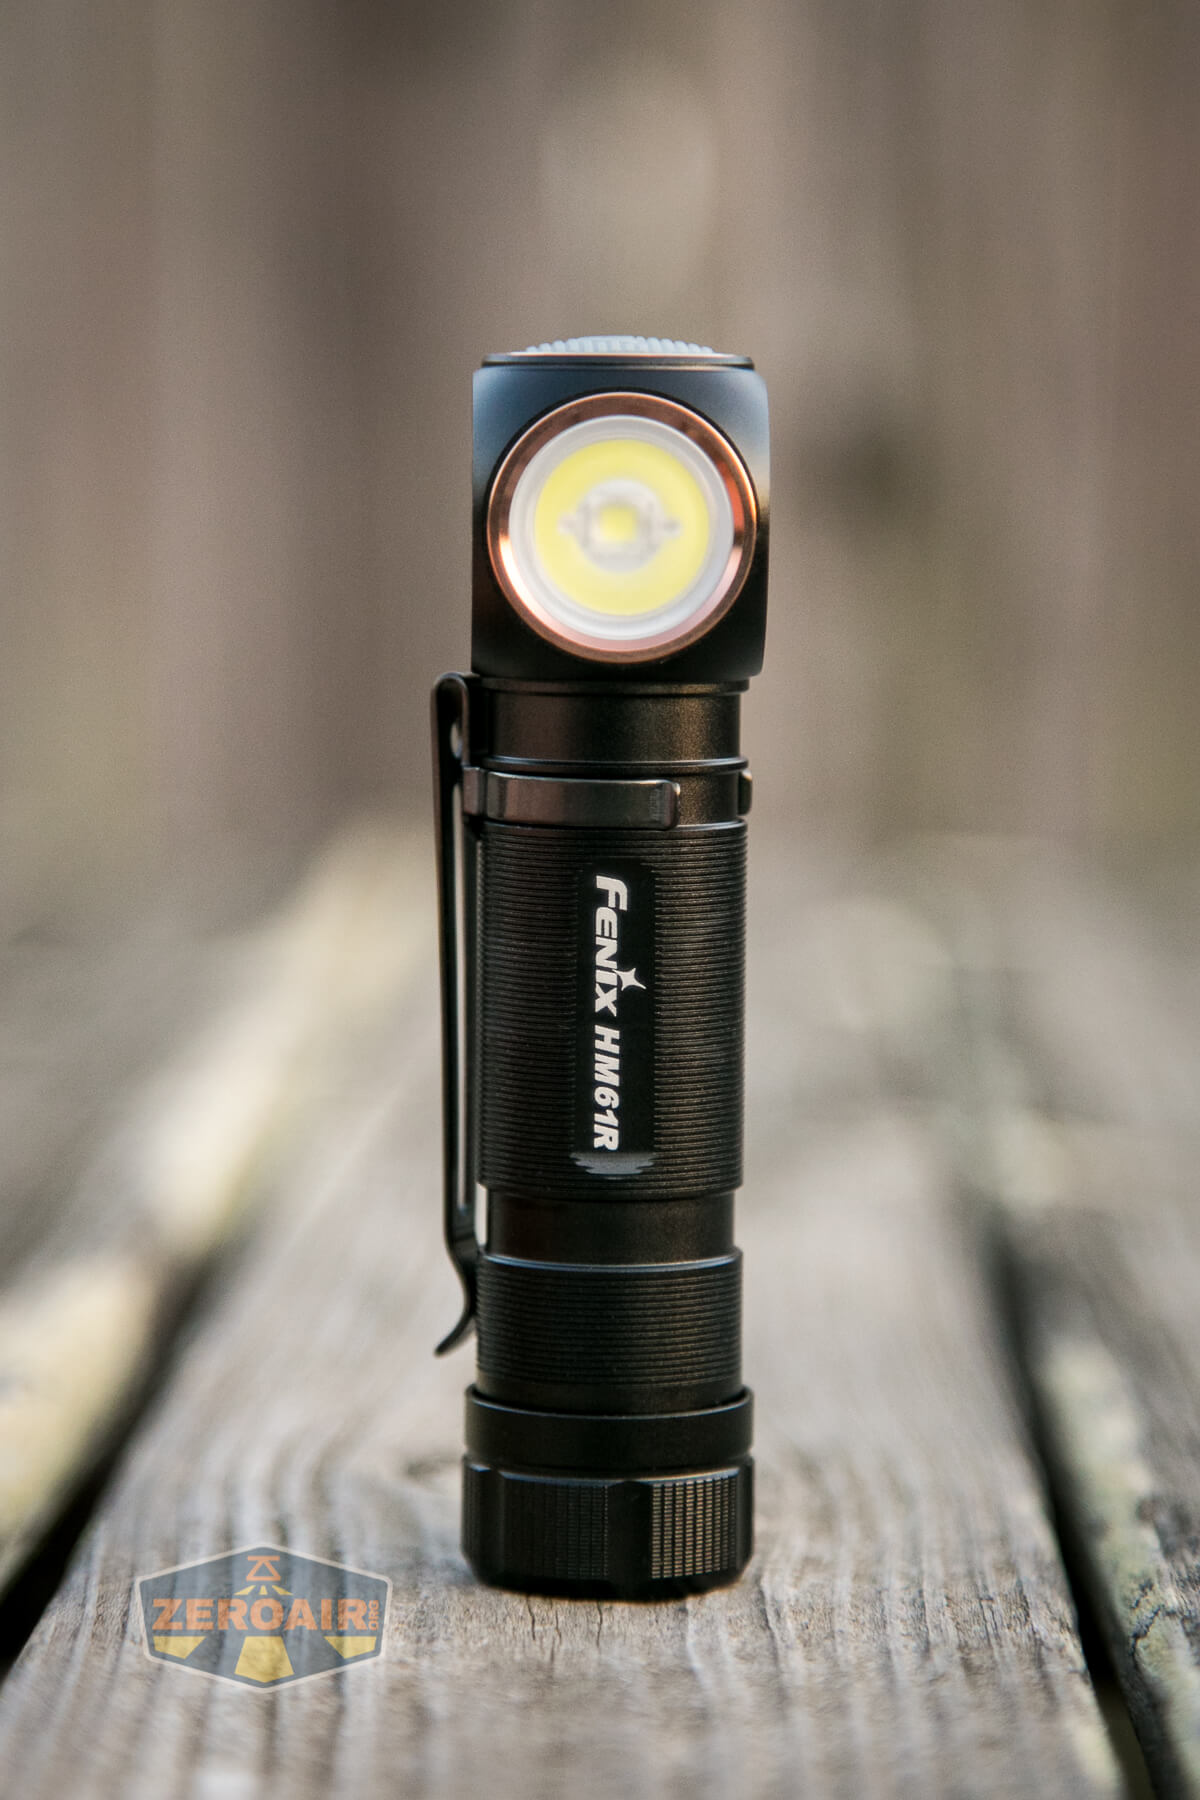
The main (white) emitter in the Fenix HM61R rechargeable headlamp is a Luminus SST-40. I can’t see where Fenix states the CCT, but based on the images below, I think we can agree it’s cool white.
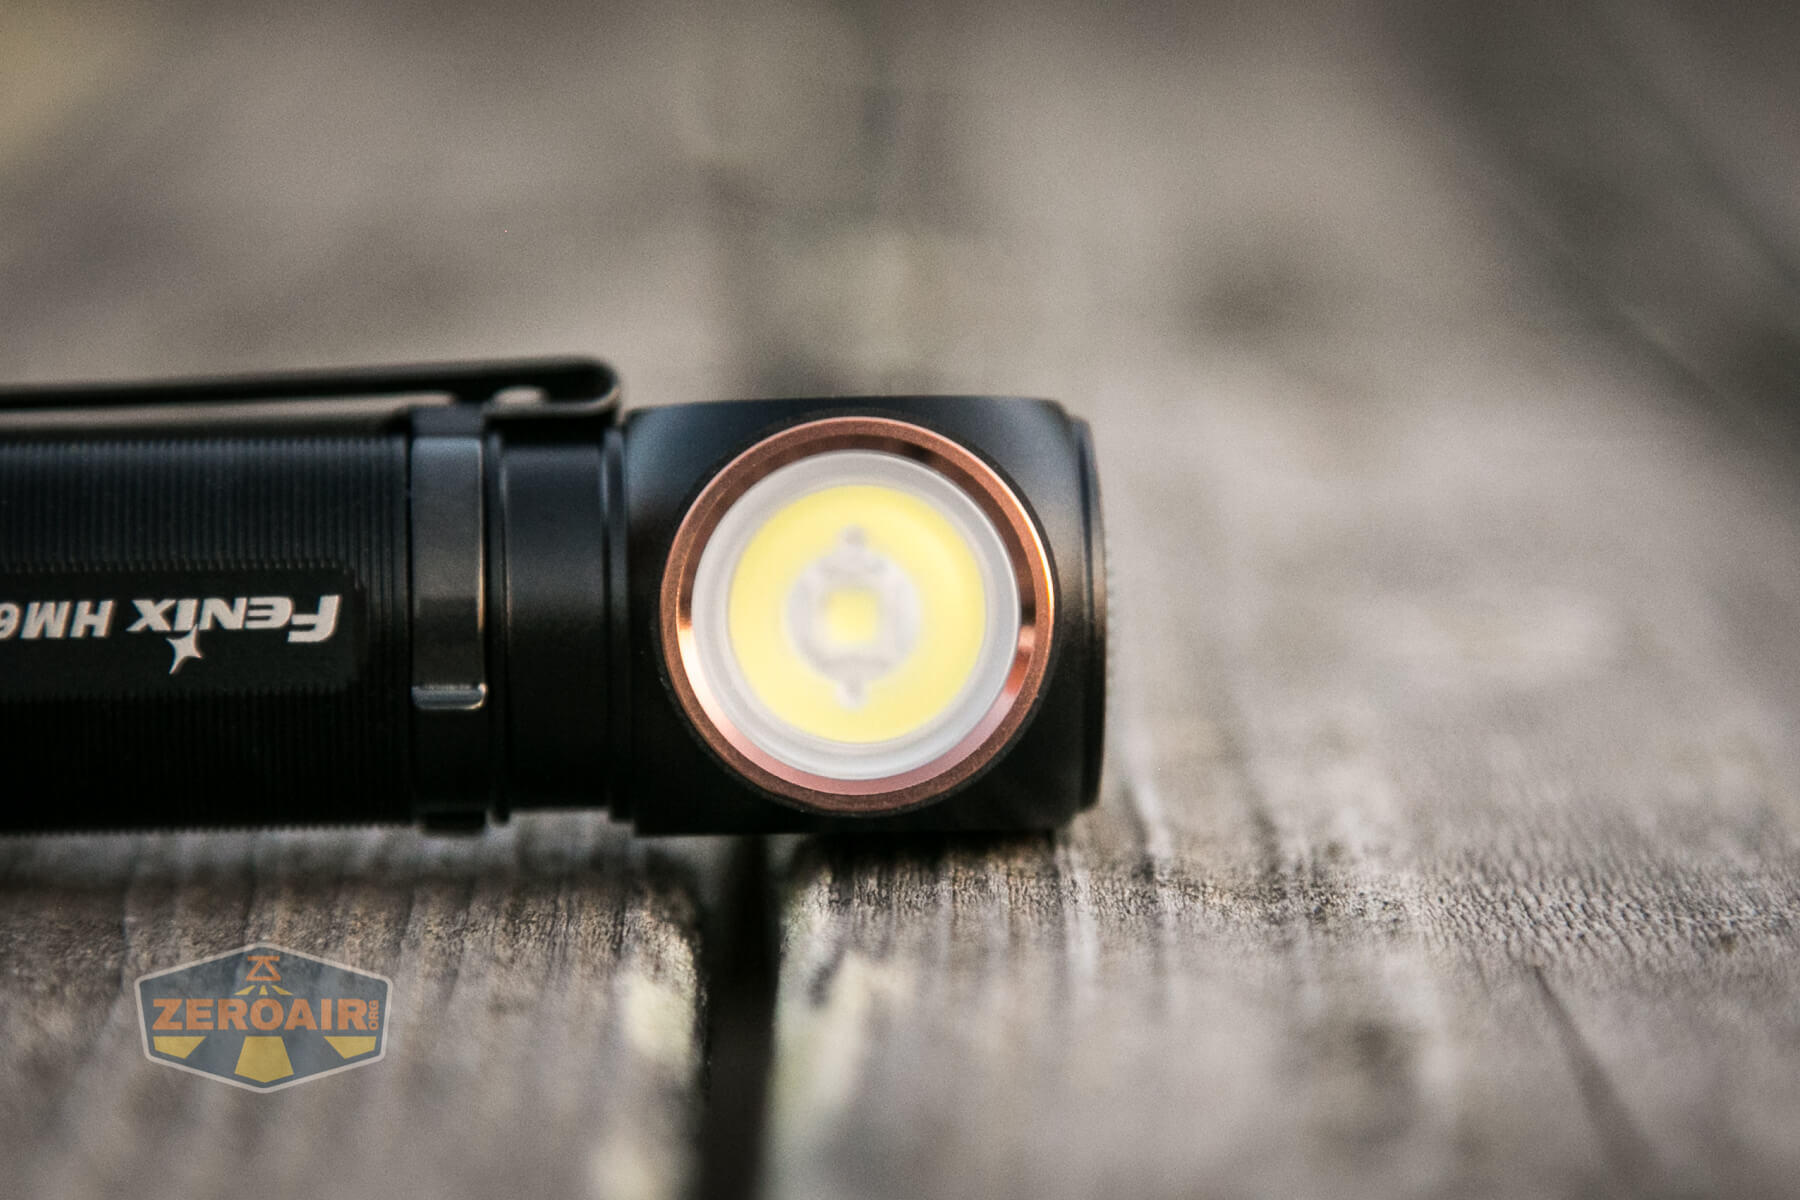
The emitter (emitters actually) are behind this optic, which you can see below. I don’t see a way to get the bezel off, and so I’m unsure about emitter swaps on this headlamp.
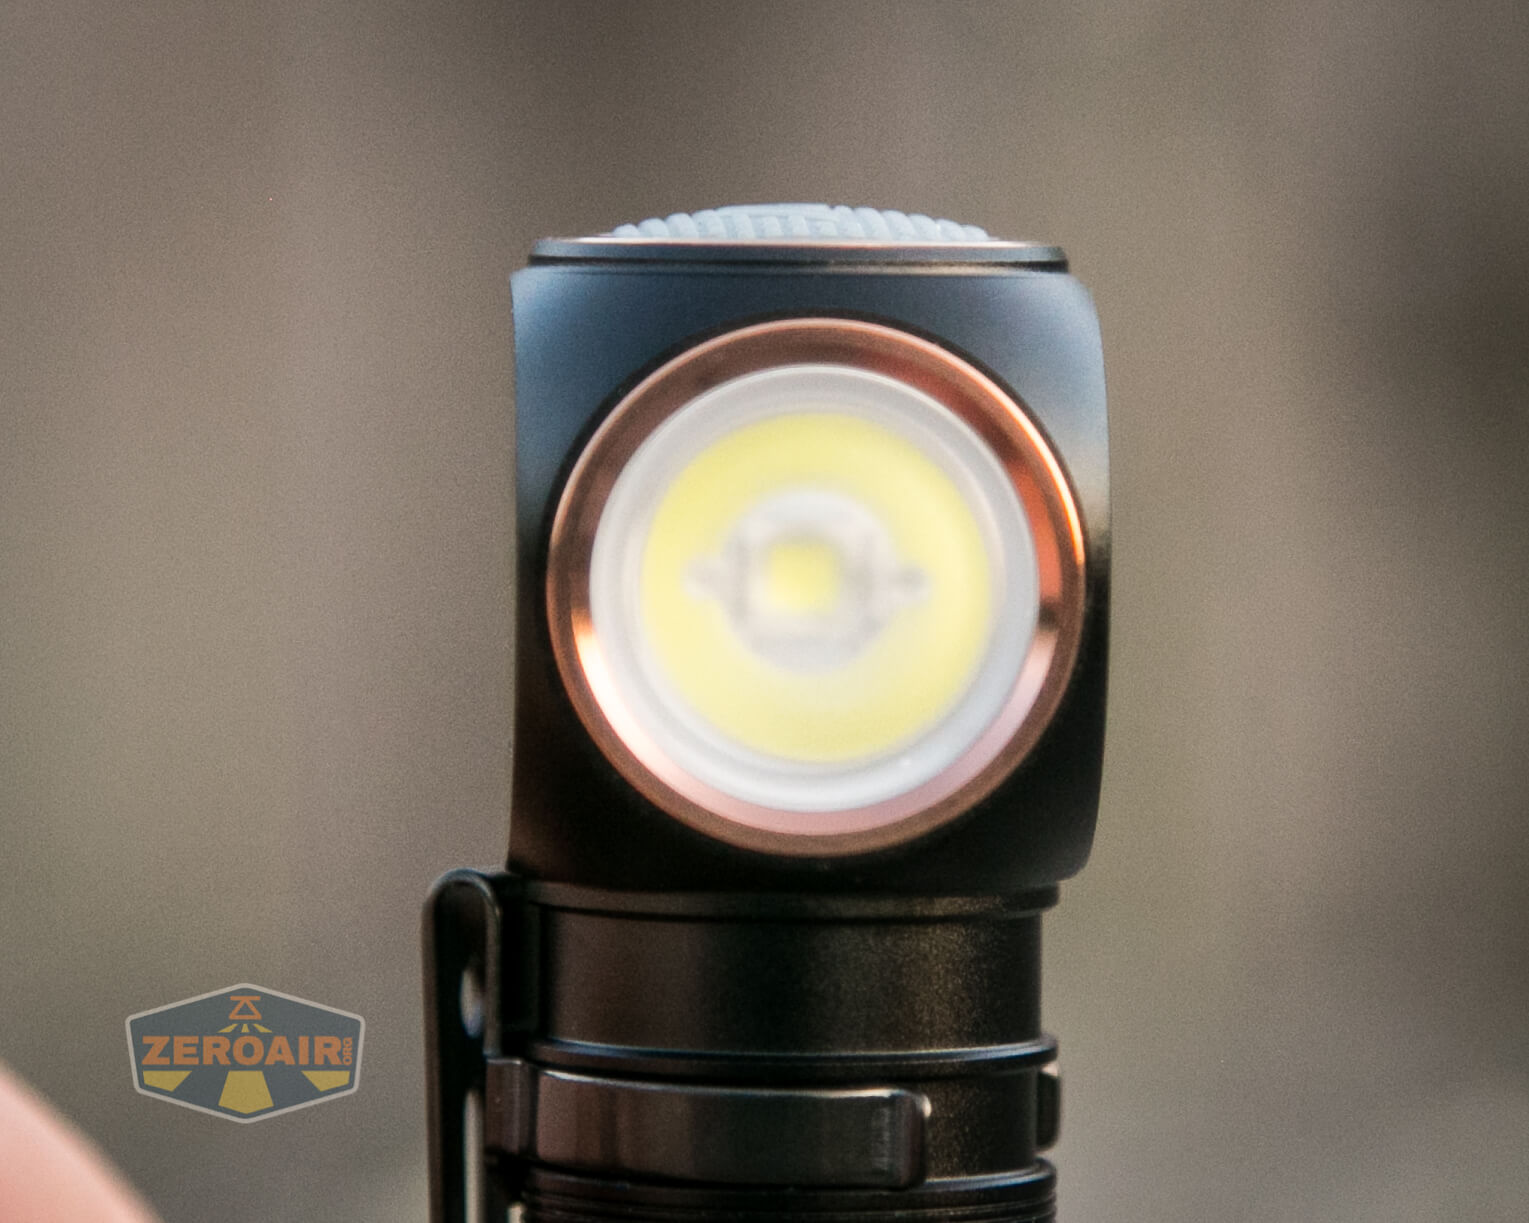
The red emitters are hidden behind that optic, too. There are two red emitters, and they are on either side of the main emitter. It’s actually a very nice setup, and provides a very even red beam pattern.
Beamshots
These beamshots always have the following settings: f8, ISO100, 0.3s shutter, and manual 5000K exposure. These photos are taken at floor level, and the beam hits the ceiling around 9 feet away.


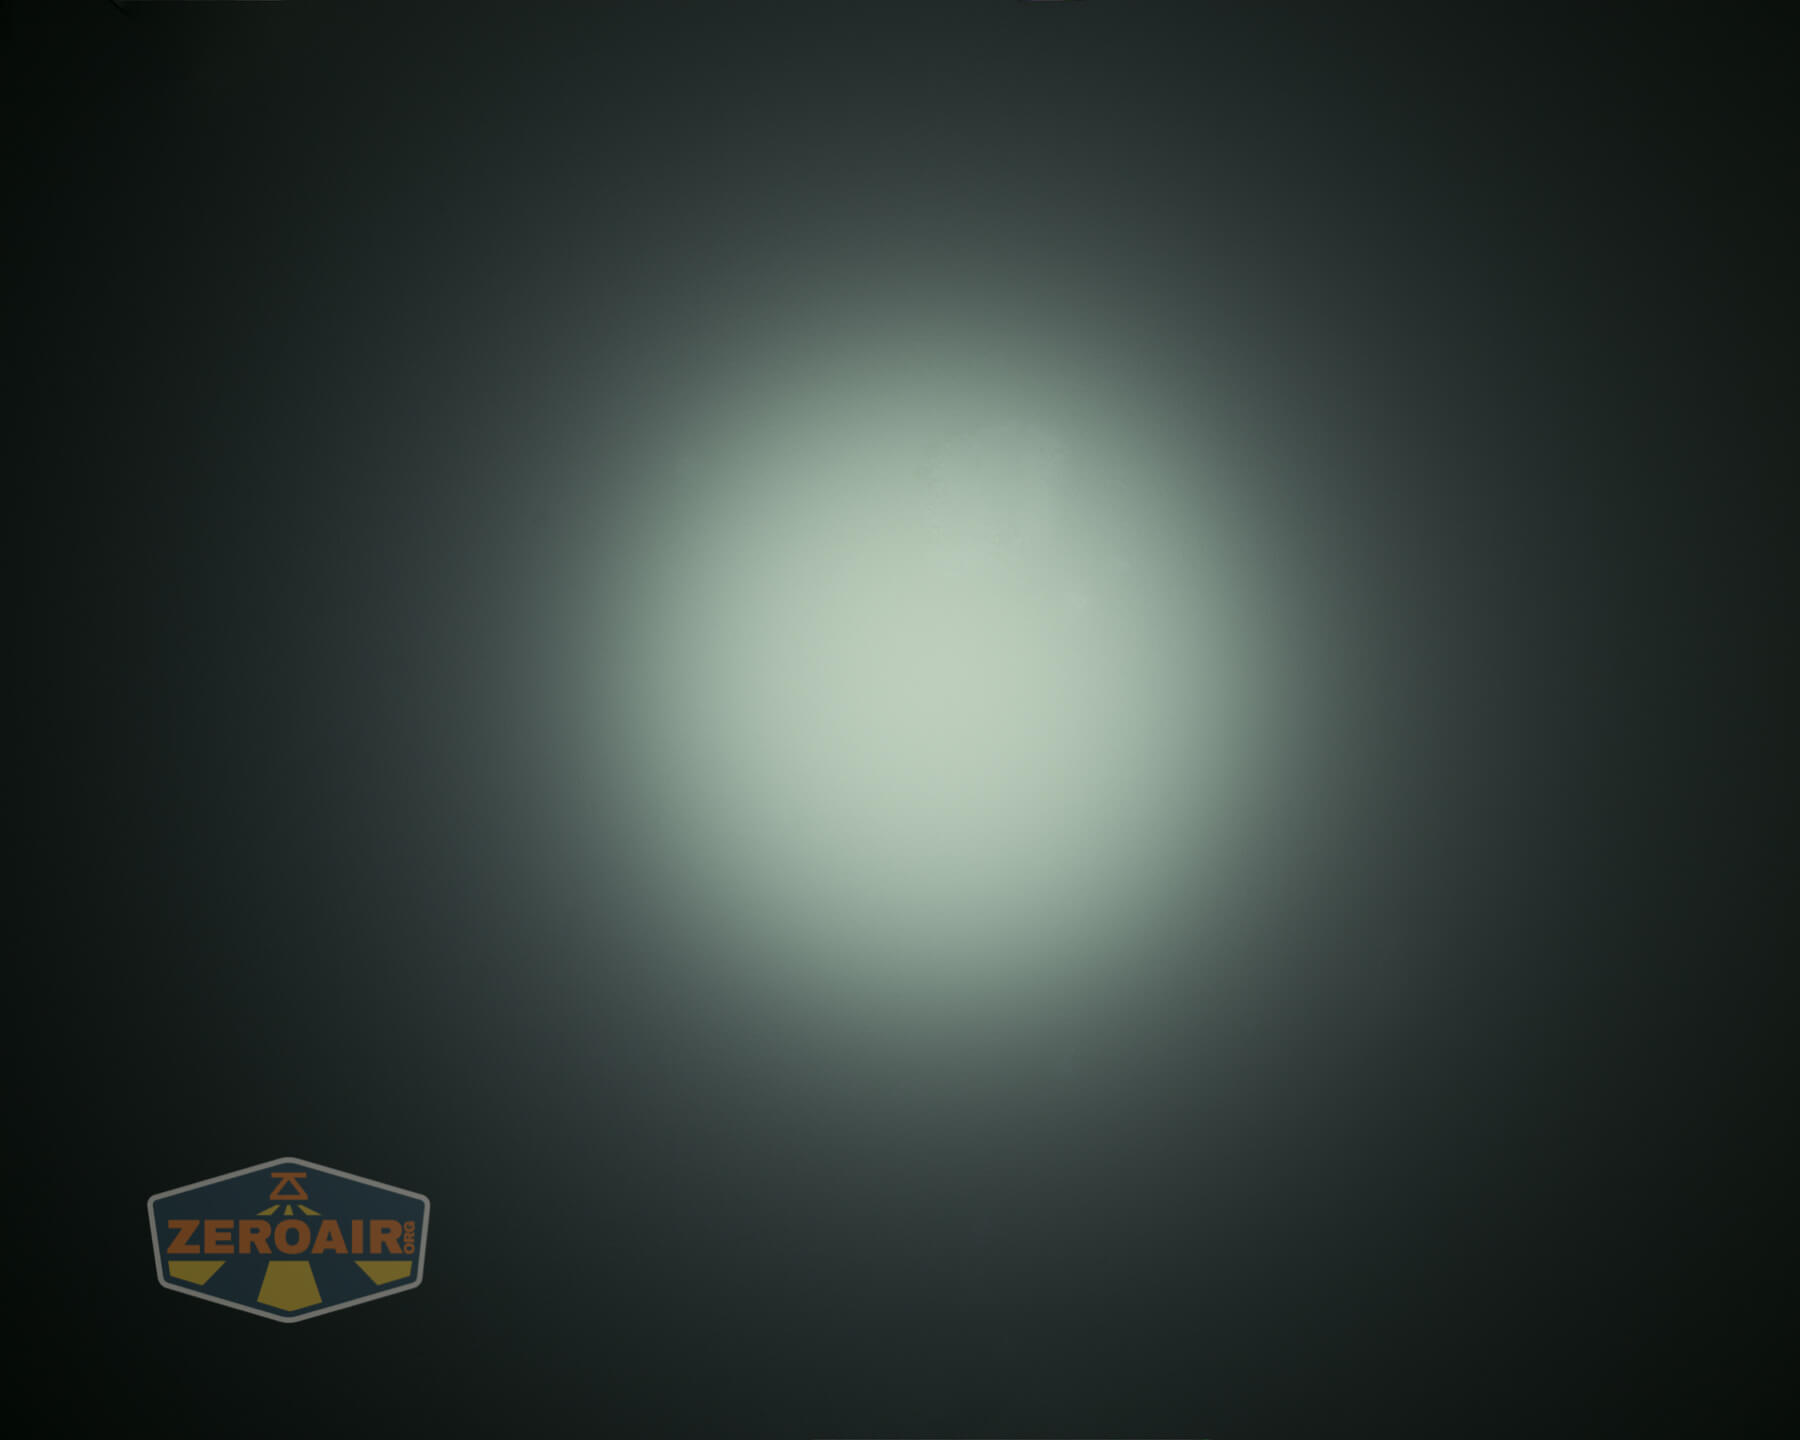


Tint vs BLF-348 (KillzoneFlashlights.com 219b version) (affiliate link)
I keep the test flashlight on the left and the BLF-348 reference flashlight on the right.


I compare everything to the KillzoneFlashlights.com 219b BLF-348 because it’s inexpensive and has the best tint!
Conclusion
What I like
- Complete package
- Very nice application of a secondary (red) emitter. The beam profile is great
- Good user interface, with the secondary emitter not getting in the way.
- No strobes on the white mode
- Pocket clip can be used while the light is in the headmount
- A standard button top 18650 works fine
- Hits throw and output specifications
What I don’t like
- Recharging is proprietary magnetic
- High parasitic drain
- Access to red is always through mode memory of white (even if mode memory is Turbo). Should absolutely be White Eco then red (which would also provide always-access to Eco white).
Notes
- This light was provided by Fenix-Store.com for review. I was not paid to write this review.
- This content originally appeared at zeroair.org. Please visit there for the best experience!
- Please use my Amazon.com referral link to help support zeroair.org!
- Please support me on Patreon! I deeply appreciate your support!
Discover more from ZeroAir Reviews
Subscribe to get the latest posts sent to your email.