
Zebralight SC65c HI Flashlight Review
The Zebralight SC65c HI flashlight is an 18650 light – maybe the first to offer a Nichia 719 (stacked die) emitter! Read on for thoughts and testing.
Note From The Editor
Somewhere along the way, after this post was initially published on 3/1/2024, it got totally deleted from the site. I’m not sure how or why that happened. I’ve rewritten it with some effort, but note that this isn’t really a new post, nor is there any new data herein. So if you see this post on the republish date (8/15/2025), I hope you still enjoy it! This is still a fantastic light, still available, and still the flagship EDC light by Zebralight!
Official Specs and Features
Here’s a link to the Zebralight SC65c HI flashlight product page.
Versions
Only one version of the Zebralight SC65c HI flashlight is available.
Price
The going price of the Zebralight SC65c HI flashlight is $89. It’s available for US-based customers at the Zebralight website right now! Not even back ordered!
What’s Included

- Zebralight SC65c HI flashlight
- Spare o-rings (2)
- Manual (generic Zebralight manual only)
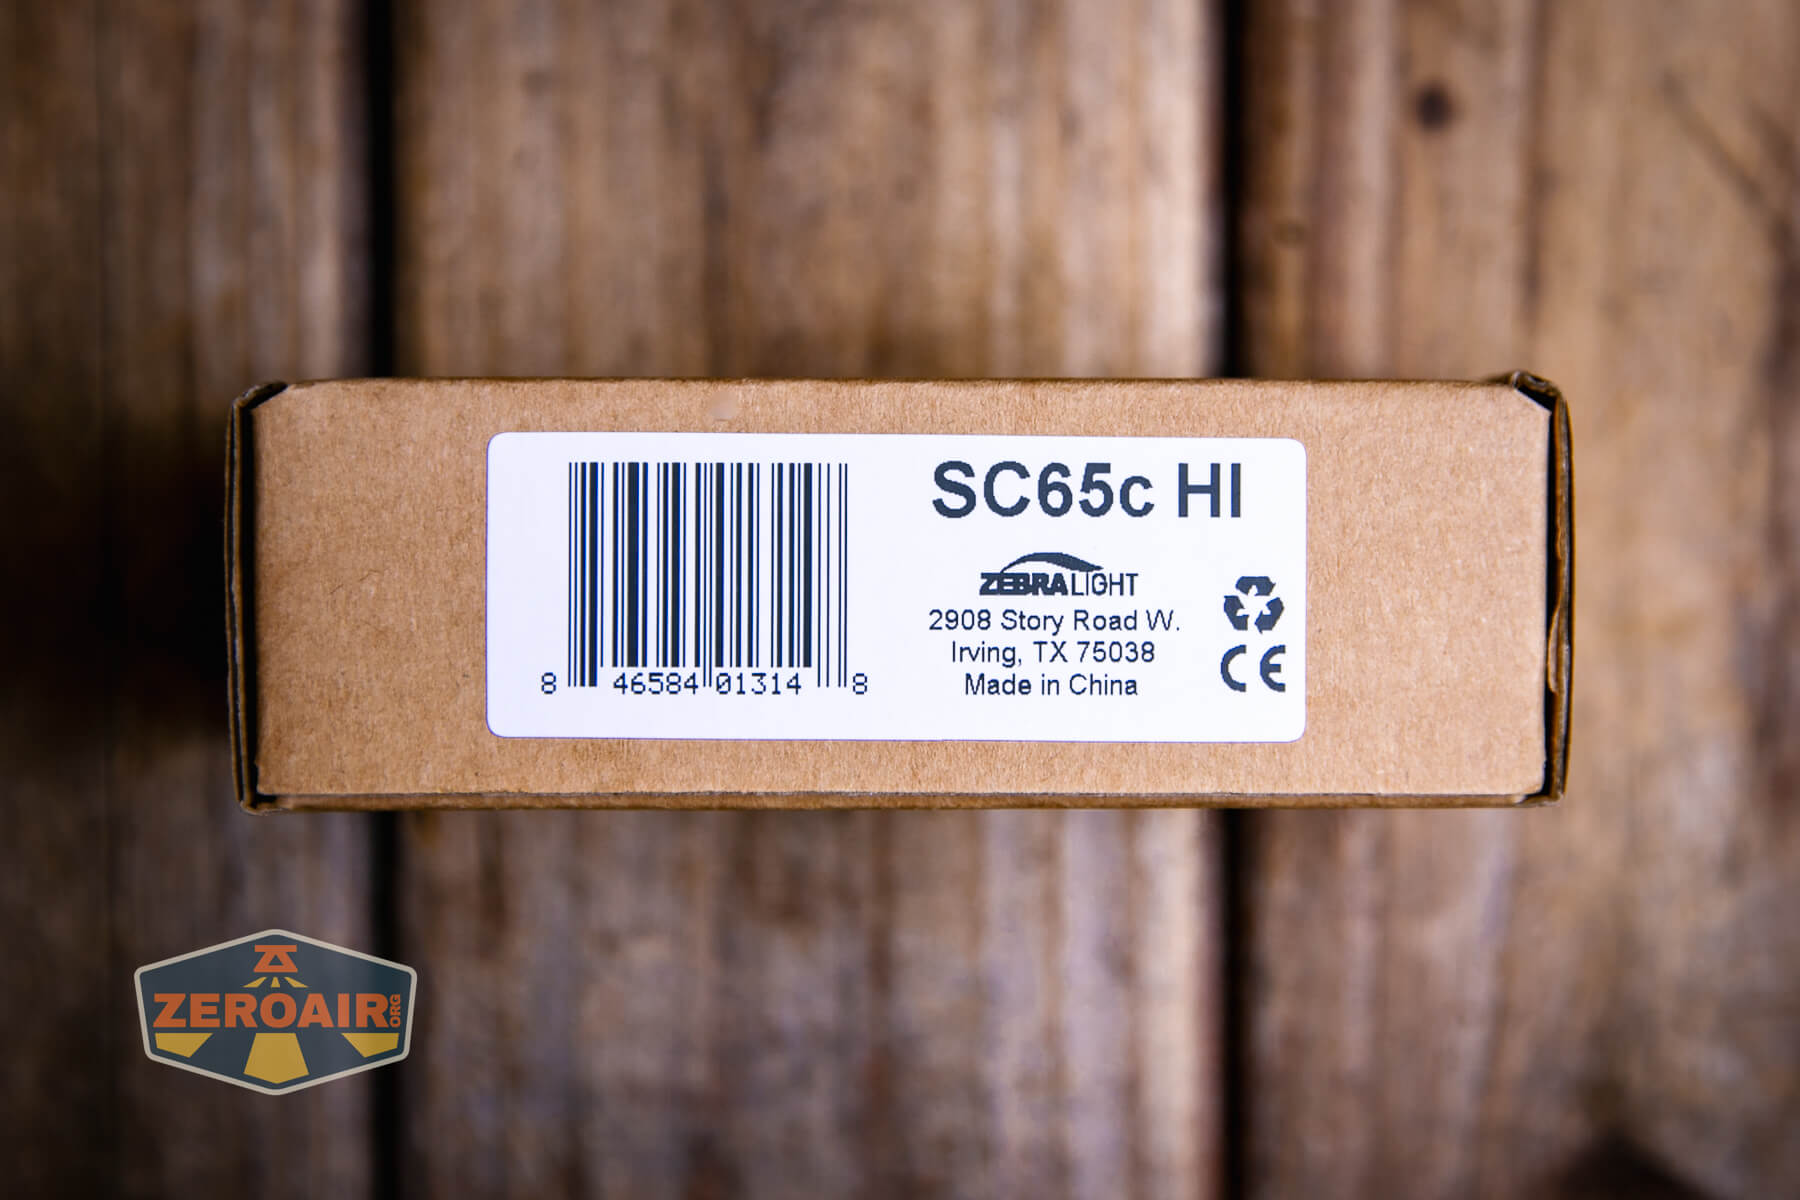
Package and Manual
This manual is from the SC700d, but I think it’s the same text.

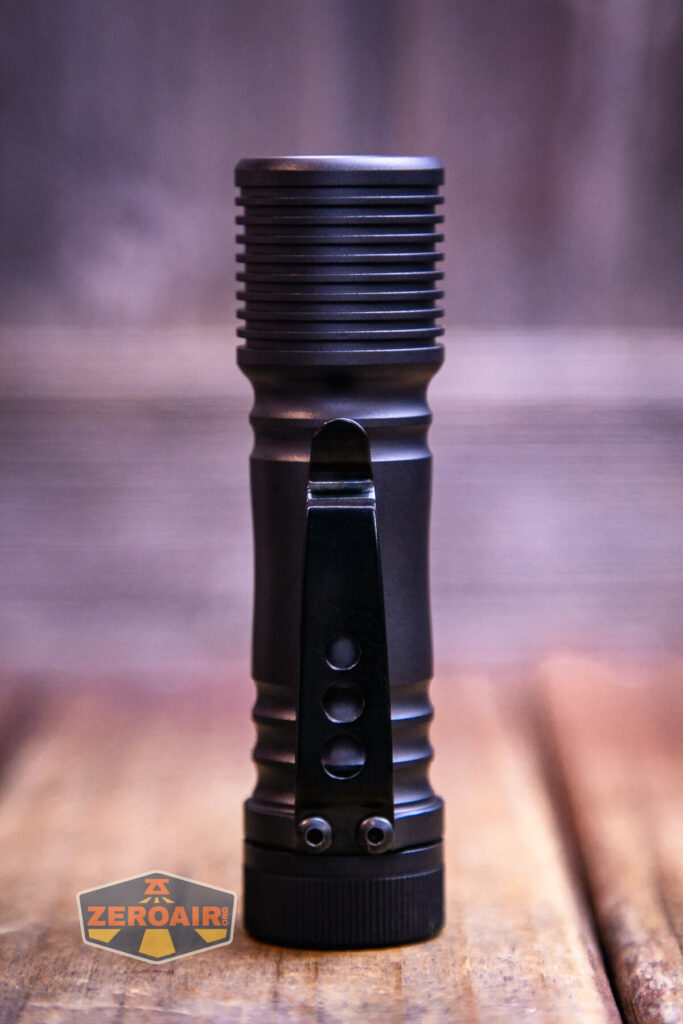
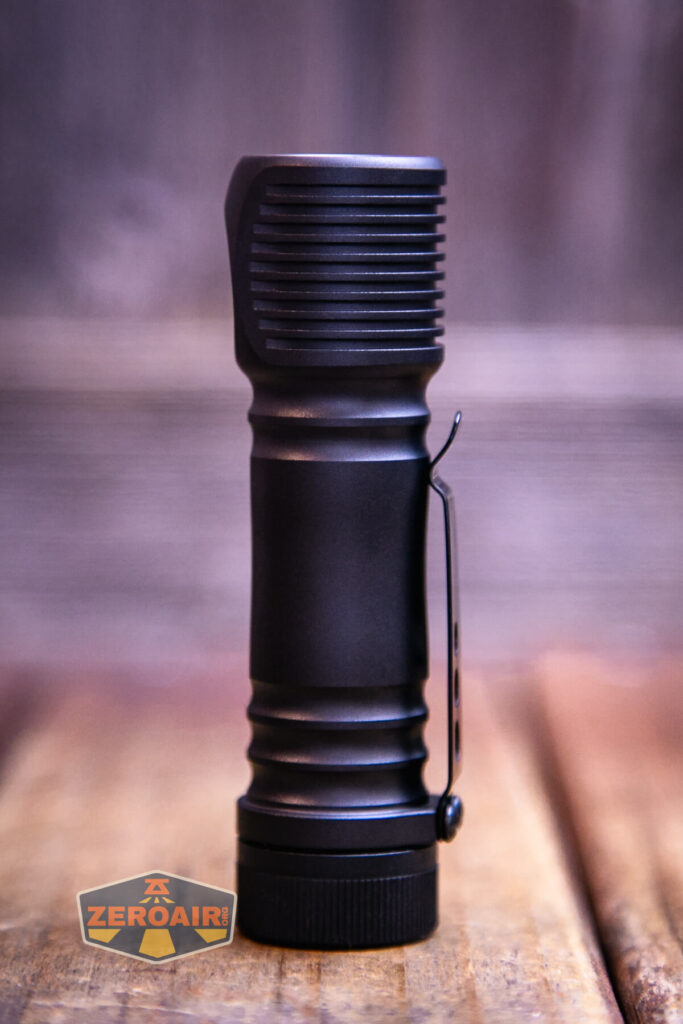
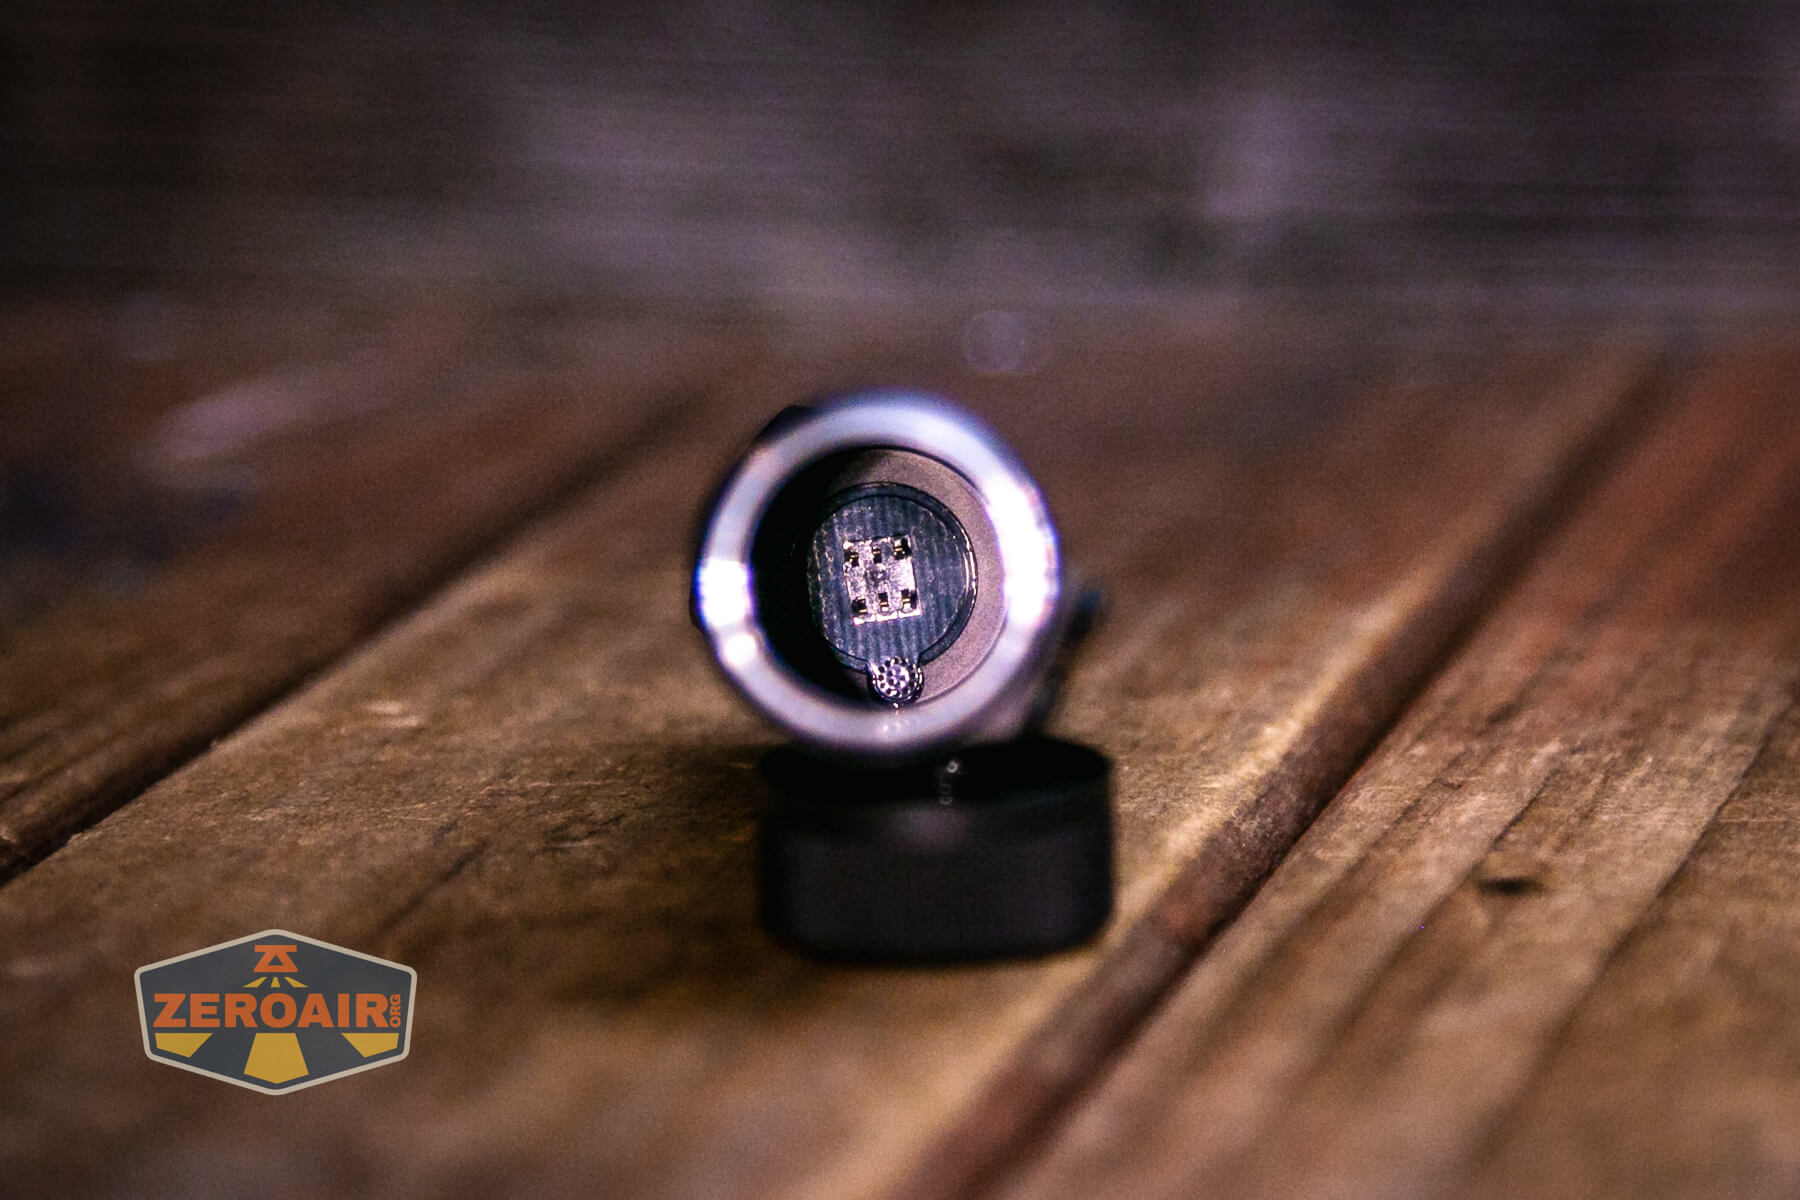
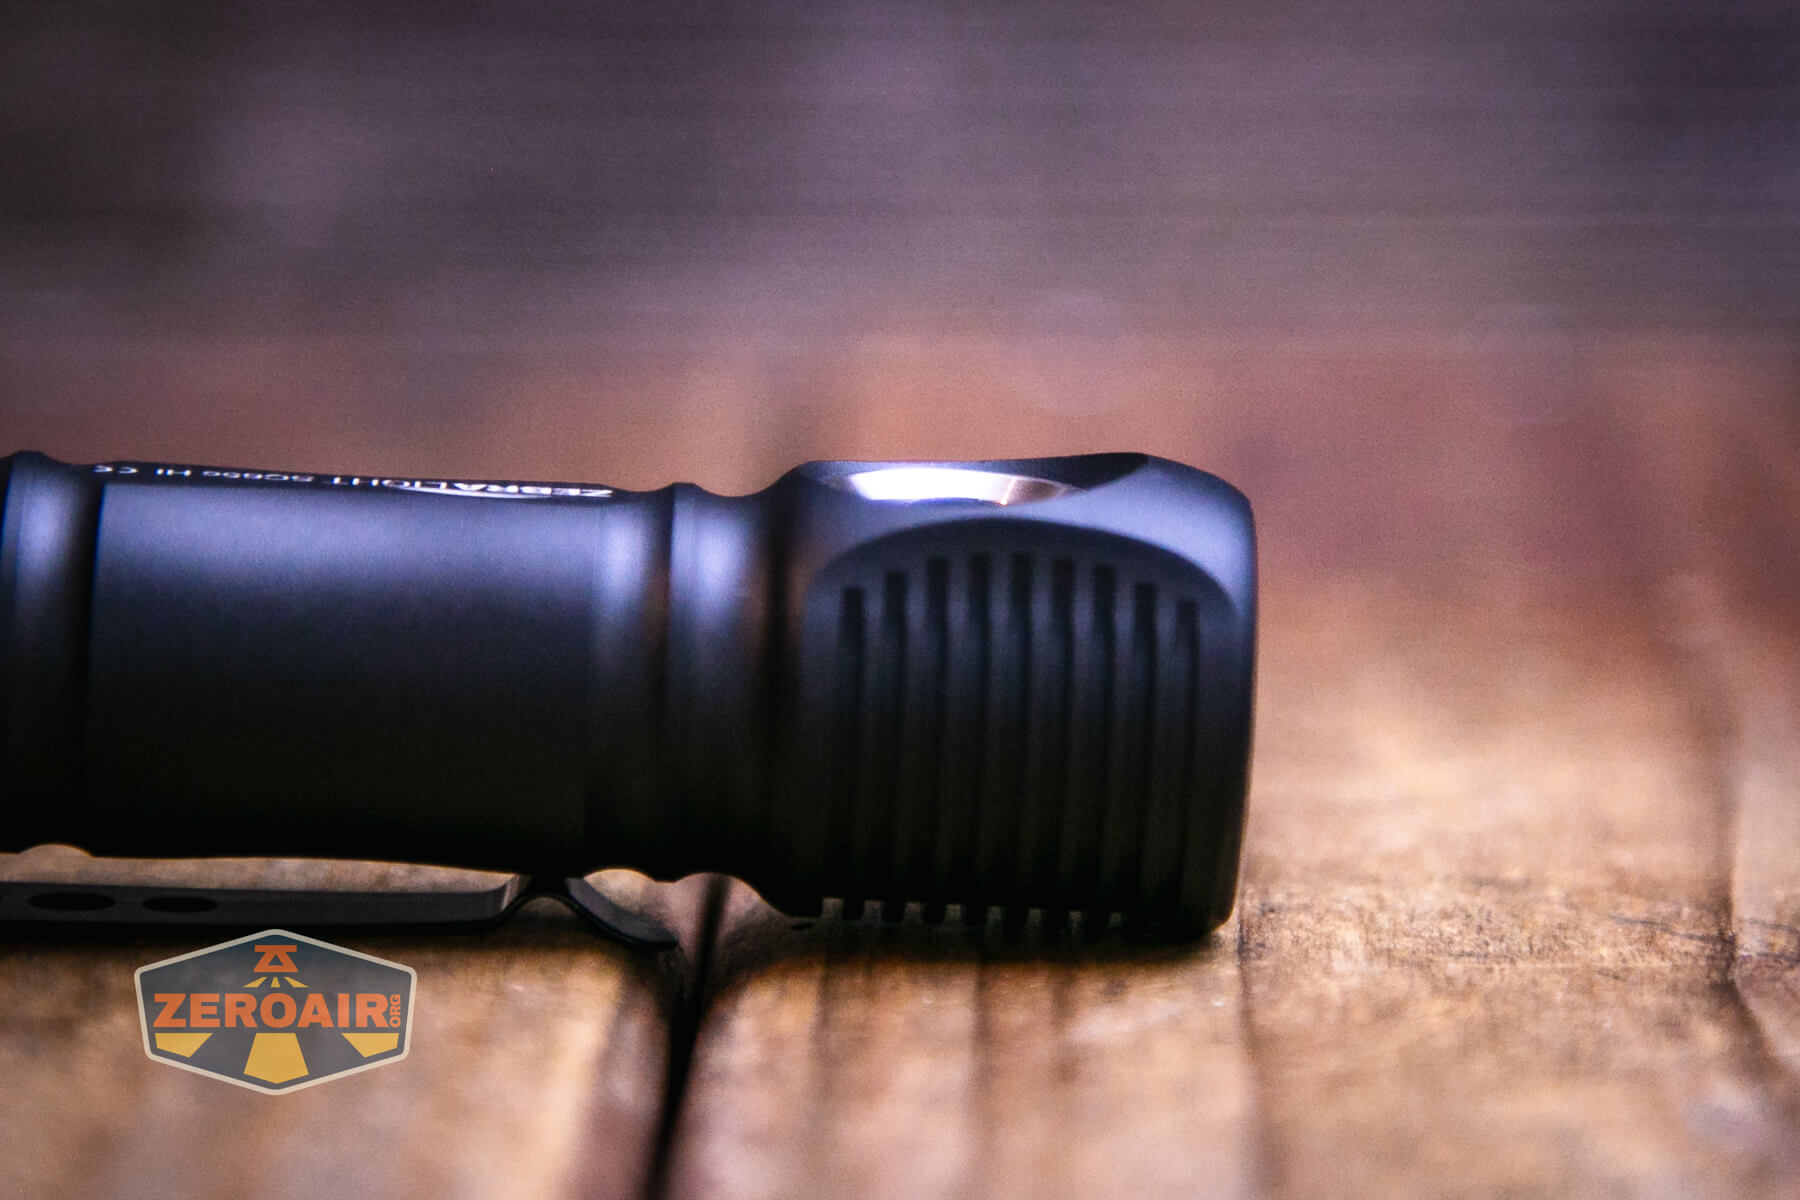
Build Quality and Disassembly

Zebralight is known for this “natural” anodization that’s used on all their lights. The Zebralight SC65c HI flashlight has this too. This version has a bit more glossy finish, though, and is maybe an evolved version of some of the older-style “natural” anodizing. Either way, it’s very nice.


The tail end has just a spring (no pogo pins!)

On the head end (inside the cell tube) are just a couple of contact points – no pogo pins as with some other lights in the past. I will say, be careful if you use “recovered” cells. Those little tabs from the weld spots can bend those fingers inside the Zebralight SC65c HI flashlight.
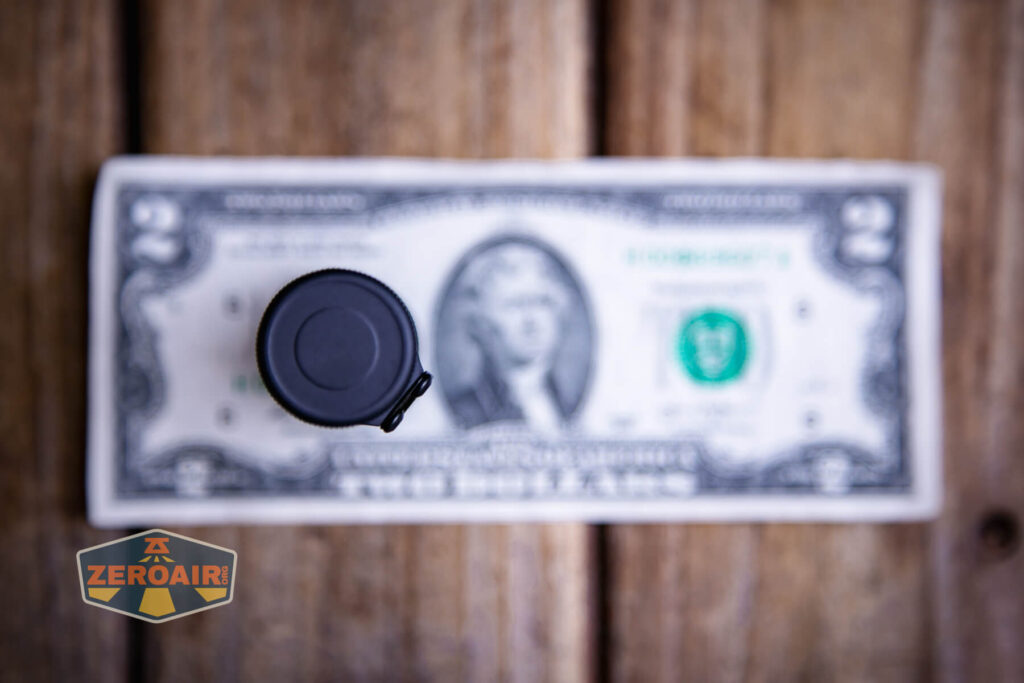
The tailcap is otherwise fairly plain. There is no magnet or anything else here.

Size and Comps
Head Diameter: 0.96 inch (24.5 mm)
Length: 3.62 inches (92 mm)
1.3 oz (38g) without battery

If the flashlight will headstand, I’ll show it here (usually the third photo). If the flashlight will tailstand, I’ll also show that (usually in the fourth photo).


Here’s the test light with the venerable Convoy S2+. The version you see below is a custom Convoy S2+ host that’s been laser-engraved by GadgetConnections.com. I did a full post on an engraved orange host right here! Or just go straight to GadgetConnections.com to buy your Convoy S2+ now!


Also above is the light beside a TorchLAB BOSS 35, an 18350 light. I reviewed the aluminum version of that light in both 35 and 70 formats. I also reviewed that specific edition, the “Oveready BOSS FT Collector Vintage Brass” 35. I love it!
Retention and Carry
The only real way to carry this light is with the clip. It’s a steel clip, secured by Allen screws. There’s a largemouth, making it easy to put over a pocket.
But it’s a shallow carry. The clip leaves maybe 1/2″ or >1cm sticking out of the pocket. It’s not that big of a deal, and it’s not a problem, but I do like deeper carry than this. Furthermore, removing the clip still leaves the screw posts, which are quite beefy, on the light – this is not non-destructively removable.

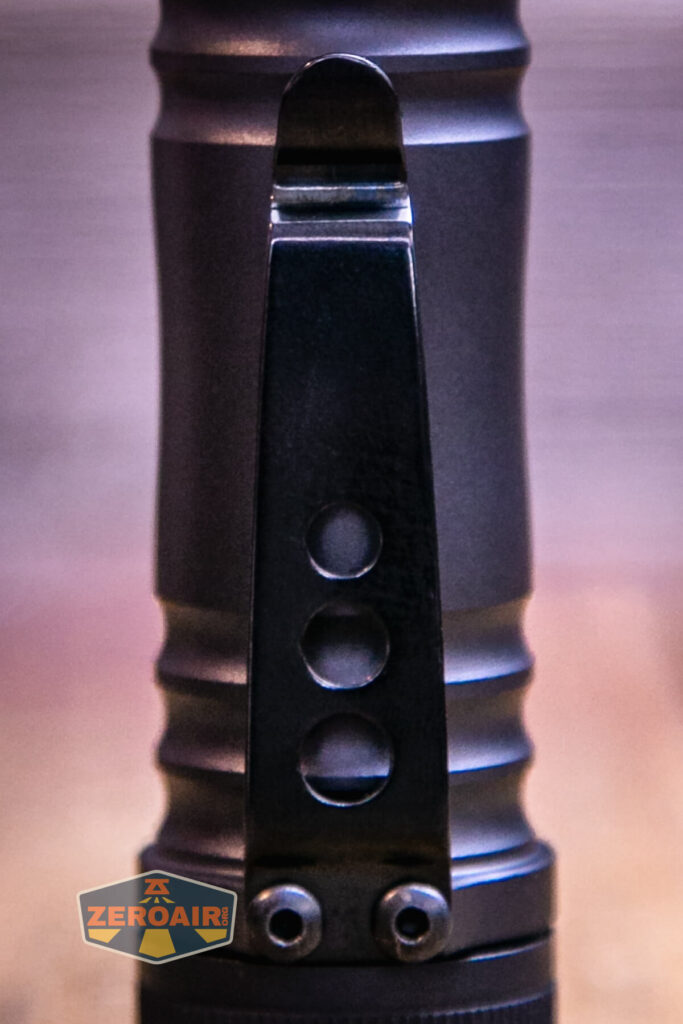
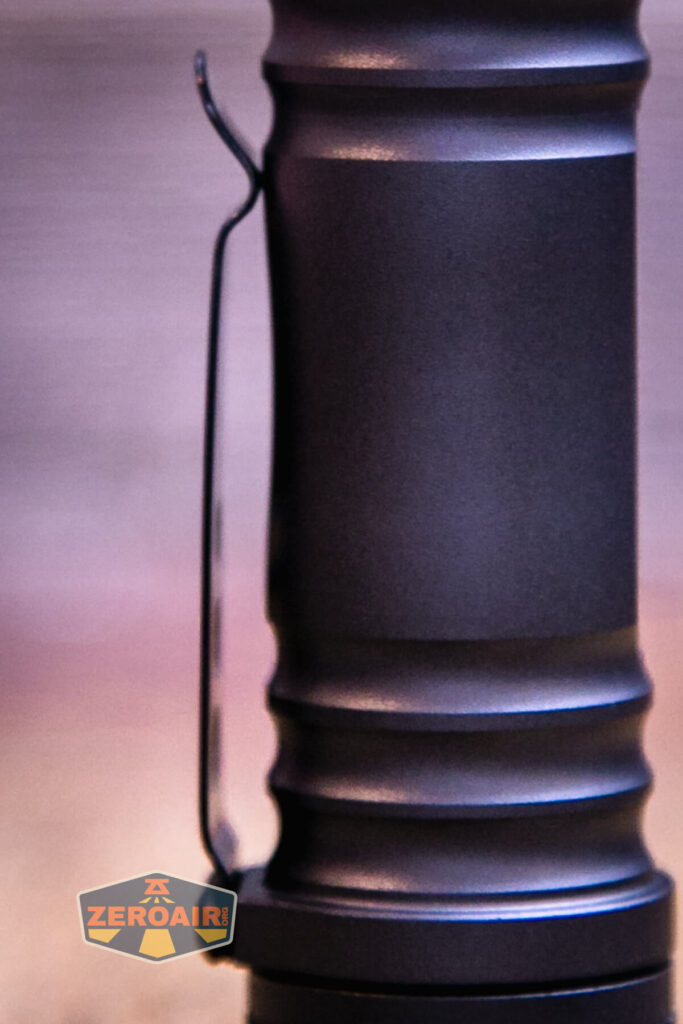
The clip allows for only one orientation: Bezel down.
Power and Runtime
The Zebralight SC65c HI flashlight runs on a single lithium-ion cell. I tested the light with a Vapcell high-drain cell. You’ll need to use a flat-top, unprotected cell in the SC65C HI.

The cell goes into the Zebralight SC65c HI flashlight in the usual direction – positive end (button) toward the head.

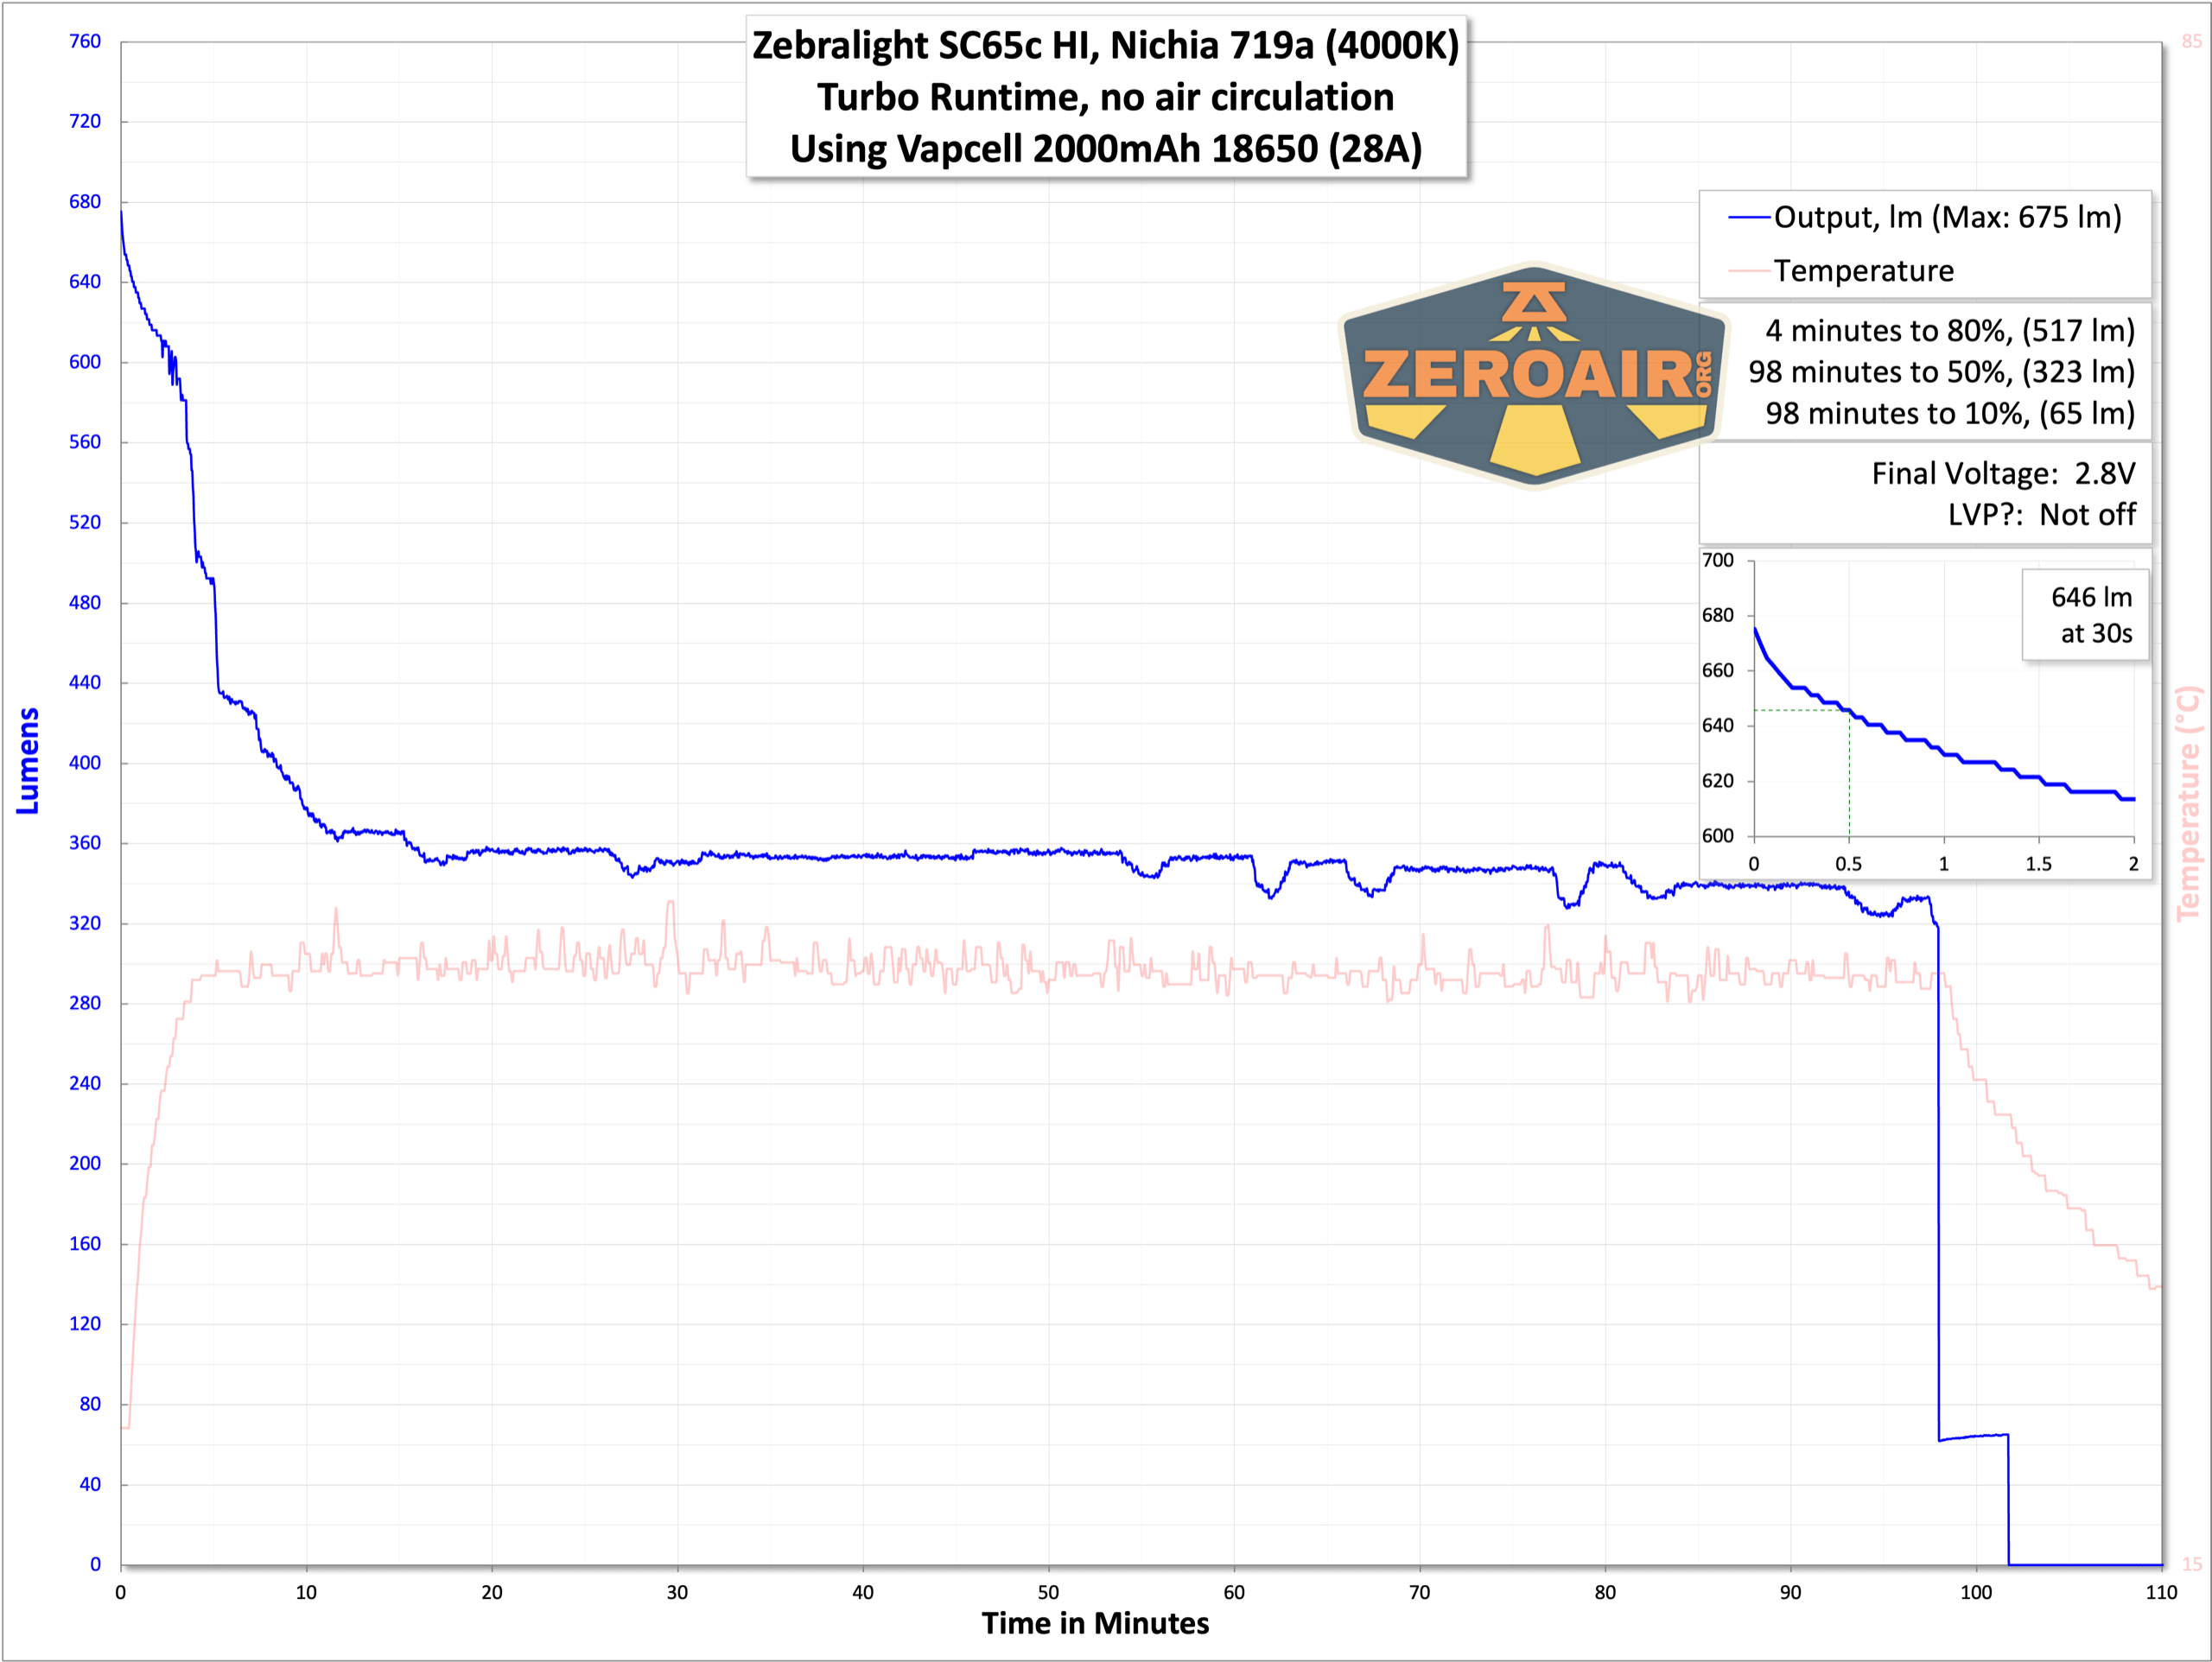
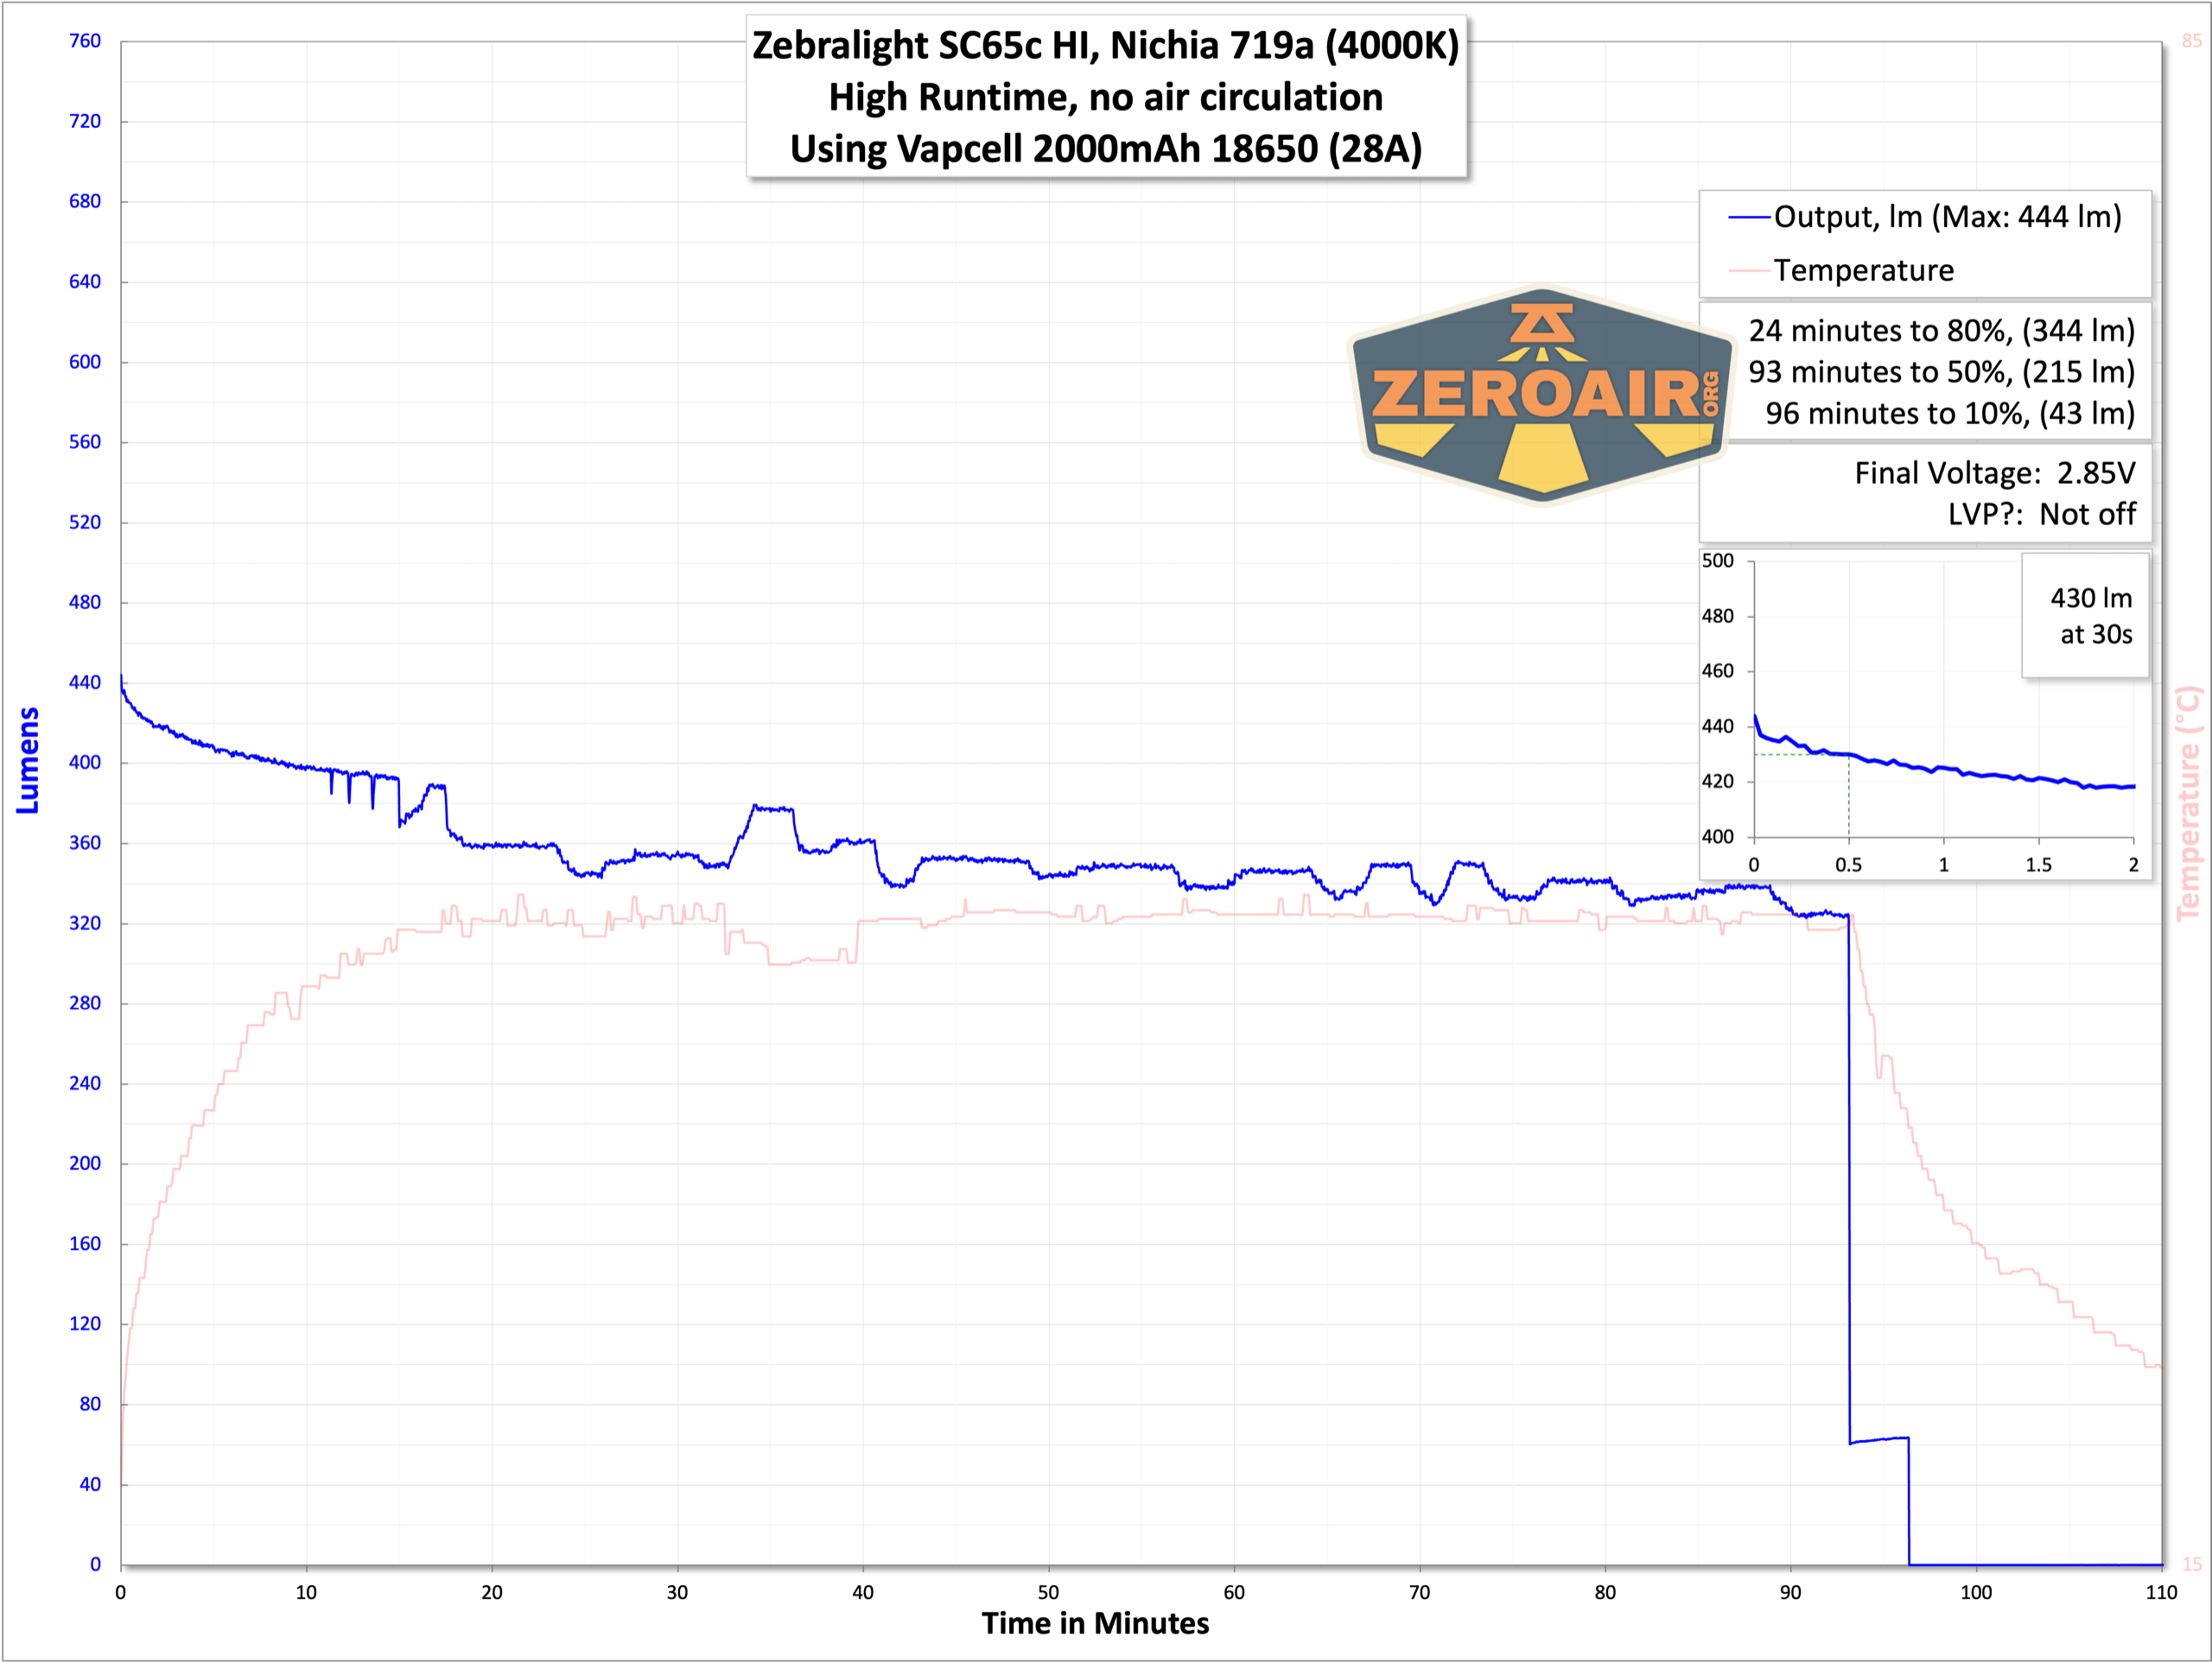
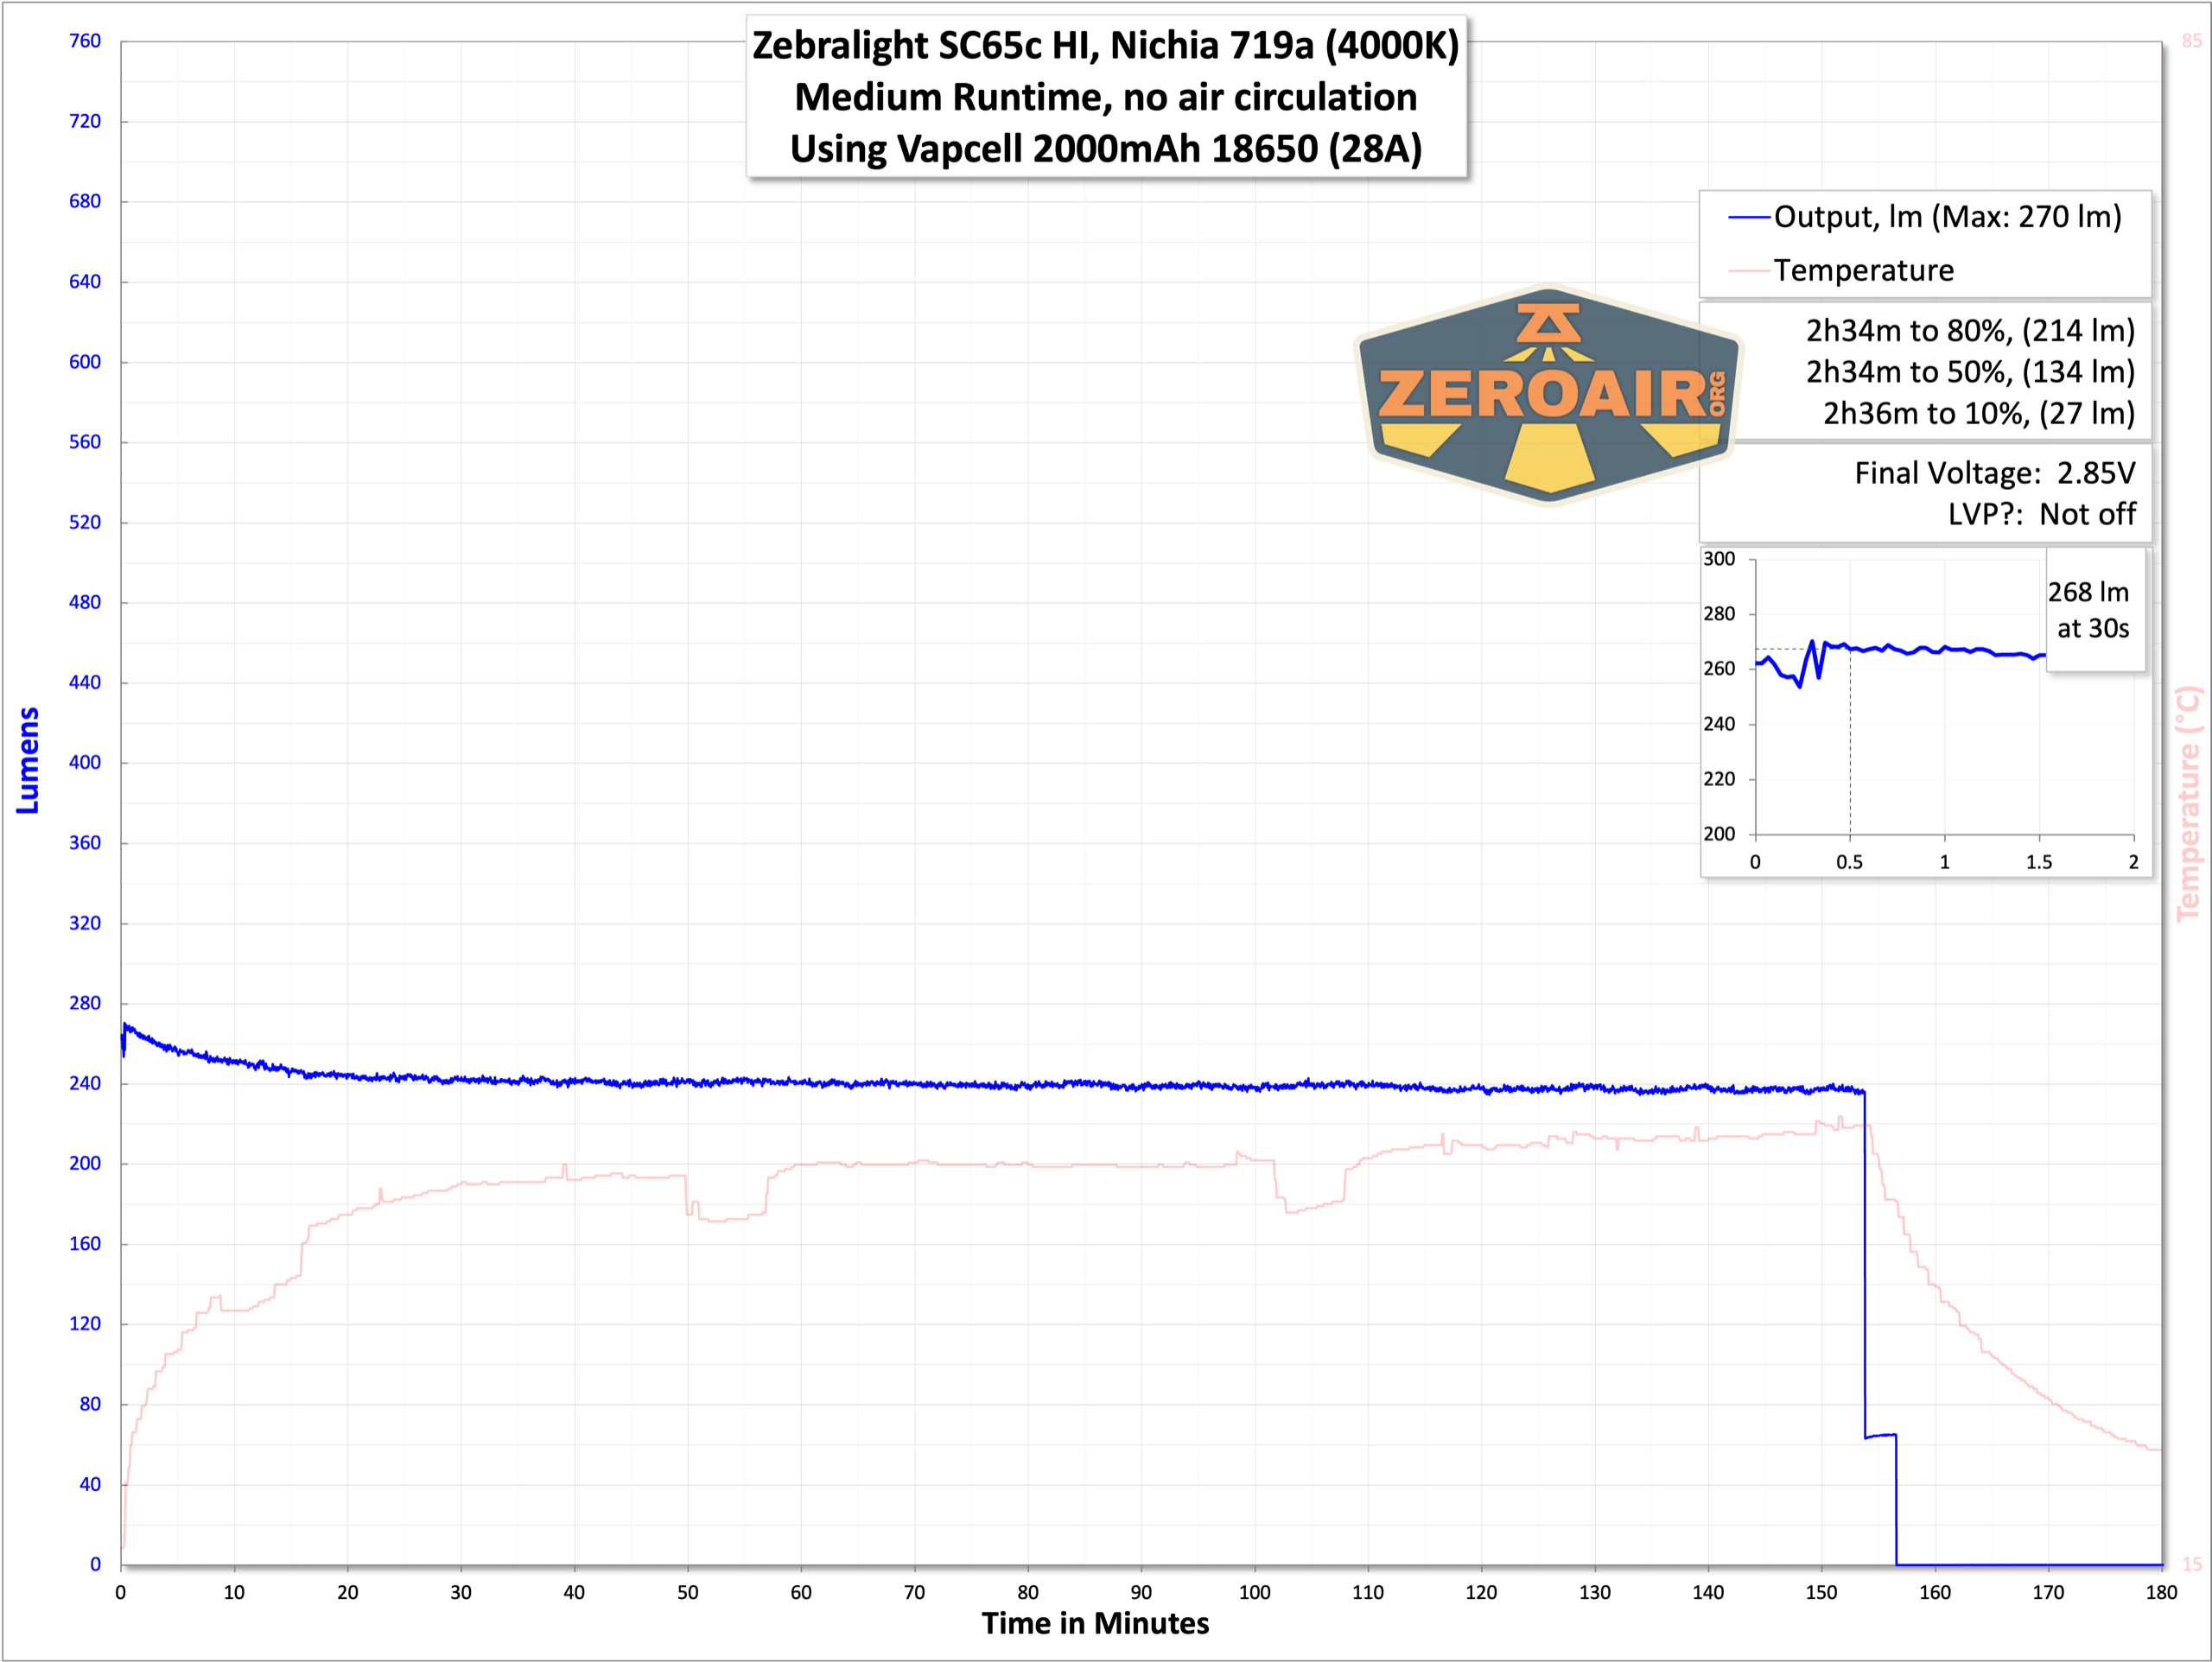
Here are several runtimes with the Vapcell mentioned above.
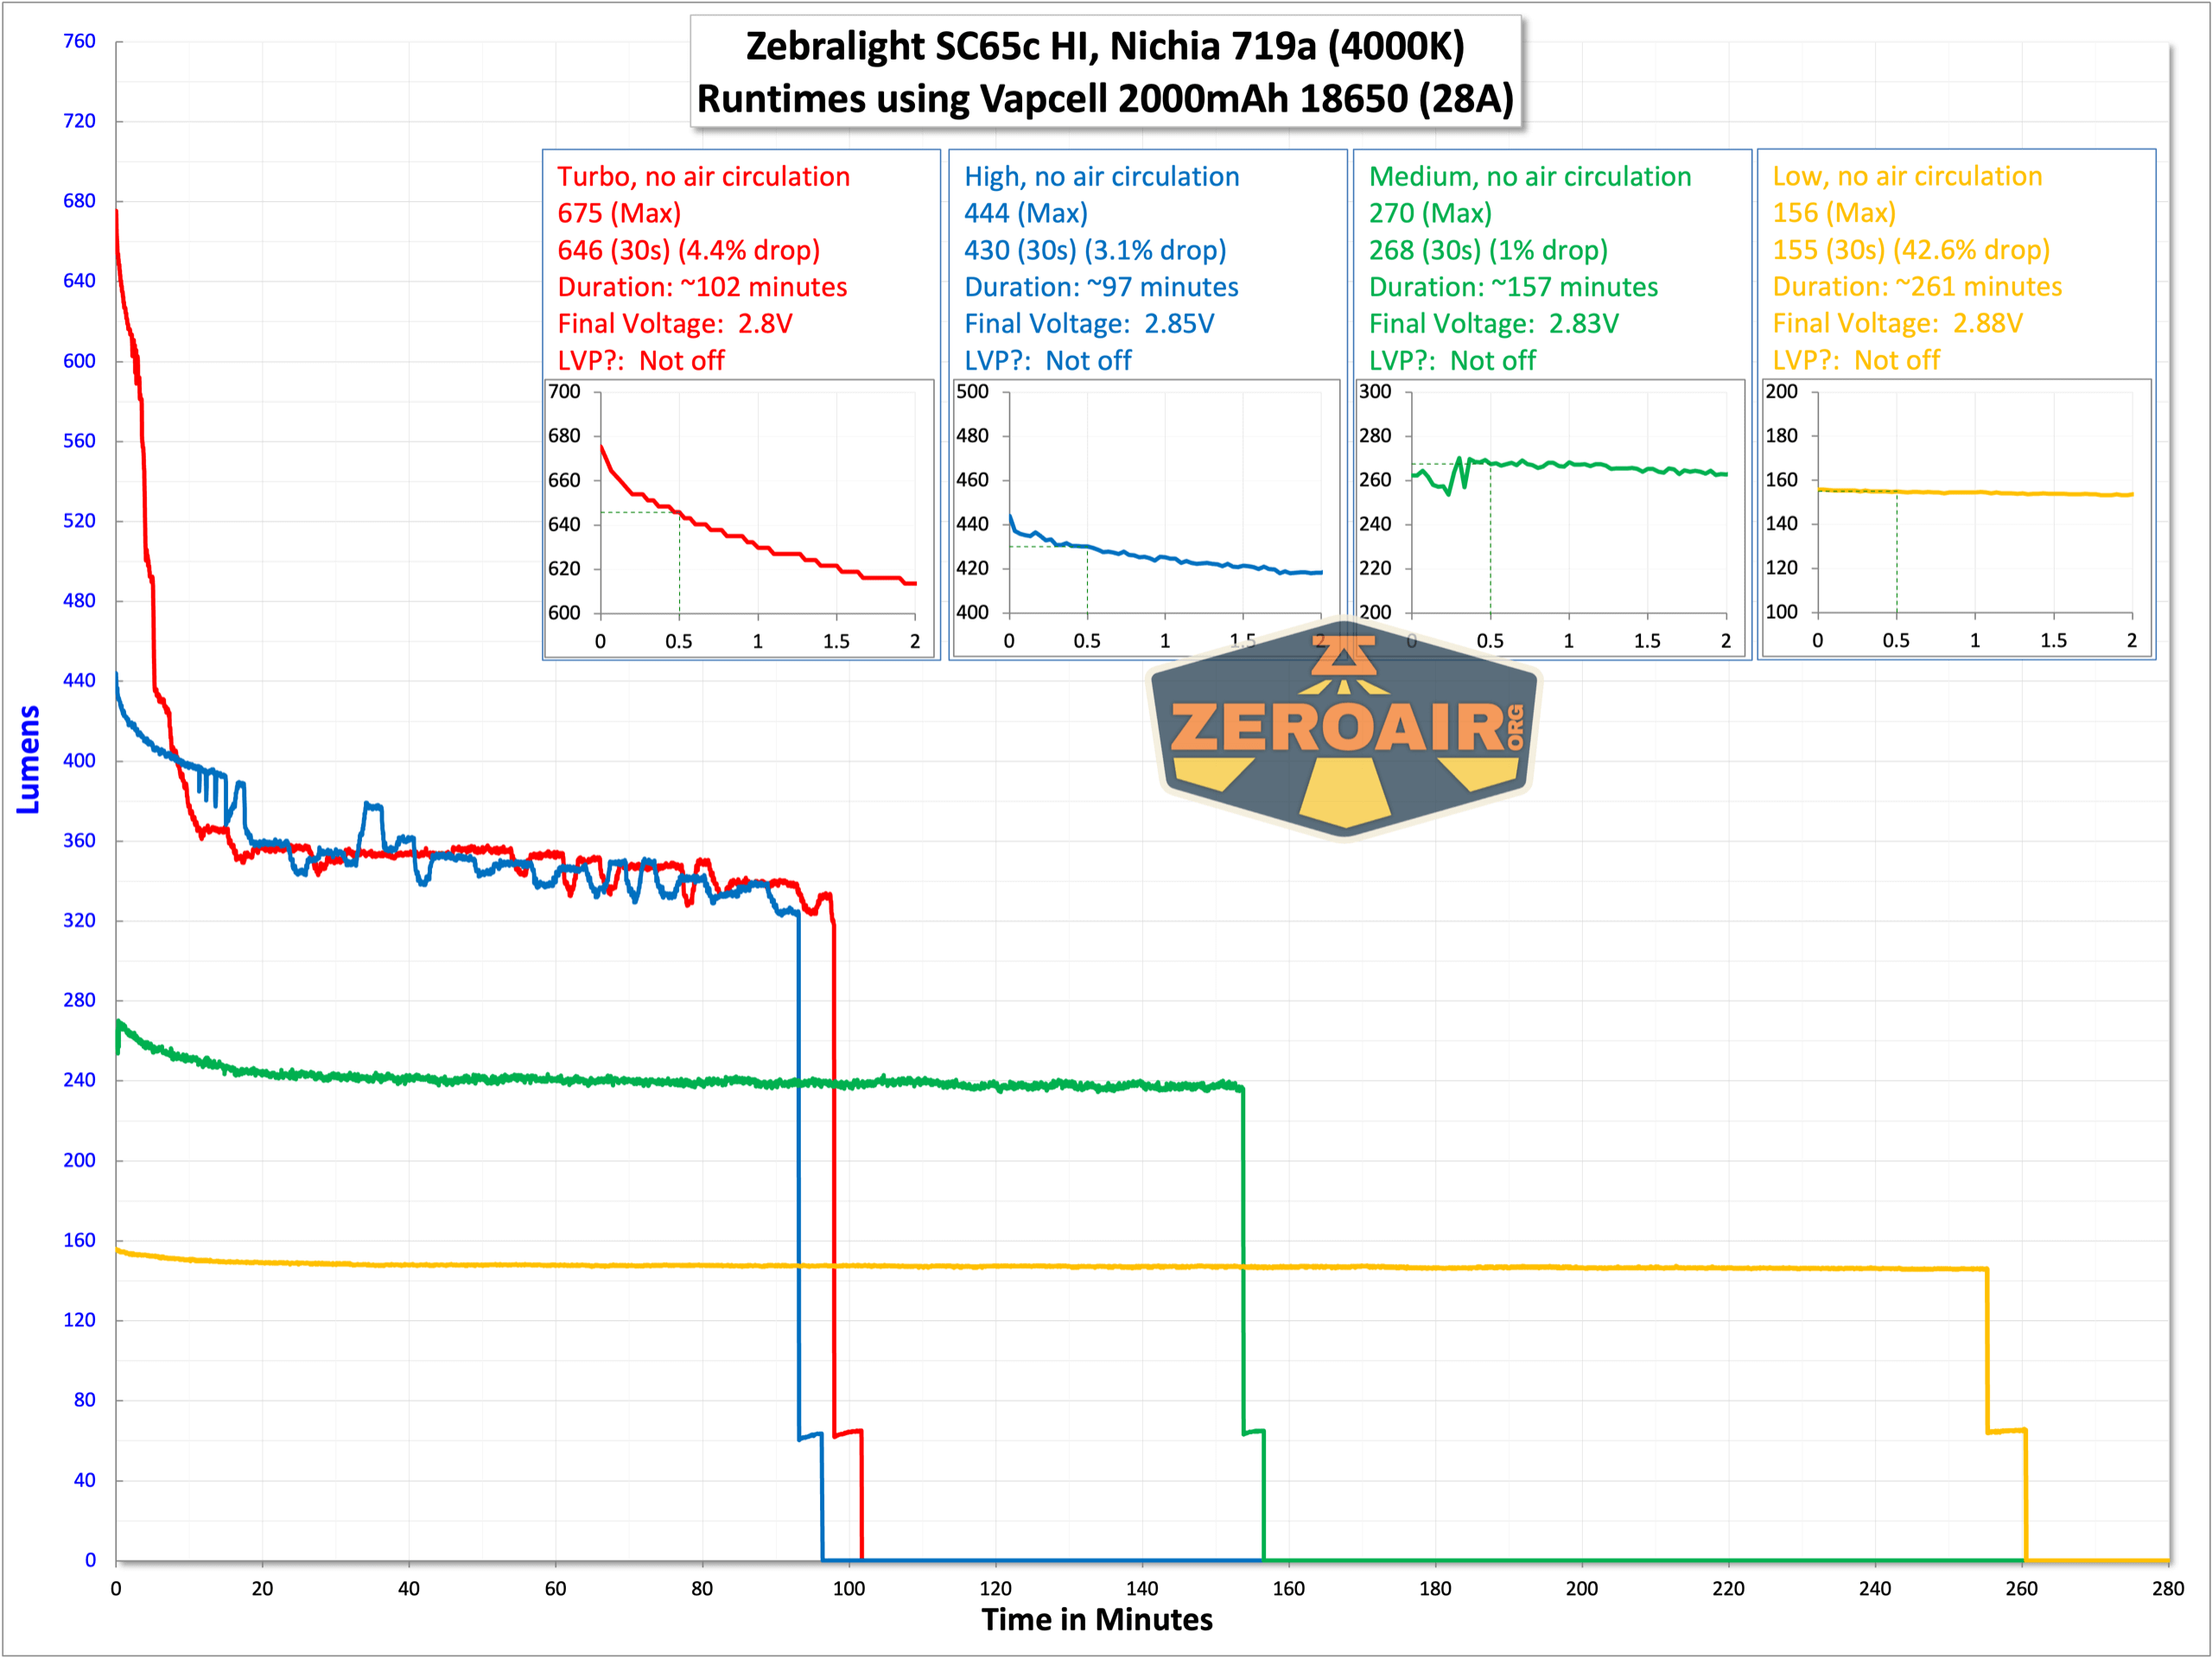

Modes and Currents
| Mode | Mode Claimed Output (lm) | Claimed Runtime | Measured Lumens | Tailcap Amps |
|---|---|---|---|---|
| H1 | 660 | PID, 2.8h | 675 (0s) 646 (30s) |
2.47 |
| H2 | 437 | PID, 2.9h | 444 | 1.72 |
| 244 | 3.5h | 270 | 1.3 | |
| 157 | 5.0h | 156 | 0.59 | |
| M1 | 66 | 13.3h | 69 | 0.29 |
| M2 | 27.5 | 1.4d | 33.1 | 0.08 |
| 13.6 | 2.7d | 13.9 | 0.04 | |
| 4.7 | – | 5.22 | 0.01 | |
| L1 | 1.3 | – | 1.75 | [low] |
| L2 | – | – | 0.2 | [low] |
| – | – | 0.06 | [low] | |
| – | – | 0.02 | [low] |
Pulse Width Modulation
There is no PWM here, thankfully. There’s some sawtooth output on L1 and all three M2 modes, but nothing at all that you’ll notice.
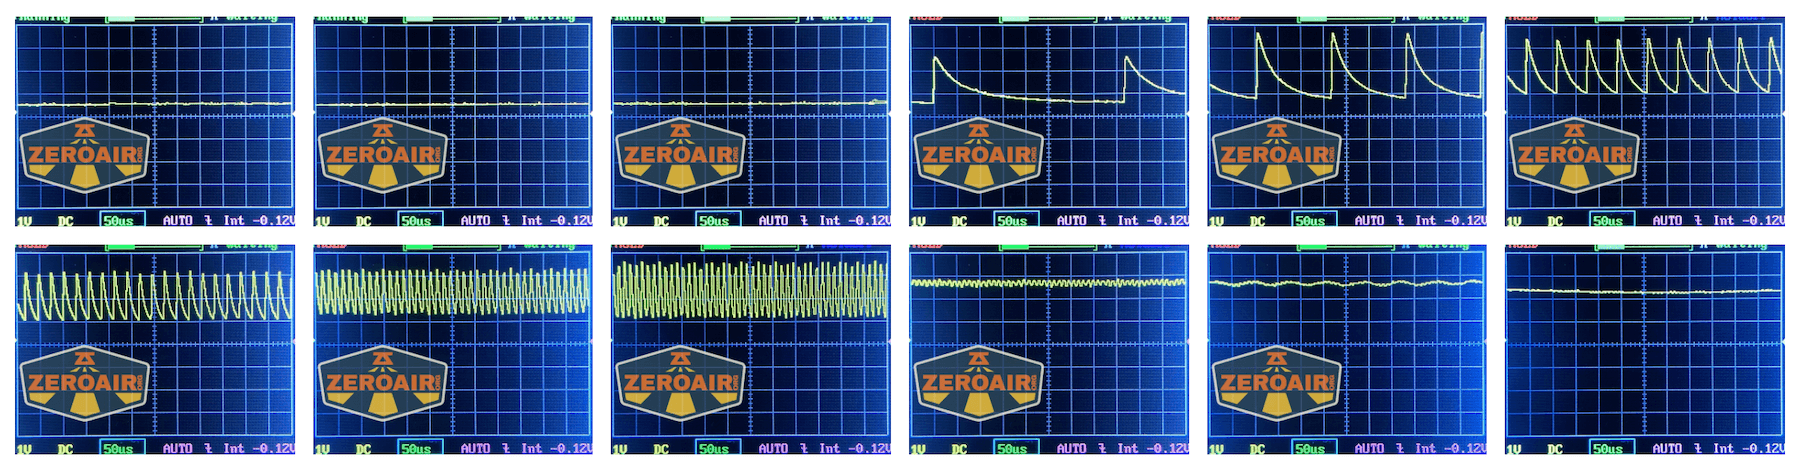
For reference, here’s a baseline shot, with all the room lights off and almost nothing hitting the sensor. Also, here’s the light with the worst PWM I could find. I’m adding multiple timescales, so it’ll be easier to compare to the test light. Unfortunately, the PWM on this light is so bad that it doesn’t even work with my normal scale, which is 50 microseconds (50us). 10ms. 5ms. 2ms. 1ms. 0.5ms. 0.2ms. In a display faster than 0.2ms or so, the on/off cycle is more than one screen, so it’d just (very incorrectly) look like a flat line. I wrote more about this Ultrafire WF-602C flashlight and explained a little about PWM too.
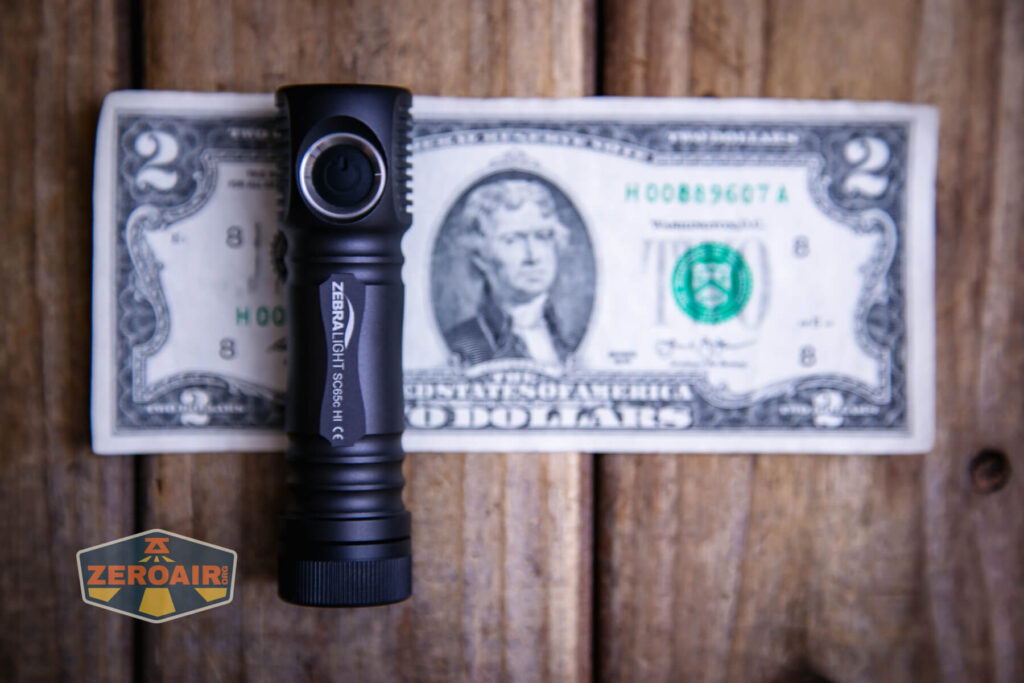
User Interface and Operation
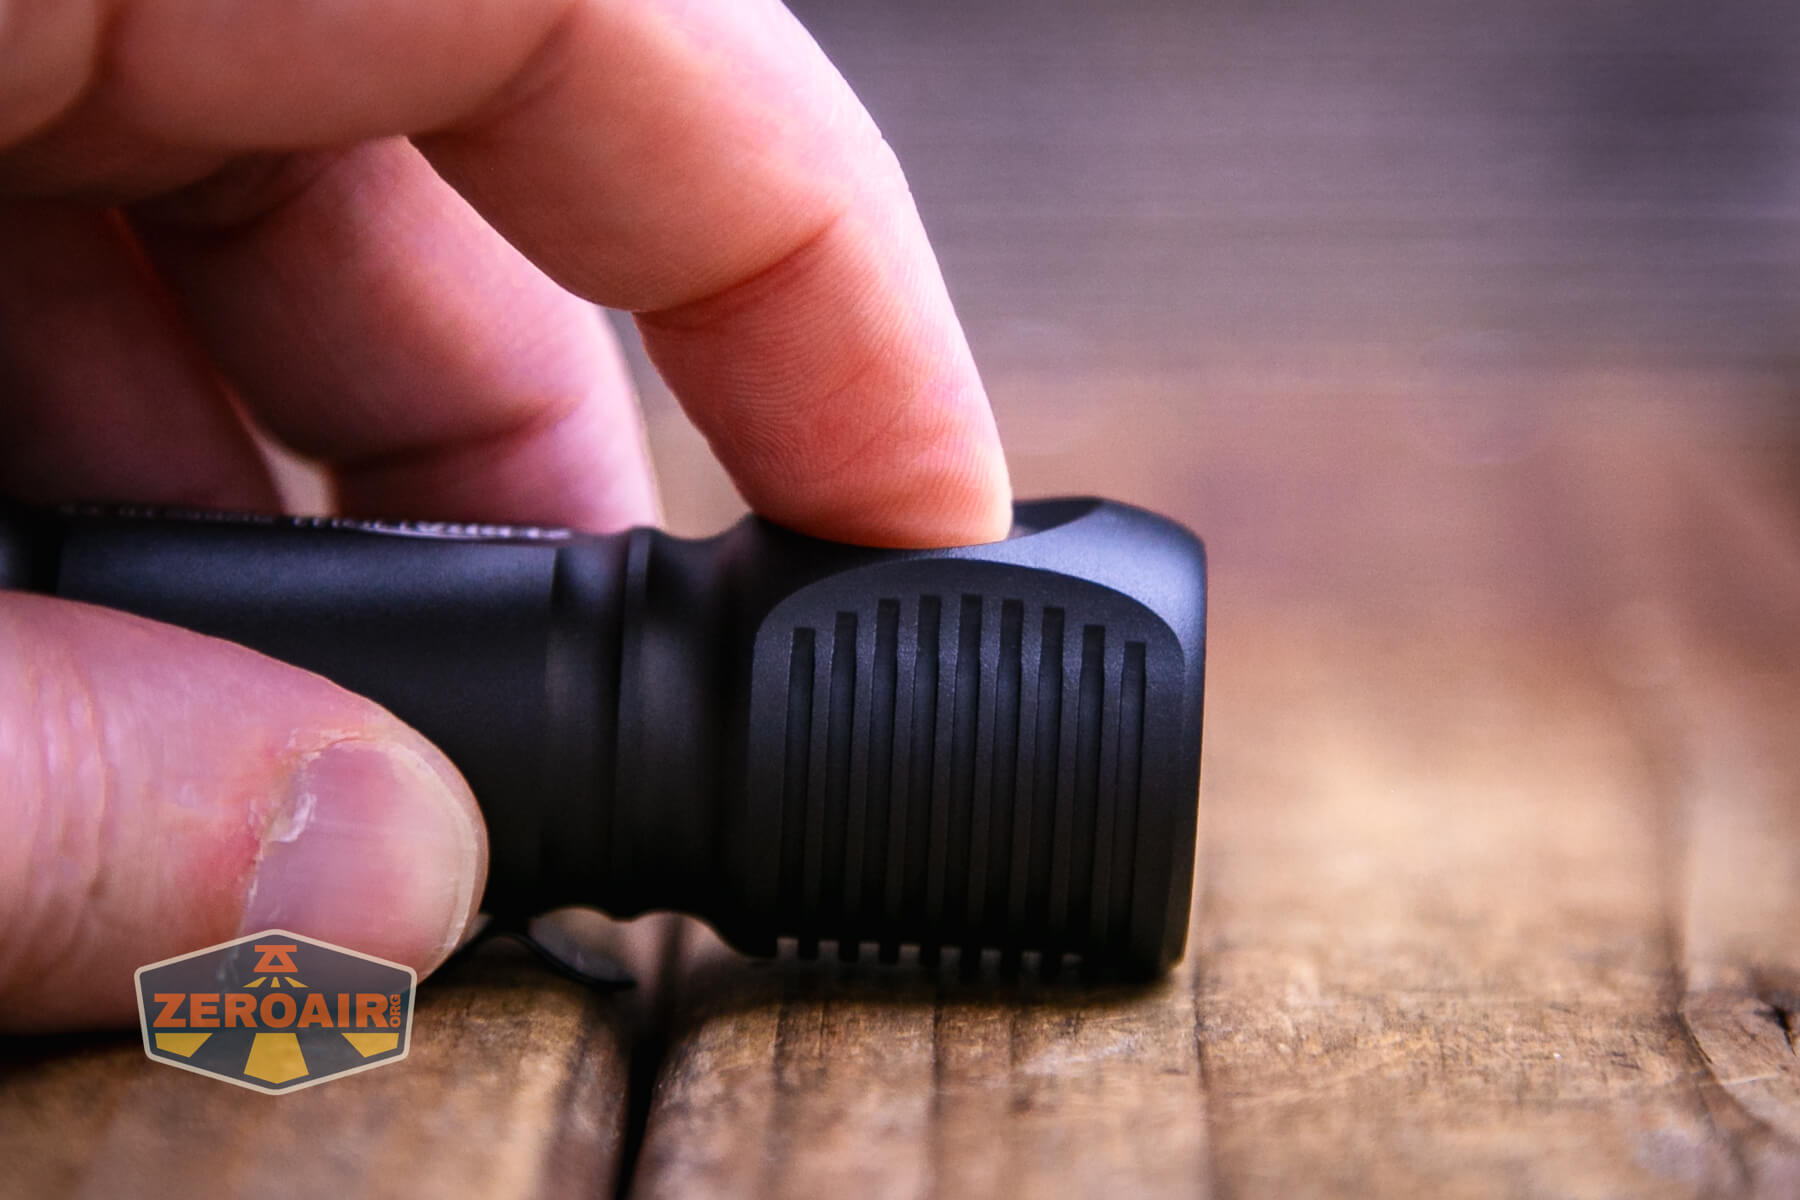
The Zebralight UI, a thing of legend. This light uses an e-switch and a very nice one. It is clicky with very positive action.
The light has the normal concave access around the head.
First of all, this user interface is basically as hard (or “featured”) as you want it to be. You can run this as a very simple user interface with easy (or “direct”) access to four modes (low, medium, high, strobe). But you can do more! If you wish. But again, you don’t really have to.
I’m going to try to capture the user interface in a table, but I have to be honest, I’m not sure how this will go. But let’s give it a shot. Note that there are three mode groups (G5, G6, G7), and the light ships in G5 group.
| State | Action | Result |
|---|---|---|
| Off | Click | High (Your last used of four high possibilities) H1 H2 (a) (b) (c) |
| Off | Click 2x | Medium (Your last used of four medium possibilities) (and technically, the light goes to High first, then medium) M1 M2 (a) (b) (c) |
| Off | Click 3x | Strobe (Your last used of four Strobe possibilities) 0.2Hz Beacon at Low 0.2Hz Beacon at H1 4Hz Strobe at H1 19Hz Strobe at H1 |
| Off | Hold >0.6s | Mode cycle: Low^ > Medium > High (repeated) |
| On | Hold | Mode cycle: Low (always starts with Low no matter what mode you’re in!) > Medium > High (repeated) |
| On | Click | Off |
| On | Double Click | Toggles between Mode and Sublevel.For example, between H1 and H2. |
| On | Double Click 6x | Enters programming for sublevels of a mode. For example, if you’re in Medium, Double Clicking 6x will enter the sublevel selection for M2.) |
| Sublevel selection for any mode | Double Click | Cycles the sublevel mode options. For example, if you are programming M2, continued double clicks will cycle 11.6lm, 25.2lm, and 52lm repeatedly. Release and wait (or click) at the desired output. |
| Sublevel selection for any mode | Click | Selects sublevel. |
| Off | Click 4x | Battery indicatorThe main emitter flashes brightly between 1 and 4 times to indicate cell capacity |
| On at H1 | Click off then on to H1 | Enter PID Thermal Regulation Temperature Programming for three highest output levels |
| PID Thermal Regulation Temperature Programming for three highest output levels | Press and hold to cycle from Low to High 6 times | On the 7th (or more) cycle, release the switch
|
| Off | Click 5x | Select G5 (Group 5) |
| Off | Click 6x | Select G6 (Group 6) |
| Off | Click 7x | Select G7 (Group 7) |
| Sublevel programming for G6 or G7 | Click 2x | Goes up a level in programming |
| Sublevel programming for G6 or G7 | Click 3x | Goes down a level in programming† |
| Sublevel programming for G6 or G7 | Click | Exit programming |
| In G6 or G7‡ | Click 5x | Reset G5 to factory settings |
| In G6 or G7‡ | Click 6x | Reset G6 to factory settings |
| In G6 or G7‡ | Click 7x | Reset G7 to factory settings |
^ Note that this is technical access to Low from off, despite not being written exactly that way in the manual.
† Successive triple clicks at the lowest output stay at the lowest output (and don’t cycle “backward” to H1)
‡ It does seem like factory resets (for all groups) can be done only when in G6 or G7. So to reset G5, you’ll need to enter G6 or G7.
Here are some group specifics:
In all three mode groups
- H can be either H1 or H2; M can be either M1 or M2; L can be either L1 or L2
- from OFF: 1-click to H; 2-click to M; press and hold to cycle from L, M to H
In G5
- H1 is fixed, H2 can be the other options
- M1 is fixed, M2 can be the other options
- L1 is fixed, L2 can be the other options
In G6 and G7
- H1, H2, M1, M2, L1, and L2 can be programmed to any of the 12 available brightness levels
- Double-click 6 times at the H1, H2, …L2 to enter the programming mode for that level. Once in the programming mode, use double-click to go up one level and triple-click to go down one level. Use 1-click to exit the programming mode
Three consecutive 5-click (or 6-click, 7-click) to reset the G5 (or G6, G7) back to the factory default settings.
The fact that G6 and G7 allow all steady outputs to be any mode is not to be understated. If you wanted all high modes, you could program every level to H1. It’d be a little weird, but you could be absolutely certain that you’d only ever get H1 output. On the flip side, you could program every mode to be from the lowest to highest mode, and the light could peak at around 25 lumens (and basically last forever).
You could also reverse the mode cycles in whatever way you wish. Want High to be accessible from double click? Then program H1 to the M1 or M2 slot.
And finally, it’s not to be understated how easy it is to switch between groups. And easy to remember – 5, 6, or 7 clicks from off and you’ve switched groups. Unfortunately, there is no feedback that you’ve switched groups – a readout of maybe 5, 6, or 7 blinks on the lowest output would be nice. Or maybe a low blink with G5, M2 blink with G6, and H2 blink with G7 or something. Some feedback would be appreciated.
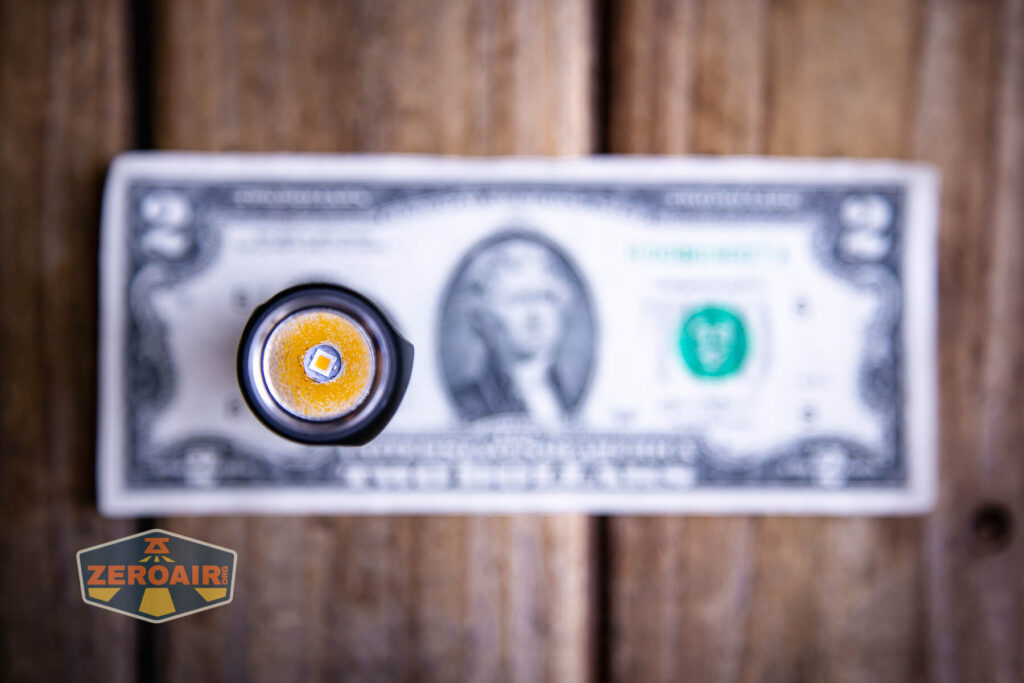
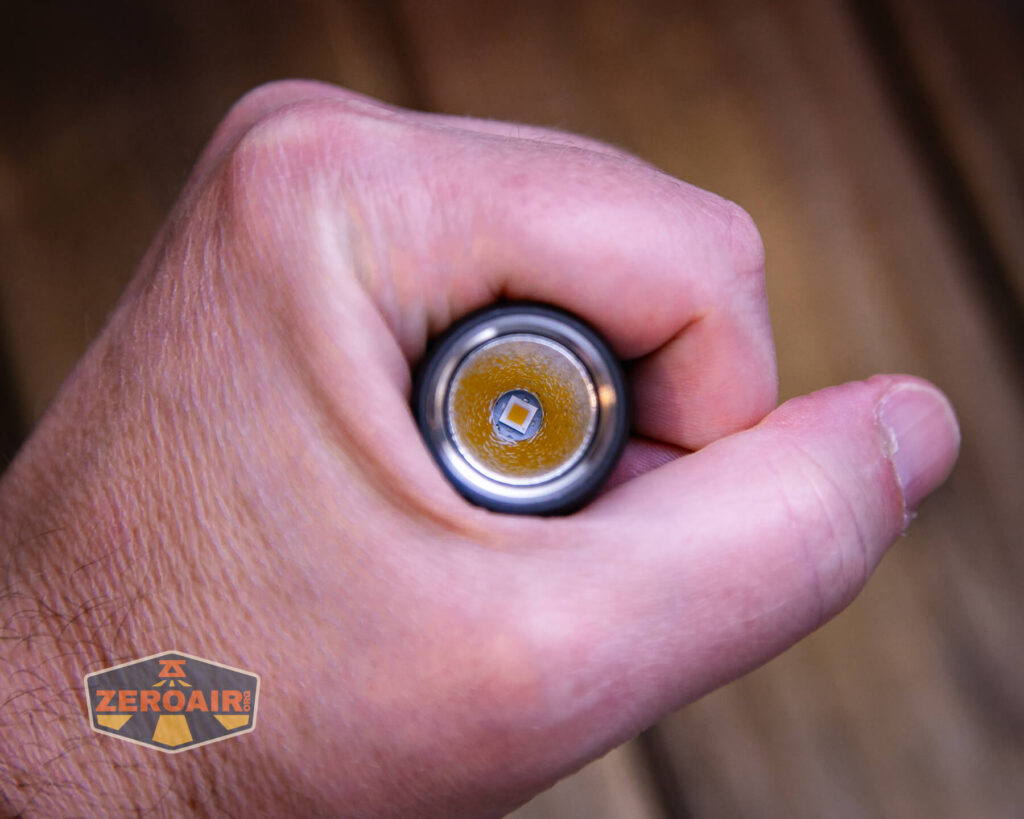
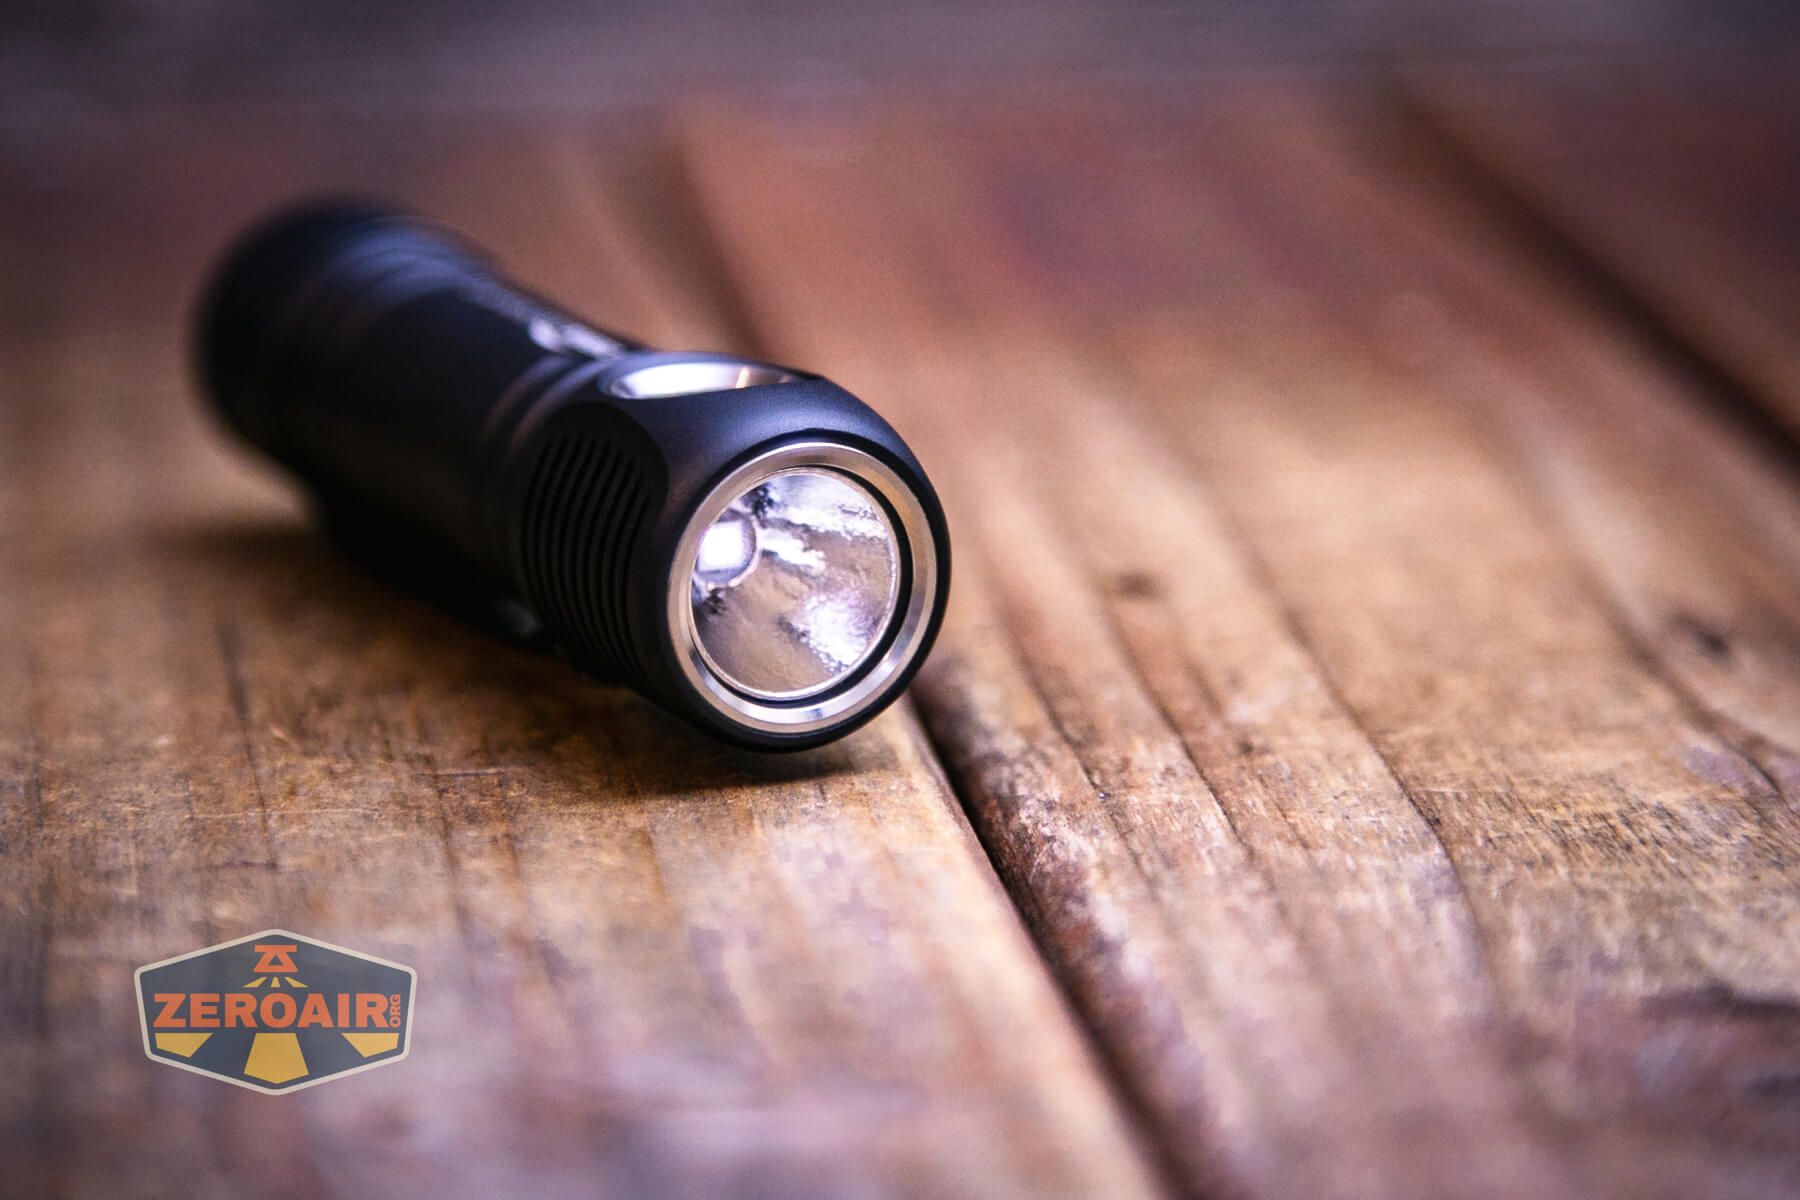
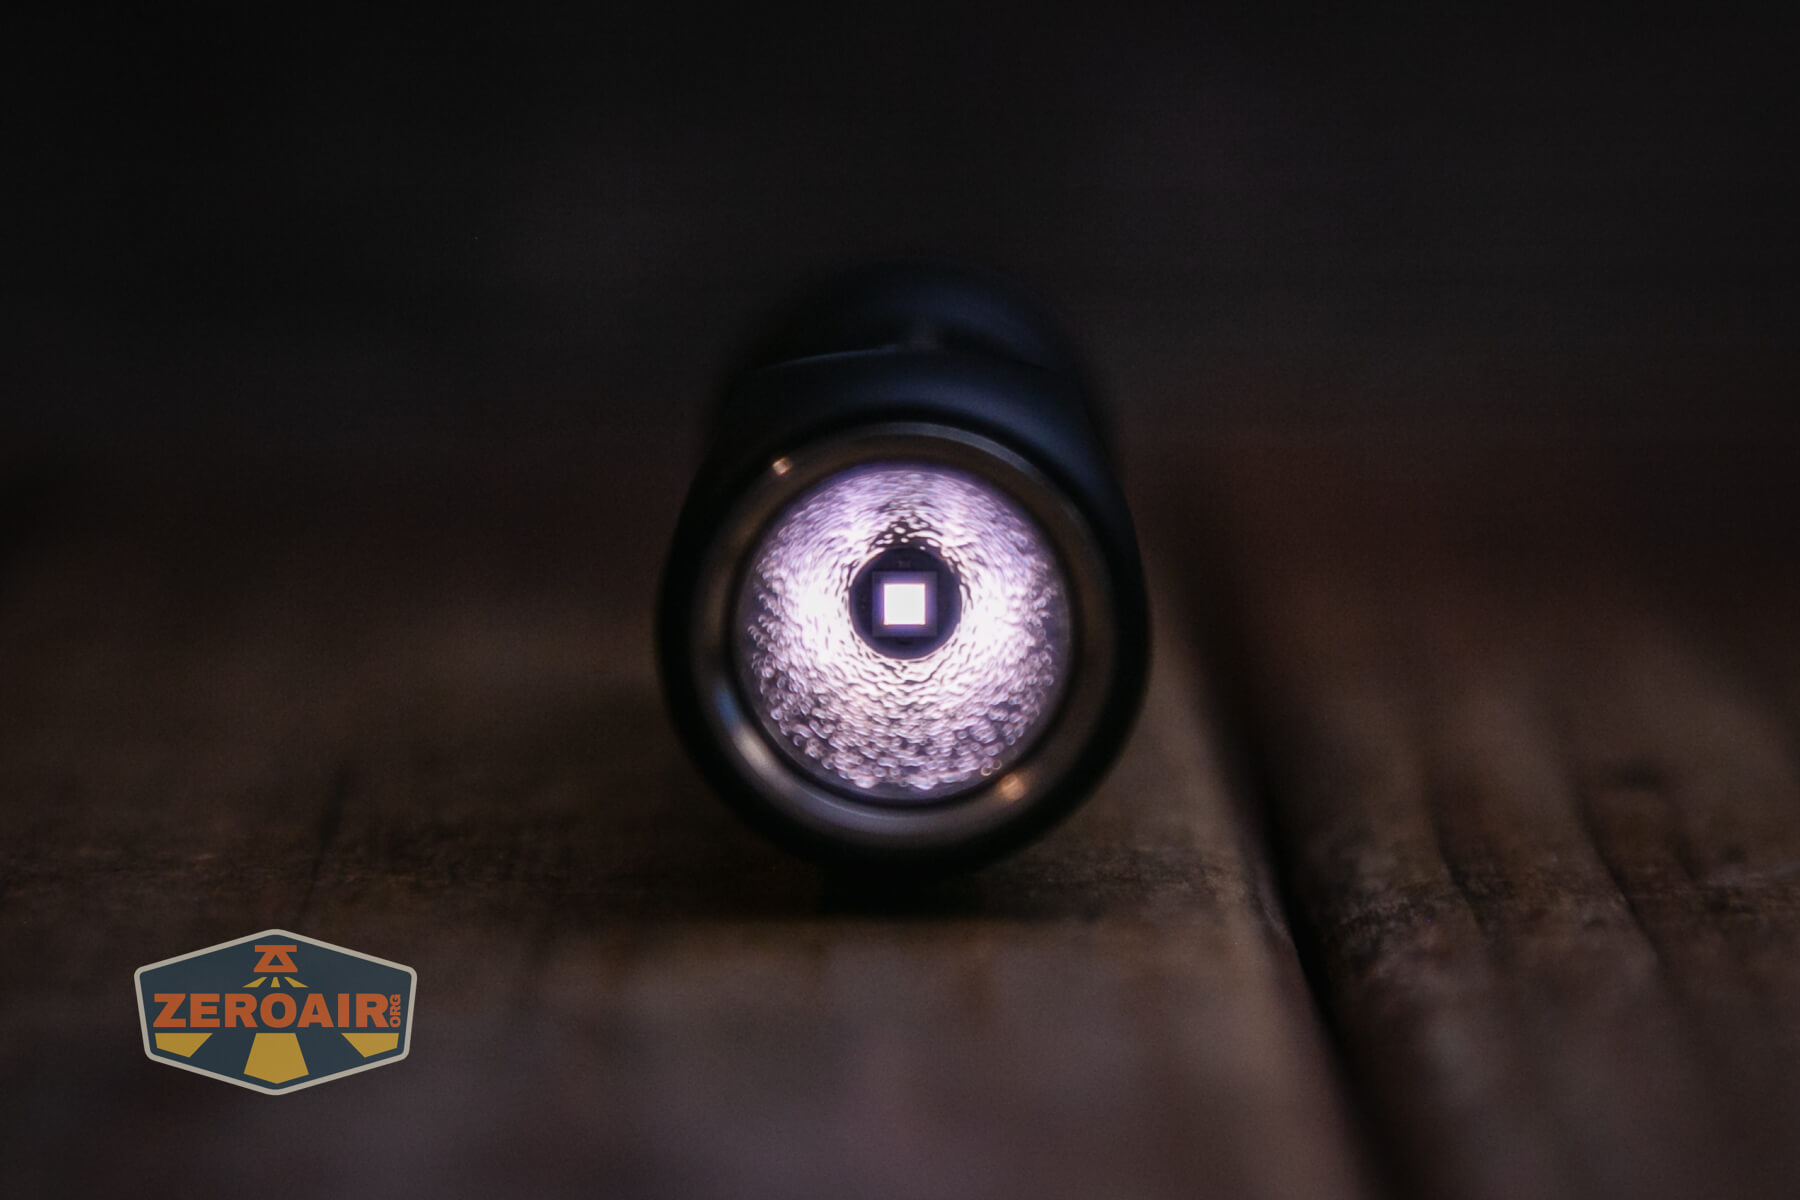
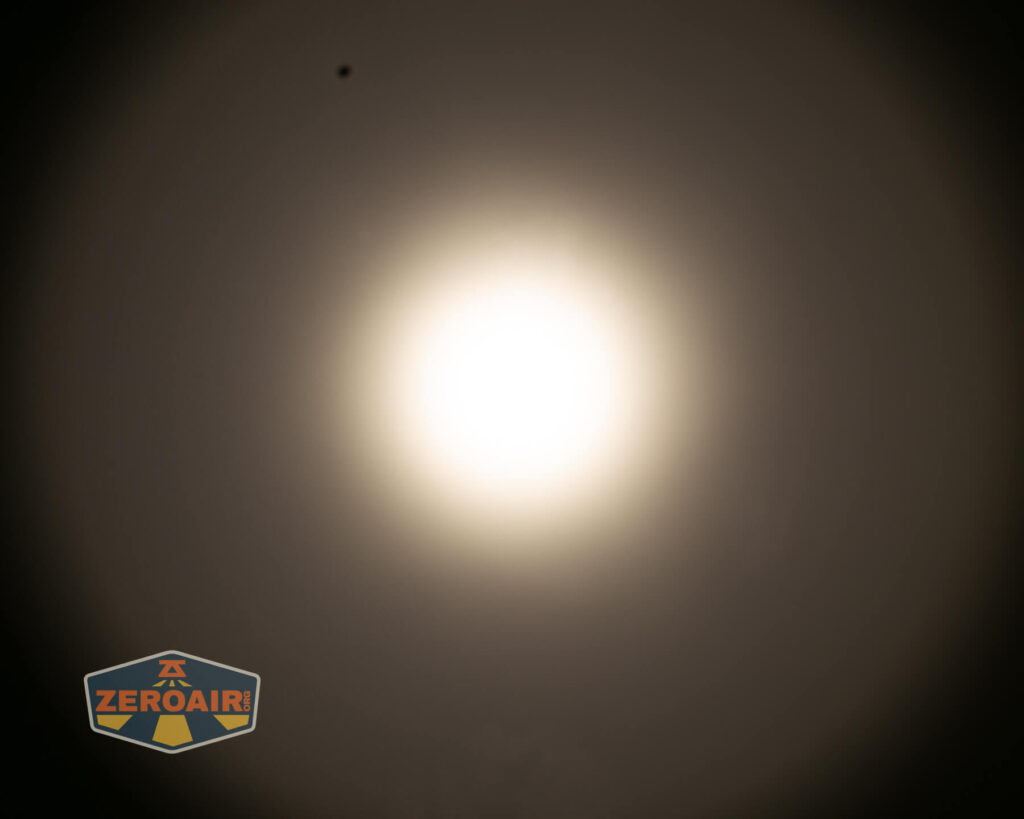
LED and Beam
In the Zebralight SC65c HI flashlight is a Nichia 719a emitter at 4000K. Not only that, but it’s also high CRI!
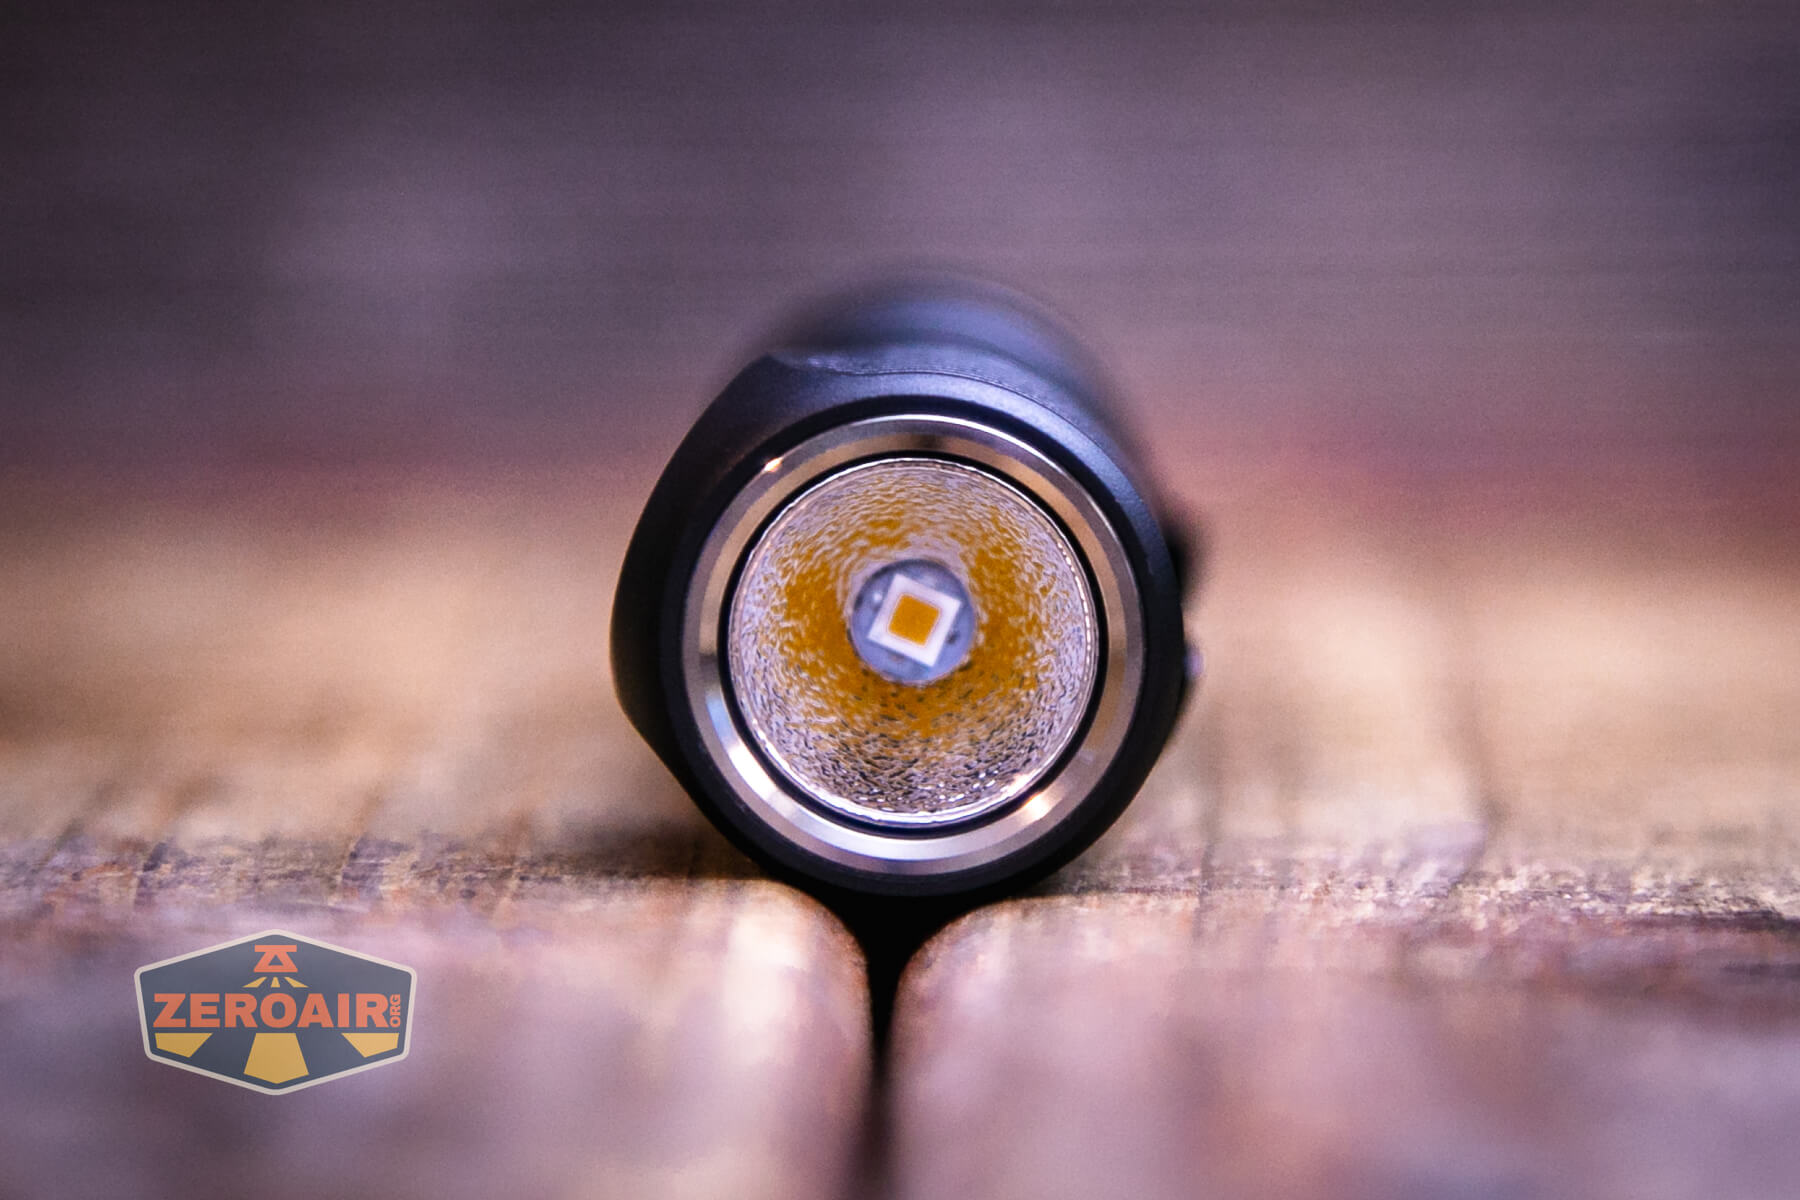
That emitter is surrounded by an orange peel reflector. This reflector seems to have much more texture than others (like the SC53c N.

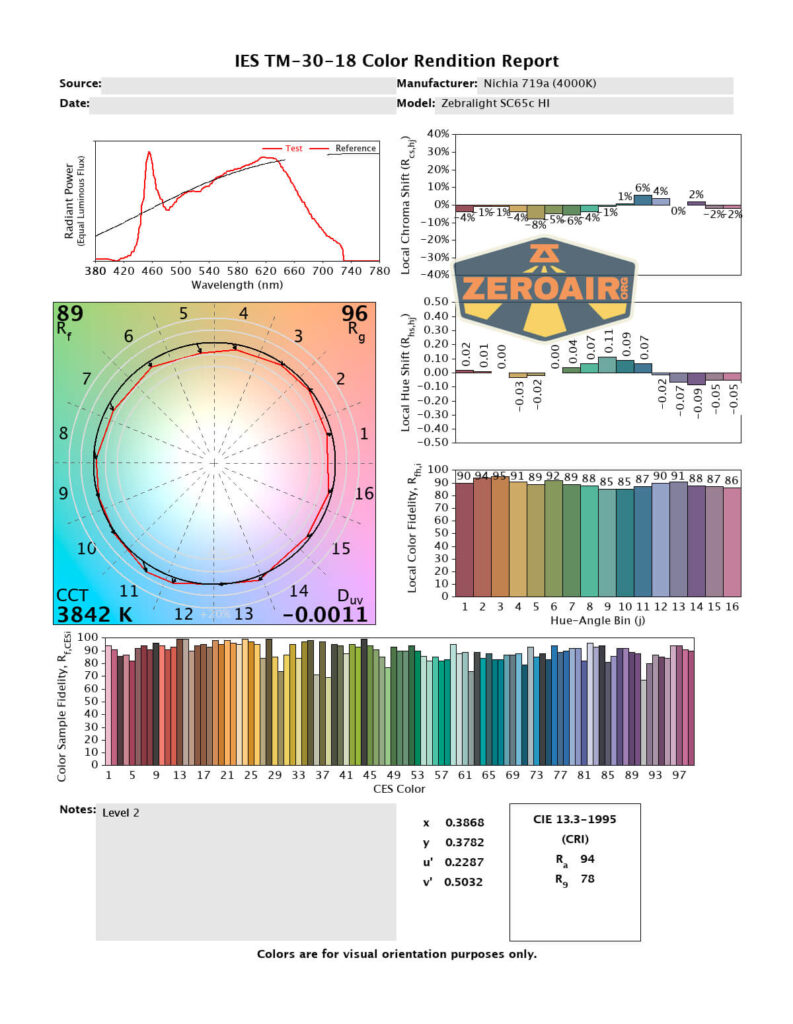
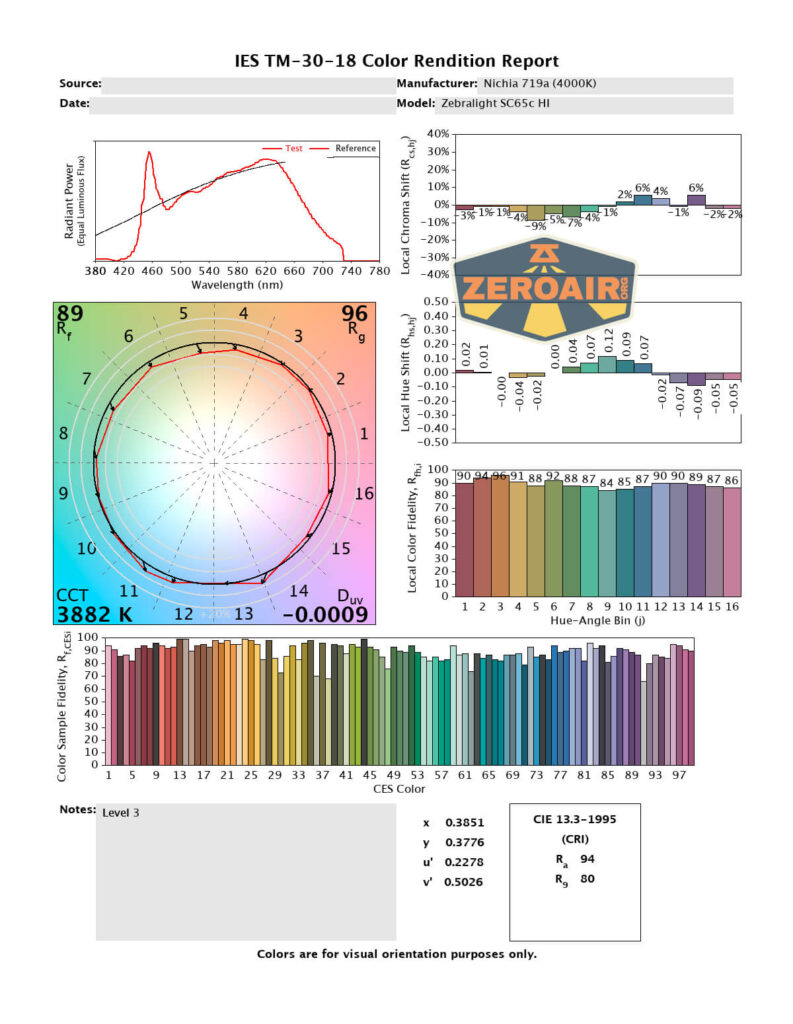
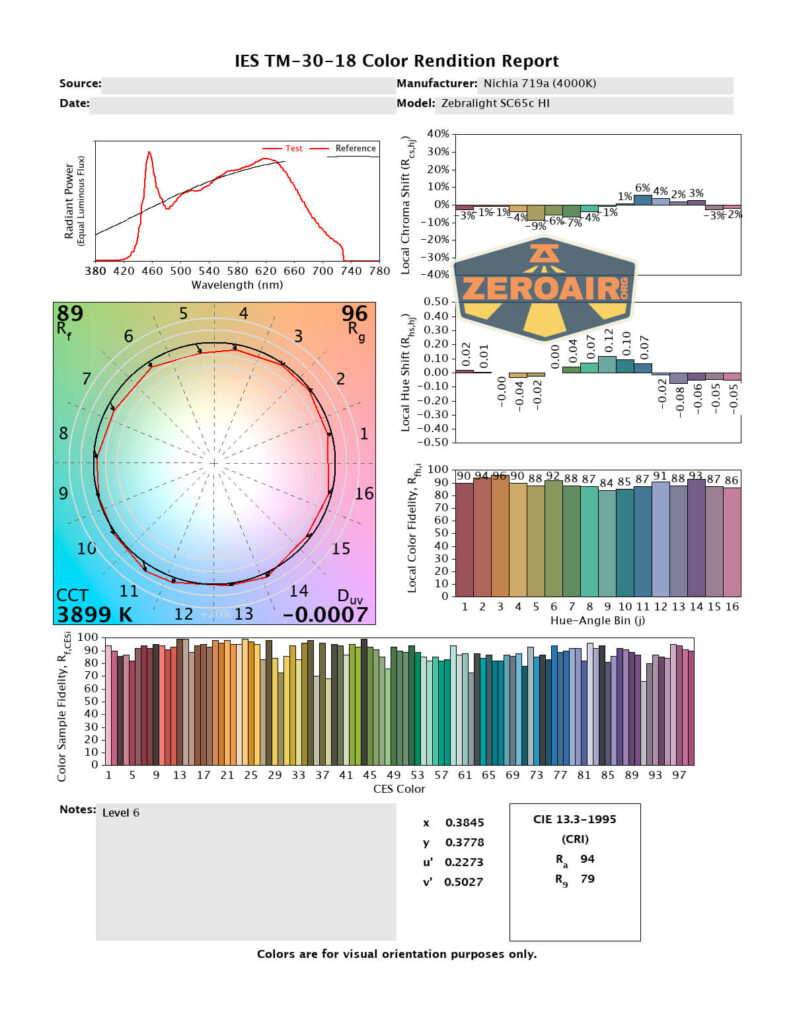
LED Color Report (CRI and CCT)
CRI is high. It’s around 94 or so, only drifting lower on the higher output levels. CCT is also in the claimed area, peaking at 4300K on the highest output. This is a great result.


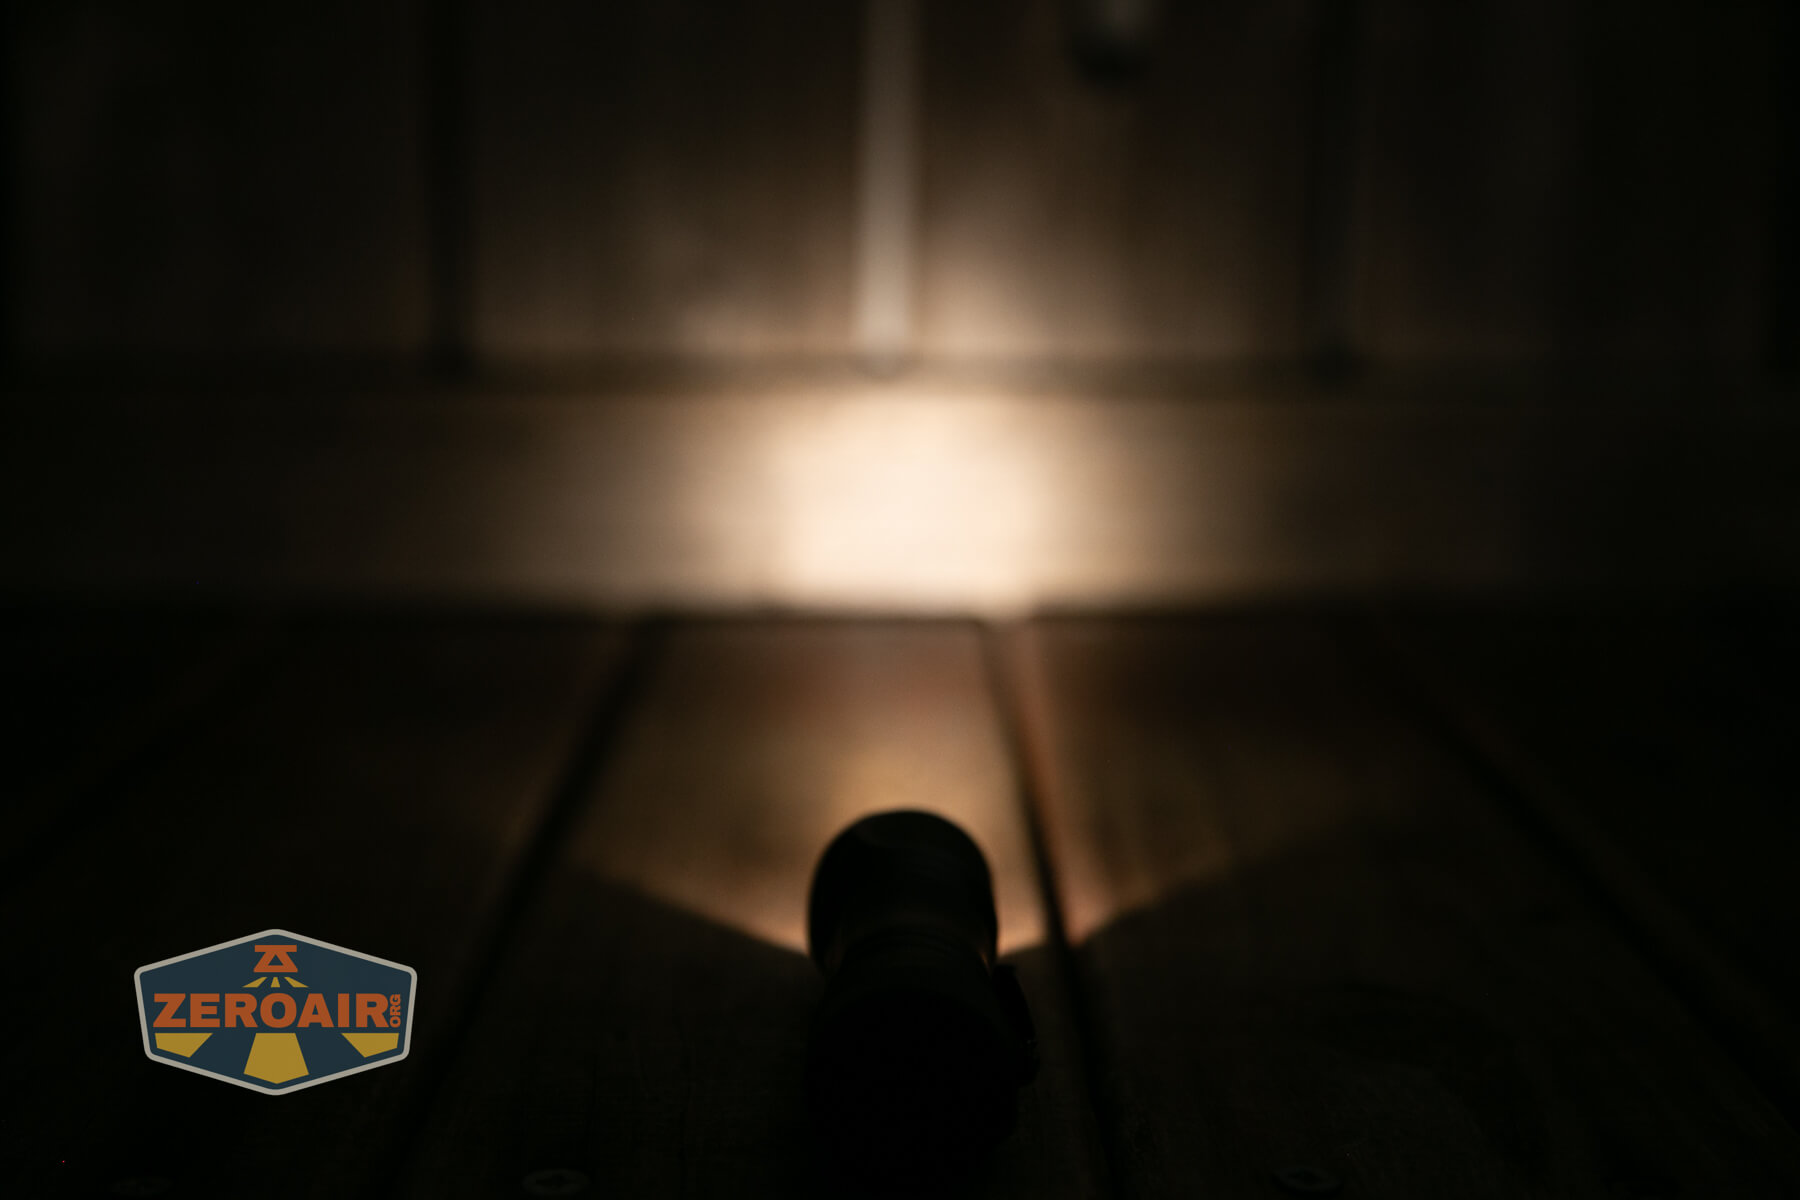
Beamshots
These beamshots are always with the following settings: f8, ISO100, 0.3s shutter, and manual 5000K exposure.


Tint vs BLF-348 (KillzoneFlashlights.com 219b version) (affiliate link)
I keep the test flashlight on the left, and the BLF-348 reference flashlight on the right.
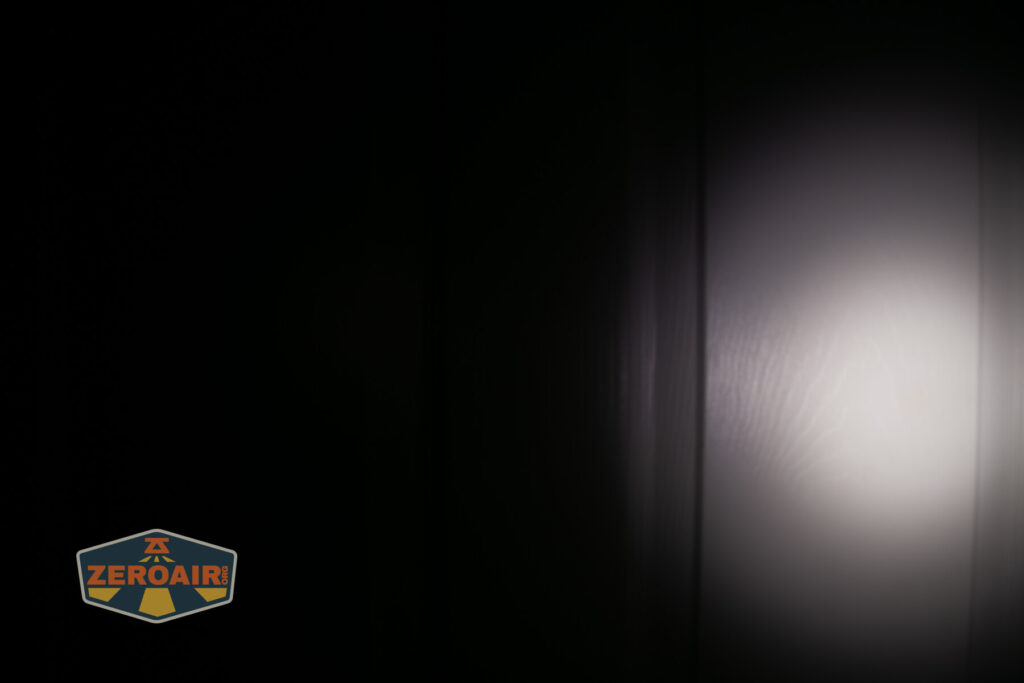

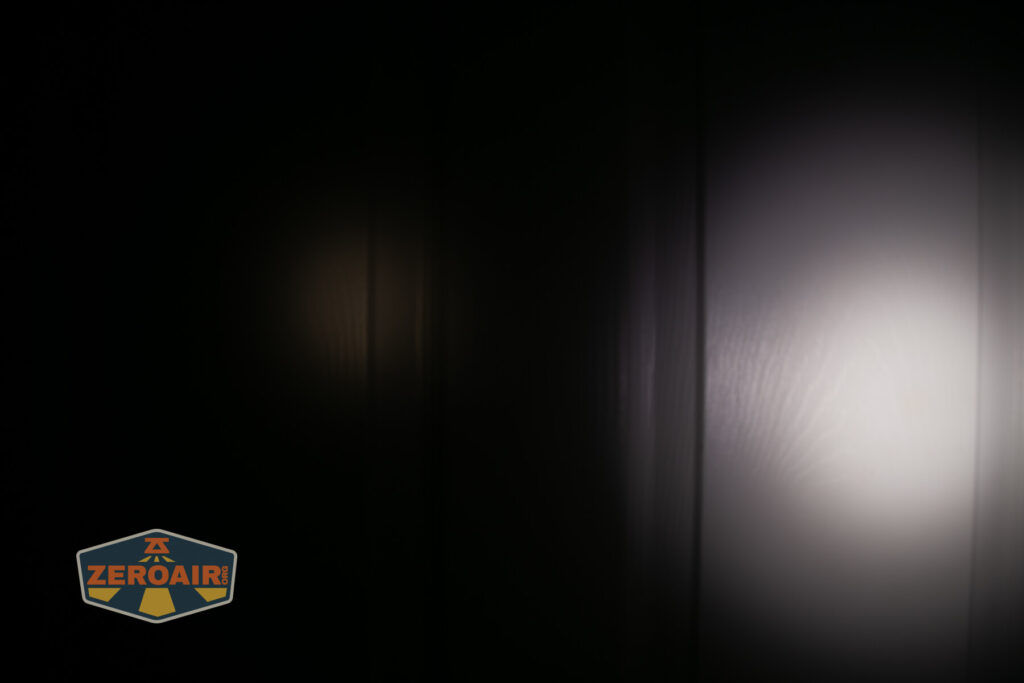

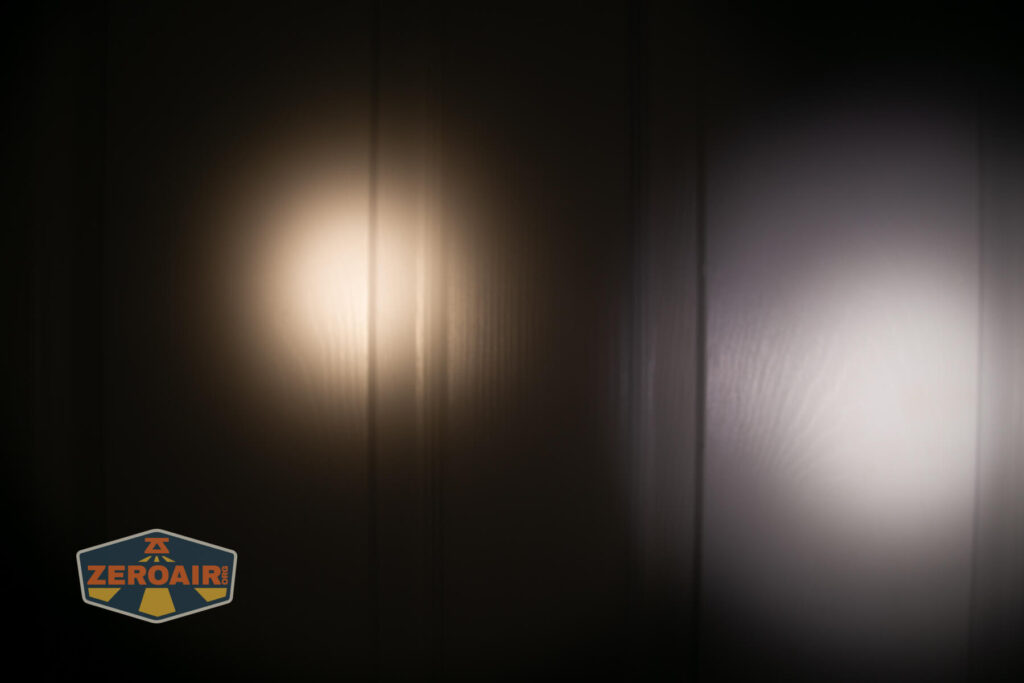
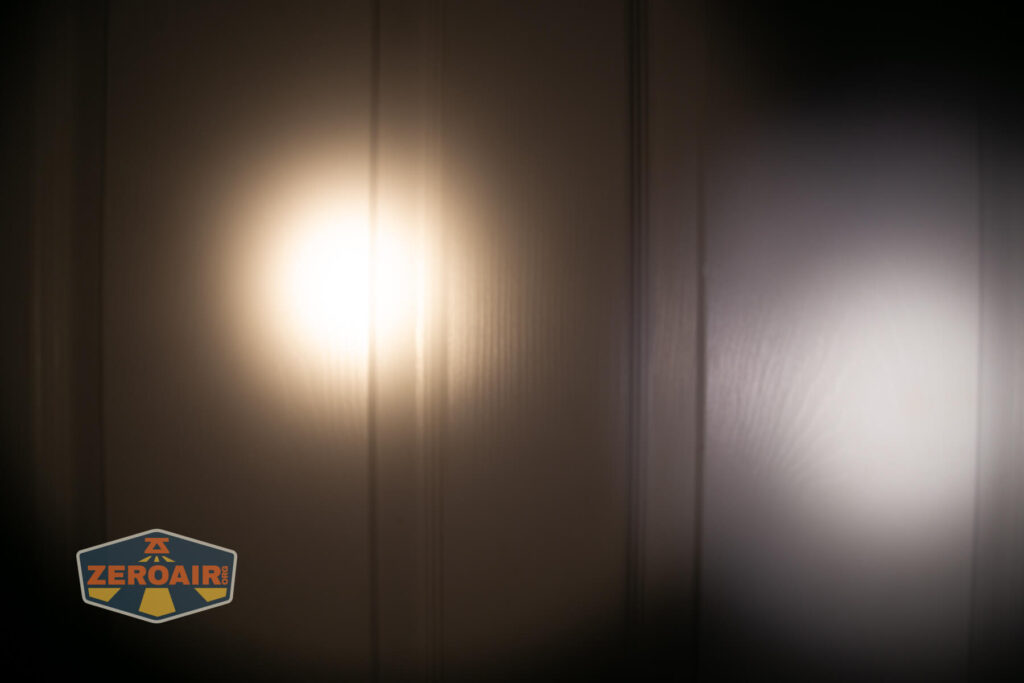
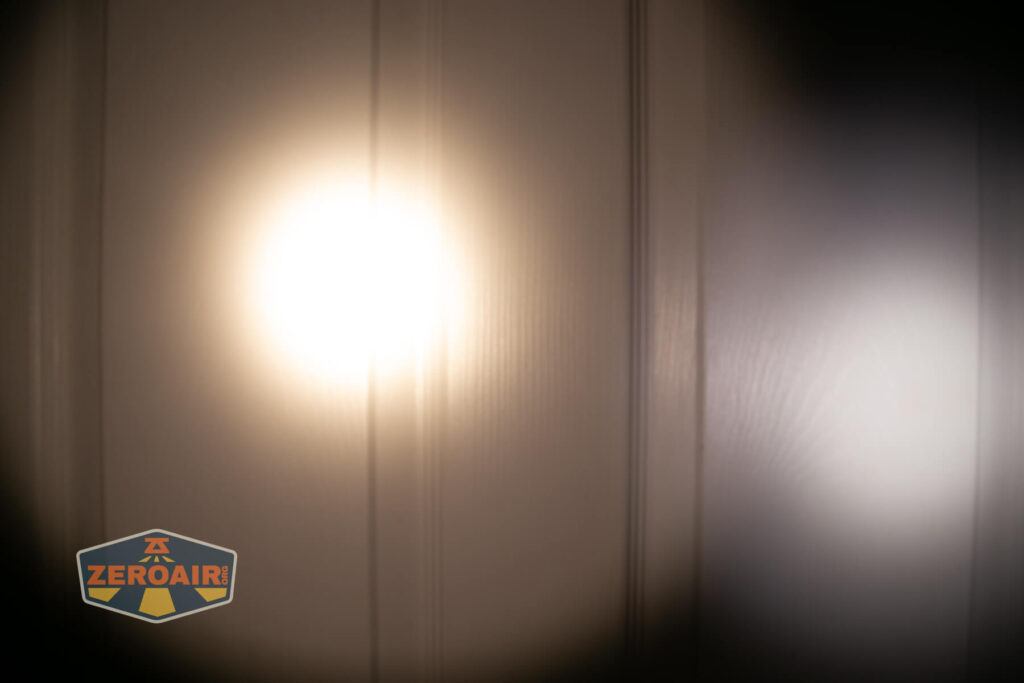
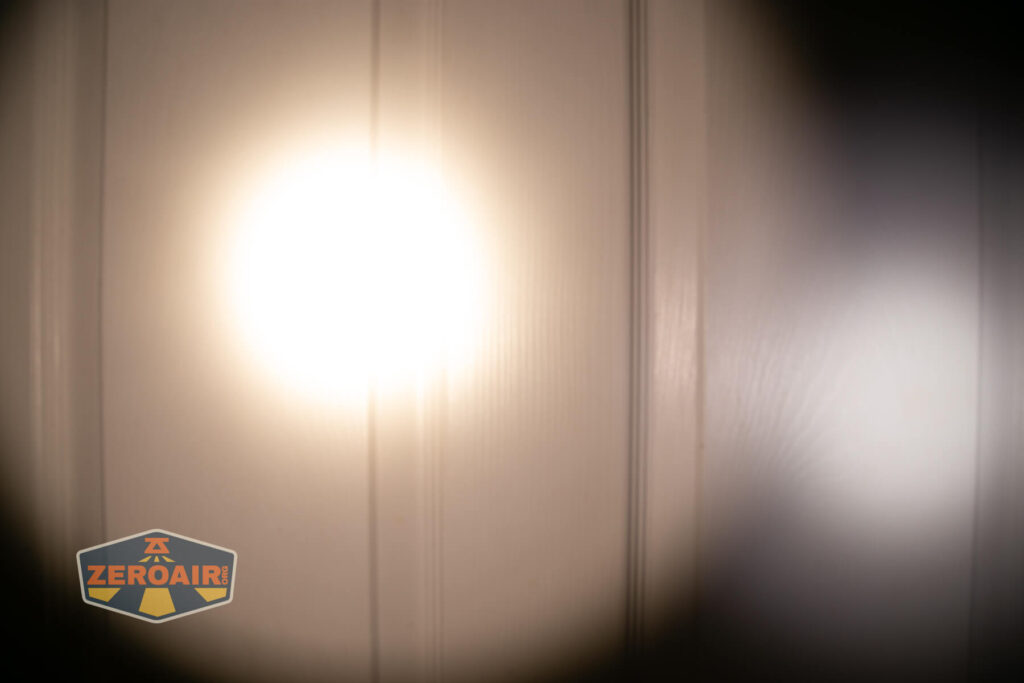
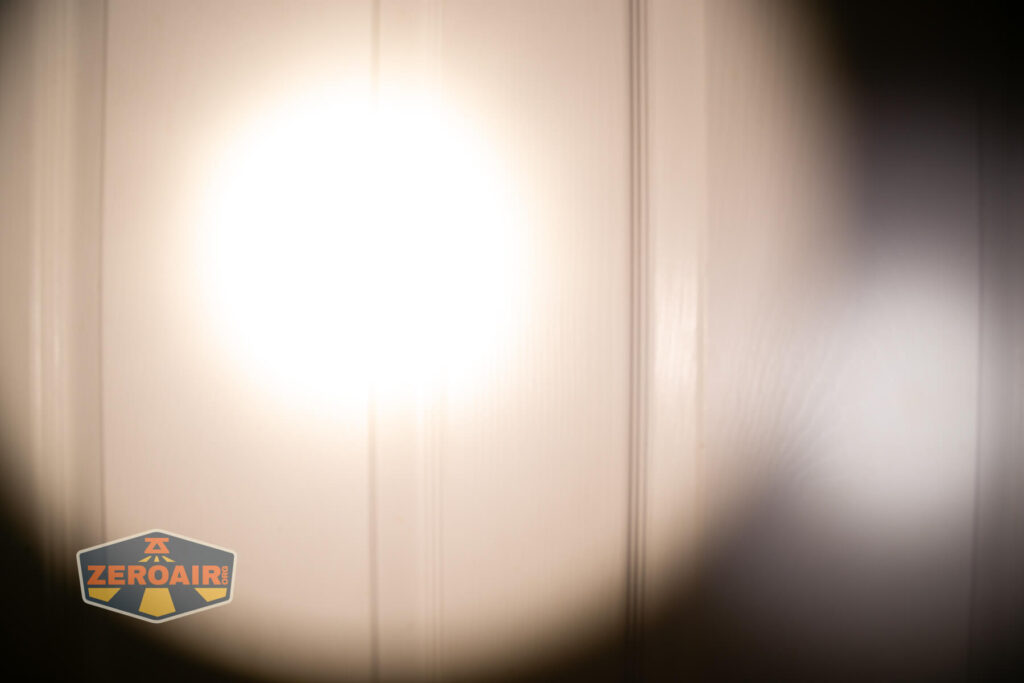
I compare everything to the KillzoneFlashlights.com 219b BLF-348 because it’s inexpensive and has the best tint!
Summary and Conclusion
I love the Zebralight SC65c HI flashlight! This one uses Zebralight’s standard and familiar user interface, so it fits in very nicely as the proper EDC light with other Zebralights (like the SC53c N, SC700d, and SC63w.) There’s not much to add – this light is very much “Zebralight” and if you know you know. I like the new emitter (as previously stated, I have a strong fondness for domeless emitters). The new technology is neat and seems to perform nicely. Output is a bit low on this model, and I’d love to see that bumped up a bit.
The Big Table
| Zebralight SC65c HI flashlight | |
|---|---|
| Emitter: | Nichia 719a (4000K) |
| Price in USD at publication time: | $89.00 |
| Cell: | 1×18650 |
| Runtime Graphs | |
| LVP? | Yes |
| Switch Type: | E-Switch |
| Quiescent Current (mA): | ? |
| On-Board Charging? | No |
| Claimed Lumens (lm) | 660 |
| Measured Lumens (at 30s) | 646 (97.9% of claim)^ |
| Candela per Lumen | 12.85 |
| Claimed Throw (m) | – |
| Candela (Calculated) in cd (at 30s) | 335lux @ 5.064m = 8591cd |
| Throw (Calculated) (m) | 185.4 |
| Claimed CCT | 4000 |
| Measured CCT Range (K) | 3800-4400 Kelvin |
| Item provided for review by: | Me |
| All my Zebralight reviews! | |
^ Measurement disclaimer: Testing flashlights is my hobby. I use hobbyist-level equipment for testing, including some I made myself. Try not to get buried in the details of manufacturer specifications versus measurements recorded here; A certain amount of difference (say, 10 or 15%) is perfectly reasonable.
What I like
- Fancy new emitter!
- CCT range around 4000K is very pleasant
- Good throw
- Very small for an 18650 light
- Typical and great Zebralight user interface
What I don’t like
- Highest output is not very high
- Somewhat picky about cells
Notes
- This content originally appeared at zeroair.org. Please visit there for the best experience!
- Please use my Amazon.com referral link to help support zeroair.org!
- Please support me on Patreon! I deeply appreciate your support!
Discover more from ZeroAir Reviews
Subscribe to get the latest posts sent to your email.