Olight H1R Nova Flashlight Review
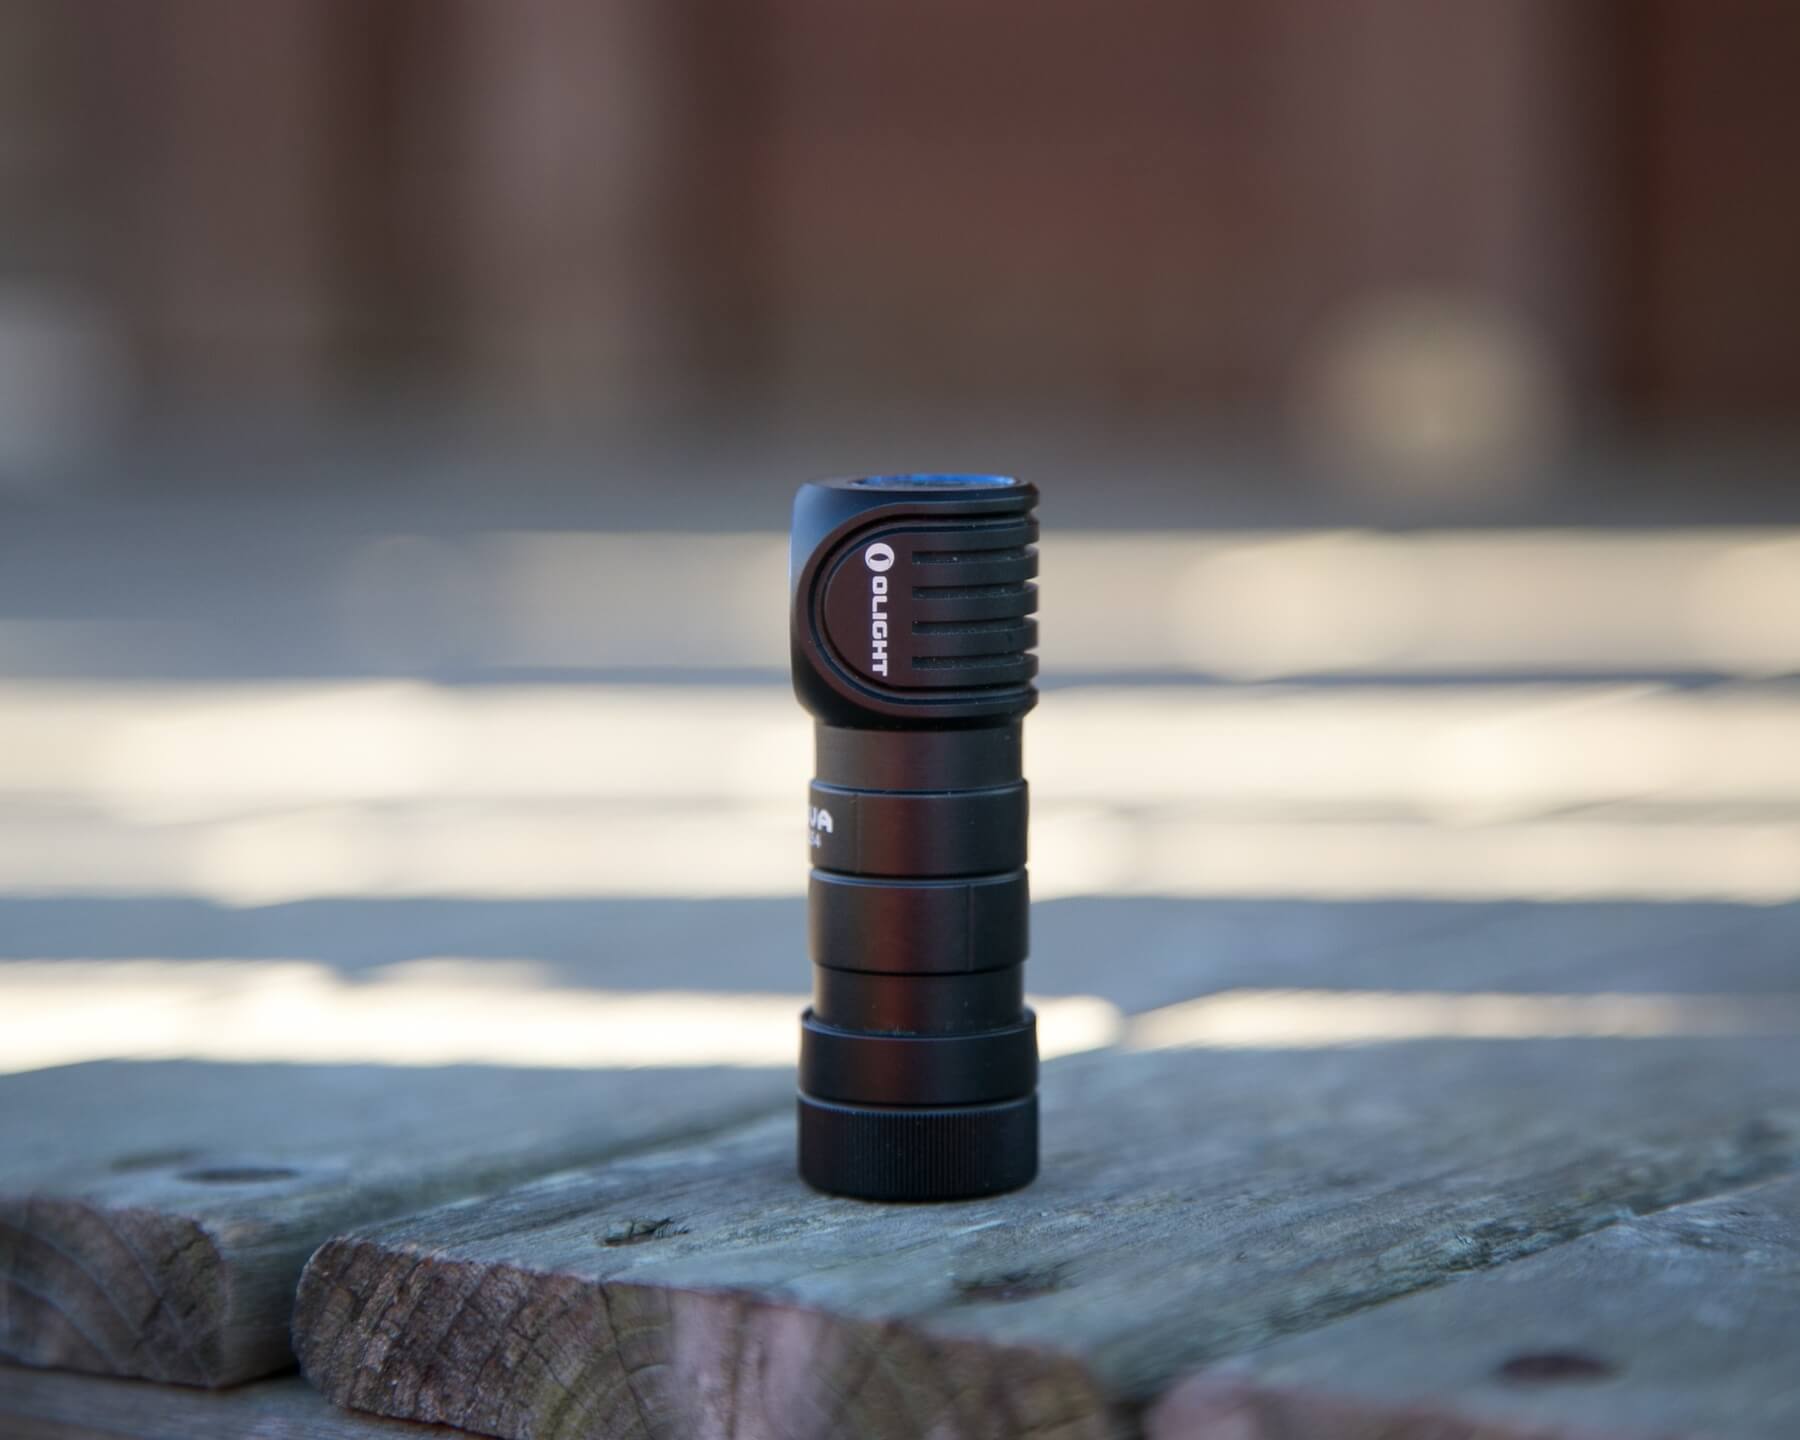
Here’s the Olight H1R Nova flashlight, a right-angle flashlight. It runs on a single 16340 cell and uses a Cree XM-L2 emitter. Read on for more info!
Official Specs and Features
Here’s a link to the Olight H1R Nova flashlight product page.
| Spec | Rating |
|---|---|
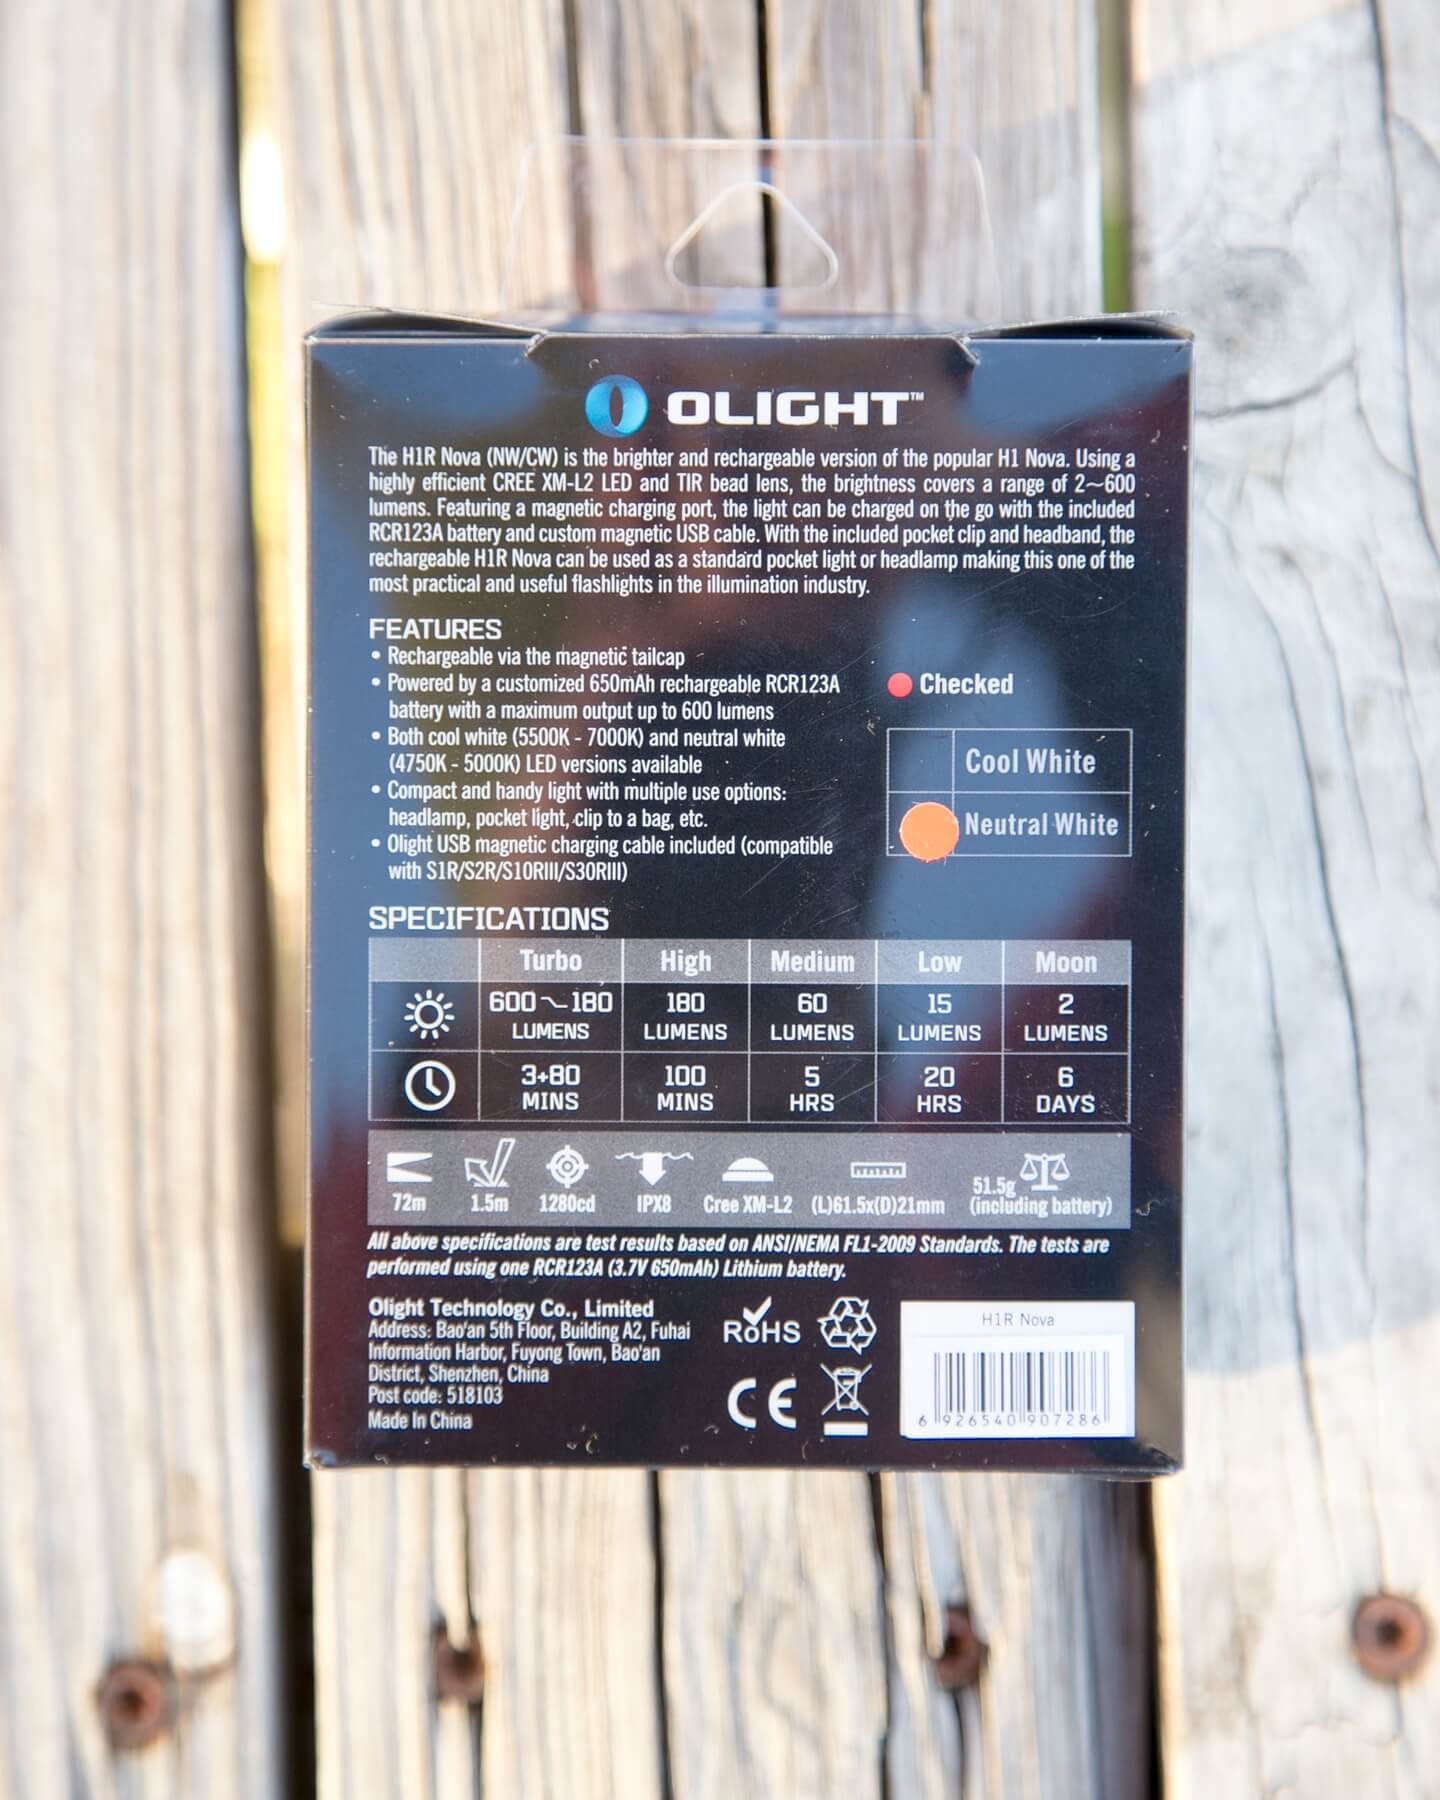
| Light Intensity (candela) | 1,280 |
| Max. Performance (lumens) | 600 |
| Beam Distance | 72m |
Compatible Batteries: 1 x CR123A / Customized RCR123A
LED: Cree XM-L2
Waterproof: IPX8
Weight: 1.82 oz/51.5g (Including Battery)
Length: 2.4 in / 61.5mm
Head Diameter: 0.8in / 21mm
Body Diameter: 0.8in / 21mm
Packaging: Zippered Reusable case
Package Contents: Headlamp (including head strap and silicone mount), 1 x RCR123A (650mAh), Pocket Clip, Pouch, Instruction Manual
| Level | Output (lm) | Runtime |
|---|---|---|
| Level 1 | 600 | 3m |
| →Stepdown | 180 | 80 |
| Level 2 | 180 | 100 minutes |
| Level 3 | 60 | 5h |
| Level 4 | 15 | 20h |
| Level 5 | 2 | 6 days |
| Strobe | SOS mode | – |
Versions
This light comes in two versions: cool white and neutral white. What I’m reviewing here is NW. And of course, if onboard charging isn’t your thing, there’s also the H1 Nova (in CW and NW too).
MSRP
$66.95
Short Review
Another great headlamp, with the added bonus of onboard charging. I liked the H1, and I like the H1R as well!
Long Review
The Big Table
| Olight H1R Nova | |
|---|---|
| Emitter: | Cree XM-L2 (NW) |
| Price in USD at publication time: | $66.95 |
| Cell: | 1×16340 |
| Runtimes | |
| LVP? | ? |
| Switch Type: | E-Switch |
| On-Board Charging? | Yes |
| Charge Port Type: | Proprietary Magnetic |
| Chargetime | |
| Power off Charge Port with no Cell? | |
| Claimed Lumens (lm) | 600 |
| Claimed Throw (m) | 72 |
| Candela (Calculated) in cd (at 30s) | 222lux @ 2.559m = 1454cd |
| Throw (Calculated) (m) | 76.3 (106% of claim)^ |
| All my Olight reviews! | |
^ Measurement disclaimer: Testing flashlights is my hobby. I use hobbyist-level equipment for testing, including some I made myself. Try not to get buried in the details of manufacturer specifications versus measurements recorded here; A certain amount of difference (say, 10 or 15%) is perfectly reasonable.
What’s Included
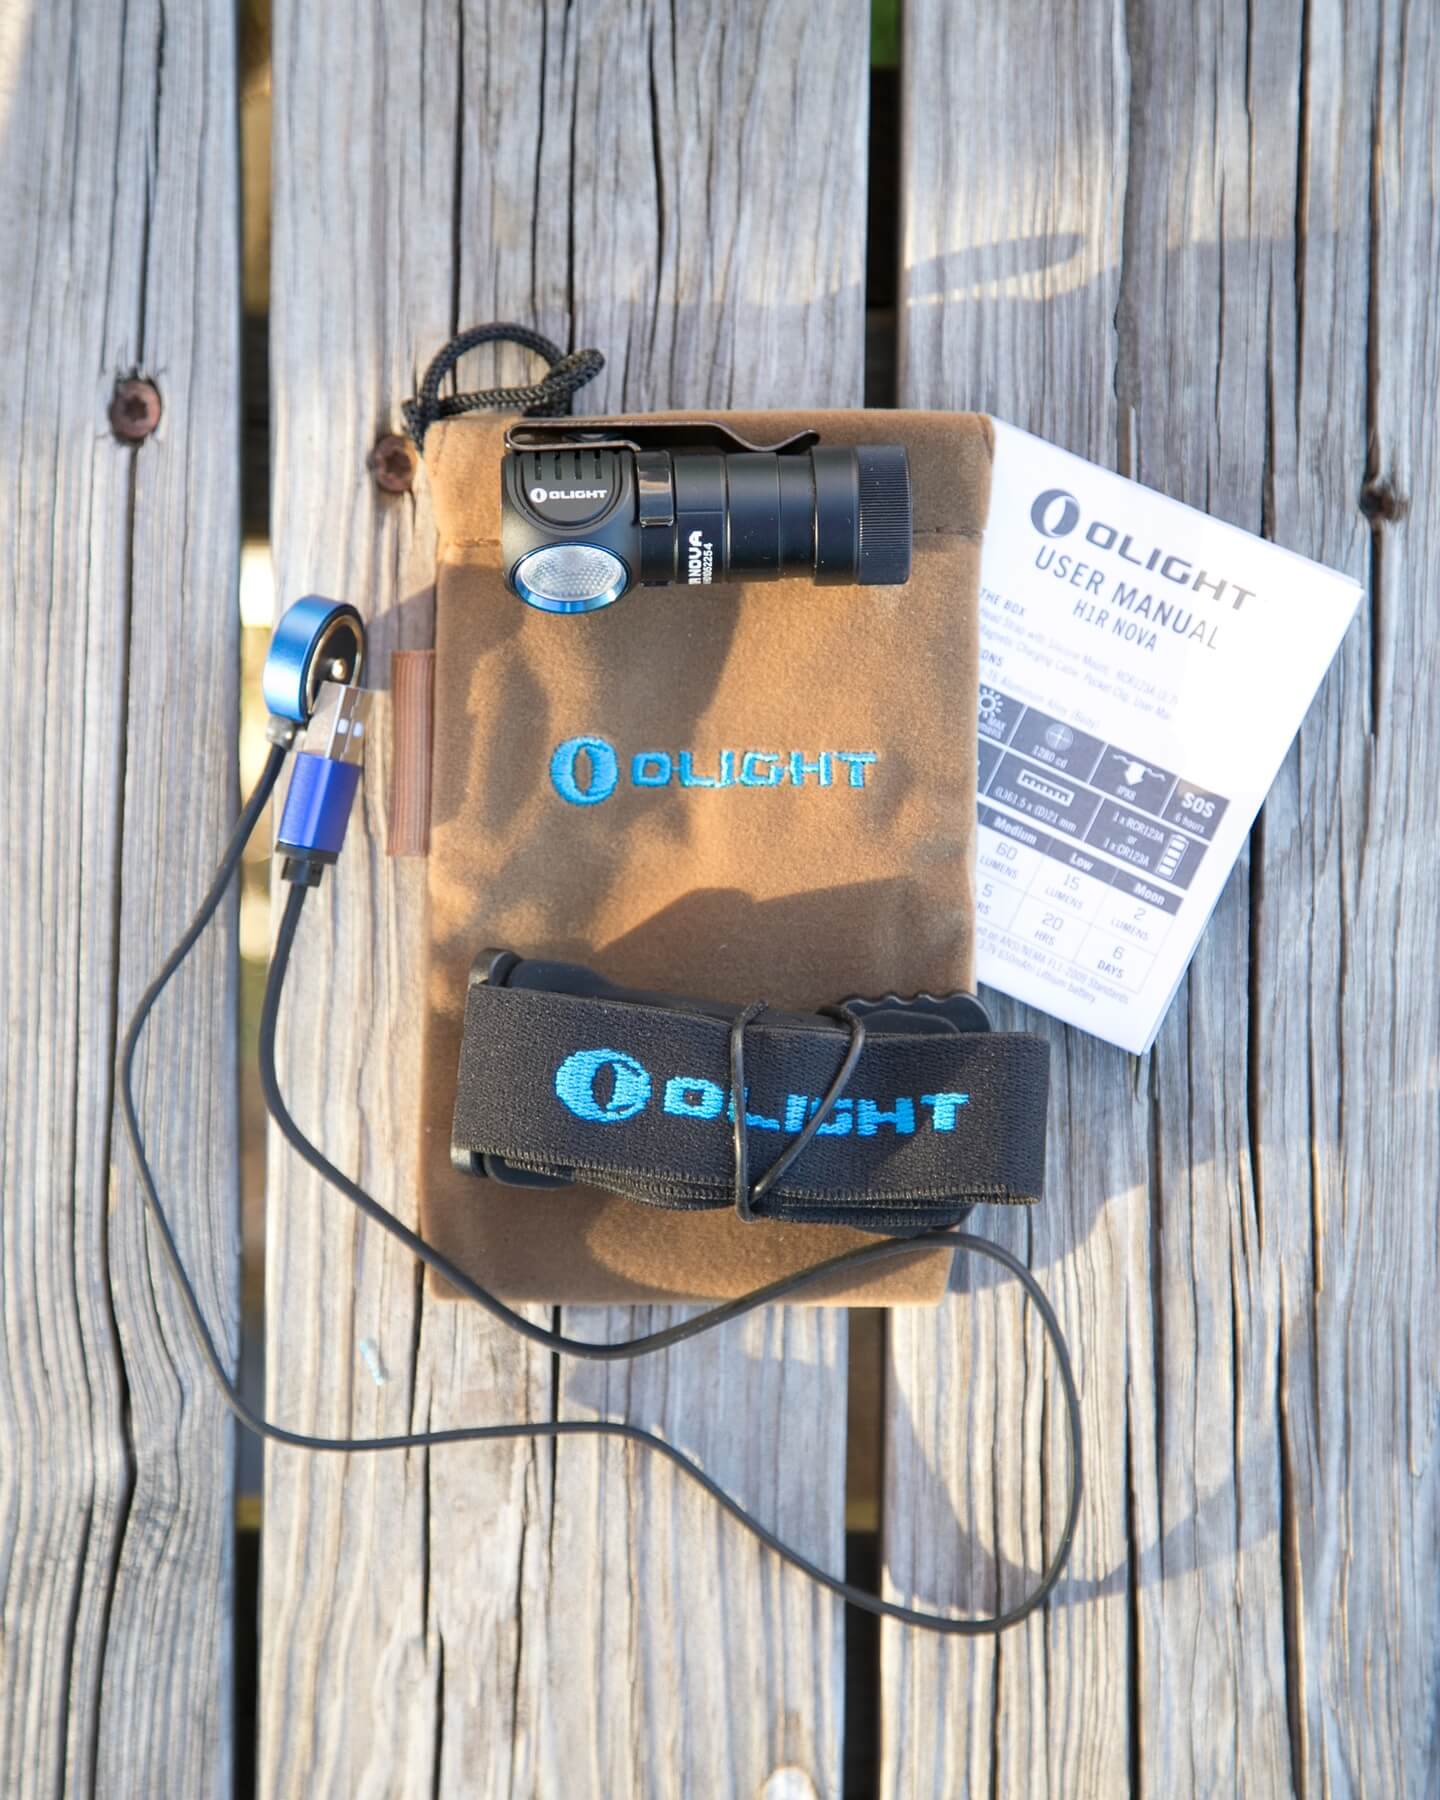
- Olight H1R Nova Headlamp
- Headband with silicone holder
- Velvet carry bag
- USB charging connector
- Manual
- Pocket clip (installed)
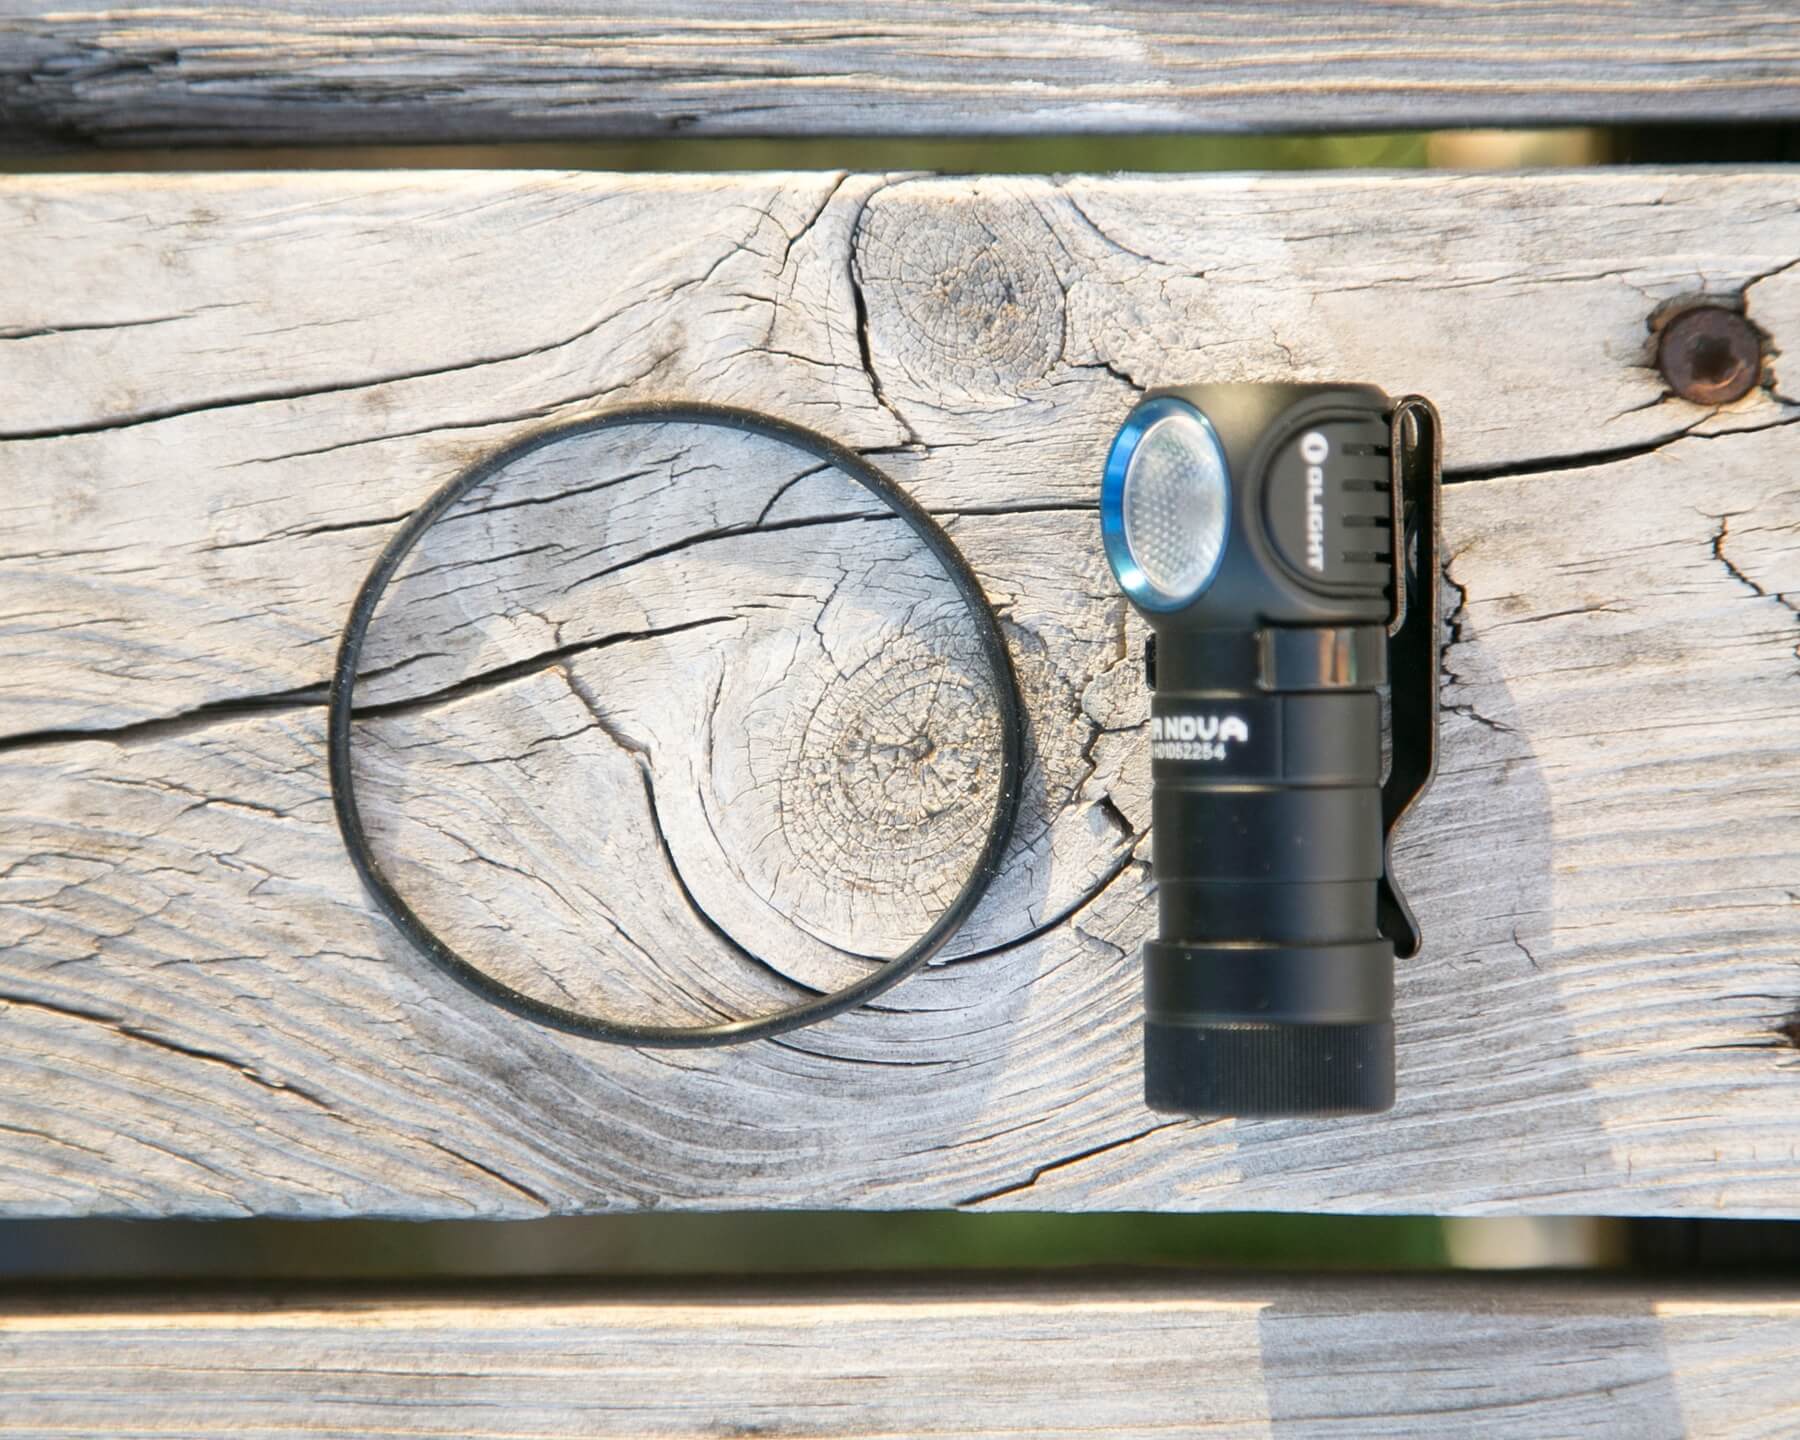
Note: Spare o-ring is not included. There is this massive o-ring, which really seems to serve no purpose past packaging.
Package and Manual
The package is more of a typical plastic Olight package.
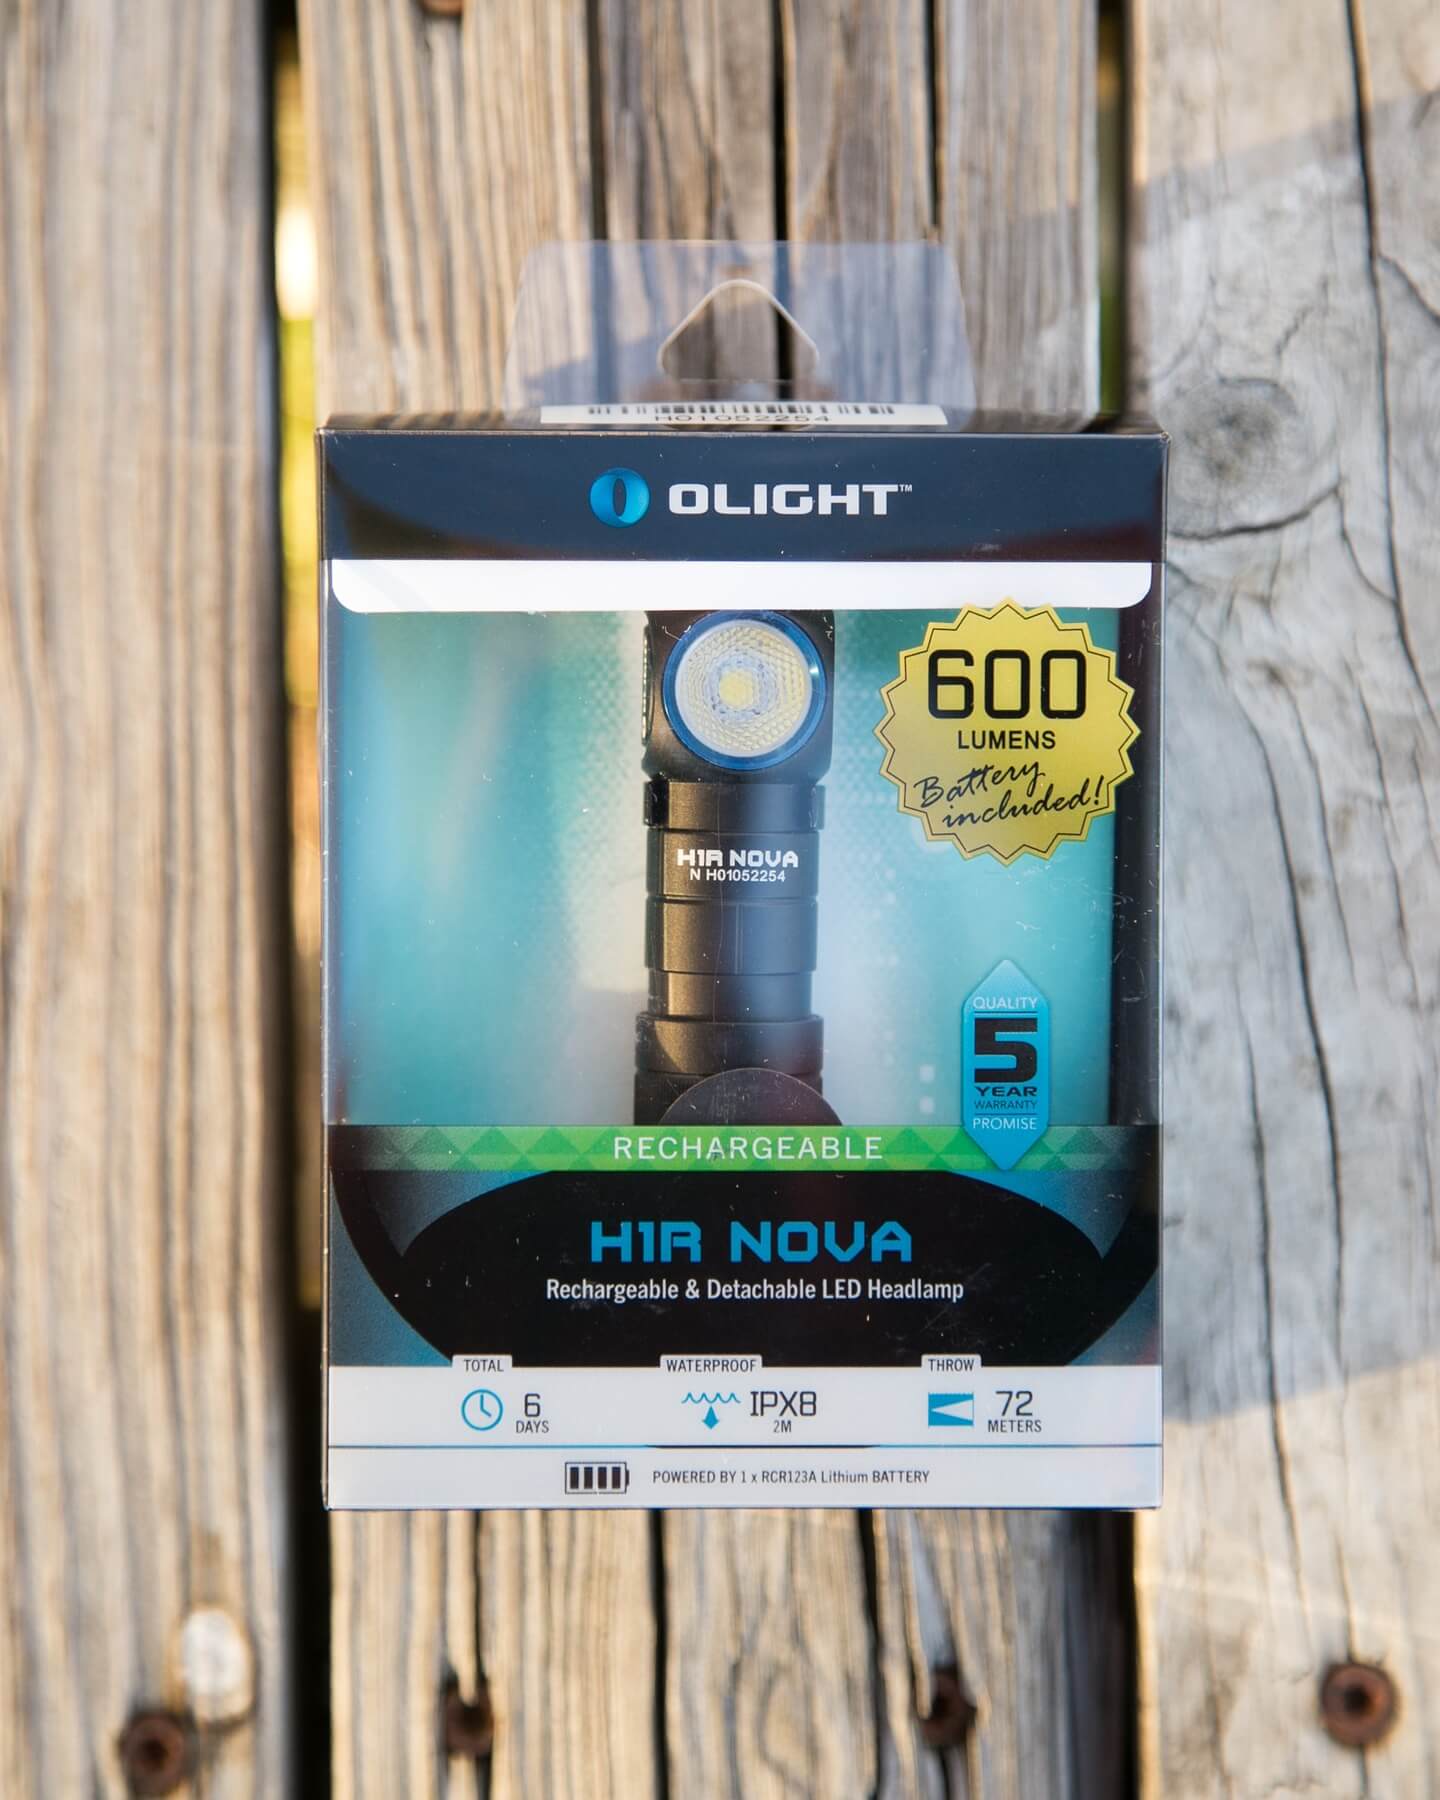
Unlike the regular H1, the H1R does not include a carrying case. The back has a sticker to show which tint is contained within.
The package is like one of those nail puzzles.
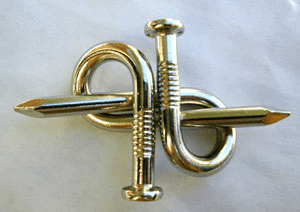
Getting it open is easy, but you will never, ever get things back in the package as they were from the factory. That’s not a bad thing; it’s just extremely efficient use of space. Olight packagers = Tetris masters. The box has a serial on the top, which matches the serial printed on the body of the H1R. Sides have a bunch of printed info, including the QR code.
The manual again is typical Olight. One large sheet of paper, with individual squares having “page numbers” which don’t match any origami folding I could manage.
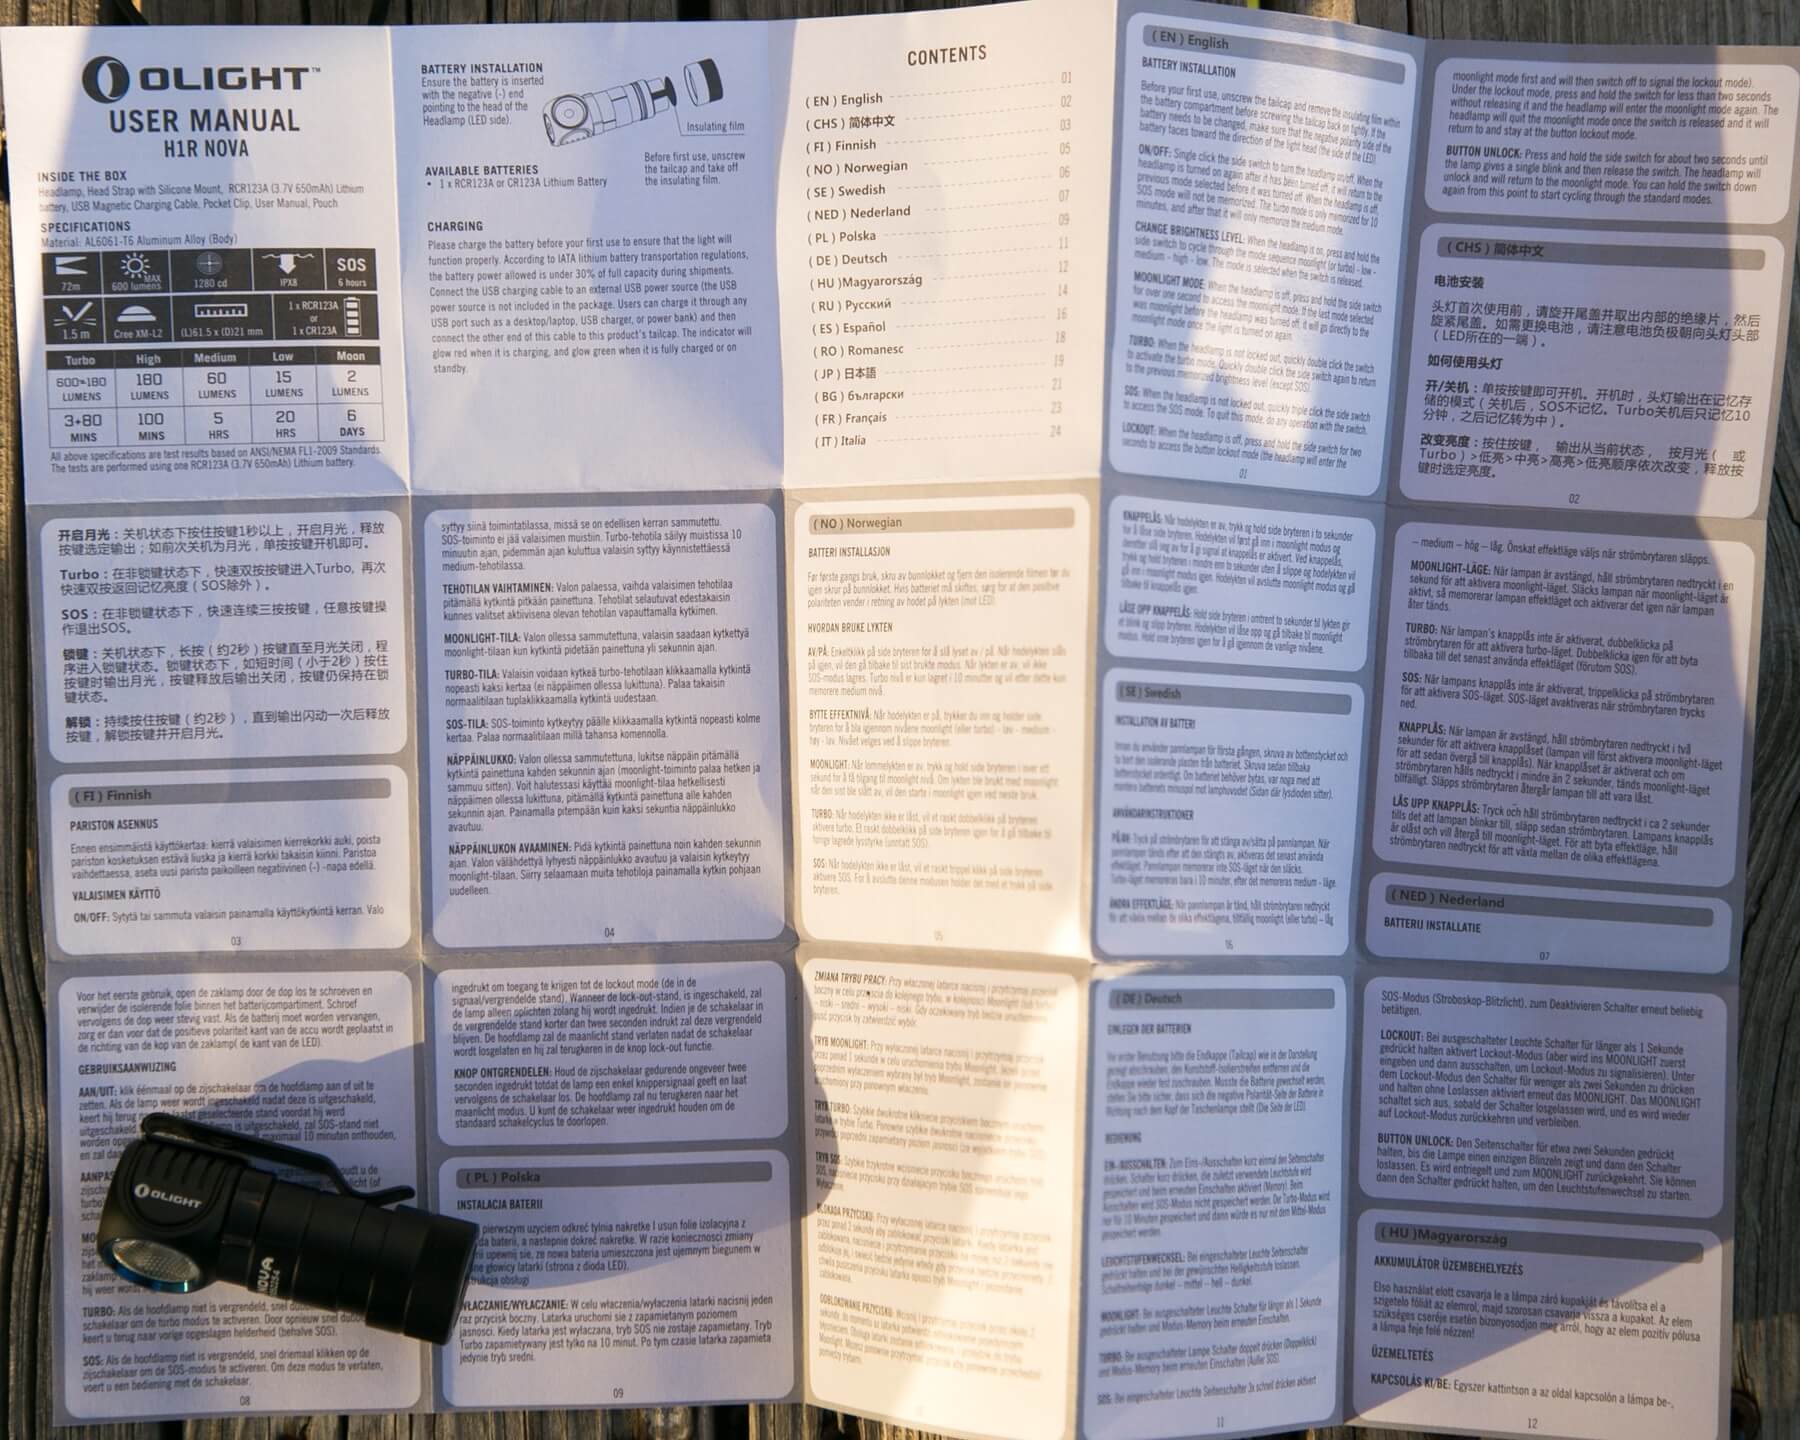
So you just unfold the whole thing and find the section that reads in your language.
The manual is nice and descriptive and includes the specs, UI, and warranty.
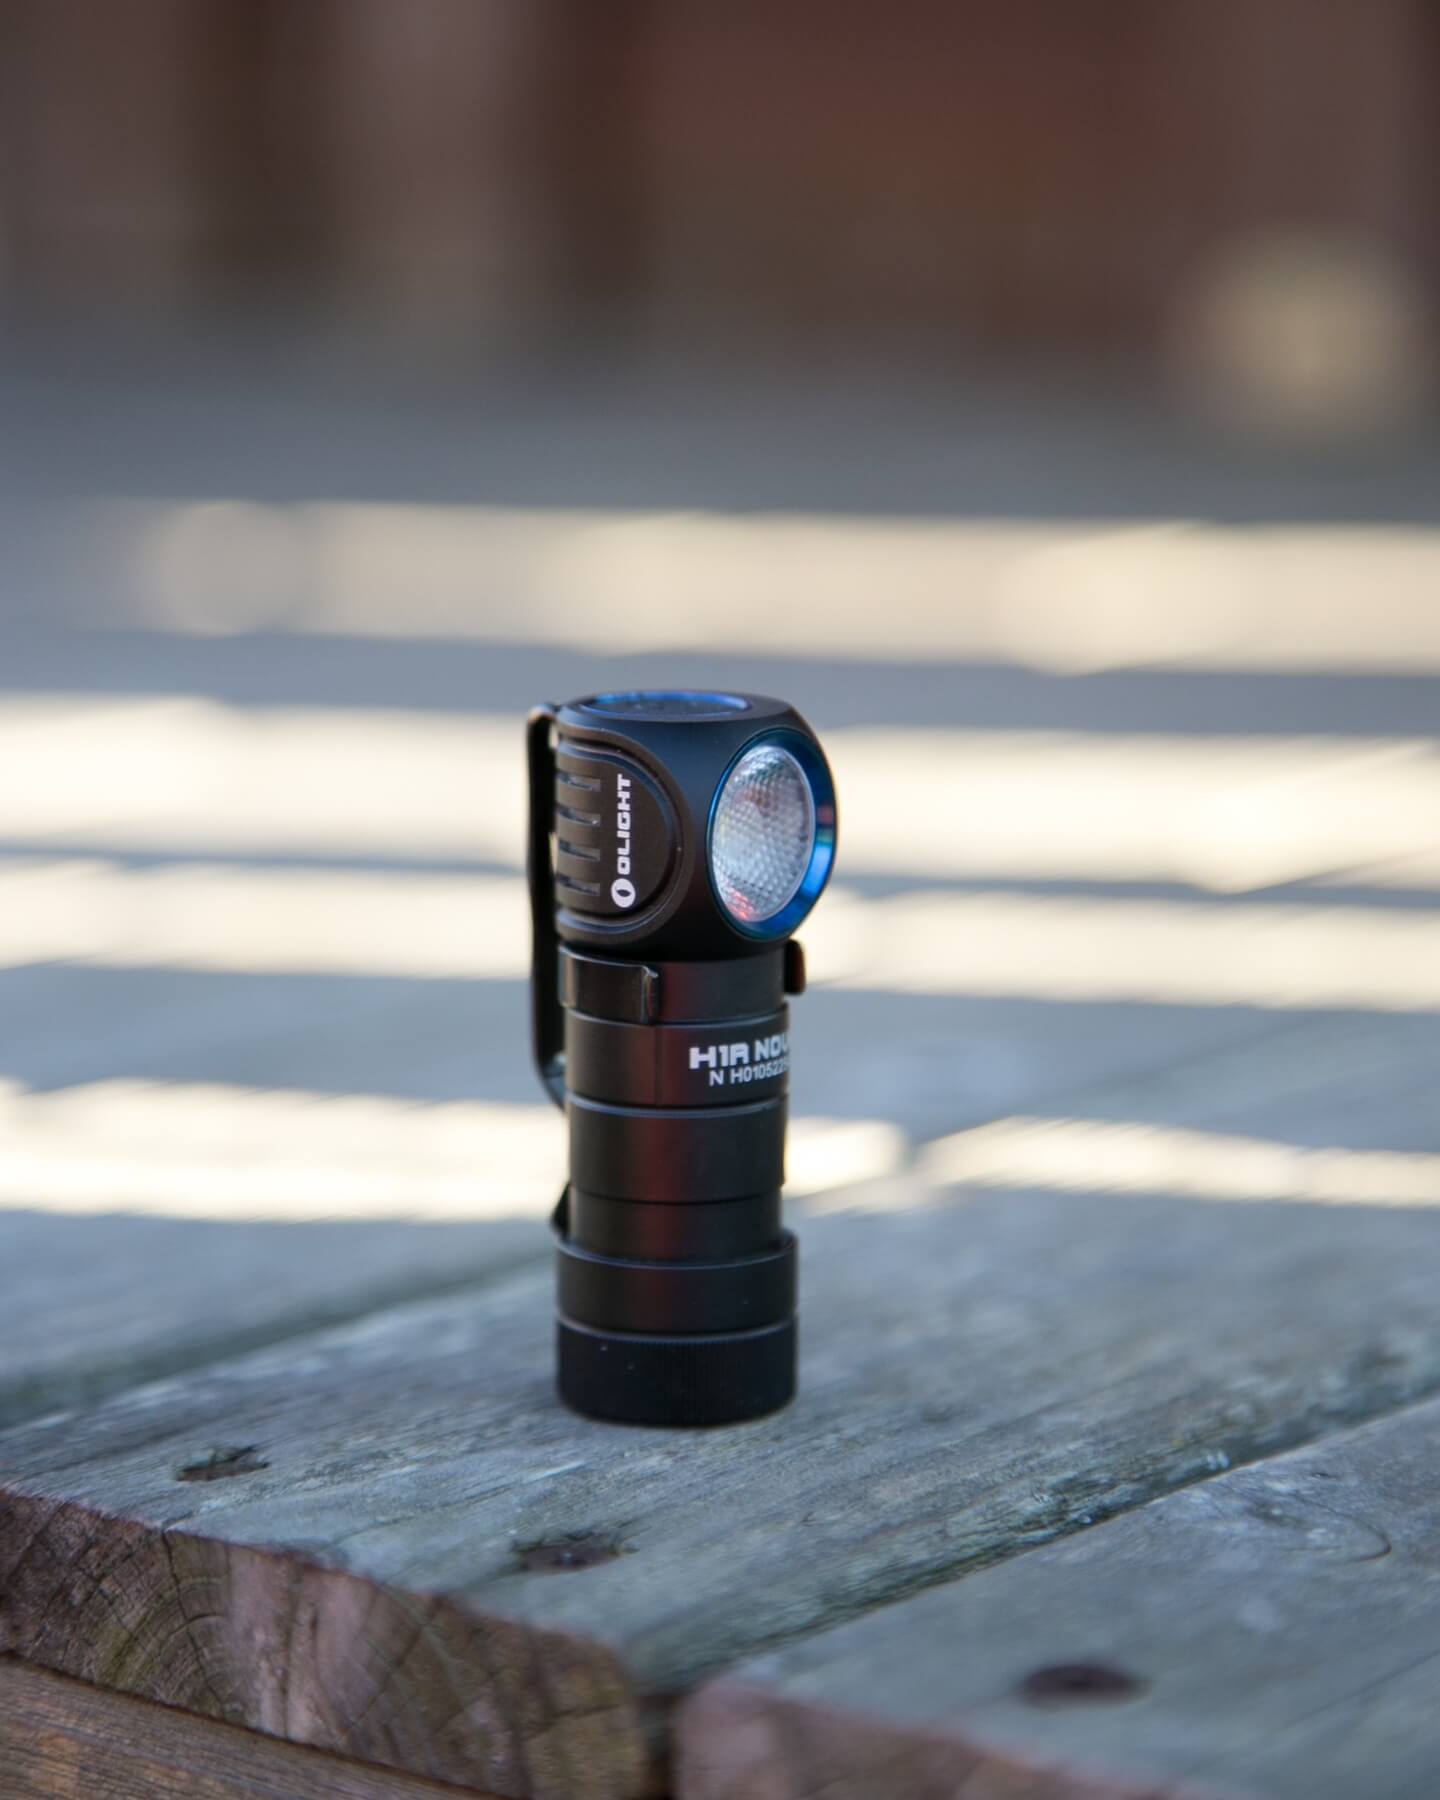
Build Quality and Disassembly
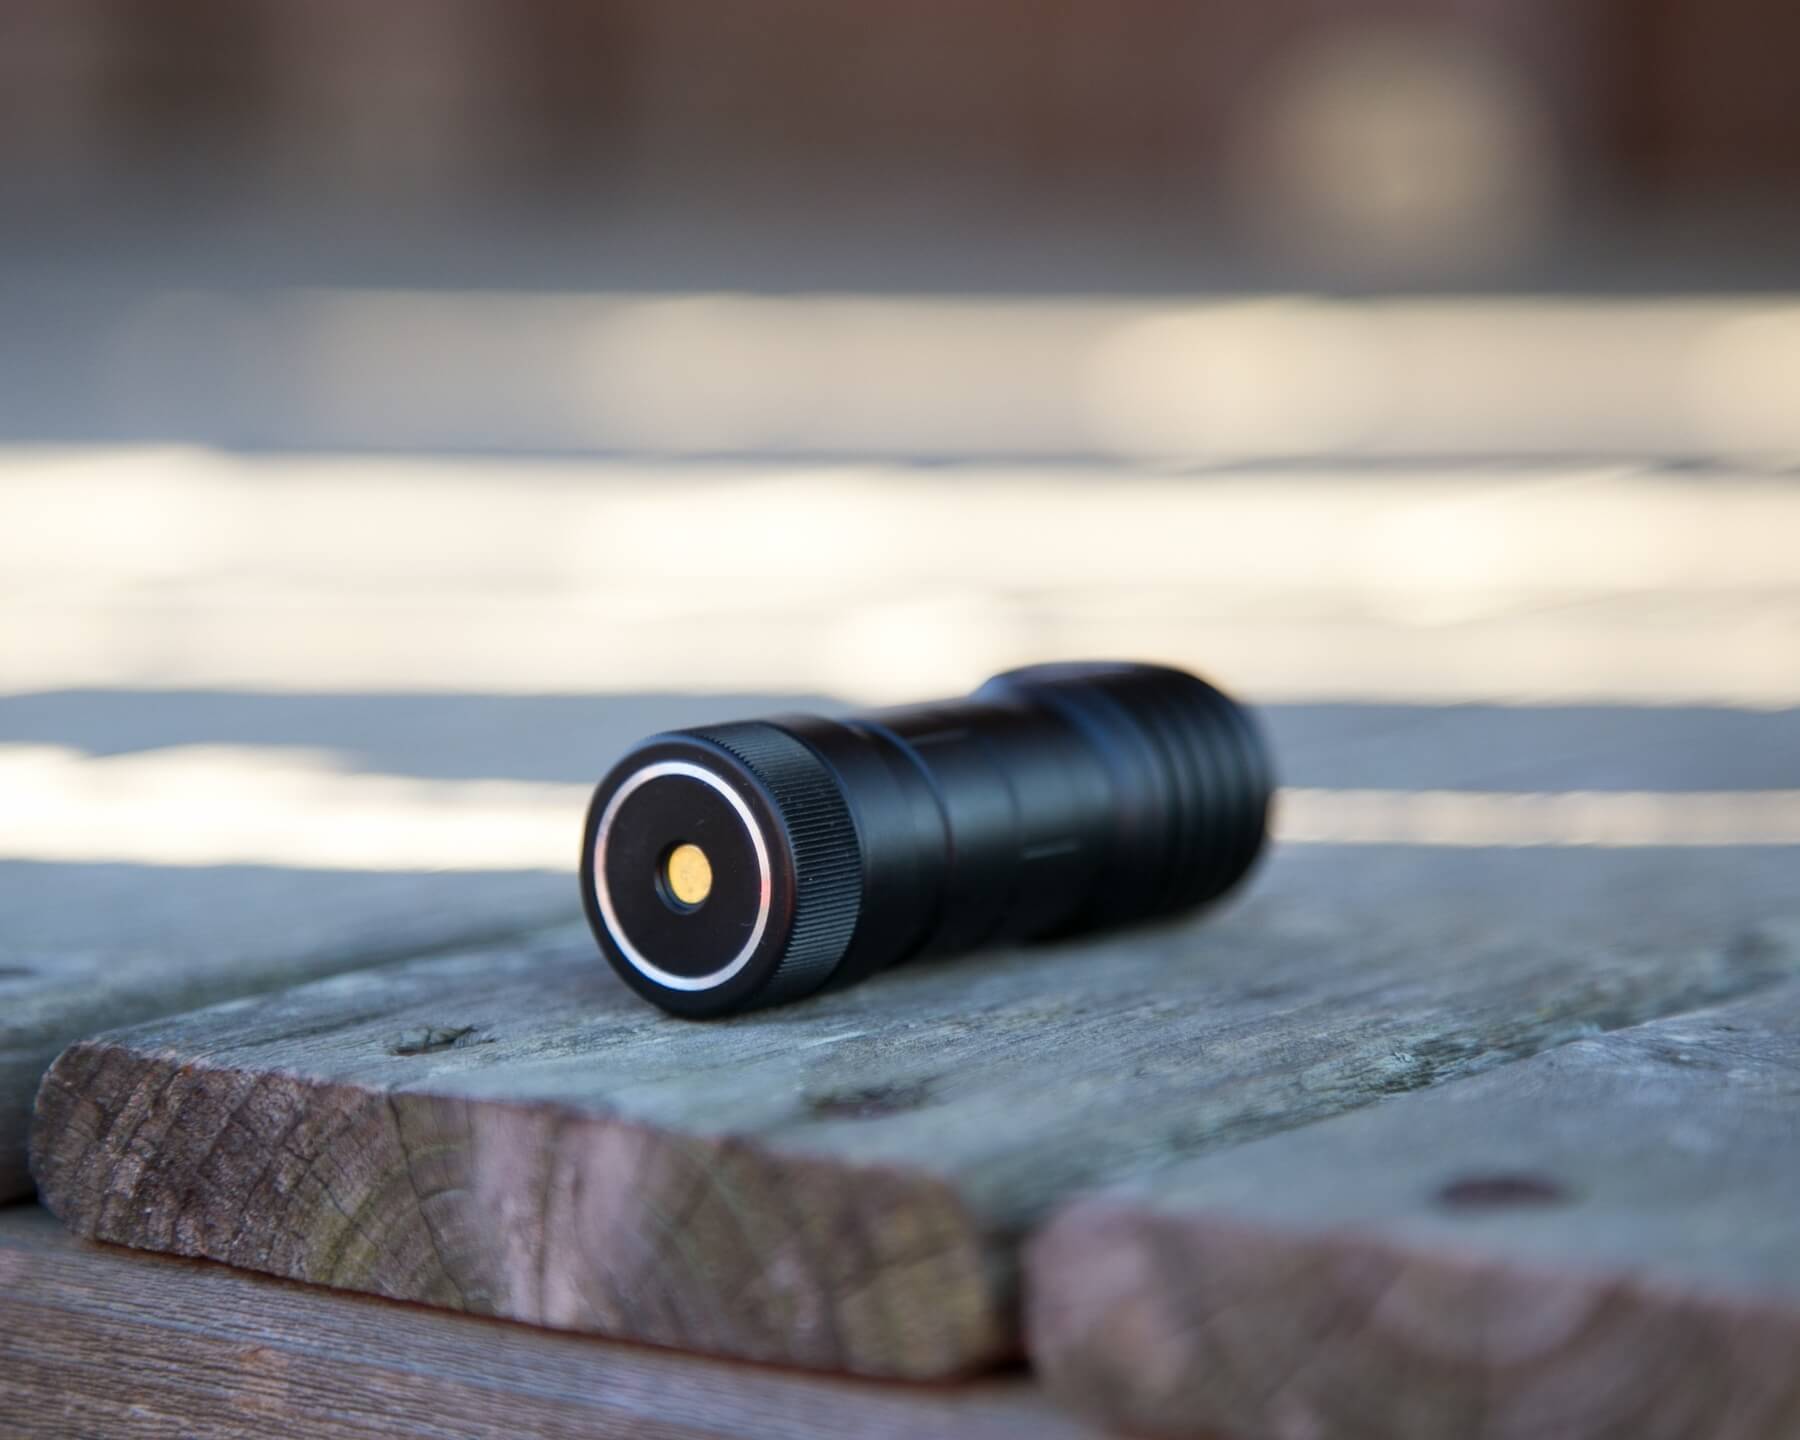
Just like the H1, the H1R is fantastically built. Nothing bad can be said. The button on the head of the light is completely flush, and so the light will head and tailstand with ease.
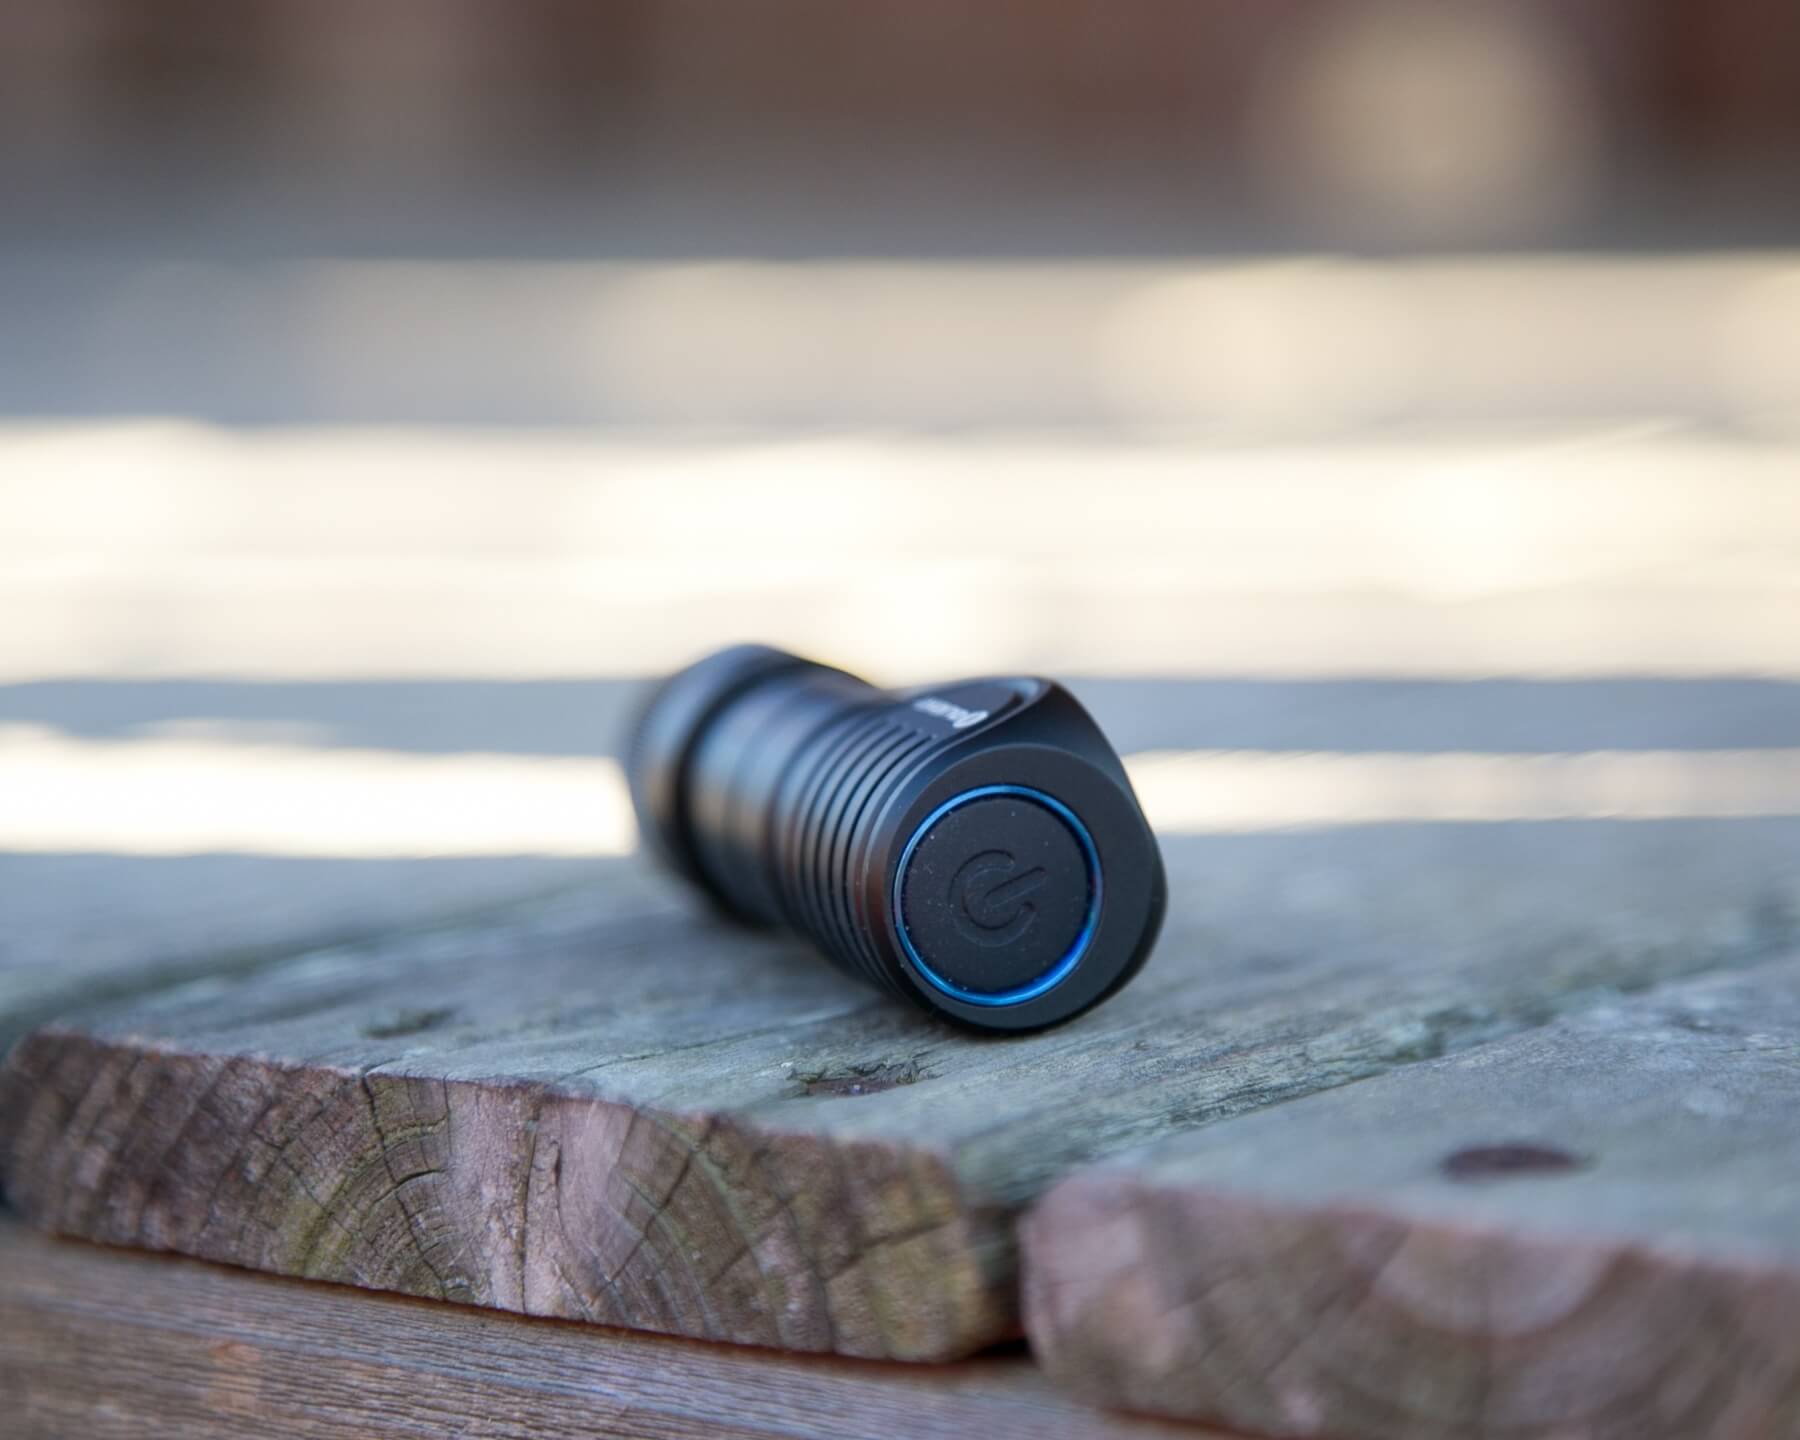
The head has some fins.
The head end of the light has a spring, and the tail end has a button.
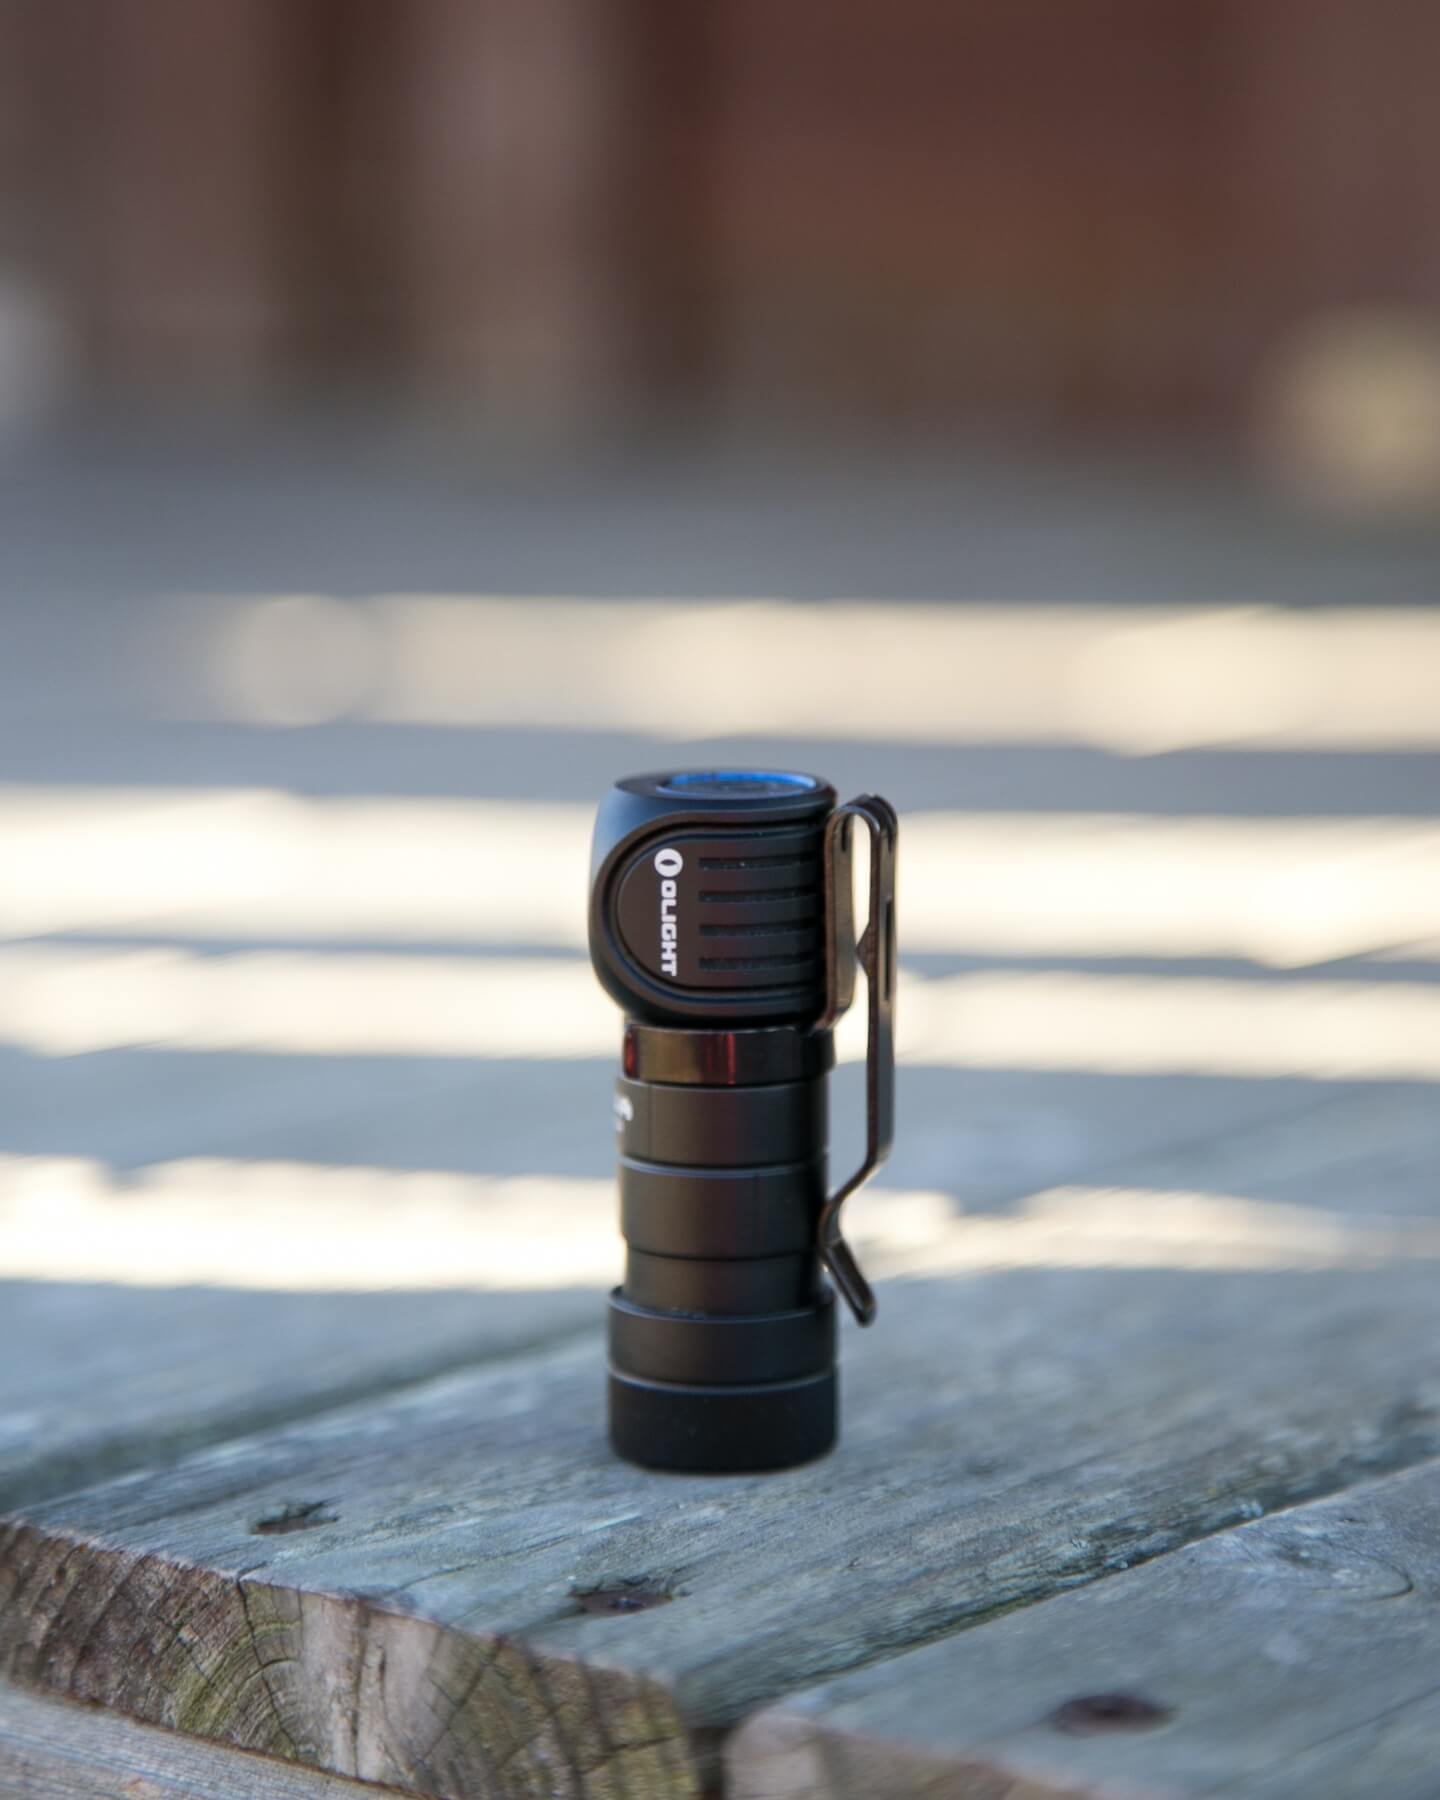
The clip is like the H1, and all of the Baton series, including the tiny detent in the middle, and the hole at the top for connecting a lanyard. The clip must be removed for use with the headstrap.
I personally don’t find that problematic because I most often use these as pocket lights anyway, but I do understand it’s something that should be fixed in design. I seem to recall a new style headstrap/clip combo that fixes this?
Like other Olights, the bezels on the optic and button are press-fit, and in this case, recessed. It would be monumental to remove either of those in order to access the guts. Of course, the tailcap unscrews easily for swapping the cell, but also ‘of course’ – the cell is Olight specific. All told, there’s not a whole lot that can be disassembled easily in this light.
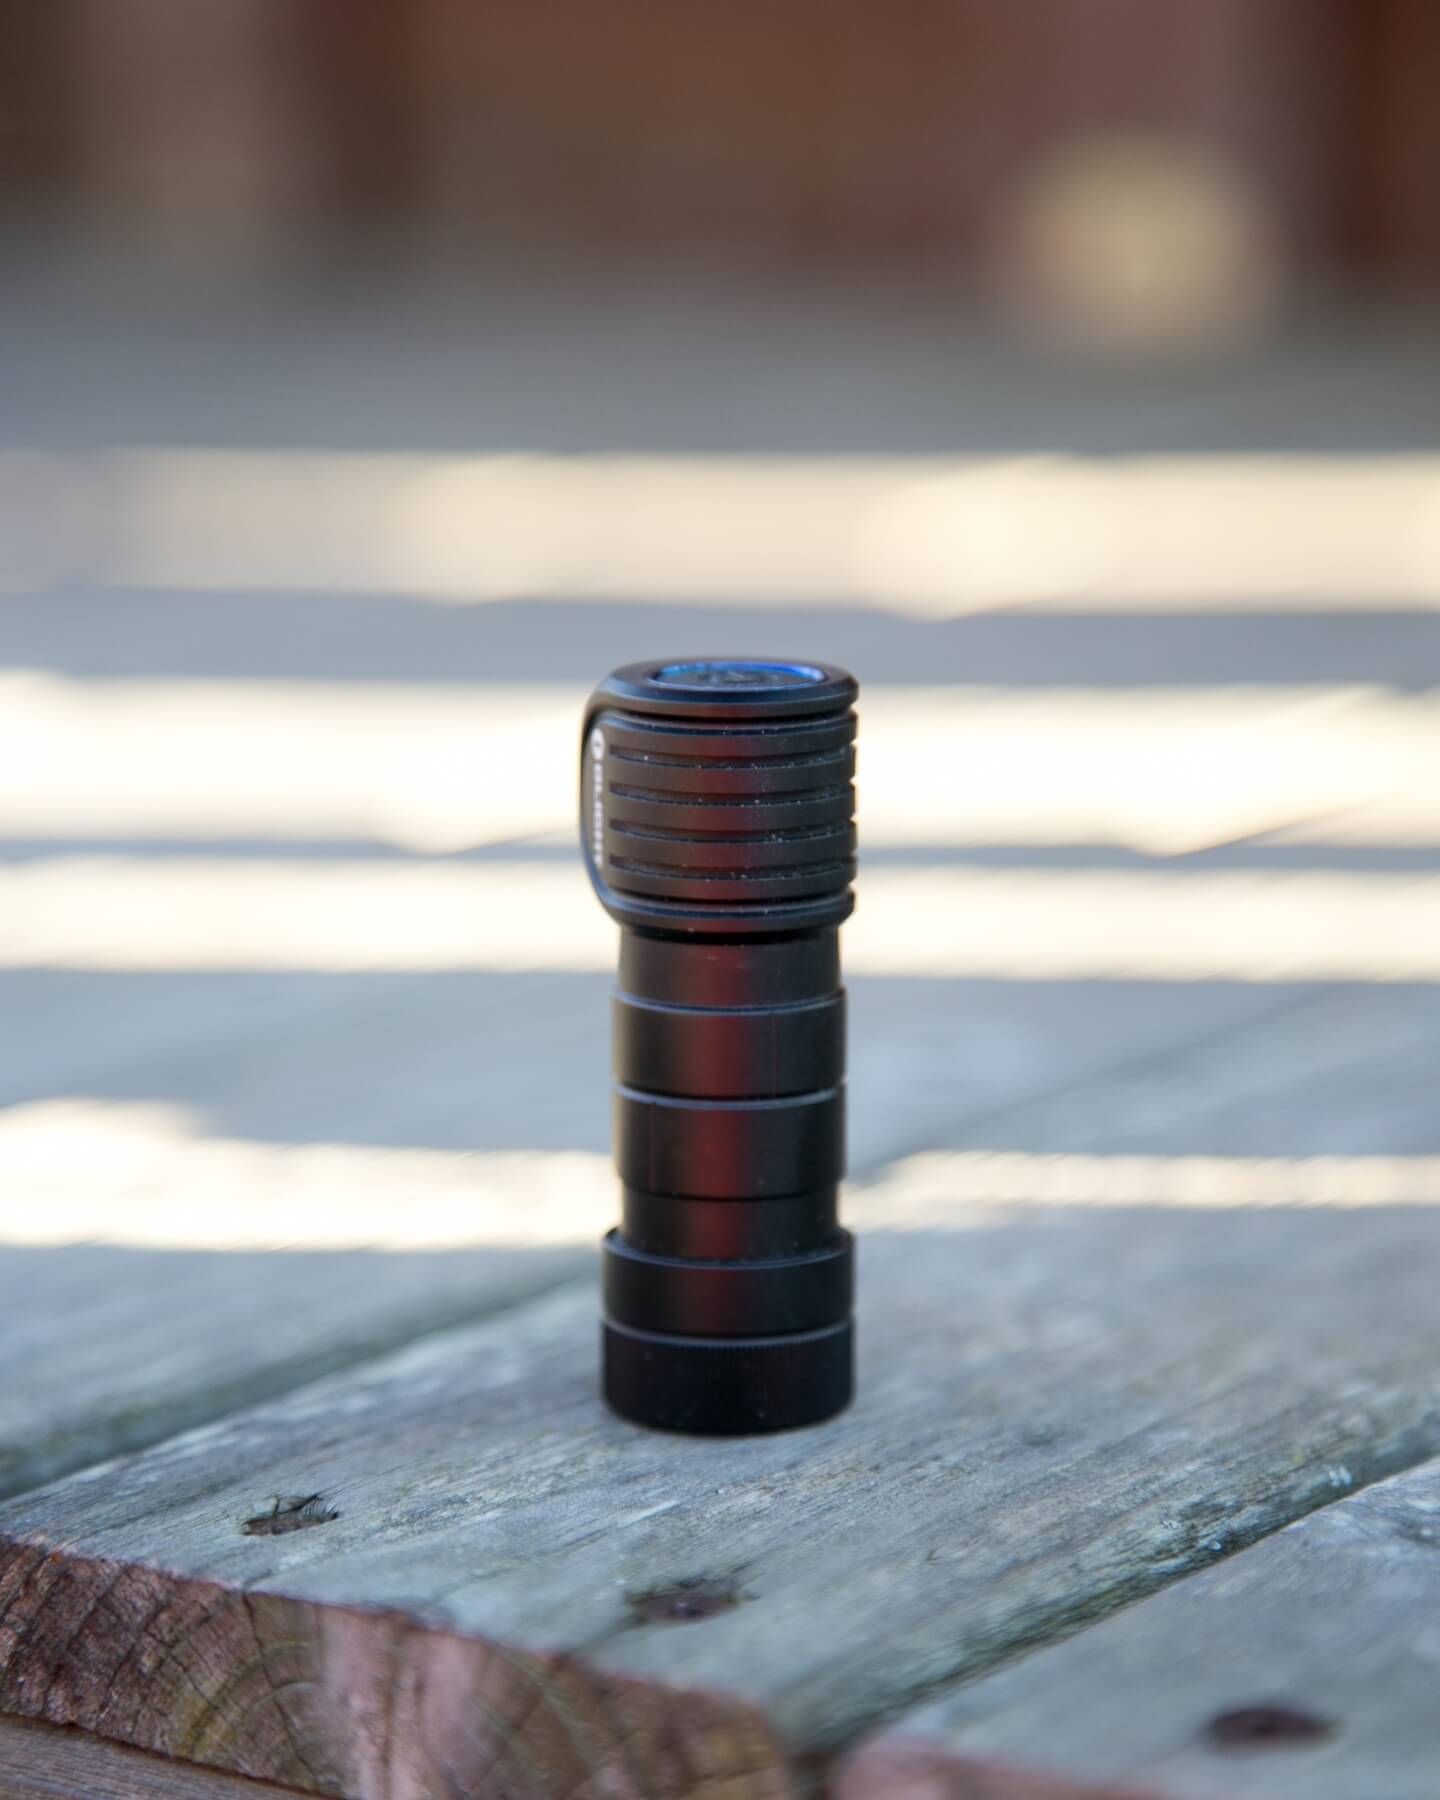
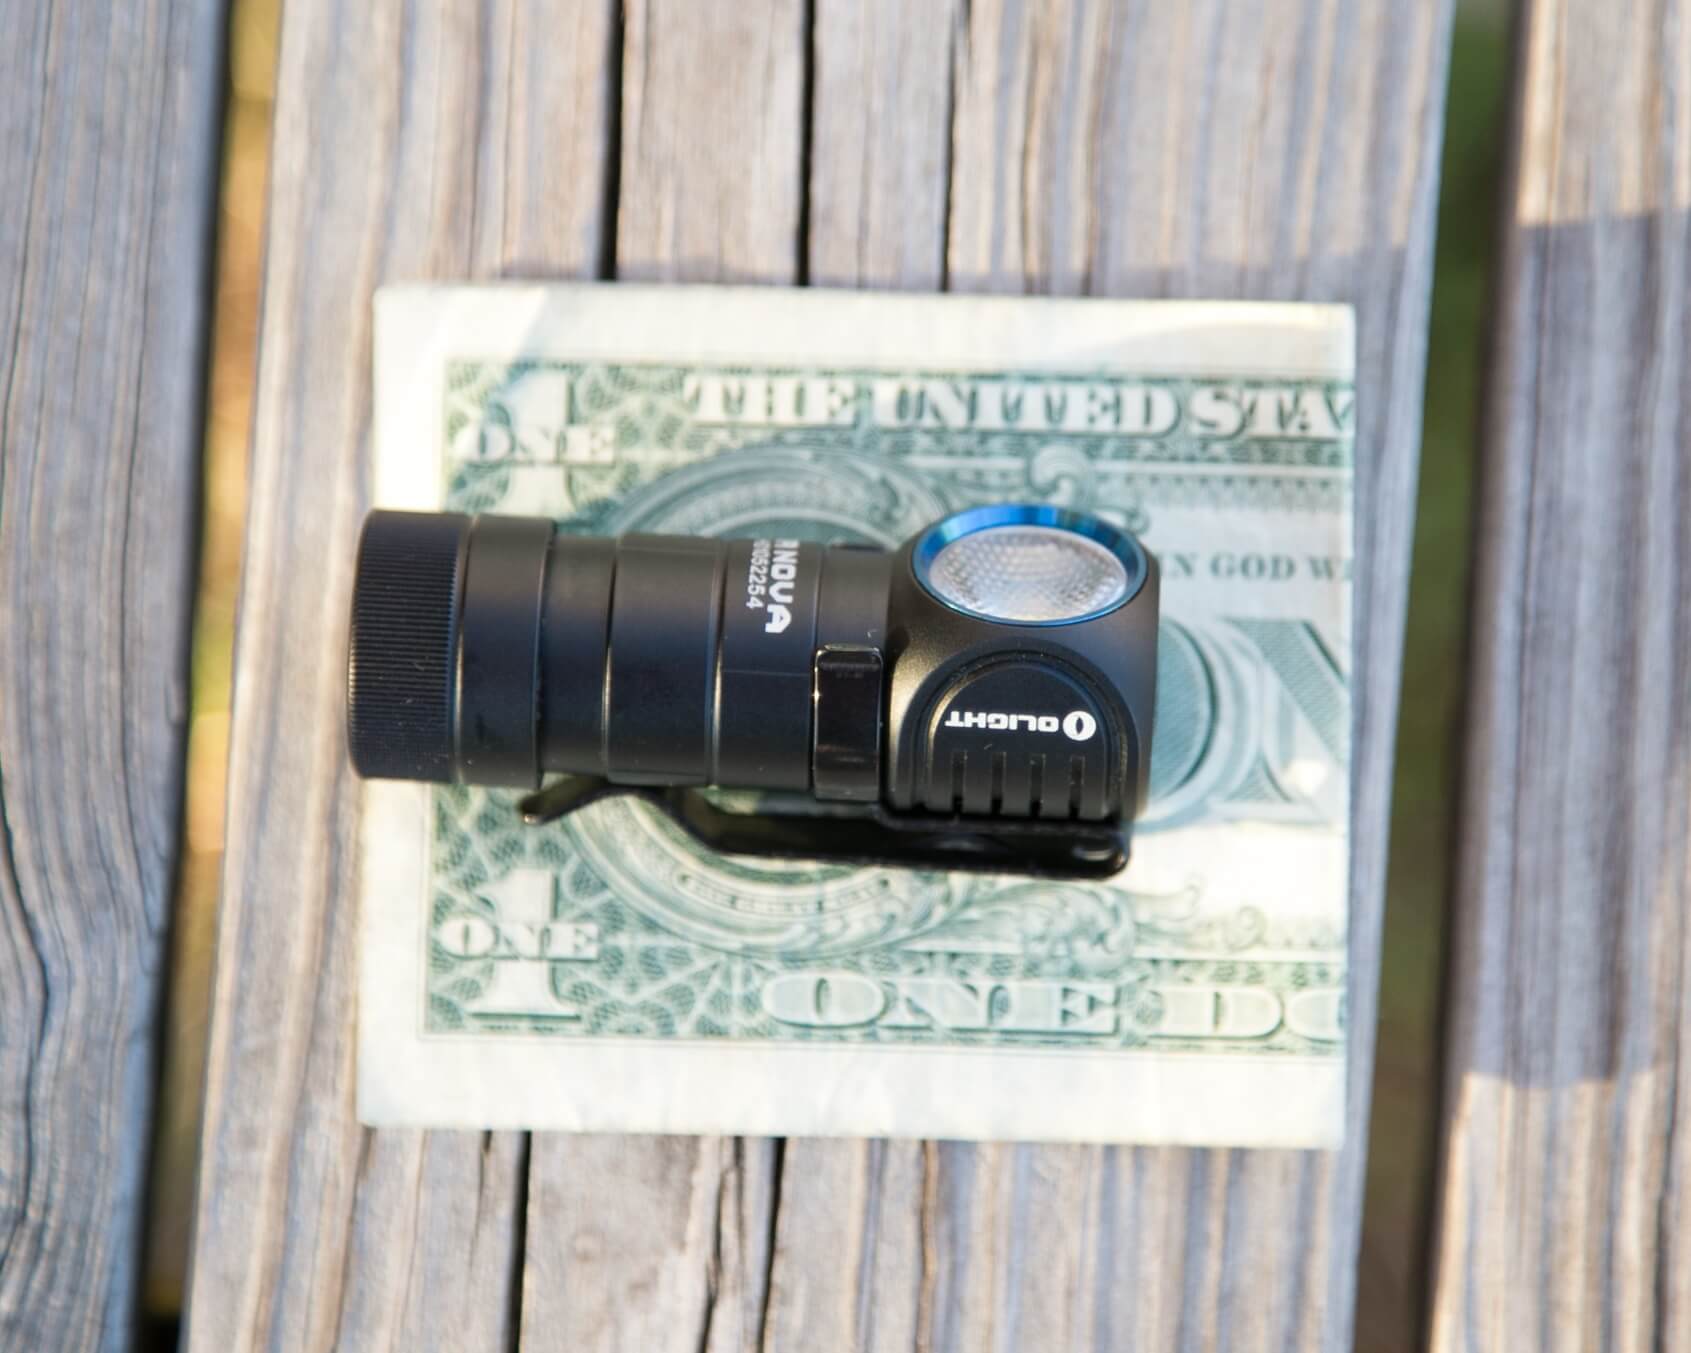
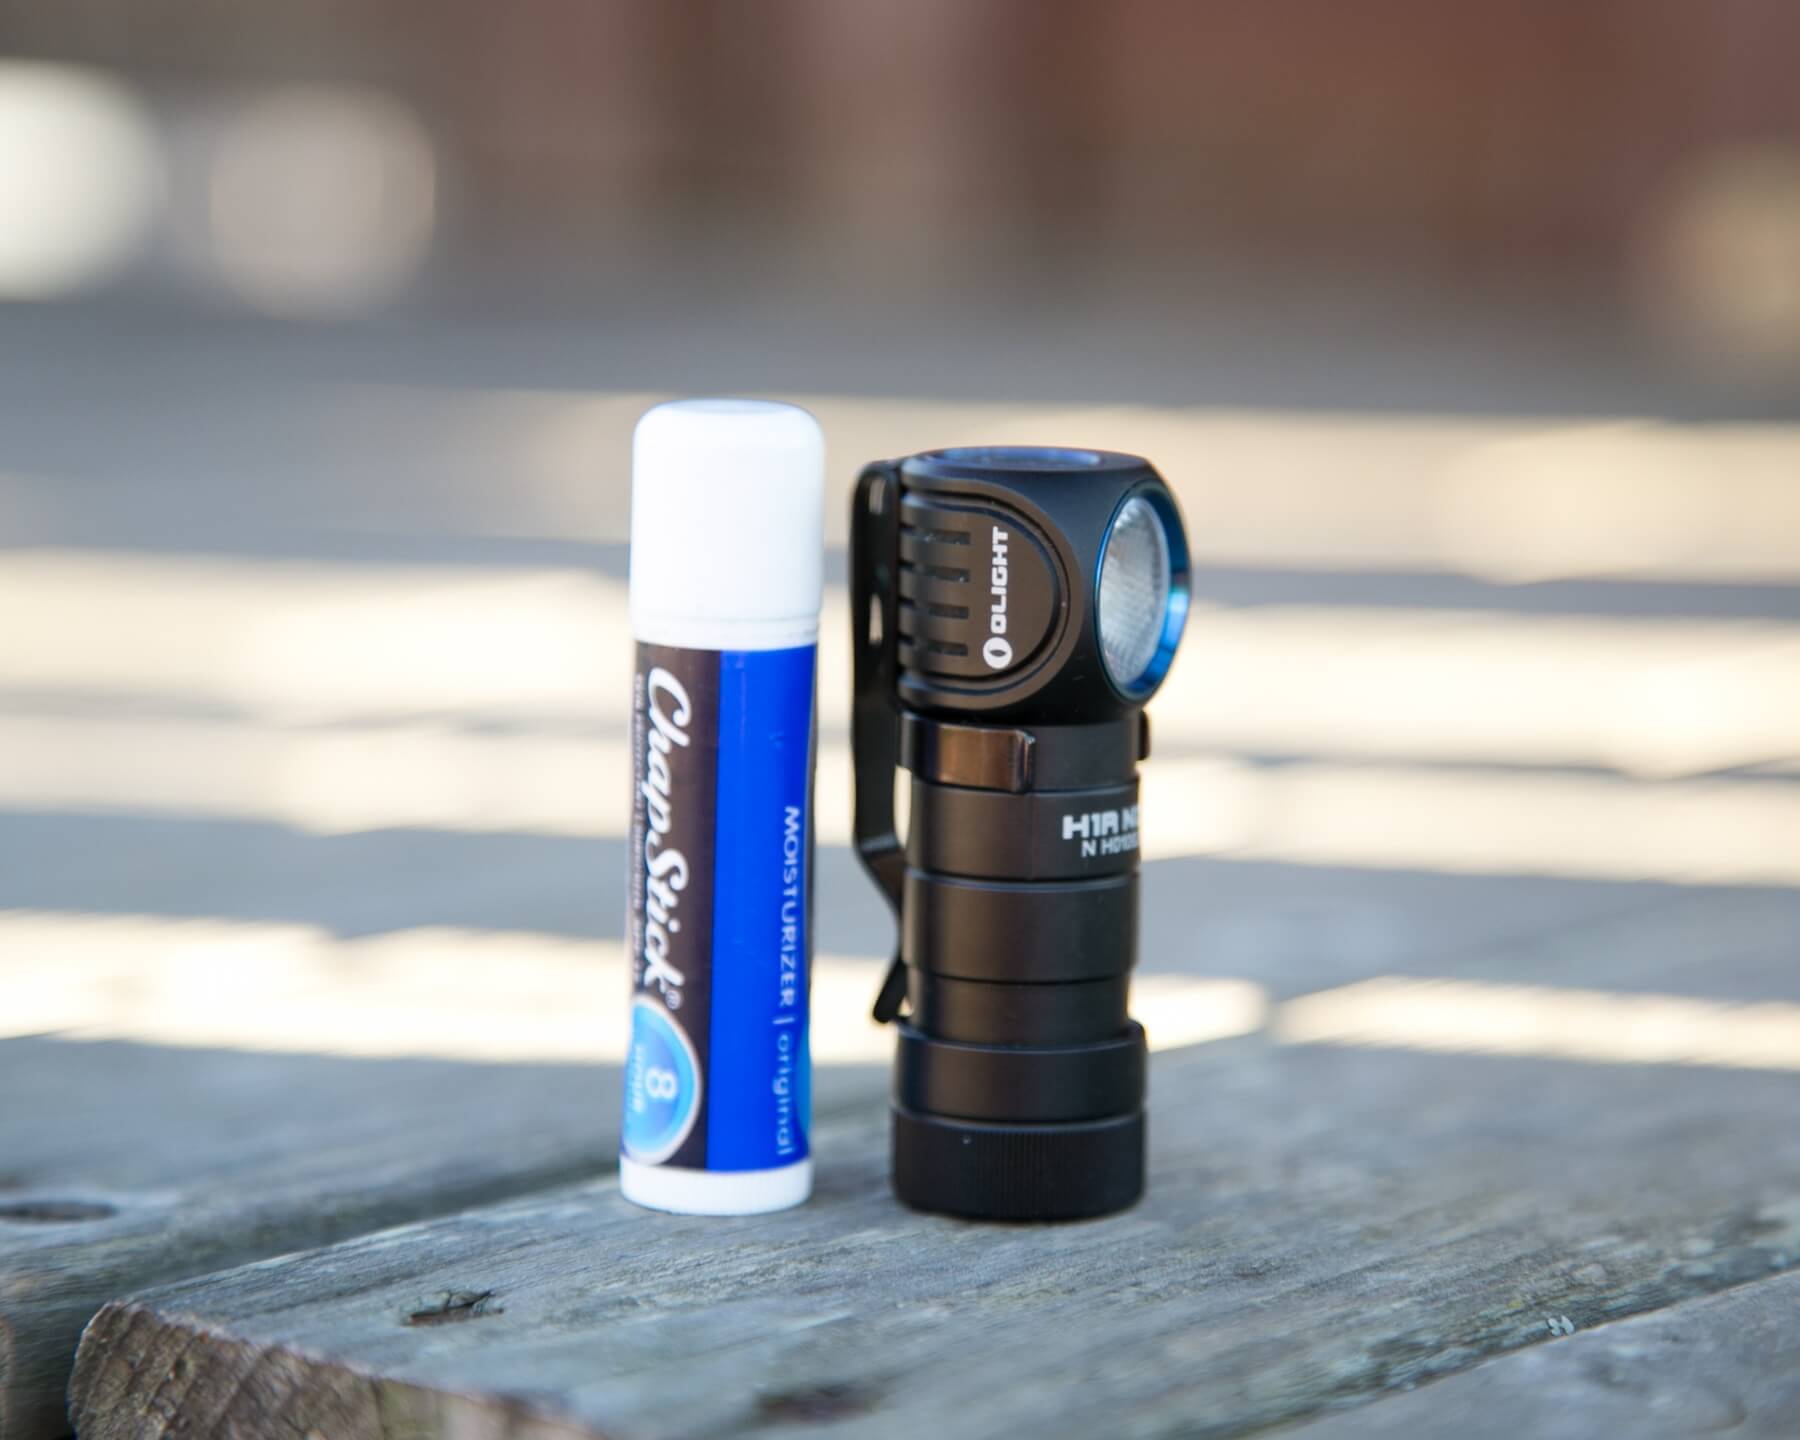
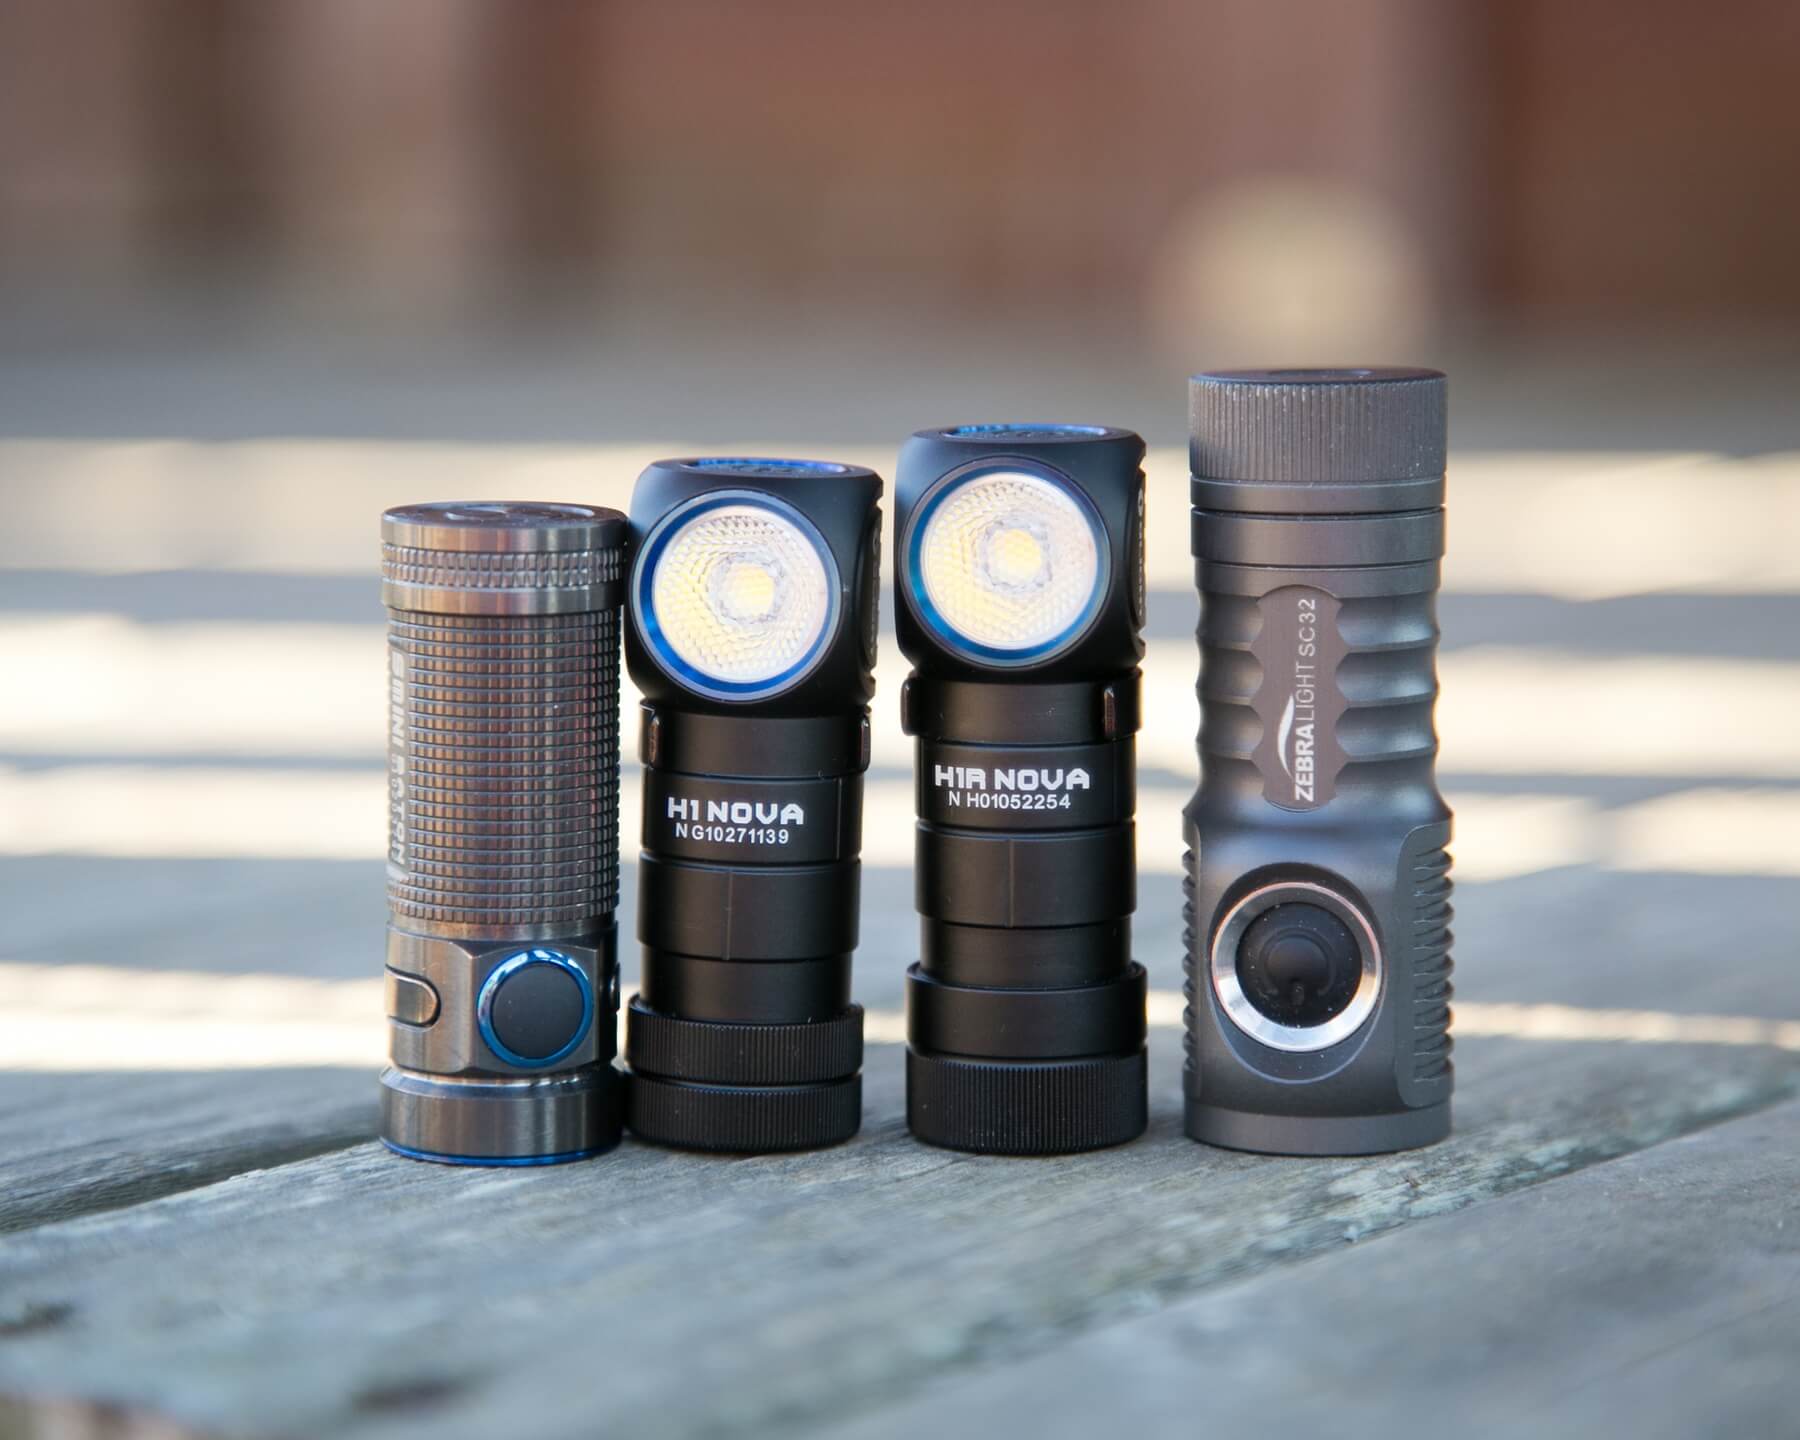
Size
Olight says 61.5mm x 21mm x 21mm. I measure 61.61mm x 21.02 x 21.22mm. So just about right. It’s a small light, though not as small as the H1. The entire difference is the onboard charging, which is in the tailcap. Remove the tailcaps, and I don’t believe you could tell these lights apart (except by serial number). The R tailcap is about 3.3mm longer.
Dolla dolla bill y’all!
Retention
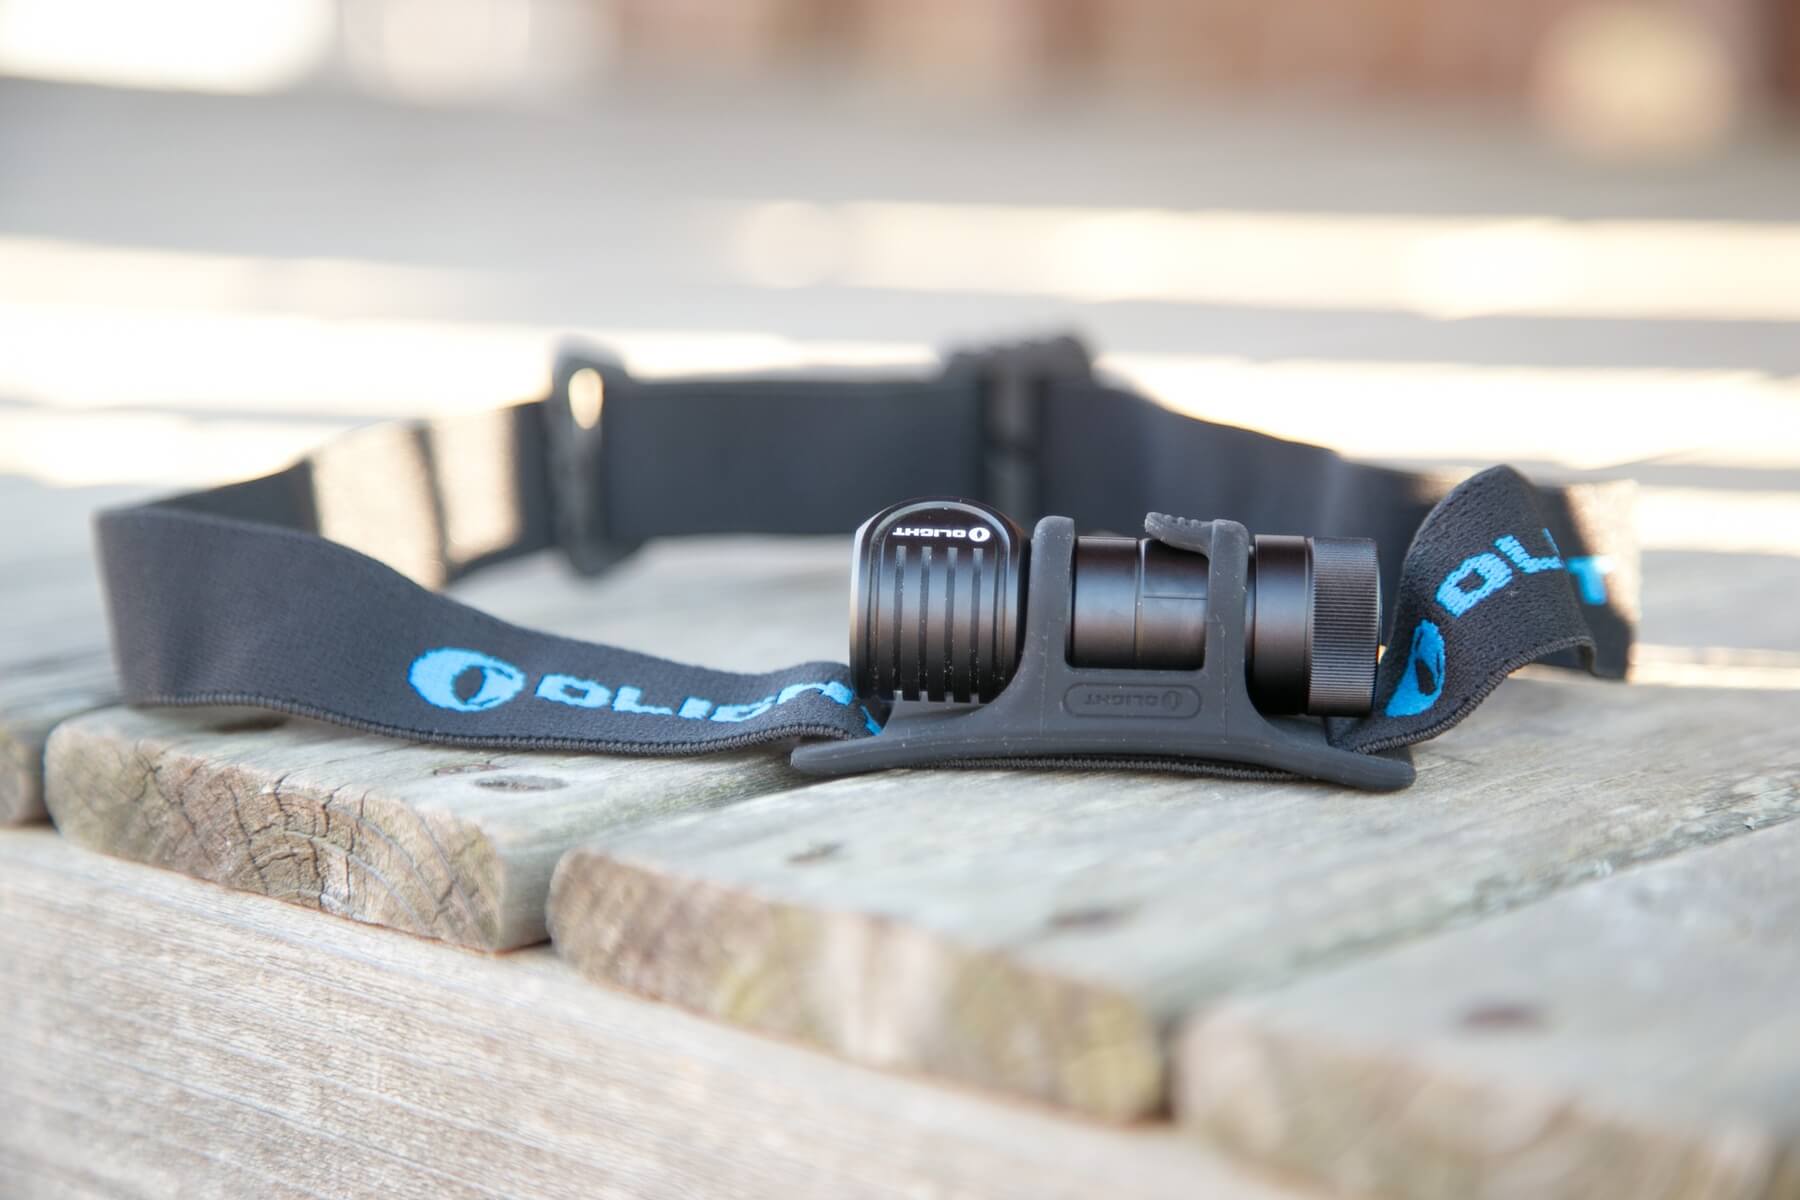
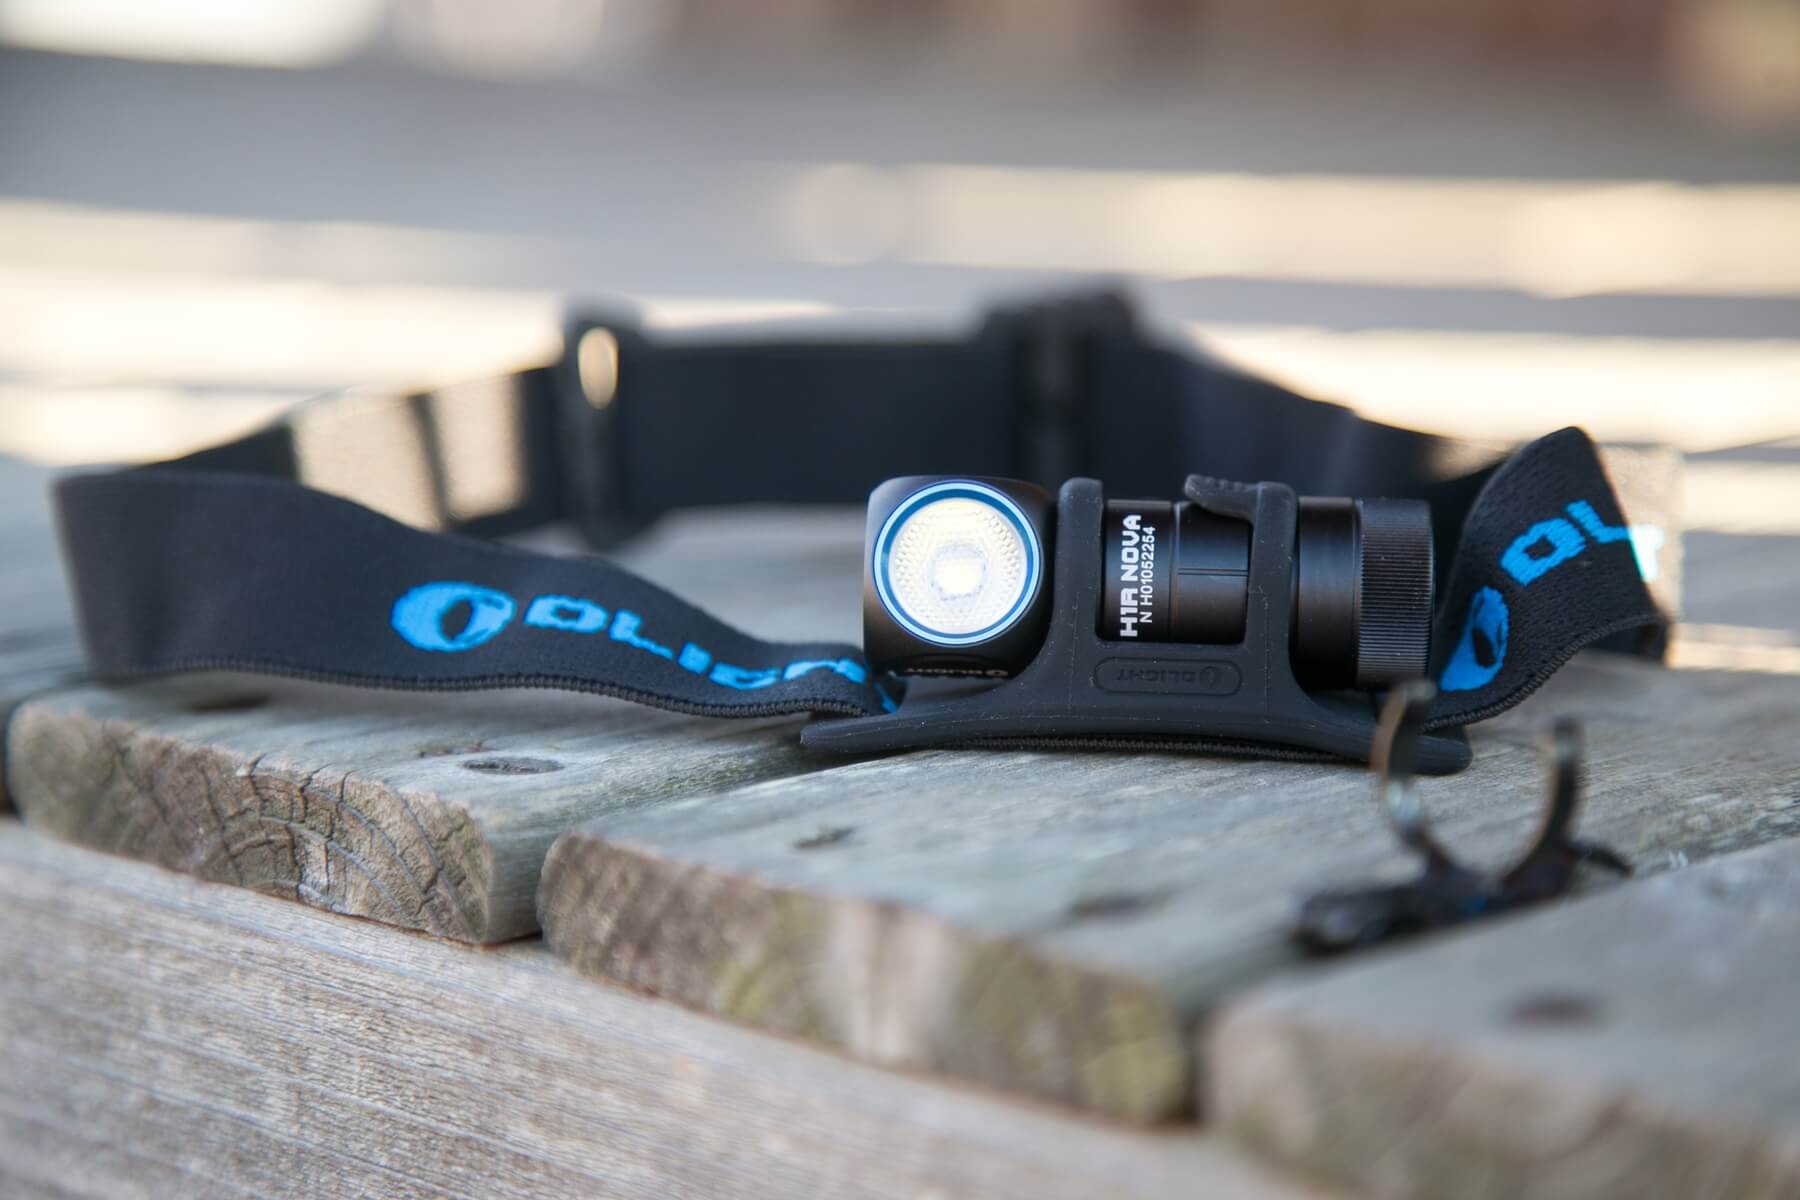
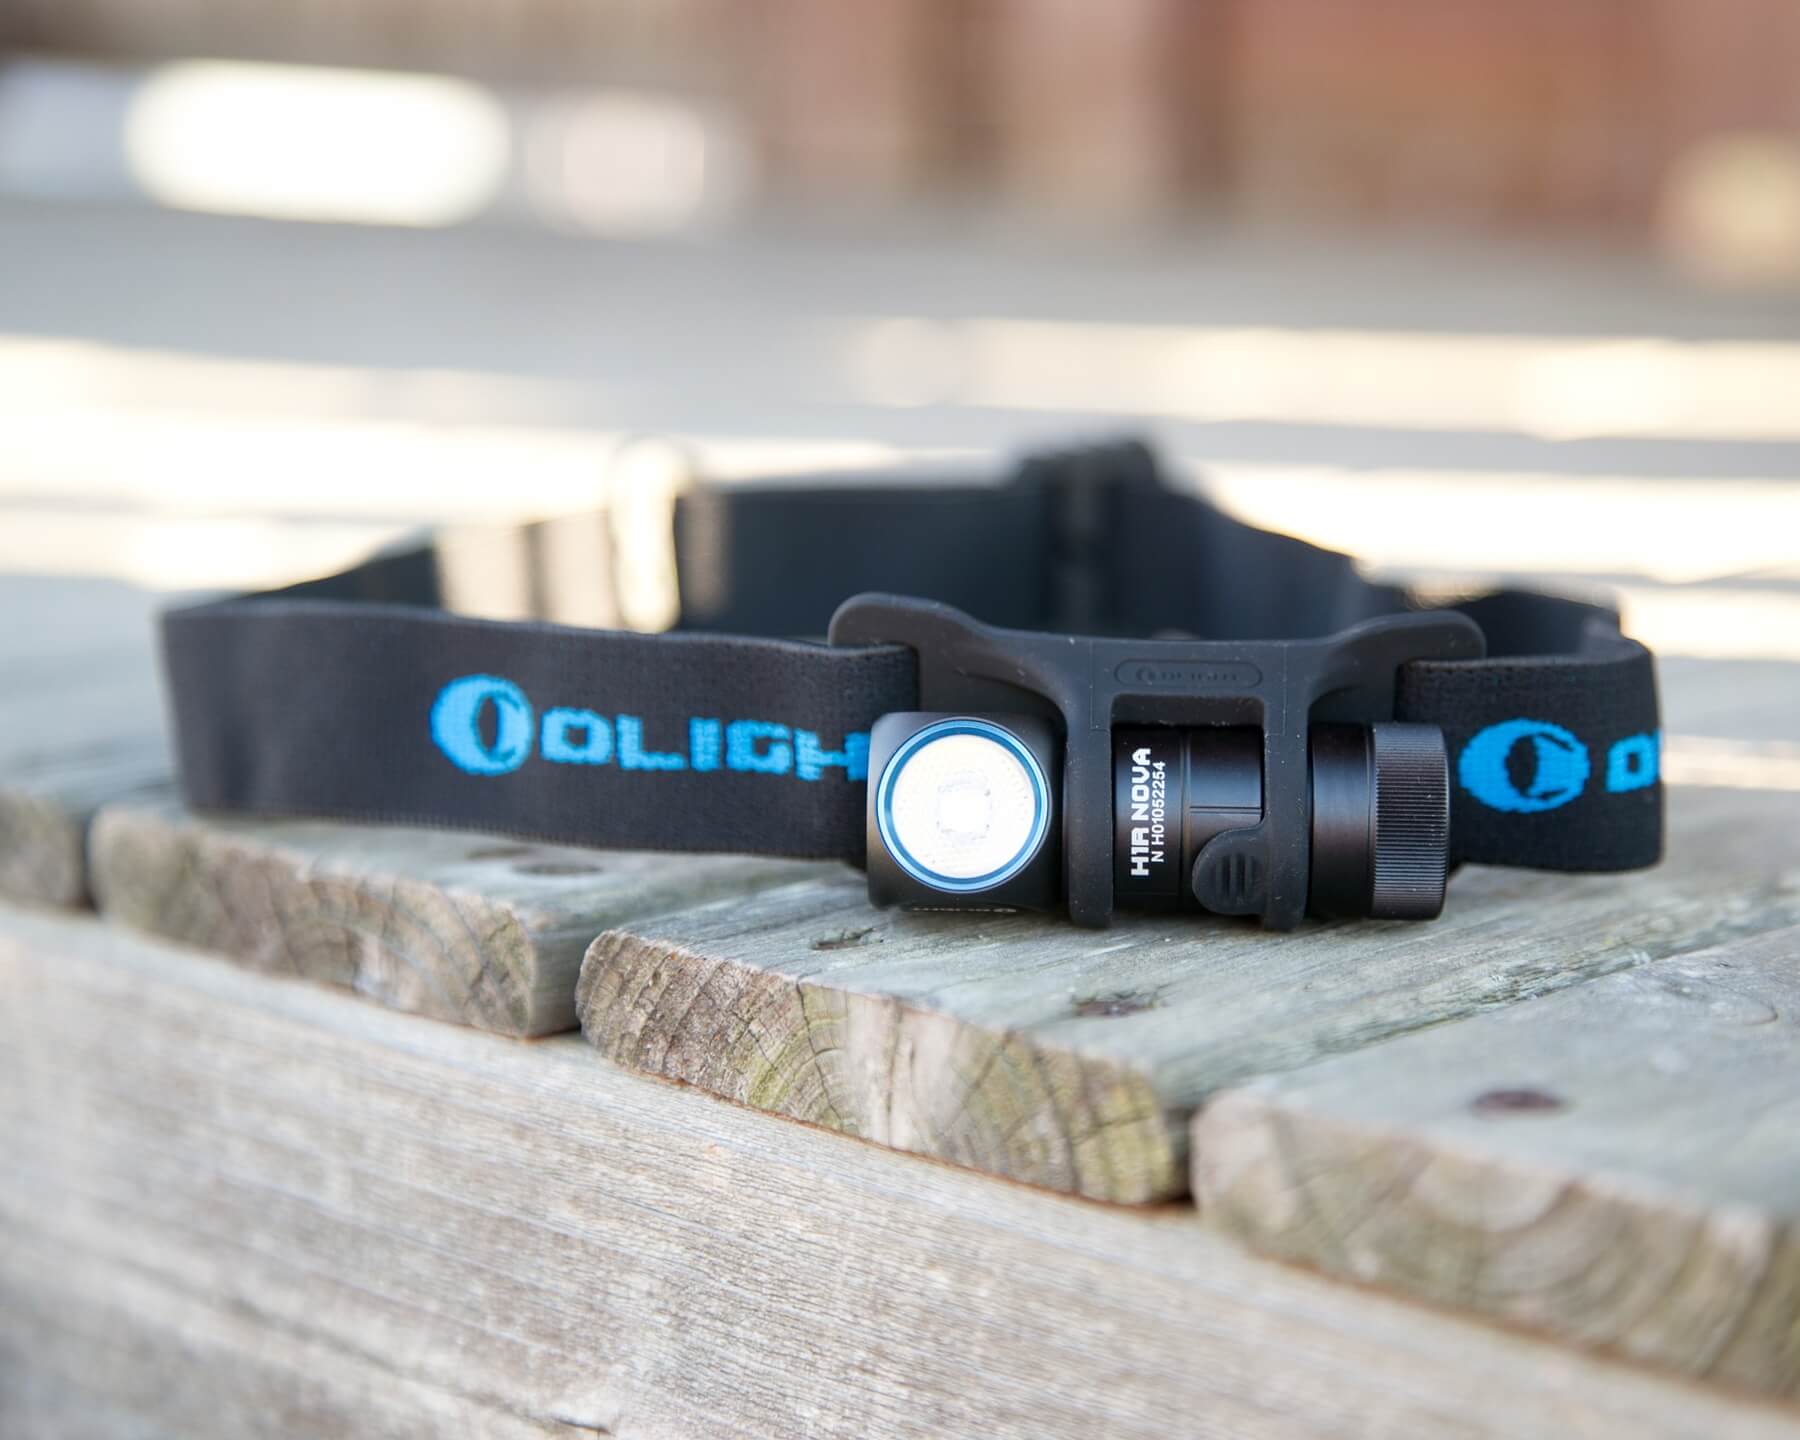
Great options here, as there should be. Headband.
Pocket clip. Magnet. There’s no pouch, as was the case with the H1, but there’s a velvet pouch, which has a drawstring.

The headstrap is a nice, soft (typical) headstrap with a silicone holder. A nice touch is that one of the loops on the holder has a tab, making it easy to grasp and pull over the light to get it situated.
The magnet helps snap the charger connector to the base of the light snugly. It is even strong enough to hold the light in place on the charger base, and on something else metal.
The clip has that little detent about halfway up, which is annoying and in the way.
Or, you can just use it with nothing at all.
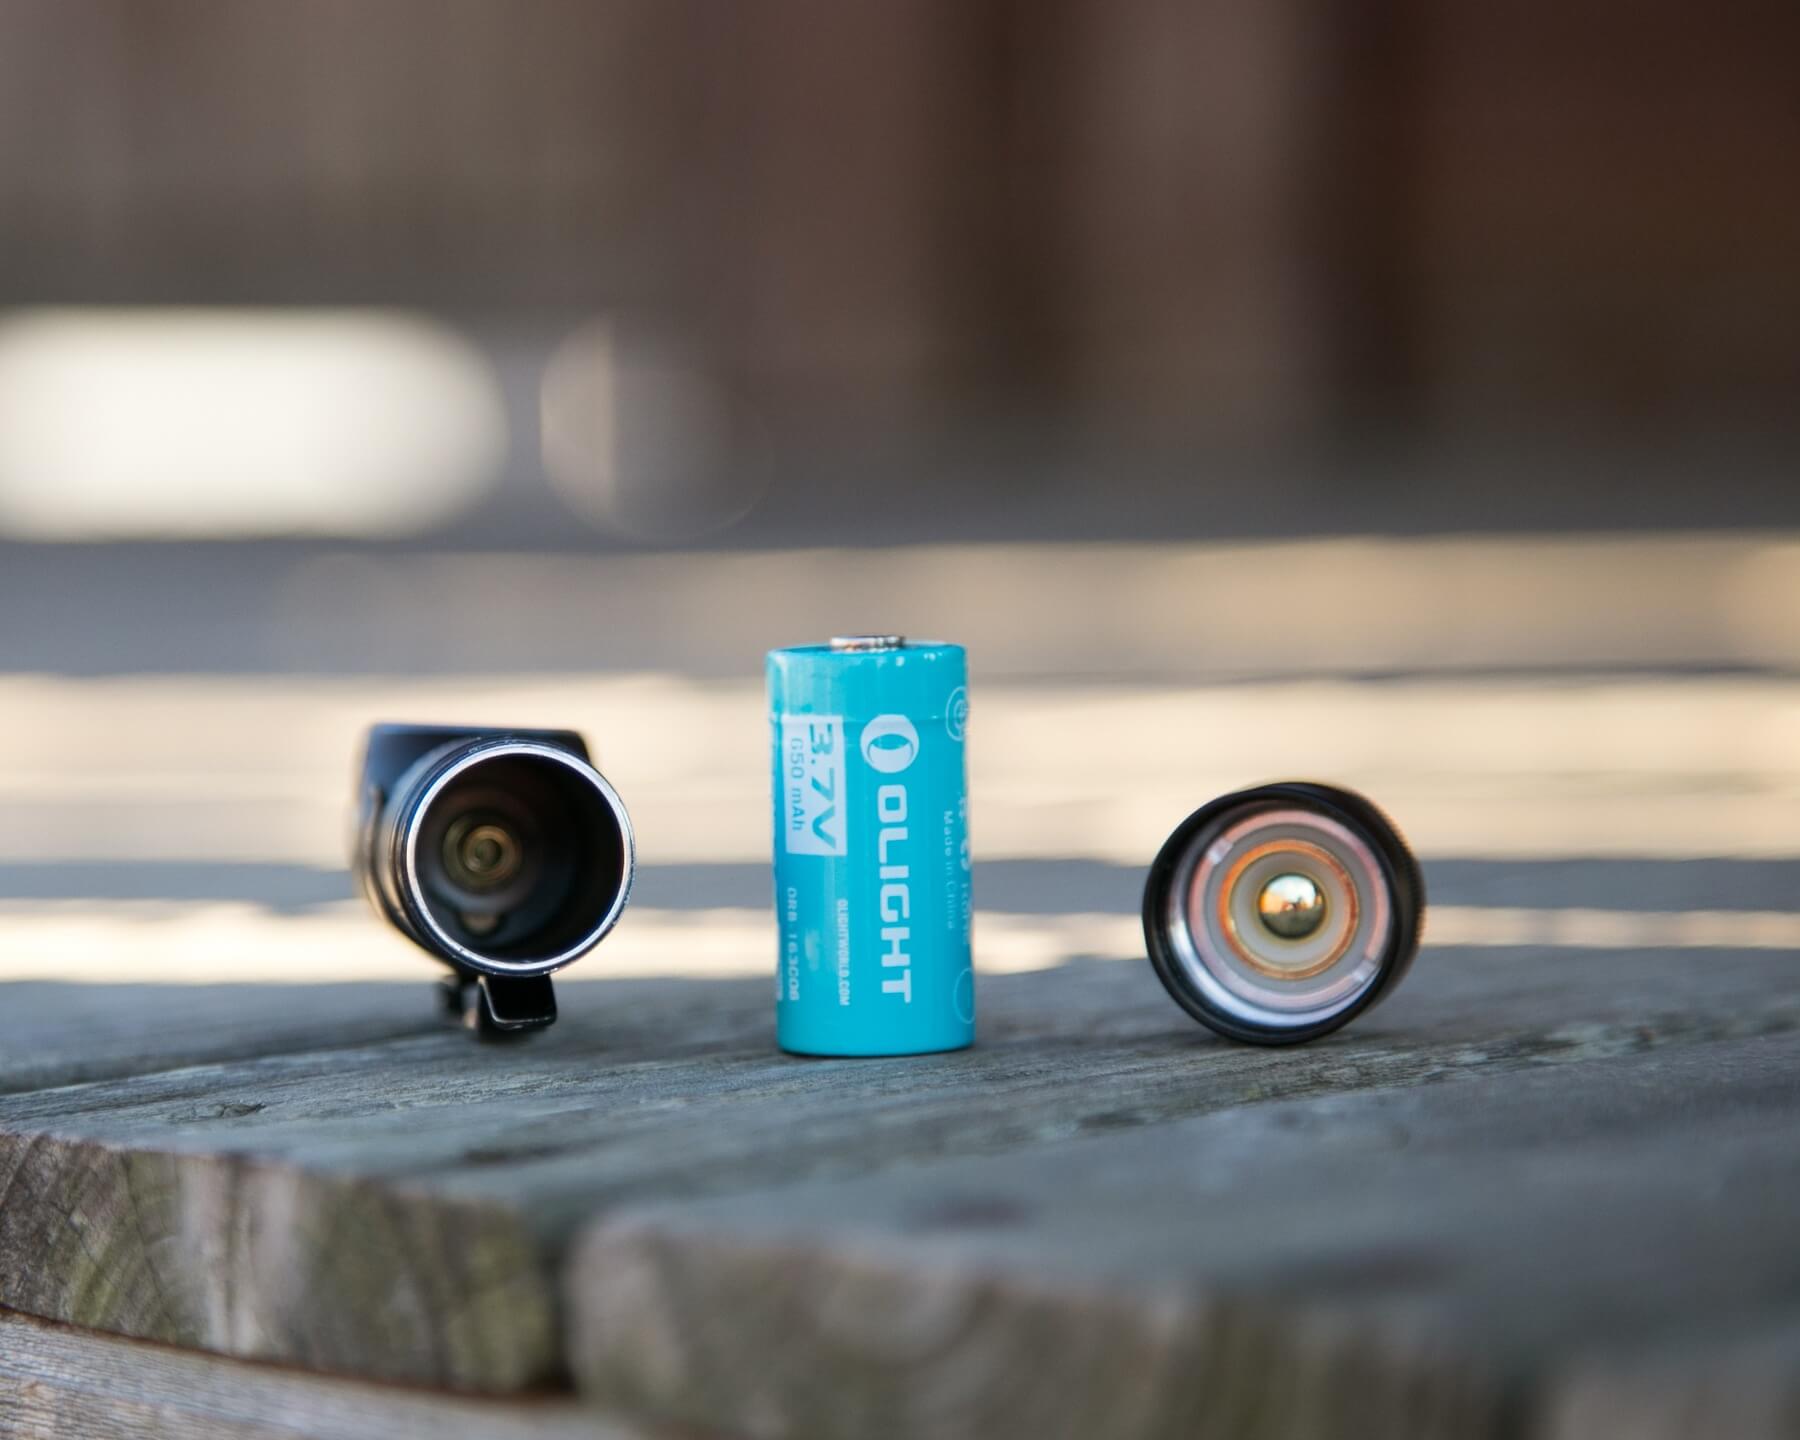
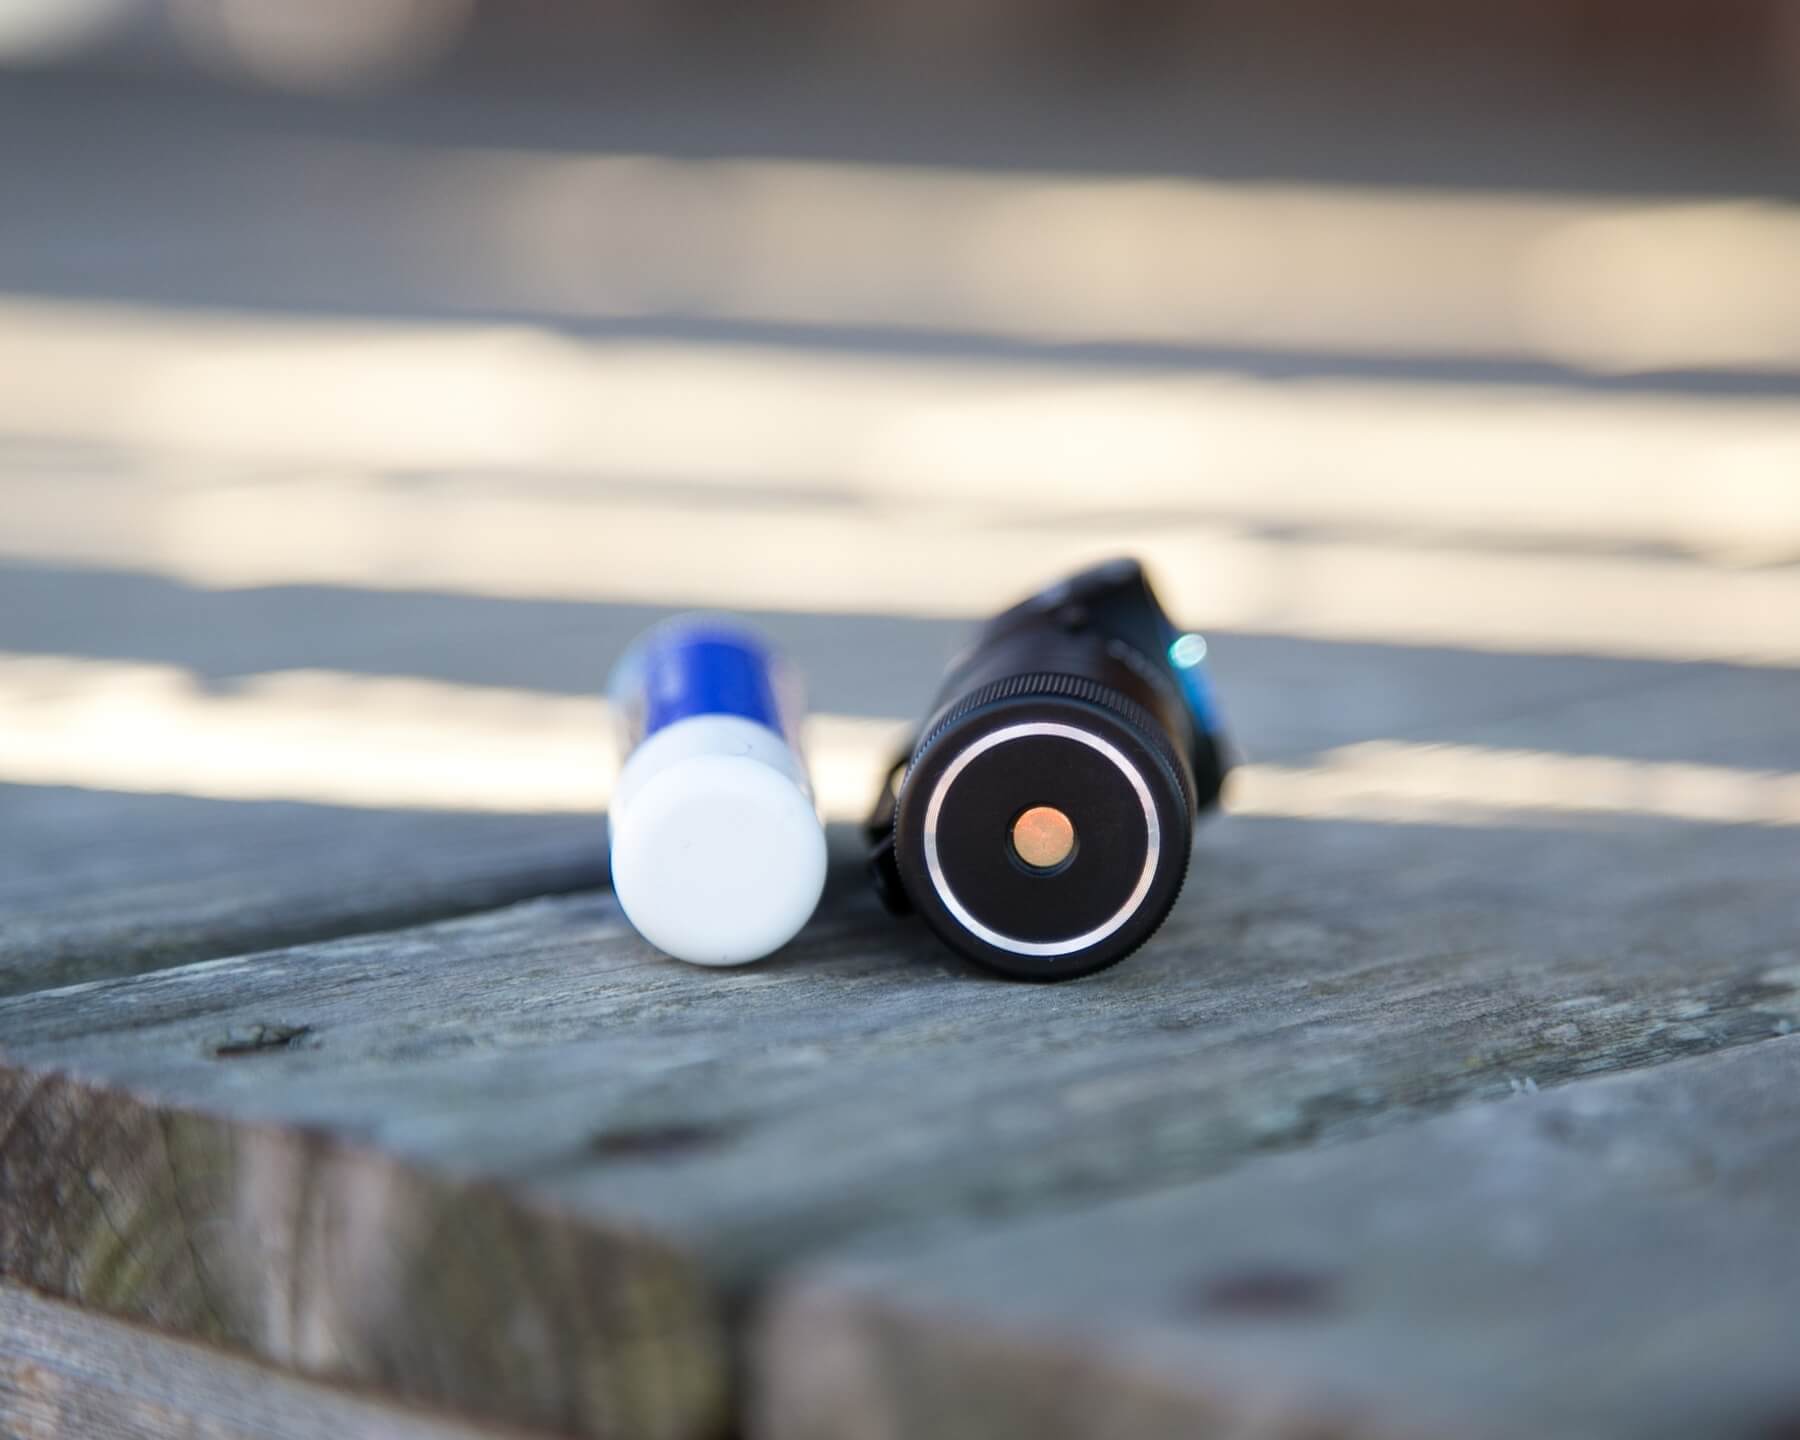
Power
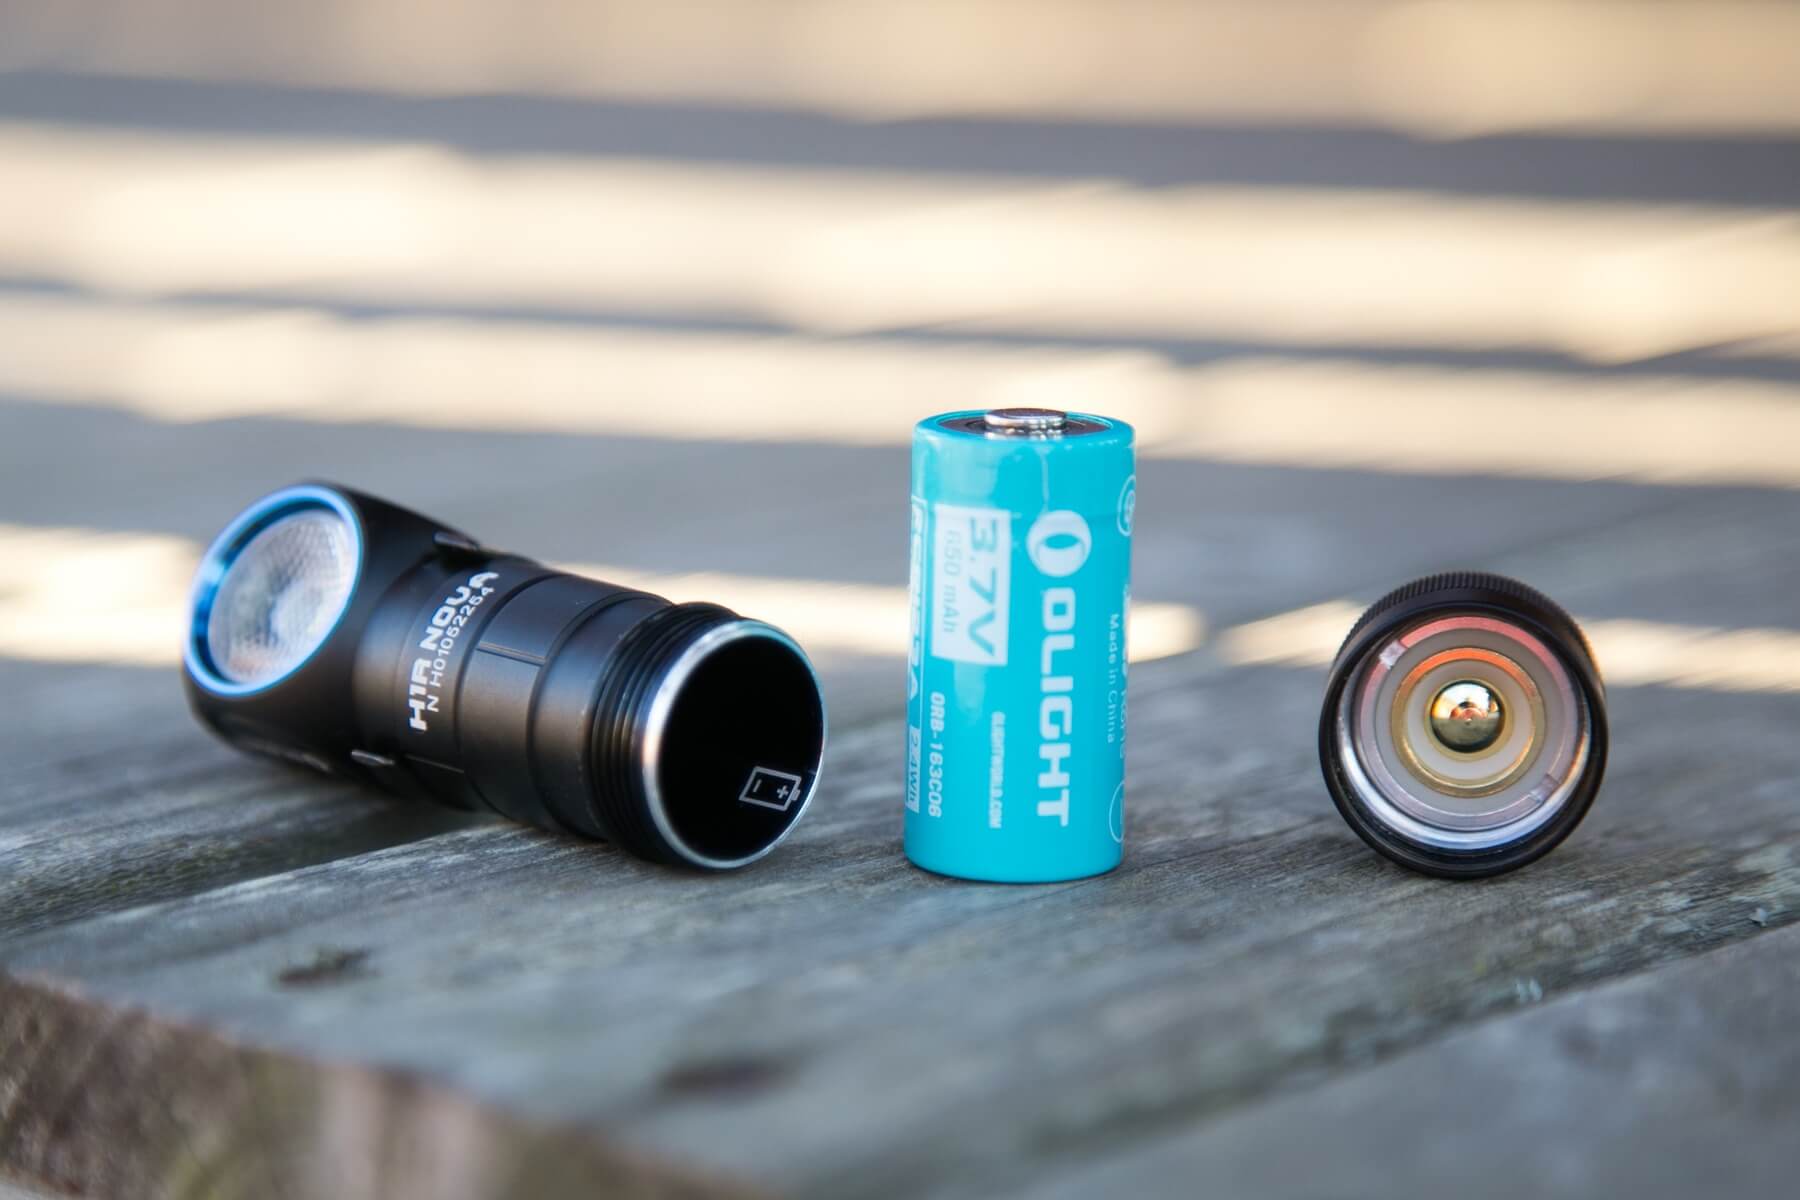
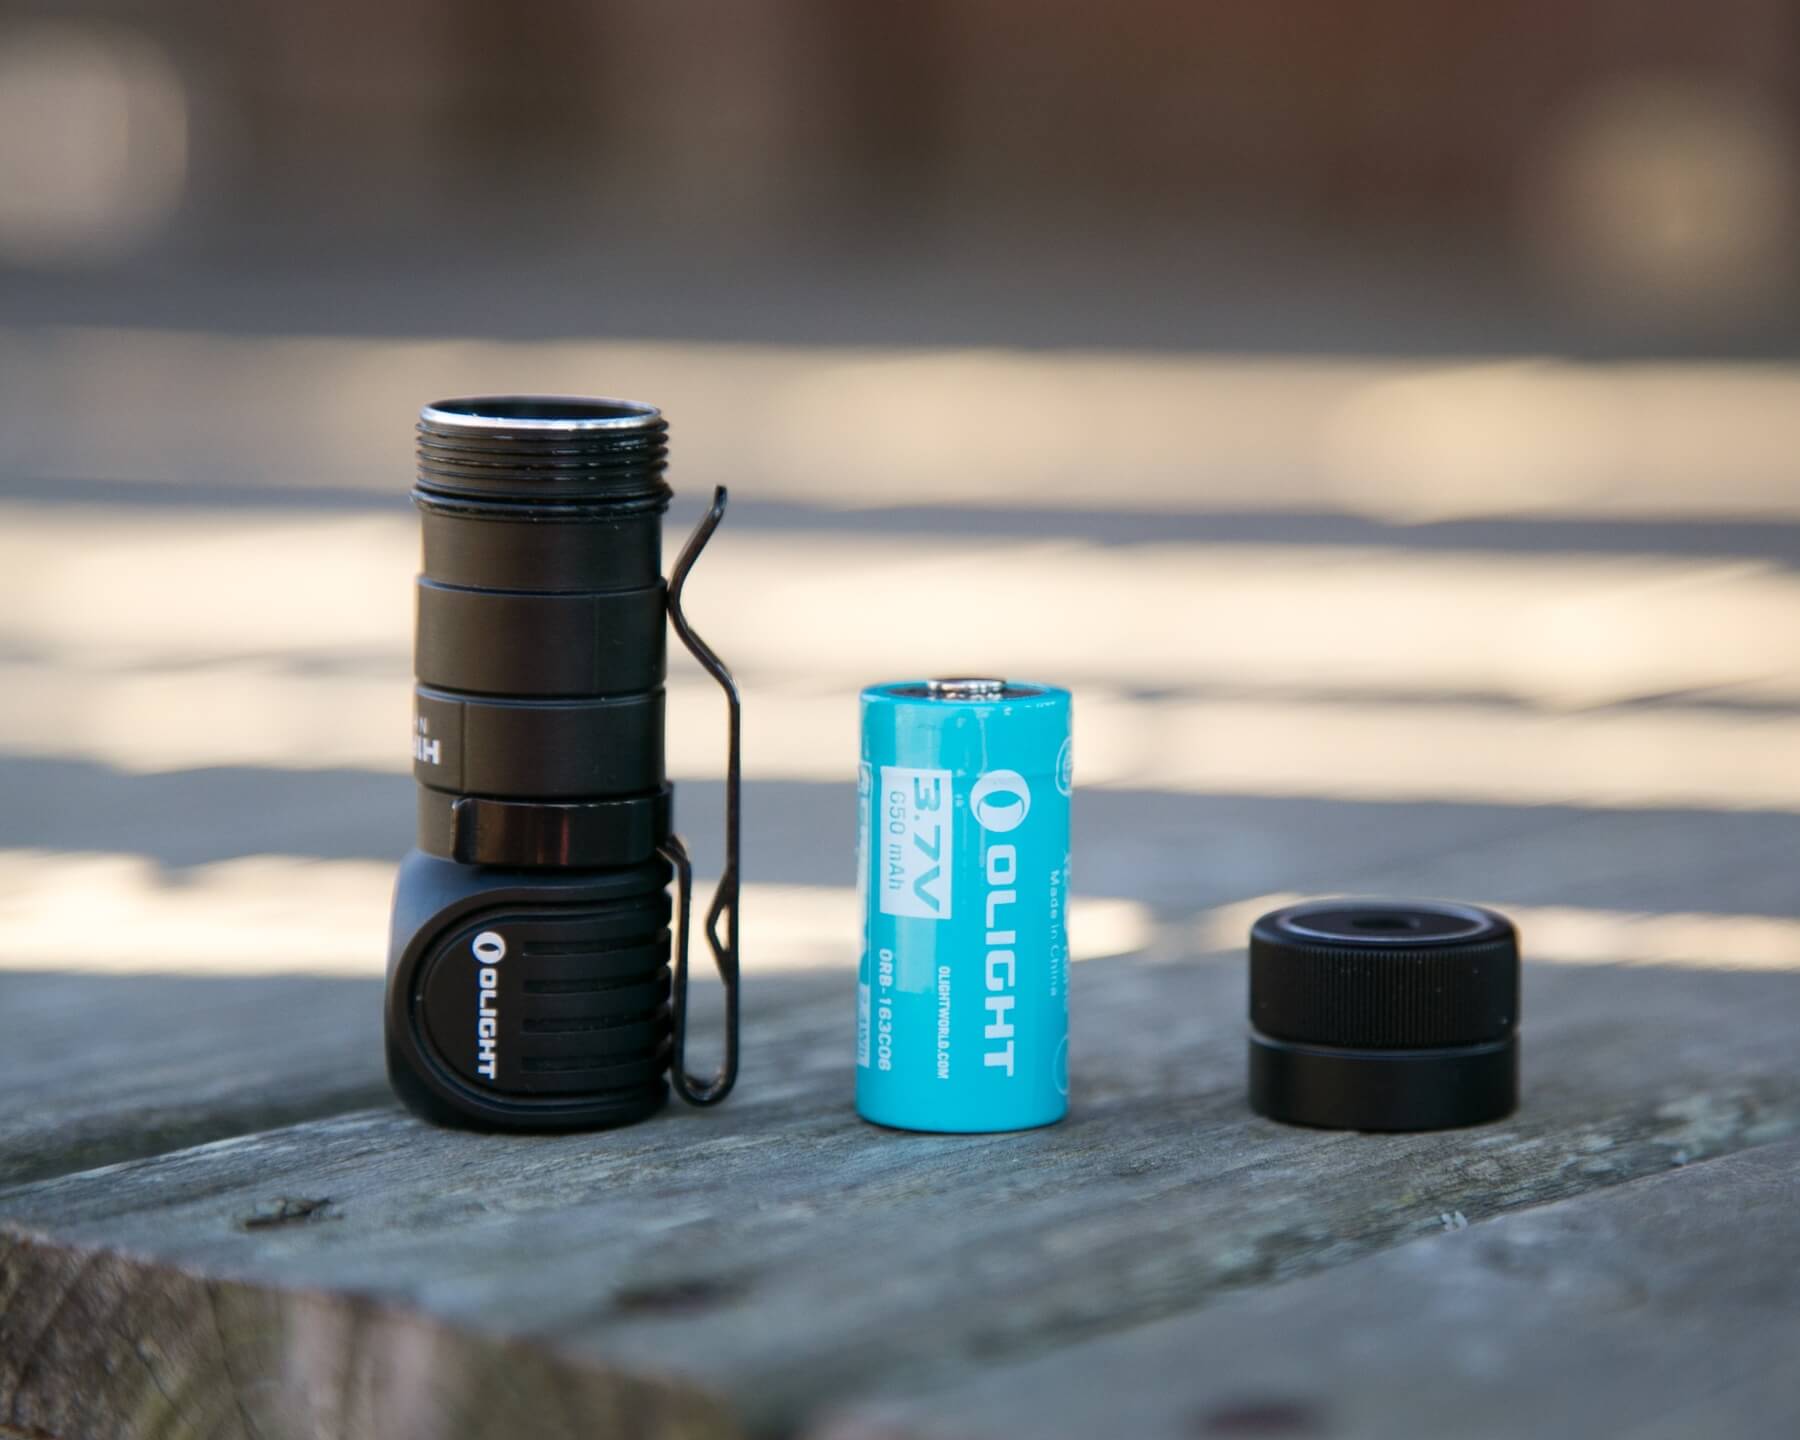
The H1R is powered by a single 16340 cell. Olight includes one cell, which is inside the light upon shipment.
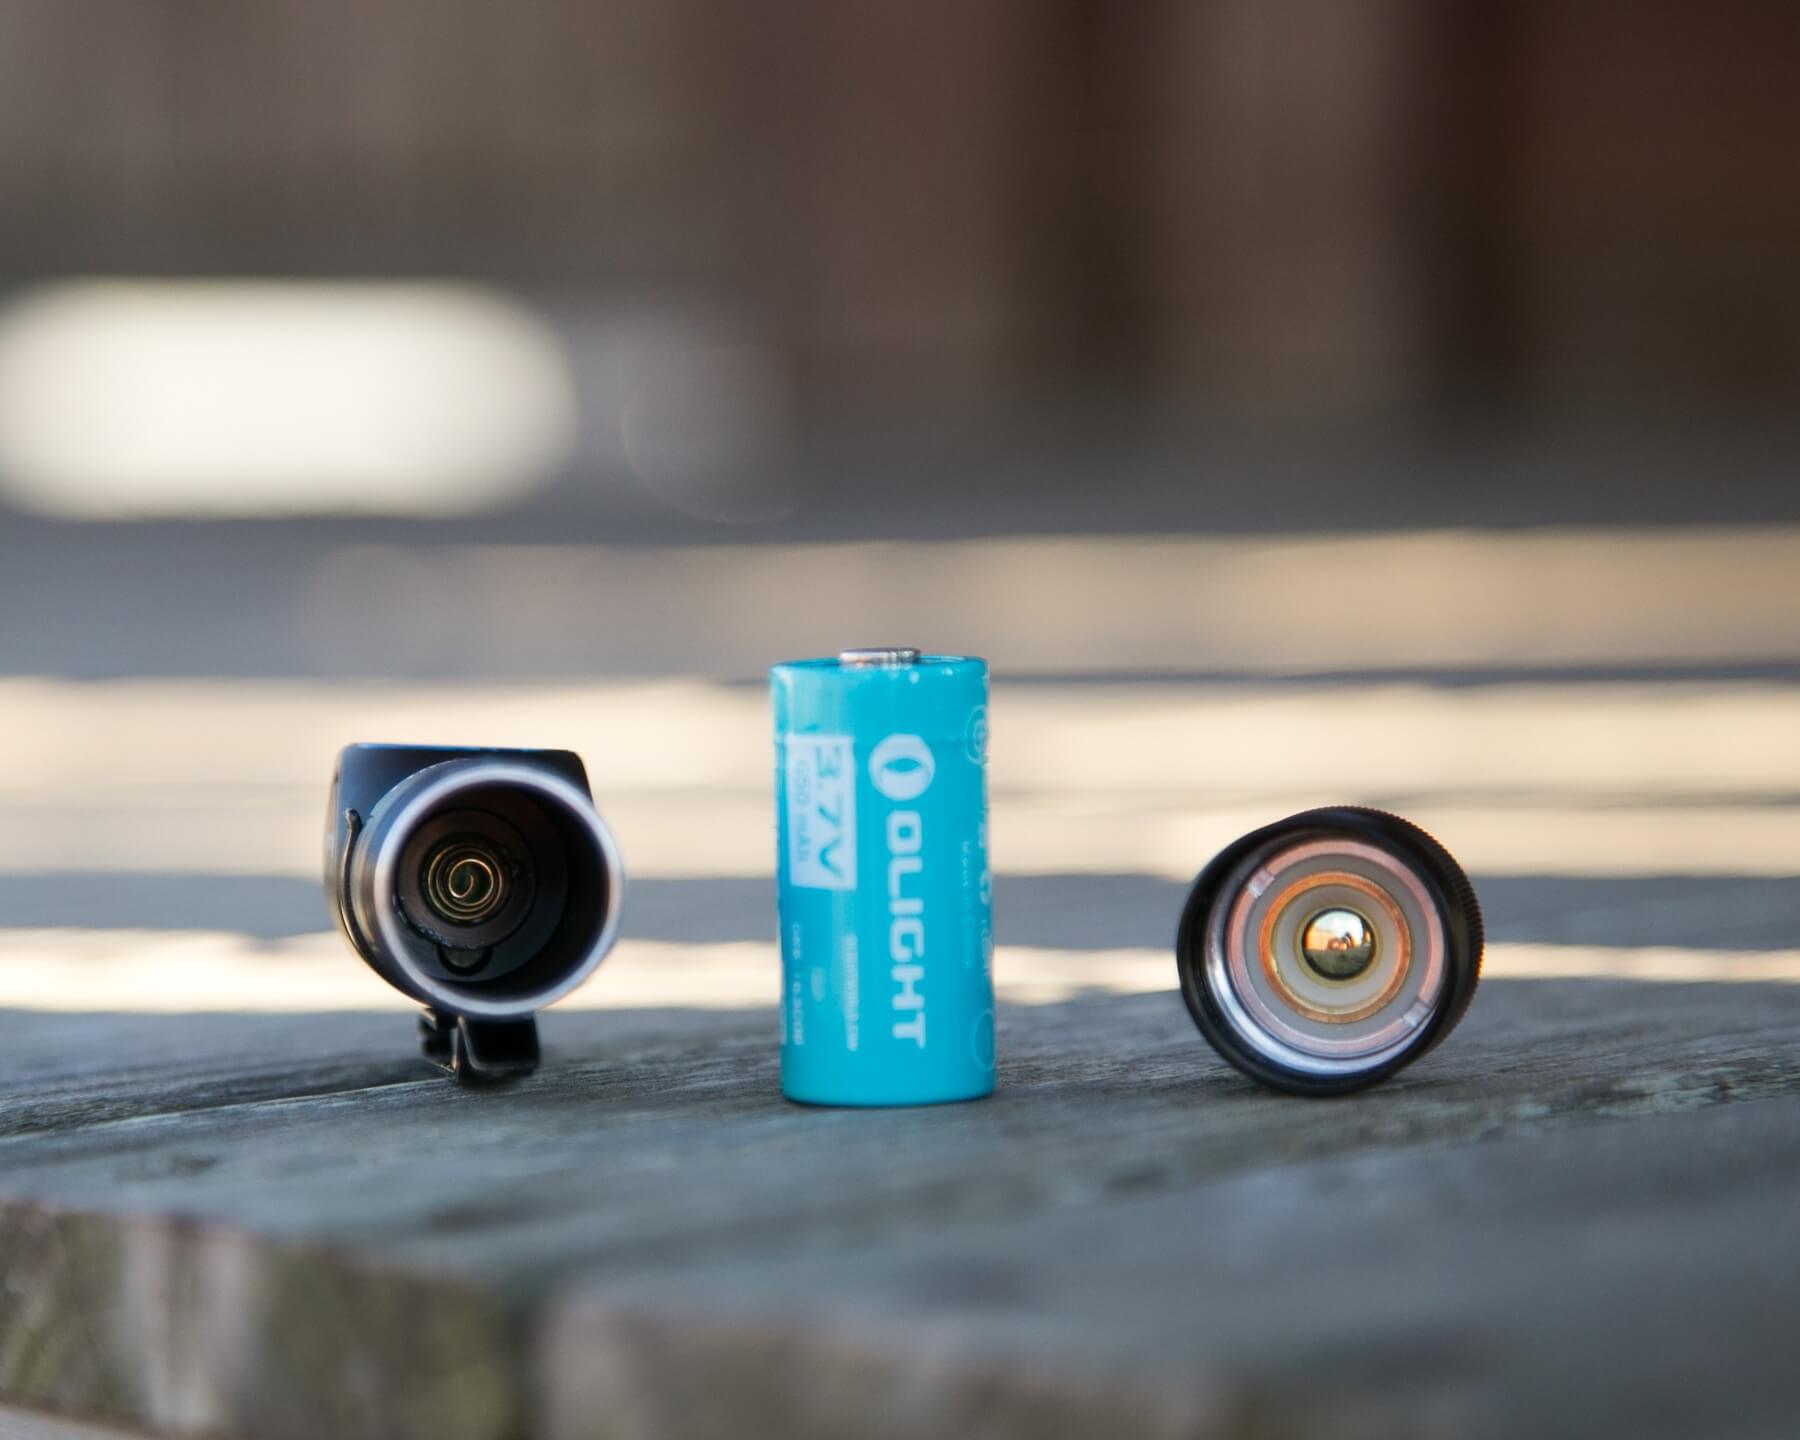
This is a “custom” cell, which has both positive and negative contacts on the positive end of the cell.
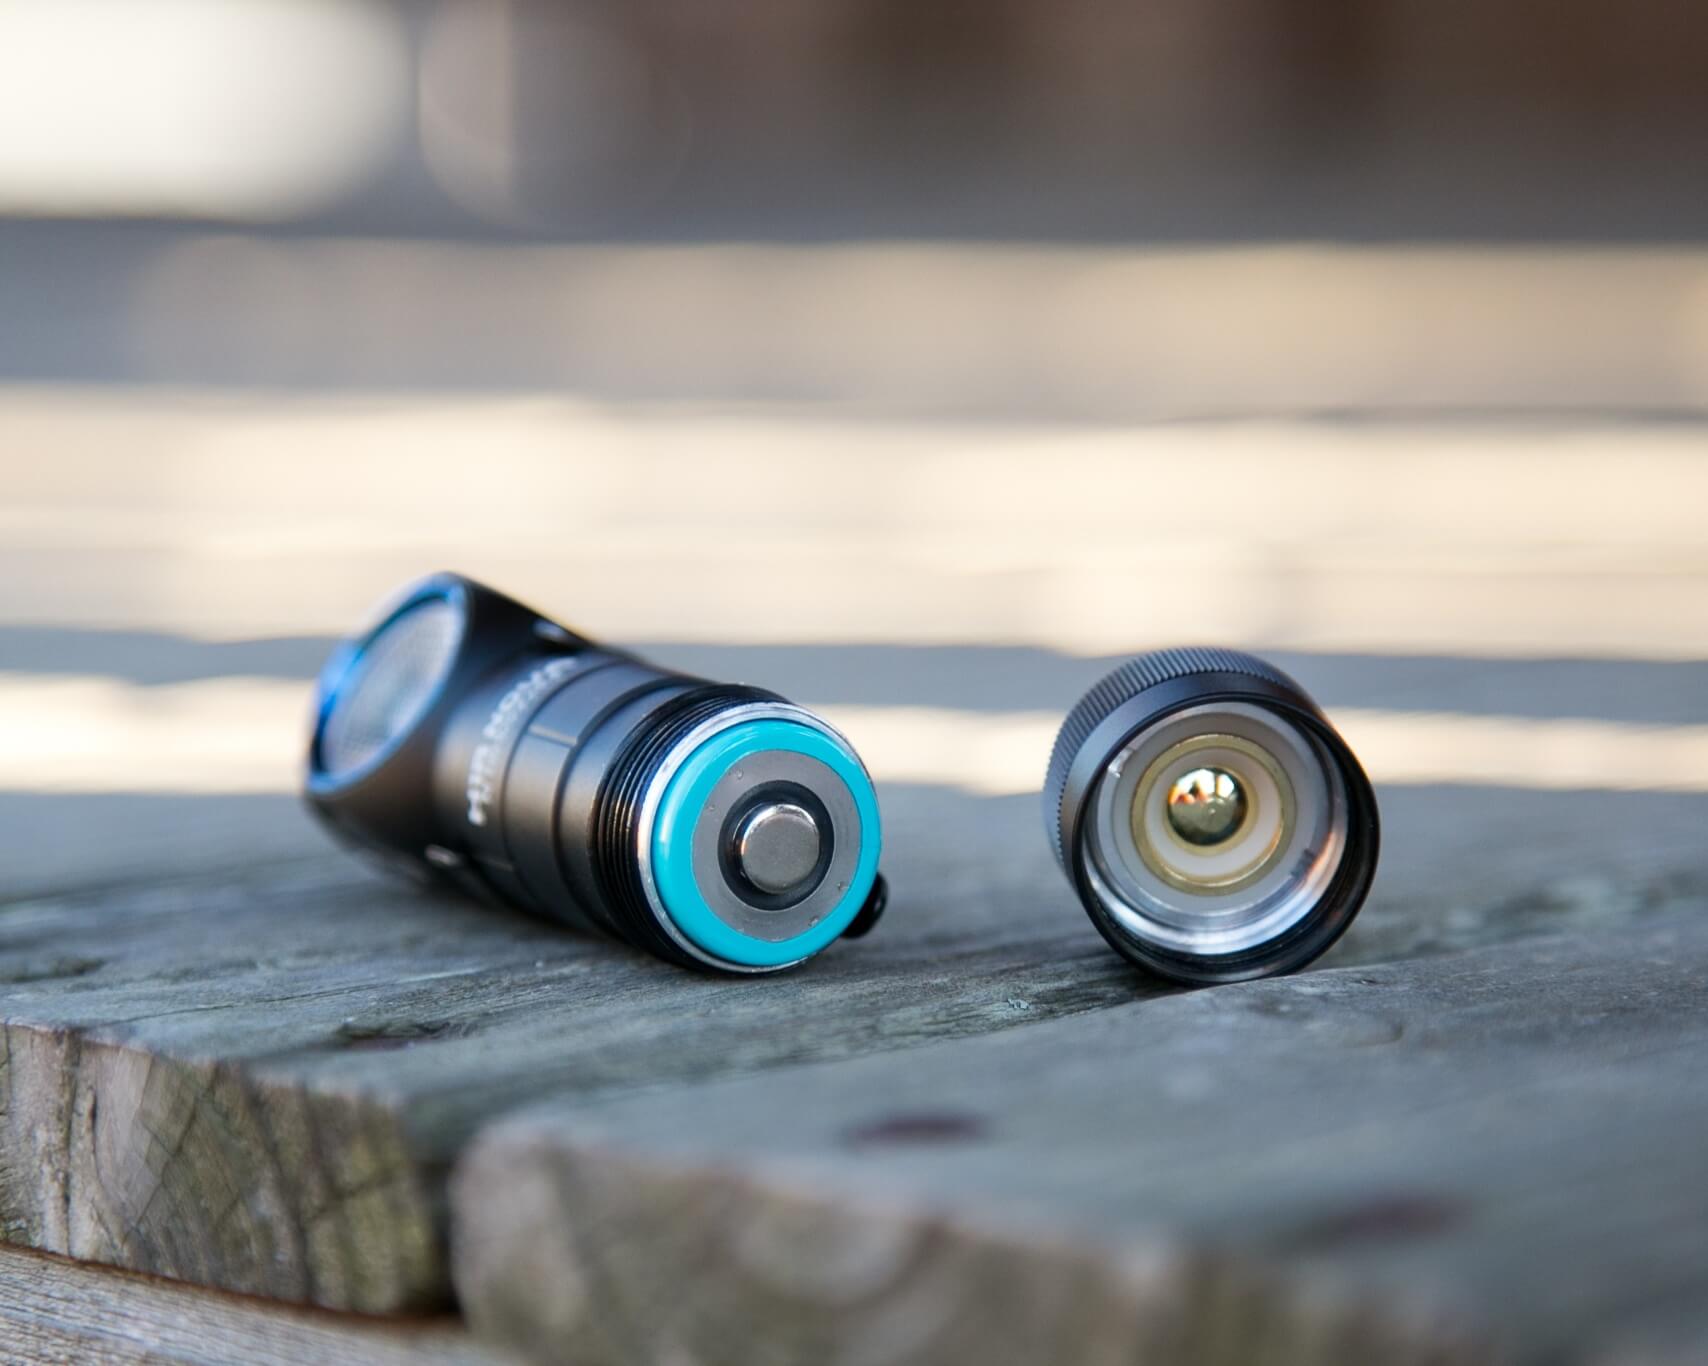
And that’s how charging works from just the tailcap. It also means that typical rechargeables will not charge in this light. The body of the light has a label on the inside of the cell tube for which direction to insert the cell.
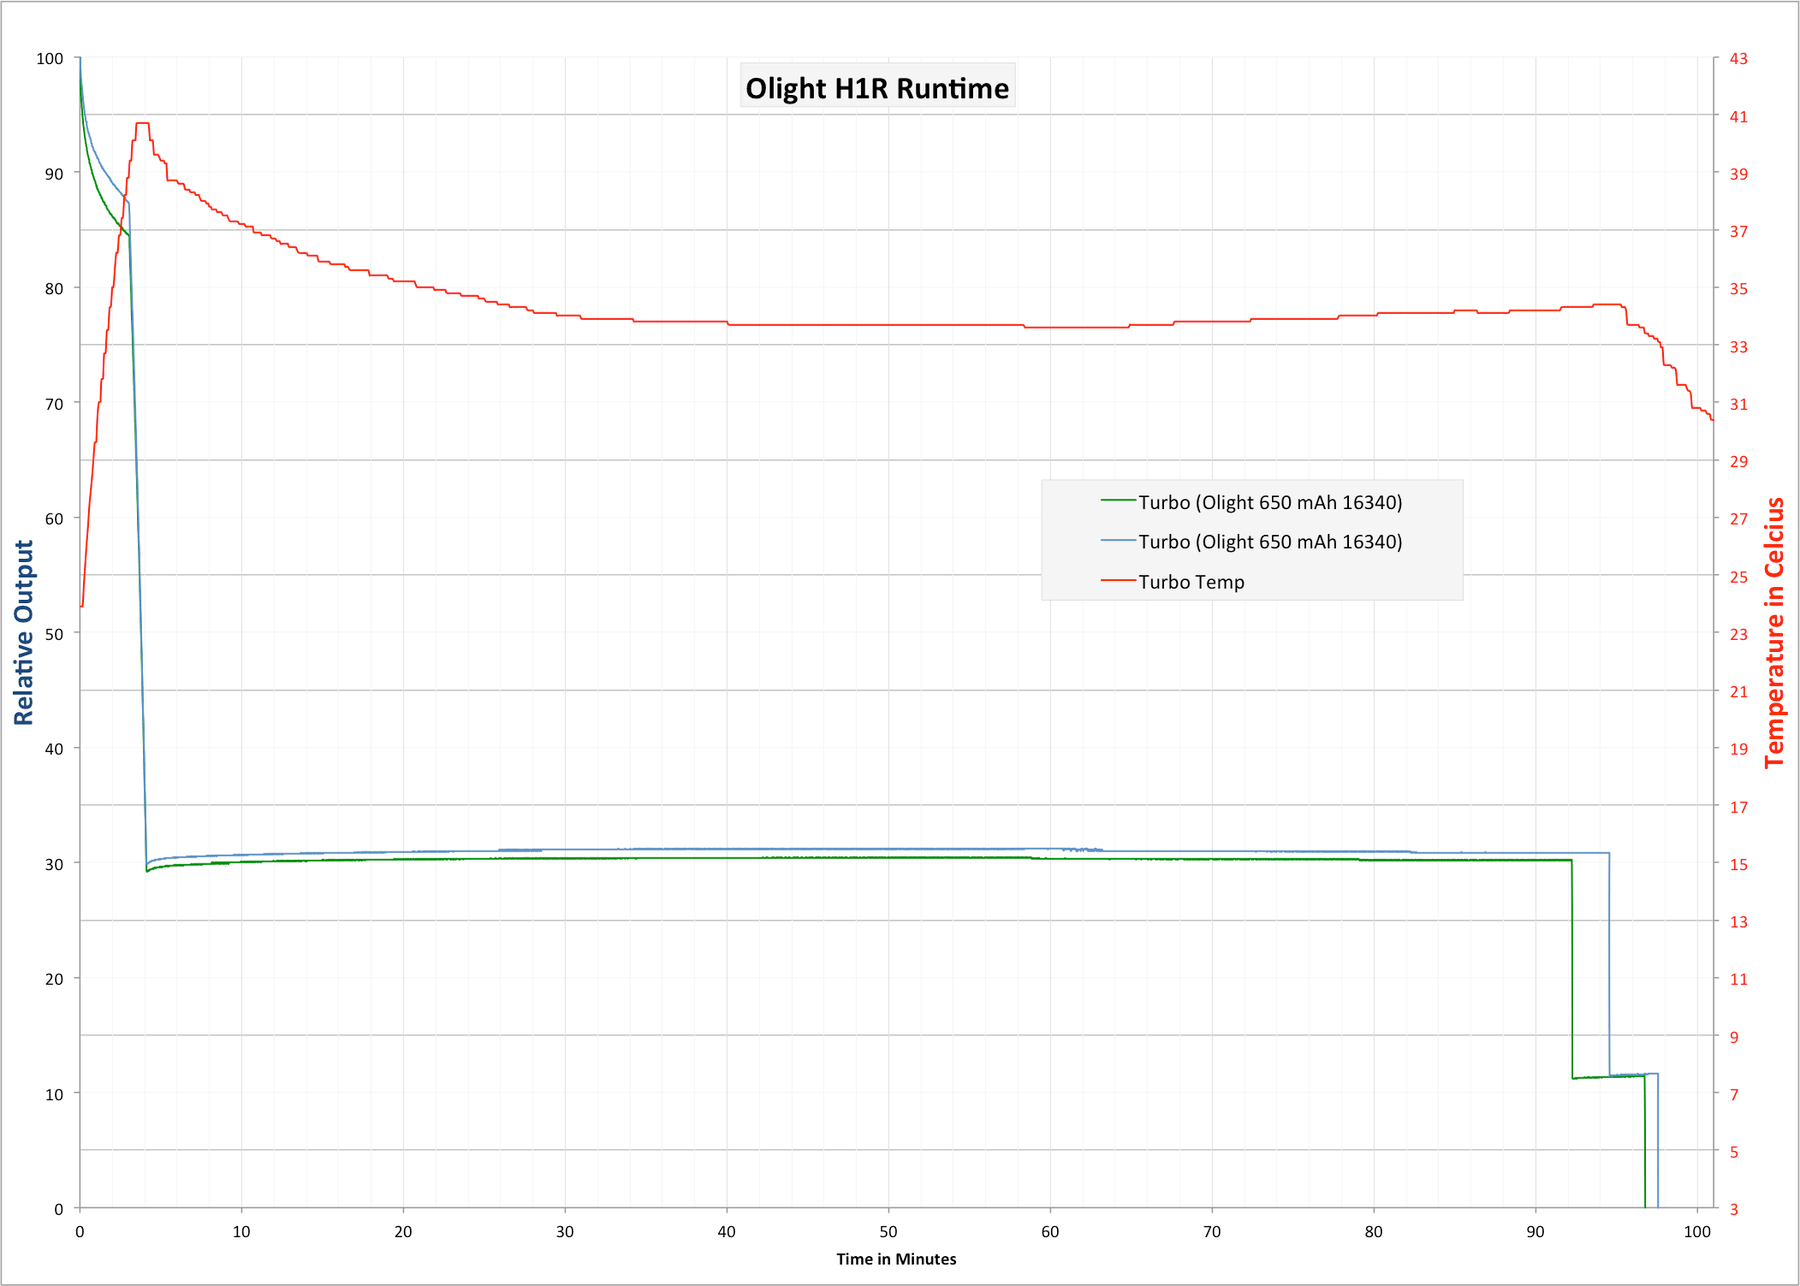
In my runtime test, turbo termination was at 3.28V. That’s similar to the H1, which further confirms that these lights are essentially the same, with only different tailcaps.
Charging
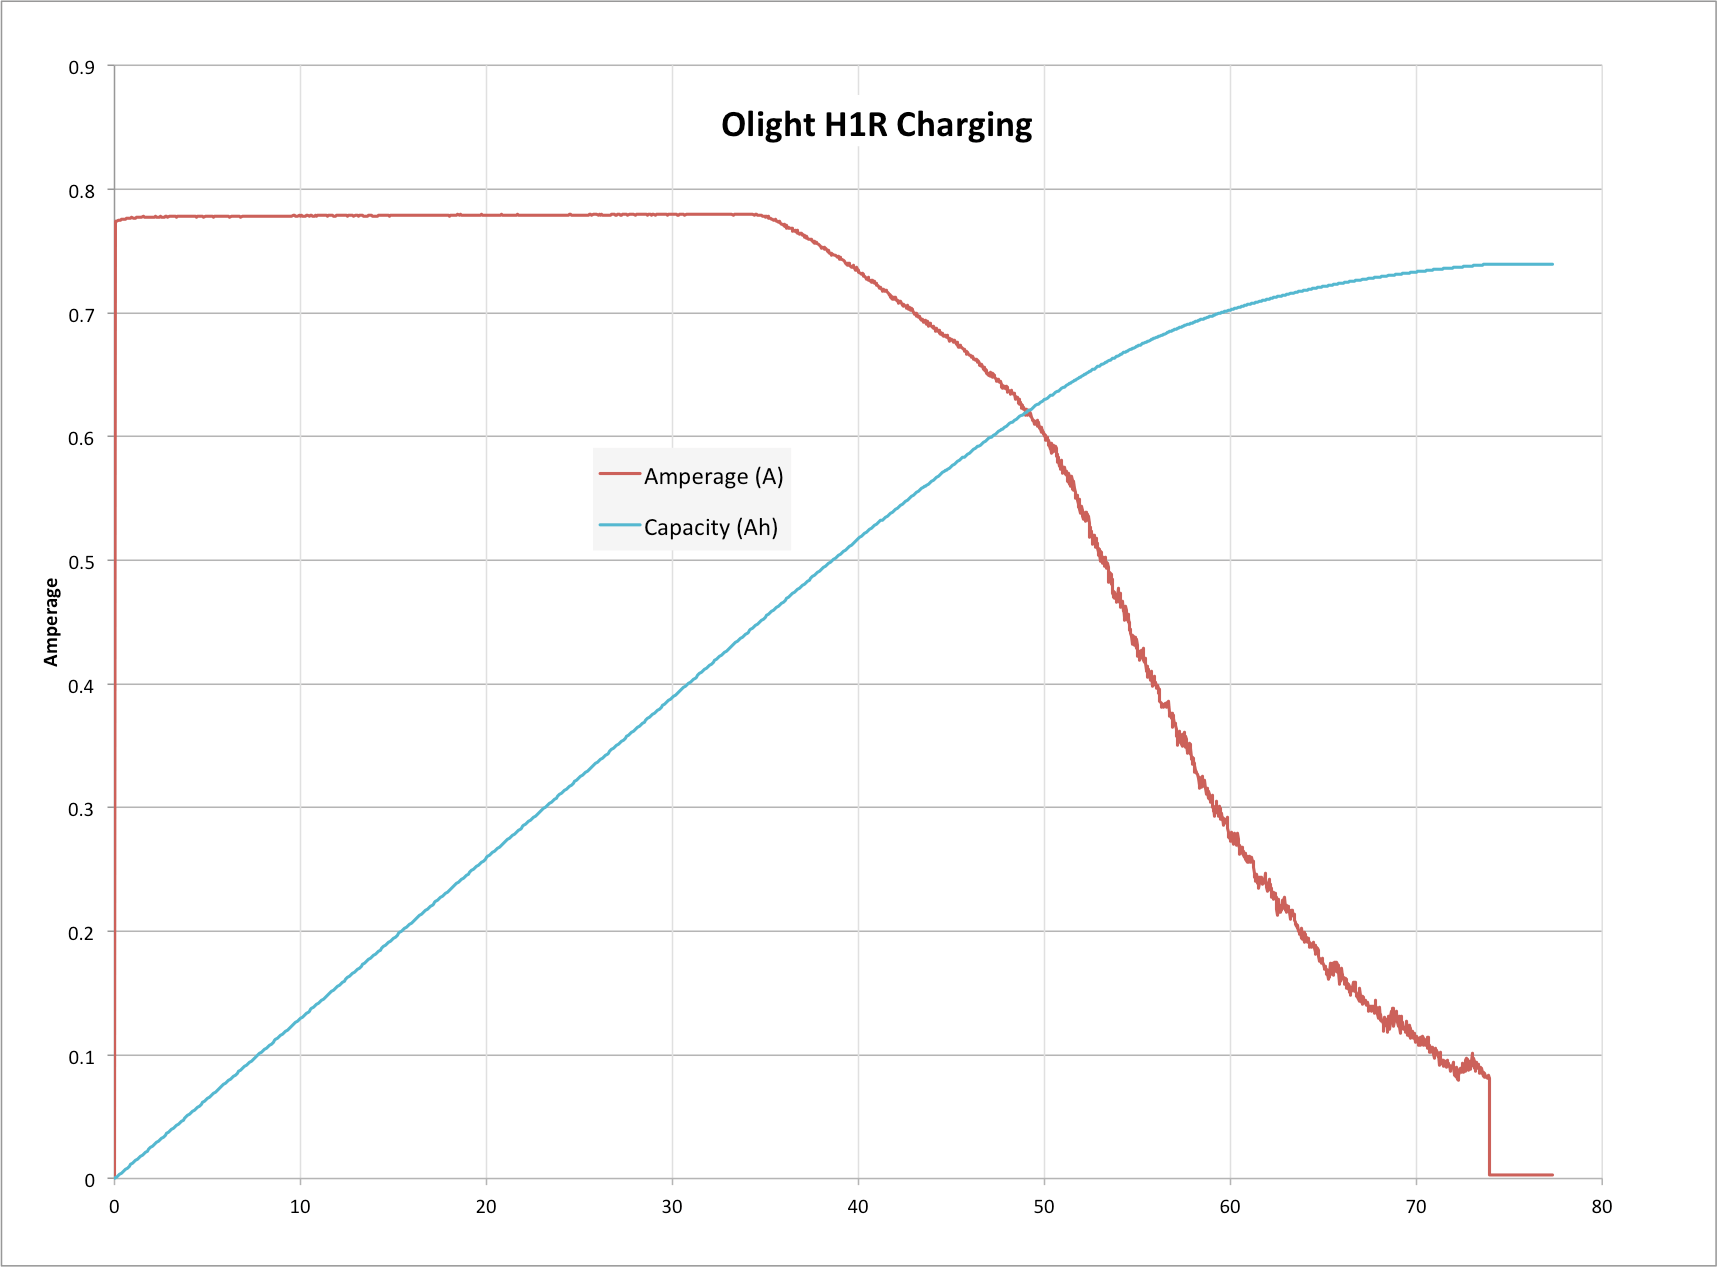
When using the base to charge the cell, charging terminated at 4.22V. Here’s a graph of that charge cycle.
Note that the tailcap charging has terminals on the outside of the tailcap (obviously), but those terminals are live even when not charging.
This is another thing I wish Olight could fix in design. I consider this a big flaw. I measured the cell’s full voltage across that terminal when the tailcap was closed. I’m not sure how Olight prevents shorts with this design (or if they do).
Olight includes a USB-to-base charging cable.
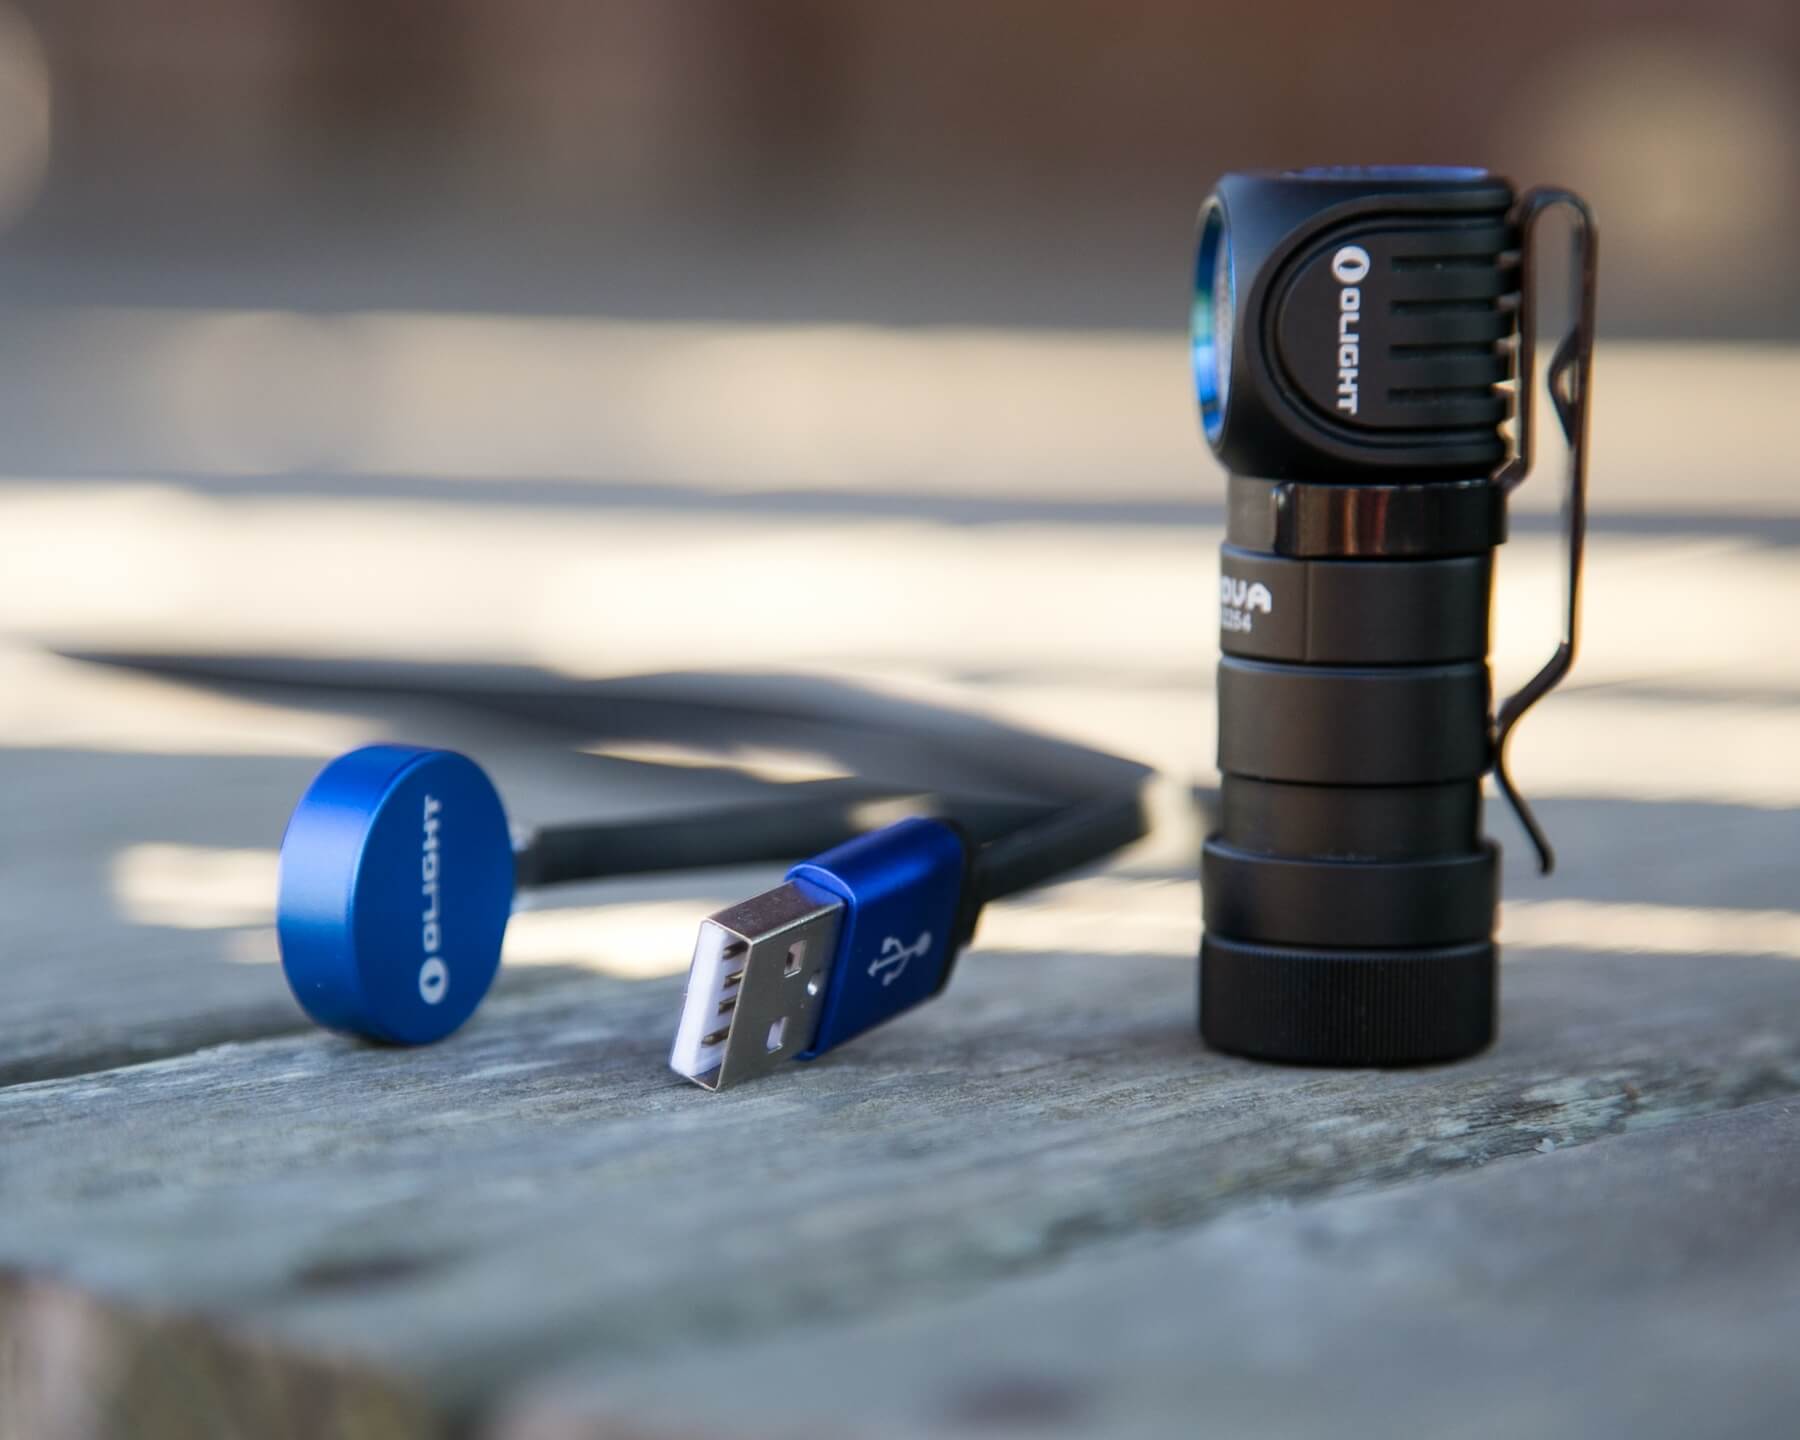
The cable has a red and green light to indicate if charging is complete (green) or charging (red). 
The base is Olight blue, and it fits the H1R perfectly.
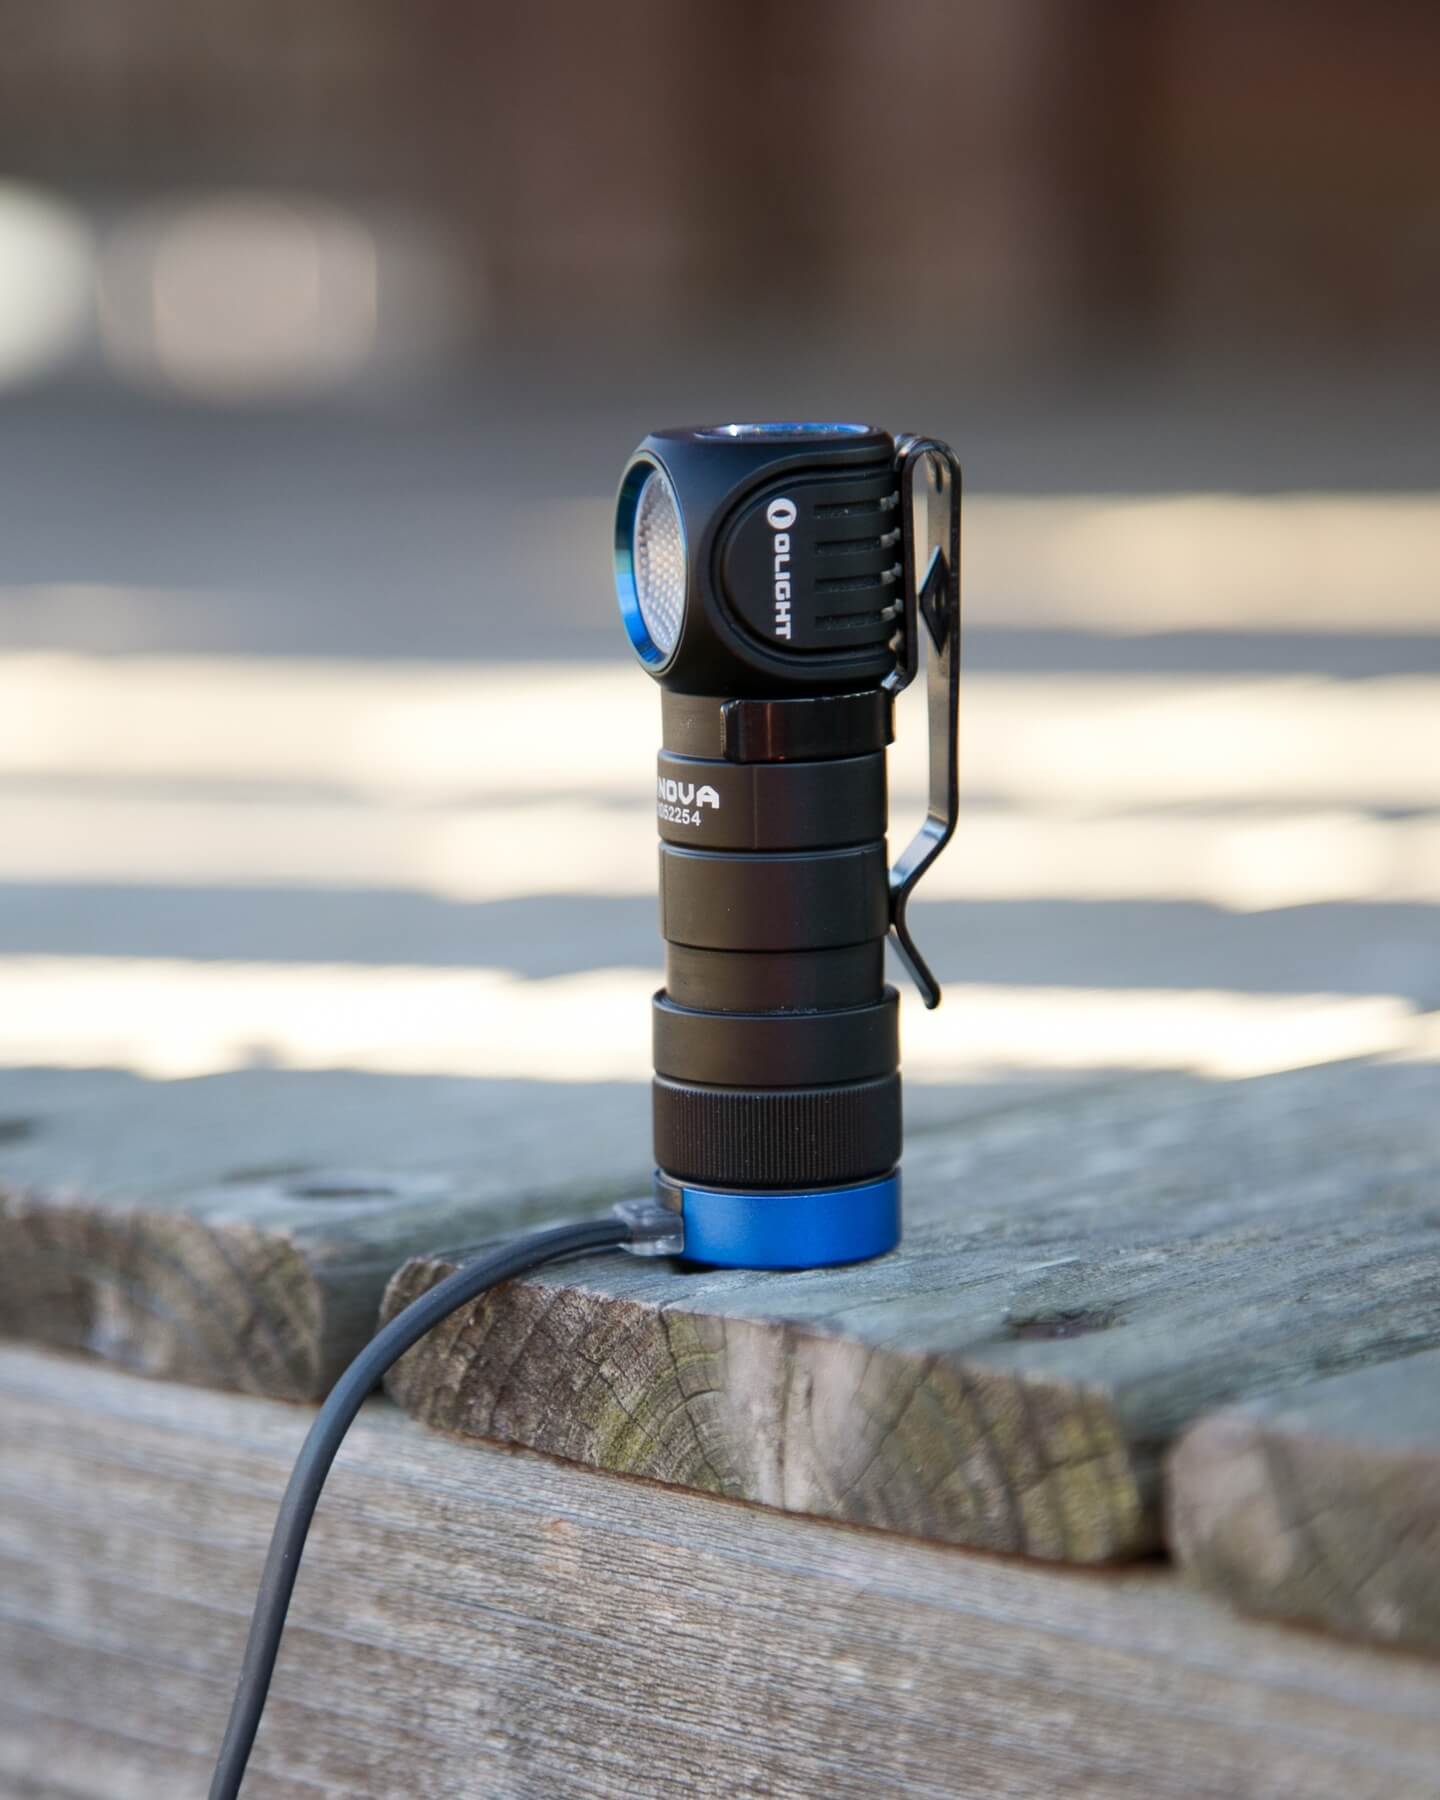
Here’s another shot of the tailcap with the charging connectors.
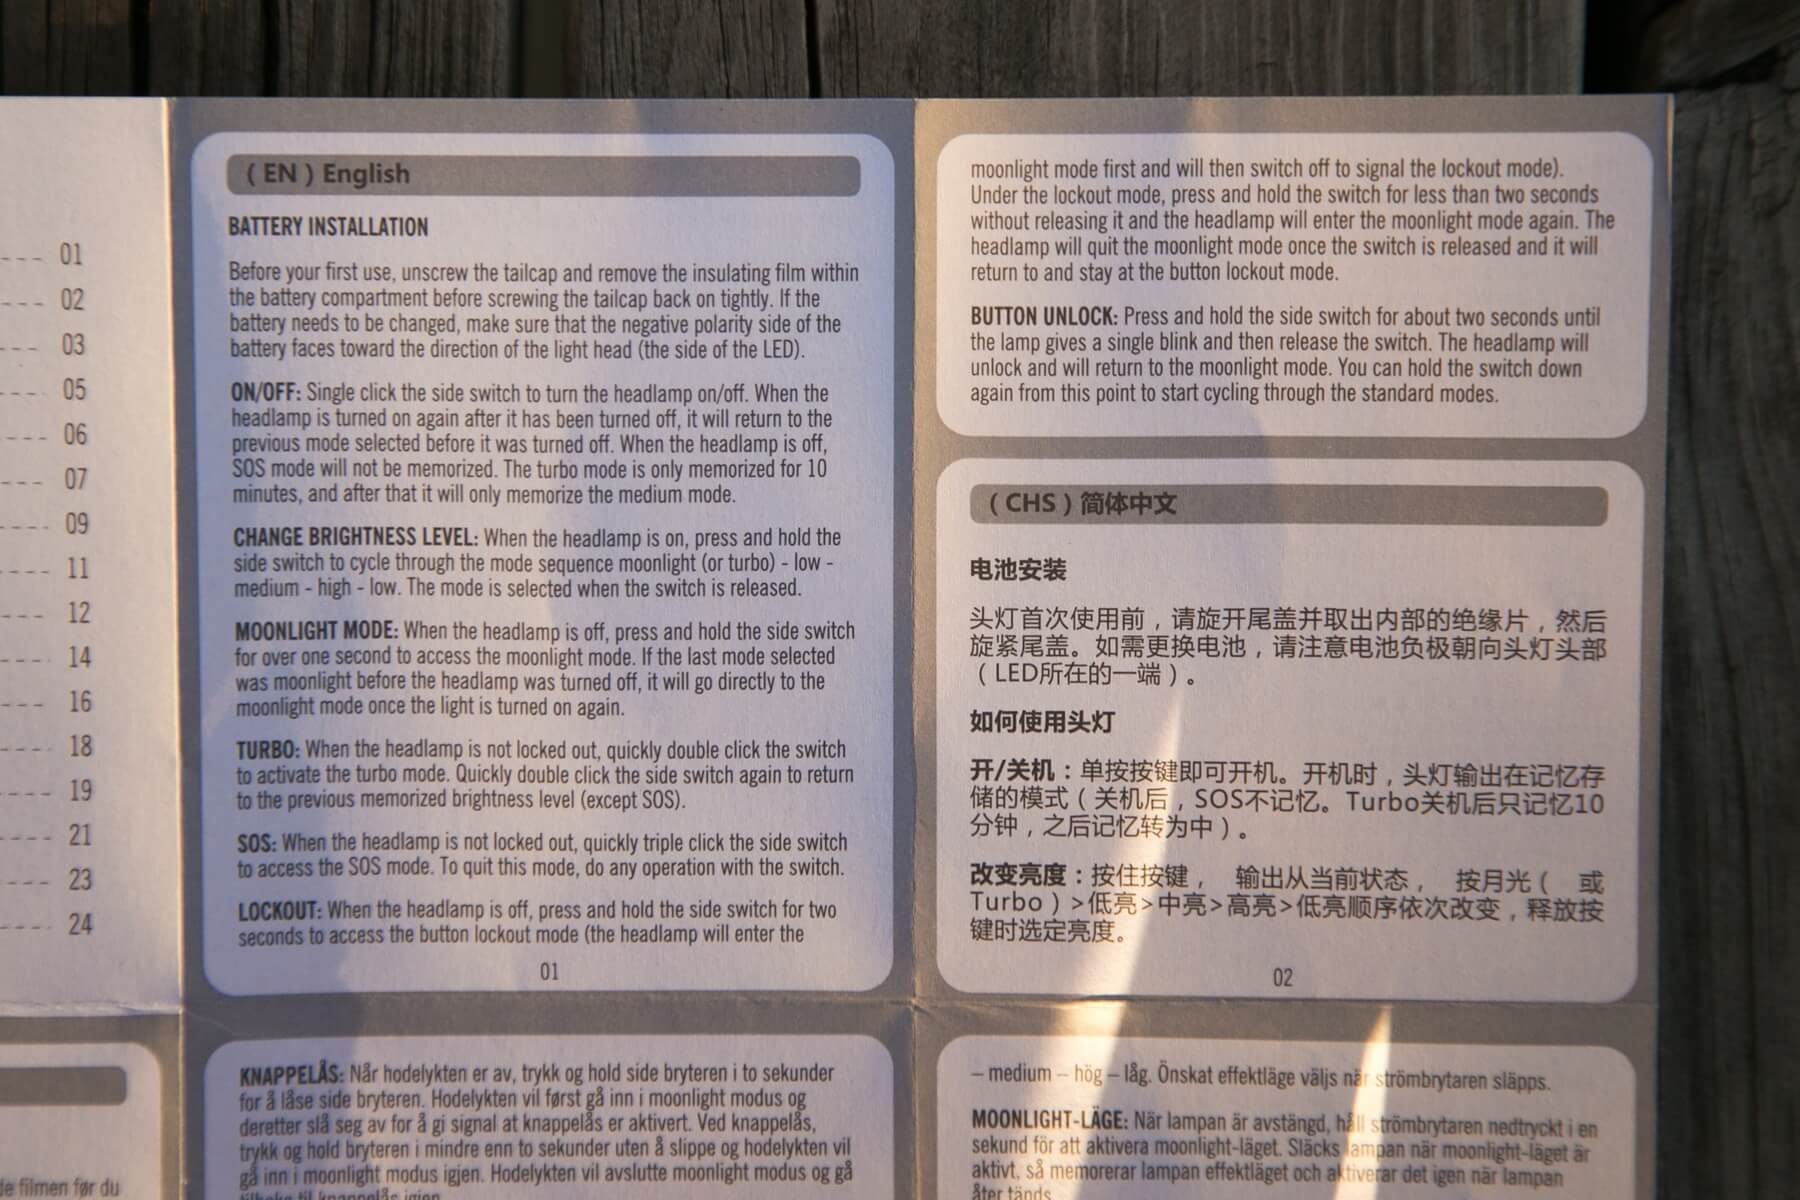
User Interface and Operation
There’s a single [black large flat silicone] switch on the head of the H1R. I like this switch, particularly compared to switches like those in the Baton series – it’s much easier to actuate. It’s also less likely to accidentally actuate, which is great for pocket carry.
| State | Action | Result |
|---|---|---|
| Off | Click | Mode Memory^ |
| Off | Hold | Moonlight |
| Off | Double Click | Turbo |
| On | Hold | Cycle Modes (L>M>H) |
| Off | Hold (+2s) | Lockout |
| Lockout | Press | Momentary Moonlight |
| Lockout | Hold (+2s) | Unlock |
^ Turbo memorized for 10 minutes, and then kicks down to medium. (Moon can be memorized, too.)
LED and Beam
Both versions have a Cree XM-L2 emitter. The H1R must be driven slightly harder because it’s rated for 600 lumens, while the H1 was rated for just 500. They both have a dimpled TIR. The beam is typical TIR and fantastic. A broad spot with little spill, great for headlamps. (And my personal preference for most of my lights, if I’m honest.)
Beamshots
These beamshots always have the following settings: f8, ISO100, 0.3s shutter, and manual 5000K exposure. These photos are taken at floor level, and the beam hits the ceiling around 9 feet away.


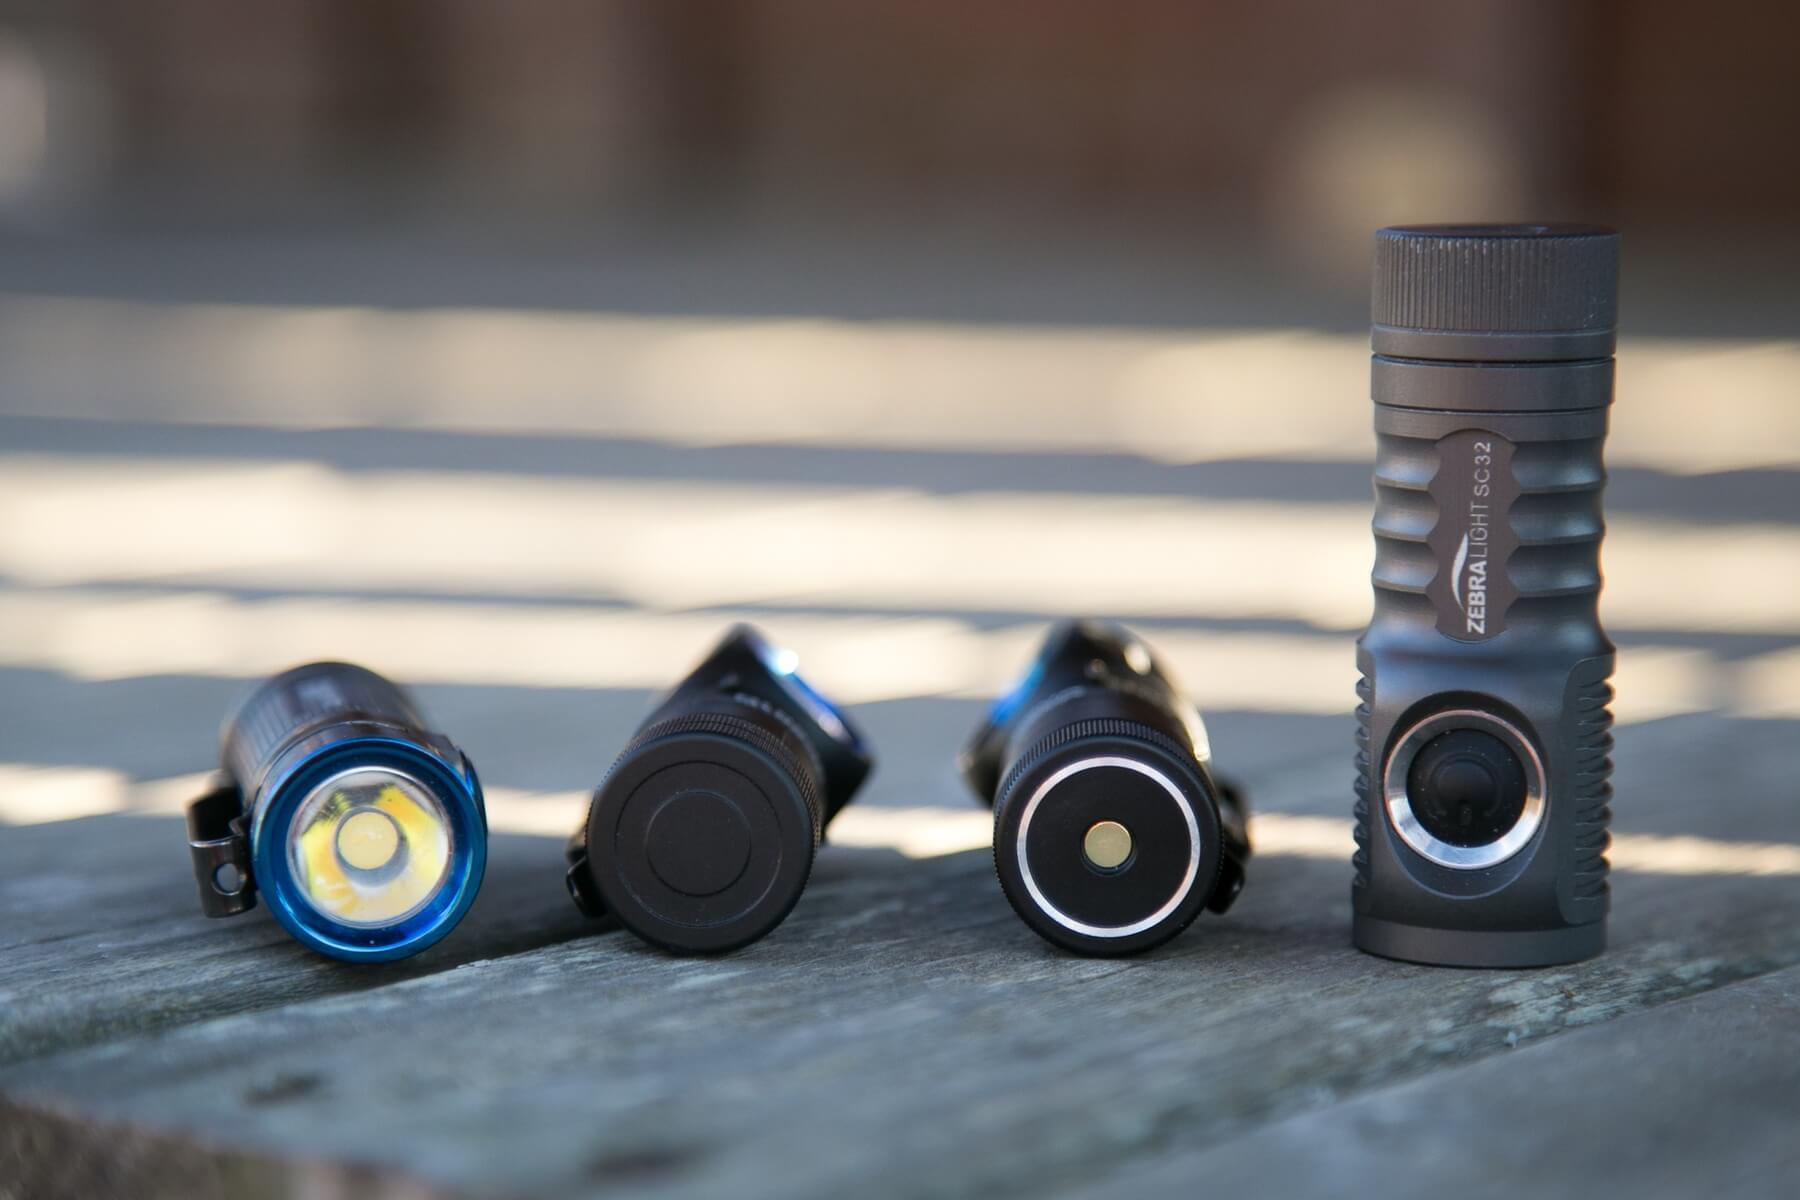
Random Comparisons and Competitive Options
Obviously, compare this to the H1. If you want onboard charging, buy this one. If you don’t (or don’t care, or own a charger like any normal flashlight enthusiast), buy the H1. If you’re into High CRI, consider the Armytek Tiara C1 Pro v2 (that’s a limited edition, though.) There are many options in this category; regardless, the H1R is a high-quality, reliable option.
Conclusion
I like it. It’s well built and does what it’s supposed to do. I probably prefer the H1 because I don’t really need onboard charging, and I have plenty of chargers and cells I can use. But if one prefers onboard charging, this is a great option. If you do buy, buy the NW – we don’t want to perpetuate the CW madness. 🙂
What I like
- Onboard Charging
- NW tint is quite nice
- Cell included
- Size is good
What I don’t like
- Onboard charging requires a proprietary cell
- Can’t use the headband and the clip at the same time
- Still don’t like the dimple in that clip
- Live current on the tailcap!
Notes
- This light was provided by Olight for review. I was not paid to write this review.
- This content originally appeared at zeroair.org. Please visit there for the best experience!
- Use my Amazon.com referral link if you’re willing to help support making more reviews like this one!
- Please support me on Patreon! I deeply appreciate your support!
Discover more from ZeroAir Reviews
Subscribe to get the latest posts sent to your email.
Pingback: Rofis R1 Flashlight Review - ZeroAir Reviews