
Imalent DX80 Flashlight Review
The Imalent DX80 is an exceptionally impressive flashlight, using 8 Cree XHP70.2 emitters for huge output. Read on for testing!
Official Specs and Features
Here’s a link to the Imalent DX80 Flashlight product page.
Versions
Just this one version as far as I can tell.
Price
Looks like retail on this light is around $380, with a street price…. holding steady at the MSRP. I’ll see what I can do about a coupon for this light, and add it to my spreadsheet when possible.
Short Review
This light is an absolute beast. I can’t make any claim that it’s “32000 lumens” but I can say that it’s easily the brightest light I’ve ever held.
Long Review
The Big Table
| Imalent DX80 | |
|---|---|
| Emitter: | Cree XHP70.2 (8 emitters!) |
| Price in USD at publication time: | ~$380 |
| Cell: | Internal (8x 18650) |
| Turbo Runtime | |
| LVP? | Yes, ~12V. |
| Switch Type: | E-Switch |
| On-Board Charging? | No |
| Claimed Lumens (lm) | 32000 |
| Claimed Throw (m) | 806 |
| Candela (Calculated) in cd (at 30s) | 3230lux @ 6.177m = 123242cd |
| Throw (Calculated) (m) | 702.1 (87.1% of claim)^ |
| All my Imalent reviews! | |
^ Measurement disclaimer: Testing flashlights is my hobby. I use hobbyist-level equipment for testing, including some I made myself. Try not to get buried in the details of manufacturer specifications versus measurements recorded here; A certain amount of difference (say, 10 or 15%) is perfectly reasonable.
What’s Included

- Imalent DX80
- Battery pack (internal, connected)
- Nylon pouch
- Spare o-rings (2)
- 19V, 2A wall wart
- Lanyard
- Manual
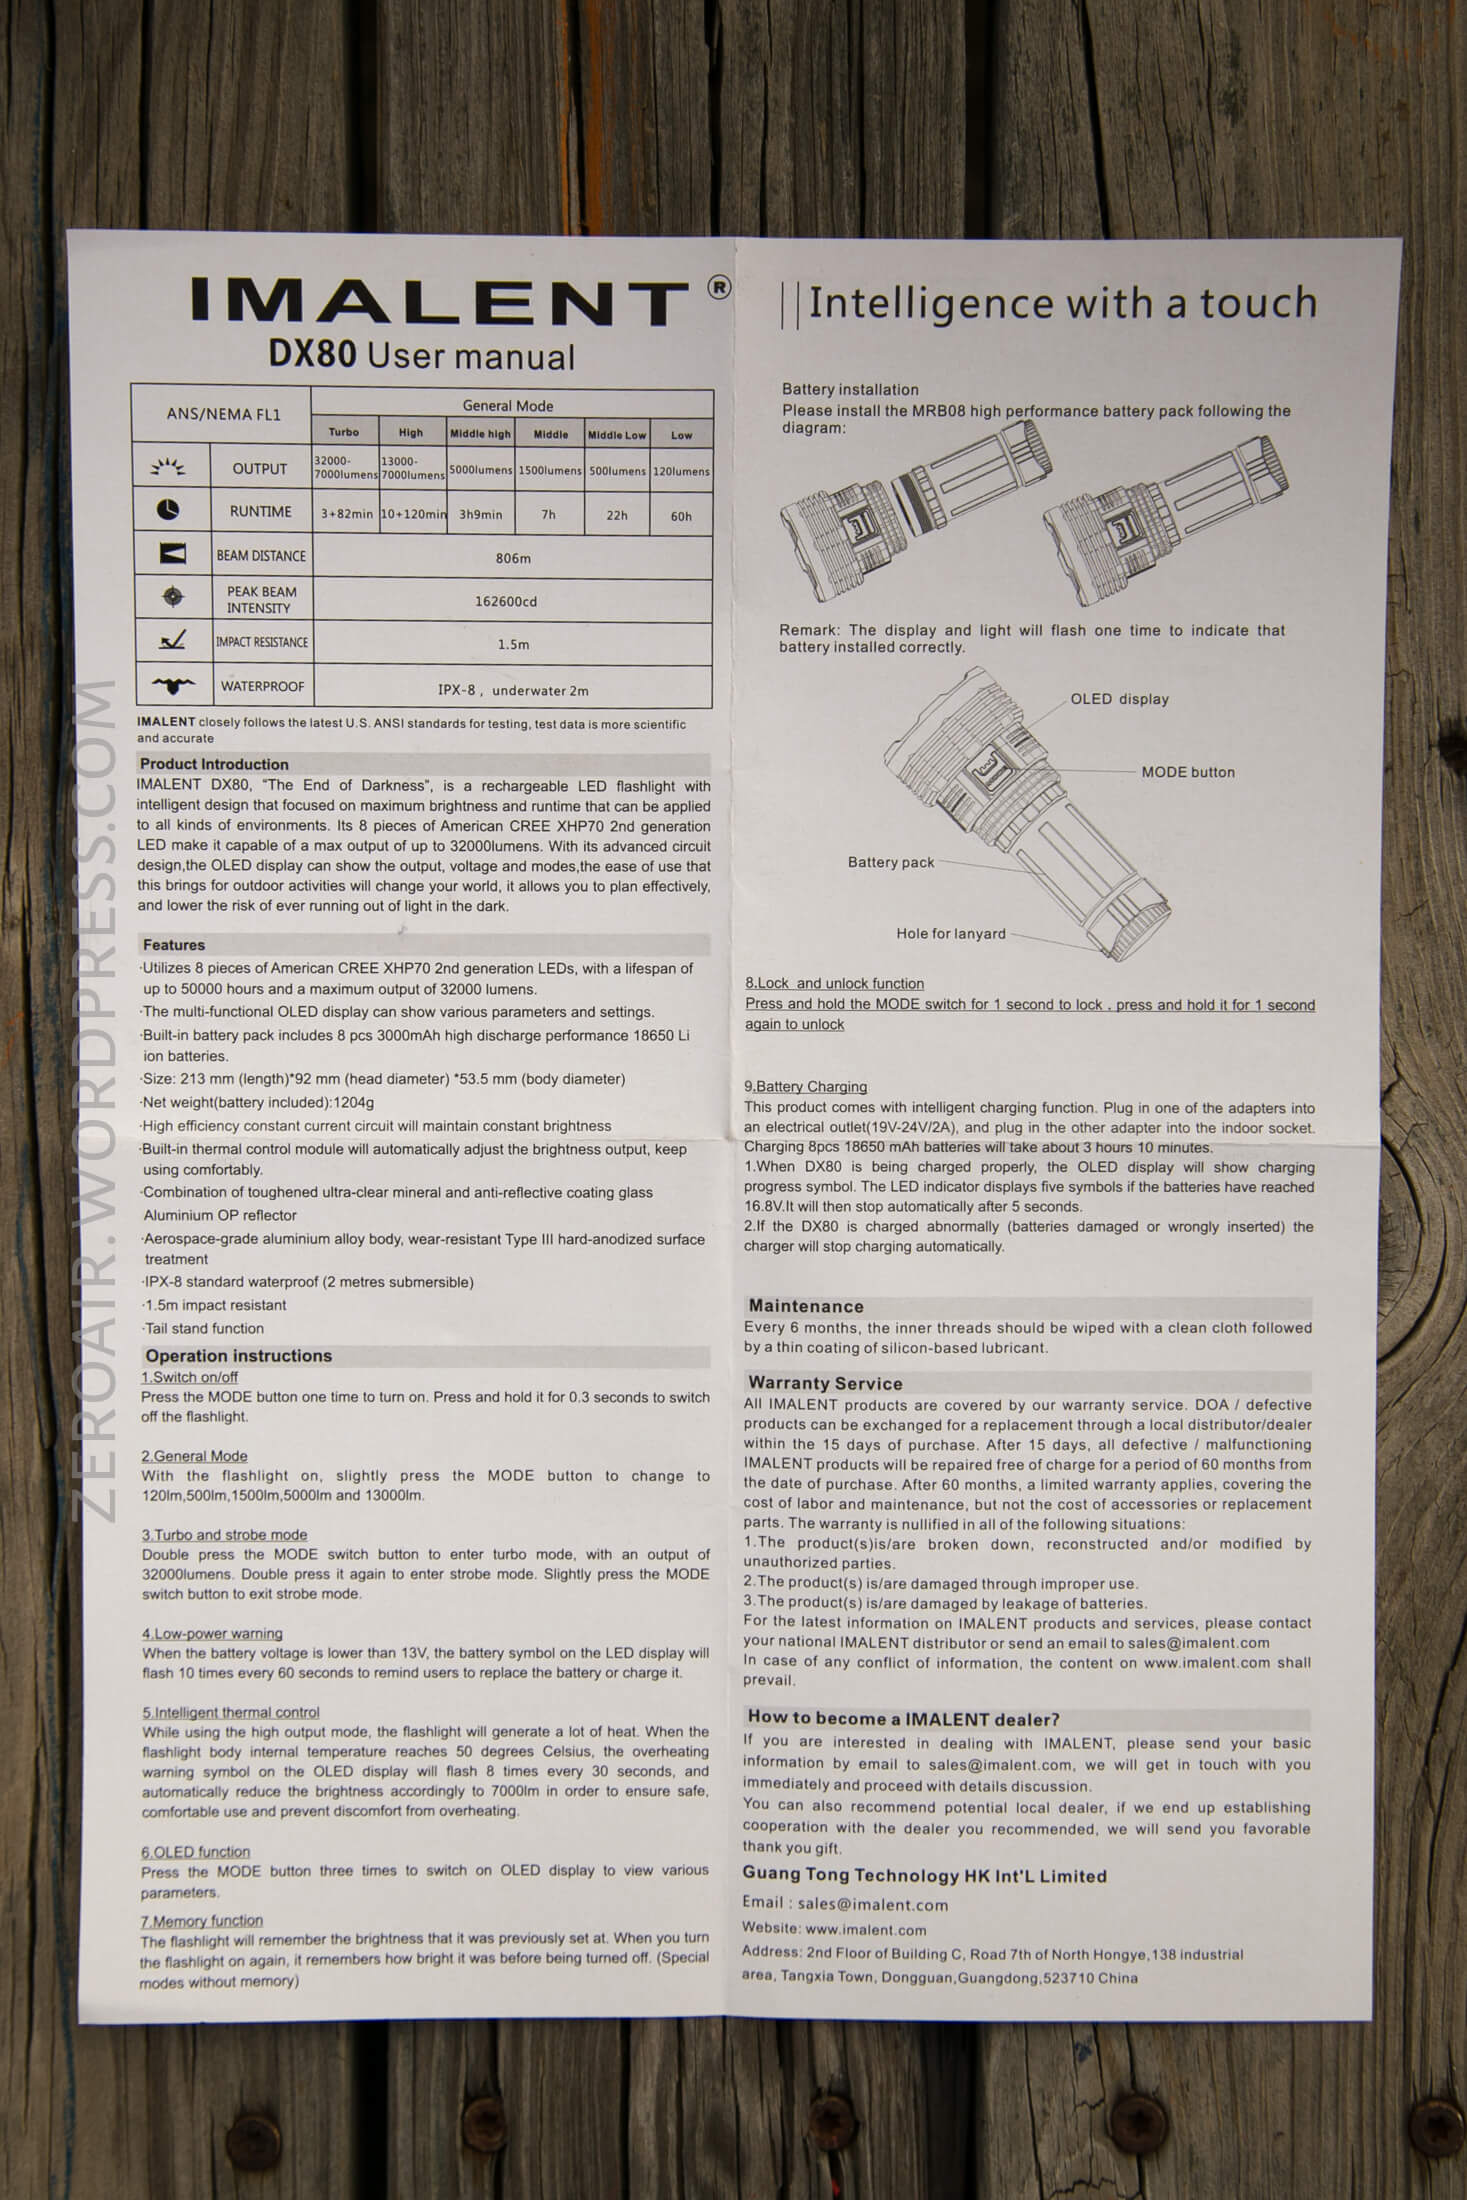
Package and Manual
The DX80 ships in a large cardboard box, which has a plastic handle. There’s a sticker label on the box, with the usual amount of printing but with minimal specs and whatnot.


One tiny complaint I have about the packaging is that the light ships with a clear sticker over the lens. That’s fine and protective, and great, but this sticker does not remove cleanly. It leaves a sticky residue that must be cleaned off the lens. It does clean off just fine though.
The manual is fairly brief but covers the needful information. Though massive, it’s not an overly complicated light.
Build Quality and Disassembly
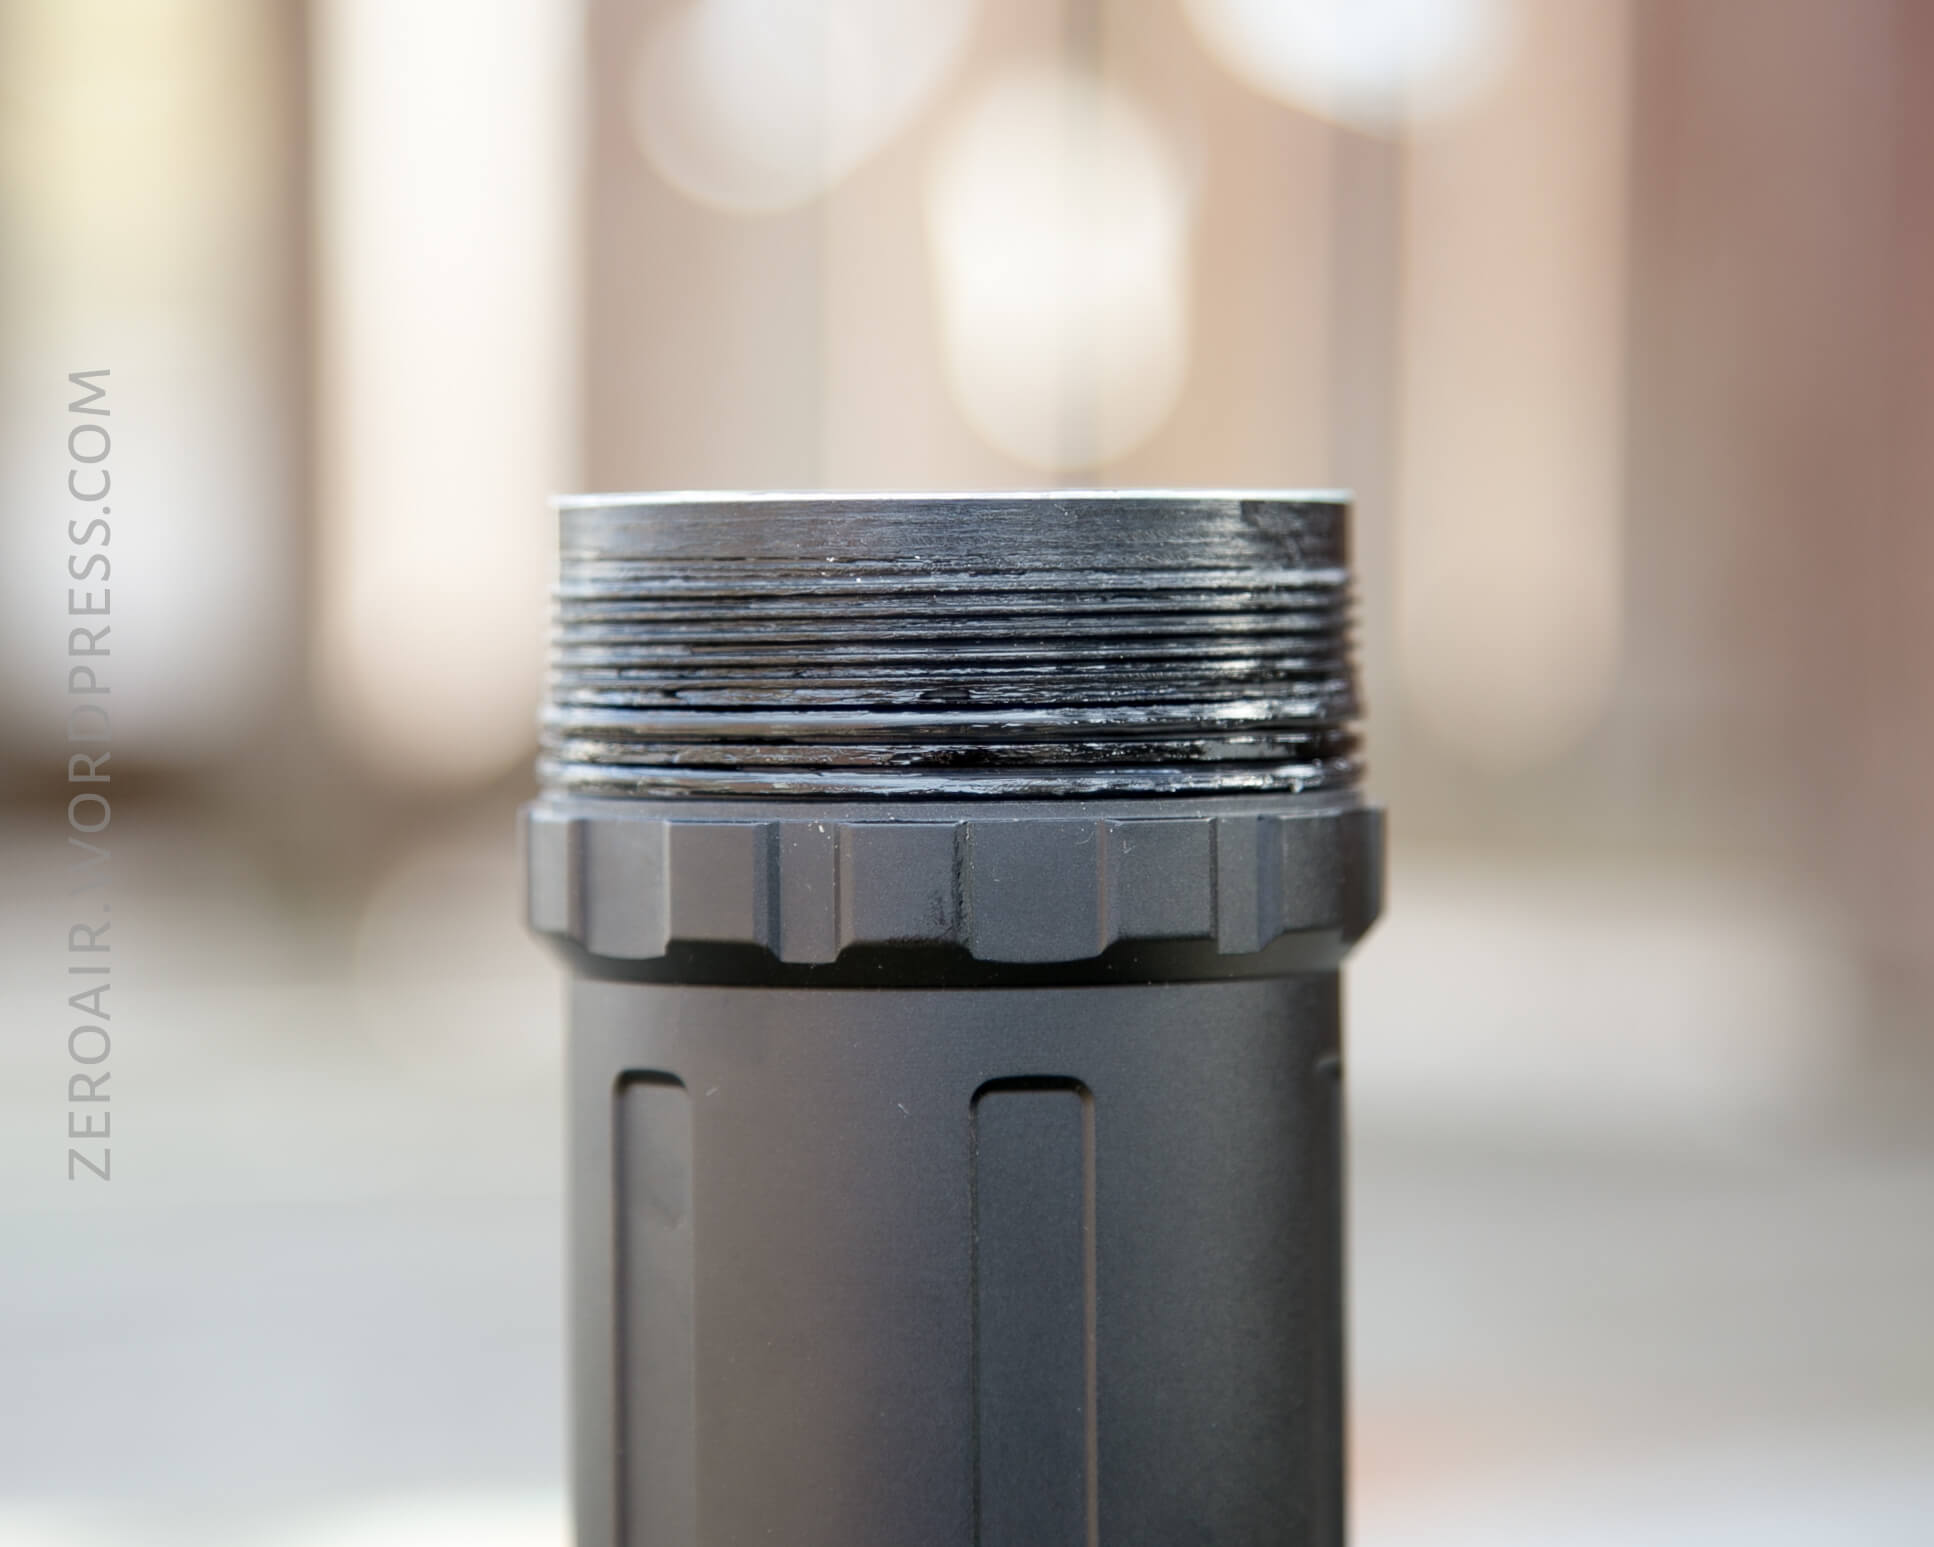
“Hefty” or “sturdy” would be great terms for this light. I can’t find any flaws with the build quality. The threads connecting the battery compartment and the head are well lubed, square-cut and thread together very nicely. Likewise with the threads on the tailcap (which really one will likely never need to loosen).


The bezel and reflector and all the parts are well made. In fact they’re quite flawless. One of my favorite head-on photos I’ve ever taken is of this light! It’s a great looking emitter flower.
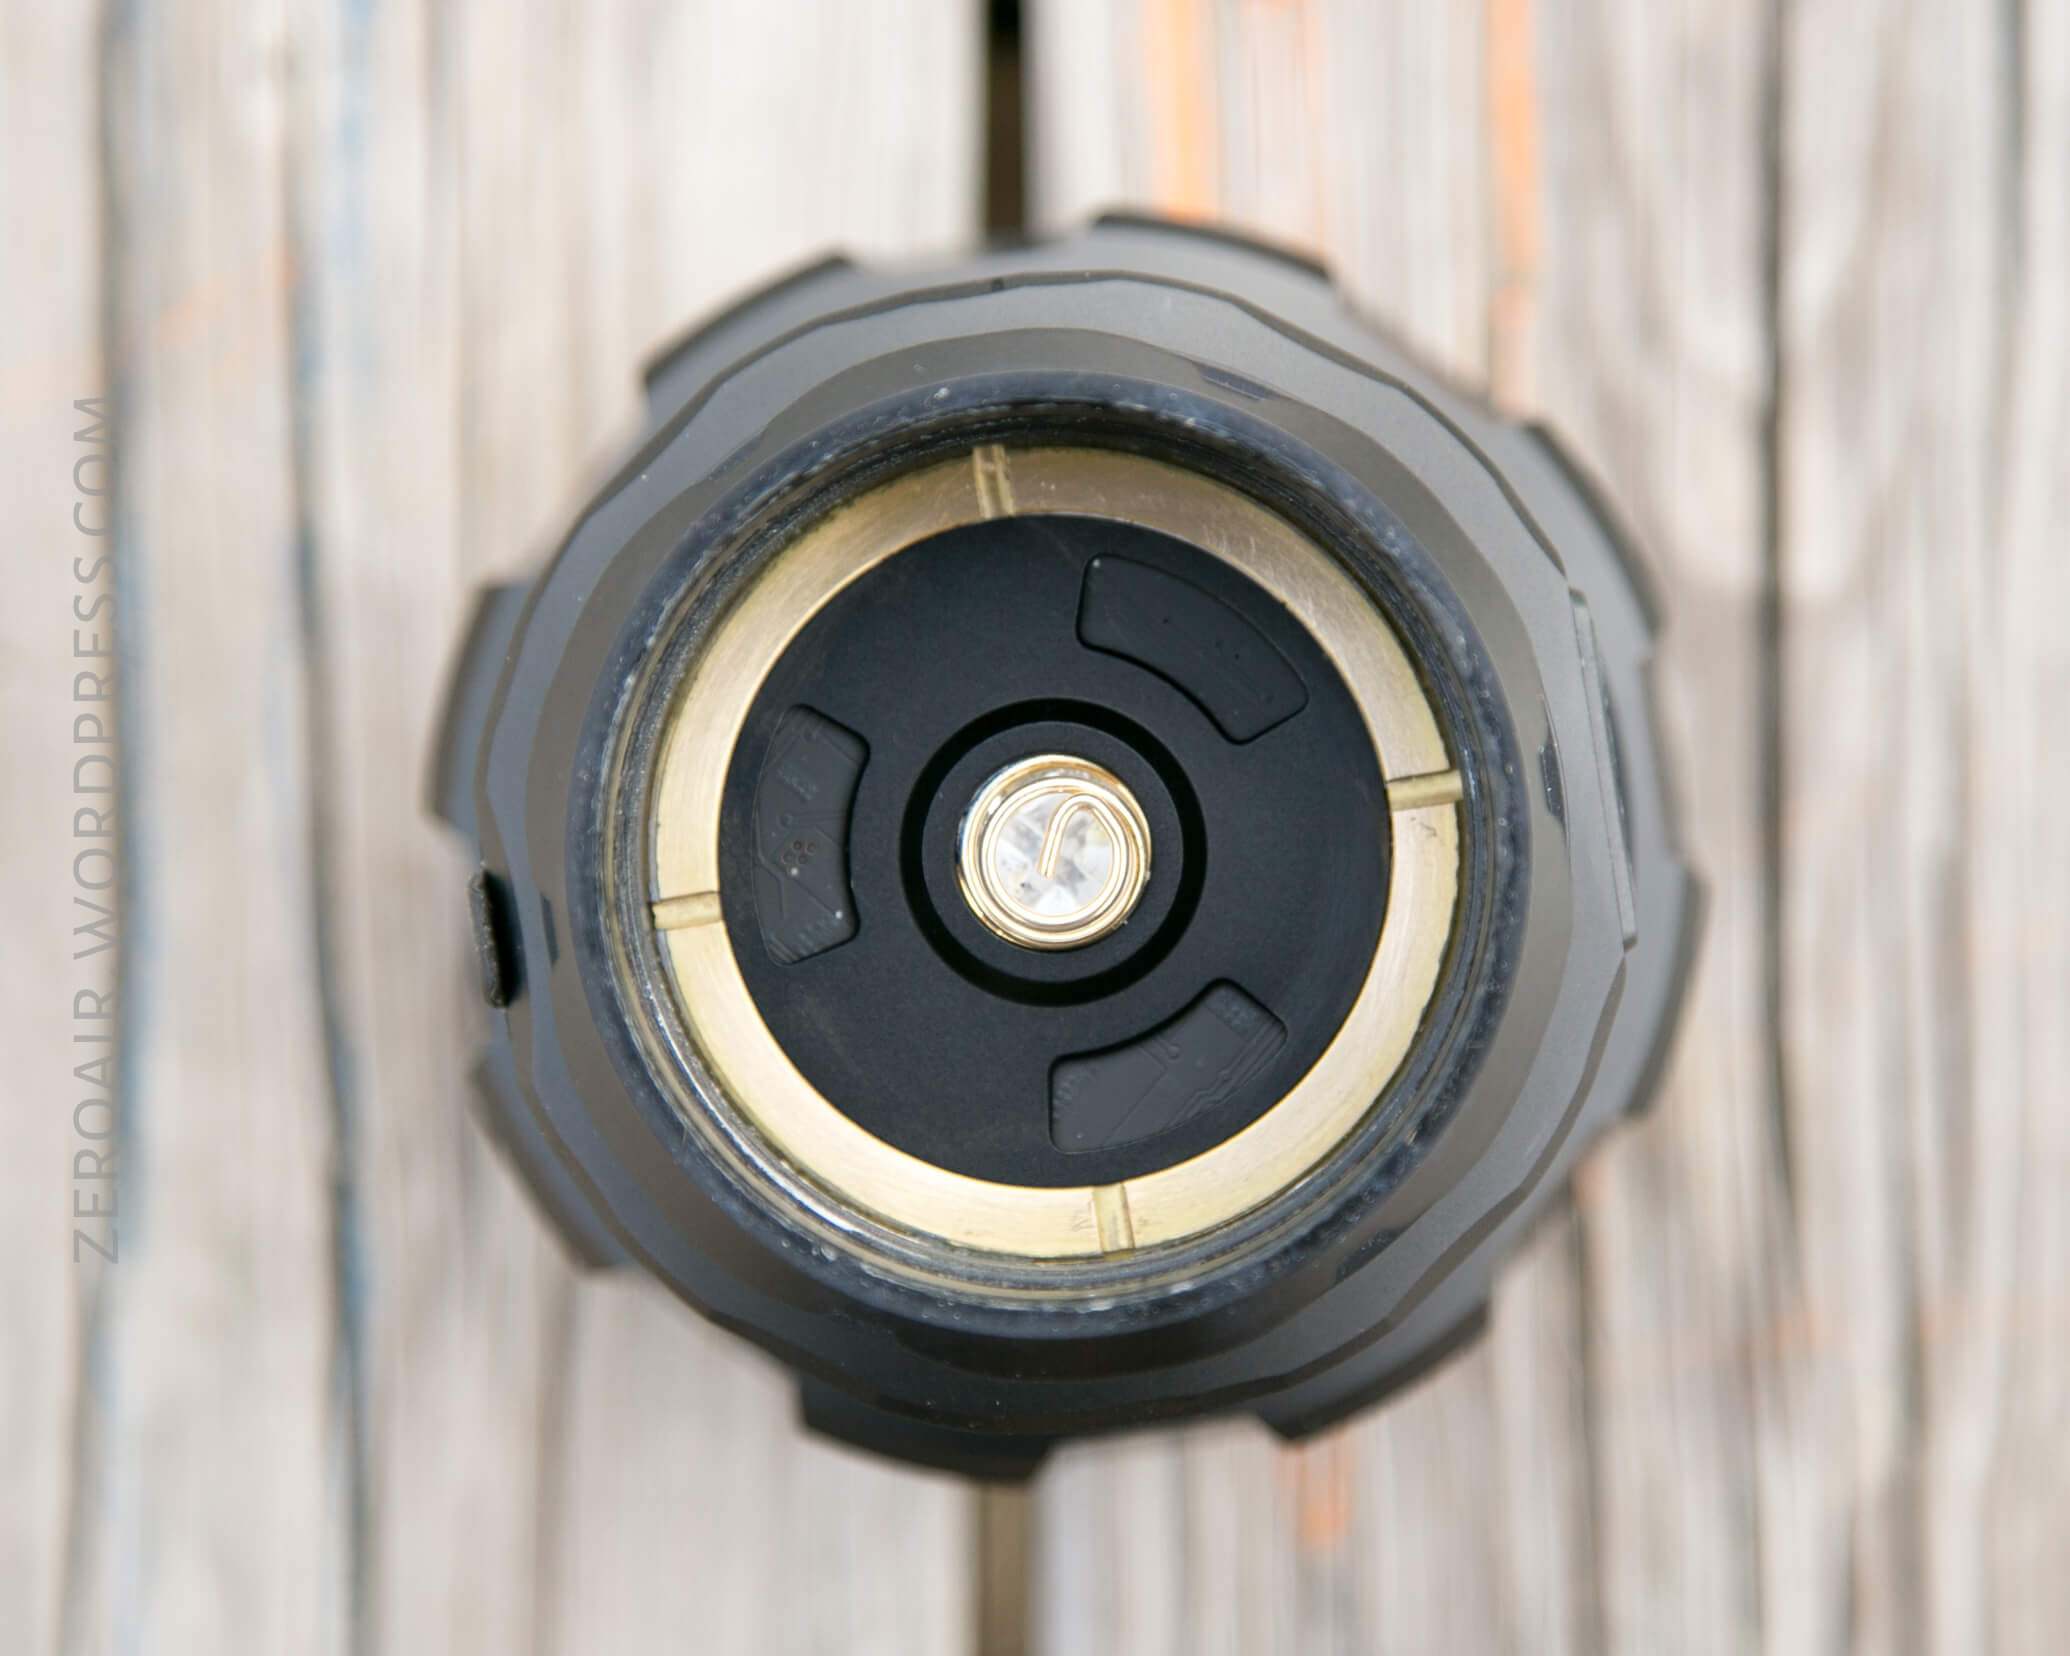
The tailcap is removable. The tail end of the body has two sets of two holes for lanyards and whatnot.


Removing the tailcap allows access to see the battery. The battery does not slide out when the light is taken apart in this way. I believe one would need to persuade this compartment from the head end in order to remove the battery. (Or it’s just really, really jammed in there tightly.)


The threads on the body are very nice thick Acme threads, ad well lubed (if not overly lubed.) The threads are long – it takes many rotations to get things secured properly.
Contact is made to the head by brass components, and a thick spring on the positive terminal.

I didn’t remove it but this brass retaining ring should be threaded in and allow access fairly easily.
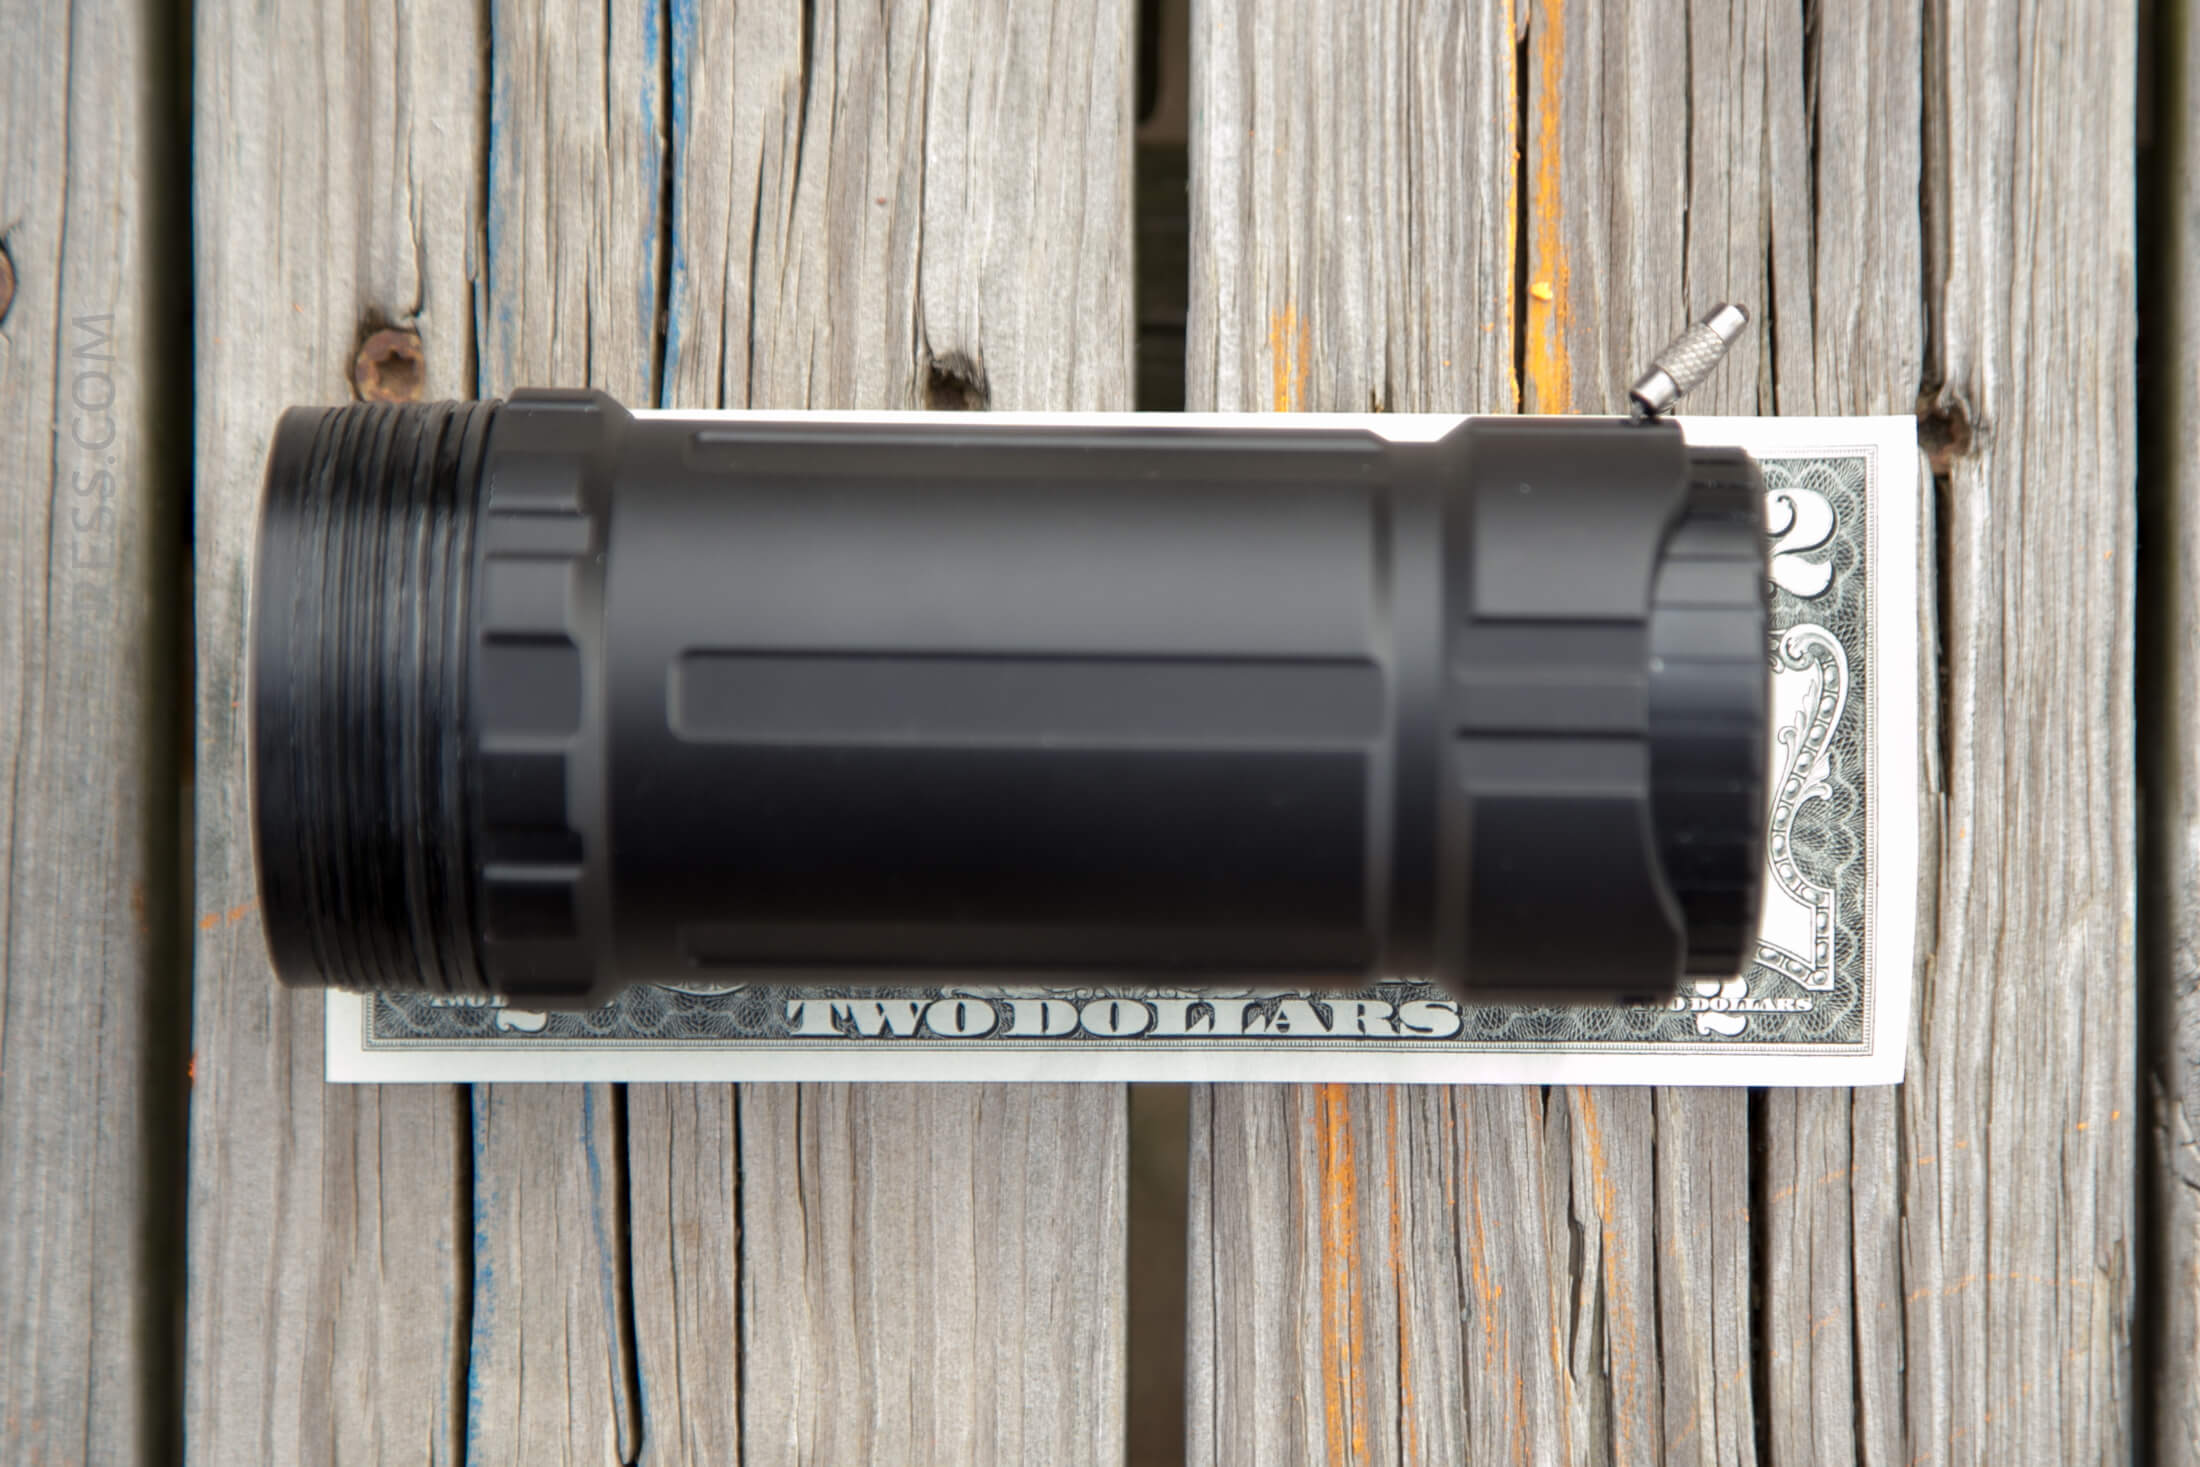
Size
Officially 213 mm (length) * 92 mm (head diameter) * 50 mm (body diameter), and 1204g (with battery).
Make no mistake, this is a large light! Large and hefty. It’s 8×18650 worth of mass in the battery alone.


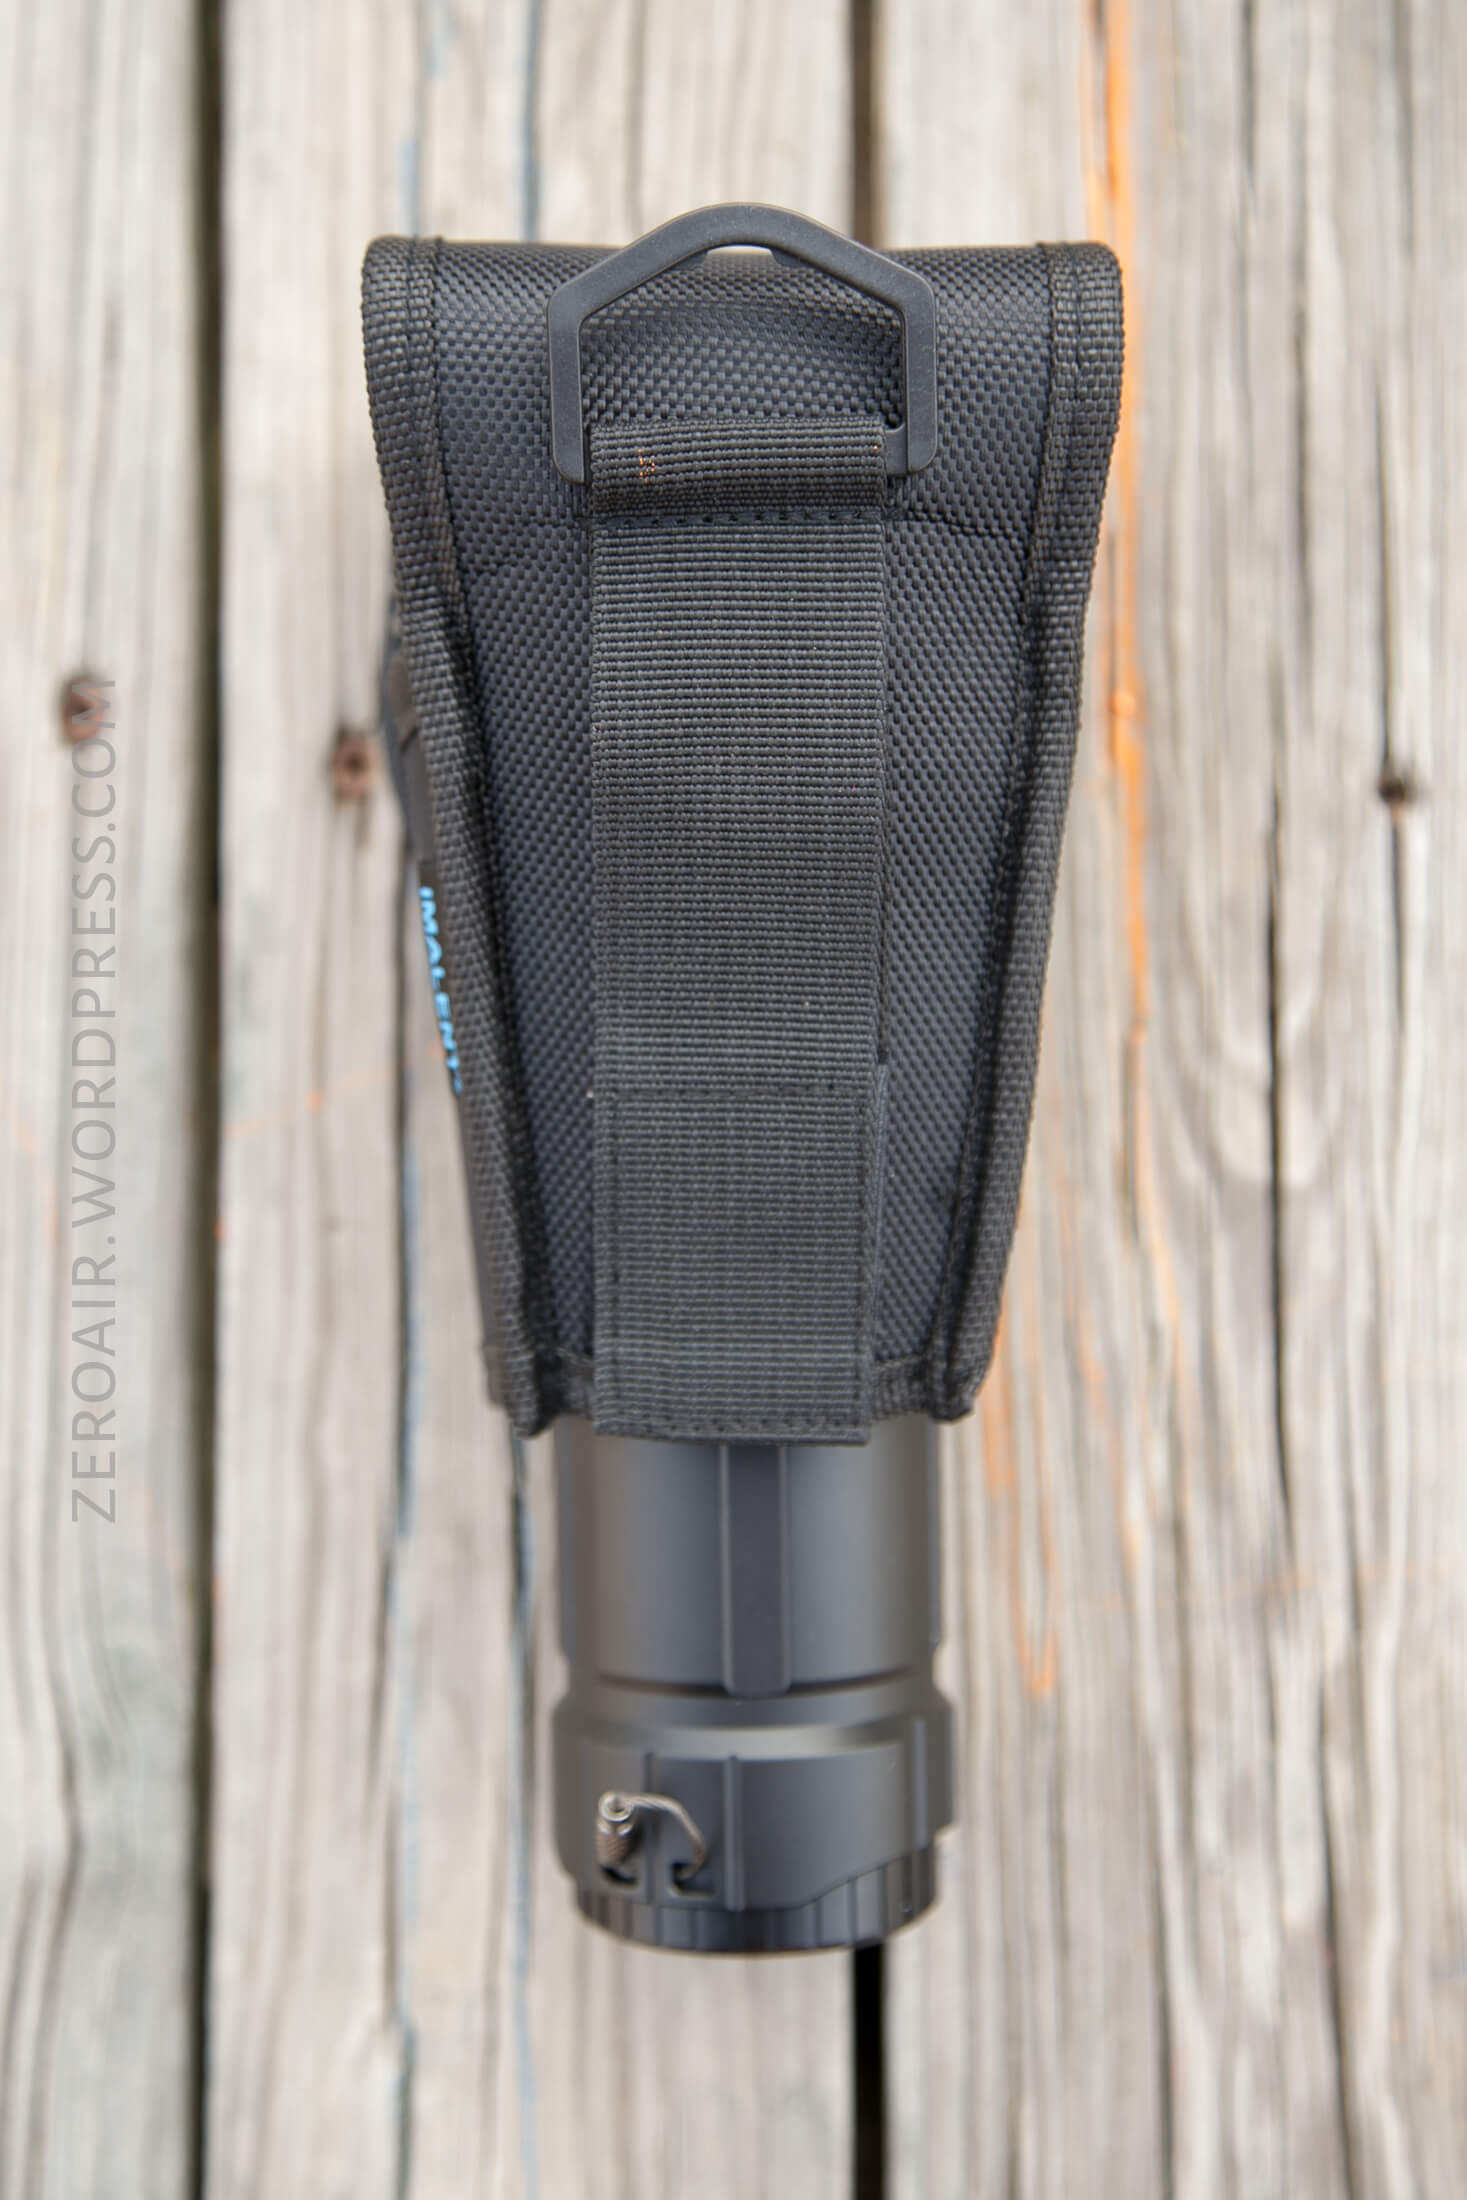
Retention
The light has a few options for carry. First is the nylon pouch. The pouch is directional, for bezel up carry. It covers the lens pretty well but is open on the sides.


As with many pouches, there’s a plastic D-ring and velcro/belt loop options.
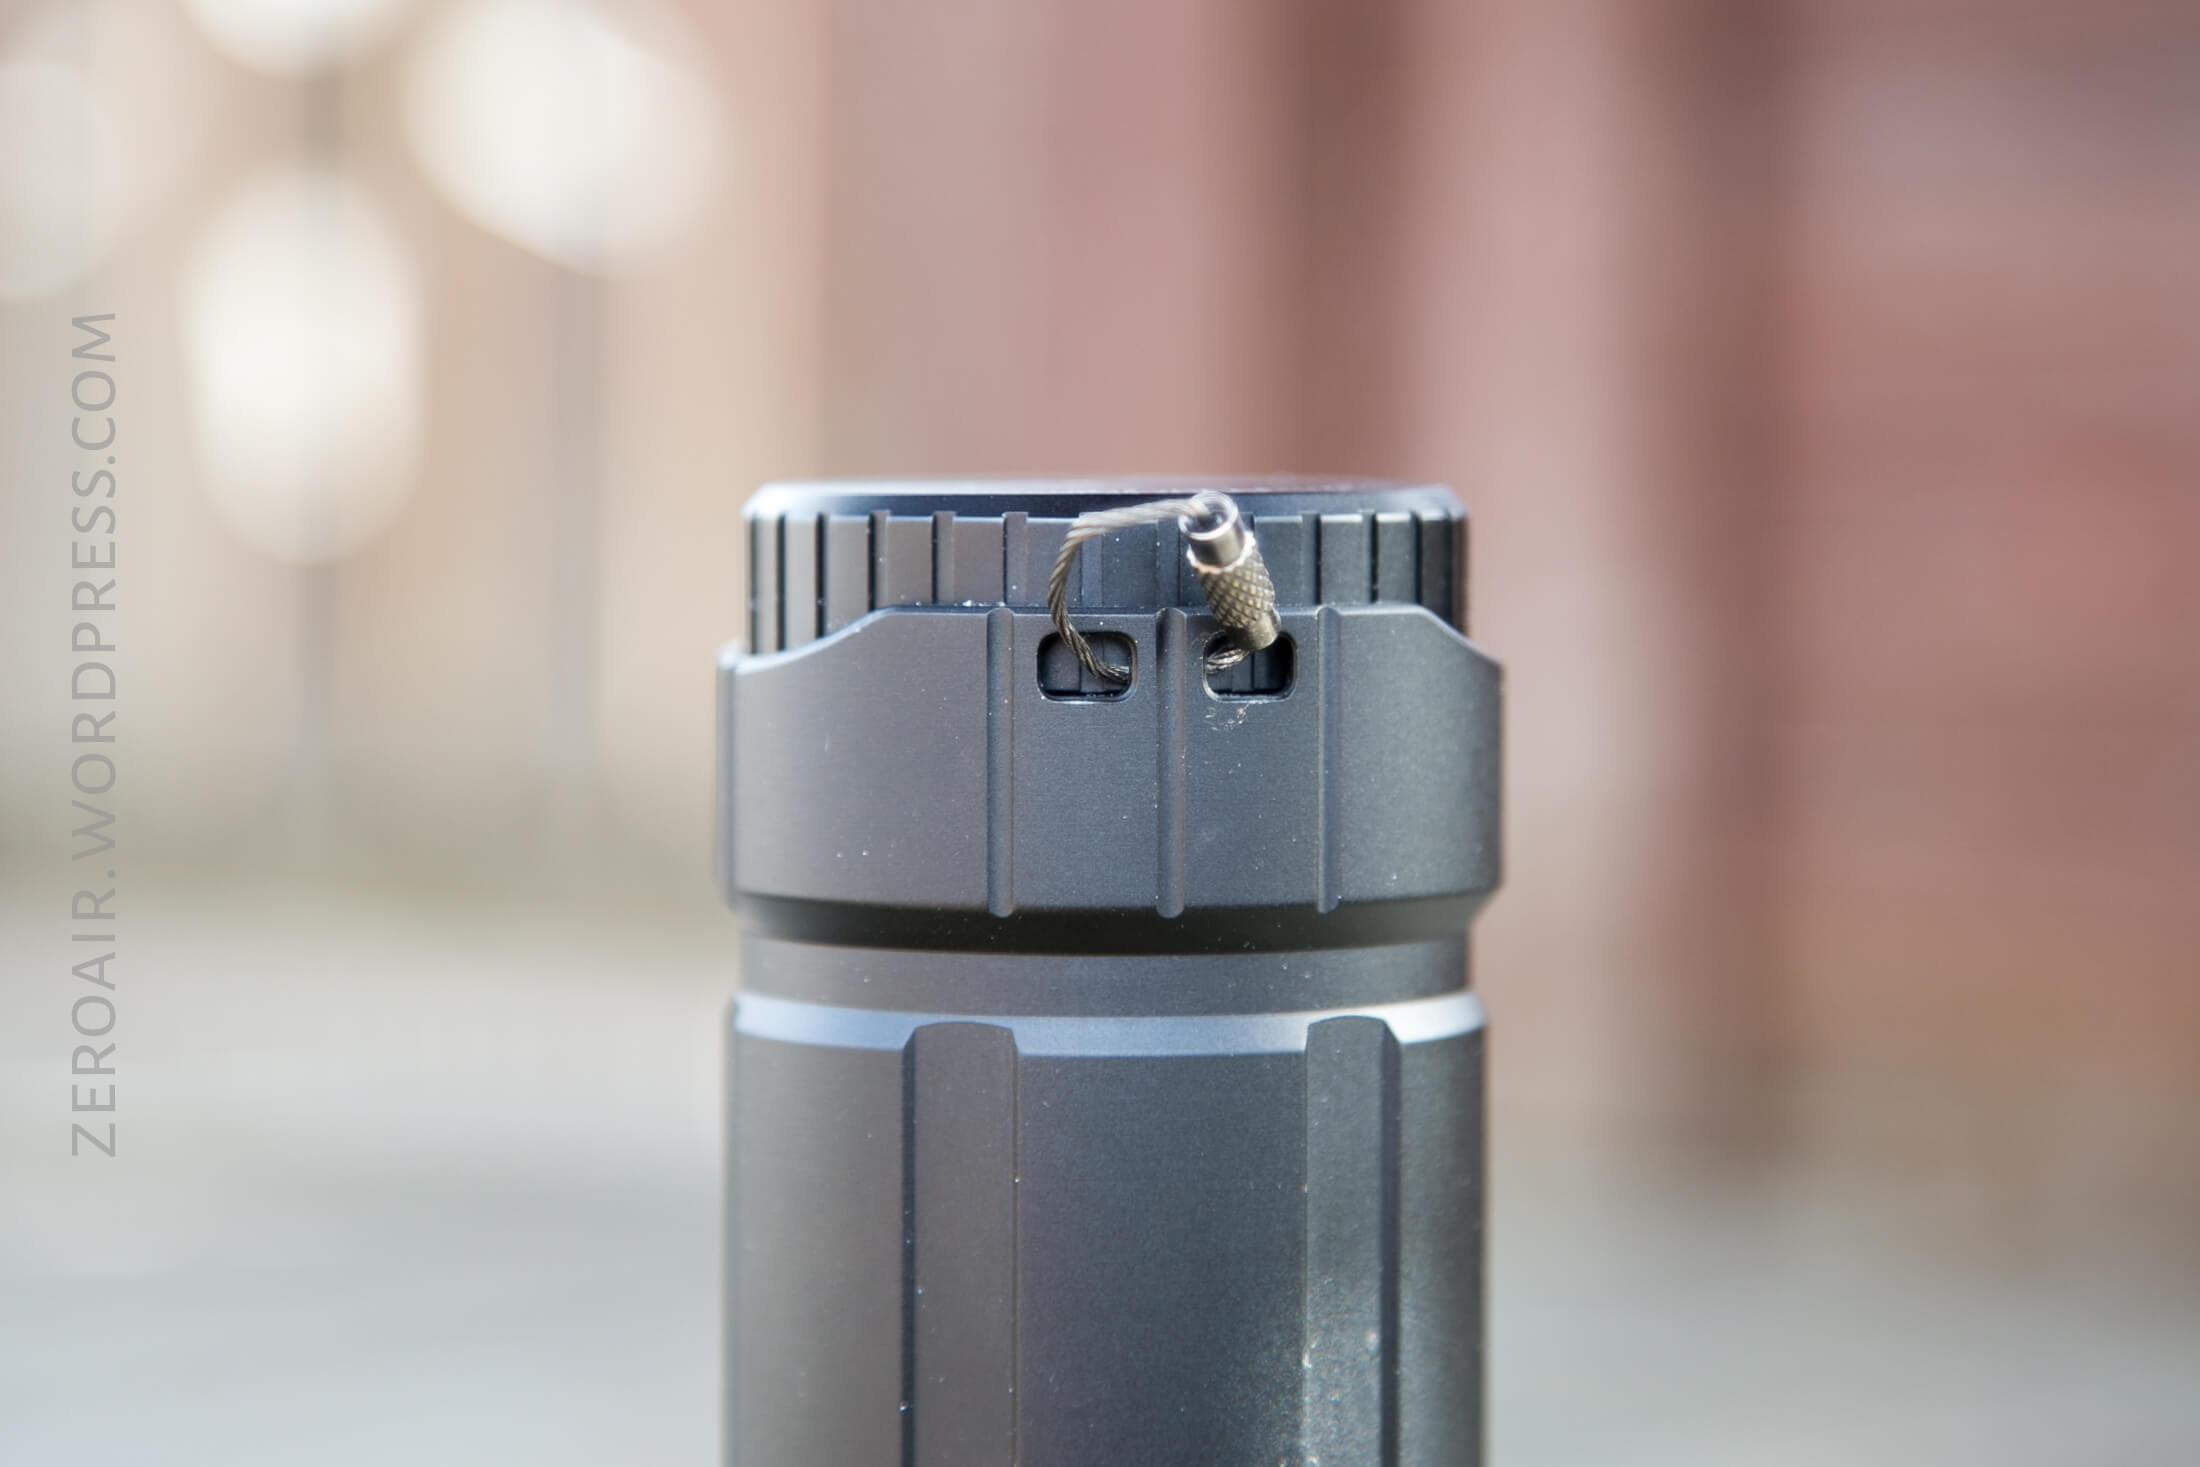
Also included is a braided nylon rope, which connects somehow. If I’m honest, I am not sure how it’s meant to connect, but a way can be hashed out between the two holes below and the very tiny mechanics ring on the other side. Or on the bezel – there are a number of ways it can be done.

This mechanic’s ring is removable.
Power
The light runs on the included battery. It seems to be built-in. I have no doubt it can be removed, but it involves more effort than I wanted to put in (ie I don’t really want to break the light). And when I say it’s “clearly 18650s” – the case is that it’s a bunch of 18650s wrapped with heat shrink.
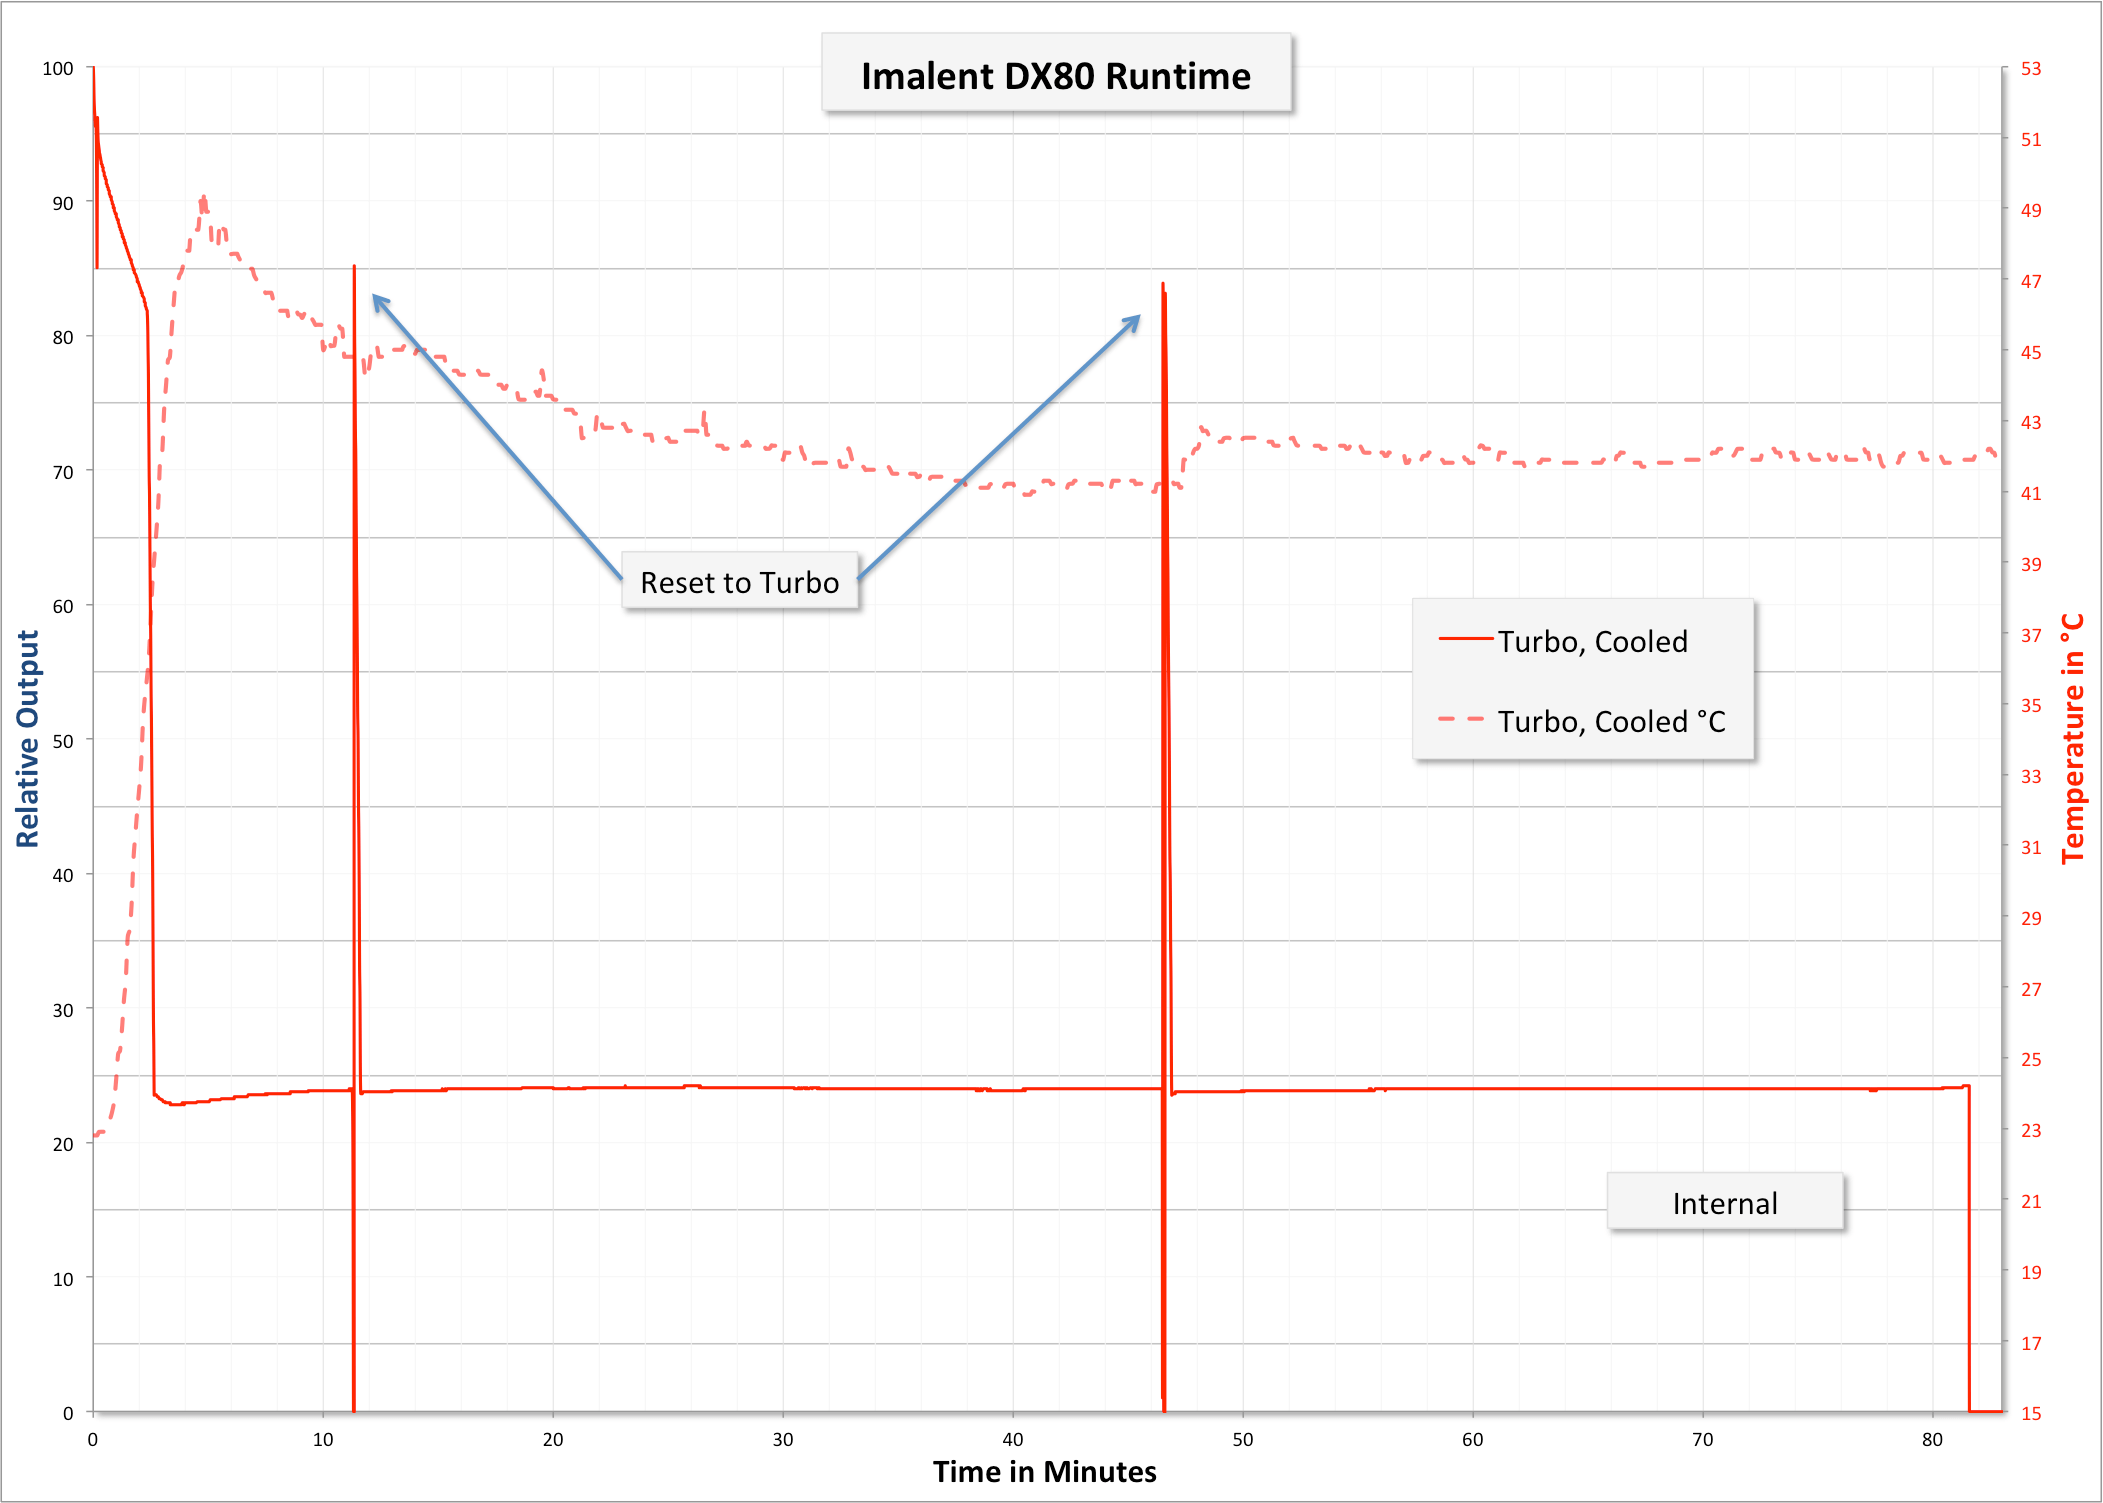
There is low voltage protection for the light. It seems to kick in around 12V. The light shuts off completely when LVP kicks in.
The light does output approximately one billion lumens…. ok maybe not one billion. If the DX80 outputs the claimed 32000 lumens or not, I can’t say. It’s easily my brightest light though. The initial drop from turbo is fairly steep, and bottoms out about 85% output, at which point the light drops hard down to around 25%. I didn’t find the light to ever be very hot (though there is a “hot” symbol indicator). It’s possible to reset the light back to “turbo” but it’s never the full output – it’s less output and for shorter time than with full cells.
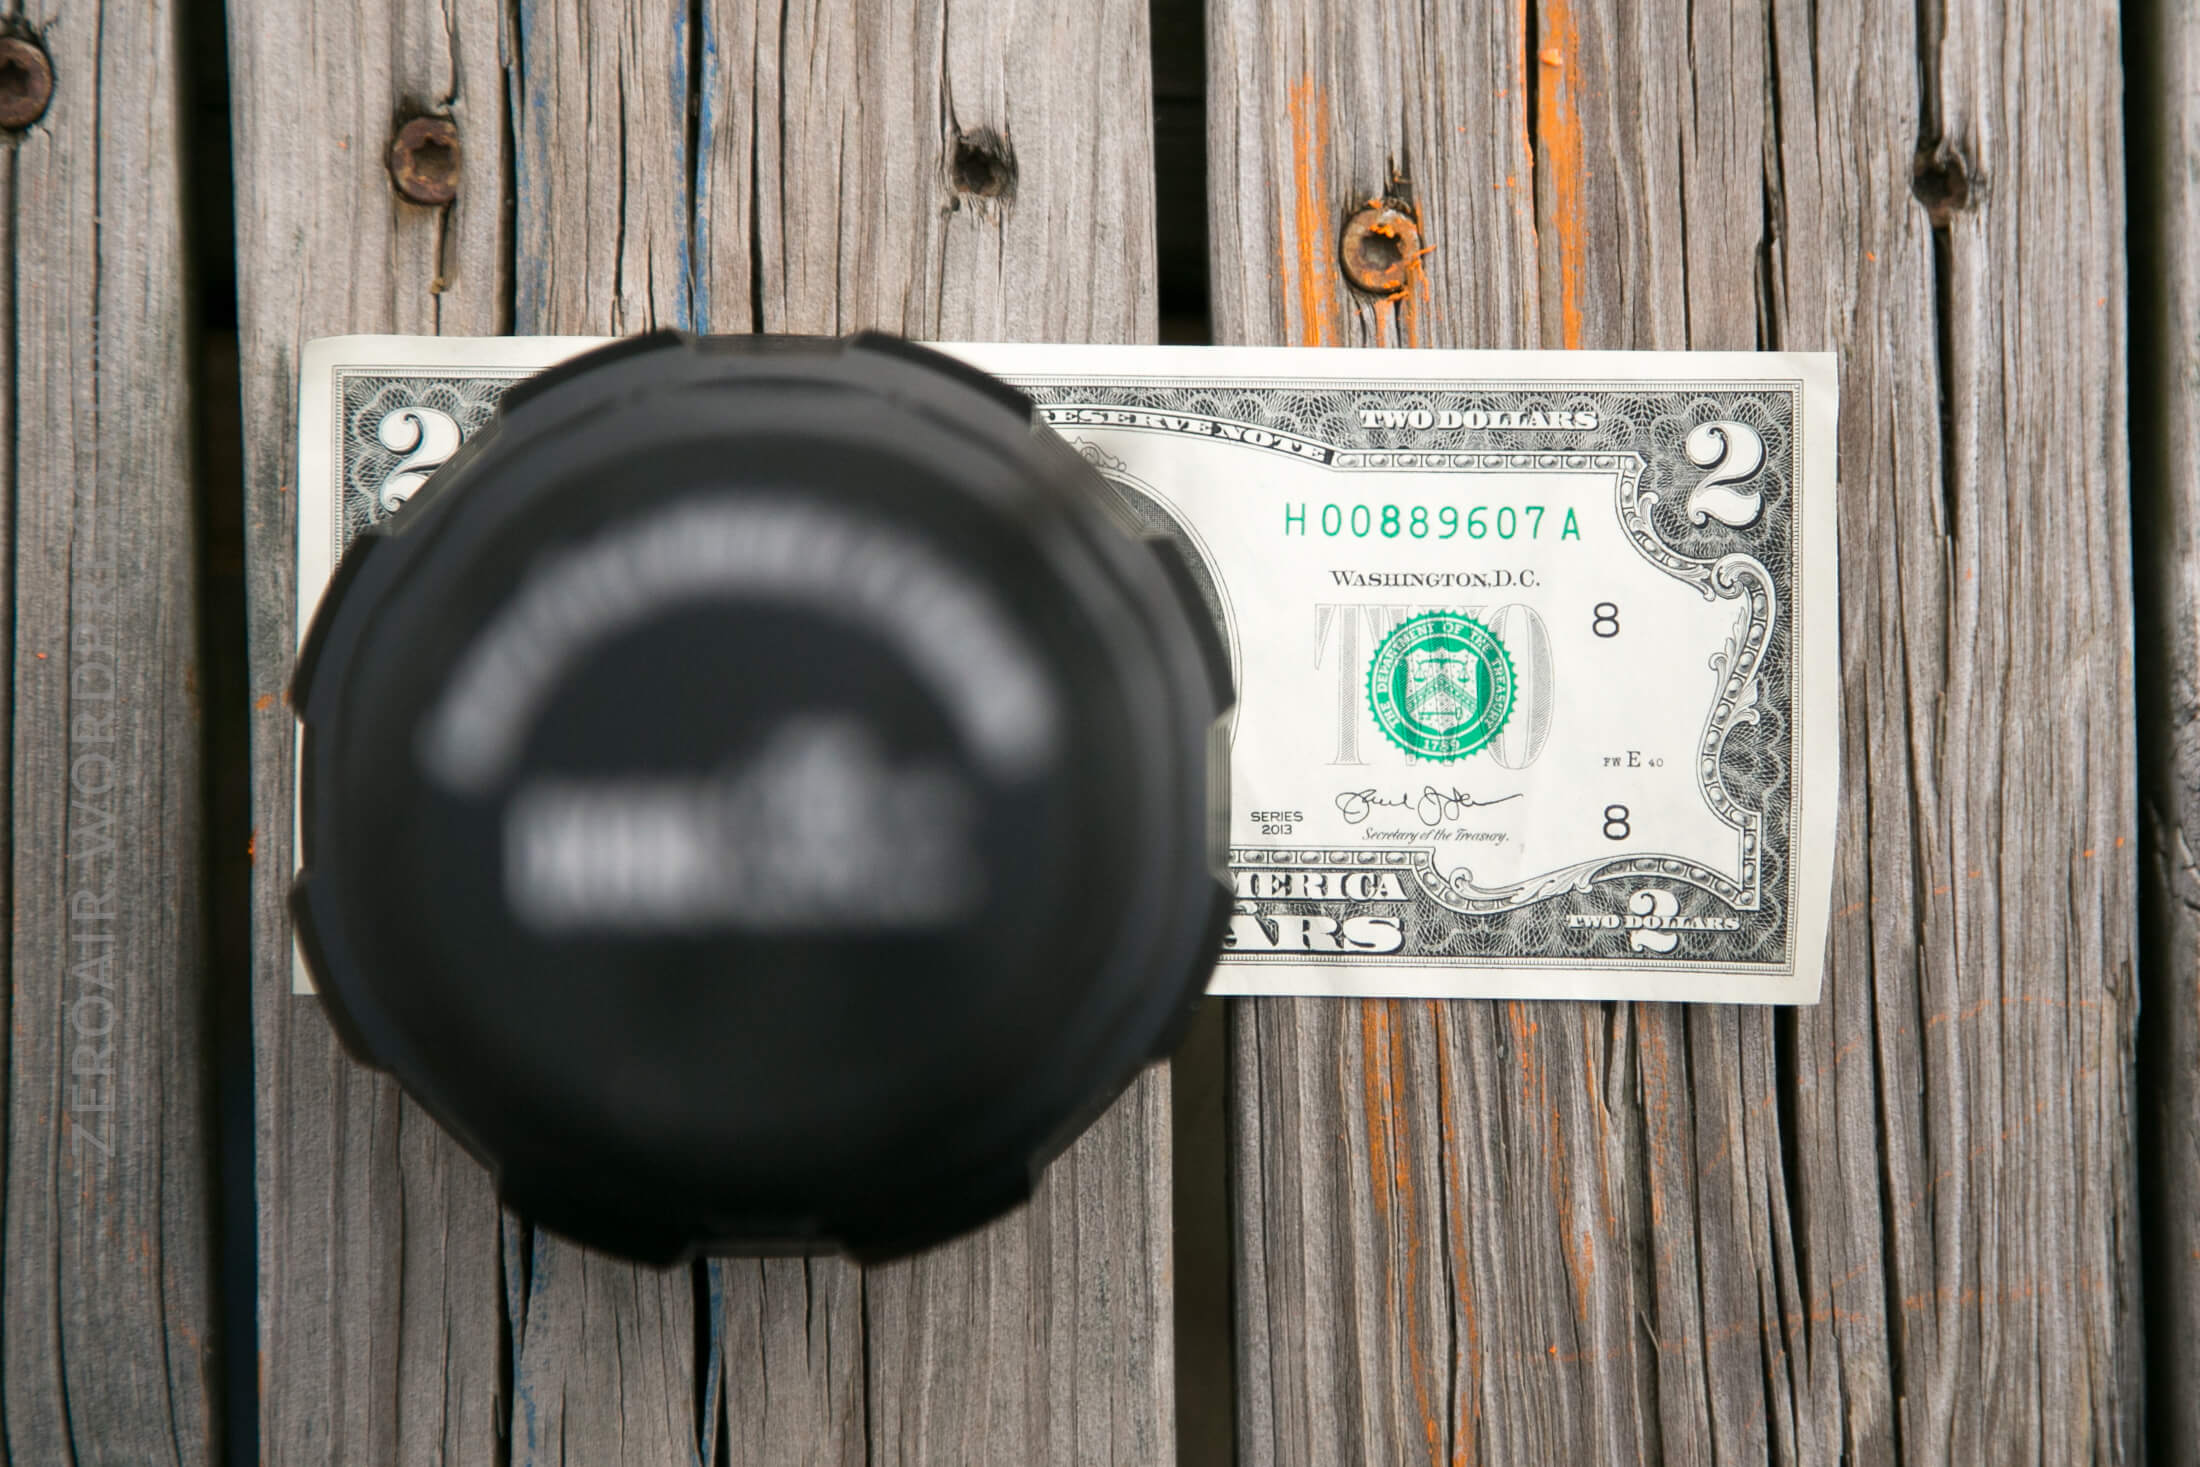
Charging
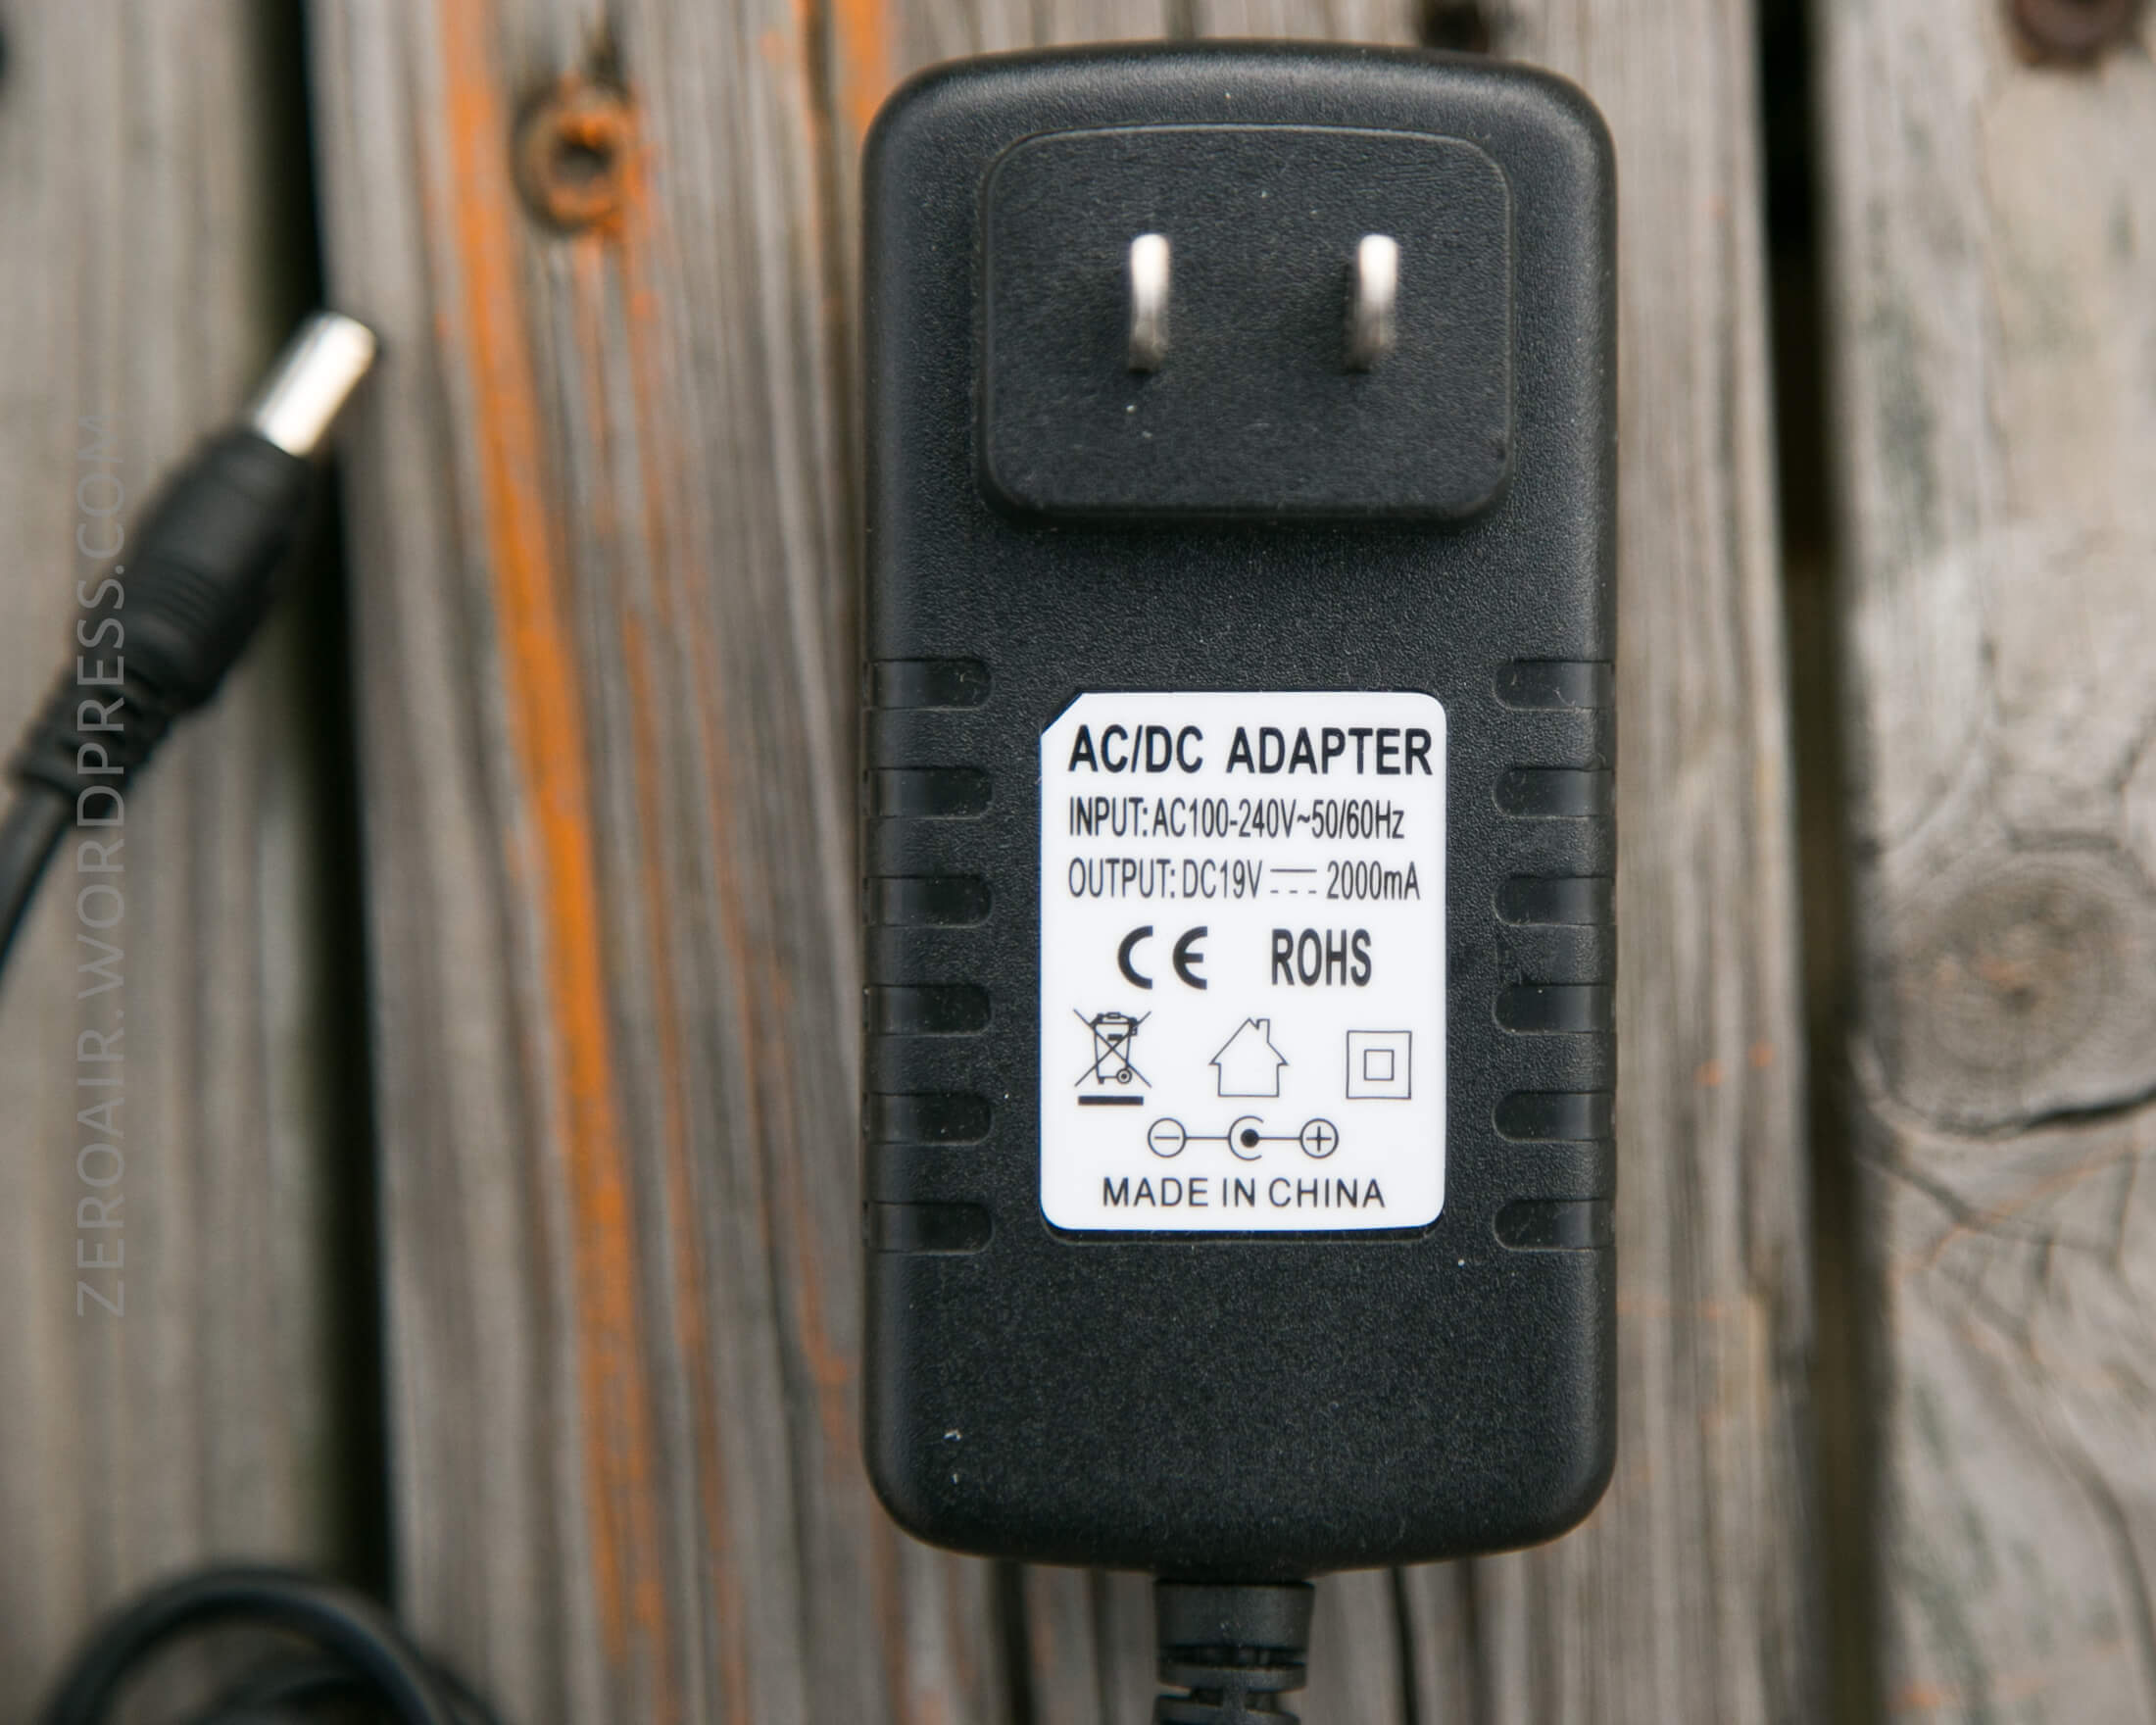
Of course, since the battery is built-in, the light has onboard charging. The provided wall wart is a 19V 2A charger and connects through a barrel plug. On the light, the plug receptacle is covered by a thick boot. This boot is very snug, but it sort of gets in the way when the light is being charged.

Here’s the wall wart. It’s a pretty solid charger.

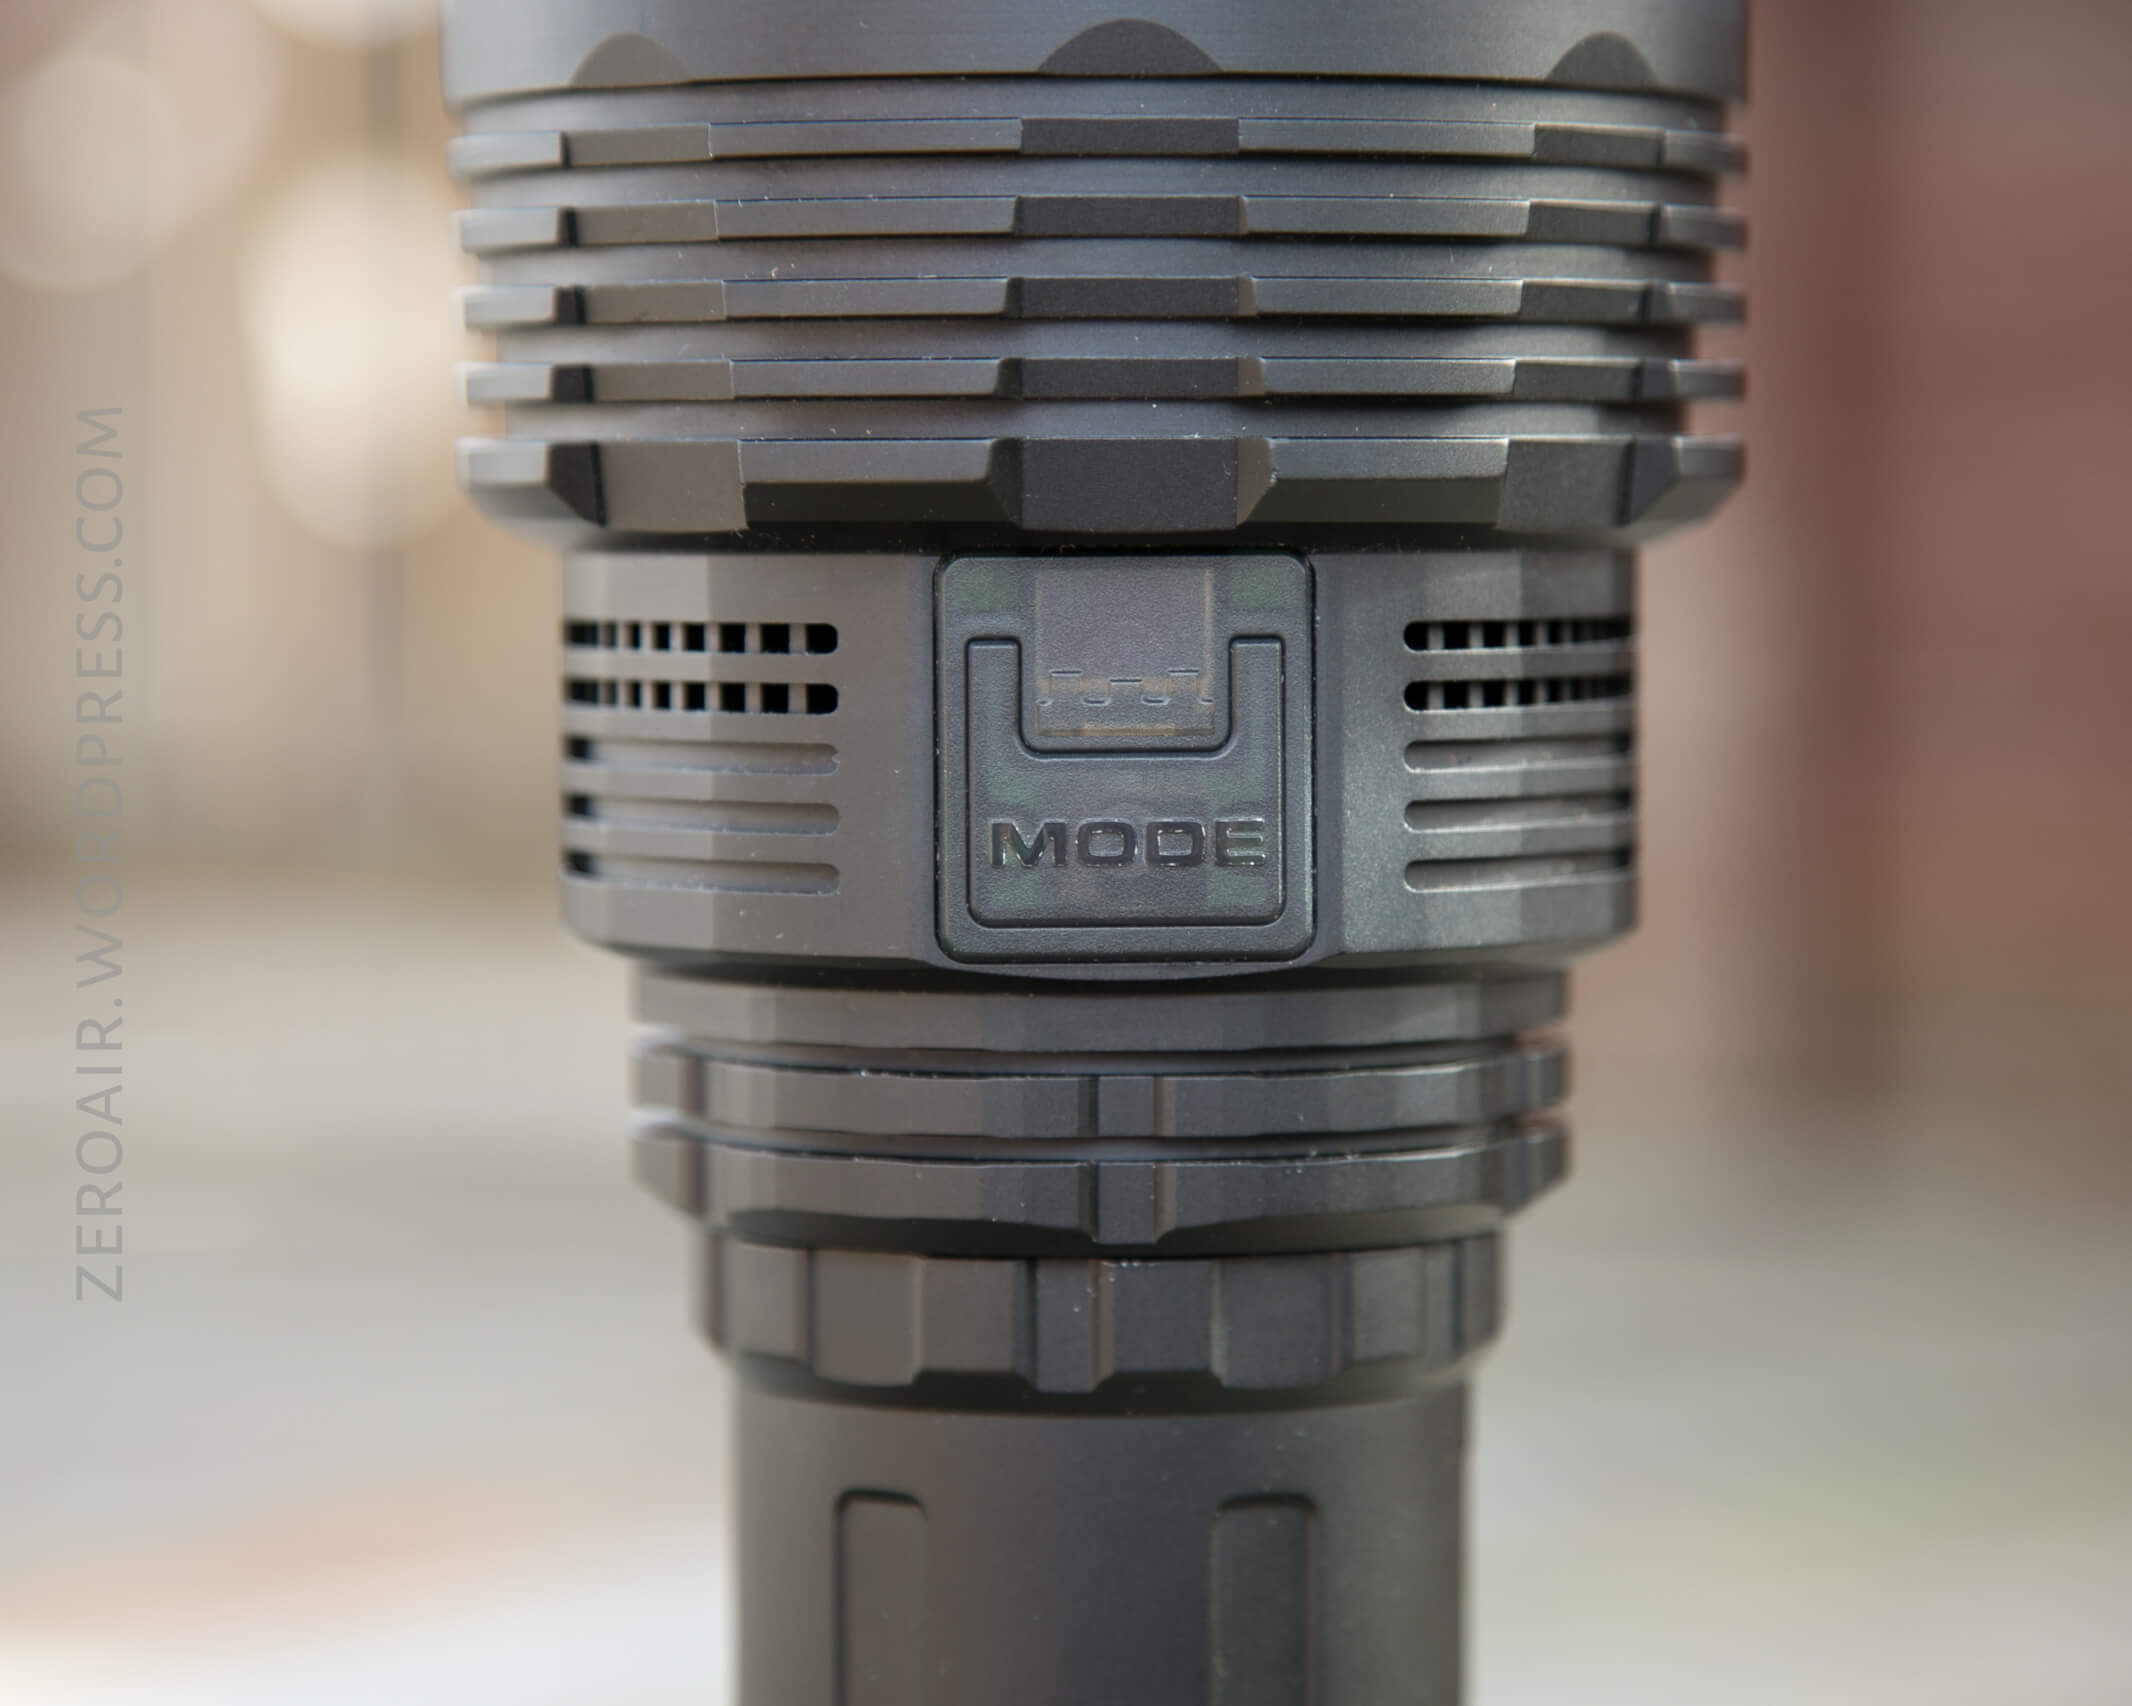
User Interface and Operation
There is a single, indicating side switch, with display, on the DX80. It’s a nice big hard plastic switch, and it’s also translucent. There are two blue LEDs under the switch for indicating. Above the switch (and not actually part of the switch) is an OLED. This is used for displaying warnings, and other things the user can select.

One of the things the OLED can display is the claimed output for any mode the user has selected. Here, the 5000LM mode. The OLED has a slow refresh rate, so if your’e sensitive to PWM, then you’ll notice it.

The user interface is not complicated.
Click for on. The light will come on in the last used mode (except special modes). Click to advance through the modes (L-H direction). Double click for turbo and double click again for strobe. Hold the switch for ~0.3s to turn the light off.
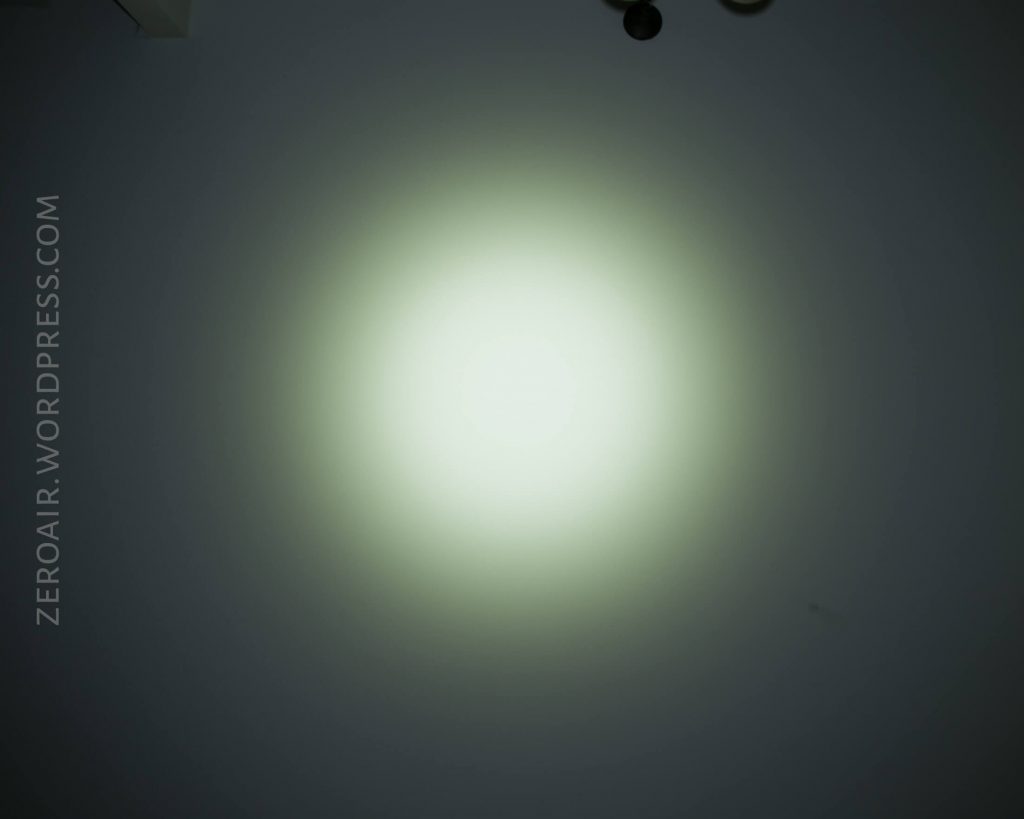
LED and Beam
Imalent put eight (8!) Cree XHP70.2 emitters in this light. These are “second generation” XHP70’s (confirmed with Imalent to be the “.2” variety).
The beam is as you’d expect. A lot of flood, but with such a volume of light that there’s also a lot of throw as well. (I measured over 700m.) This is like the Convoy L6 taken to the next level; a wall of light but with throw.

The beam profile doesn’t suffer from the “flower” pattern very badly, as some multi-emitter lights do. These reflectors are not deep and there are eight of them, so the pattern blends together and smooths out very well.

This is really just an impressive-looking light.

Beamshots
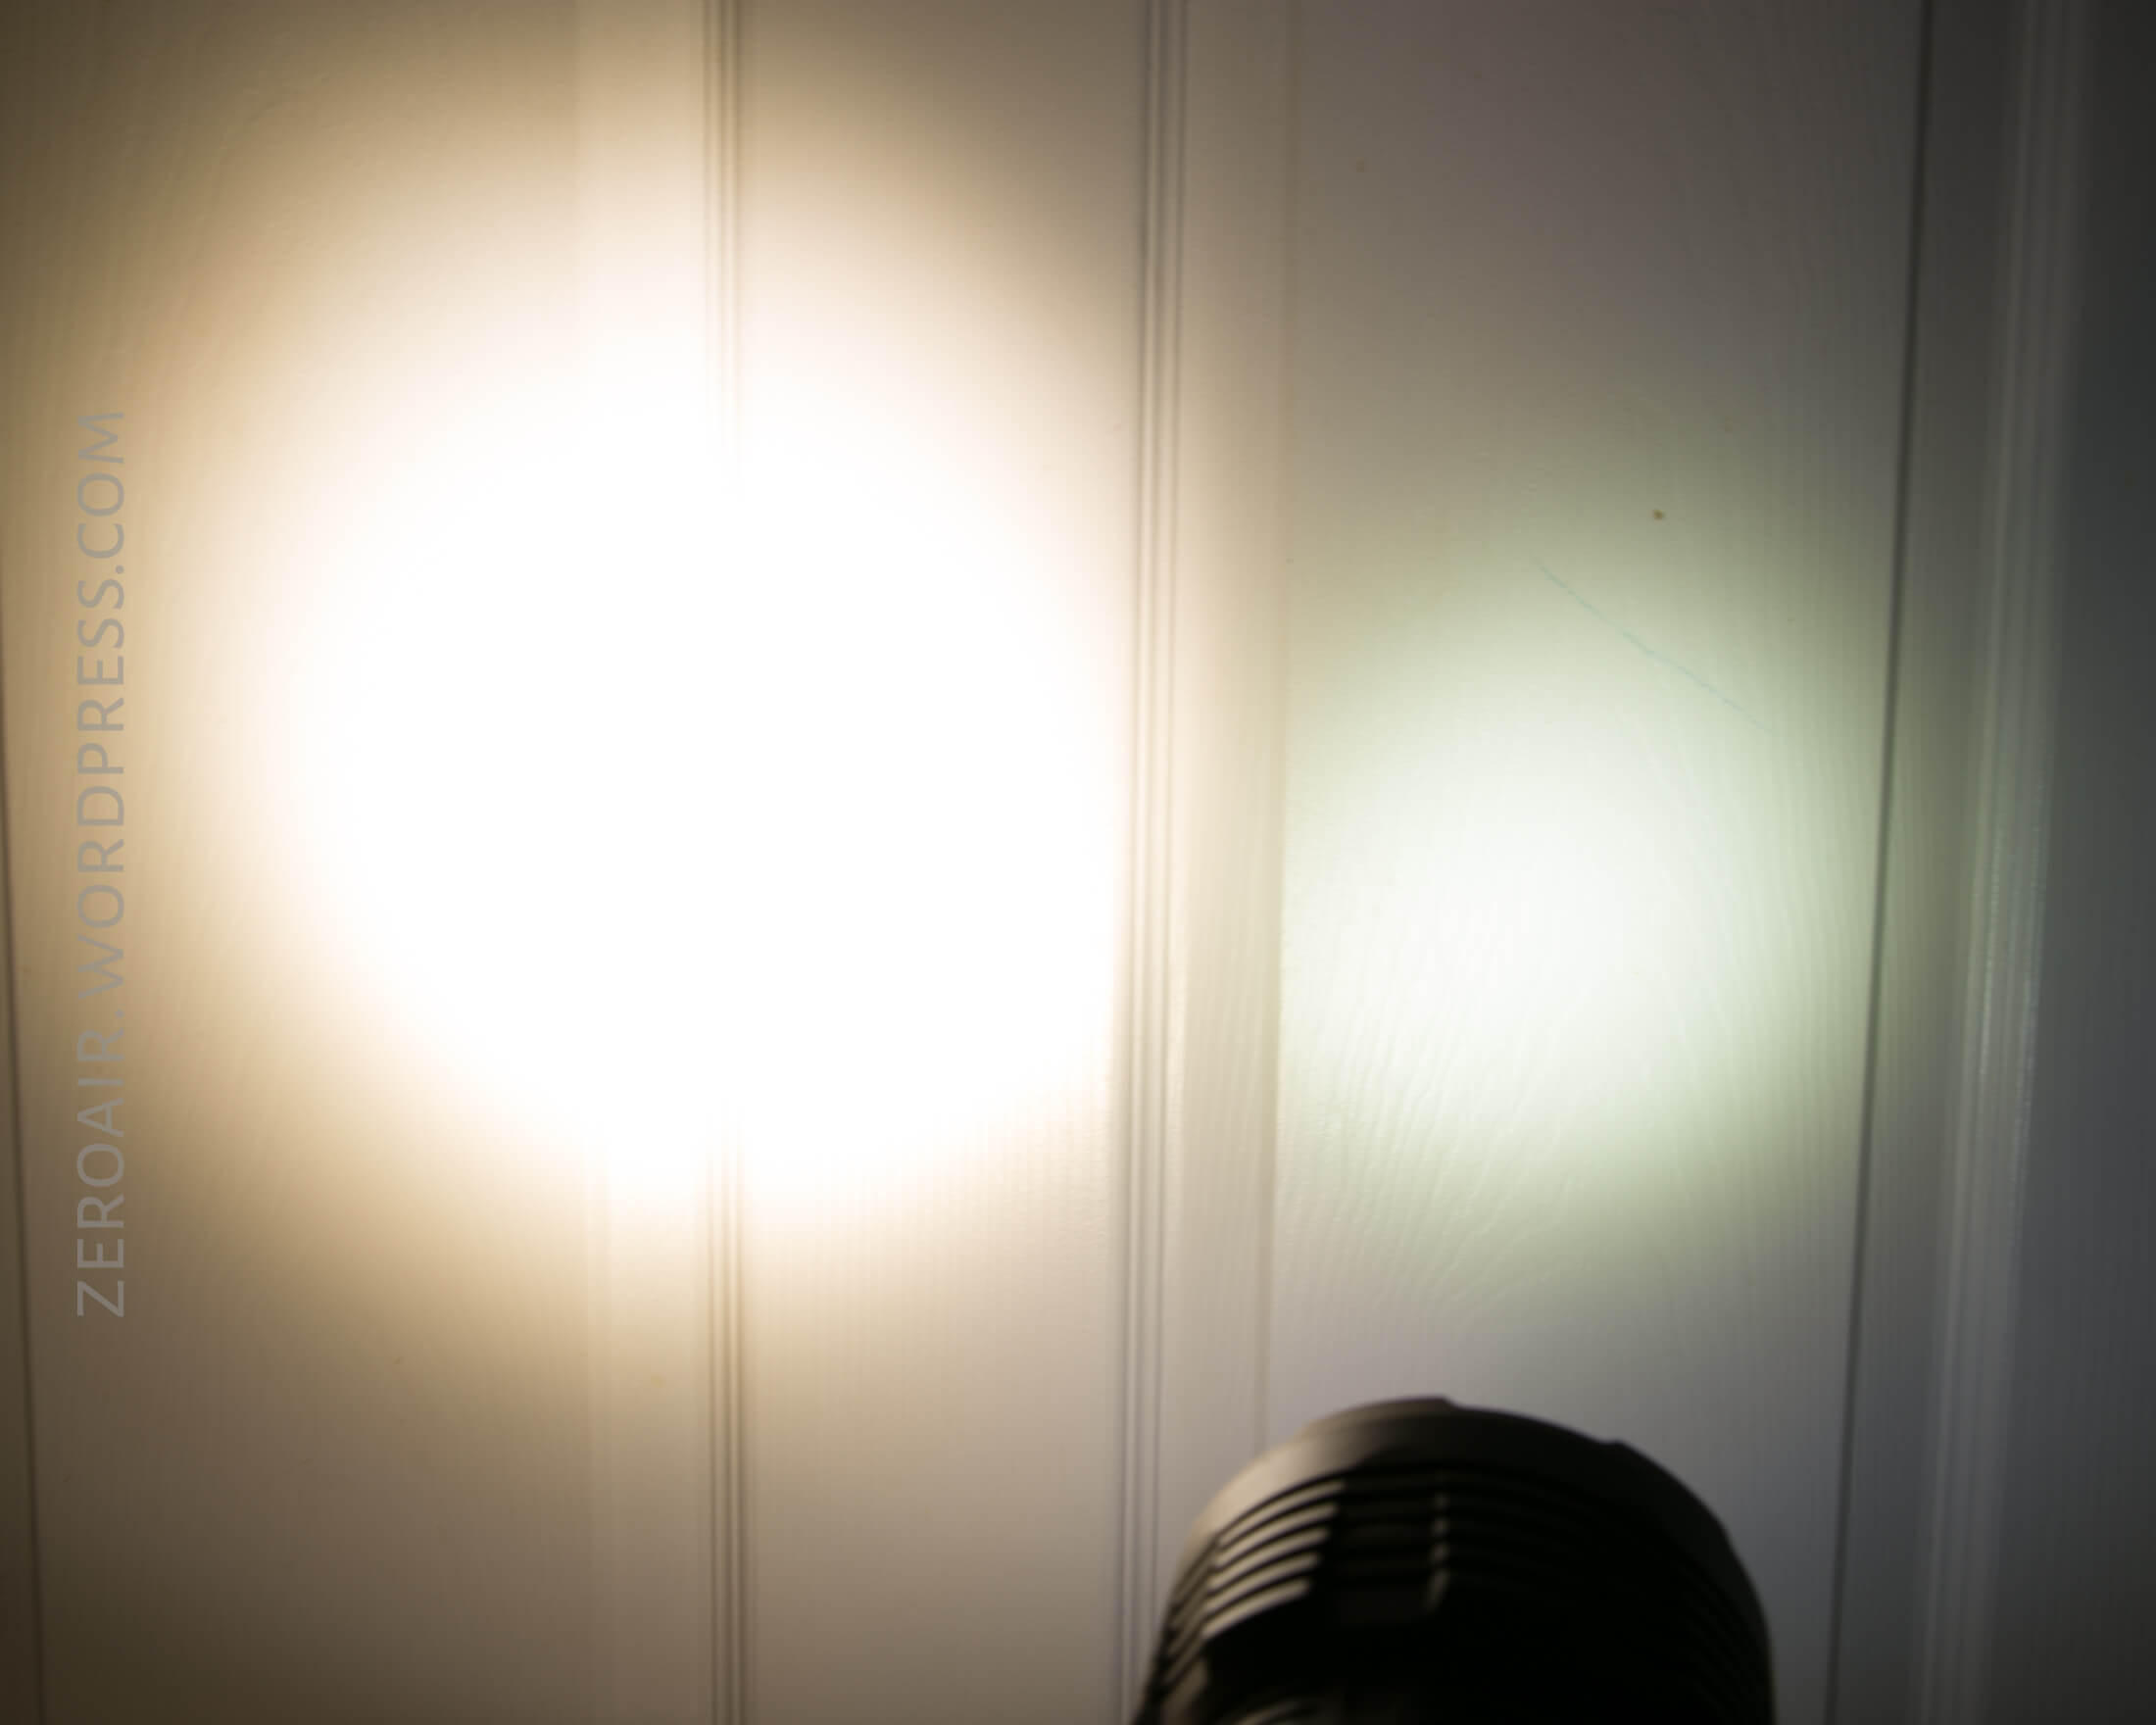
These beamshots always have the following settings: f8, ISO100, 0.3s shutter, and manual 5000K exposure. These photos are taken at floor level, and the beam hits the ceiling around 9 feet away.


Tint vs BLF-348 219c TorchLAB BOSS
Conclusion
What I like
- SO. Much. Light.
- The user interface is intuitive and not complicated
- It’s an indicating switch
- On-board charging
What I don’t like
- For my taste, the 18650s could be [individually] user-replaceable, instead of in a battery pack
- Stepdown from turbo seems quite extreme – even when temps weren’t that high
Notes
- This light was provided by GearBest for review. I was not paid to write this review.
- This content originally appeared at zeroair.org. Please visit there for the best experience!
- For flashlight-related patches, stickers, and gear, head over to PhotonPhreaks.com!
- Use my amazon.com referral link if you’re willing to help support making more reviews like this one!
- Please support me on Patreon! I deeply appreciate your support!
Pingback: Imalent RT35 Flashlight Review – ZeroAir Reviews