Olight Seeker 3 Pro Stars and Stripes Flashlight Review
Here’s the Olight Seeker 3 Pro Stars and Stripes flashlight. Still 4200 lumens and some great features like a rotary dial! Read on!
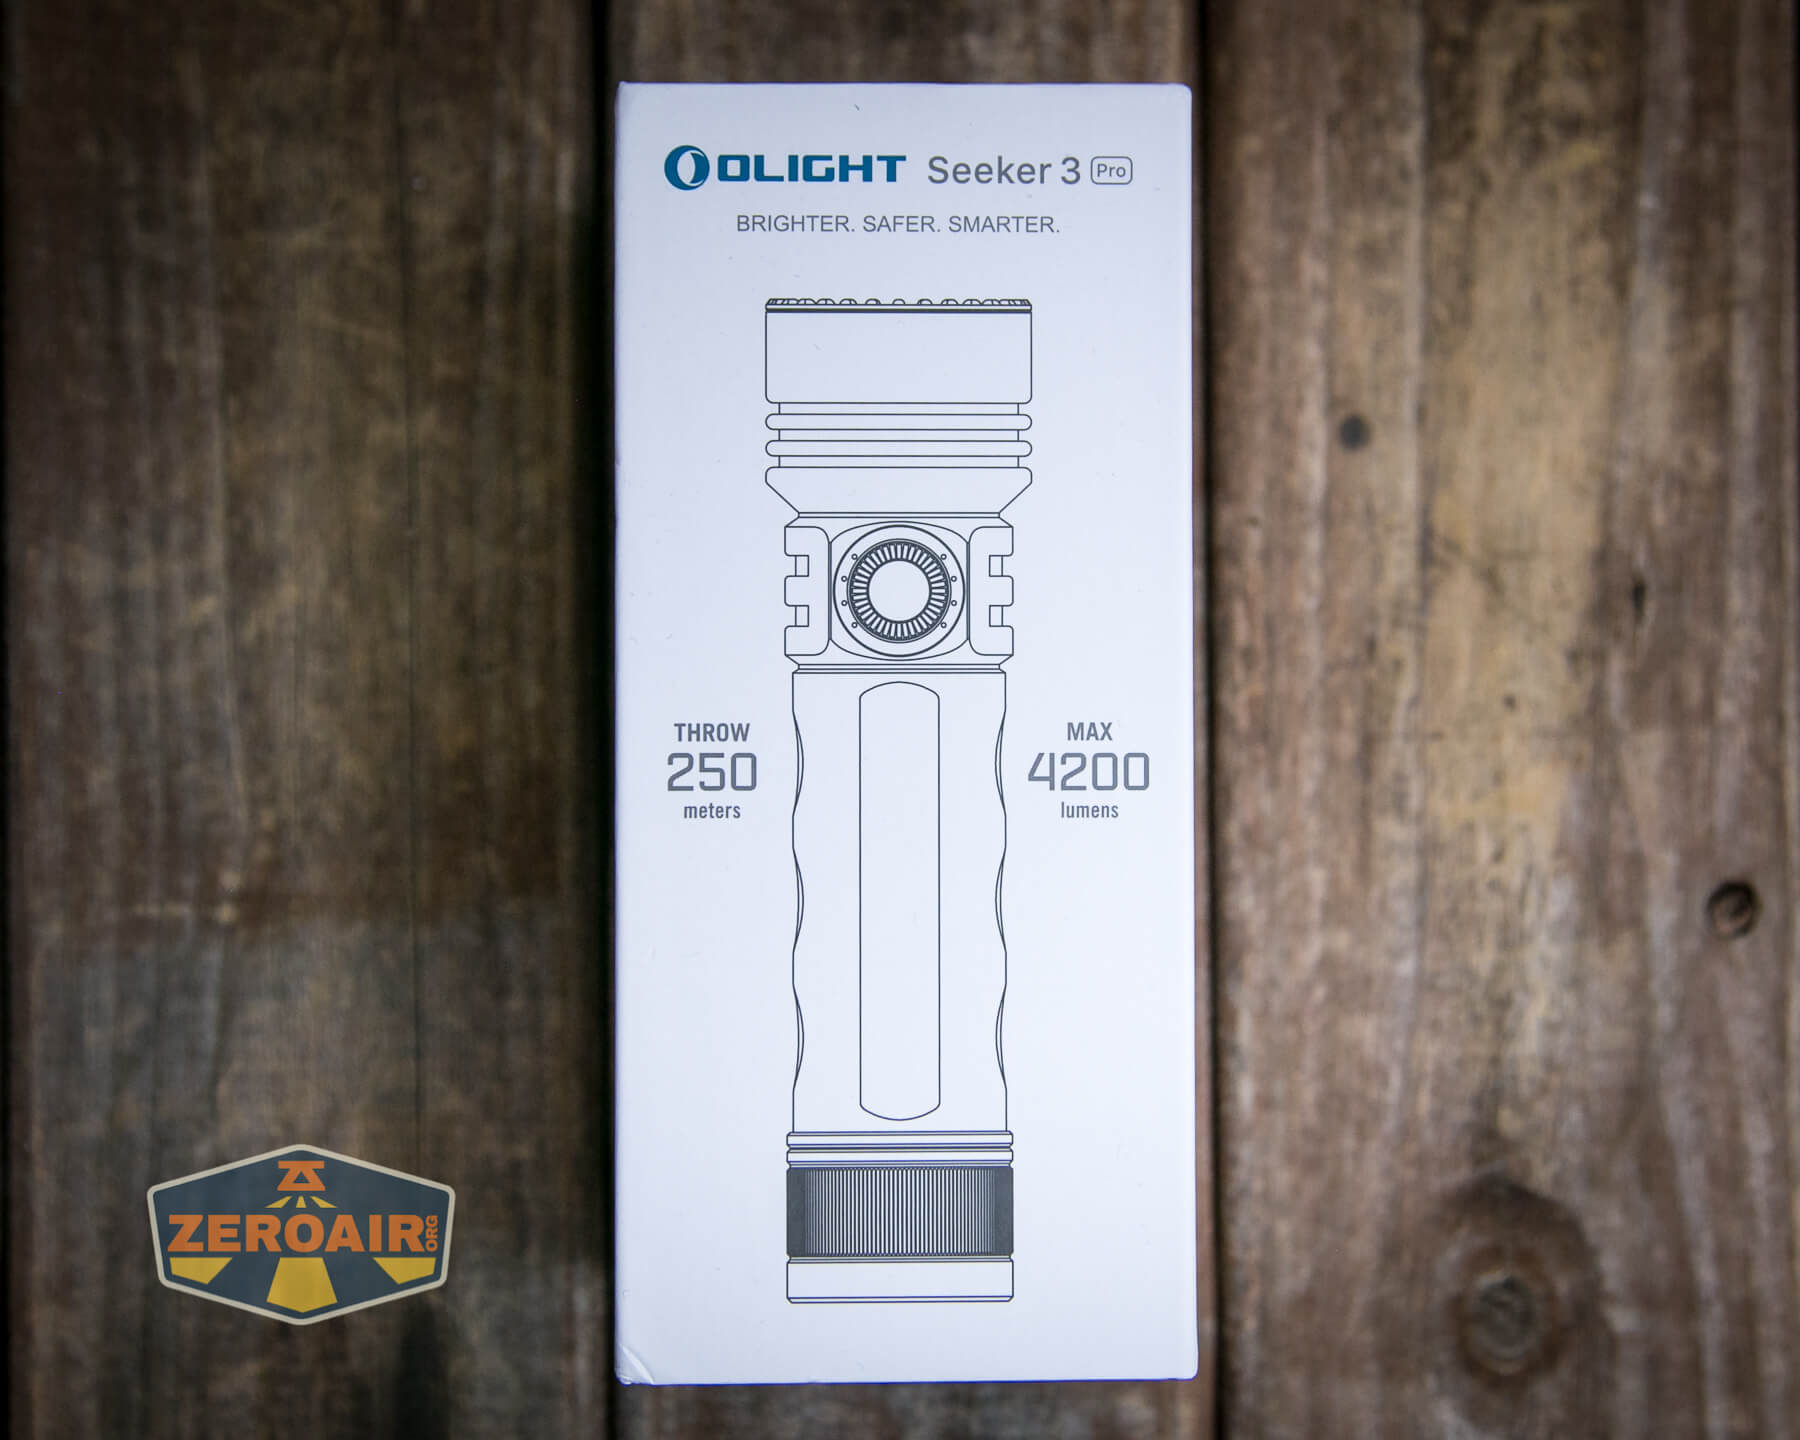
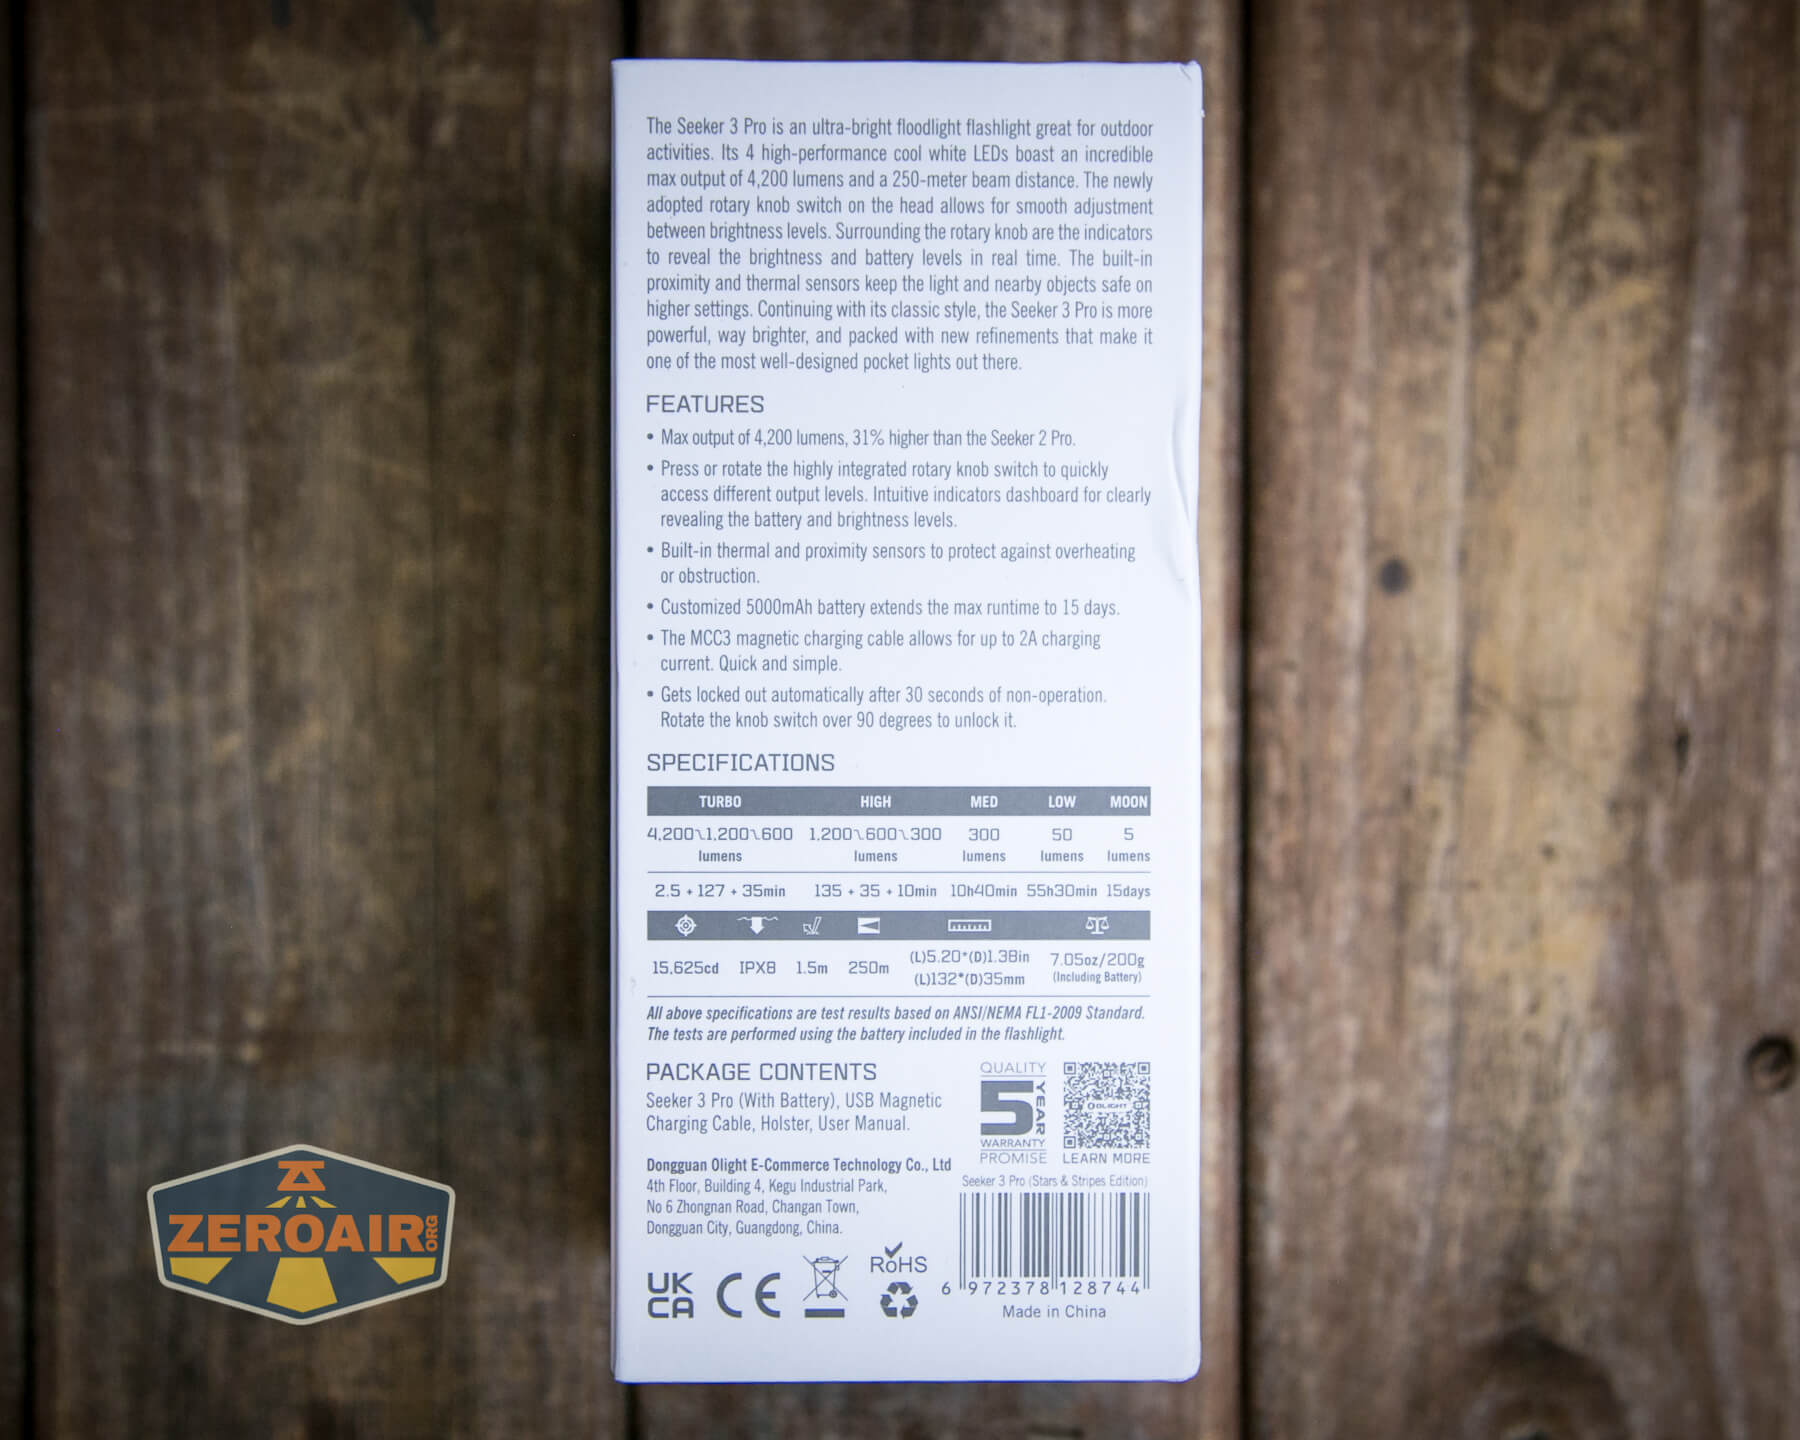
Official Specs and Features
Here’s a Shareasale link to the Olight Seeker 3 Pro flashlight product page.
Versions
There are a bunch of versions of the Seeker in general. But of the Olight Seeker 3 Pro specifically, there are at least four. Black, Orange (seen here), Brown, and Blue are all available, as well as Forest Gradient and the new Stars and Stripes edition.
Price
The stock or basic edition Olight Seeker 3 Pro flashlight is selling for $97 right now. Here’s my Shareasale link for the Olight Seeker 3 Pro stock version. I don’t think the Stars and Stripes is still on sale!
A bigger point of this post is to mention two new products by Olight. I have both of these items, but I just haven’t had a chance to wrap up the review on them yet. I can safely say that they are both fantastic. No, not the smallest versions in their market, but WOW, they’re fun.
First is the Olight New Obulb Pro Multicolor, an Obulb that offers Bluetooth control! Say whatever you want to say, but I say it’s super neat. The app is sufficient and seems to work every time. Also, it seems to allow full RGB mixing!! I already loved the Obulb (they are scattered around my house!), but this Bluetooth version (which is slightly larger than the classic) is great!
Next is the Olight Olantern Classic 2 Pro. If you have a soft spot for those old, very warm mantle lanterns, then this Olantern Classic 2 Pro is for you. There are two sets of LEDs, with the lower output levels being very warm. I mean warm. Like 2000K warm. On the higher output levels, the CCT is still warm (but comparatively cooler at around 2800 K). Very excellent for the purpose! The Pro version also serves as a powerbank, and can use the typical Olight charge base or USB-C! I love it. Not only do I love how warm it is, I also love the look of it.
Short Review
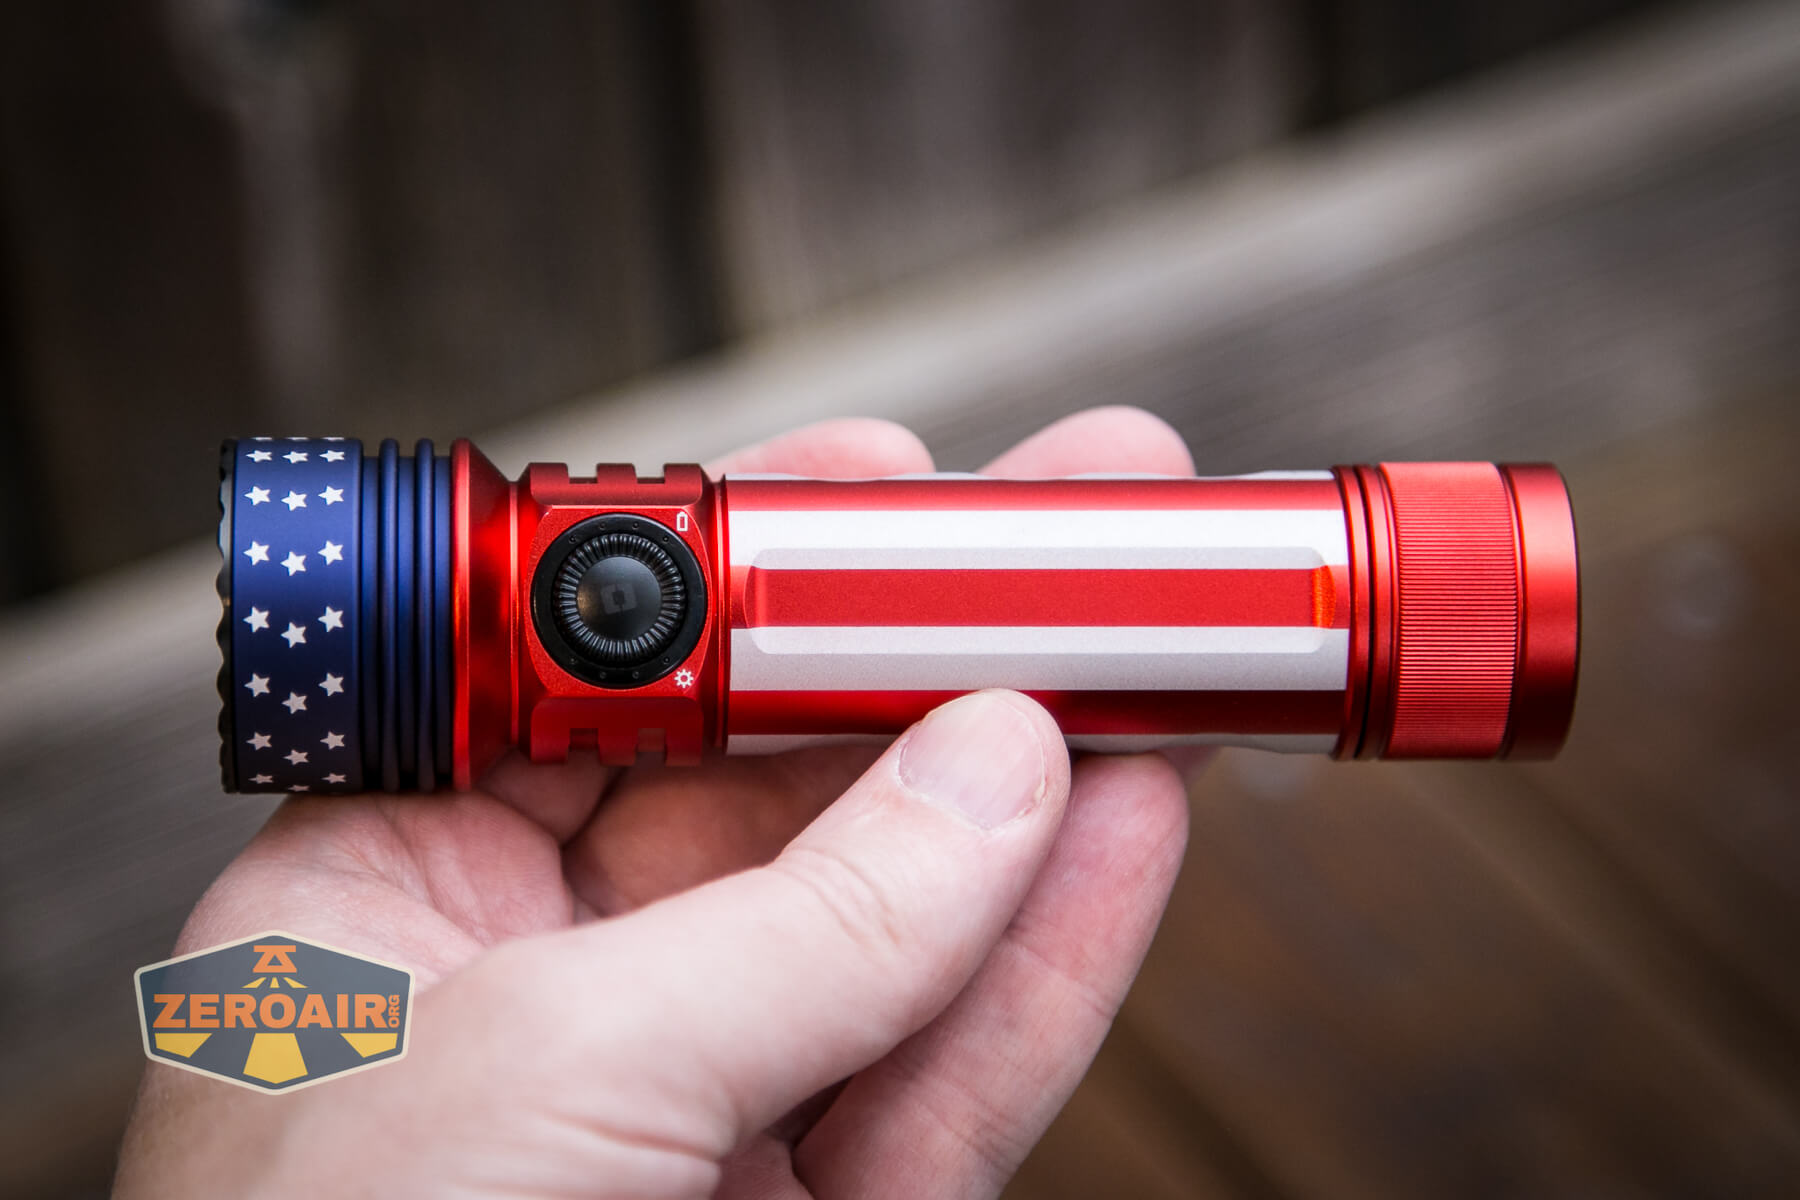
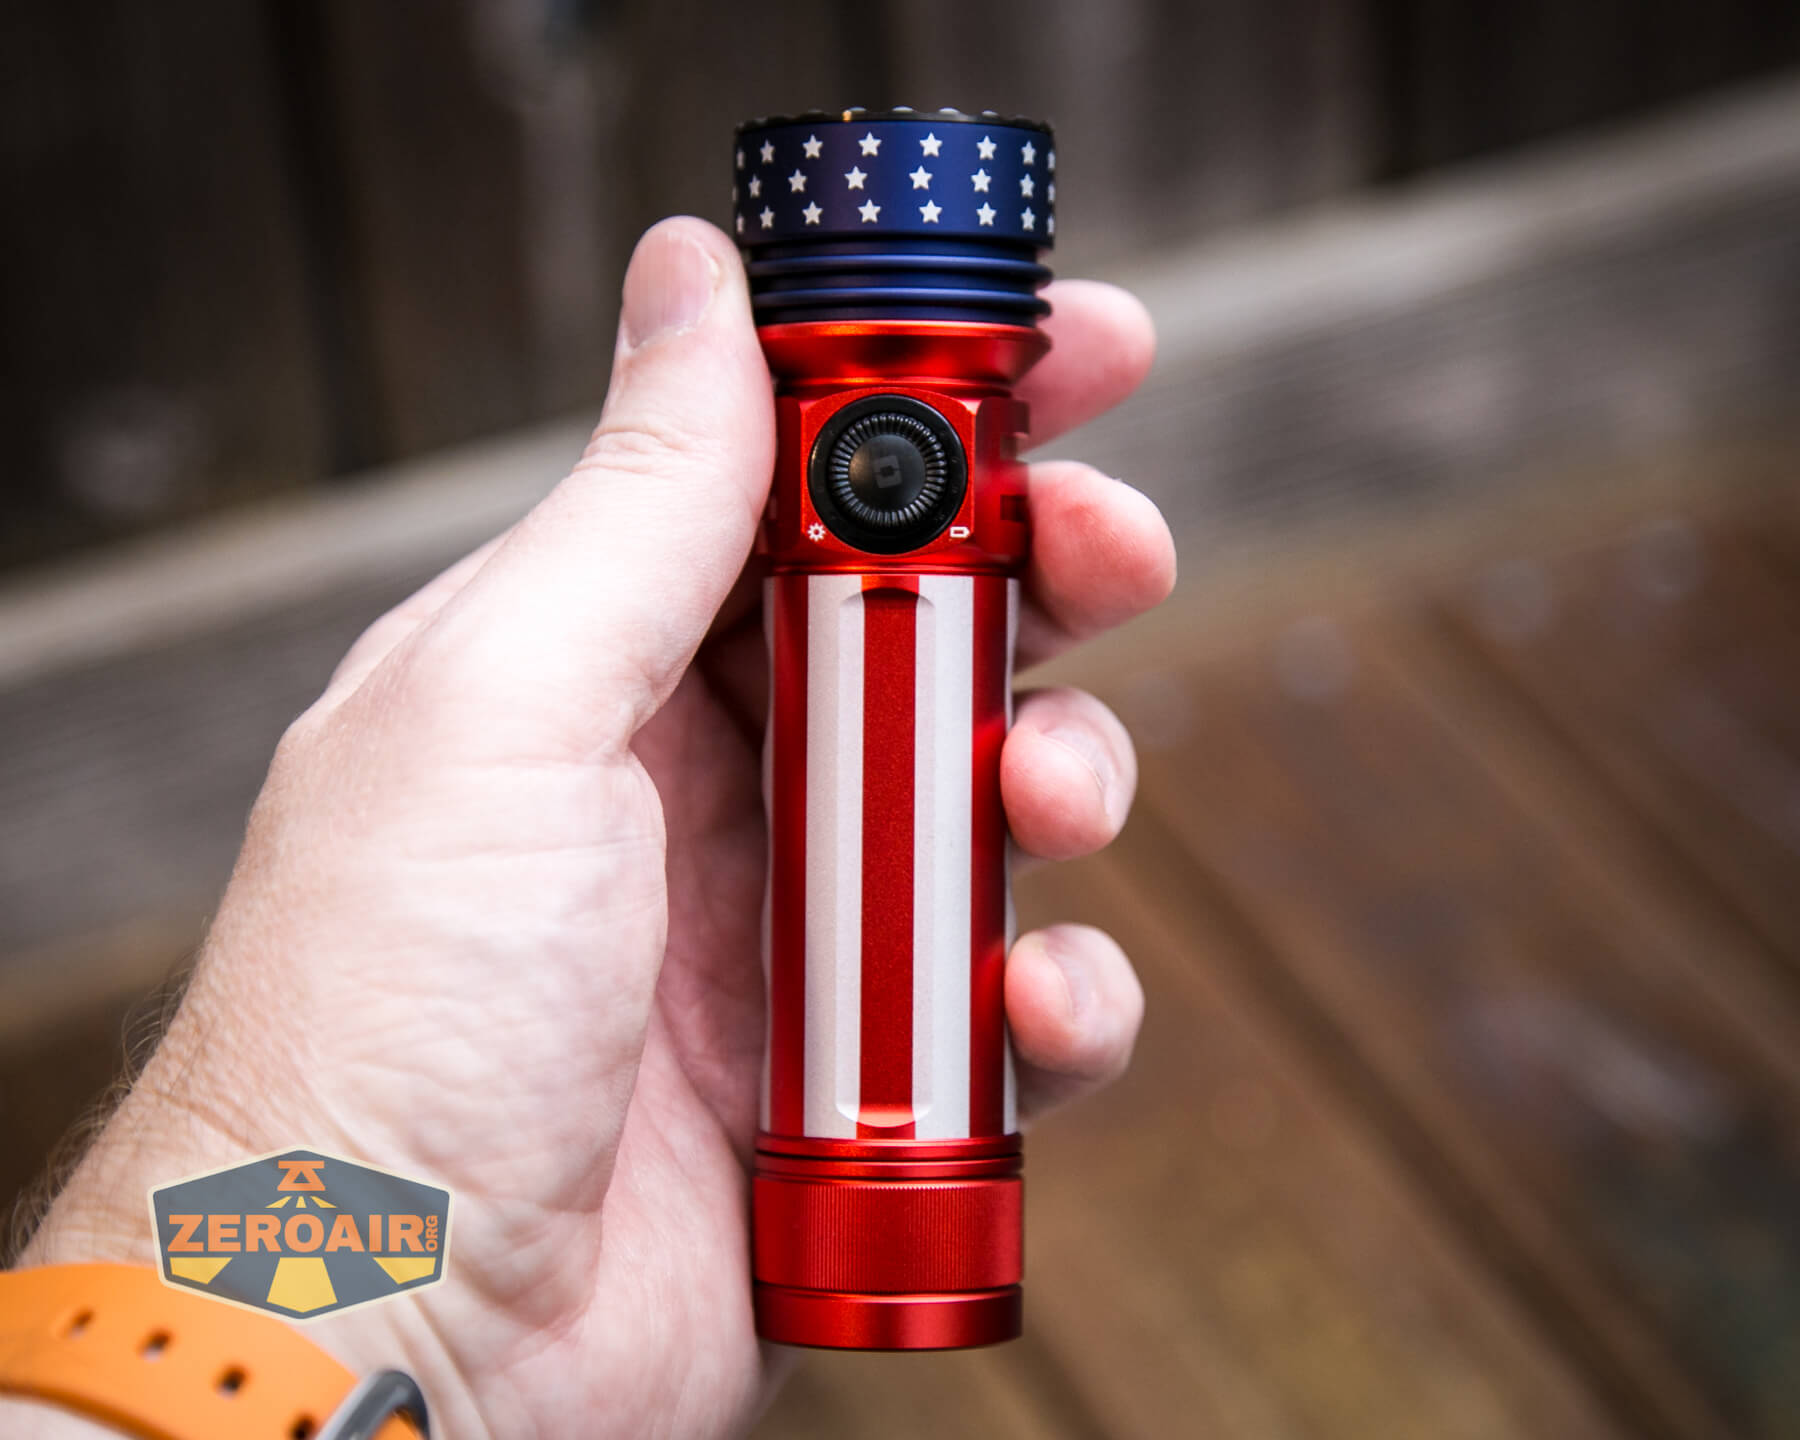
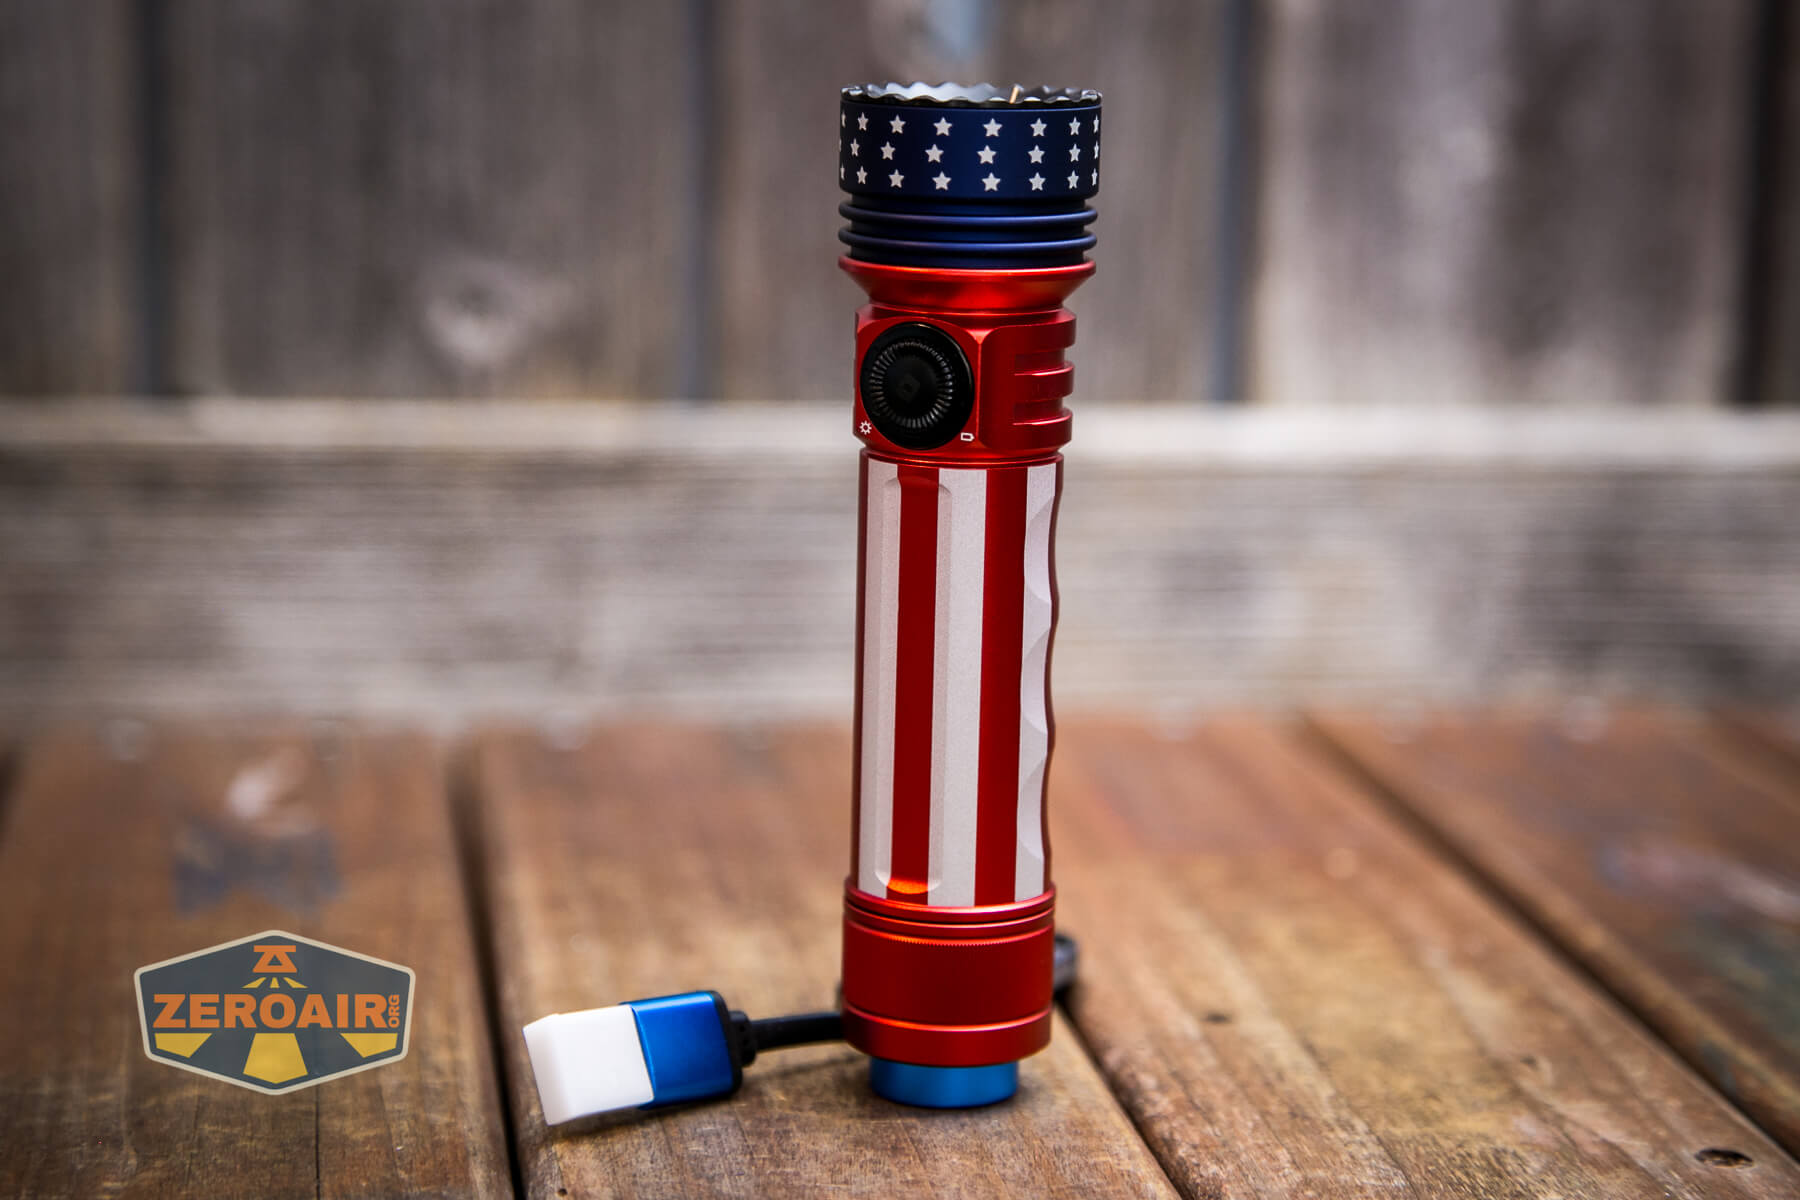
While I have an orange version of this light that I love, I put this Stars and Stripes version through the paces. It measures up just like the orange; they’re great lights. There’s also the rotary interface, allowing a much finer tuning of the output to your needs. I personally don’t use that as much as I just use the clicky, and that clicky works very well too. The nylon pouch is an outstanding part of this item, too. The battery is proprietary, as is the charging. Emitter swaps (from the cool white Osram P9) should be fairly straightforward.
Long Review
The Big Table
| Olight Seeker 3 Pro Stars and Stripes Edition Flashlight | |
|---|---|
| Emitter: | Osram P9 (4) (6000-7000K) |
| Price in USD at publication time: | ? |
| Cell: | 1×21700 |
| Turbo Runtime Graph | High Runtime Graph |
| LVP? | Yes |
| Switch Type: | E-Switch |
| Quiescent Current (mA): | ? |
| On-Board Charging? | Yes |
| Charge Port Type: | Proprietary Magnetic |
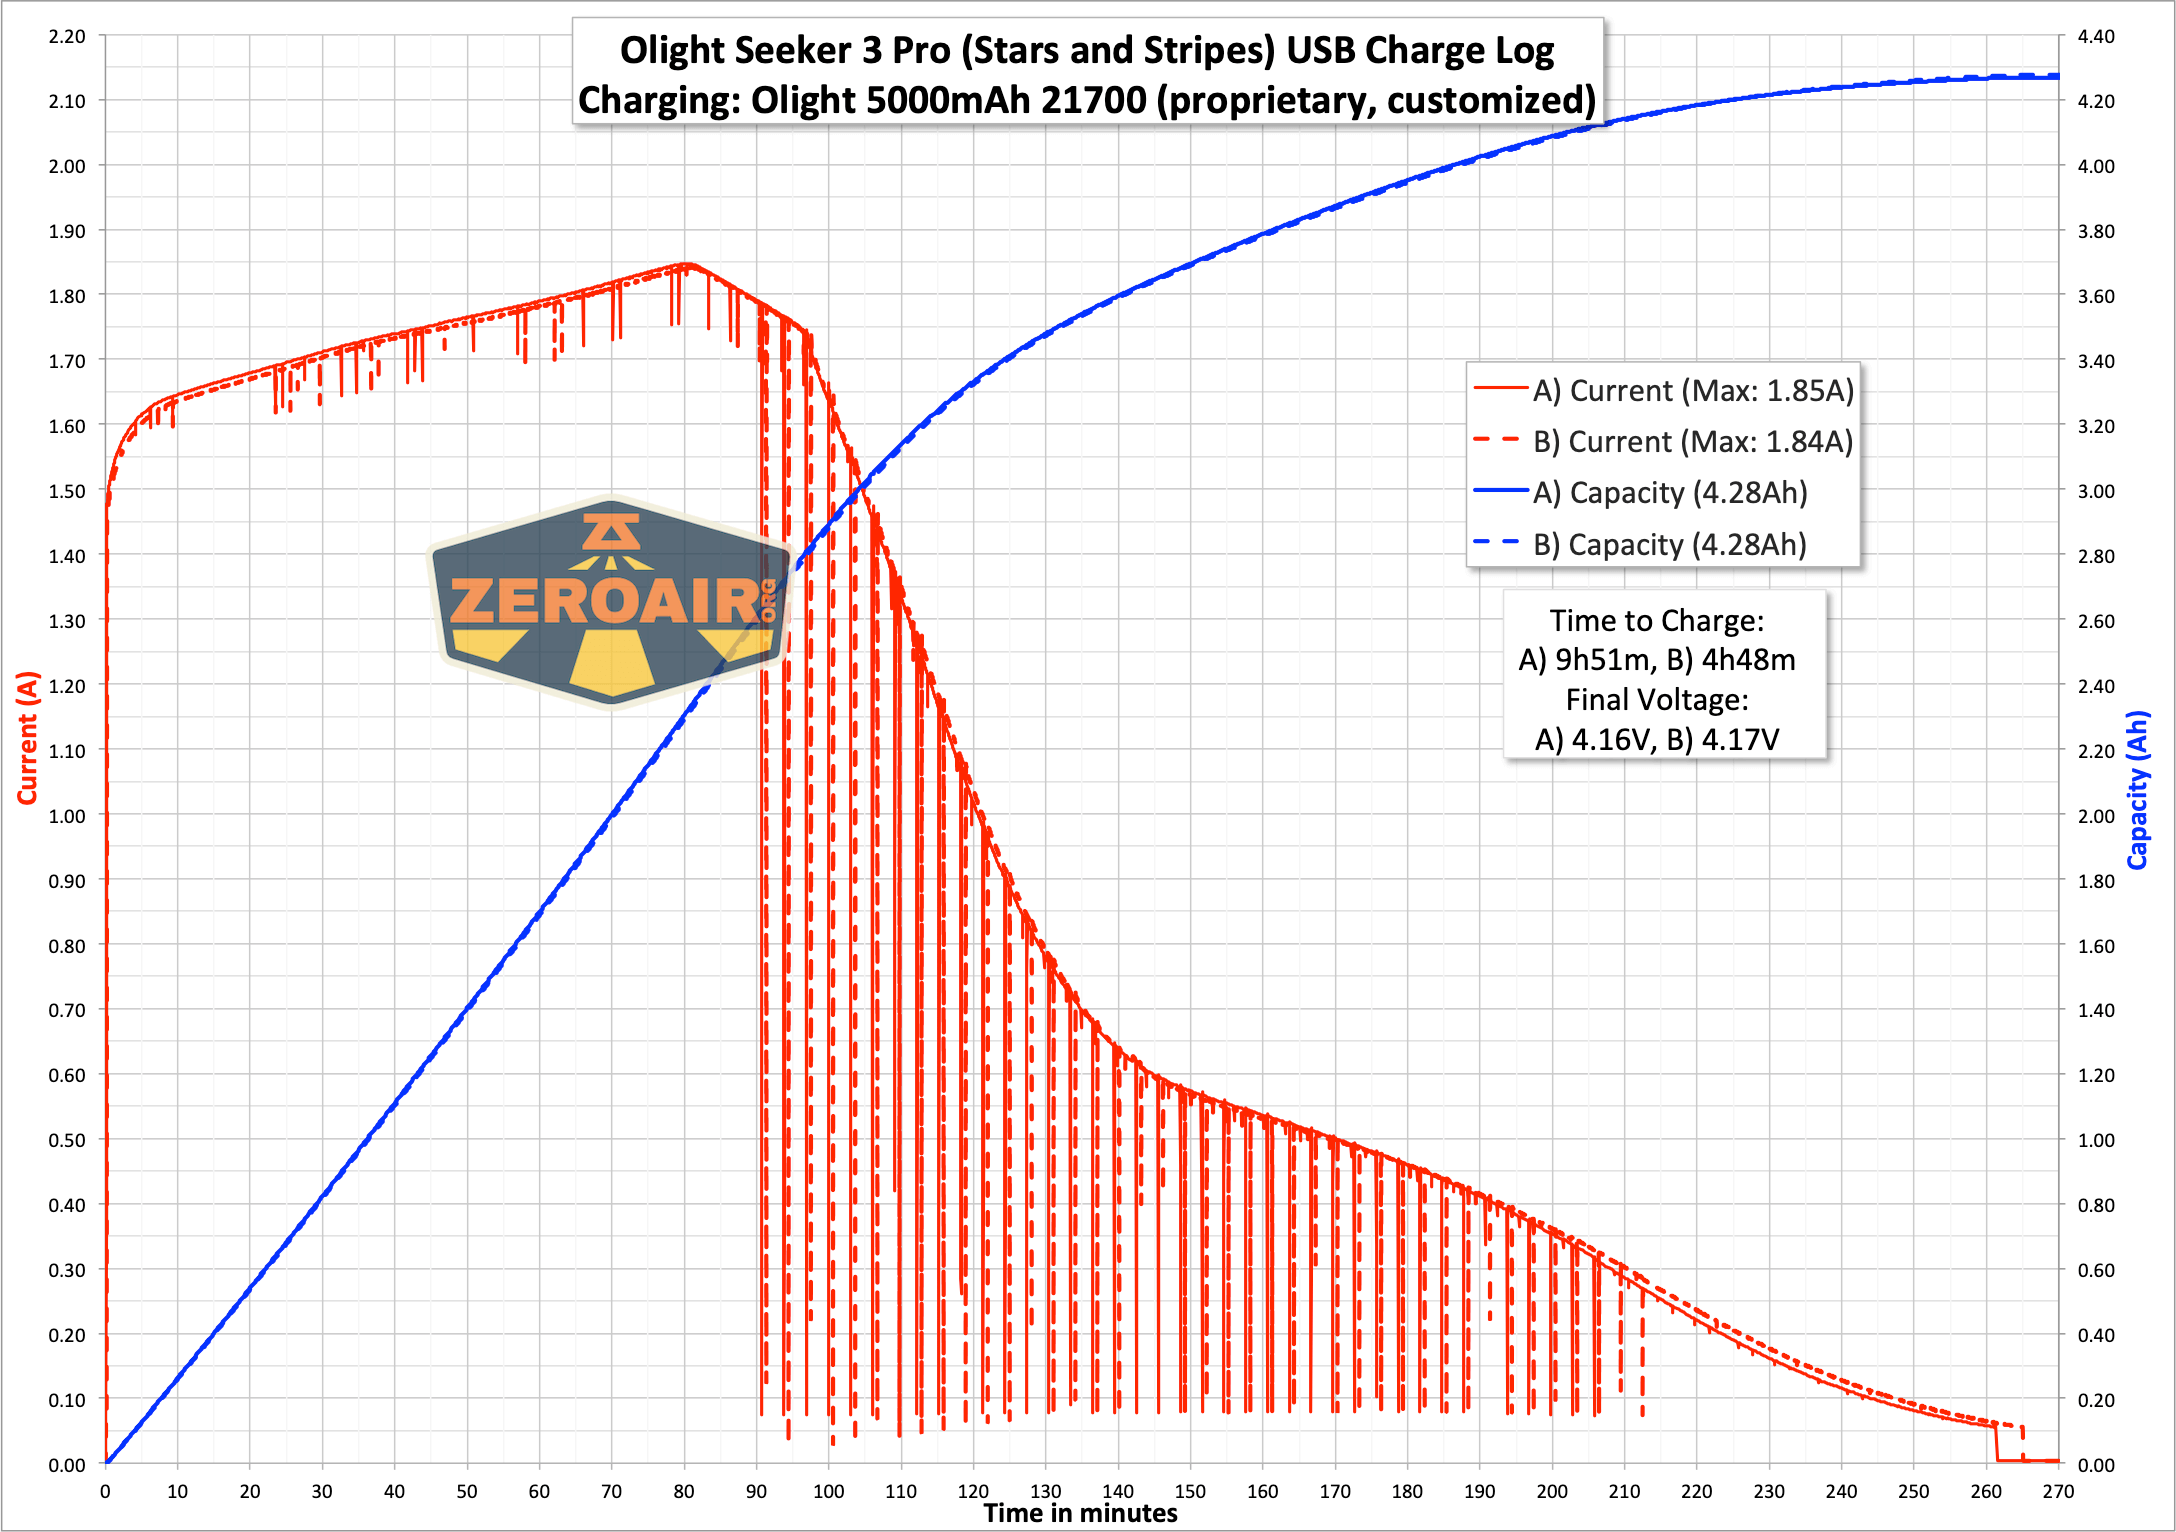
| Charge Graph | |
| Power off Charge Port | “with cell: all modes
without cell: no modes” |
| Claimed Lumens (lm) | 4200 |
| Measured Lumens (at 30s) | 3809 (90.7% of claim)^ |
| Candela per Lumen | 5 |
| Claimed Throw (m) | 250 |
| Candela (Calculated) in cd (at 30s) | 740lux @ 4.984m = 18382cd |
| Throw (Calculated) (m) | 271.2 (108.5% of claim)^ |
| Claimed CCT | 6000-7000 |
| Measured CCT Range (K) | 5900-6200 Kelvin |
| Item provided for review by: | Olight |
| All my Olight reviews! | |
^ Measurement disclaimer: Testing flashlights is my hobby. I use hobbyist-level equipment for testing, including some I made myself. Try not to get buried in the details of manufacturer specifications versus measurements recorded here; A certain amount of difference (say, 10 or 15%) is perfectly reasonable.
What’s Included
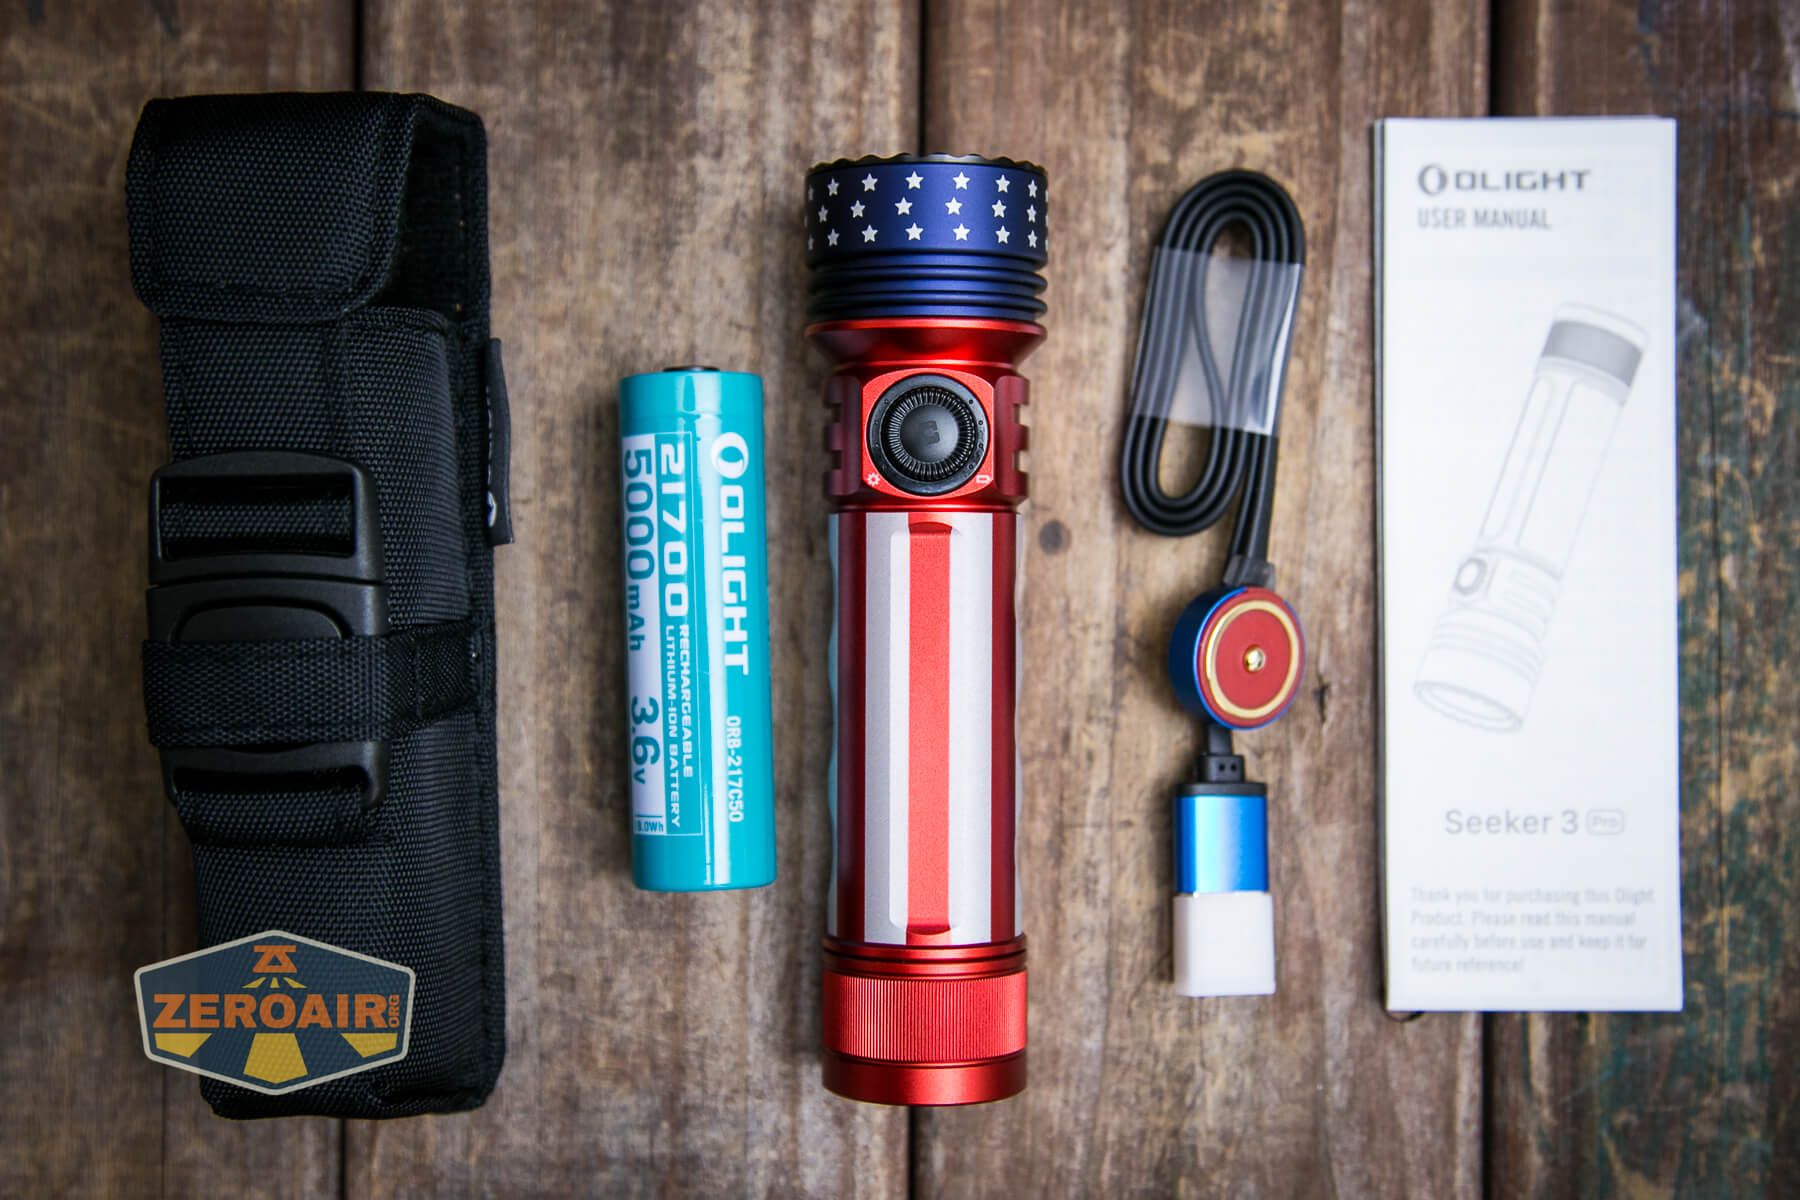
- Olight Seeker 3 Pro Flashlight
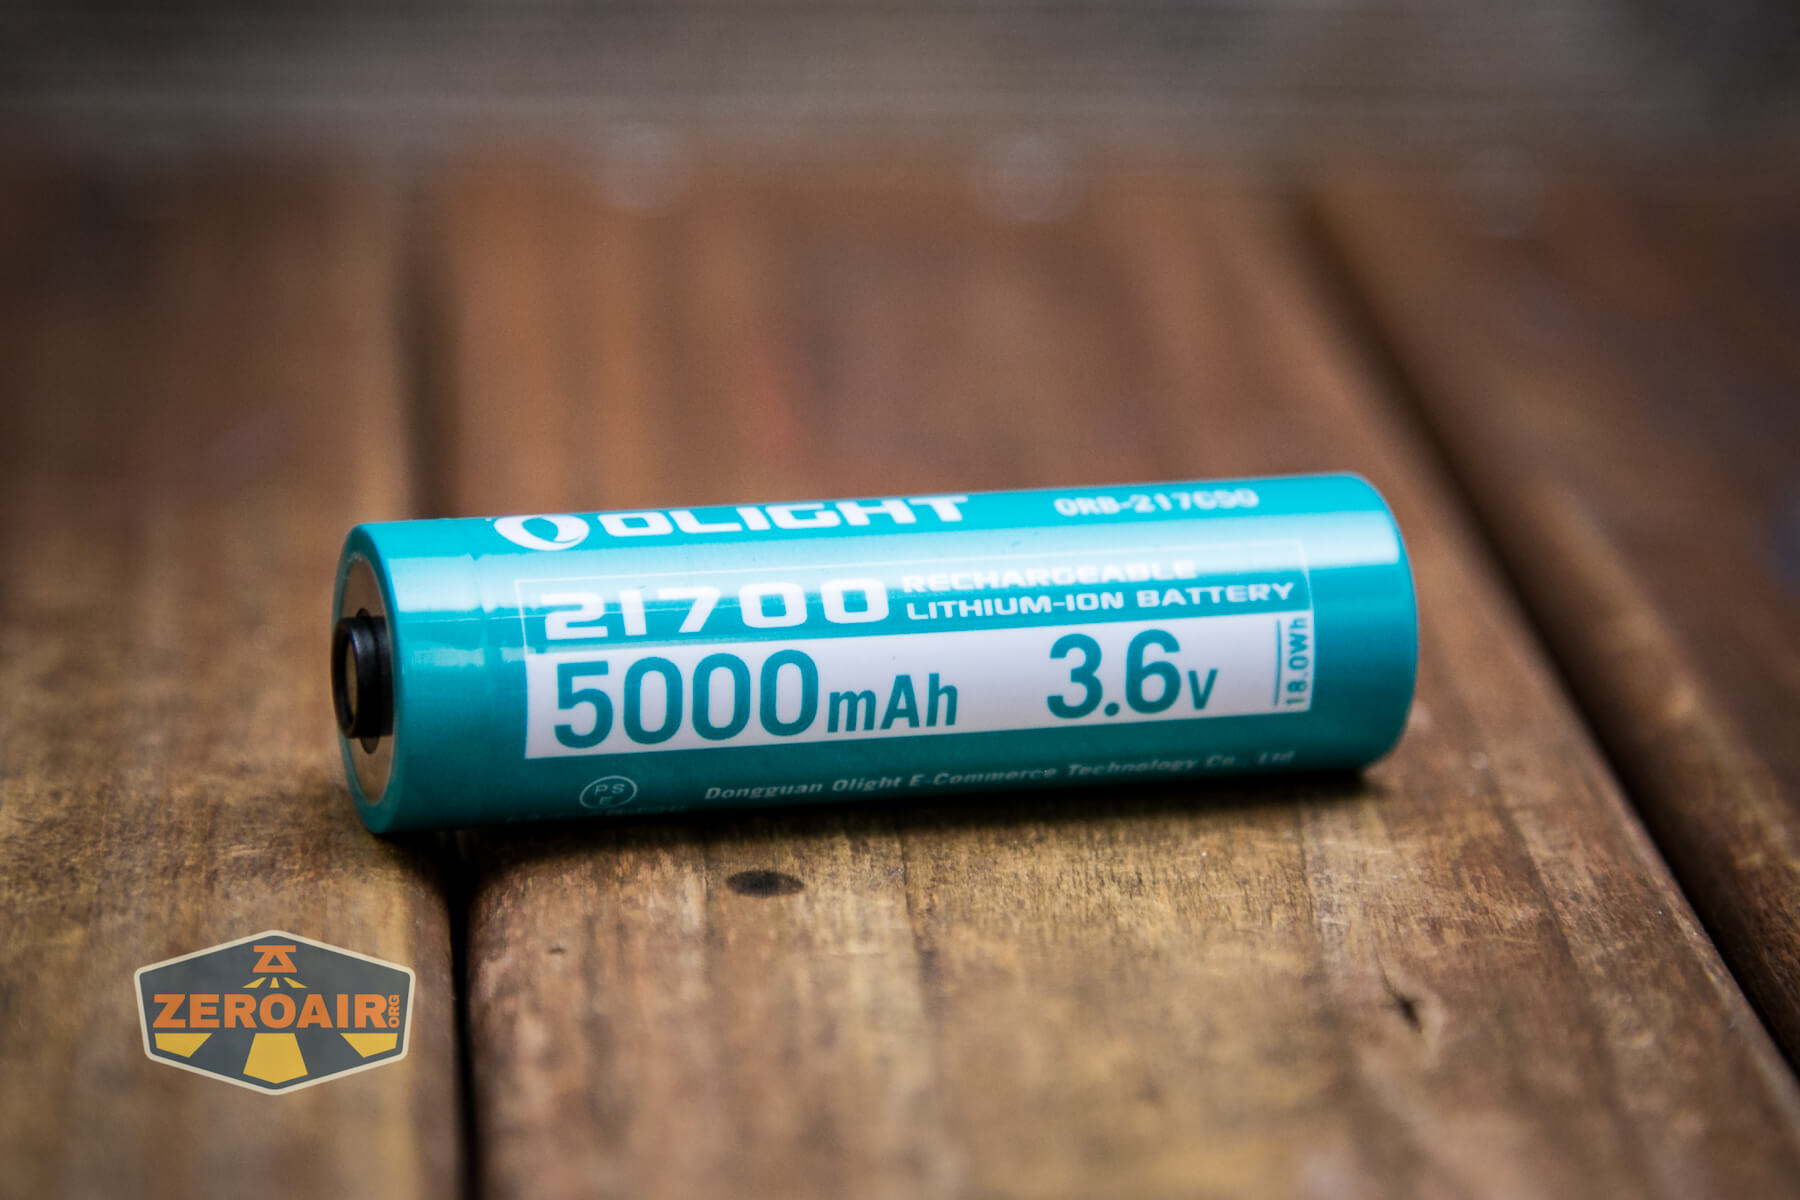
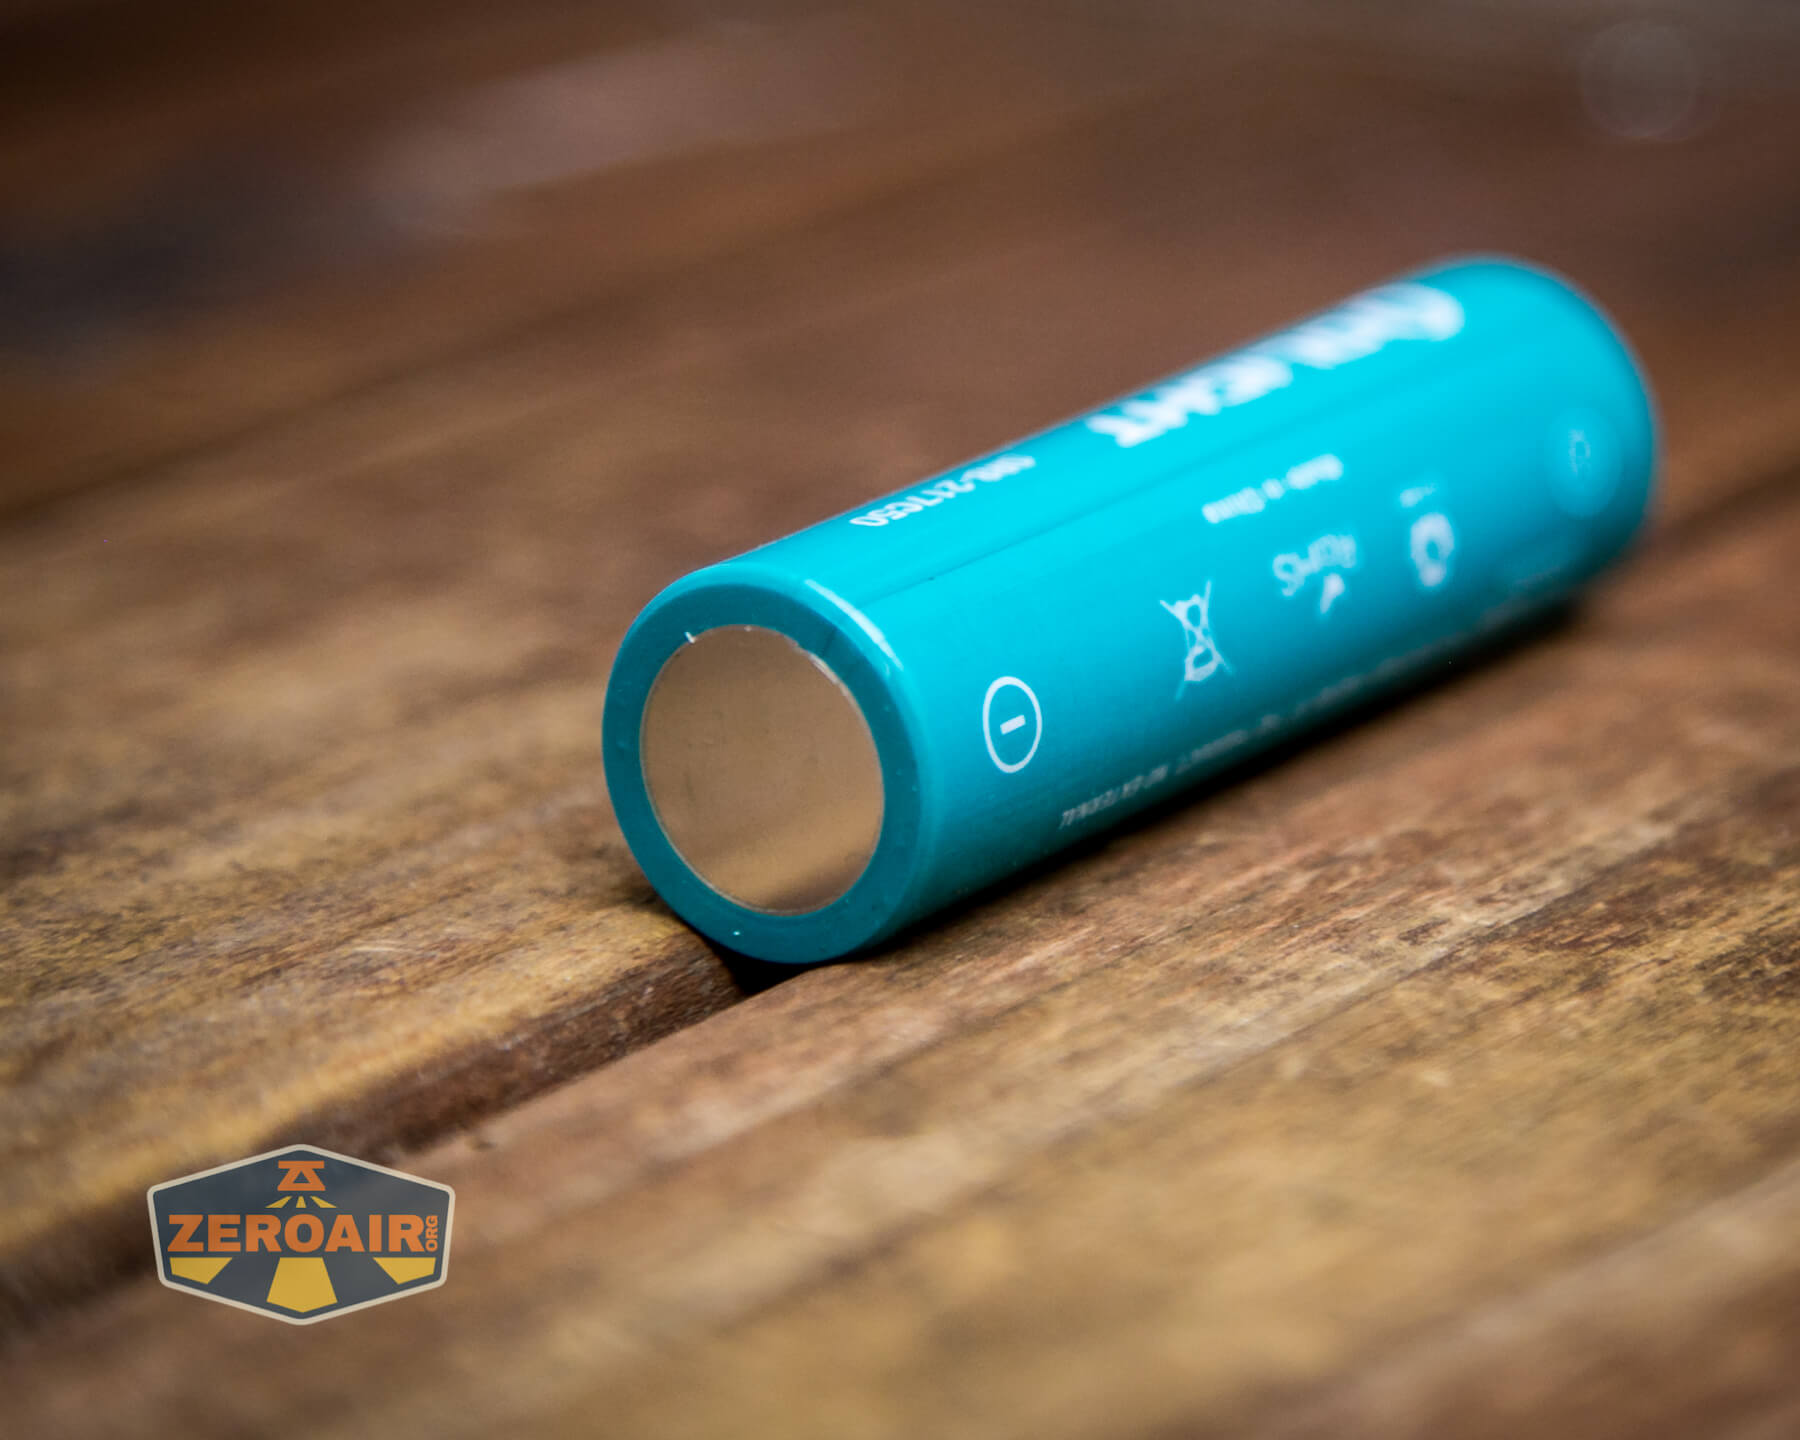
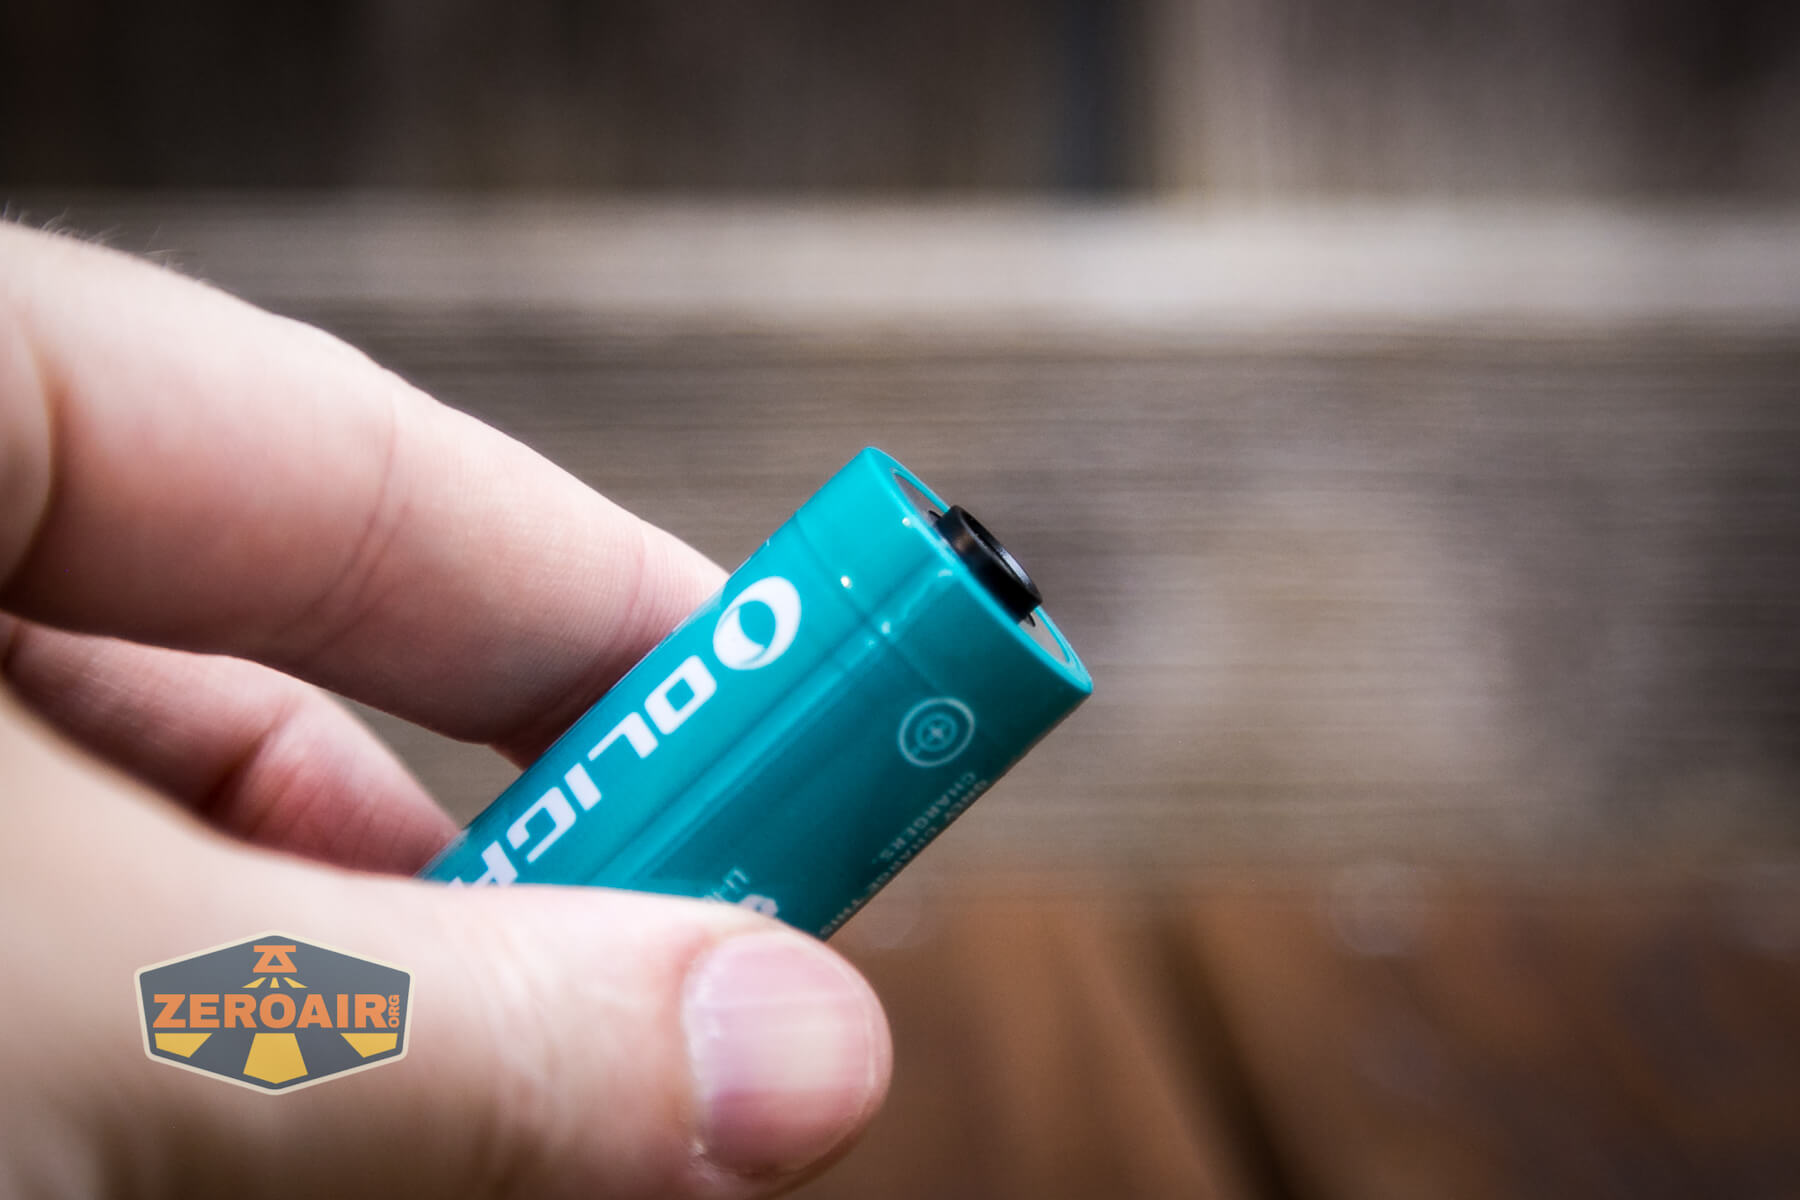
- Olight 5000mAh 21700 cell (customized, proprietary)
- Nylon pouch in black
- MCC charge base (USB to proprietary magnetic)
- Manual
Package and Manual


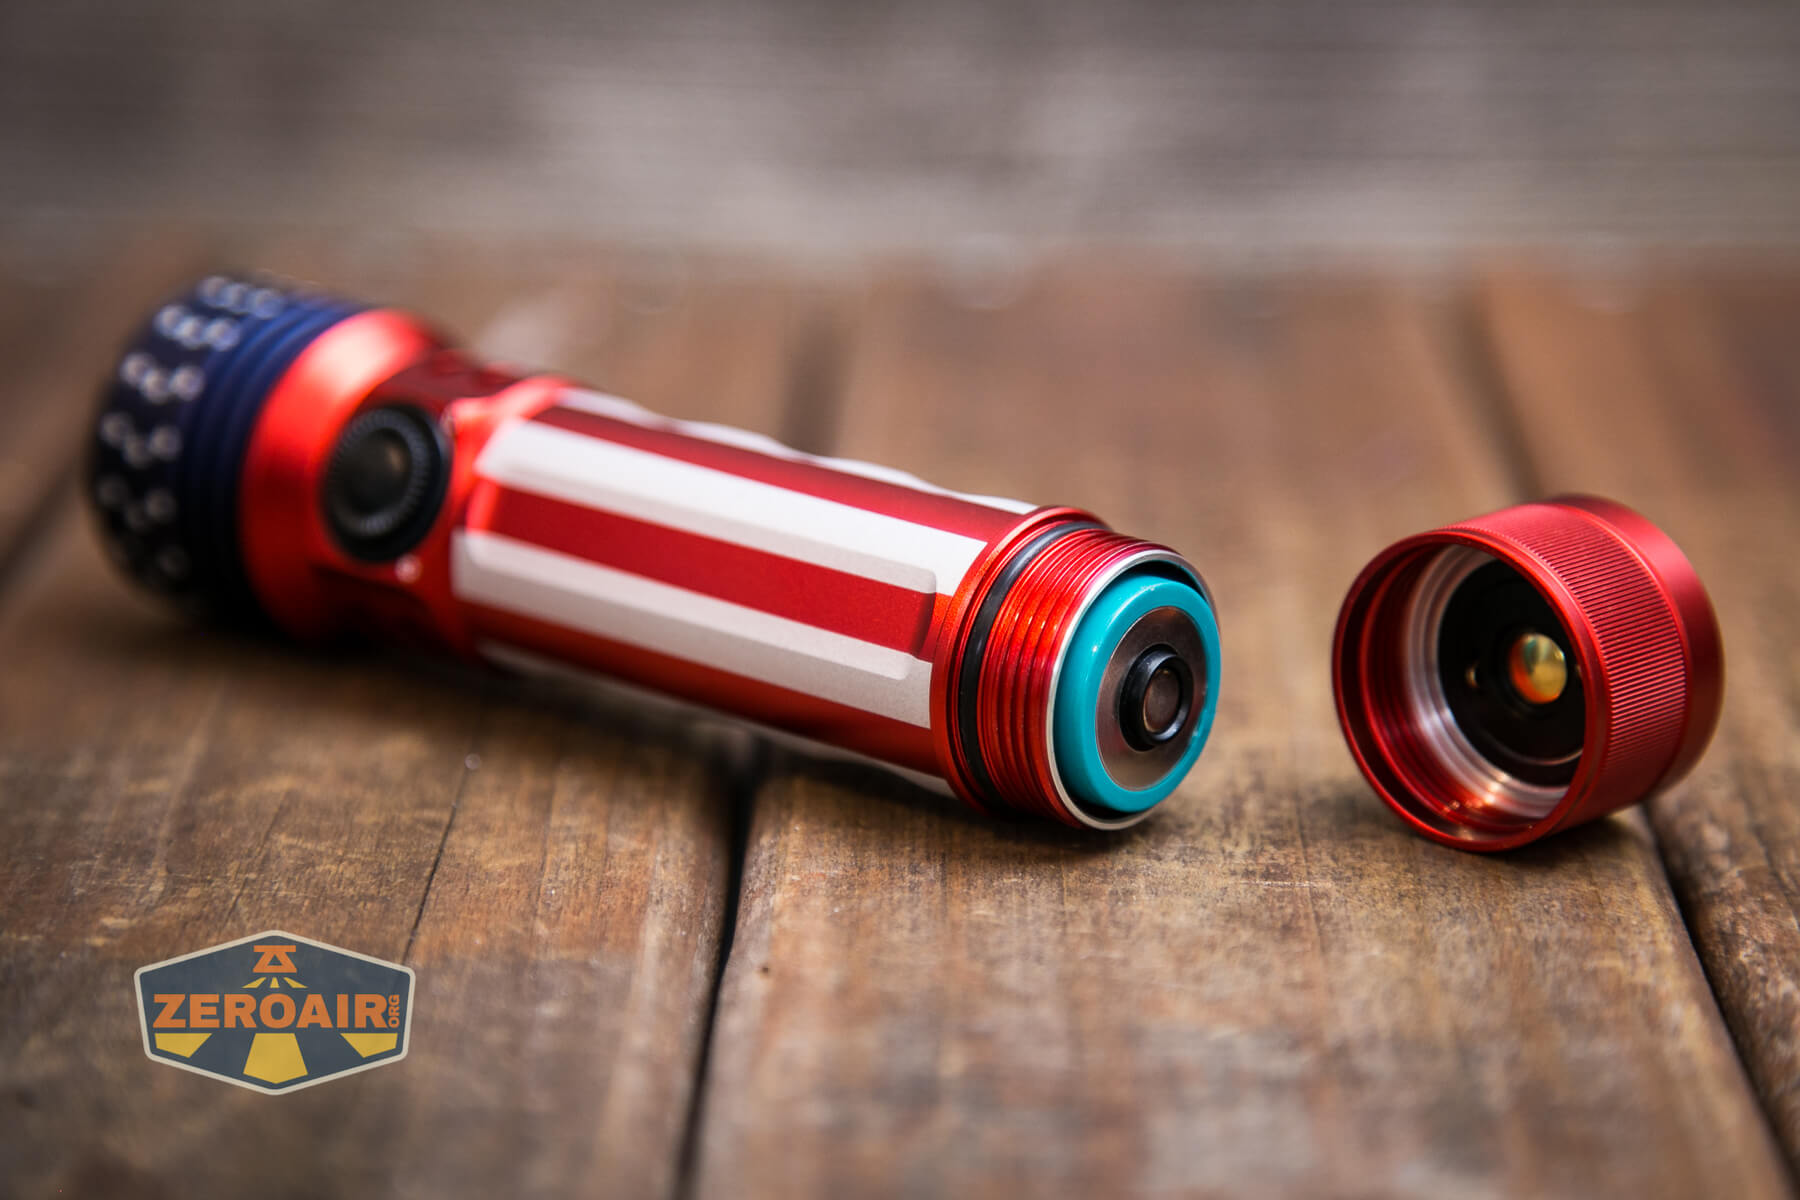
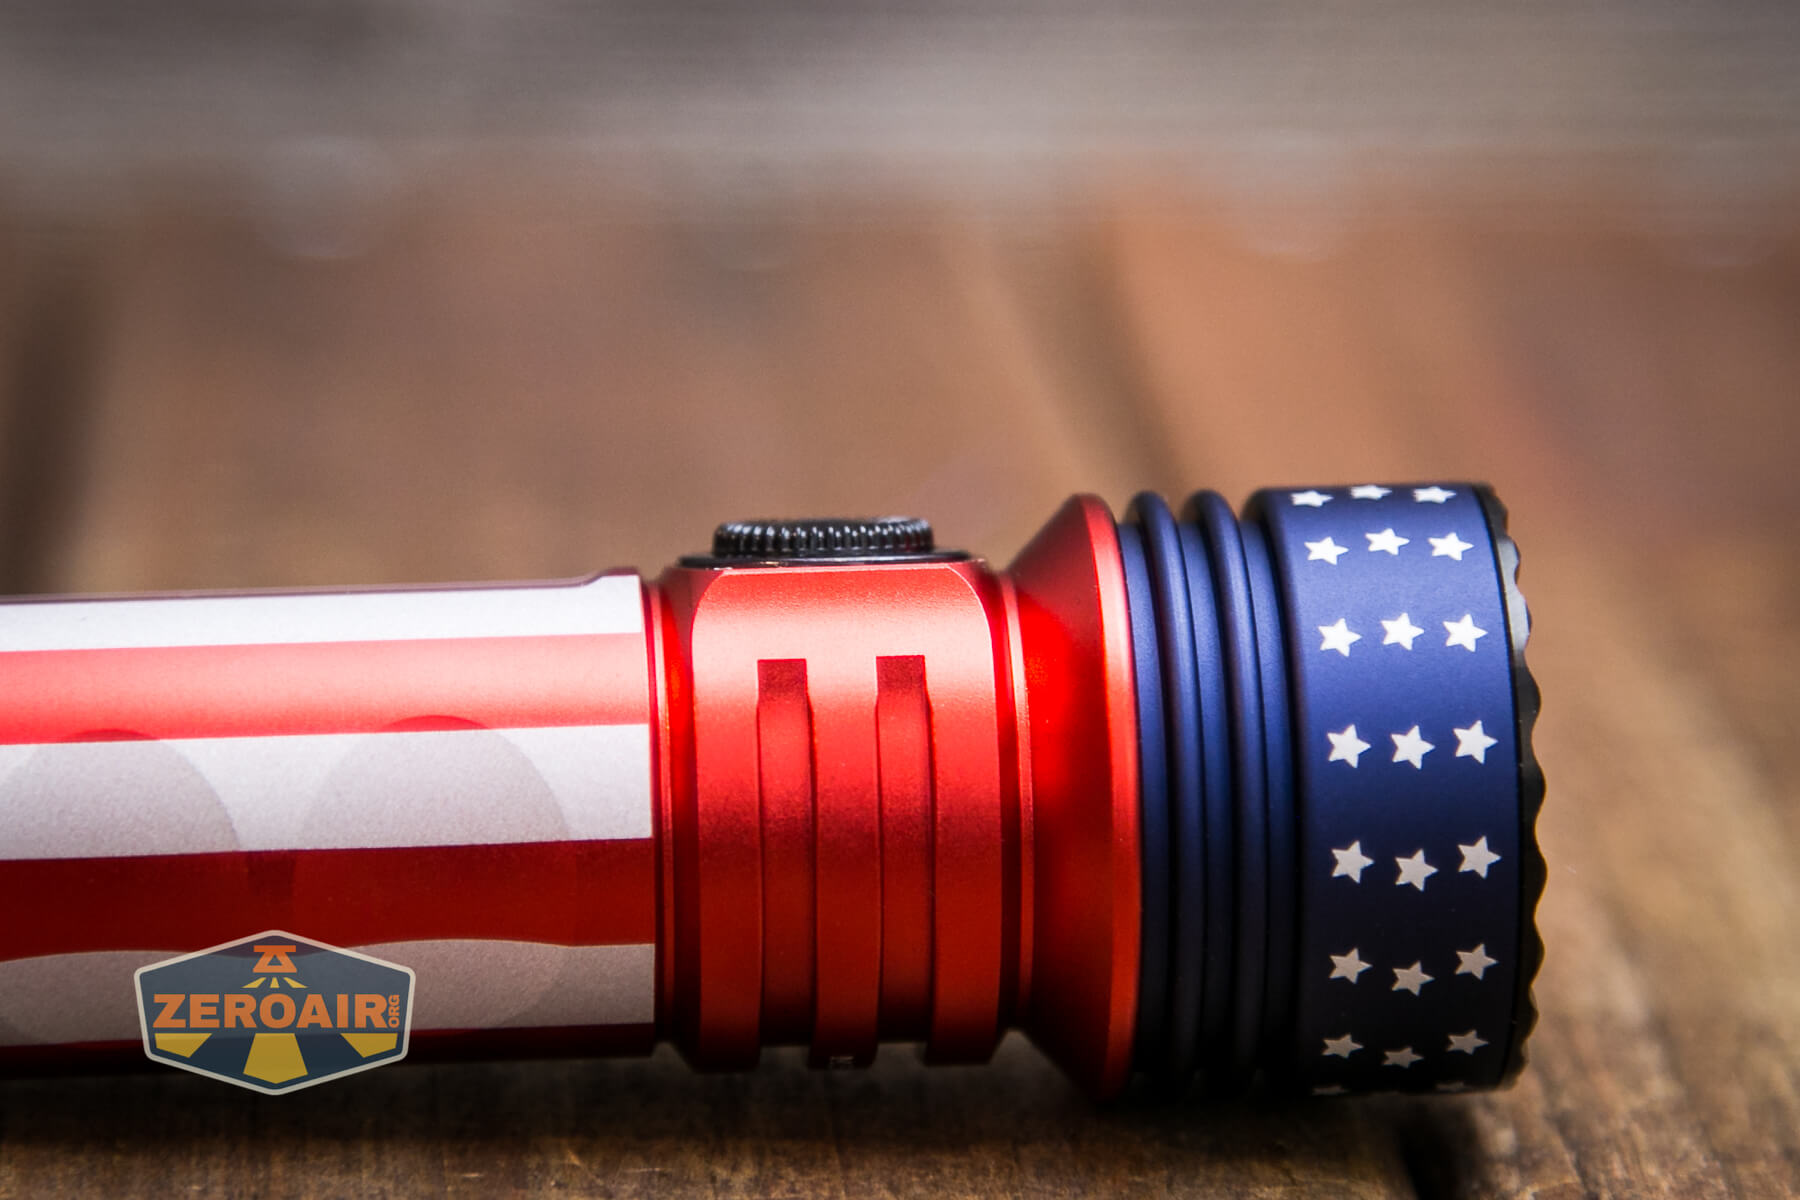
Build Quality and Disassembly
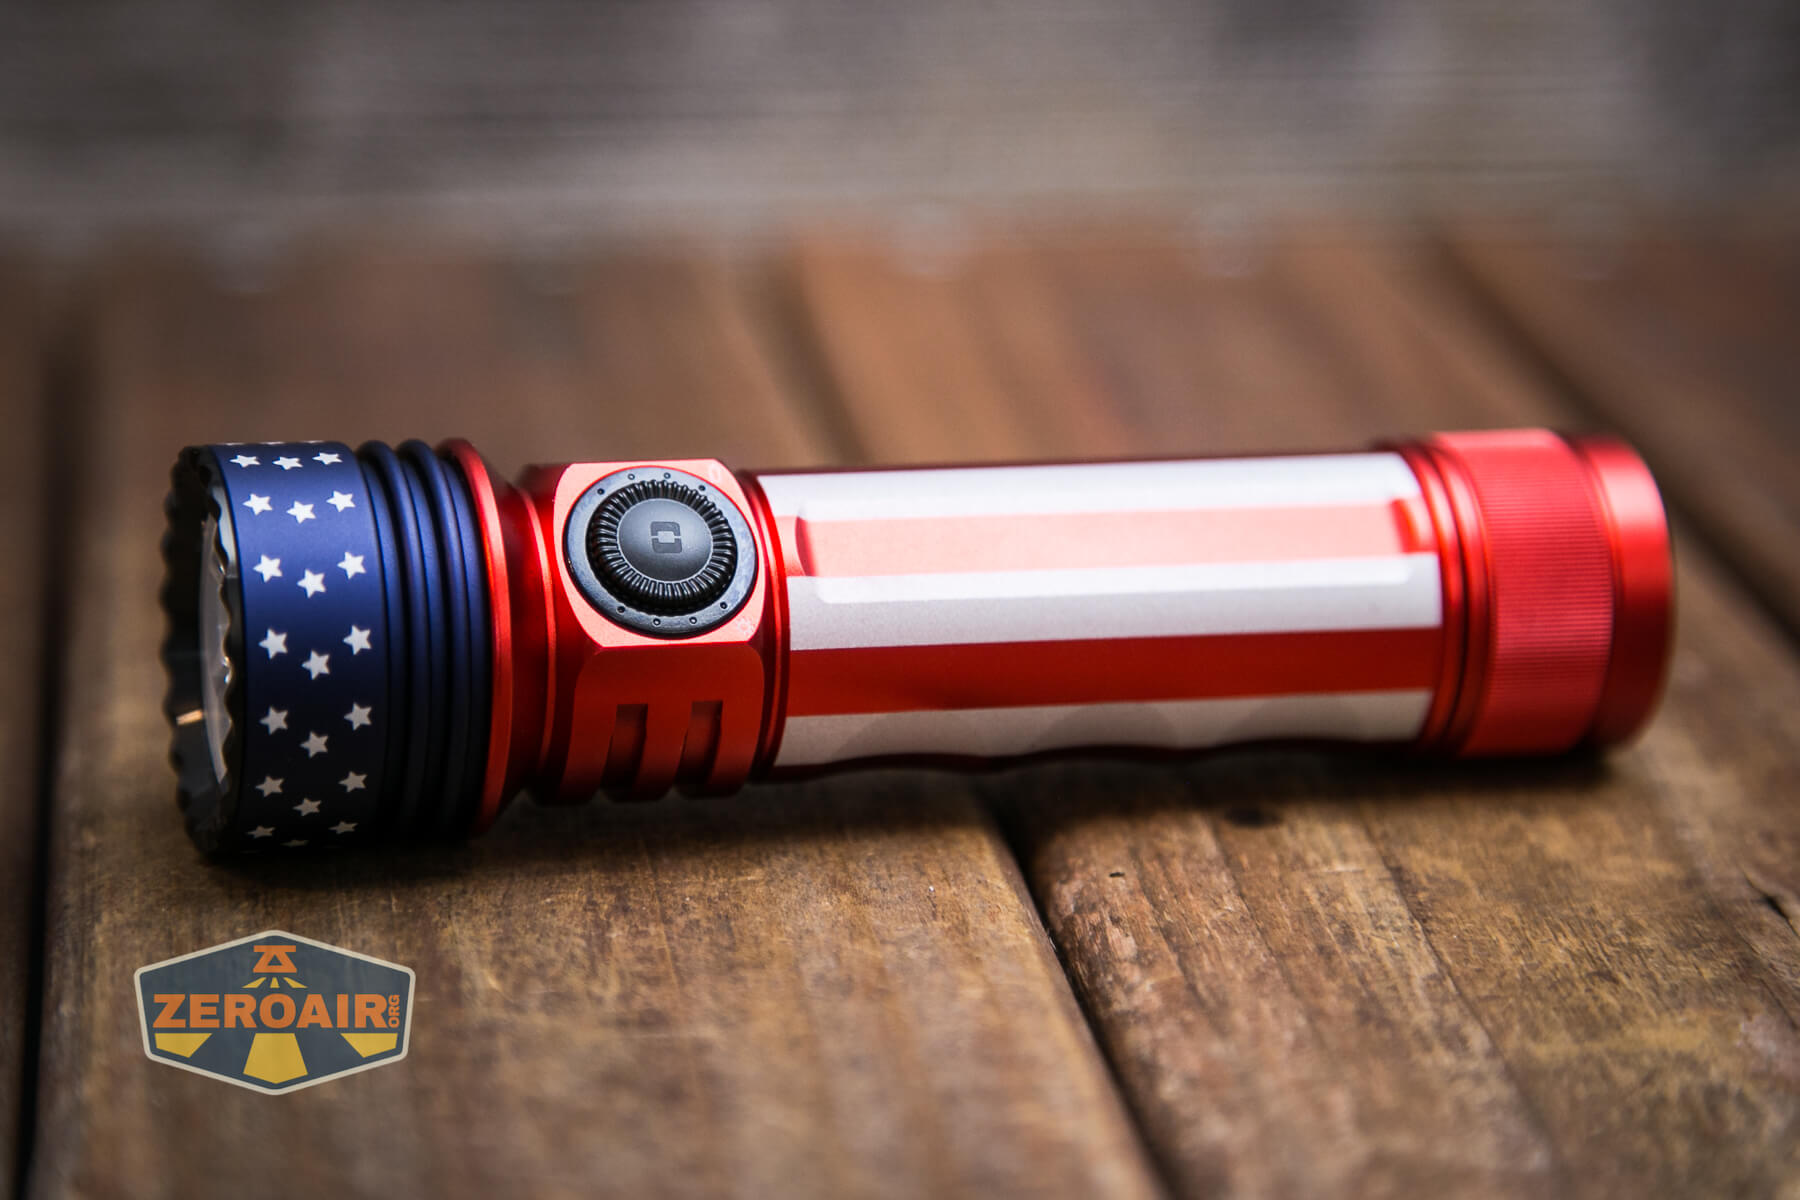
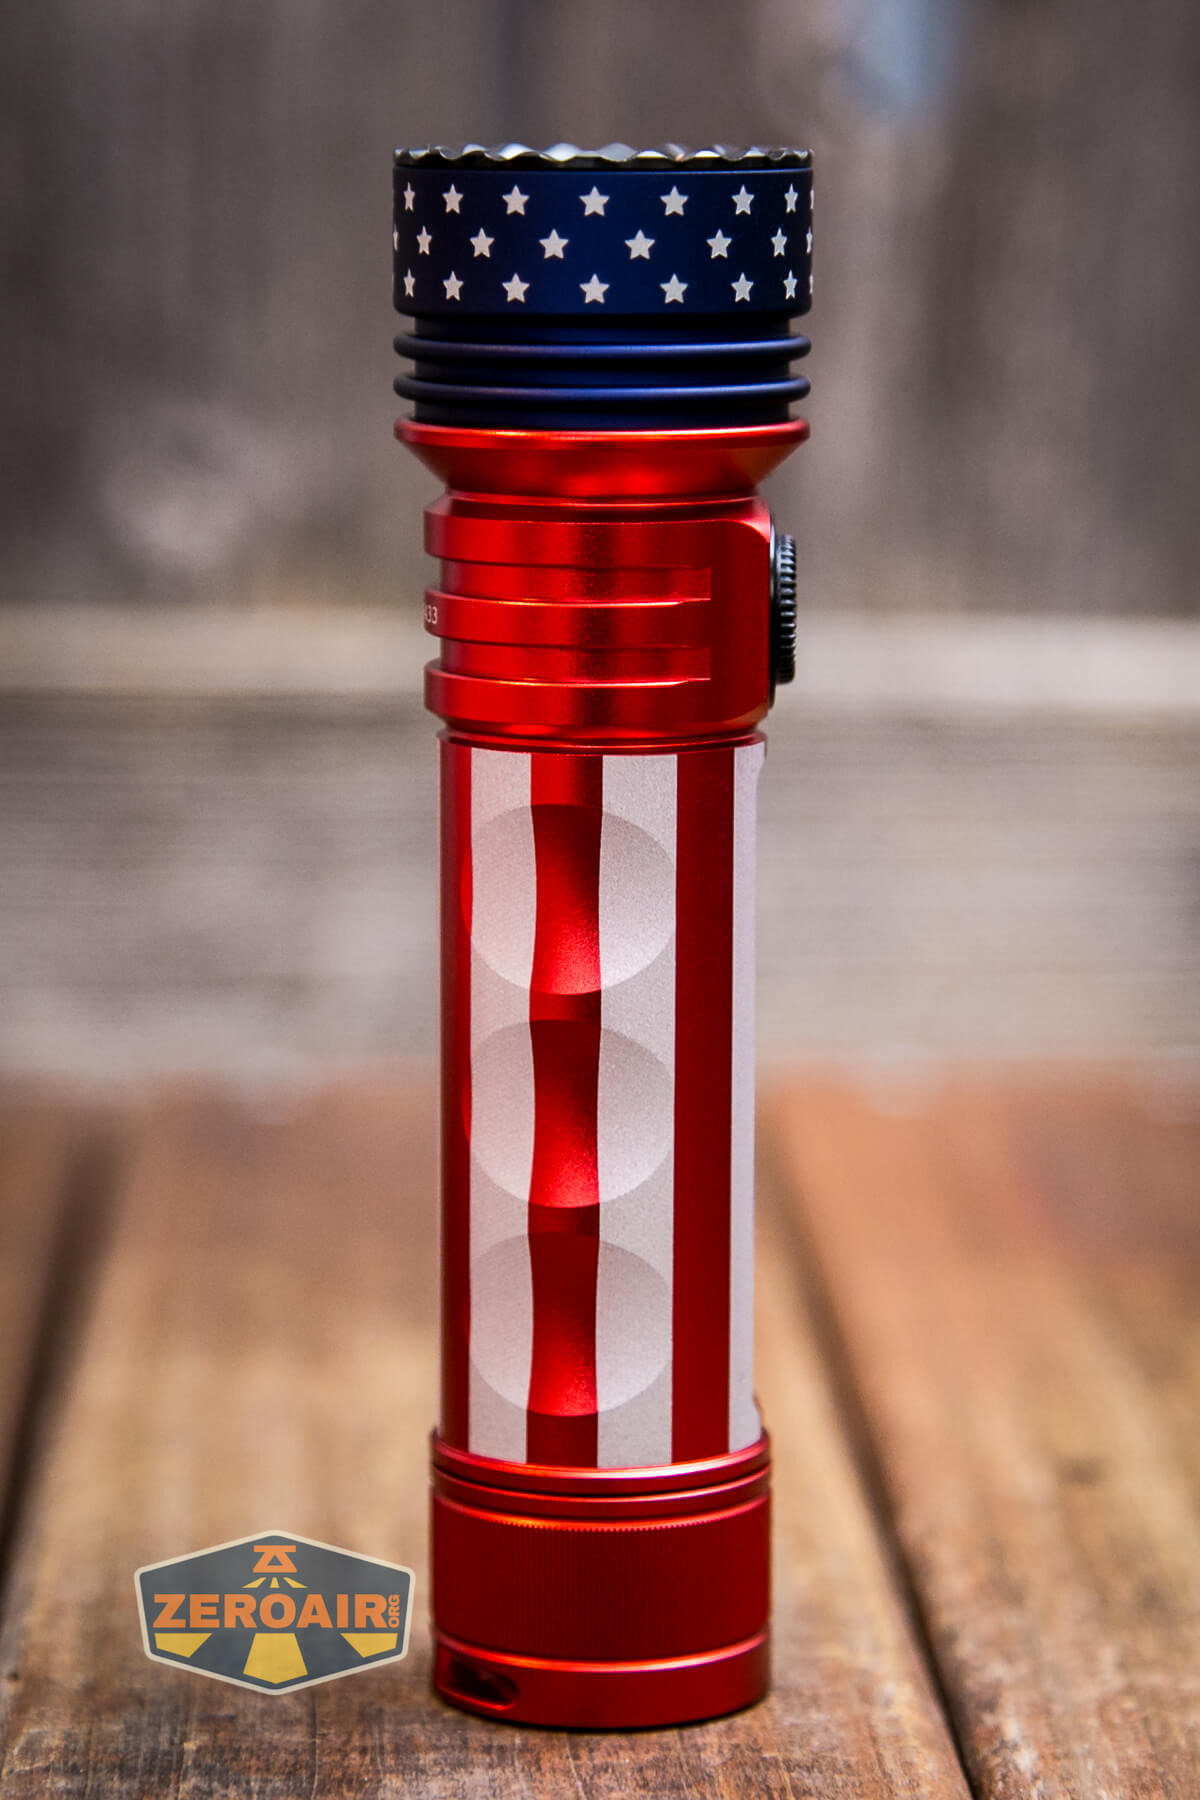
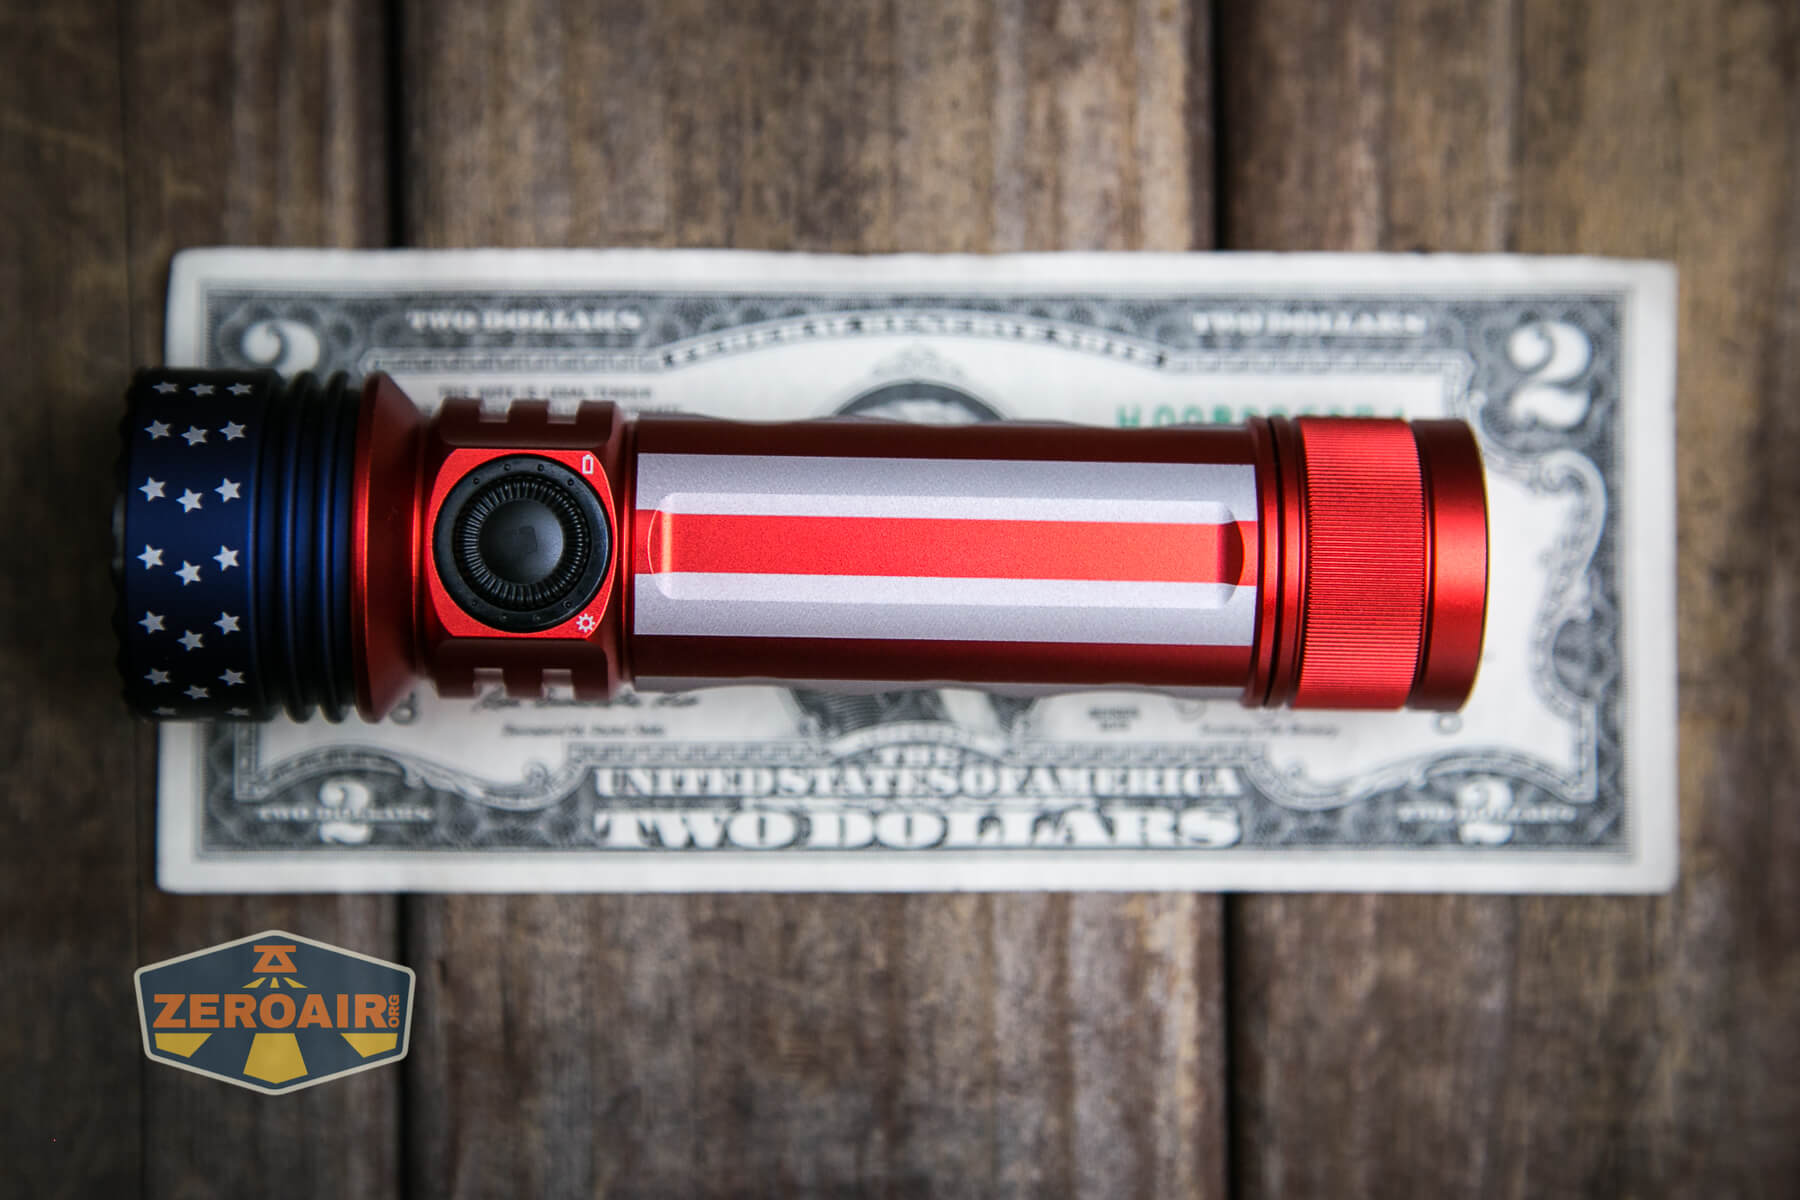
The Olight Seeker 3 Pro is a solid, well-built flashlight. Like the other versions I’ve had of this same light, this is a very nice flashlight. It just feels right in the hand.
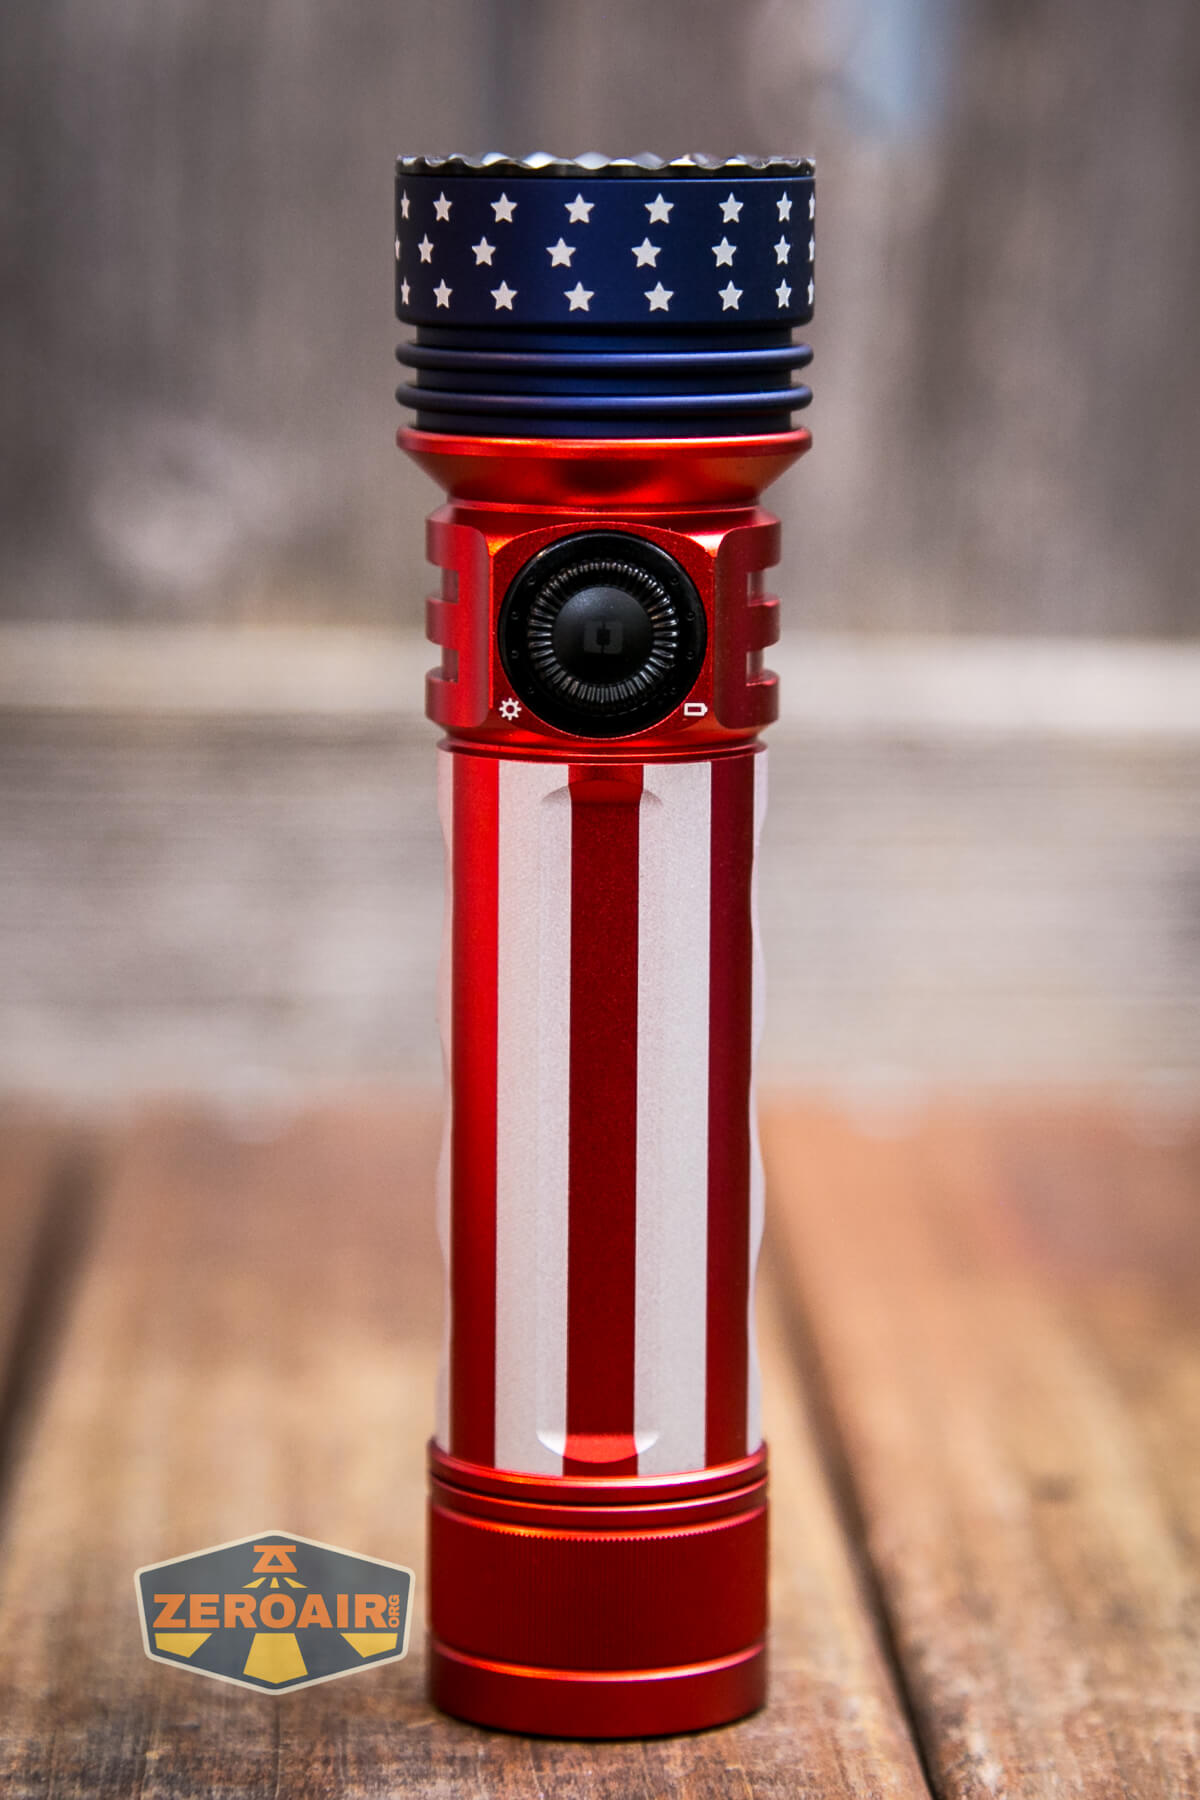
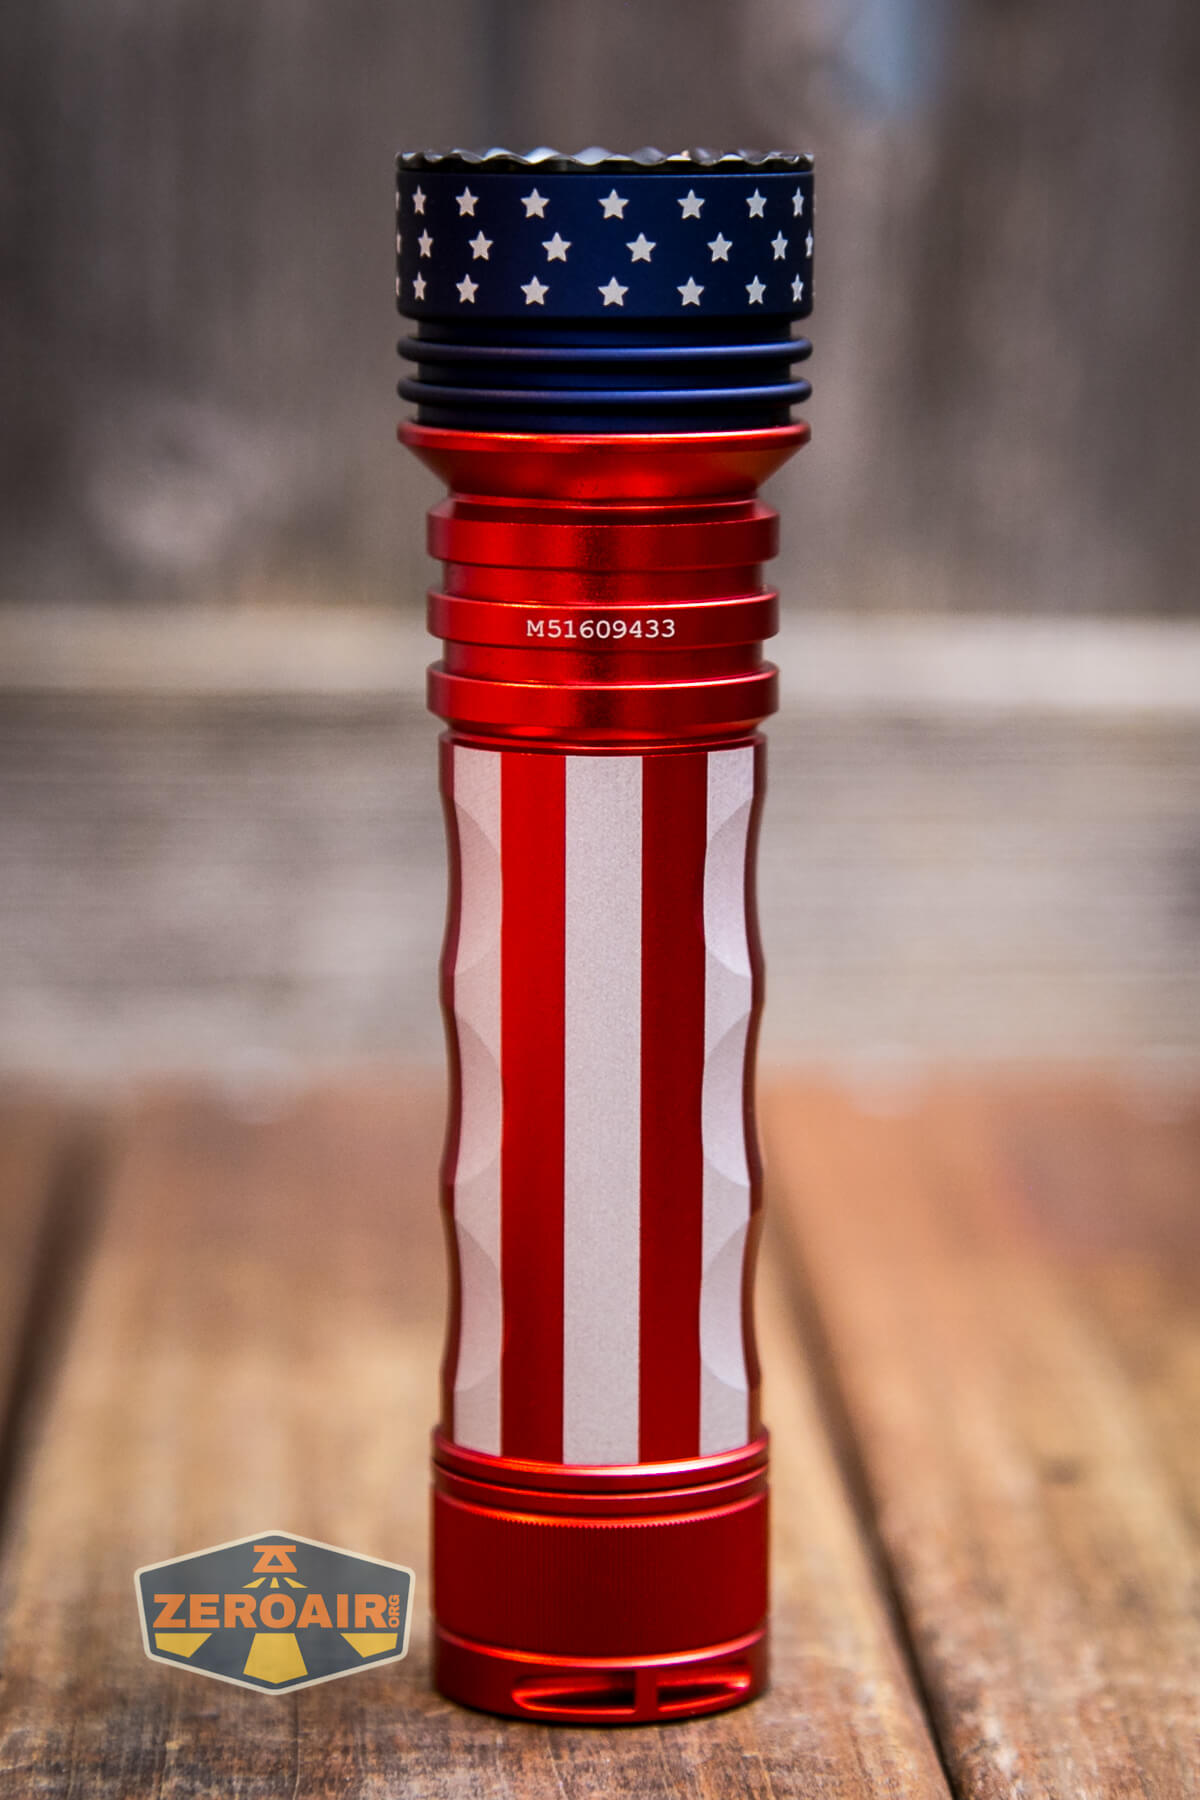
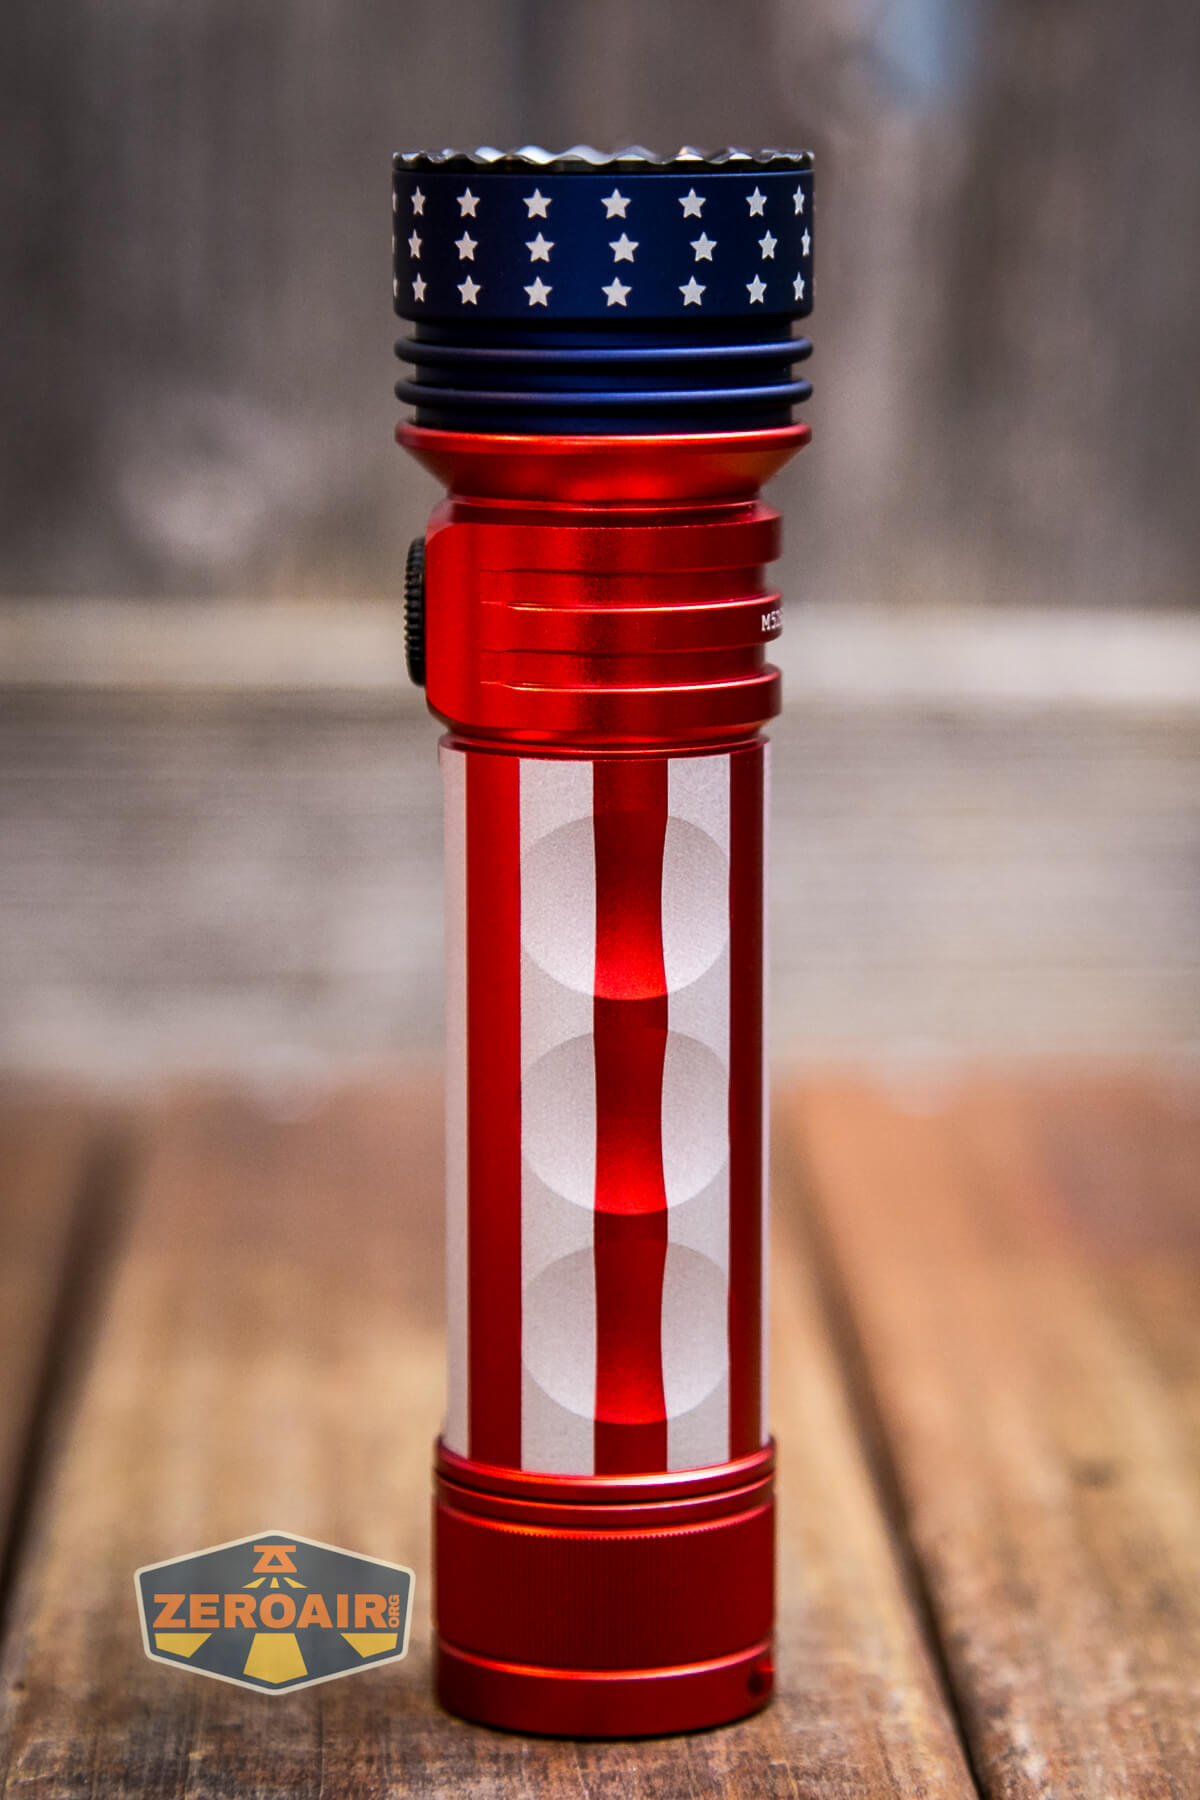
Unlike some other versions of the Seeker 3 Pro, the Stars and Stripes edition does not have the softer grip areas along the sides. I consider that a win – those things are dust magnets! They are great for grip, though, so if grip is something you ever struggle with, do look into those other versions of the Seeker 3 Pro.
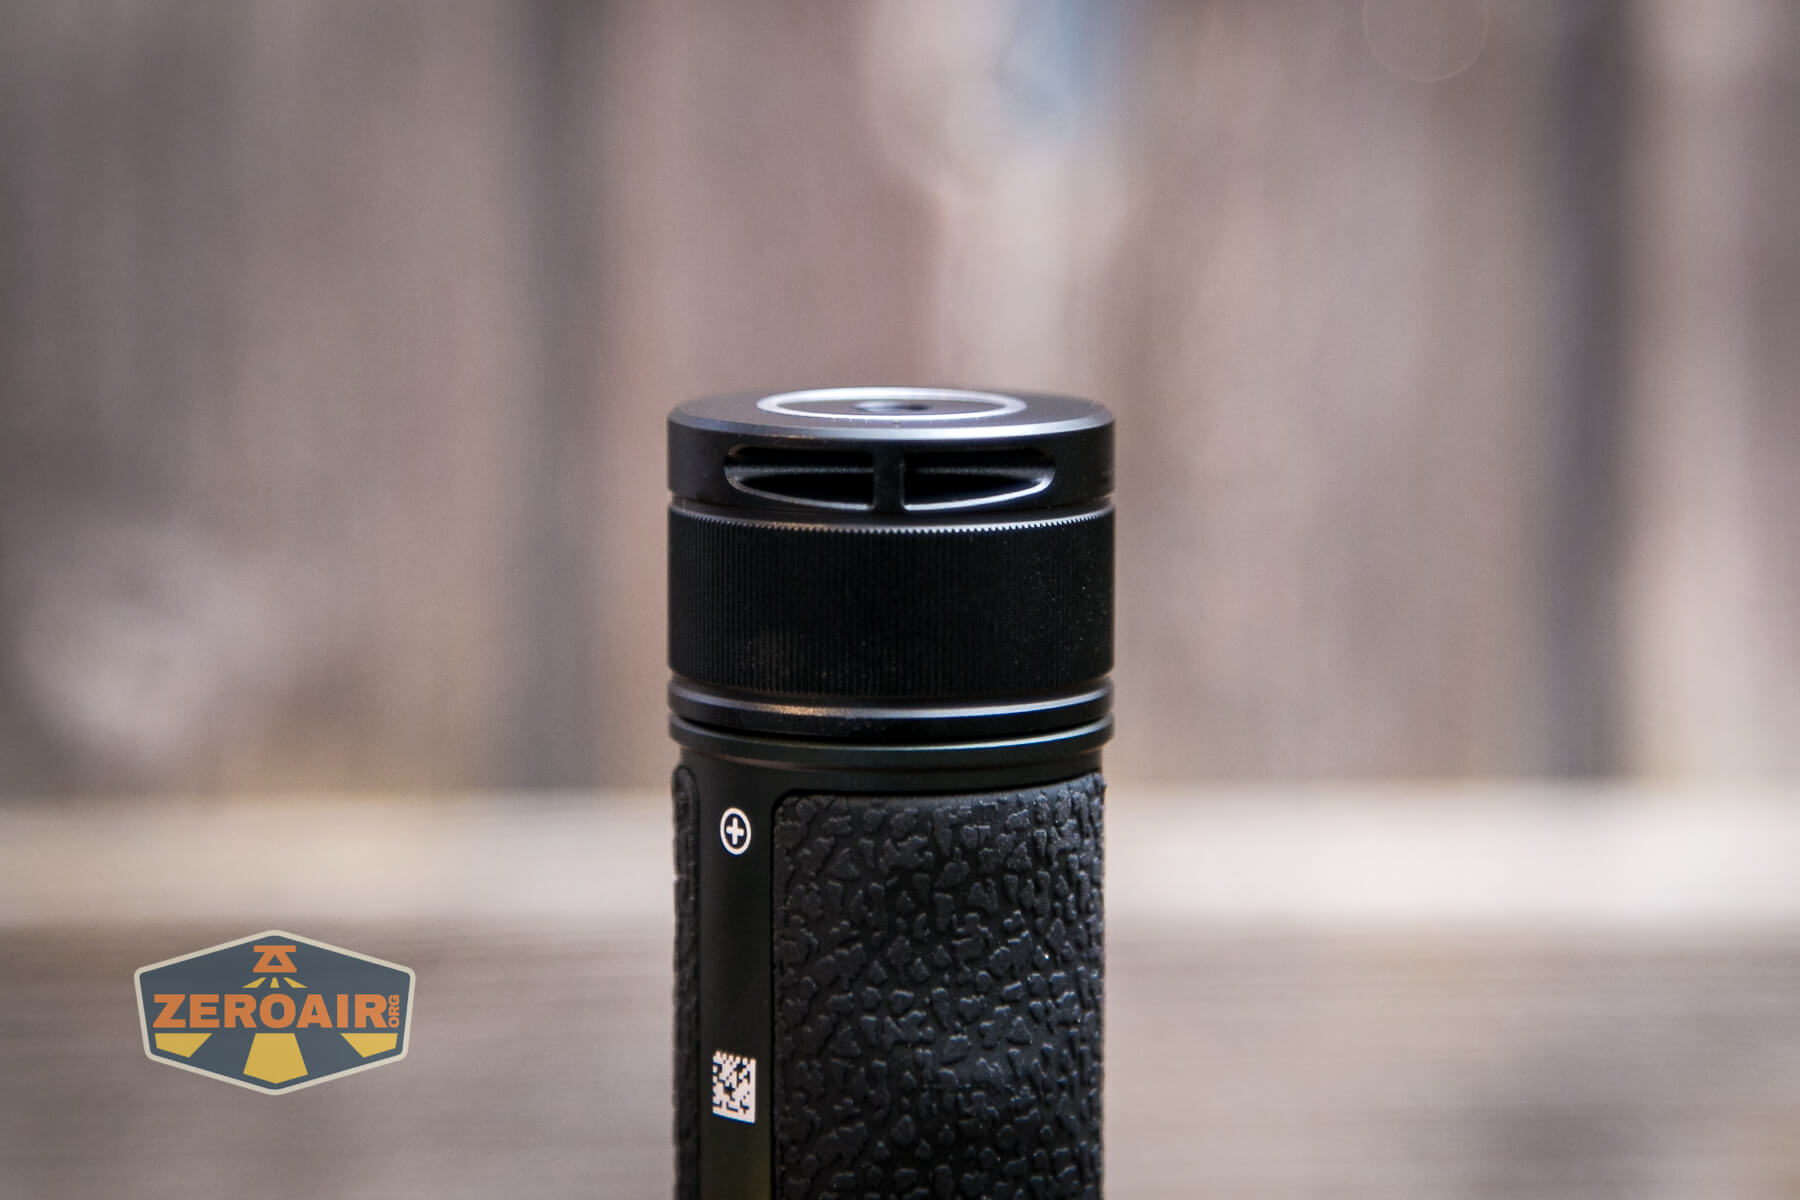
Cooling finds on the head are of minimal depth, but according to the test, they do the job just fine.
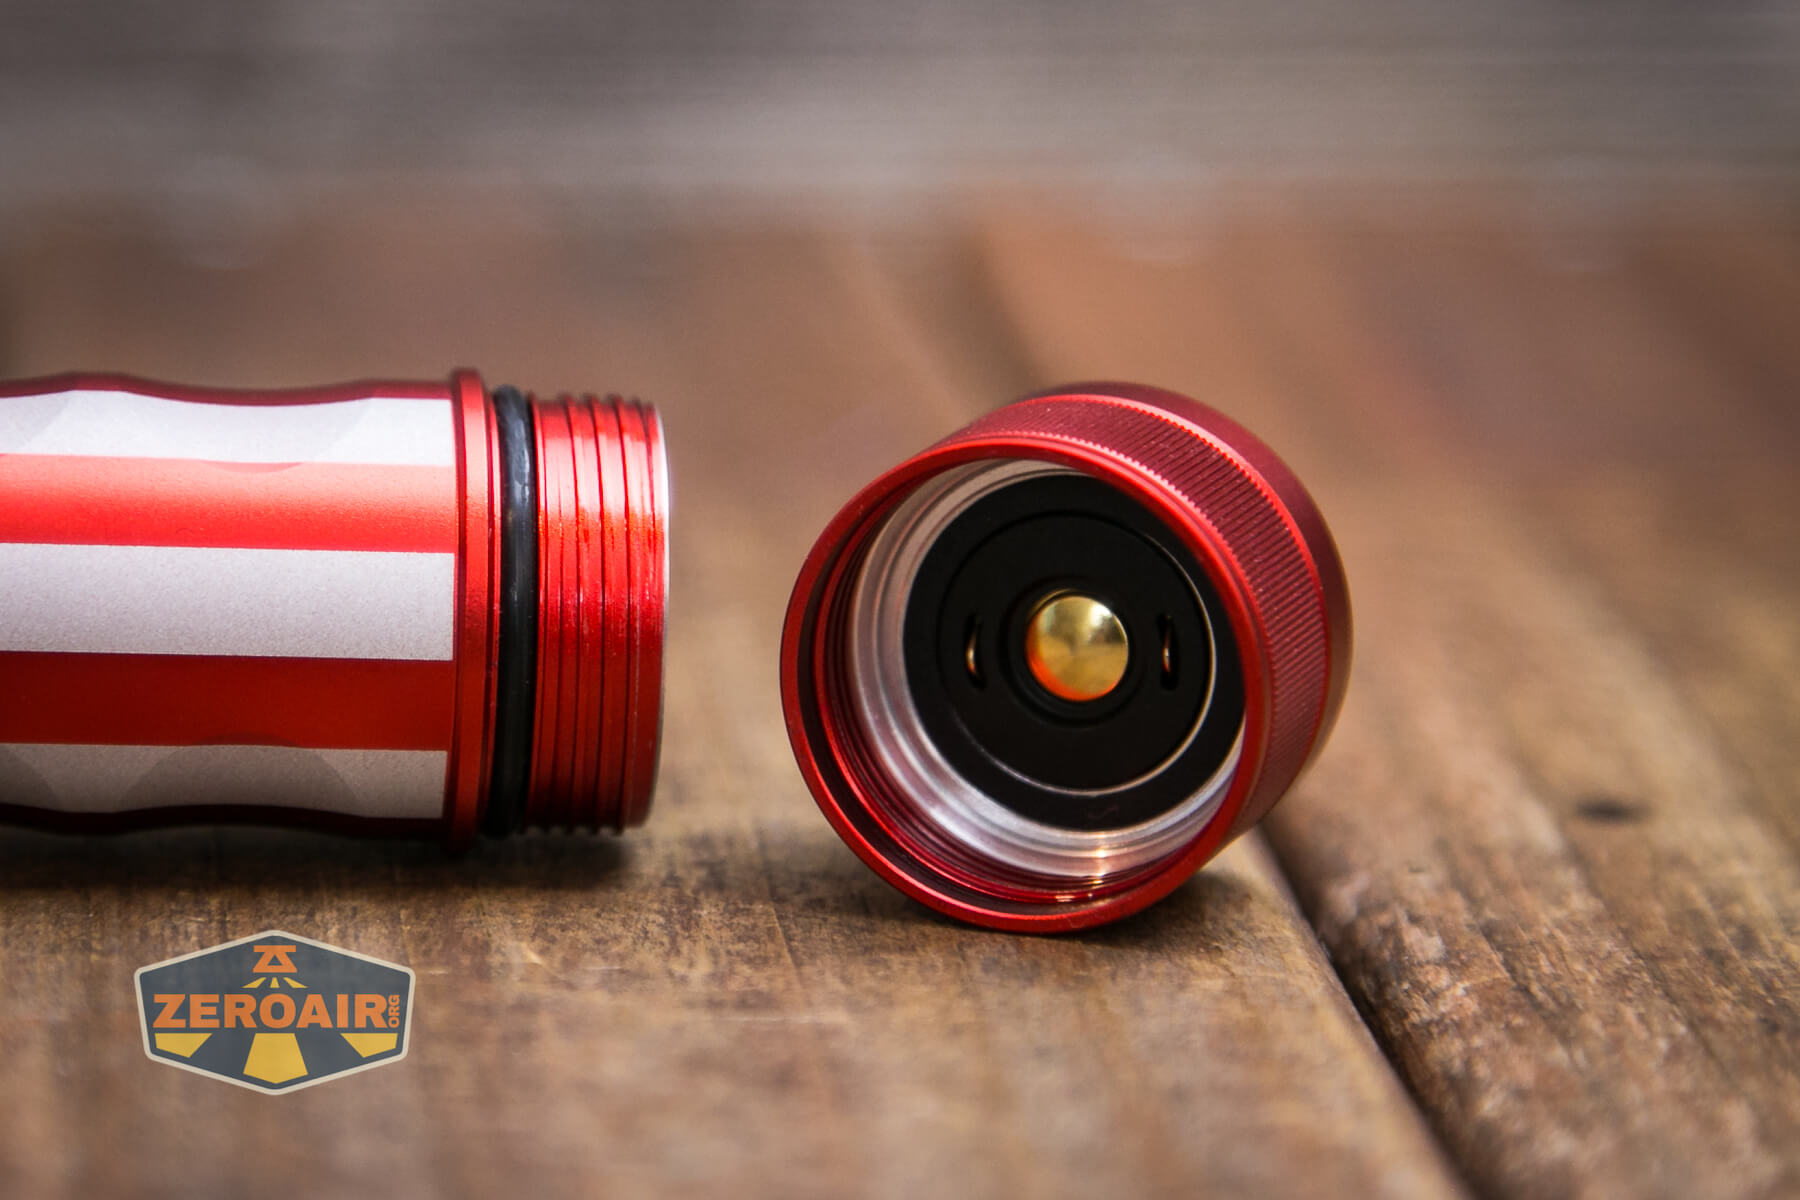
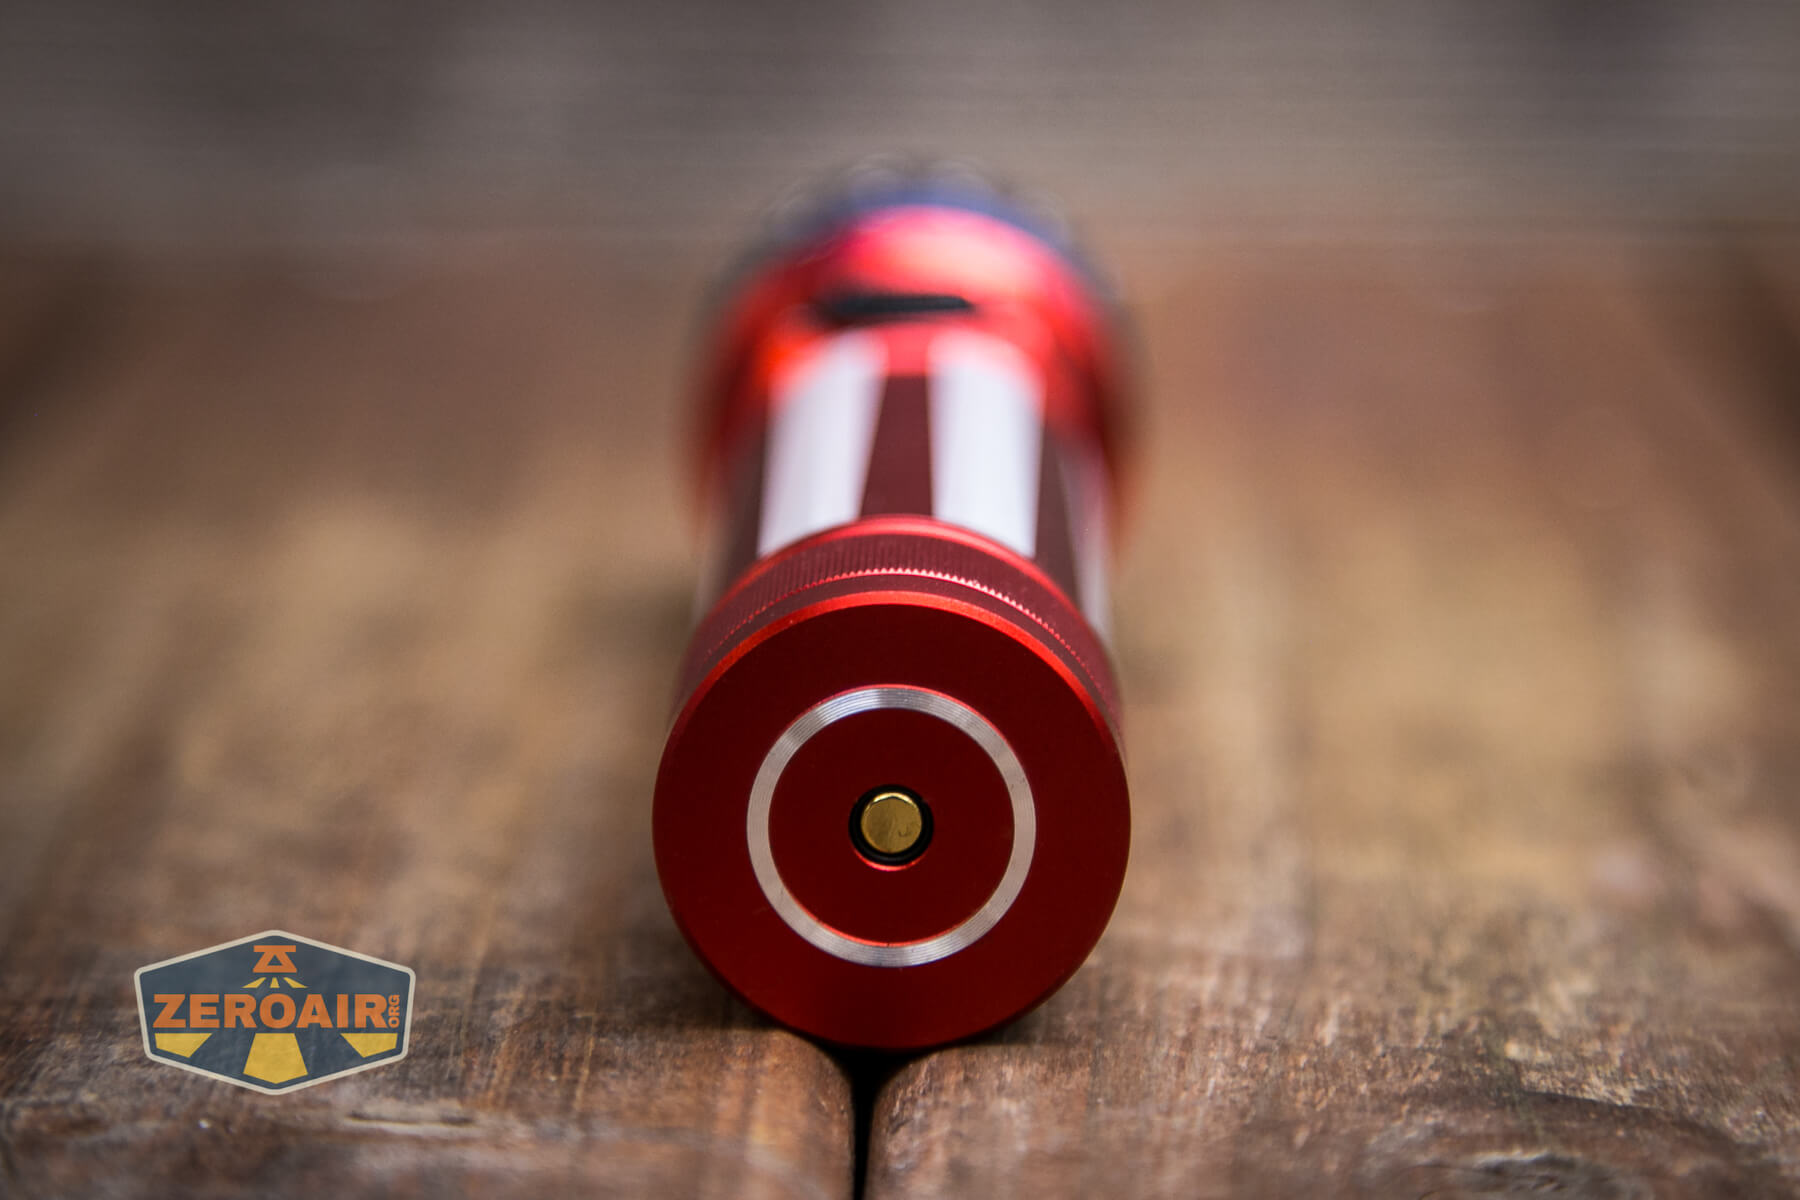
With the tailcap removed, you can see the square-cut, anodized threads. These threads are fairly short and also exceptionally smooth.
Both head and tail have springs, but those, too, are customized.

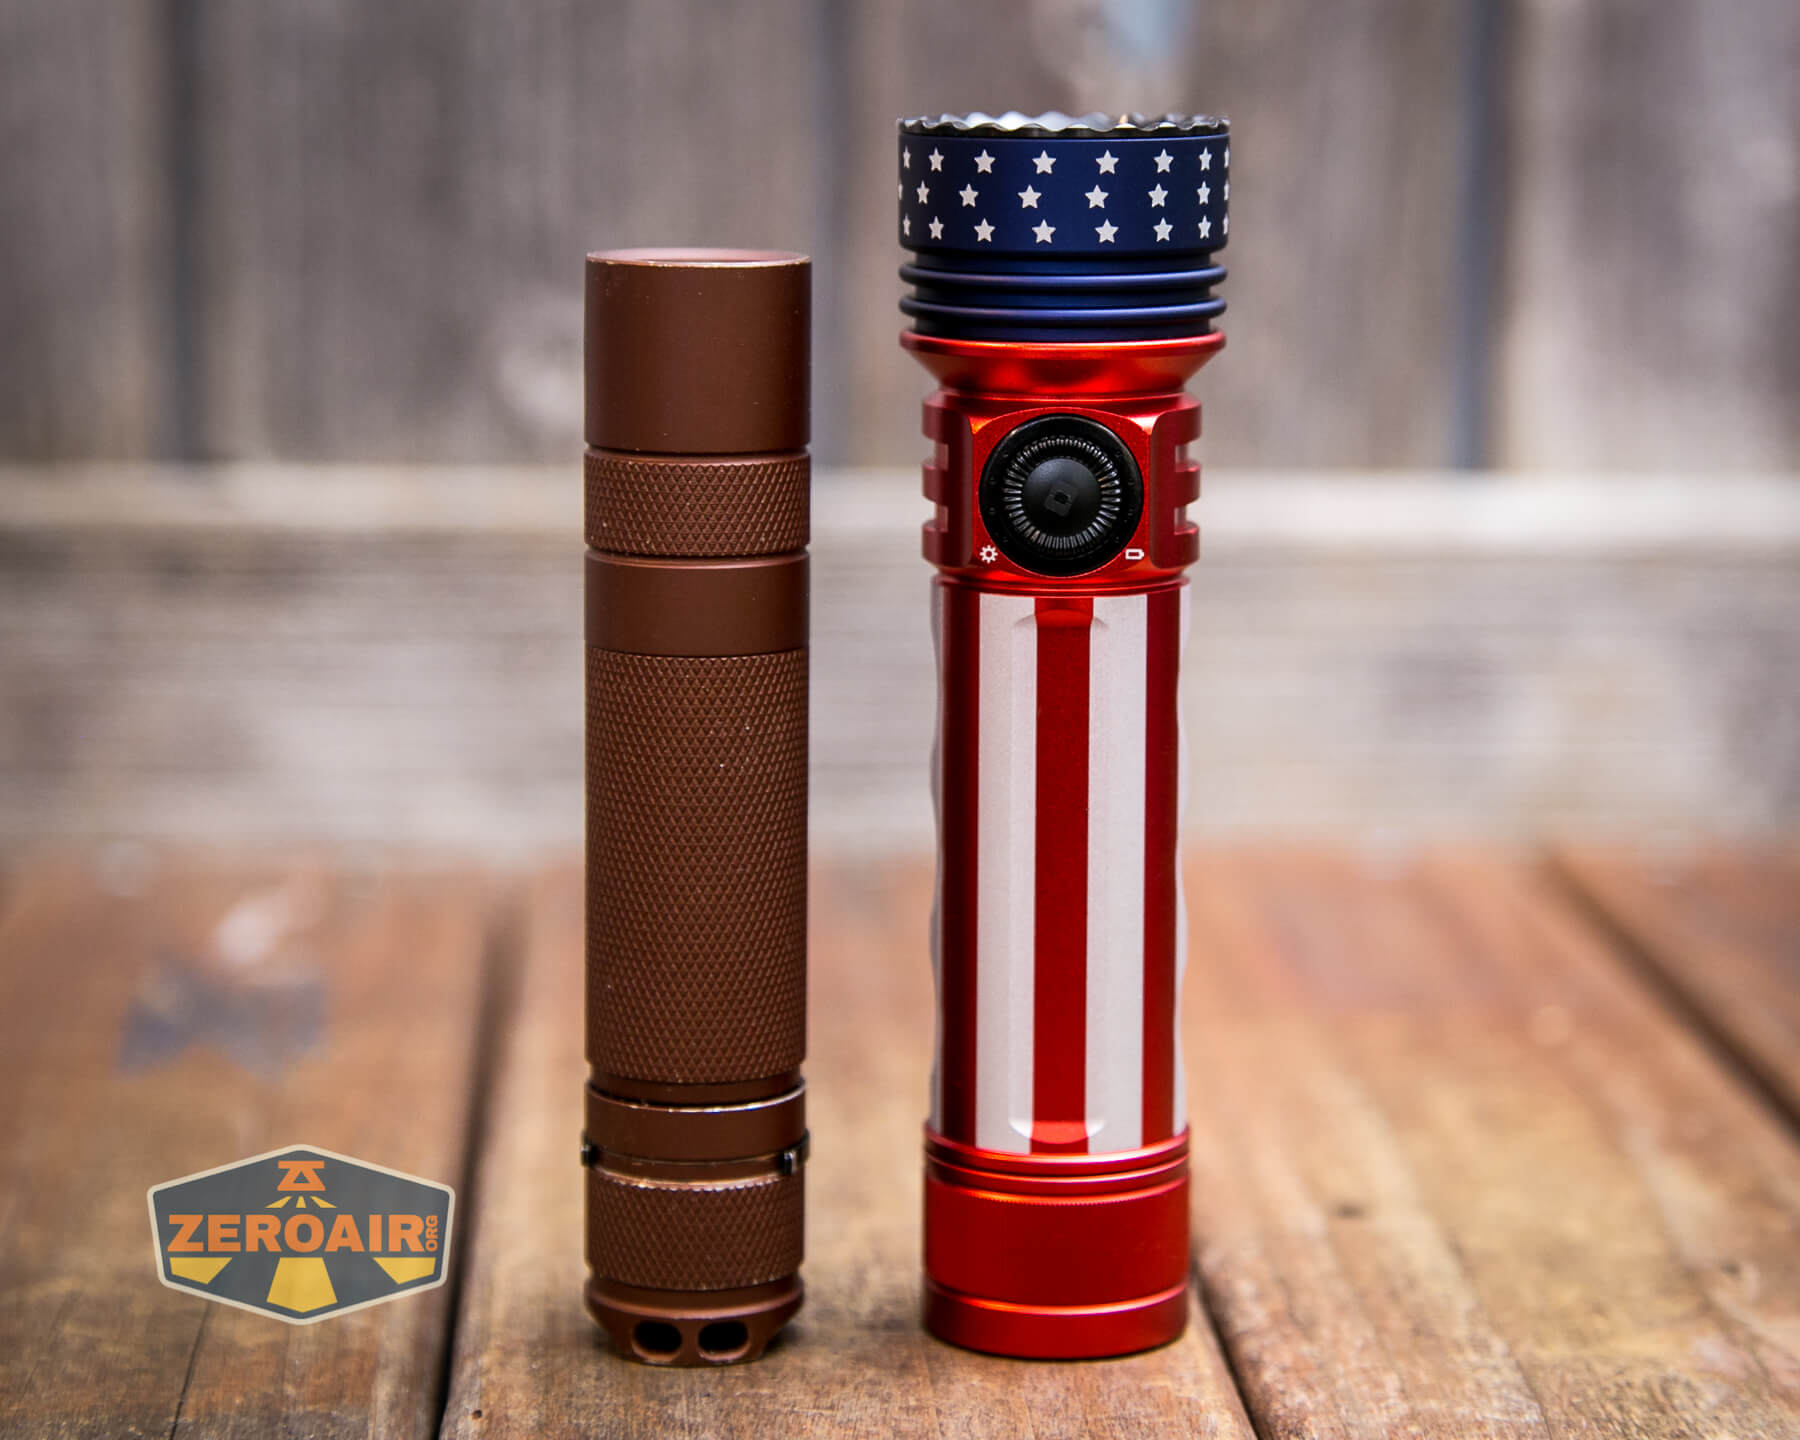
Size and Comps
Length (mm / in) 132mm/5.20in
Head Diameter (mm / in) 35mm/1.38in
Body Diameter (mm / in) 28mm/1.10in
Weight (g / oz) 200g/7.06oz (Including Battery)
If the flashlight will headstand, I’ll try to show it here. If the flashlight will tailstand, I usually show that here, too.
Here’s the test light with the venerable Convoy S2+. Mine is a custom “baked” edition Nichia 219b triple. A very nice 18650 light!
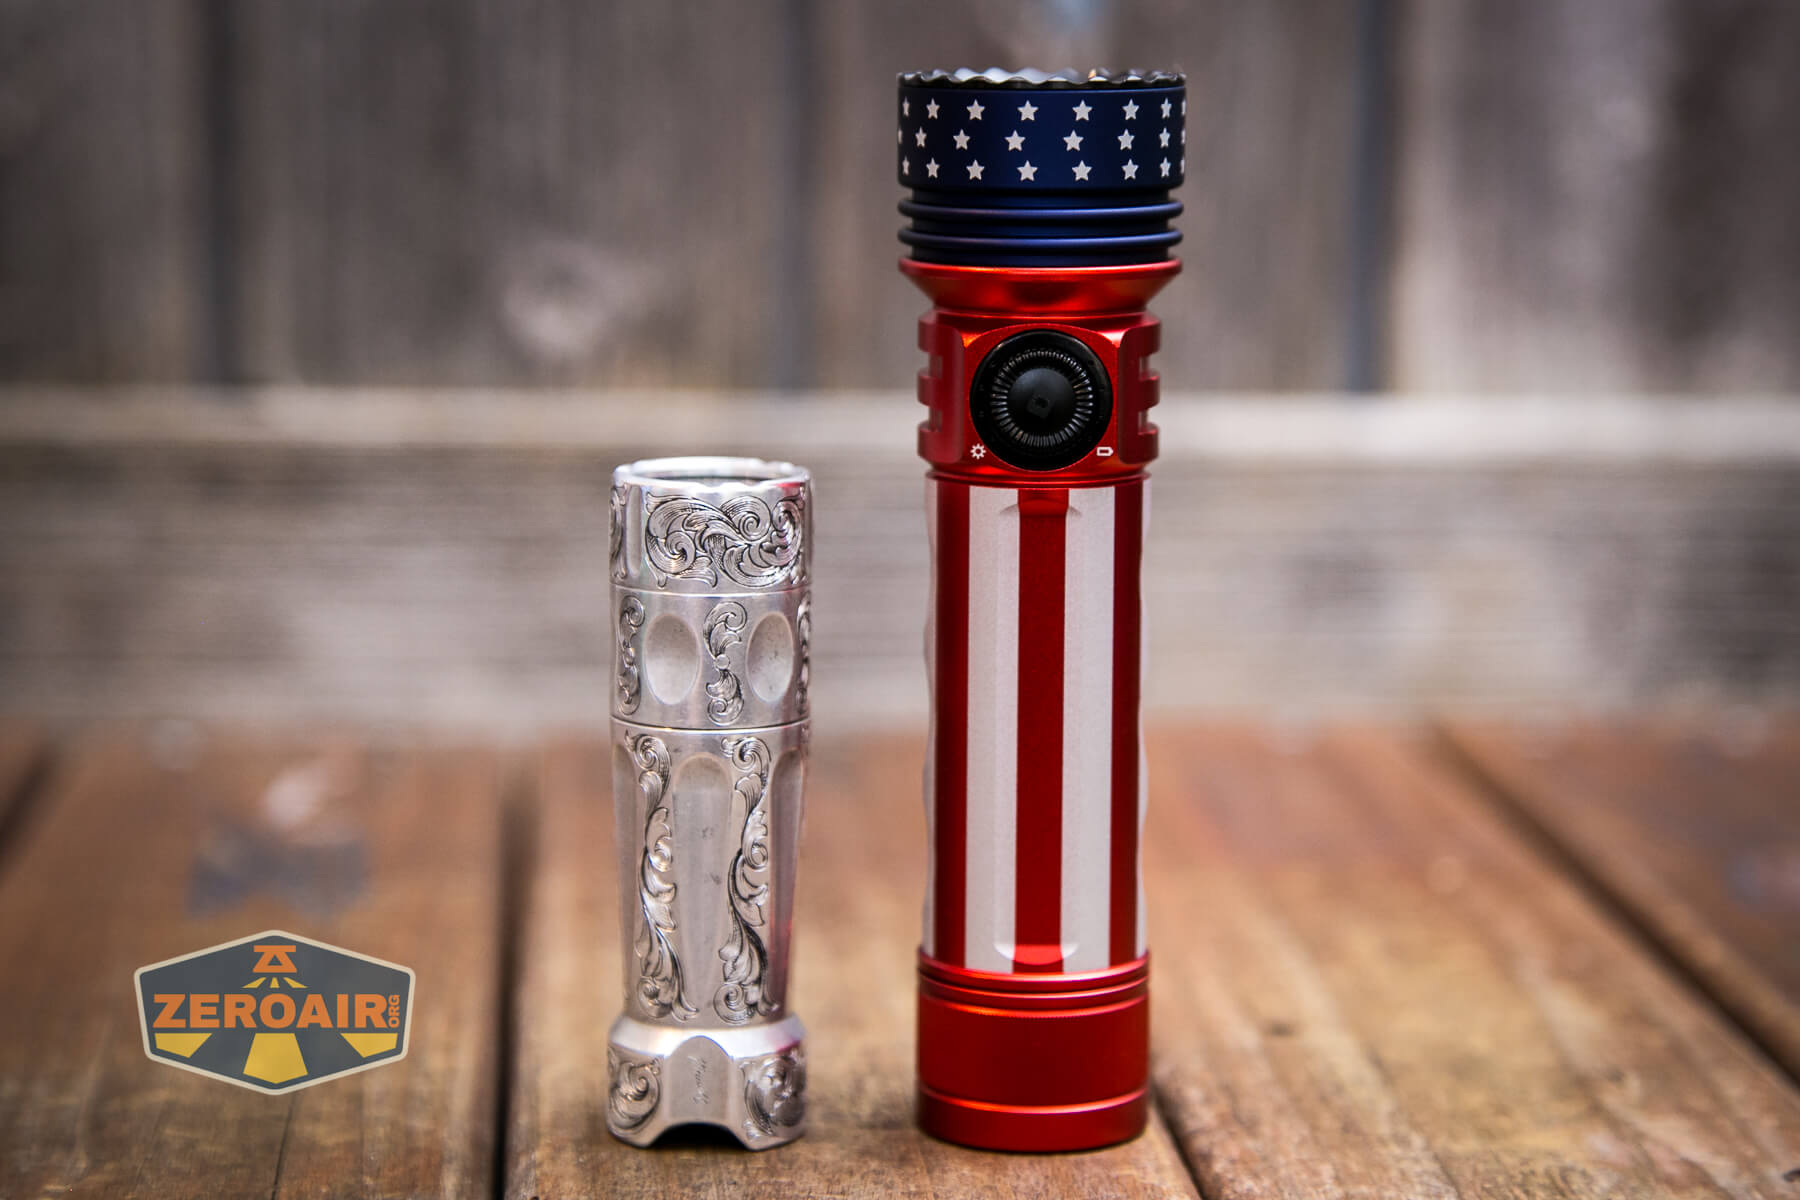
And here’s the light beside my custom-engraved TorchLAB BOSS 35, an 18350 light. I reviewed the aluminum version of that light in both 35 and 70 formats.
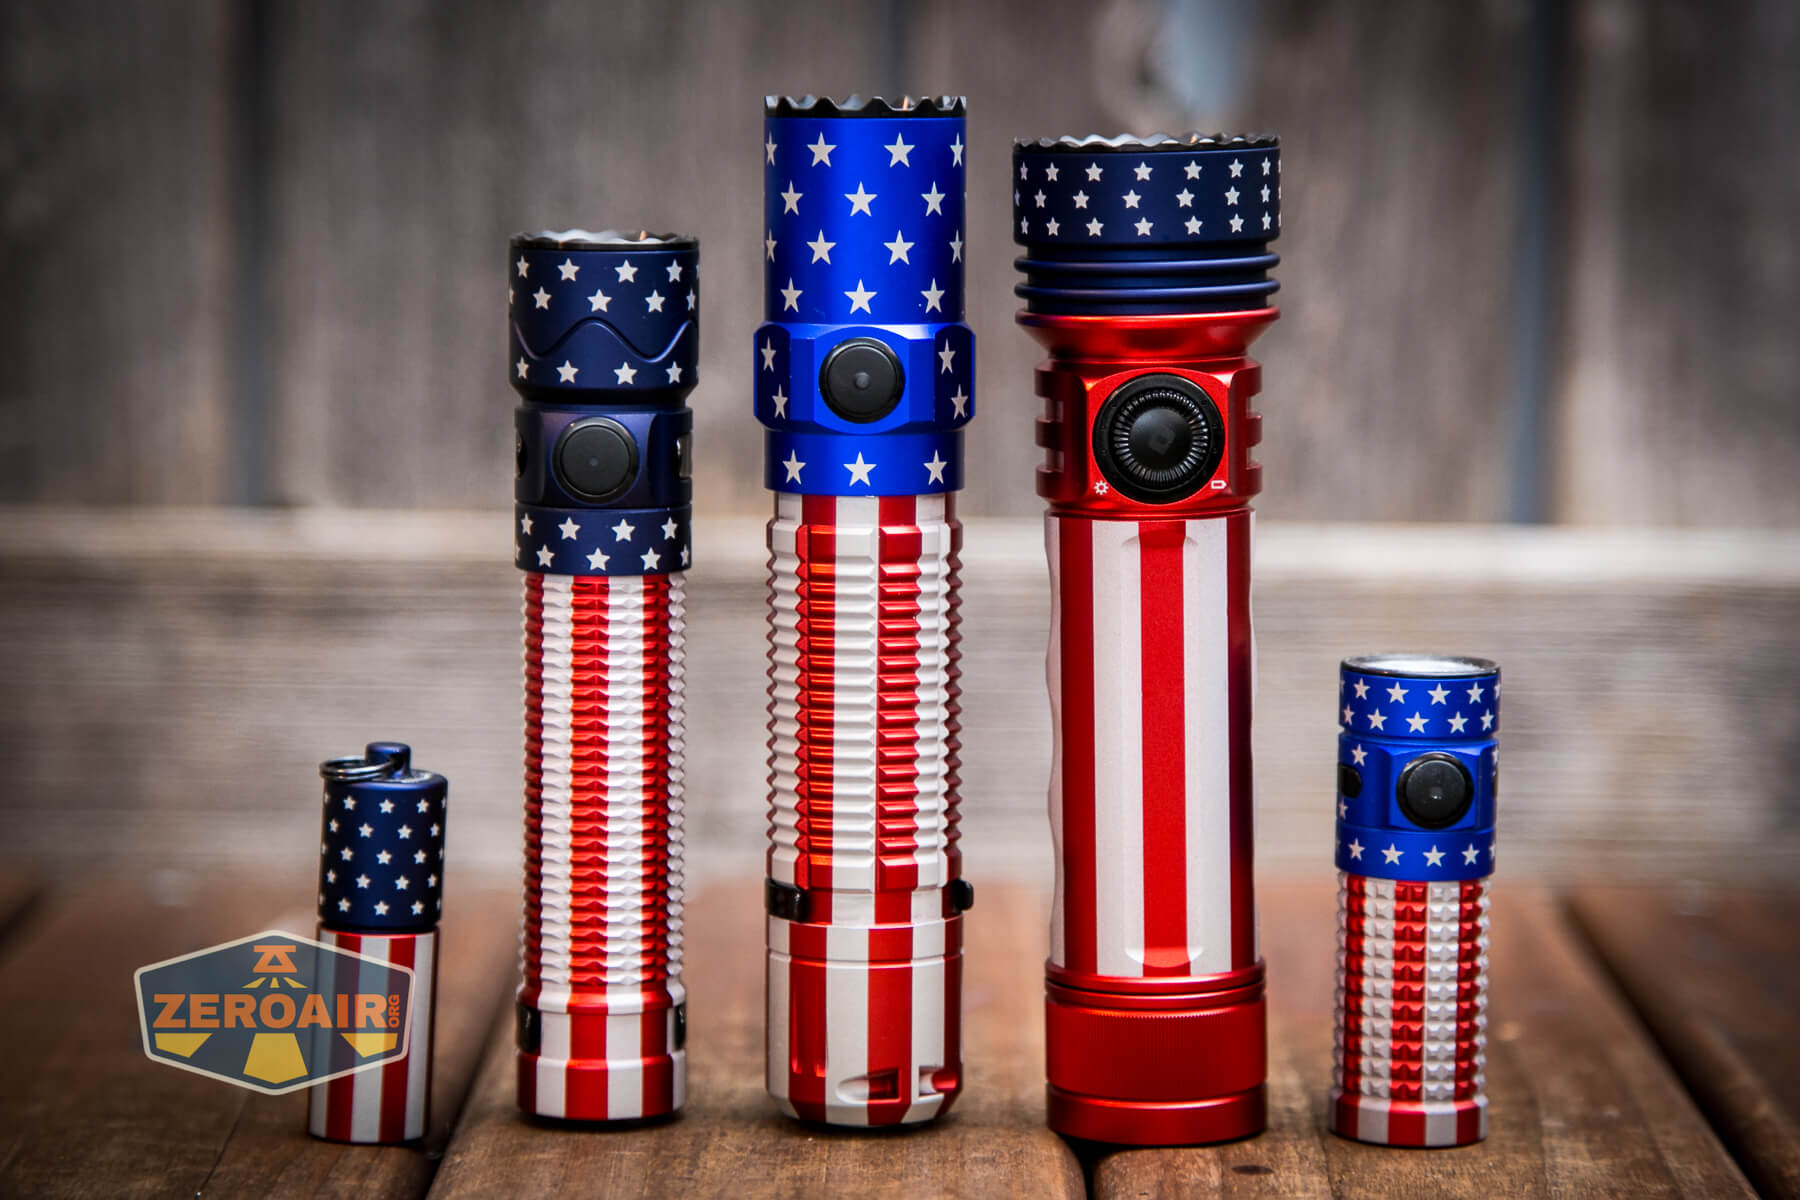
Here are all my Olight Patriot or Stars and Stripes edition lights! You can see a difference in blue on the older models. The newer, darker blue is quite great.
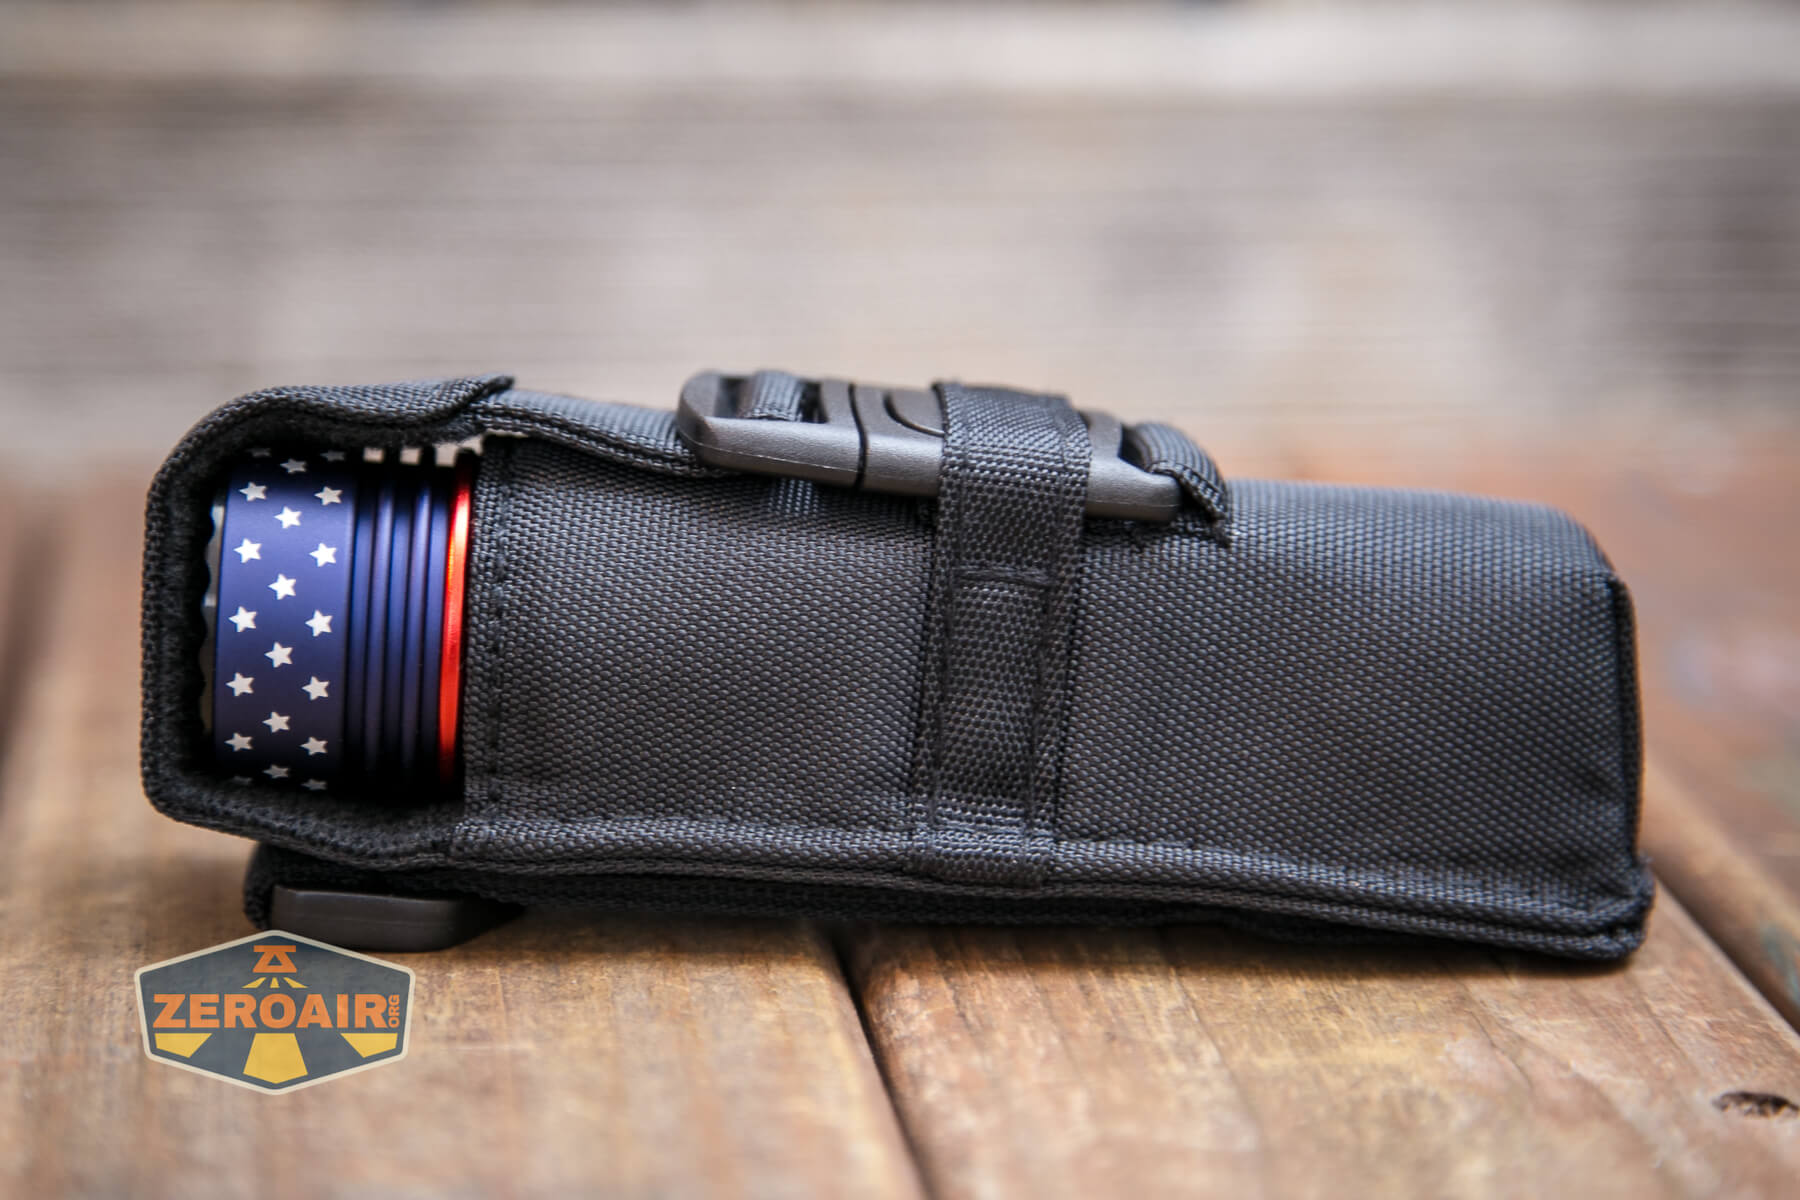
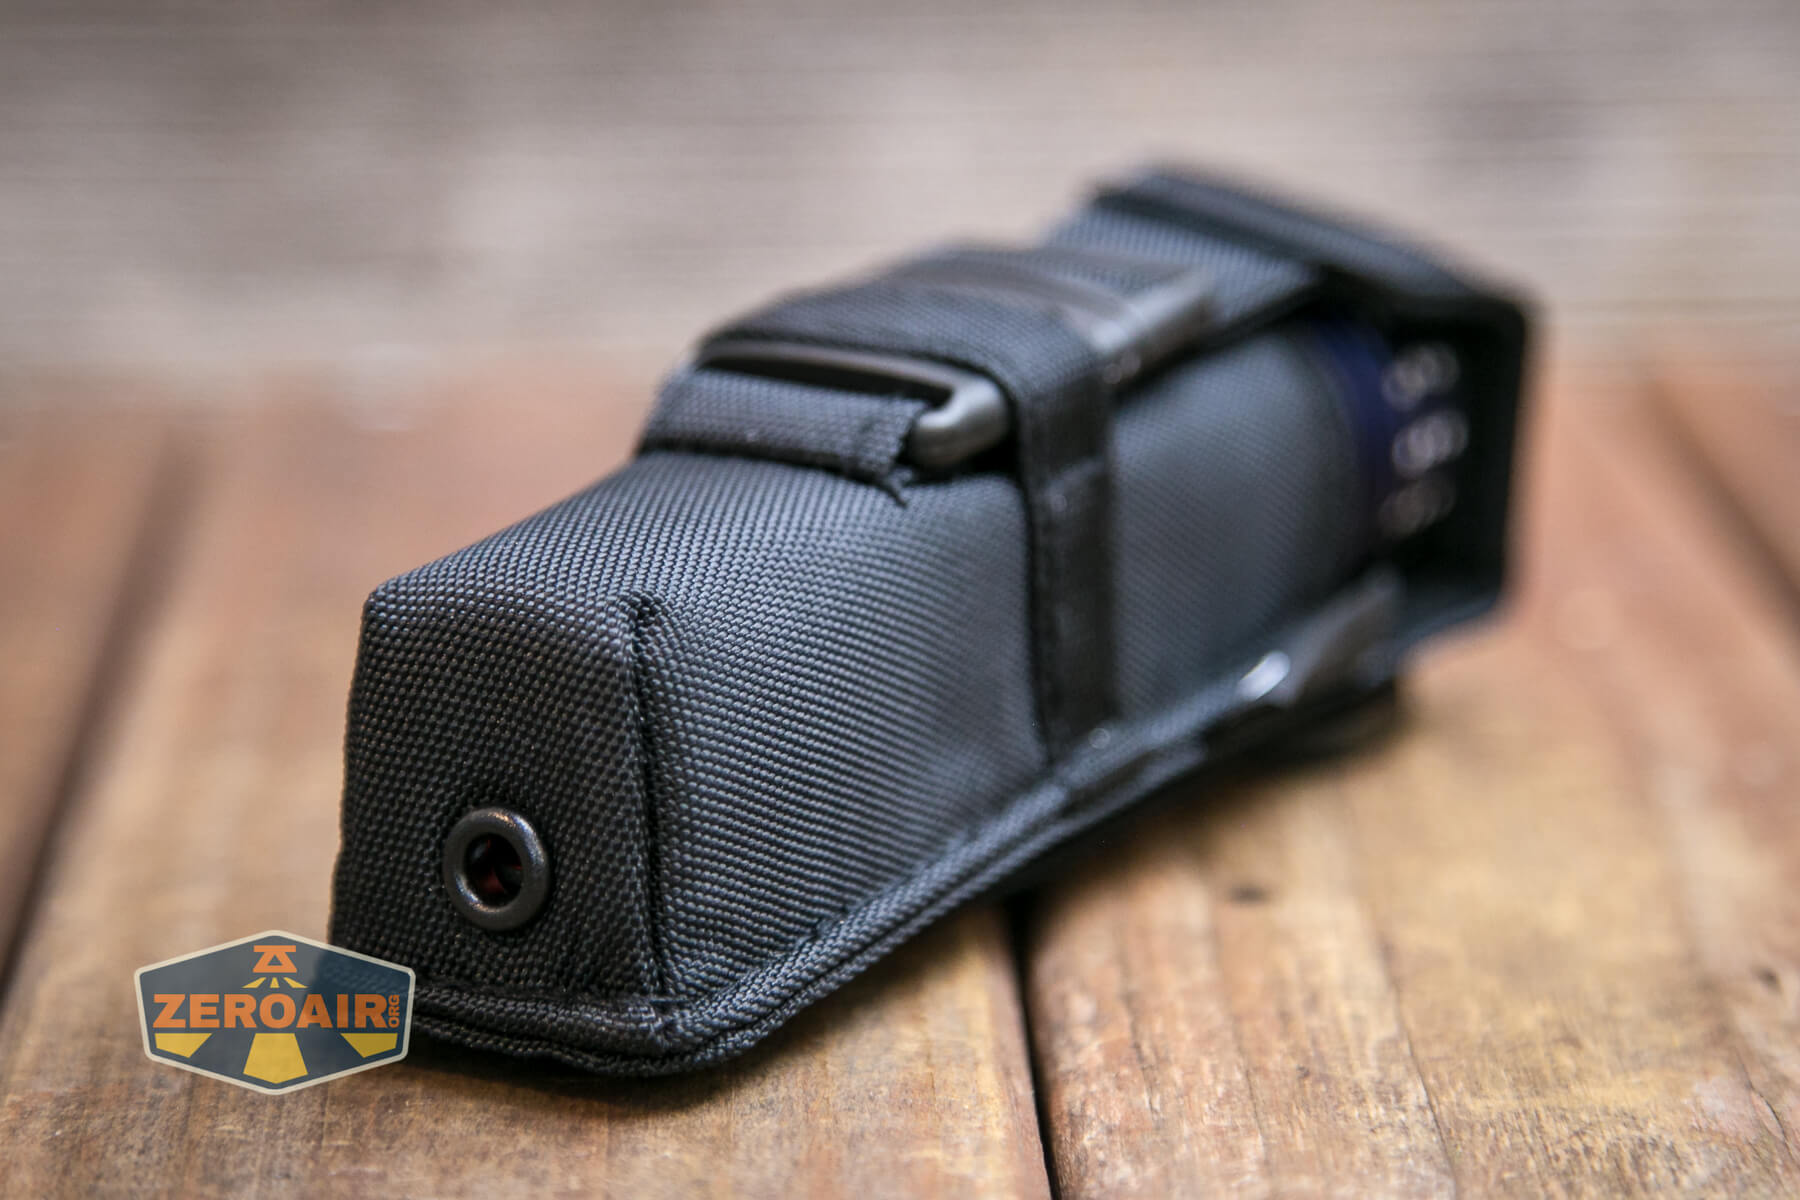
Retention and Carry
First, let’s talk about what this light does have for carry. There’s this very nice nylon pouch.
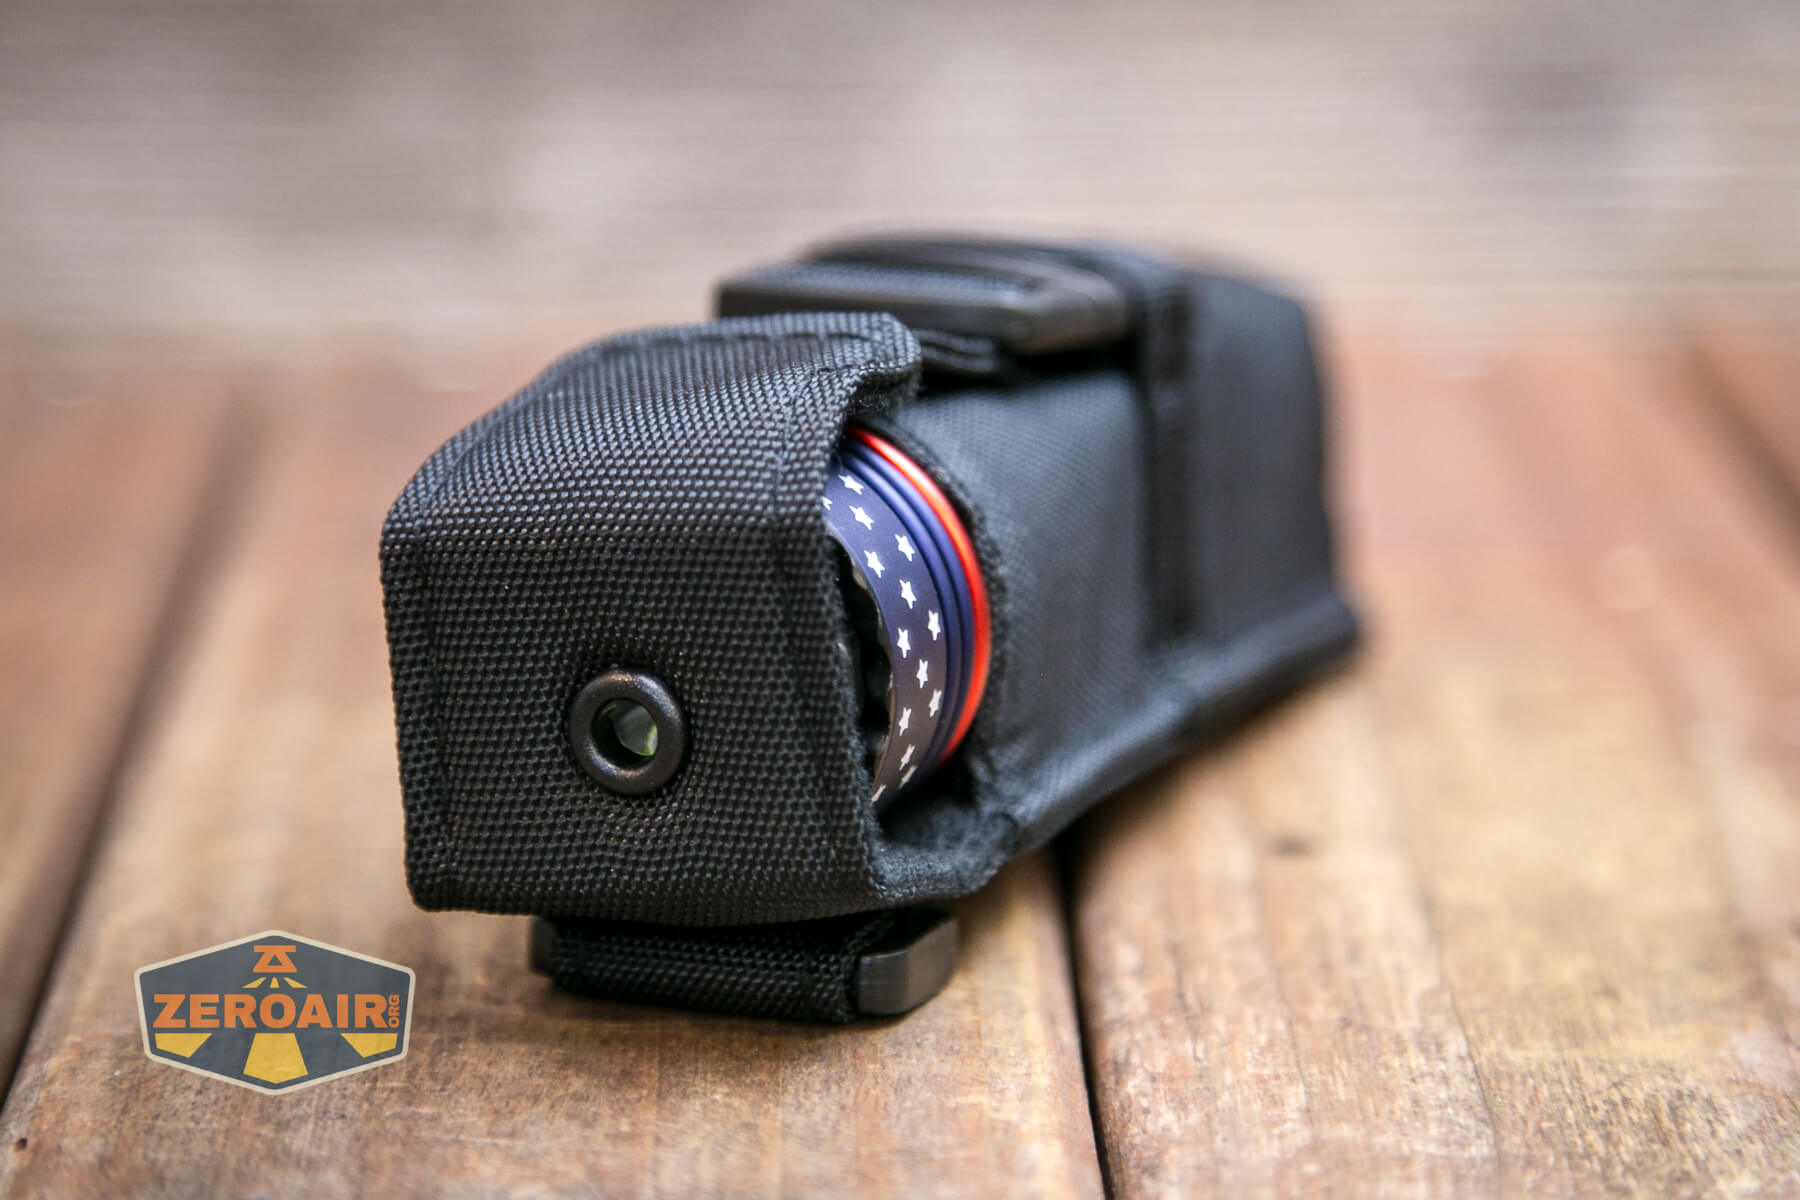
The Olight Seeker 3 Pro Forest Gradient is intended to go bezel-up, but not intended to be used while in the pouch.
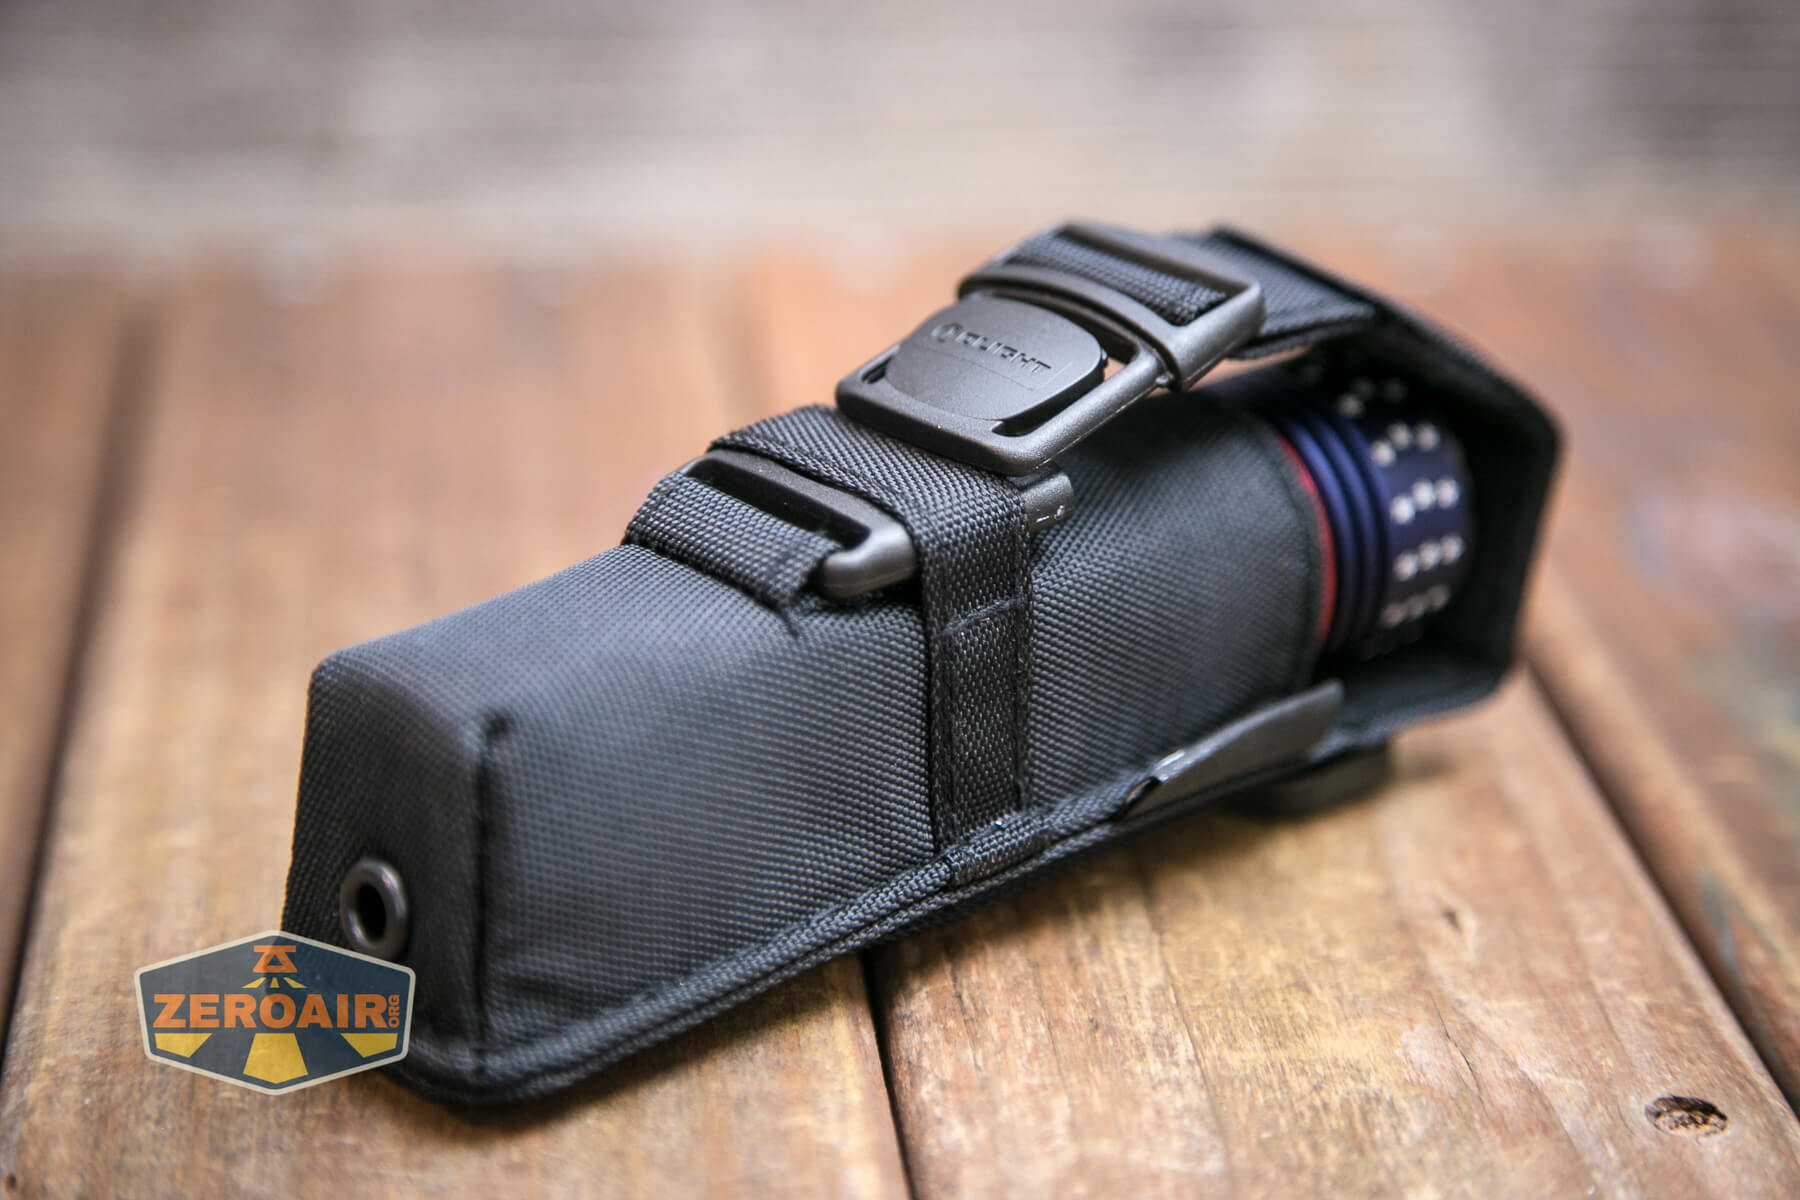
You can see below that the latch is covered by some nylon. This is an interesting design and I can’t really explain it, but it does work very well.
There’s a lanyard hole in the tailcap, but no lanyard is included. I failed to get a photo of the tailcap lanyard loop, so here’s the one from the green Seeker 3 Pro.
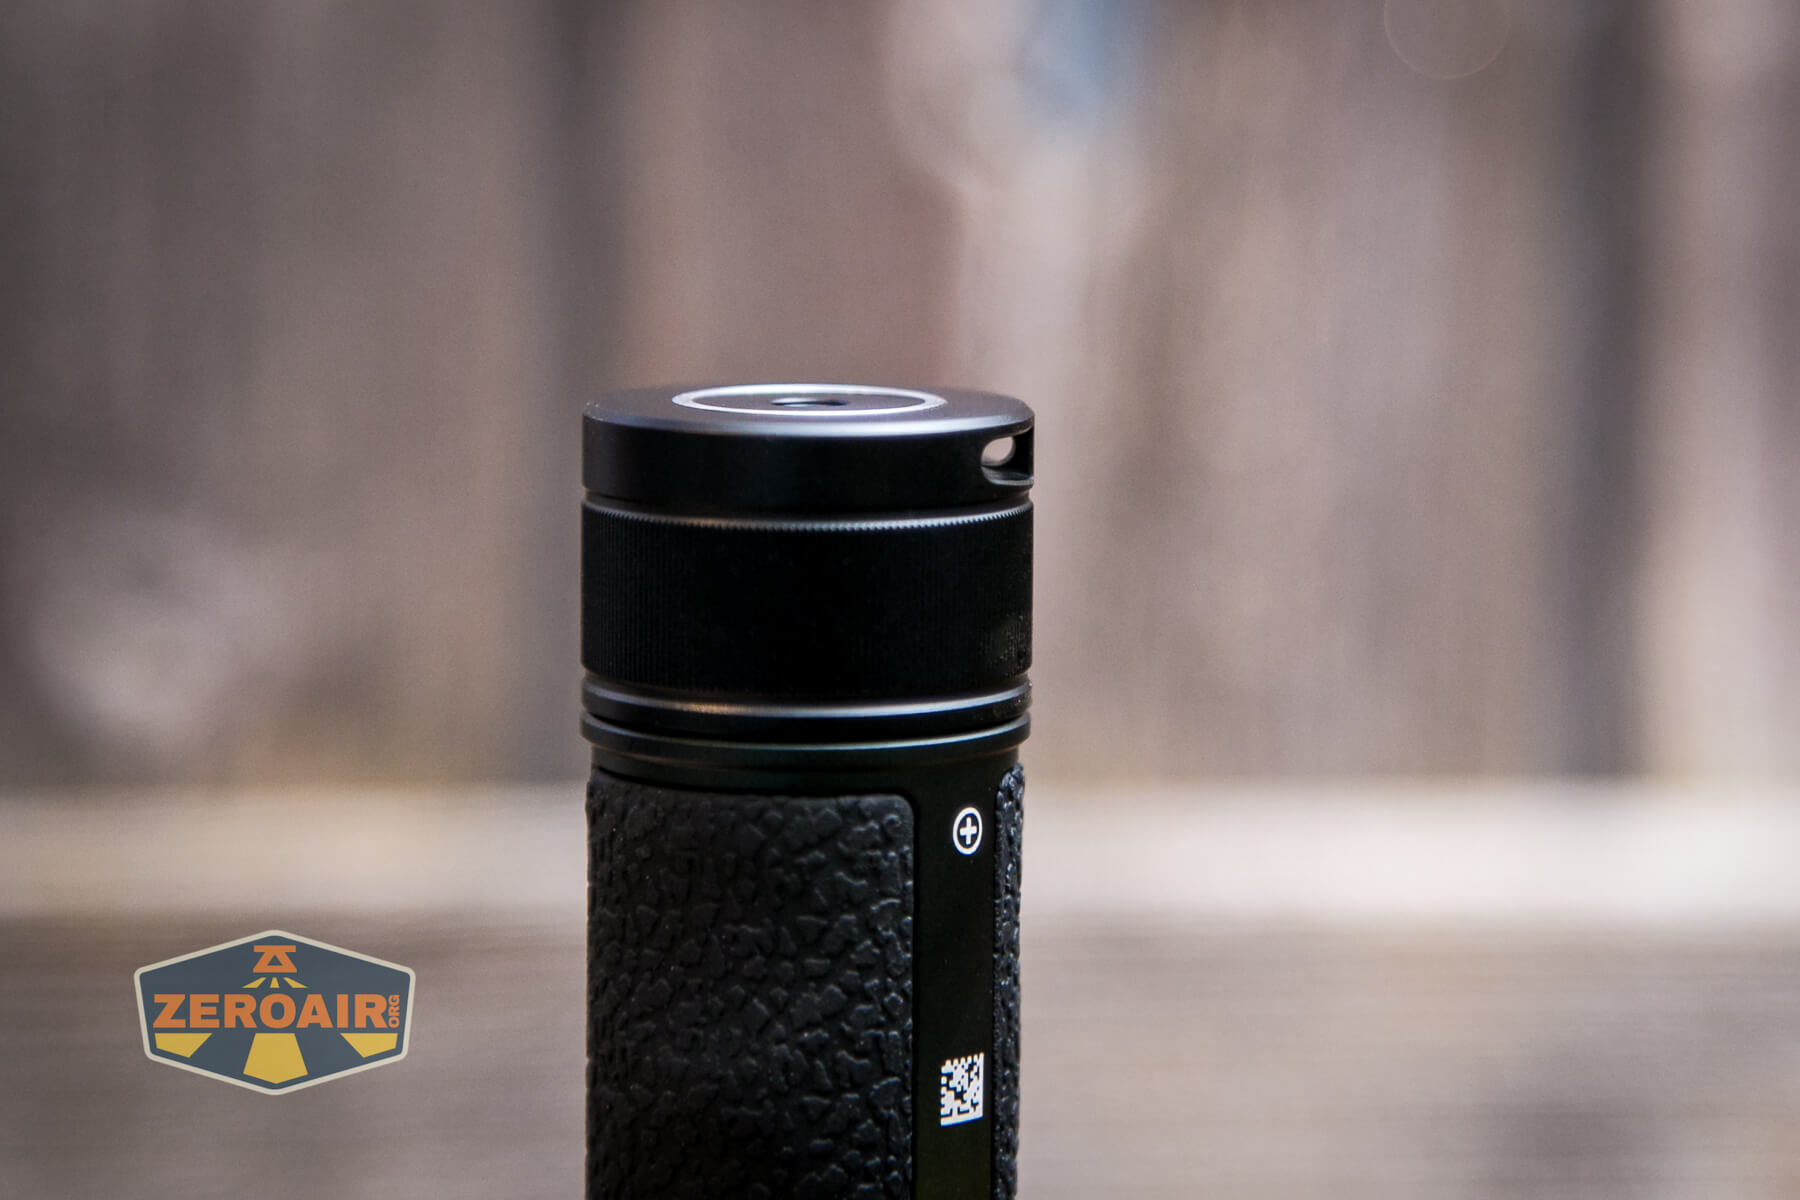
Also not included on this revision in the long lineage of Seekers is a pocket clip.
Power and Runtime
The Olight Seeker 3 Pro is powered by a proprietary 21700 cell. It’s proprietary in that both positive and negative terminals are exposed on the positive end of the cell. It will not be charged in a bay-type charger. Also, traditional 21700 cells will not work in the light, and cannot be charged by the light.
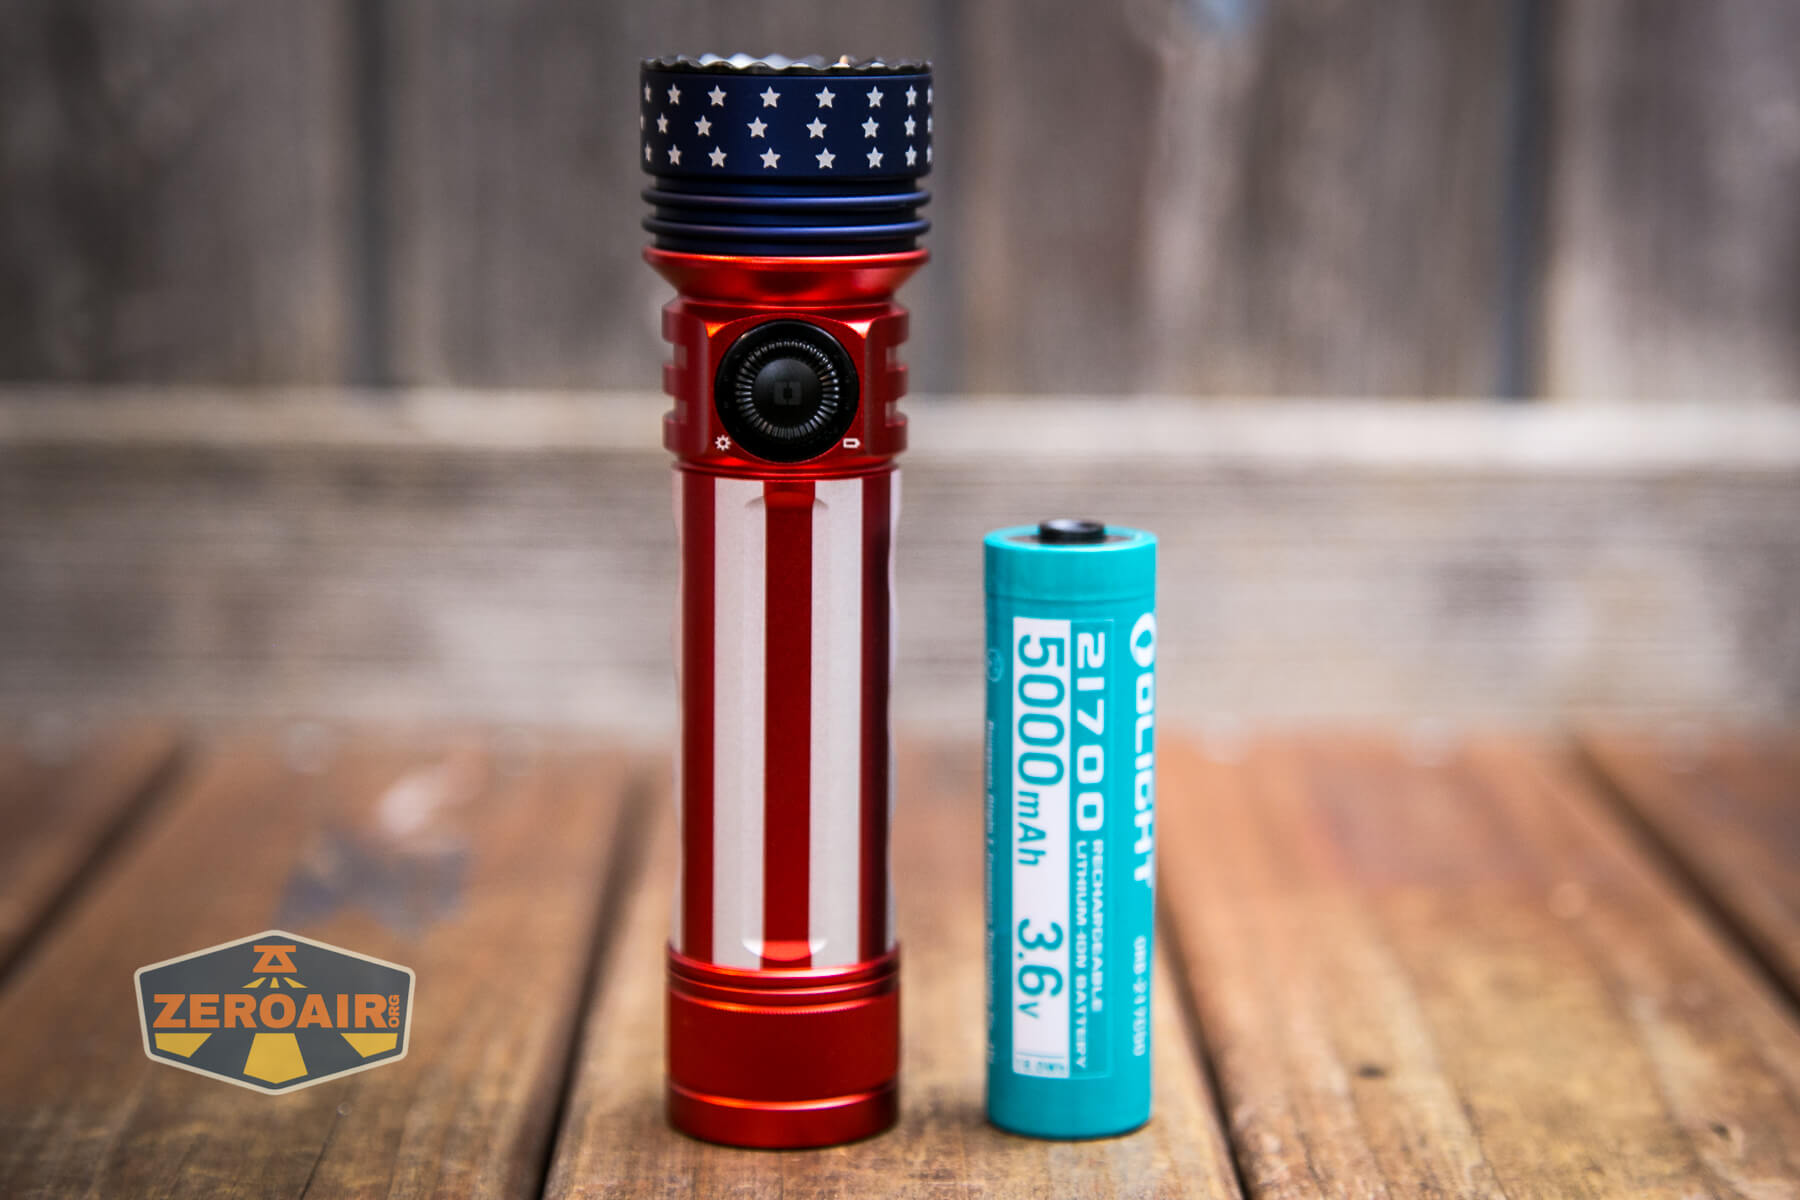
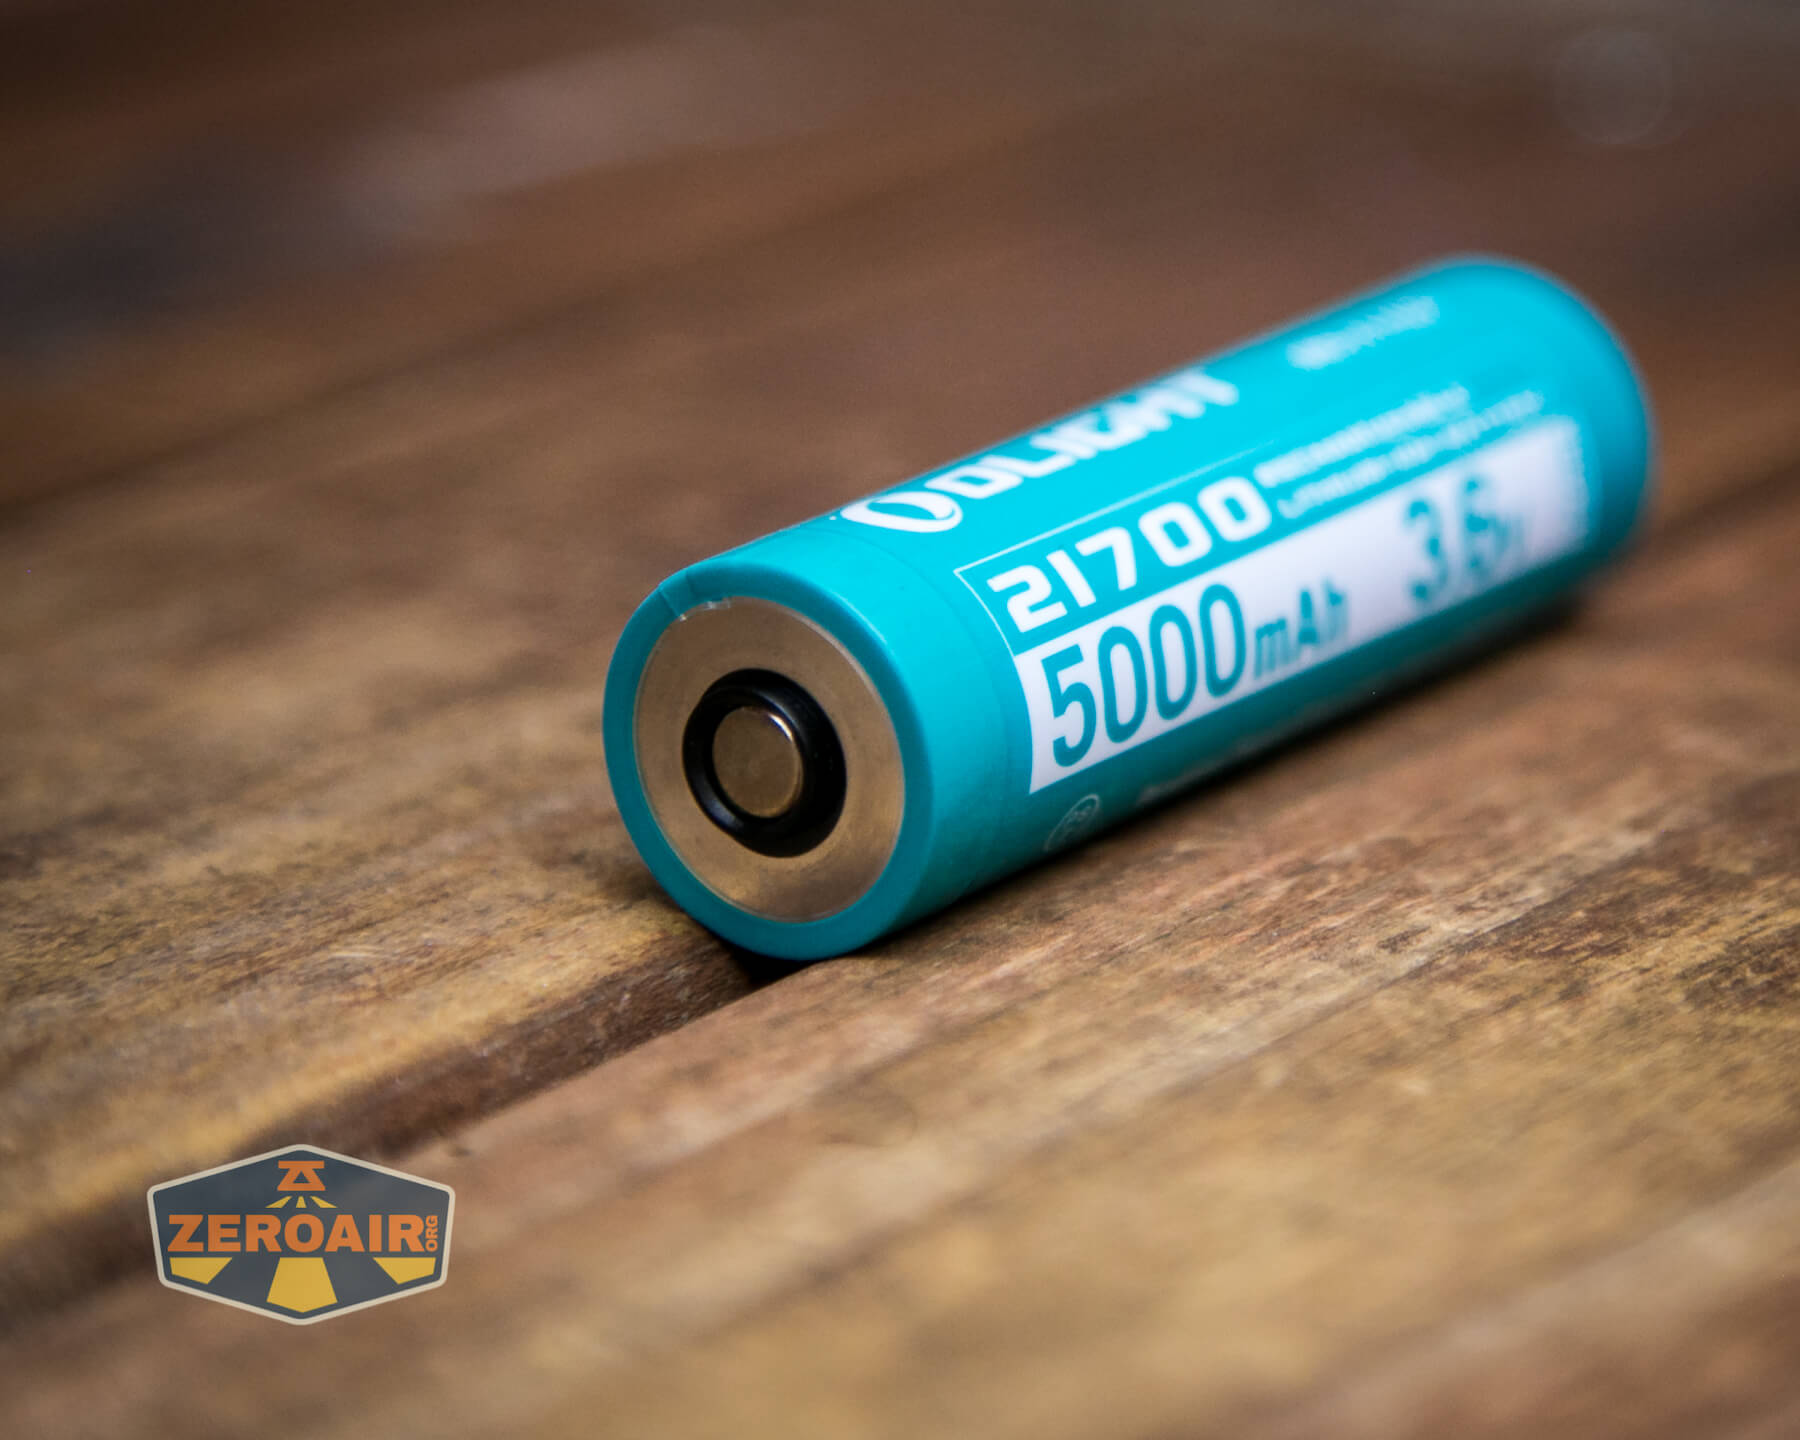
Unlike some other Olights that use the same cell, the cell for the Olight Seeker 3 Pro is inserted with the positive terminal toward the tail. This “breaks from tradition,” so pay attention here!
Low voltage protection is observed, too, with output stopping when the cell is around 3V.
Charging
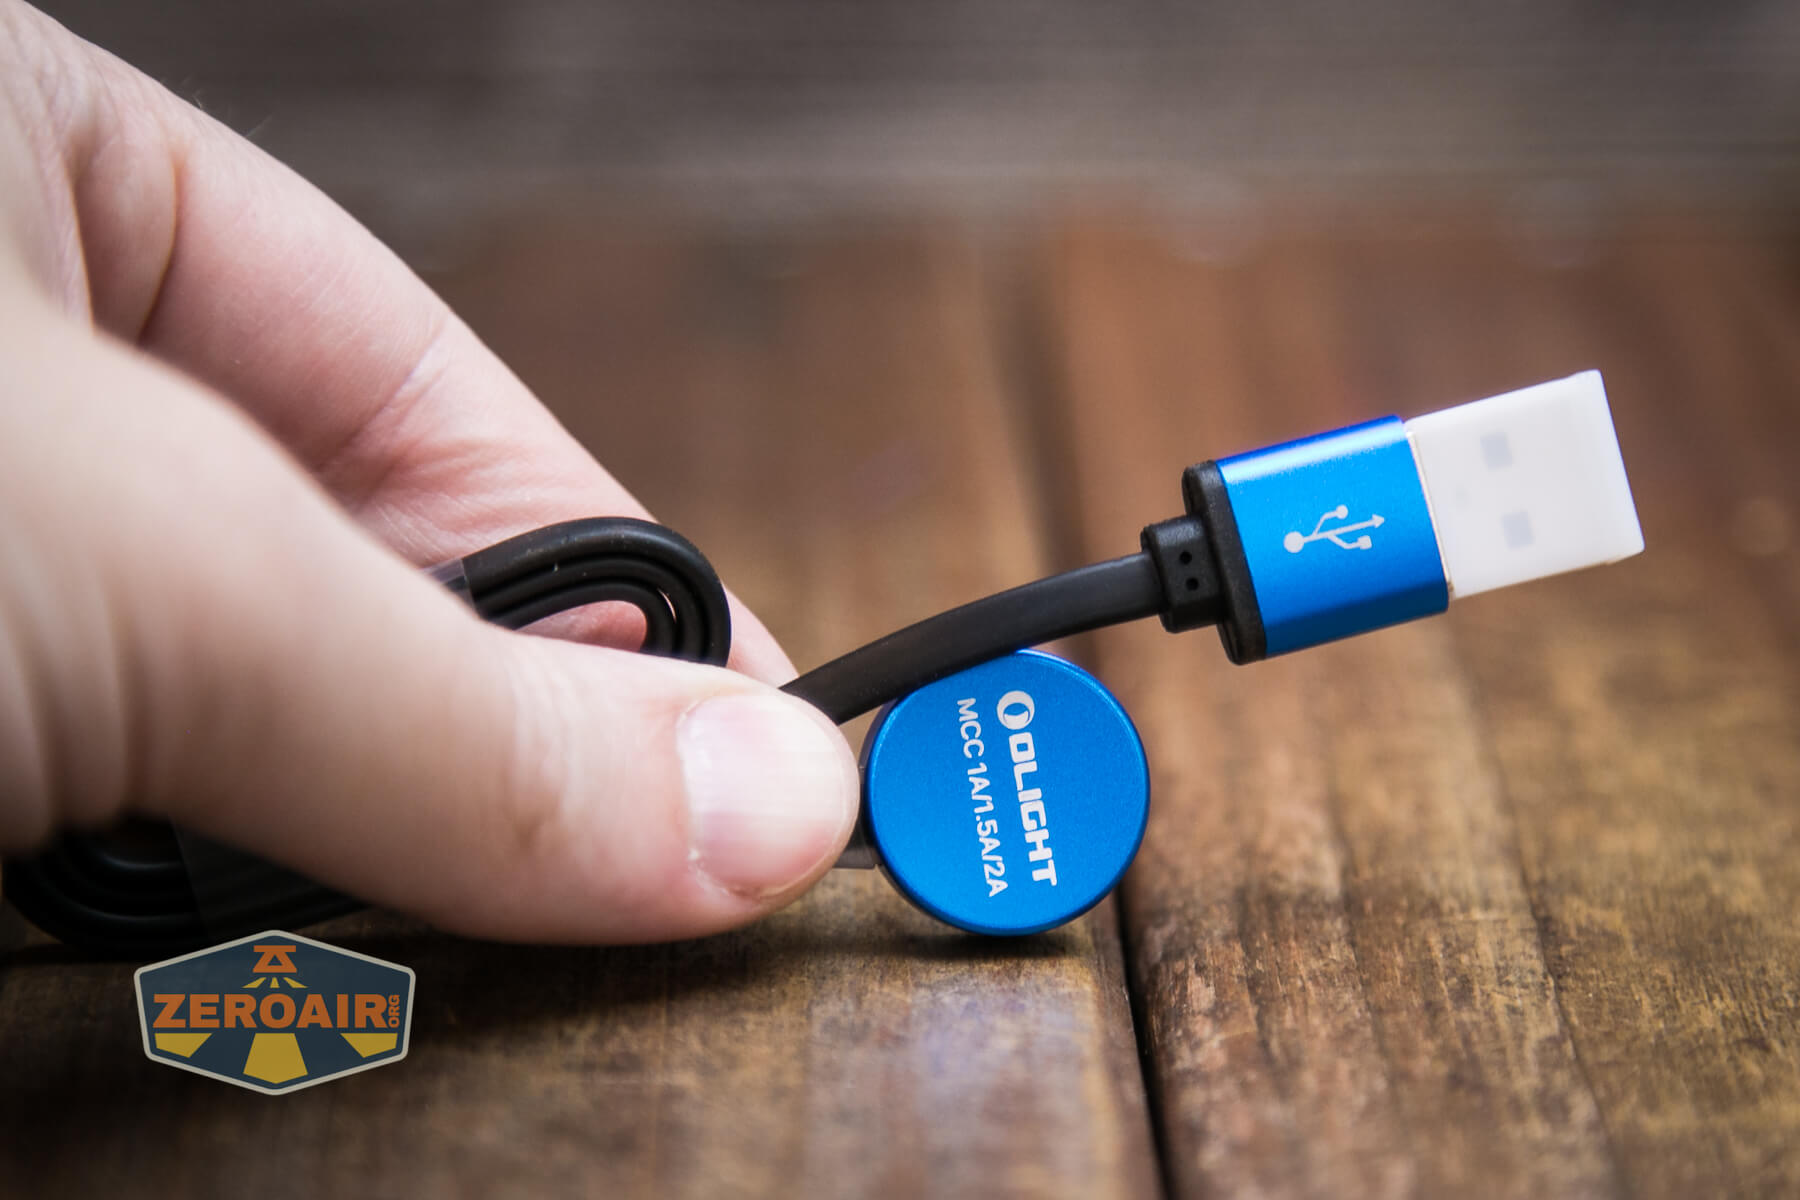
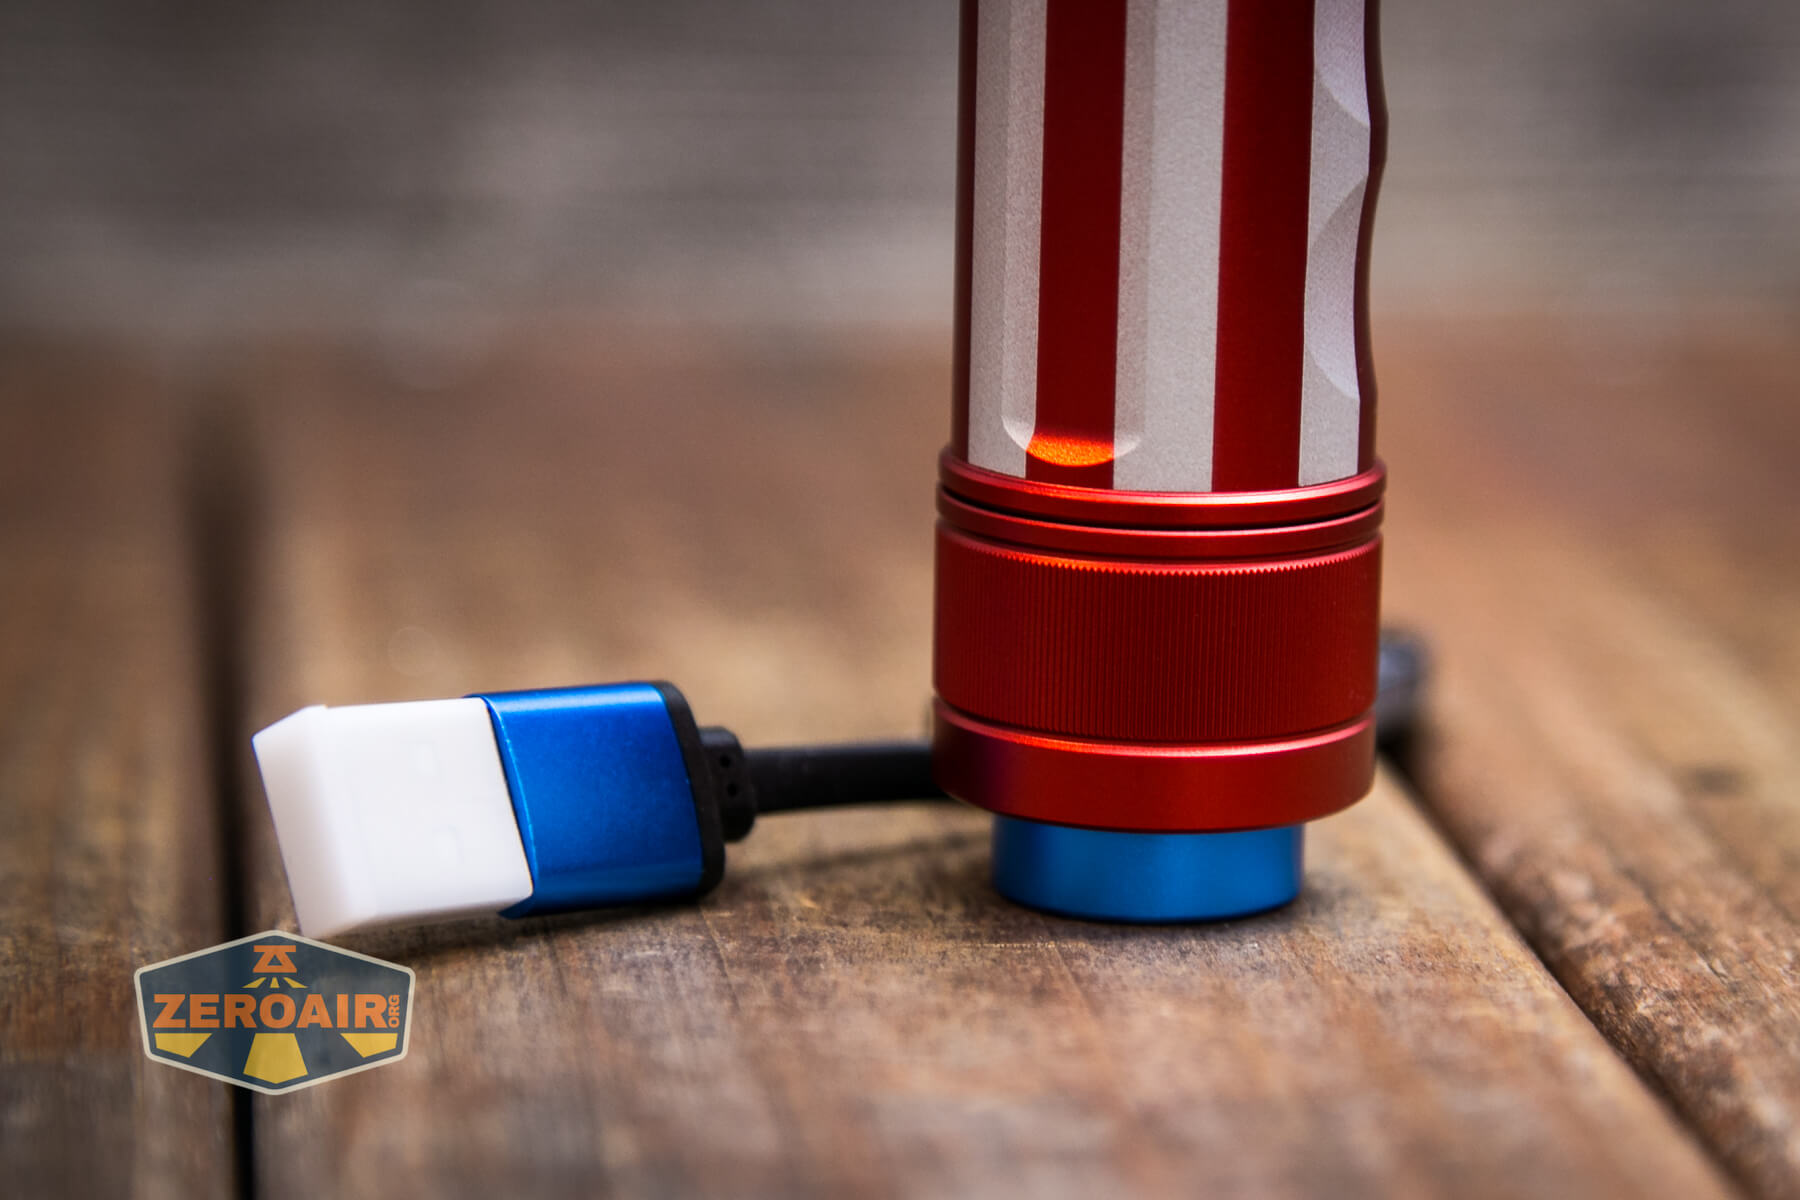
The Olight Seeker 3 Pro has onboard charging via a USB to magnetic connector.
This is the standard MCC charger.
Modes and Currents
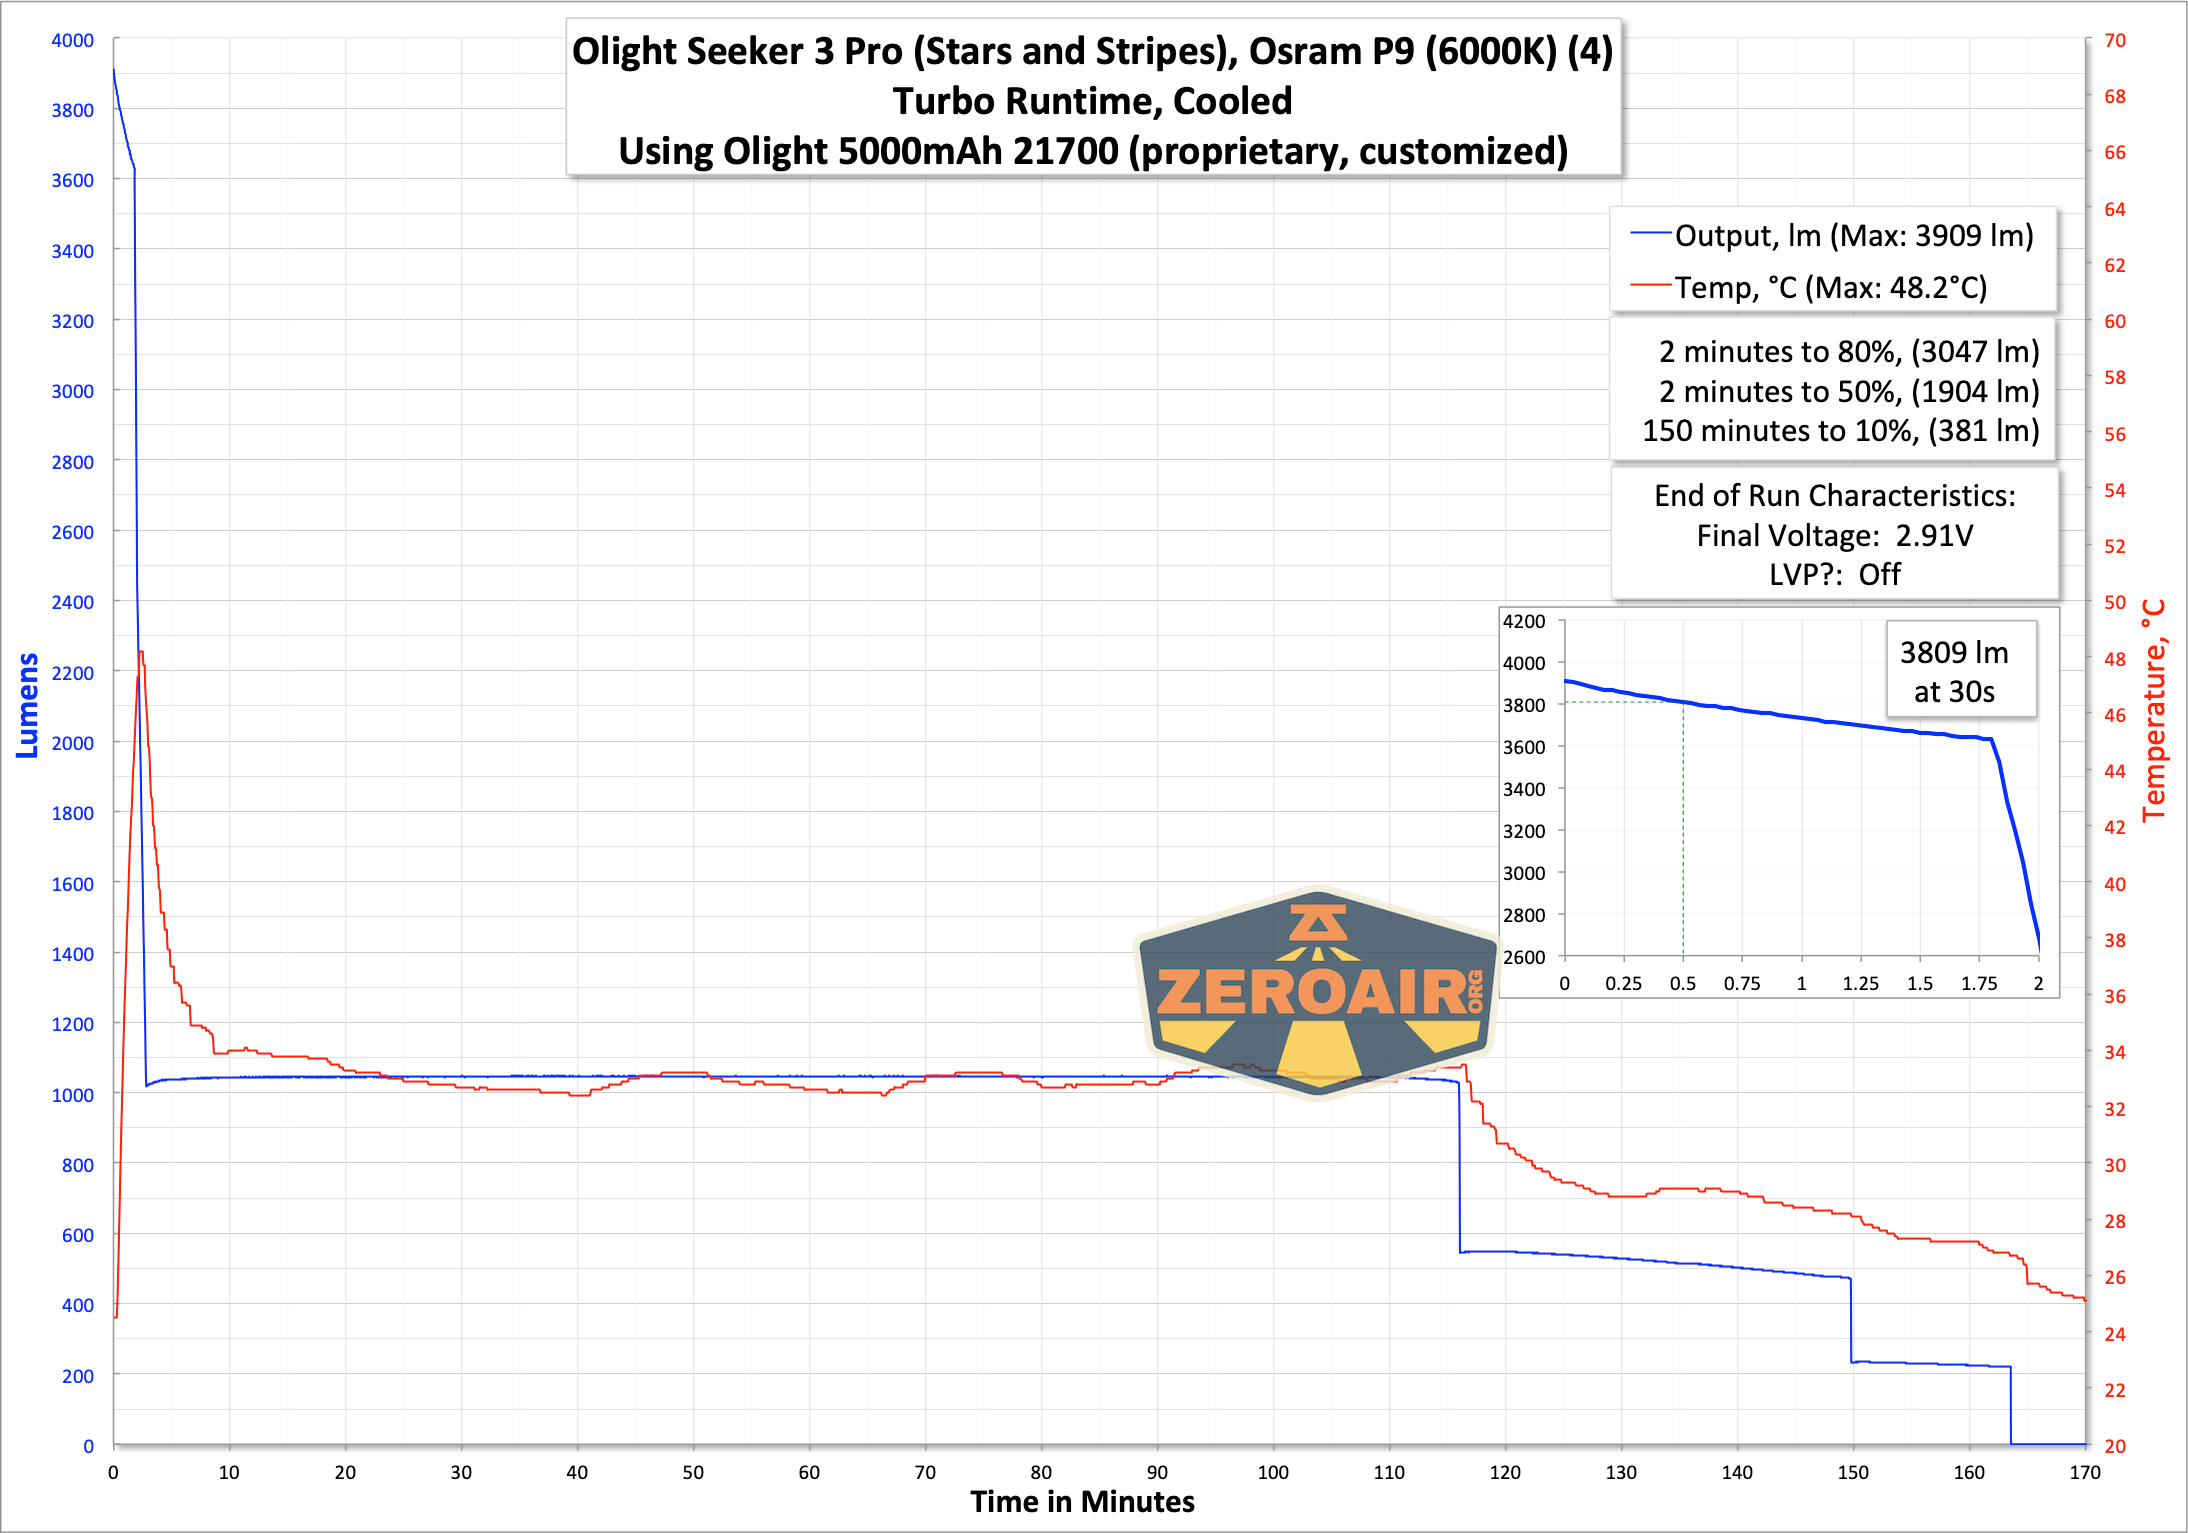
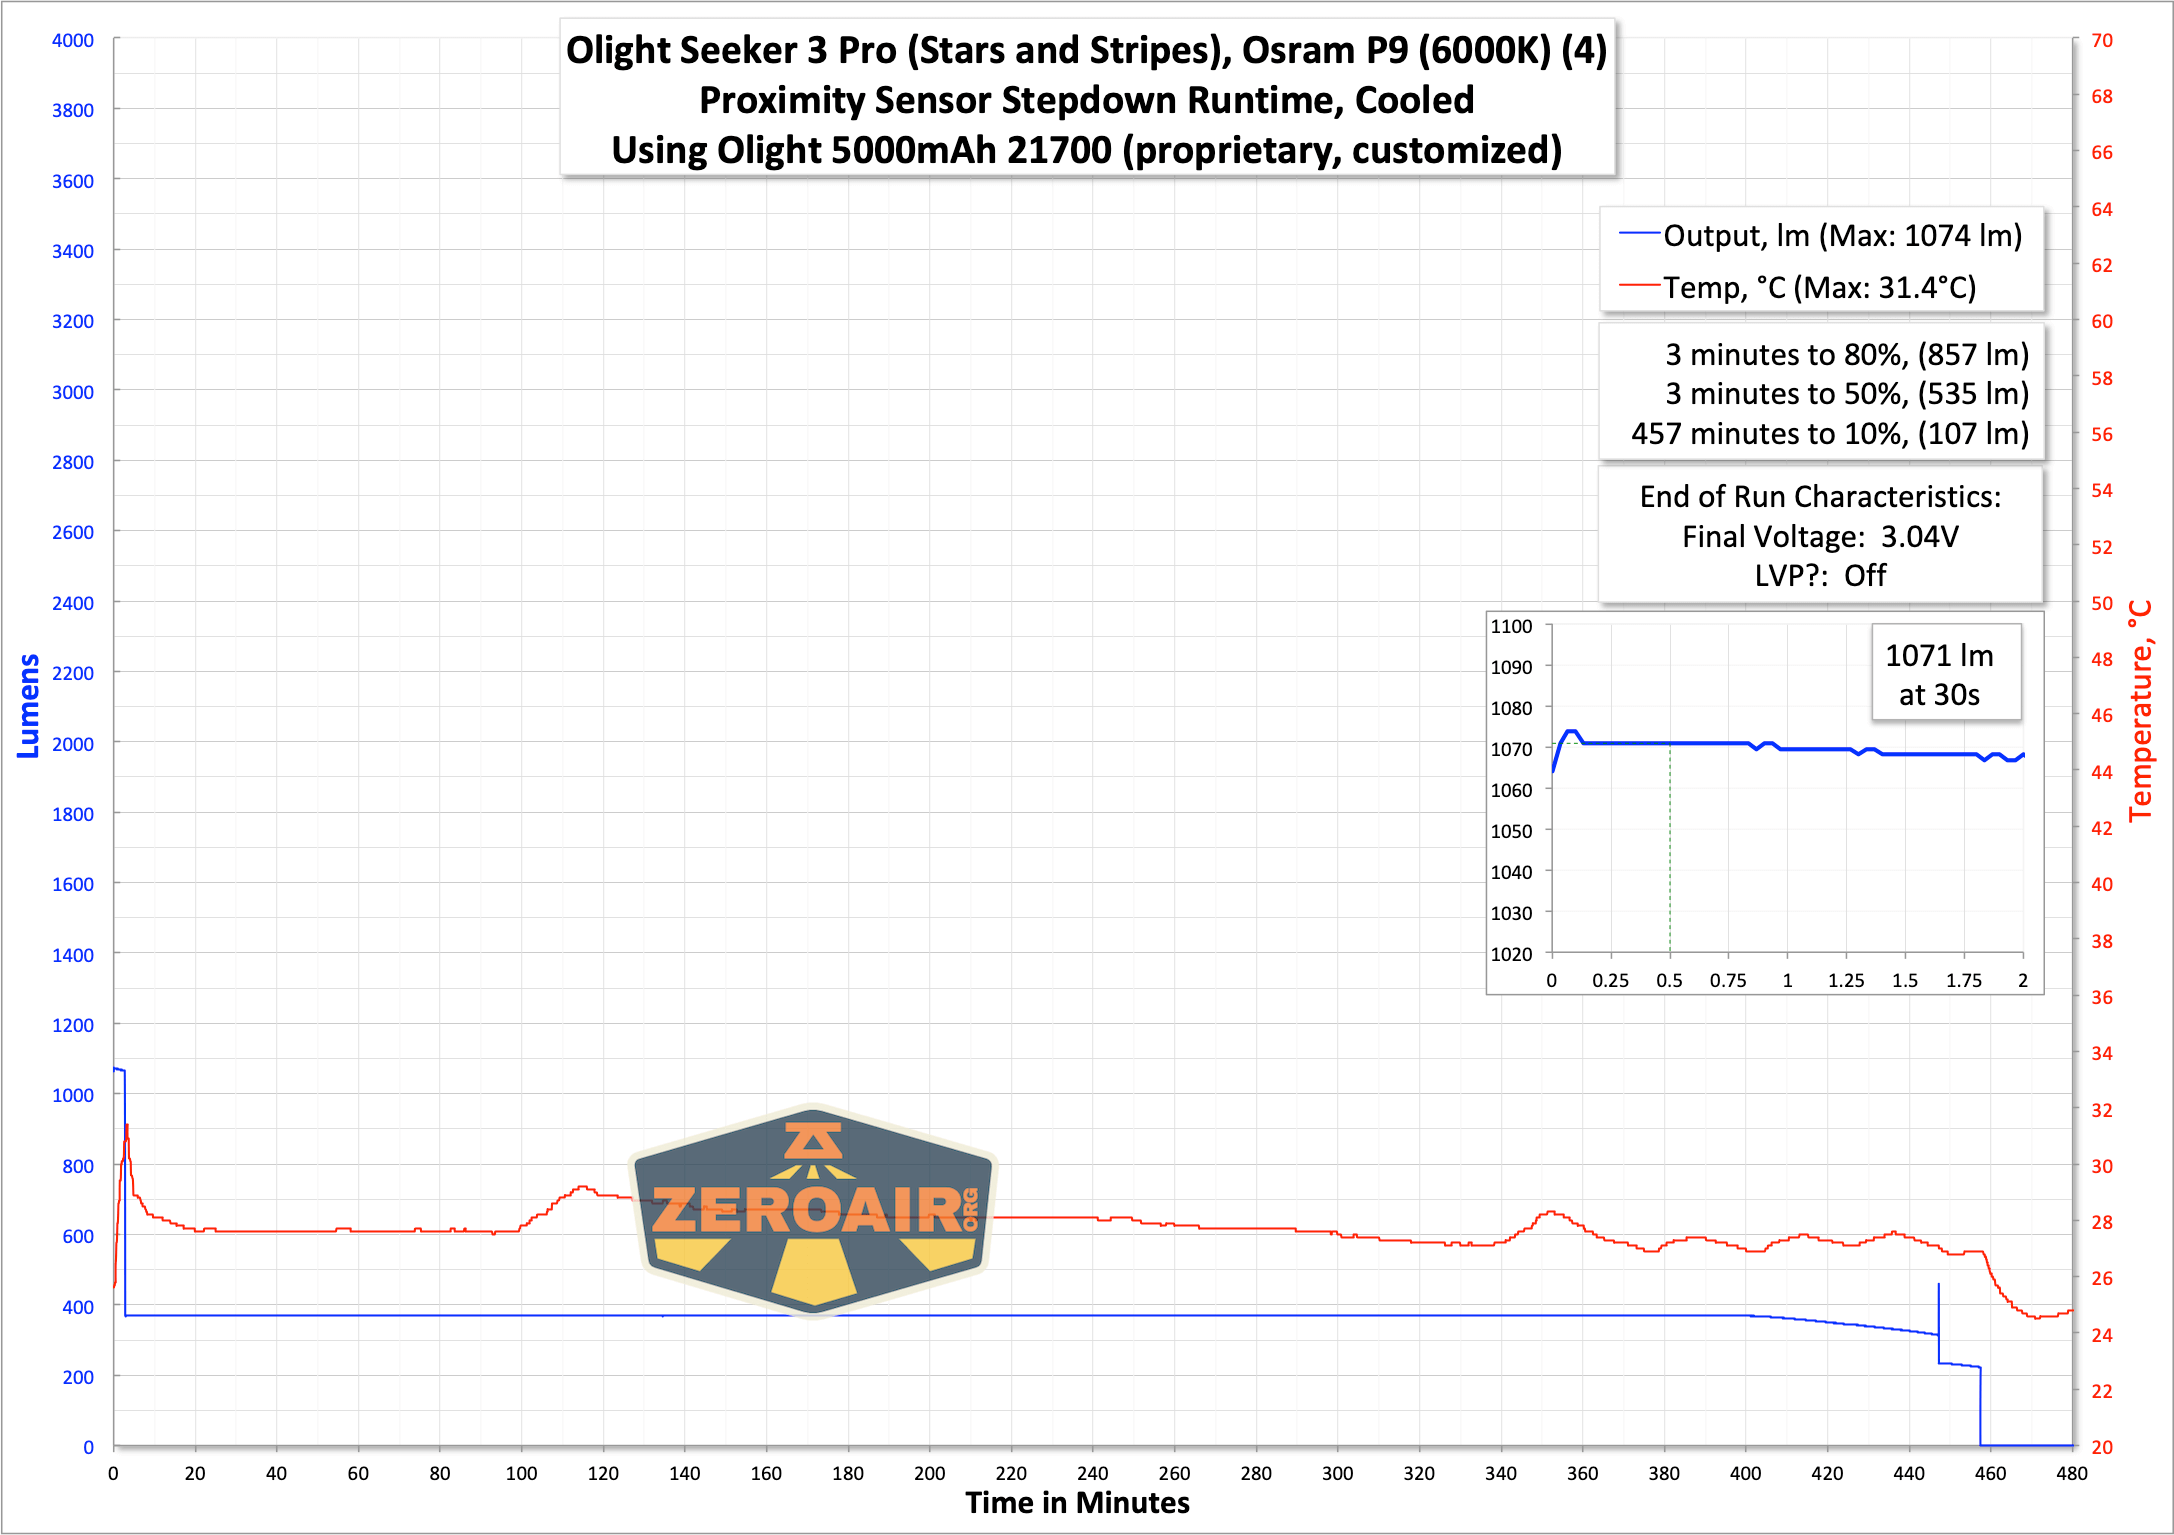
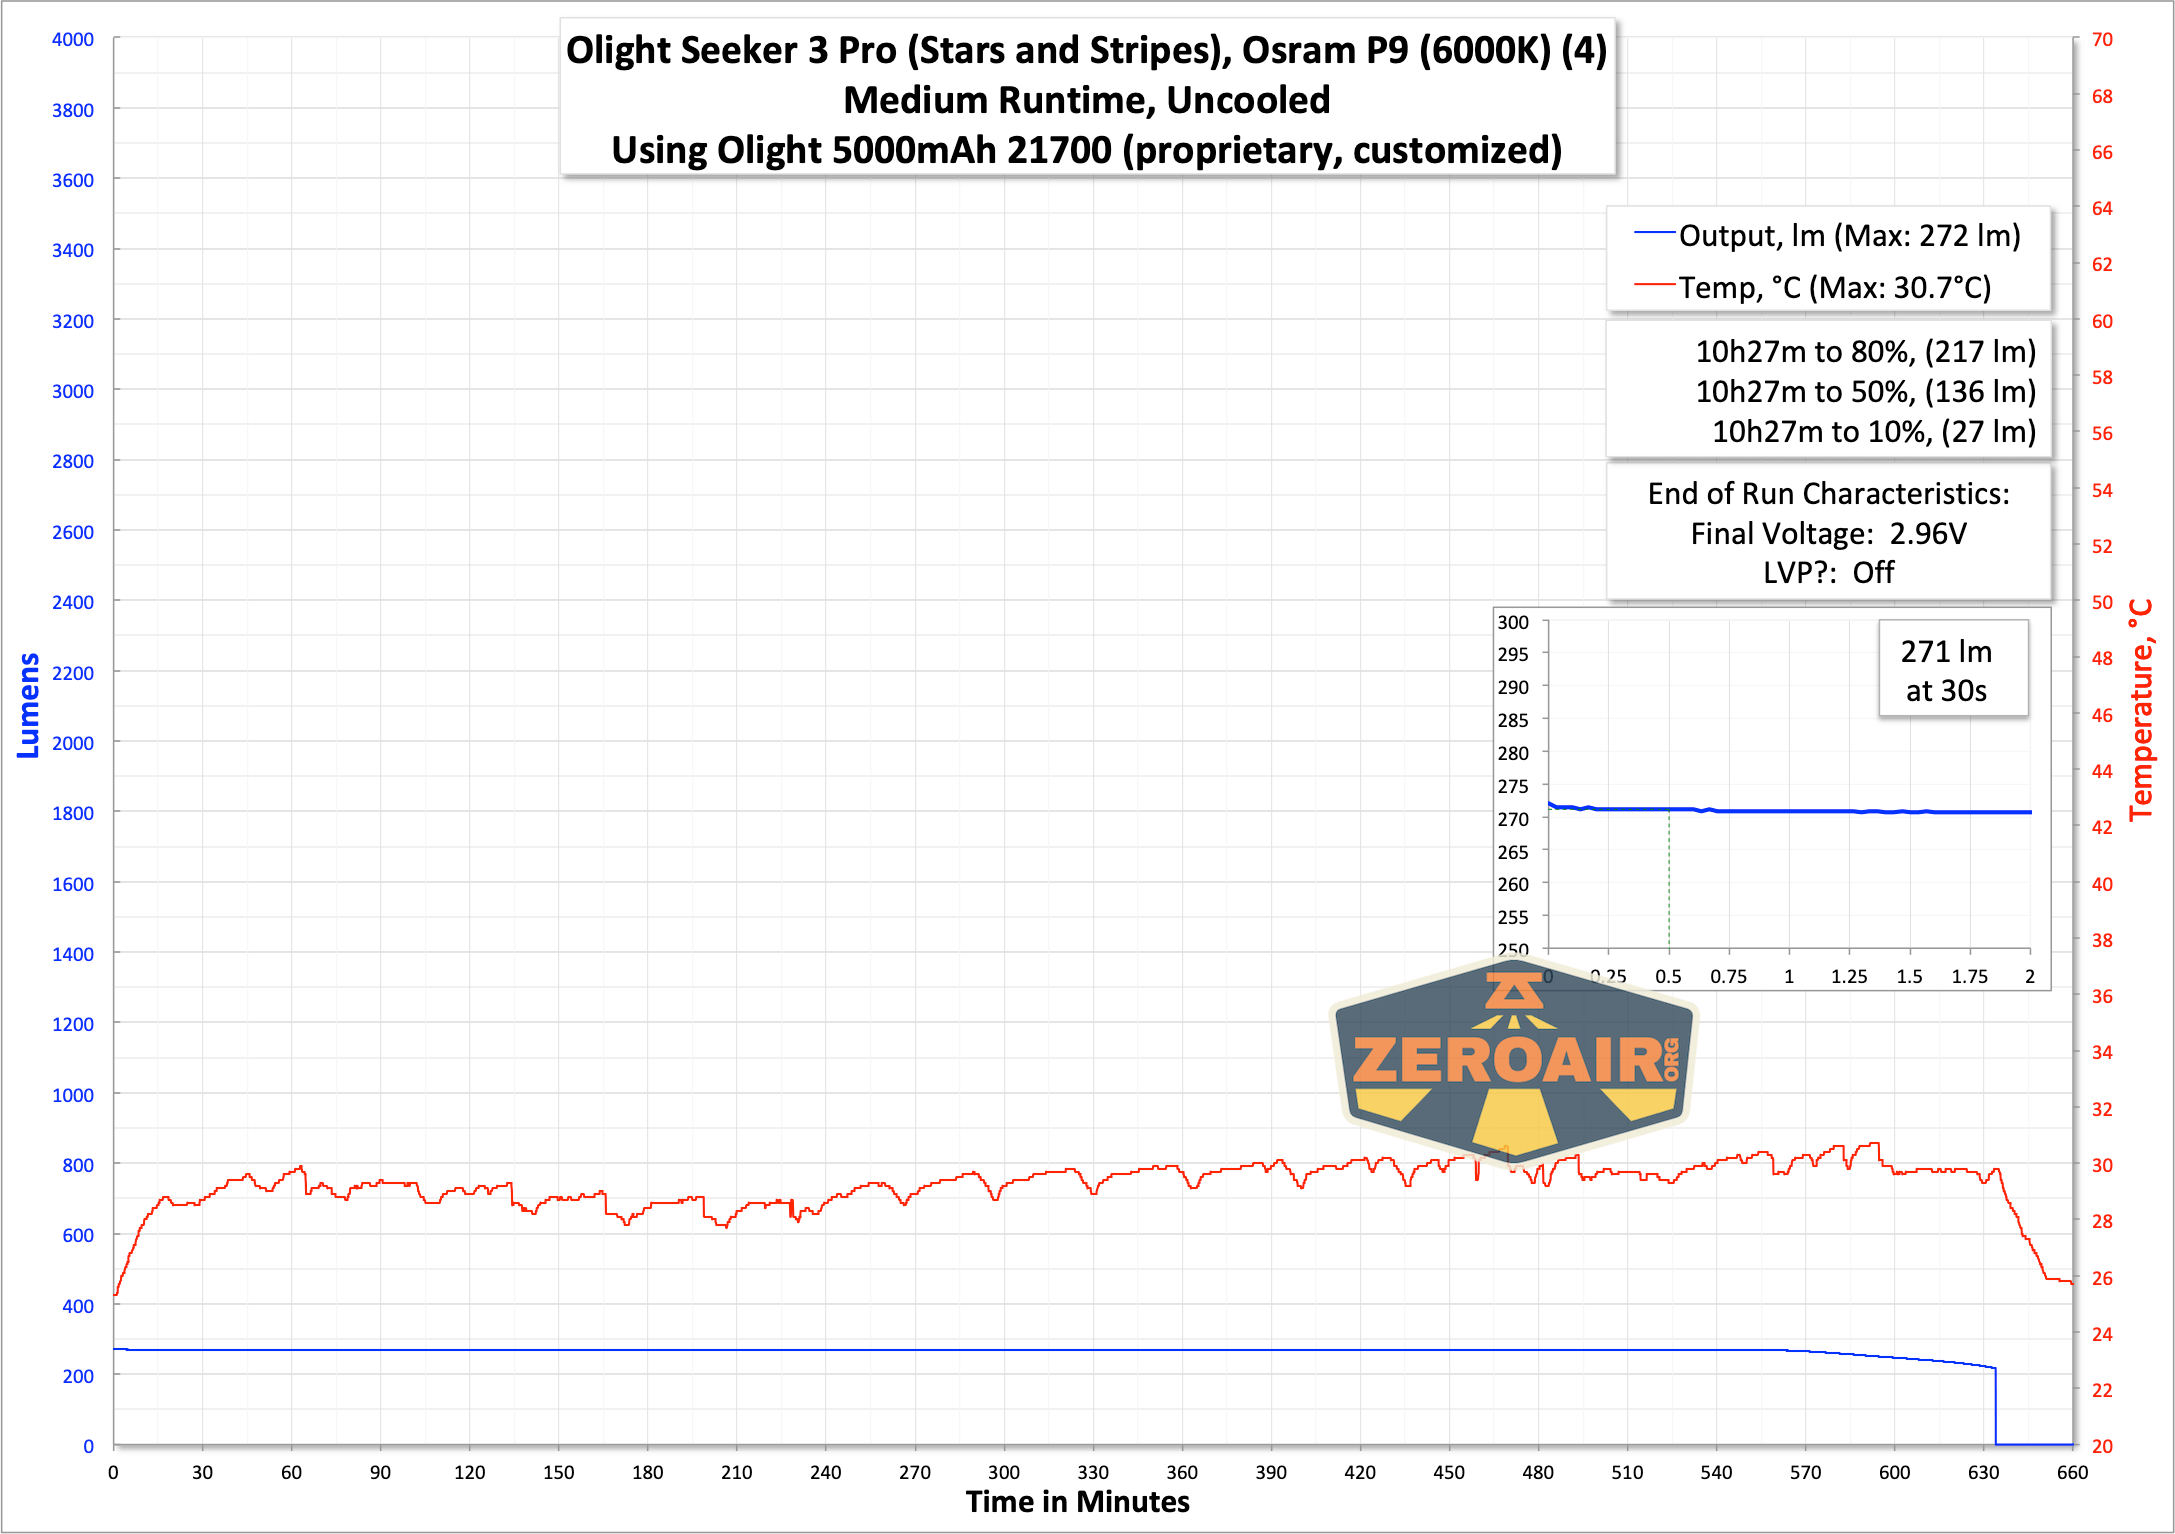
| Mode | Mode Claimed Output (lm) | Claimed Runtime | Measured Lumens | Tailcap Amps |
|---|---|---|---|---|
| Turbo | 4,200~1,200~600 | 2.5+127+35 mins | 3909 (initial)
3809 (30 seconds) |
9.78 |
| High | 1,200~600~300 | 135+35+10 mins | 1071 | 1.78 |
| Proximity Sensor Stepdown | – | – | 0.55 | |
| Med | 300 | 640m | 271 | 0.40 |
| Low | 50 | 55.5h | 0.07 | |
| Moon | 5 | 15d | 0.01 |
Pulse Width Modulation
There’s no PWM on any mode. The stepdown proximity sensor mode is included below.
 Here you can see a “baseline” – a chart with almost no light hitting the sensor.
Then there’s the Ultrafire WF-602C flashlight, which has some of the worst PWM I’ve seen. It’s so bad that I used a post about it to explain PWM! Here are multiple timescales (10ms, 5ms, 2ms, 1ms, 0.5ms, 0.2ms) to make comparing this “worst” PWM light to the test light easier. That post also explains why I didn’t test the WF-602C at the usual 50us scale.
User Interface and Operation
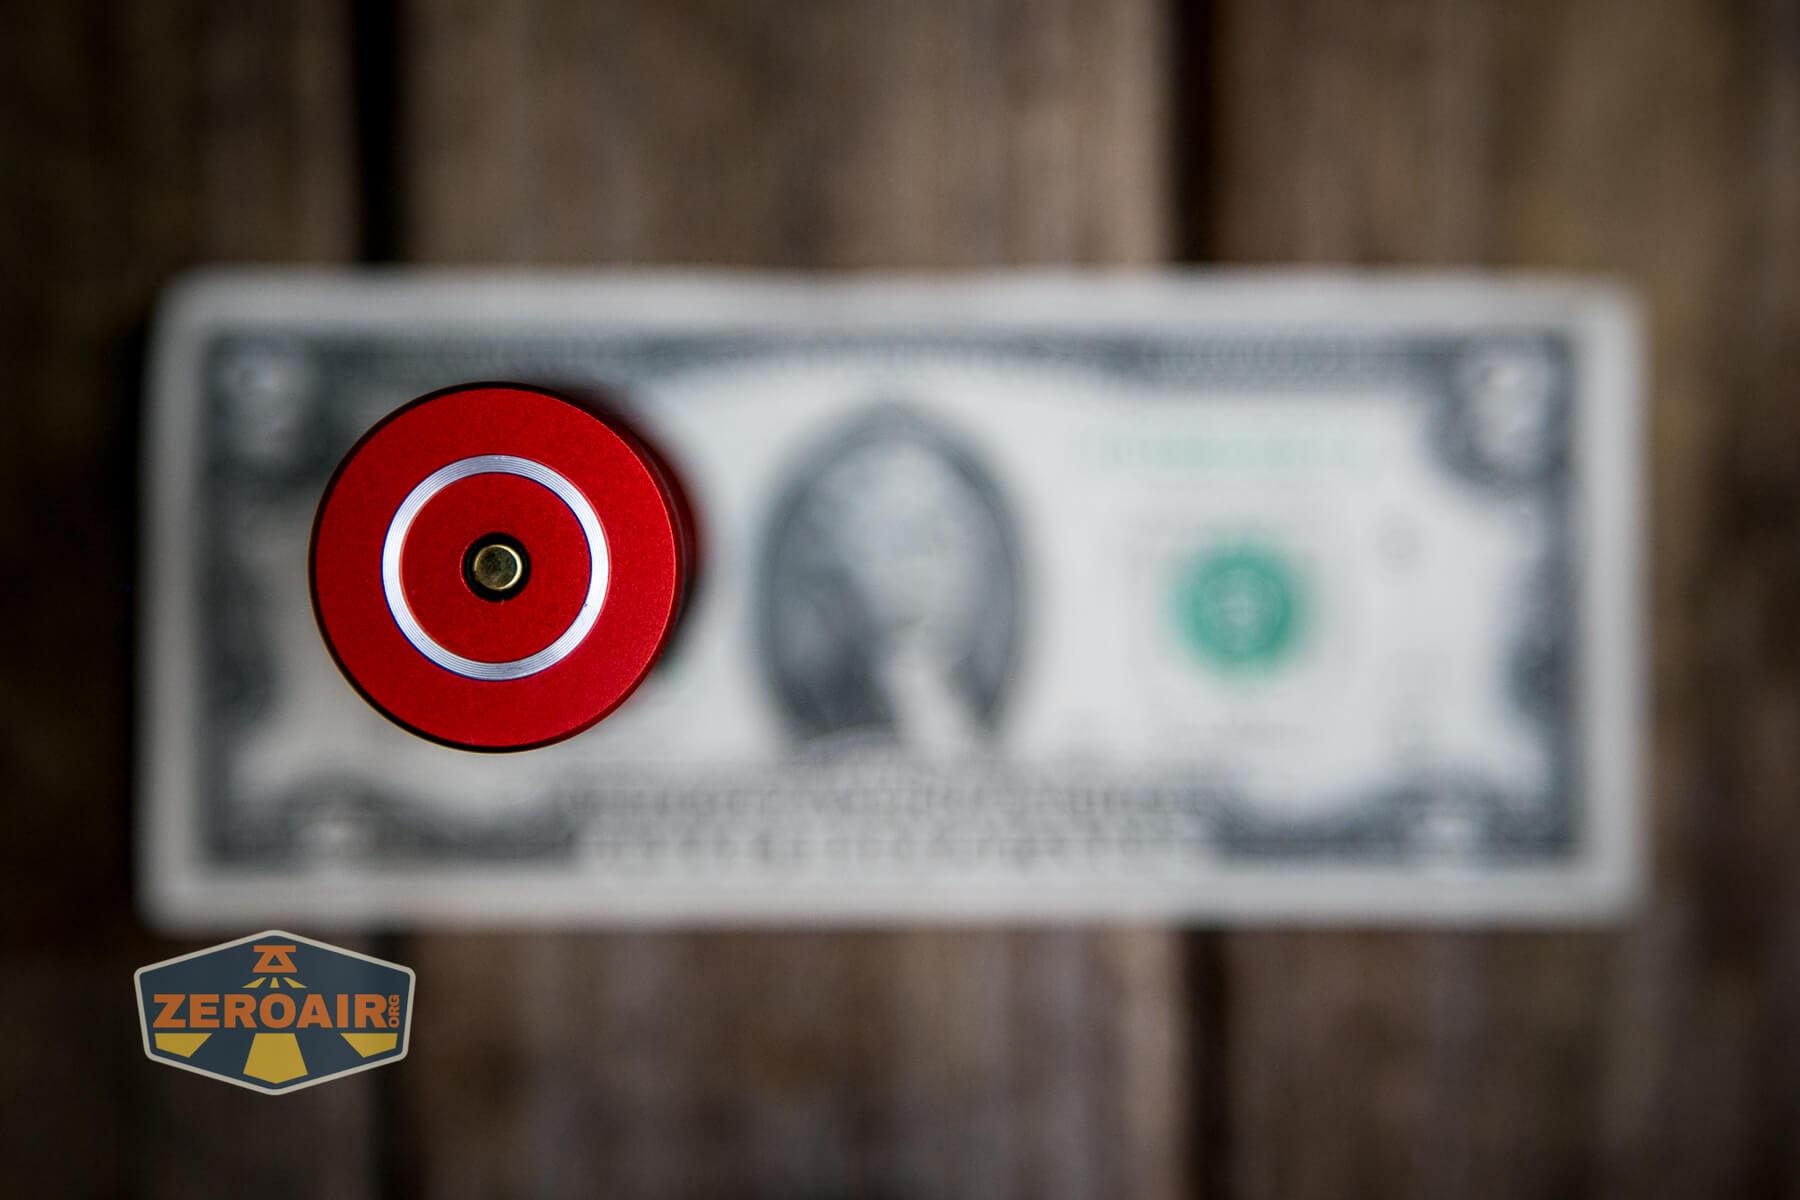
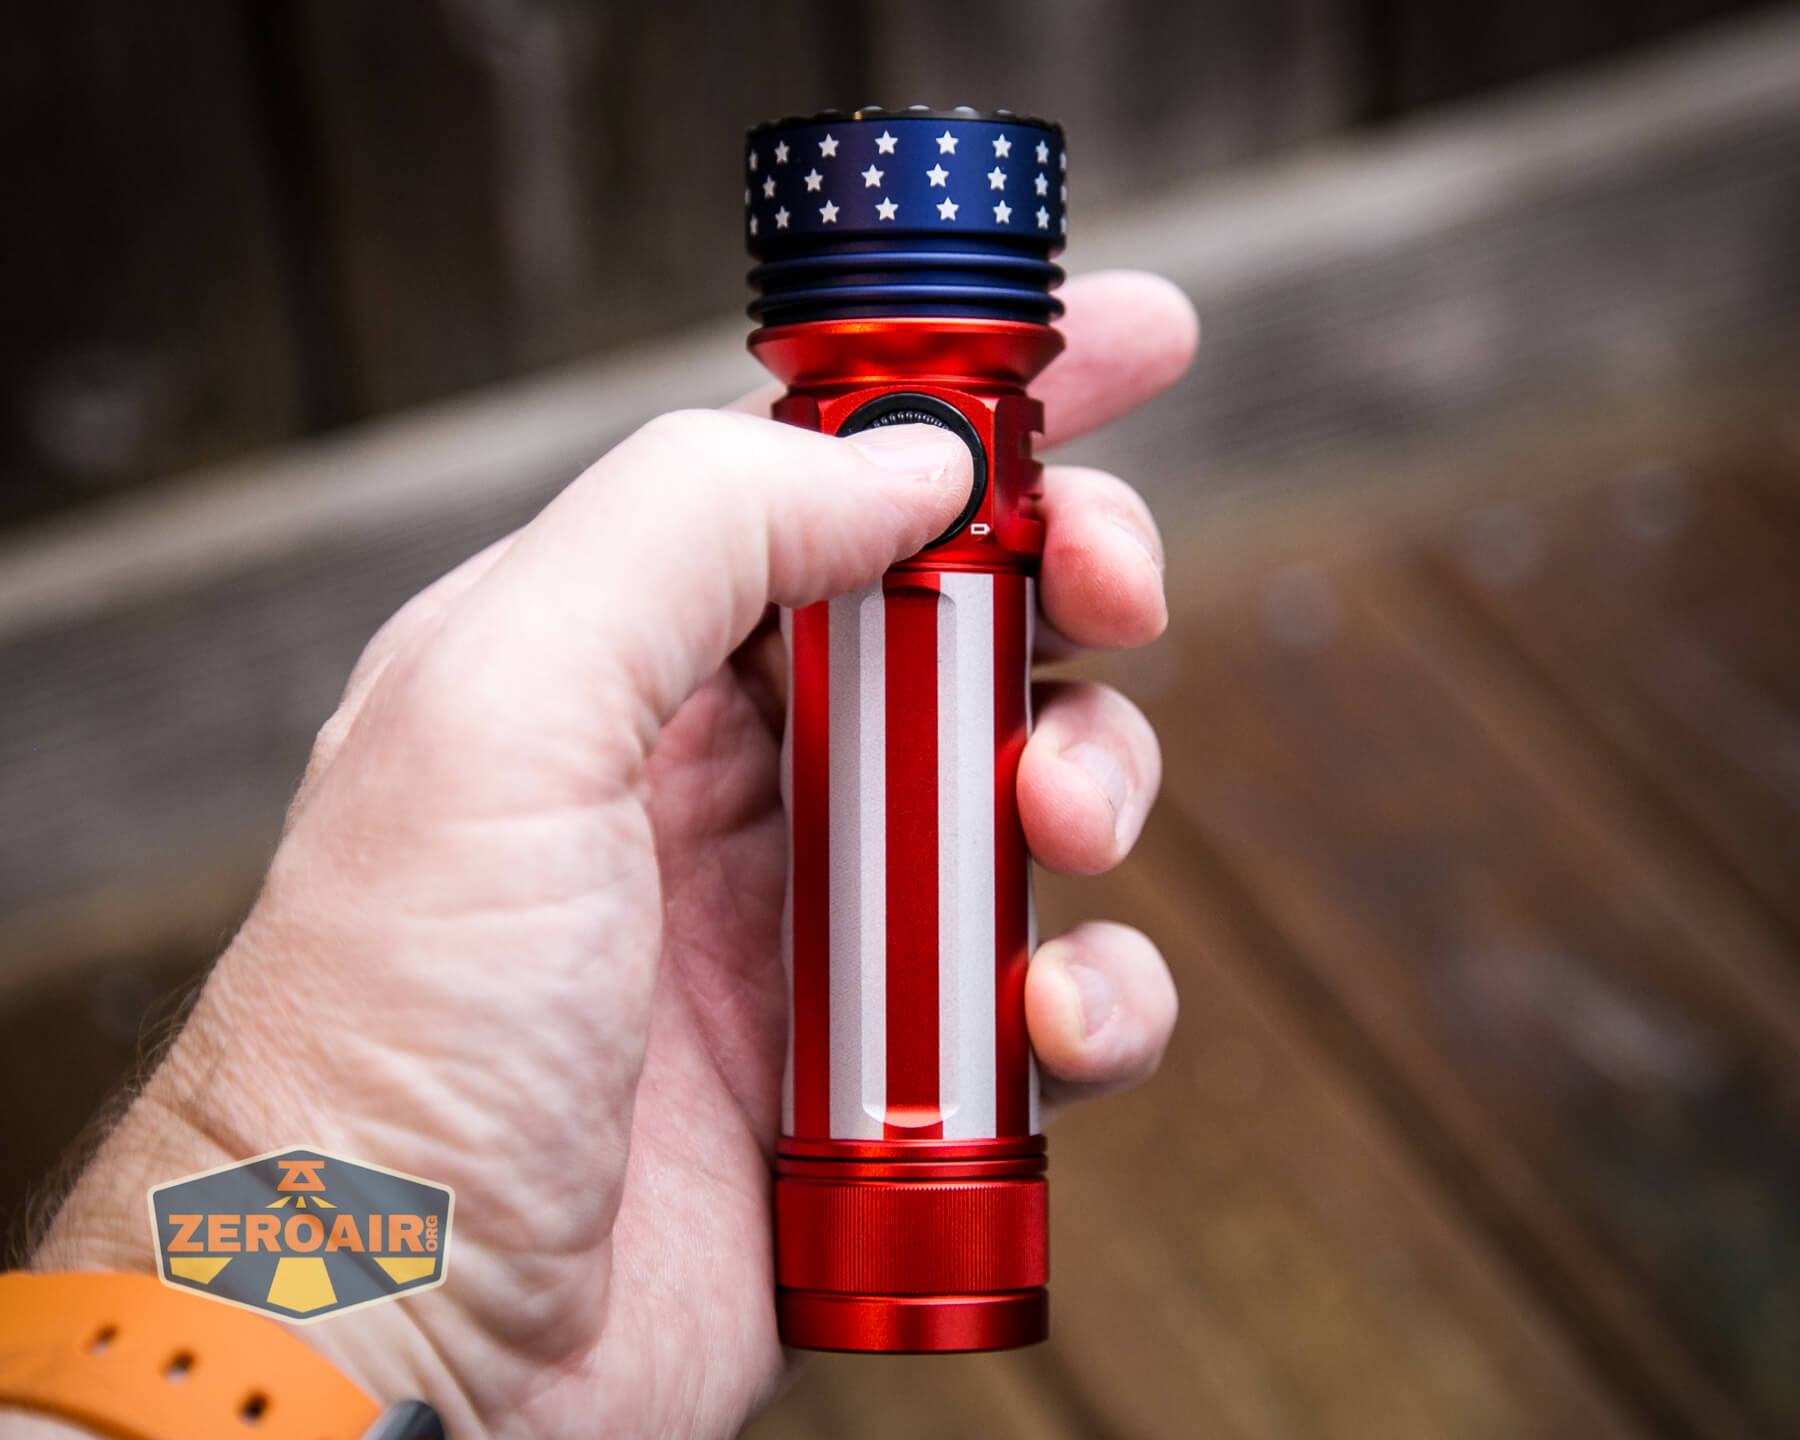
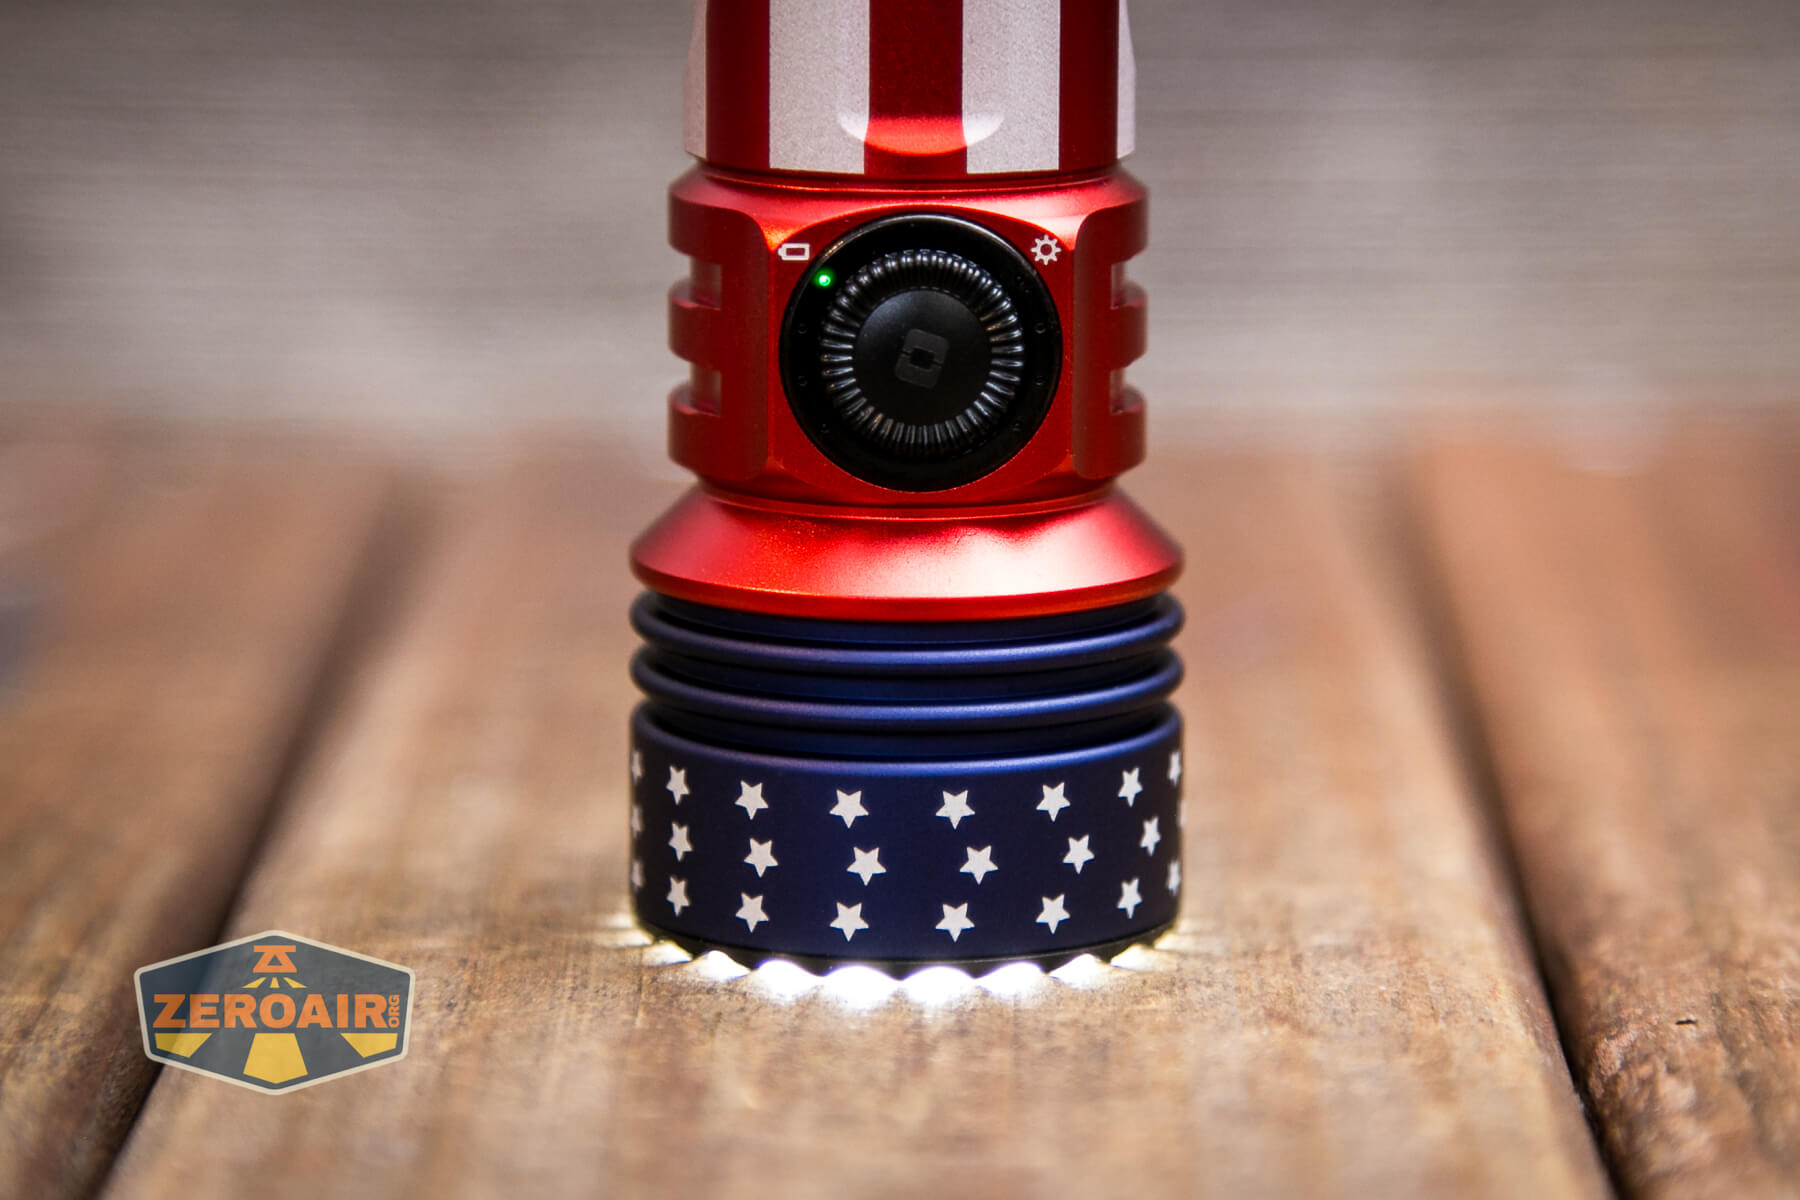
The switch used on the Olight Seeker 3 Pro is not unlike what we saw on the Marauder 2. It’s a plastic-covered e-switch that has a rotary feature.
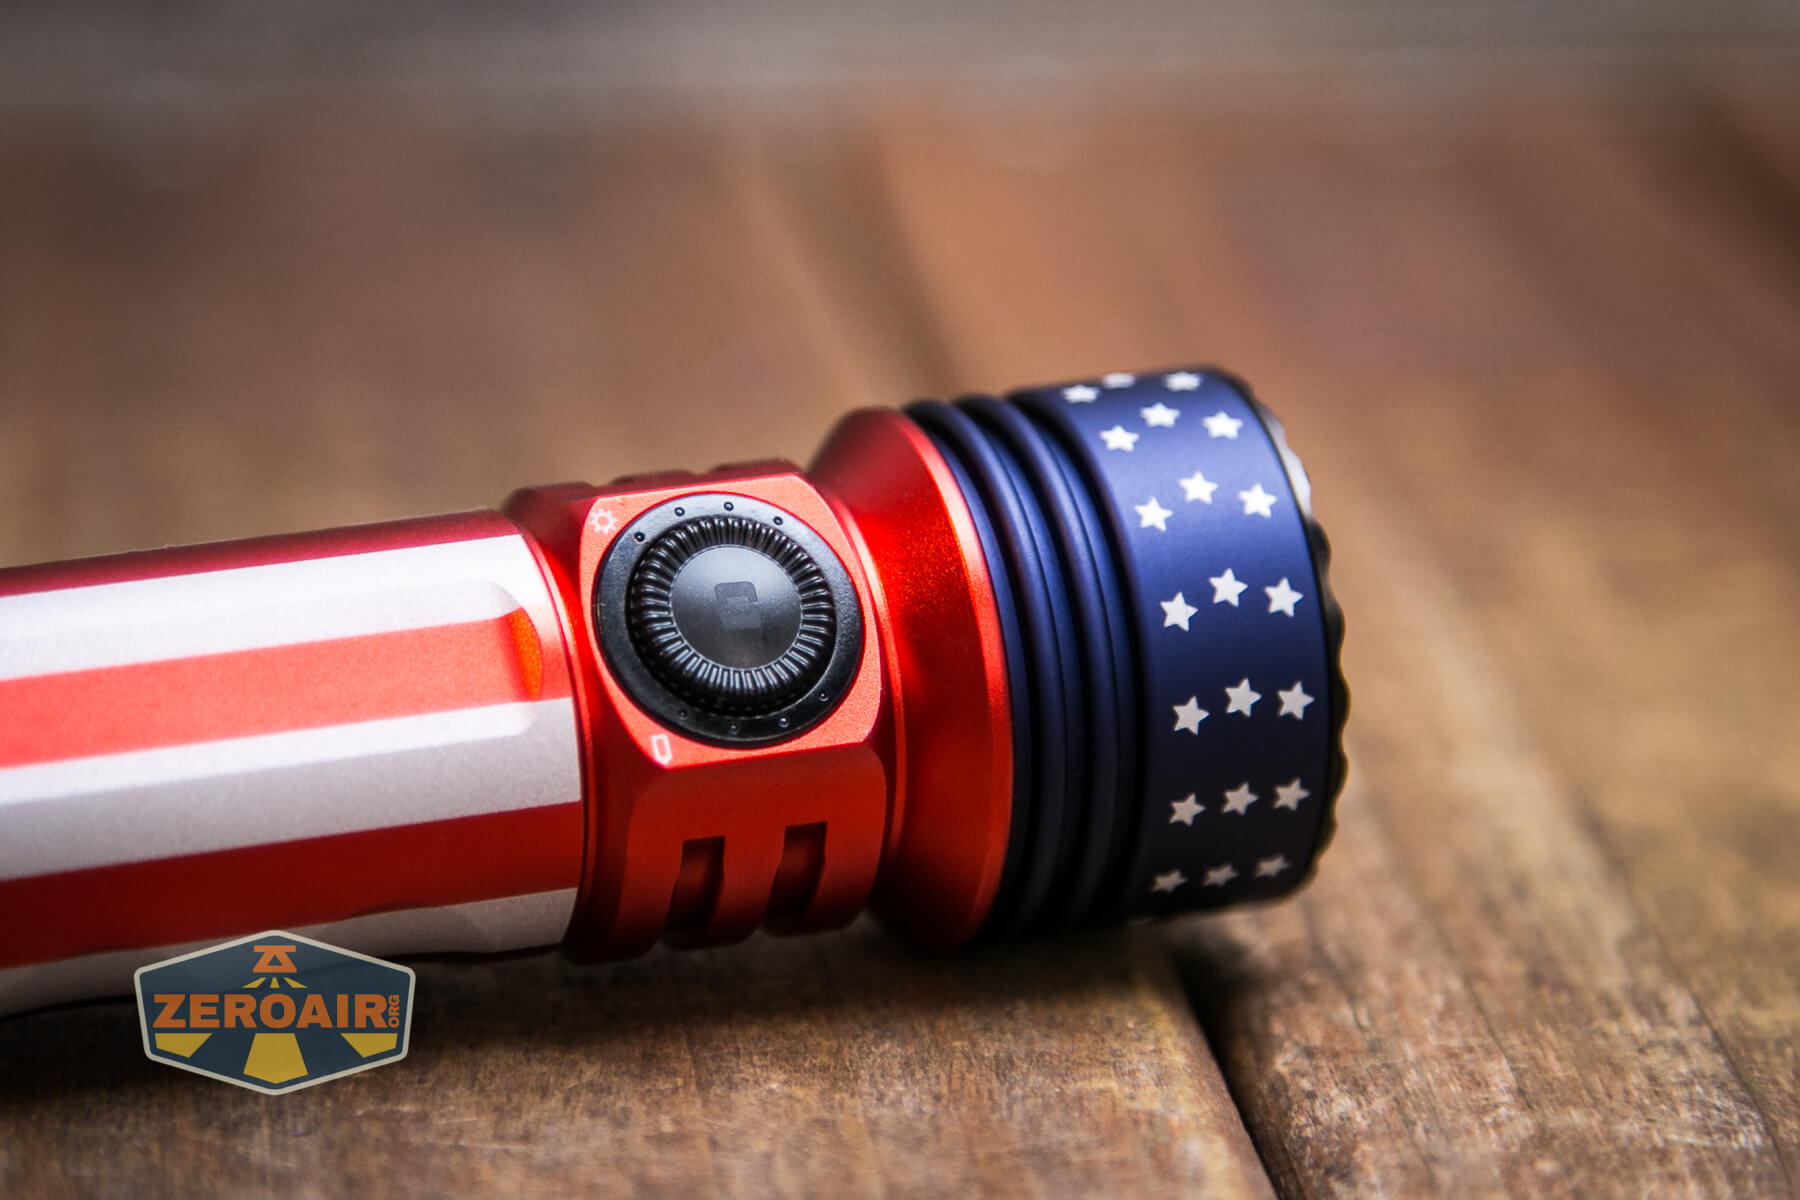
Also, Olight did something a little different here. The rotary switch has a letter! In my case, there’s an “O” but you can collect all the models to get all the letters for spelling “OLIGHT.”
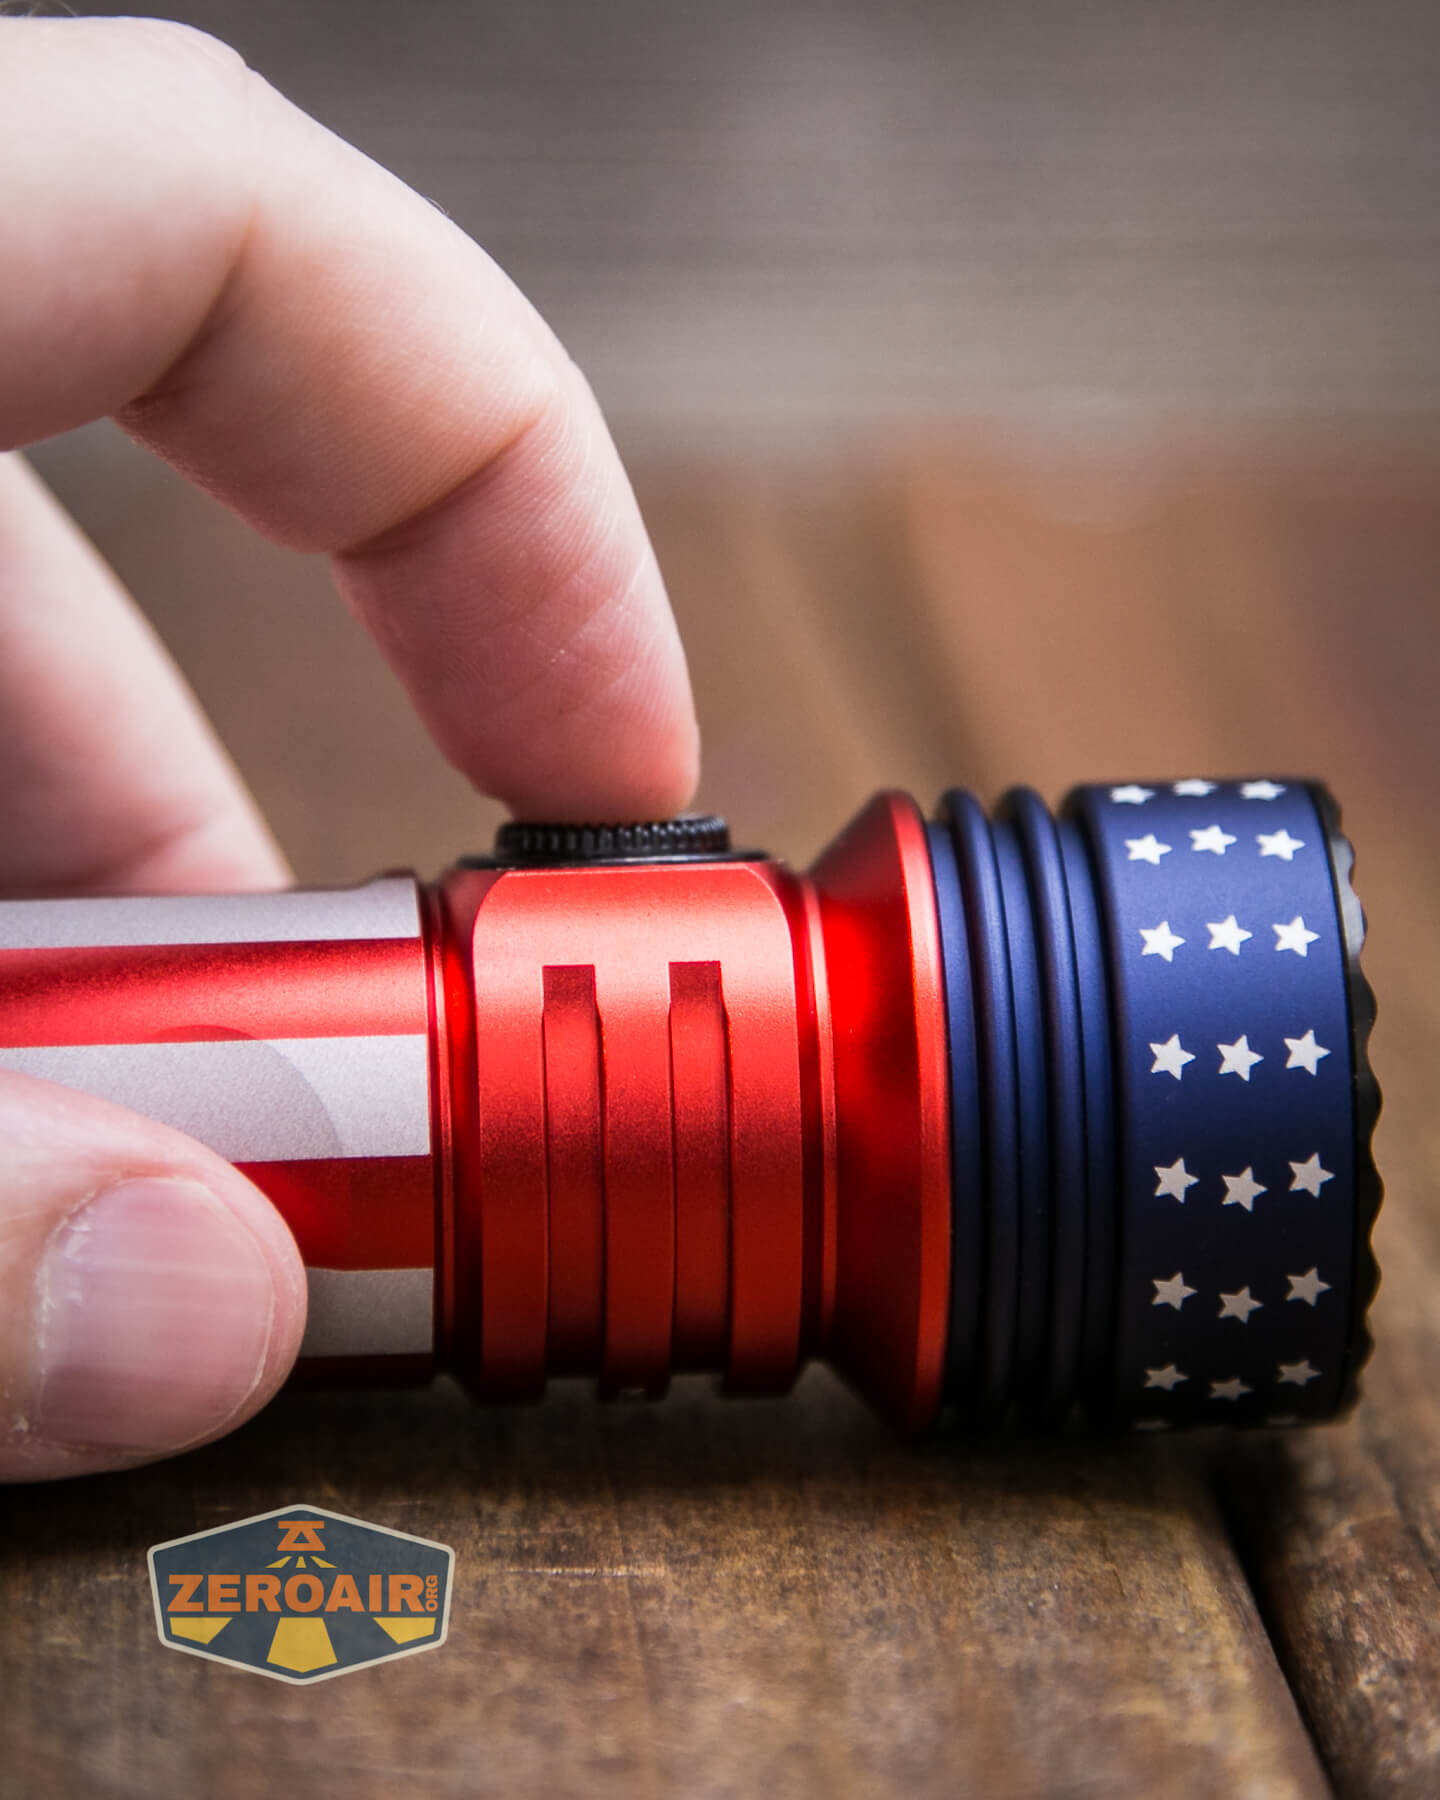
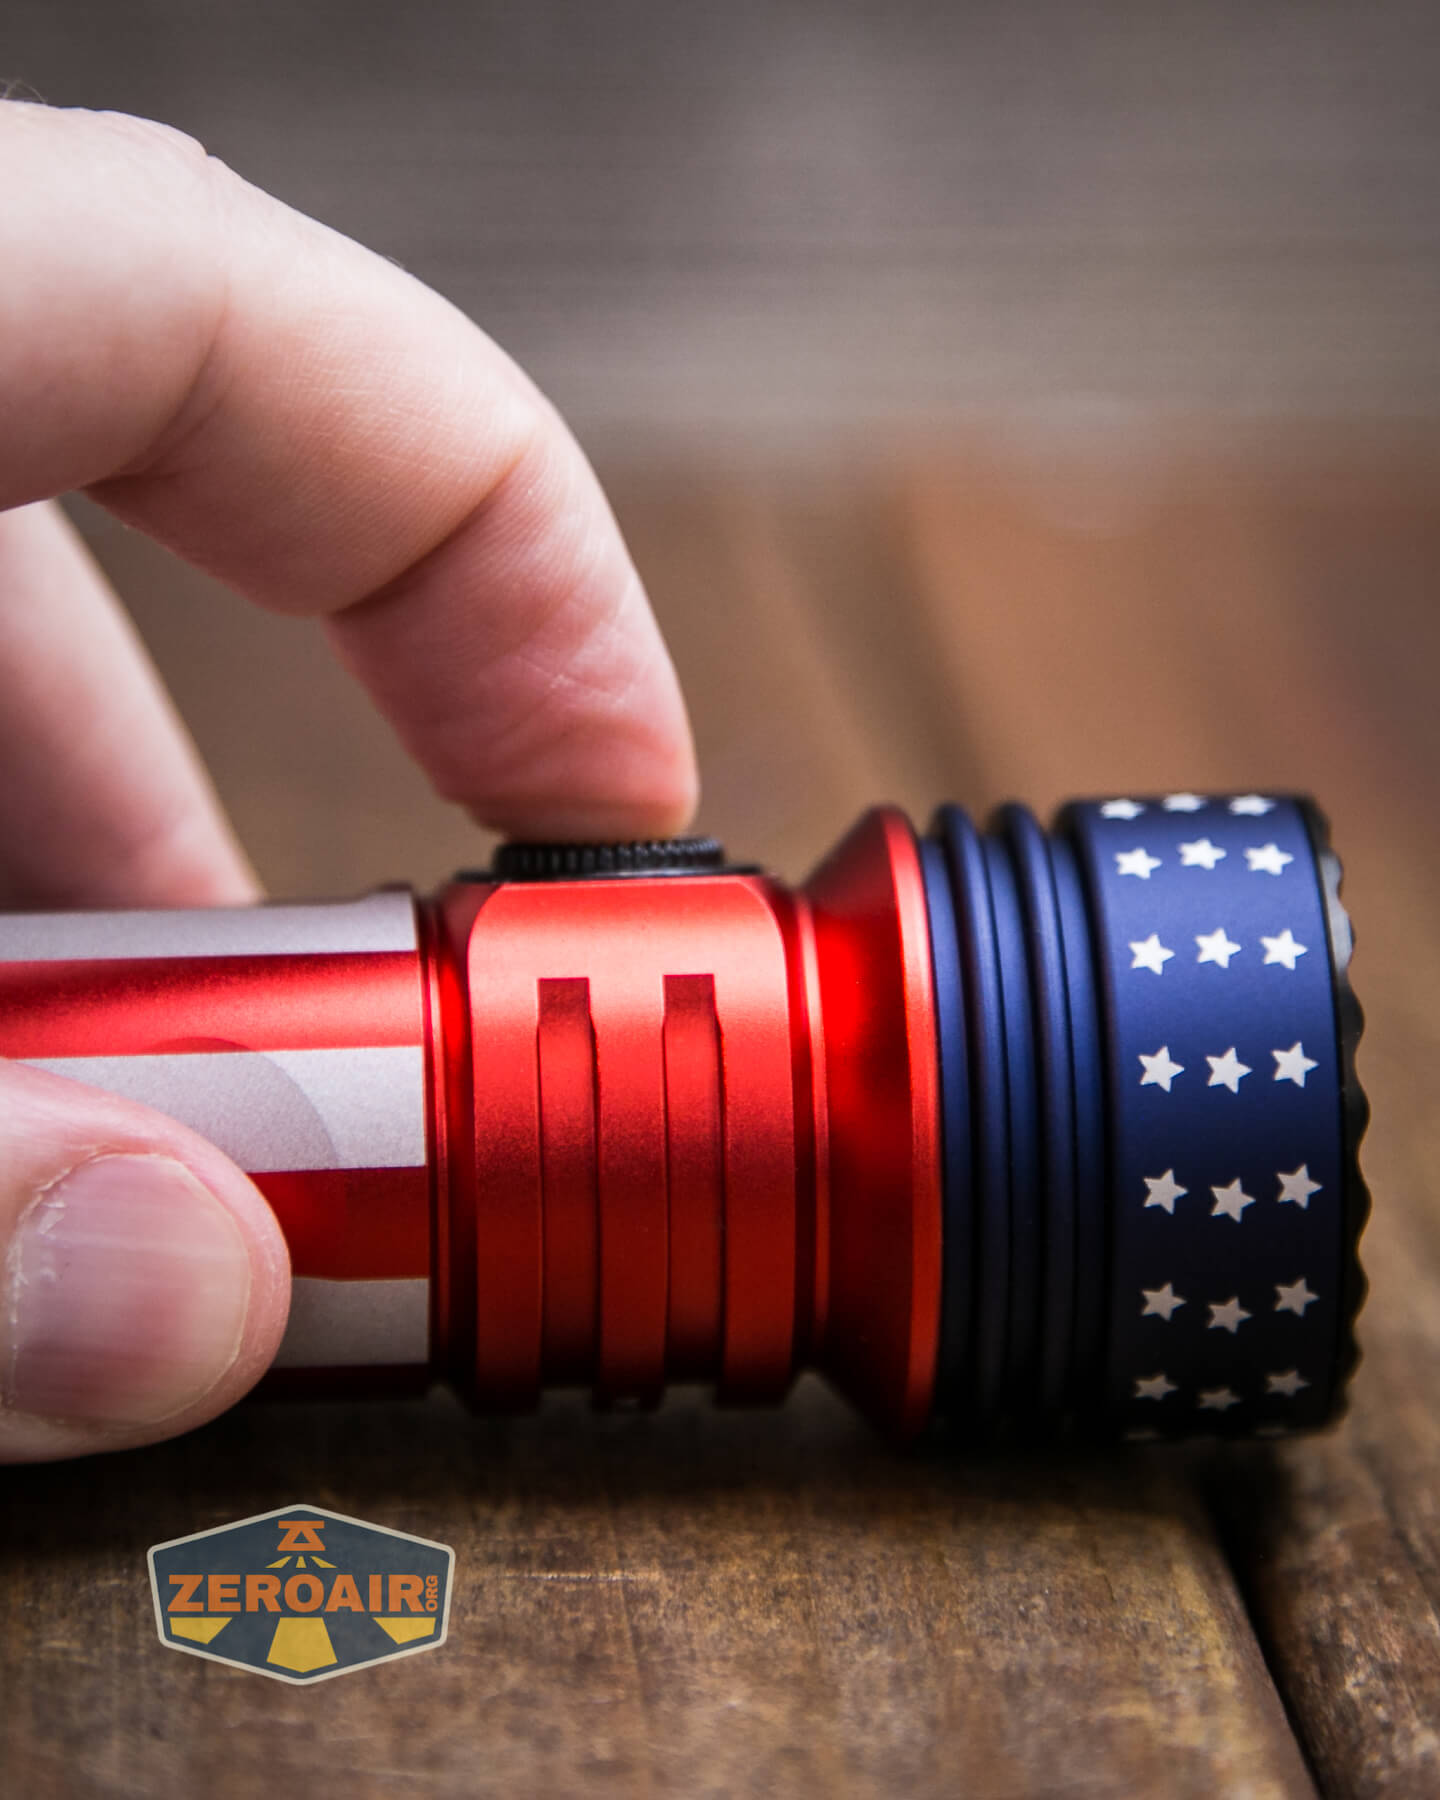
Around the switch are indicators. The right side indicates battery level, with four green marks being full. The left side indicates the output level, with one green mark indicating both moon and low, up to four marks, which indicate Turbo. These will indicate even if the light is off but unlocked (which requires the rotary dial to be turned maybe 1/2 a turn.)
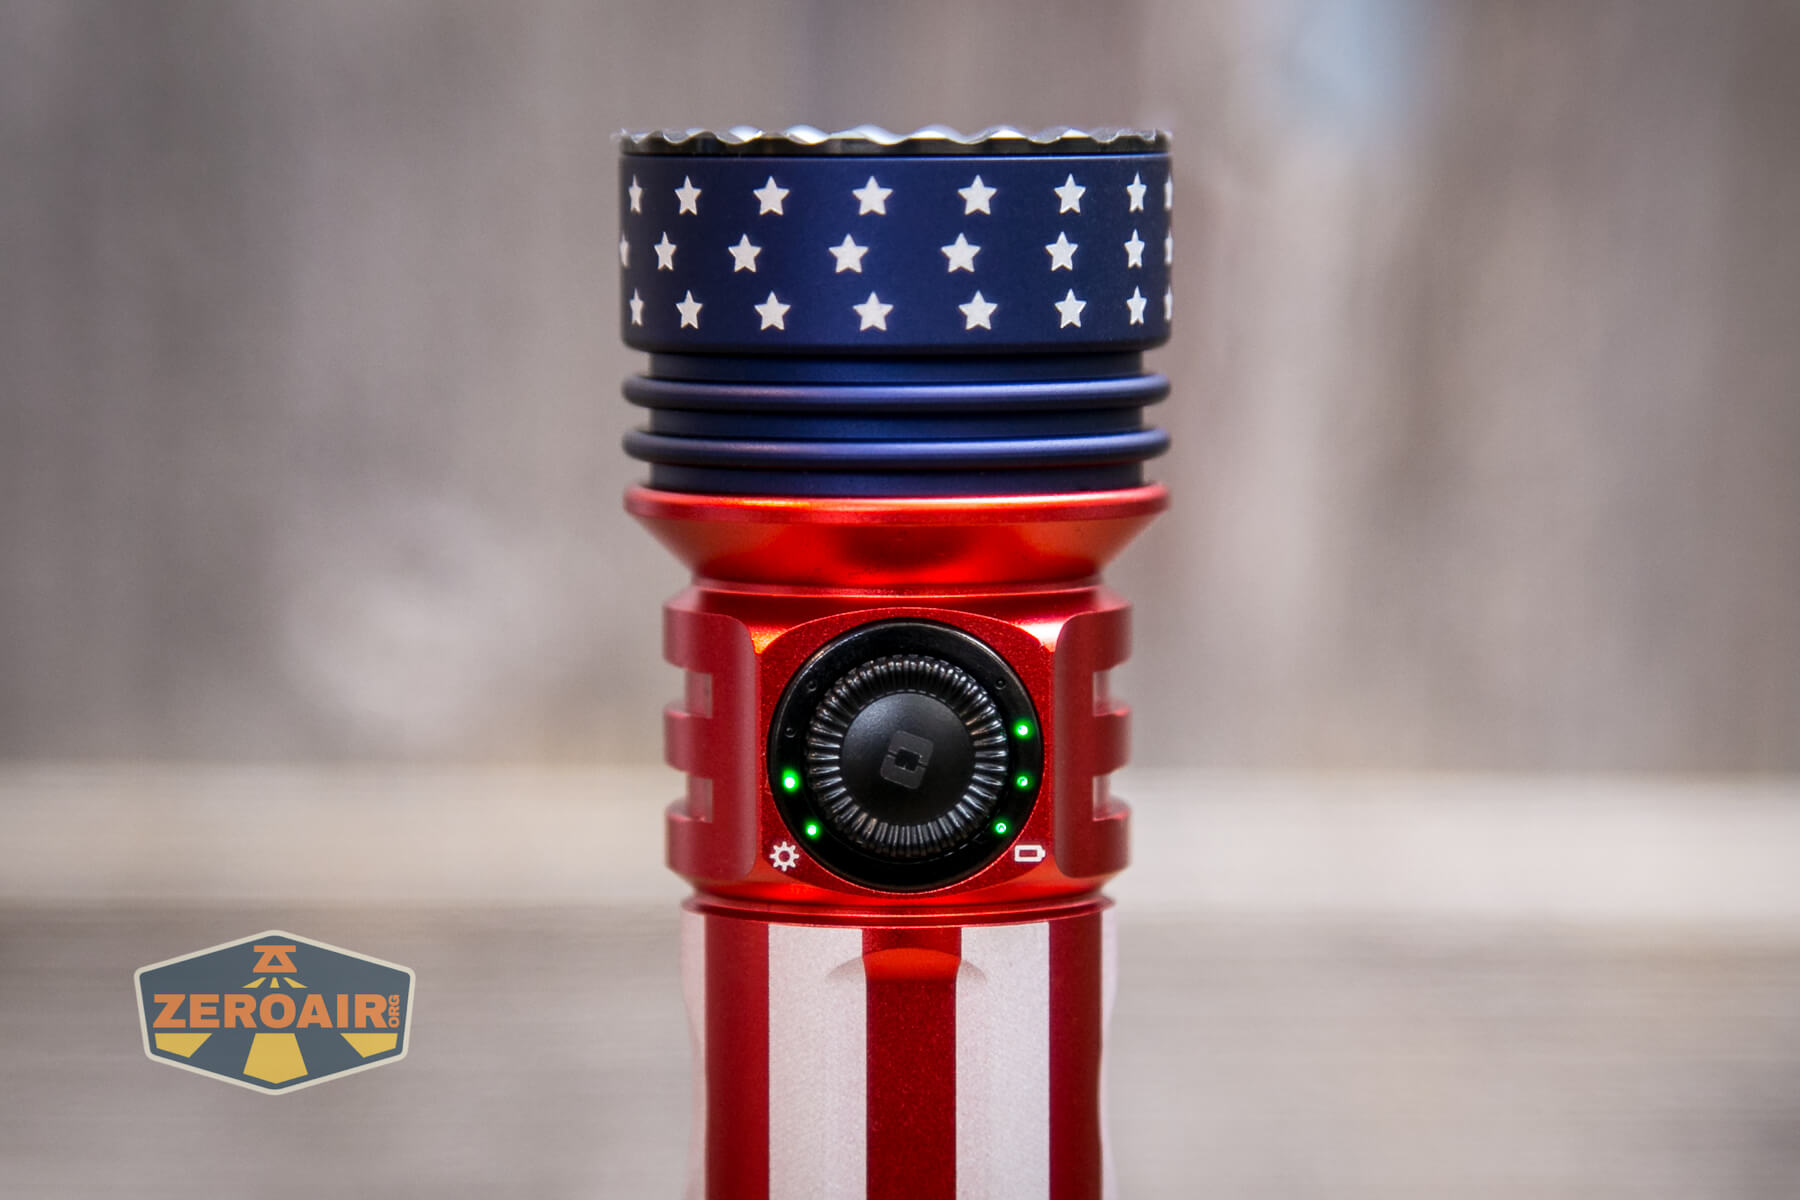
People will probably go goo-goo over the rotary. I personally still prefer the stepped modes. They work together, though. If you’re in low and dial up a bit, you get an output higher than low, but lower than medium. It’s a very good system!
Here’s a user interface table!
| State | Action | Result |
|---|---|---|
| Off | Click or Hold | Battery indicator |
| Off | Rotate dial at least half turn | Unlock |
| Off (Unlocked) | Click | On (Mode memory)^ |
| Off (Unlocked) or On | Double Click | Turbo |
| On | Click | Off |
| On | Hold | Mode advance (LMH only) |
| Off (Unlocked) | Hold | Moonlight |
| Turbo | Double Click | Previous mode |
| Unlocked | Triple Click | Strobe |
| On | Rotate dial clockwise | “Stepless” increasing output |
| On | Rotate dial counterclockwise | “Stepless” decreasing output |
| On, after proximity sensor stepdown | Double Click | Temporarily disable the proximity sensor and activate Turbo |
^ The way I read the manual, High is not memorized. Only low or medium are memorized.
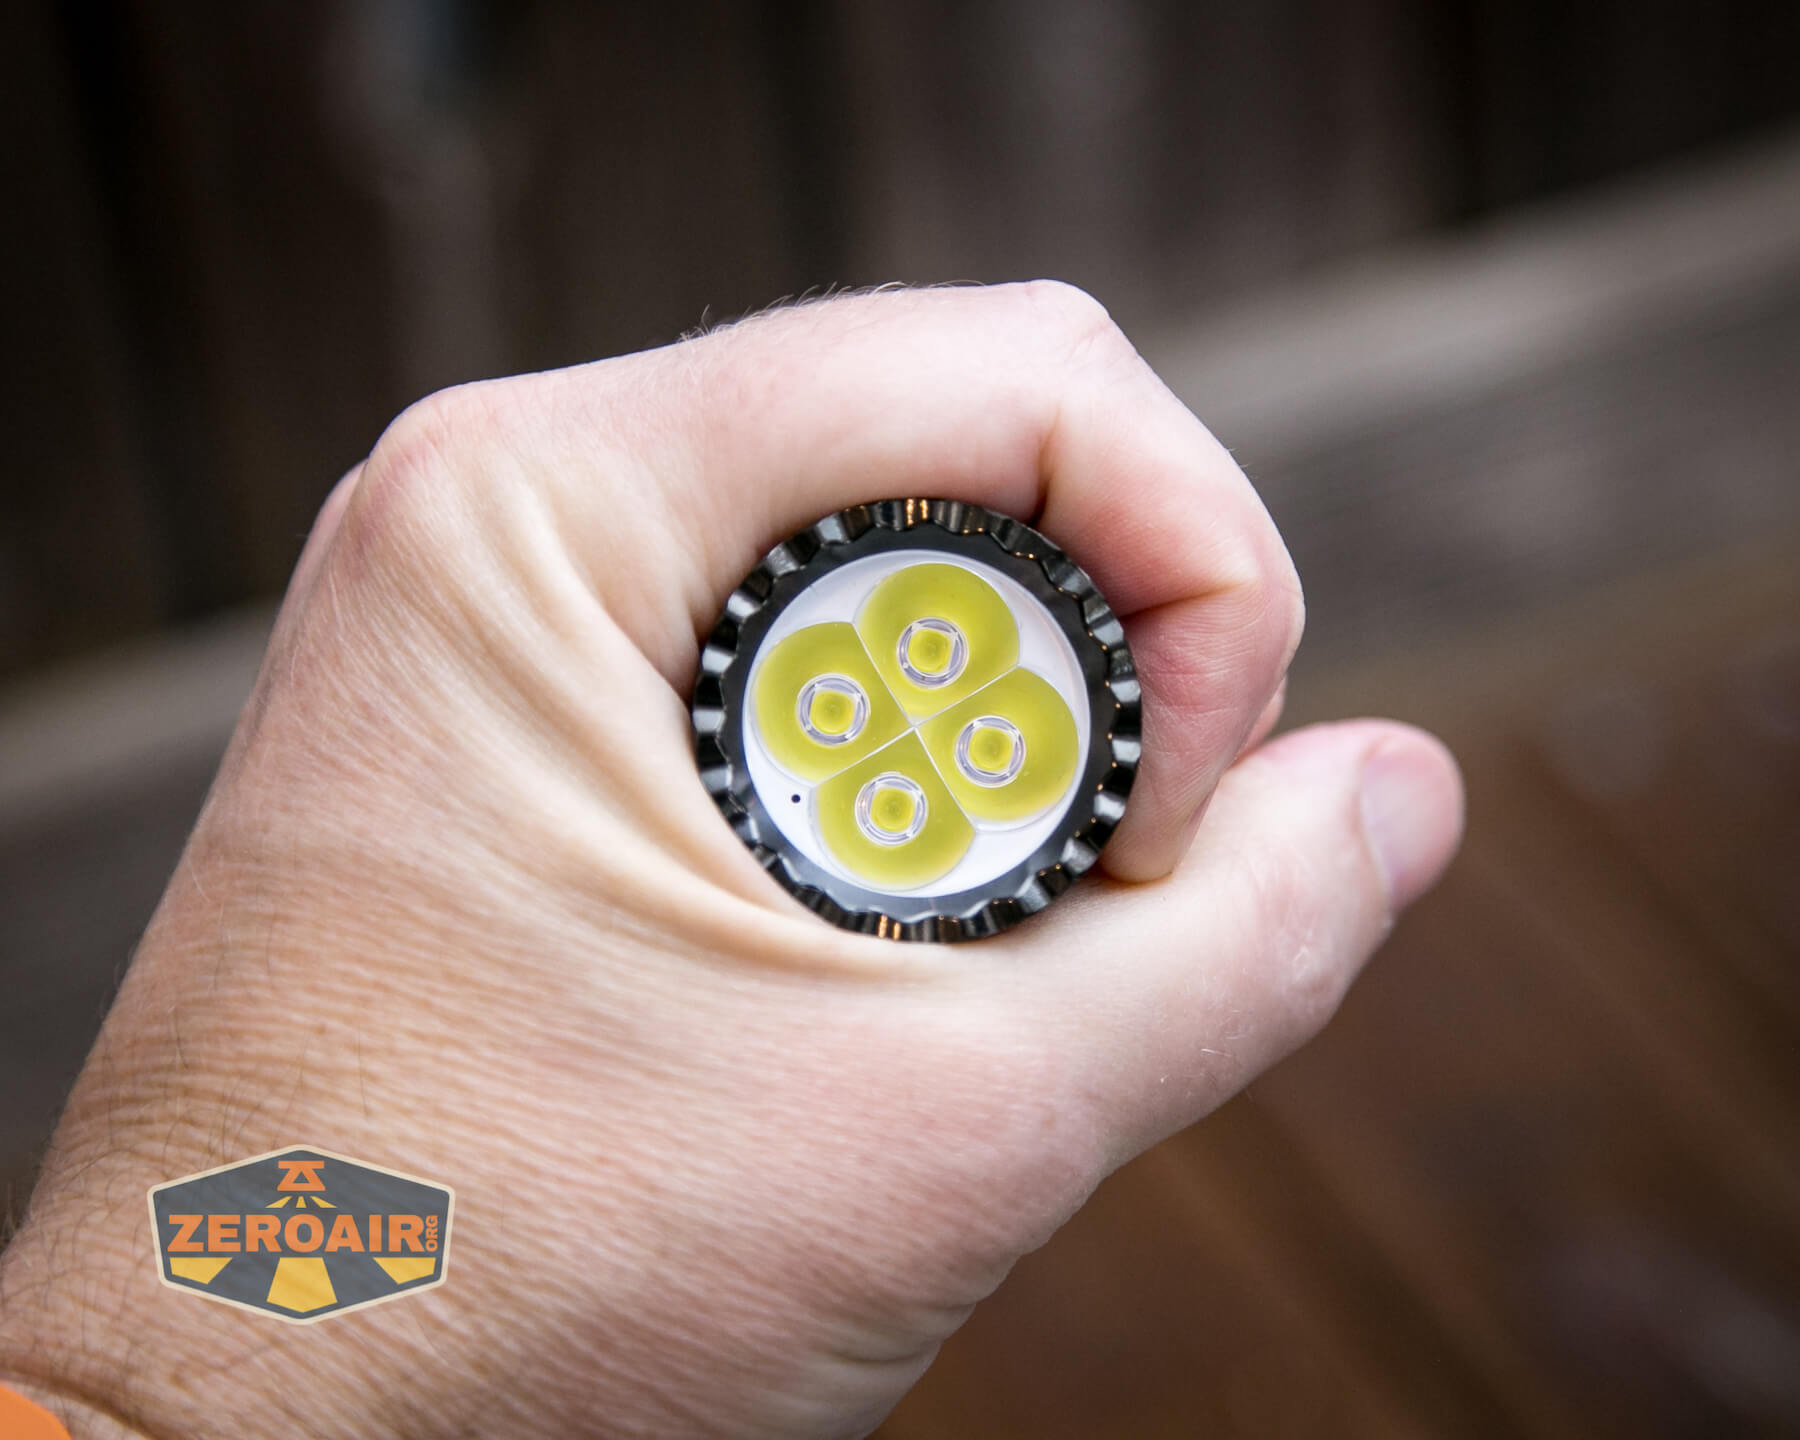
If you’ve had a good look at the front of the Olight Seeker 3 Pro, you probably noticed that little black dot near the emitters. It’s clearly evident in the photograph below, around the 4’oclock position. That’s a proximity sensor. On the highest two modes, when the sensor gets enough bounce-back feedback, the light will downshift to a lower level. It does not shift to medium, but something higher than medium.
I’m exceptionally happy that Olight allows us to turn off the proximity sensor. I dislike those in general, but this is a very good compromise. This is better than the Marauder 2 proximity sensor disable, too, because the sensor will go back on automatically. You may end up having to cycle modes a bit to be sure the sensor is off, but overall if burning something is a concern, this is definitely a safer solution. And it’s just two clicks, instead of 15 as on the Marauder 2.
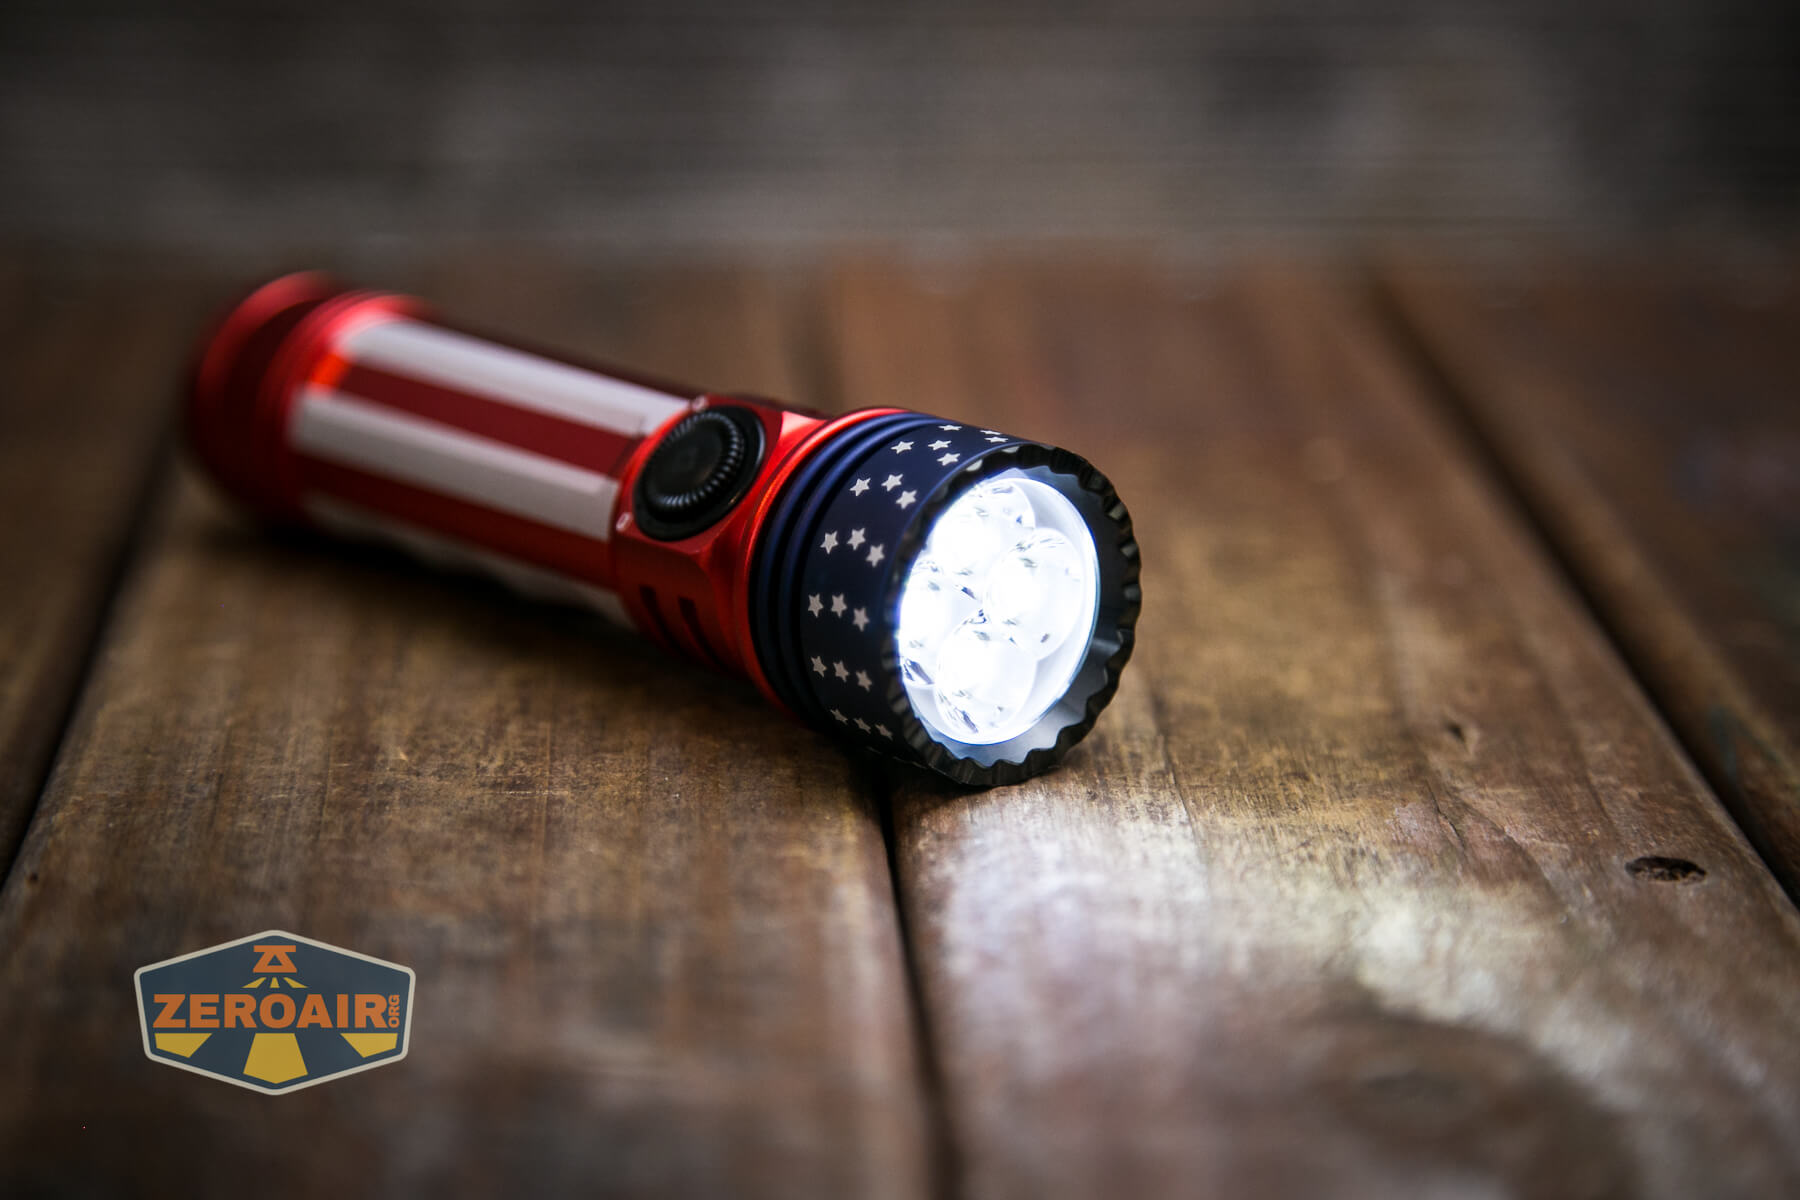
LED and Beam
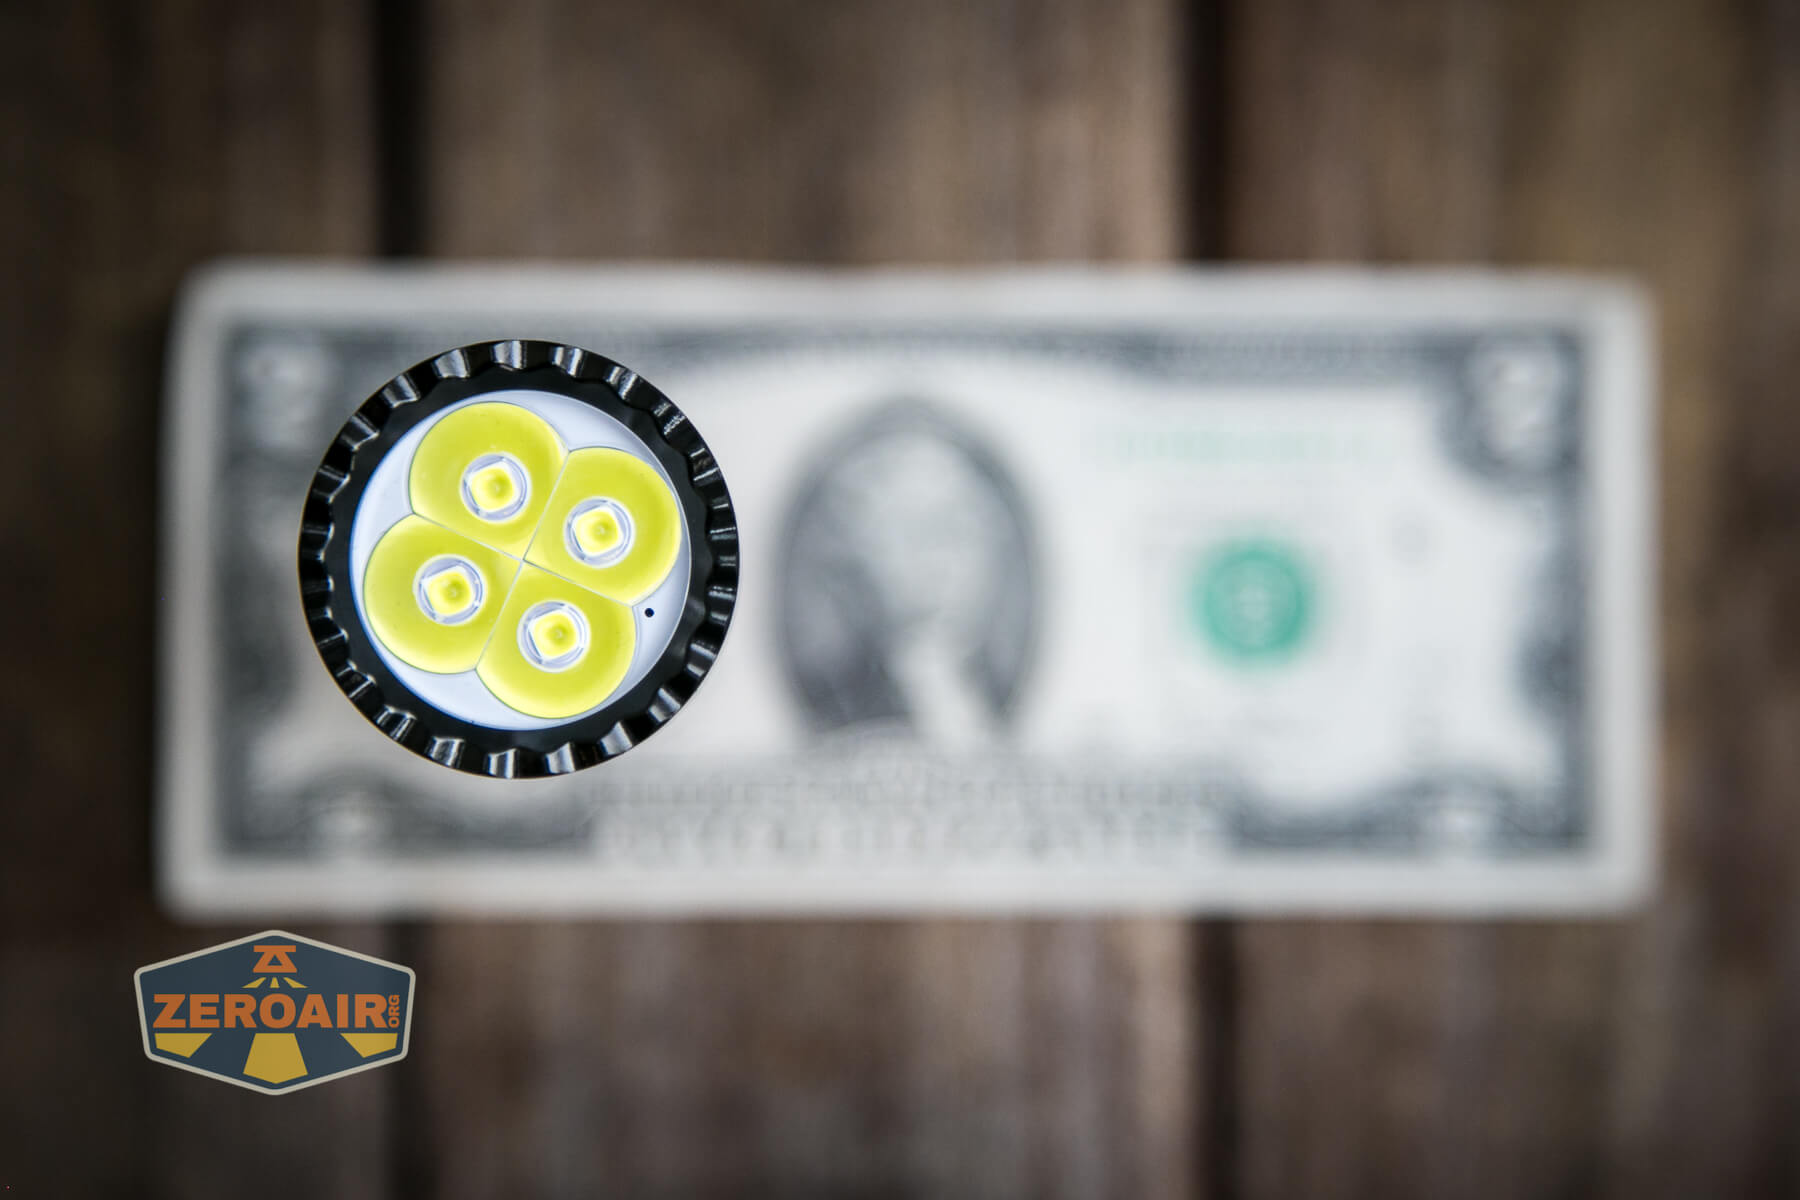
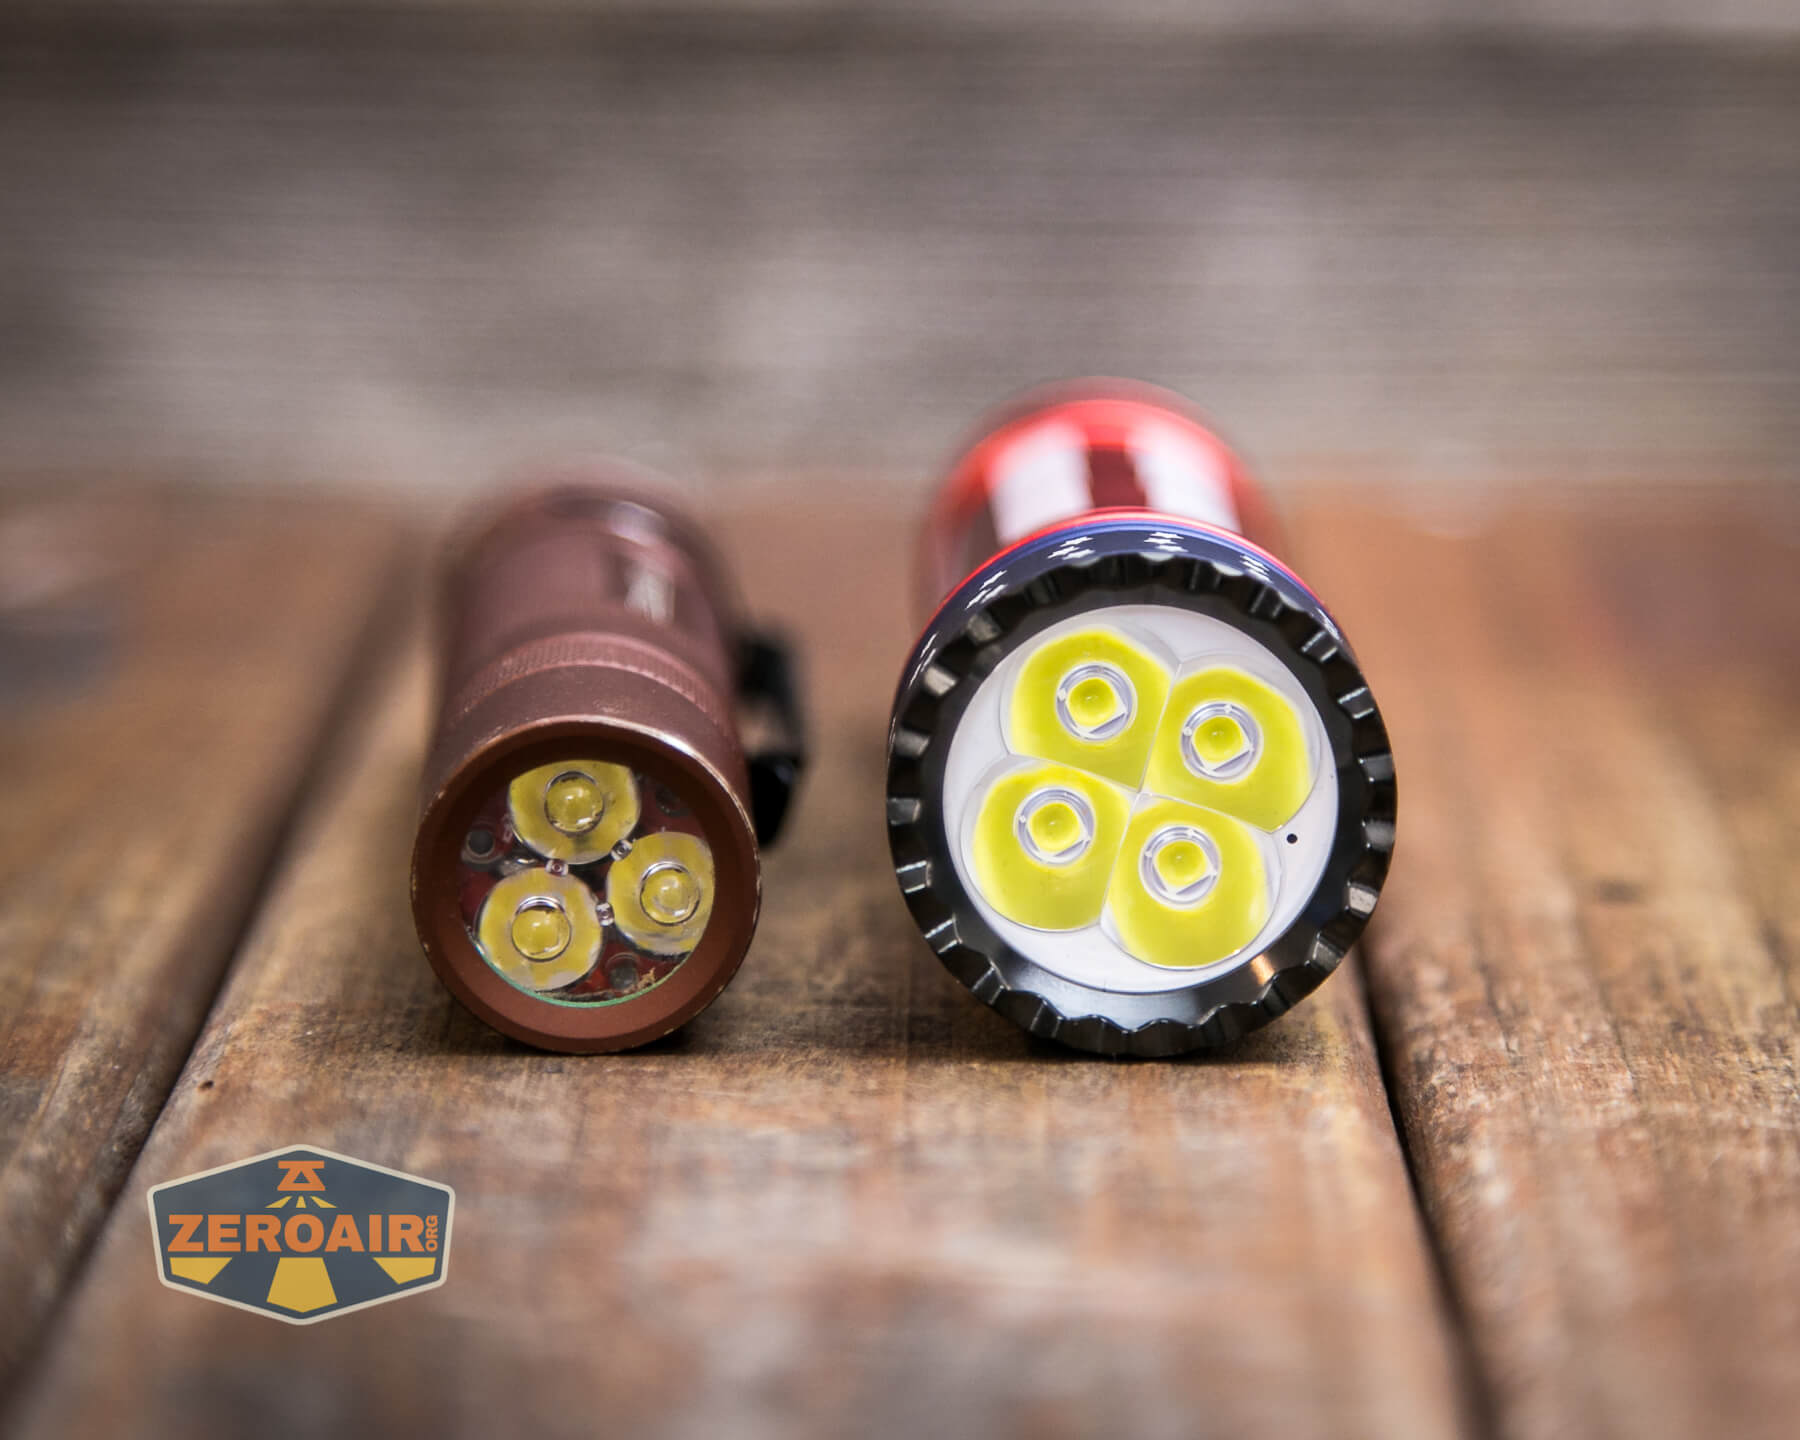
Olight doesn’t make an emitter claim here, but upon inspection, they appear to be Osram P9. That fits well with Olight, so it seems like a safe call. There are four emitters here.
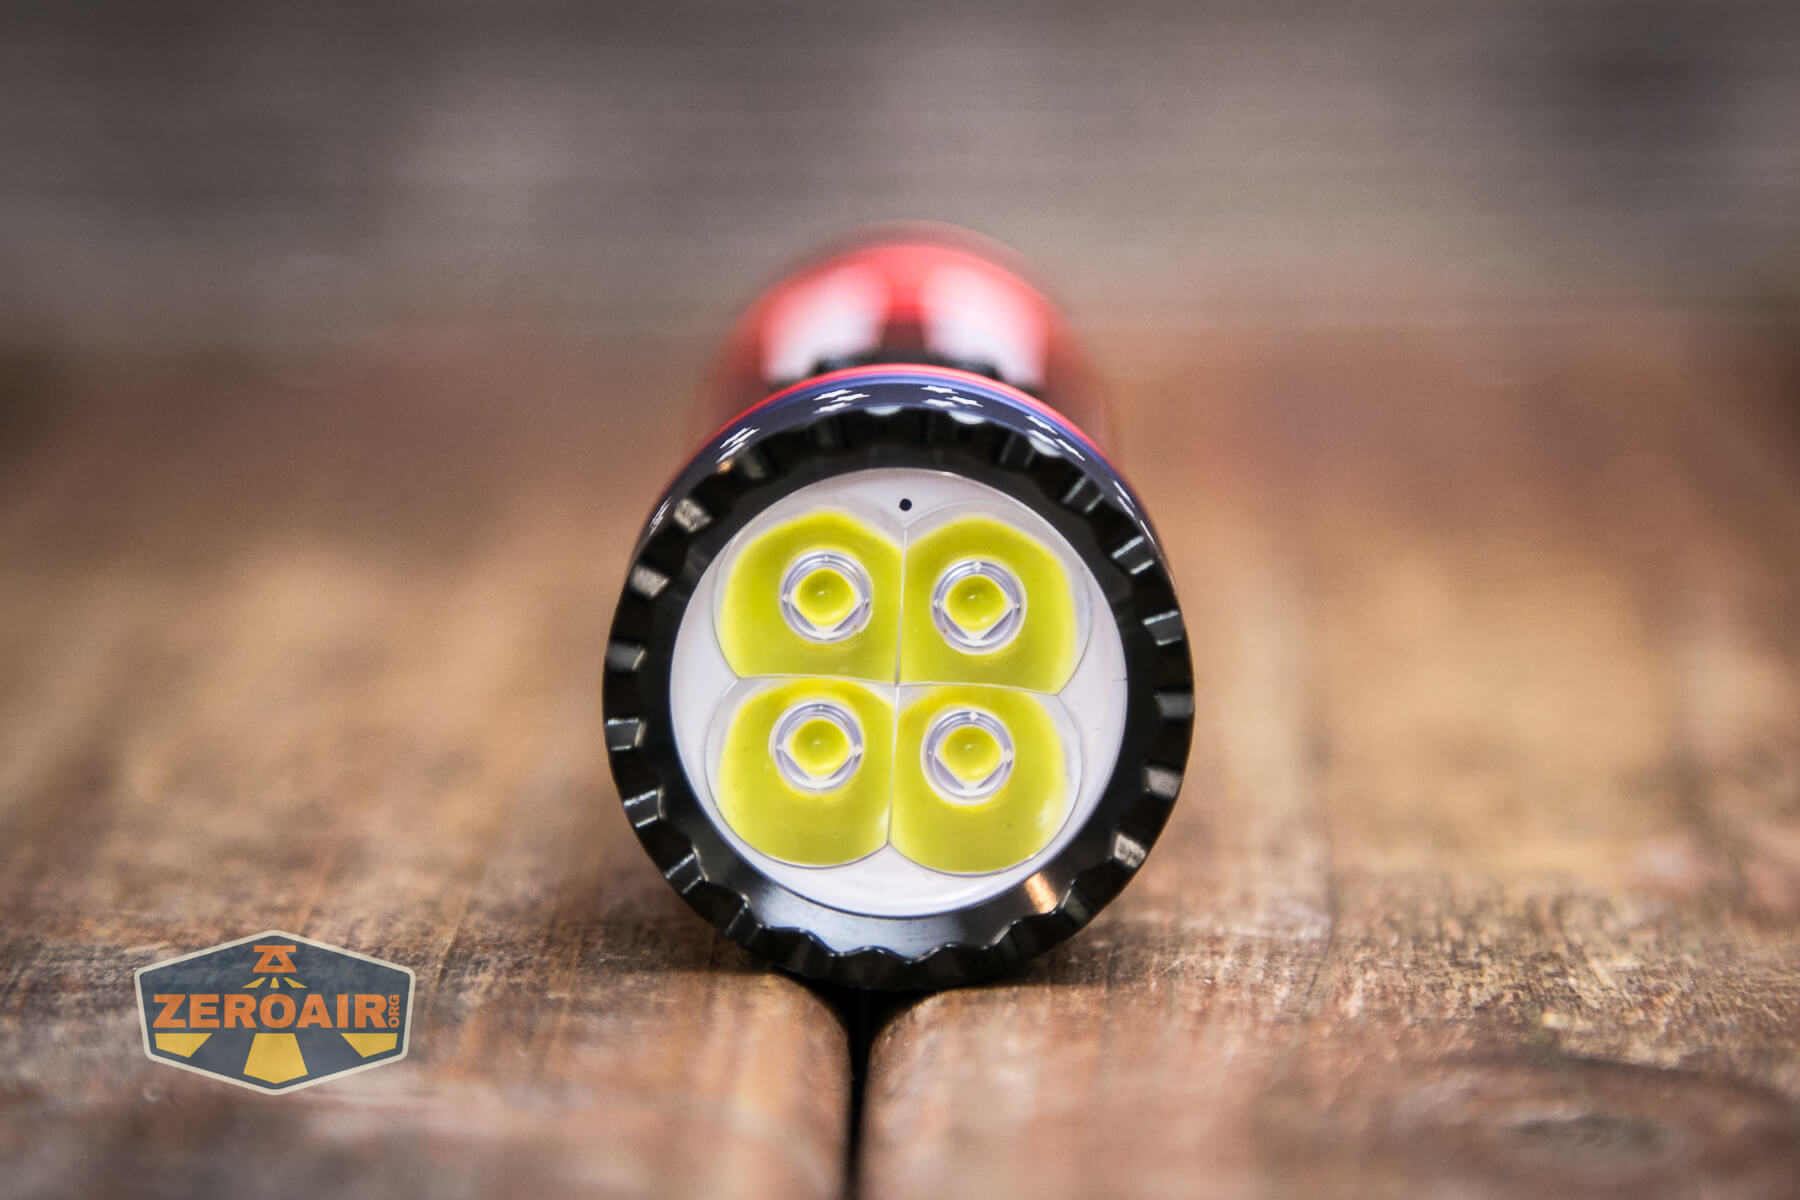
Olight uses an optic for these emitters.
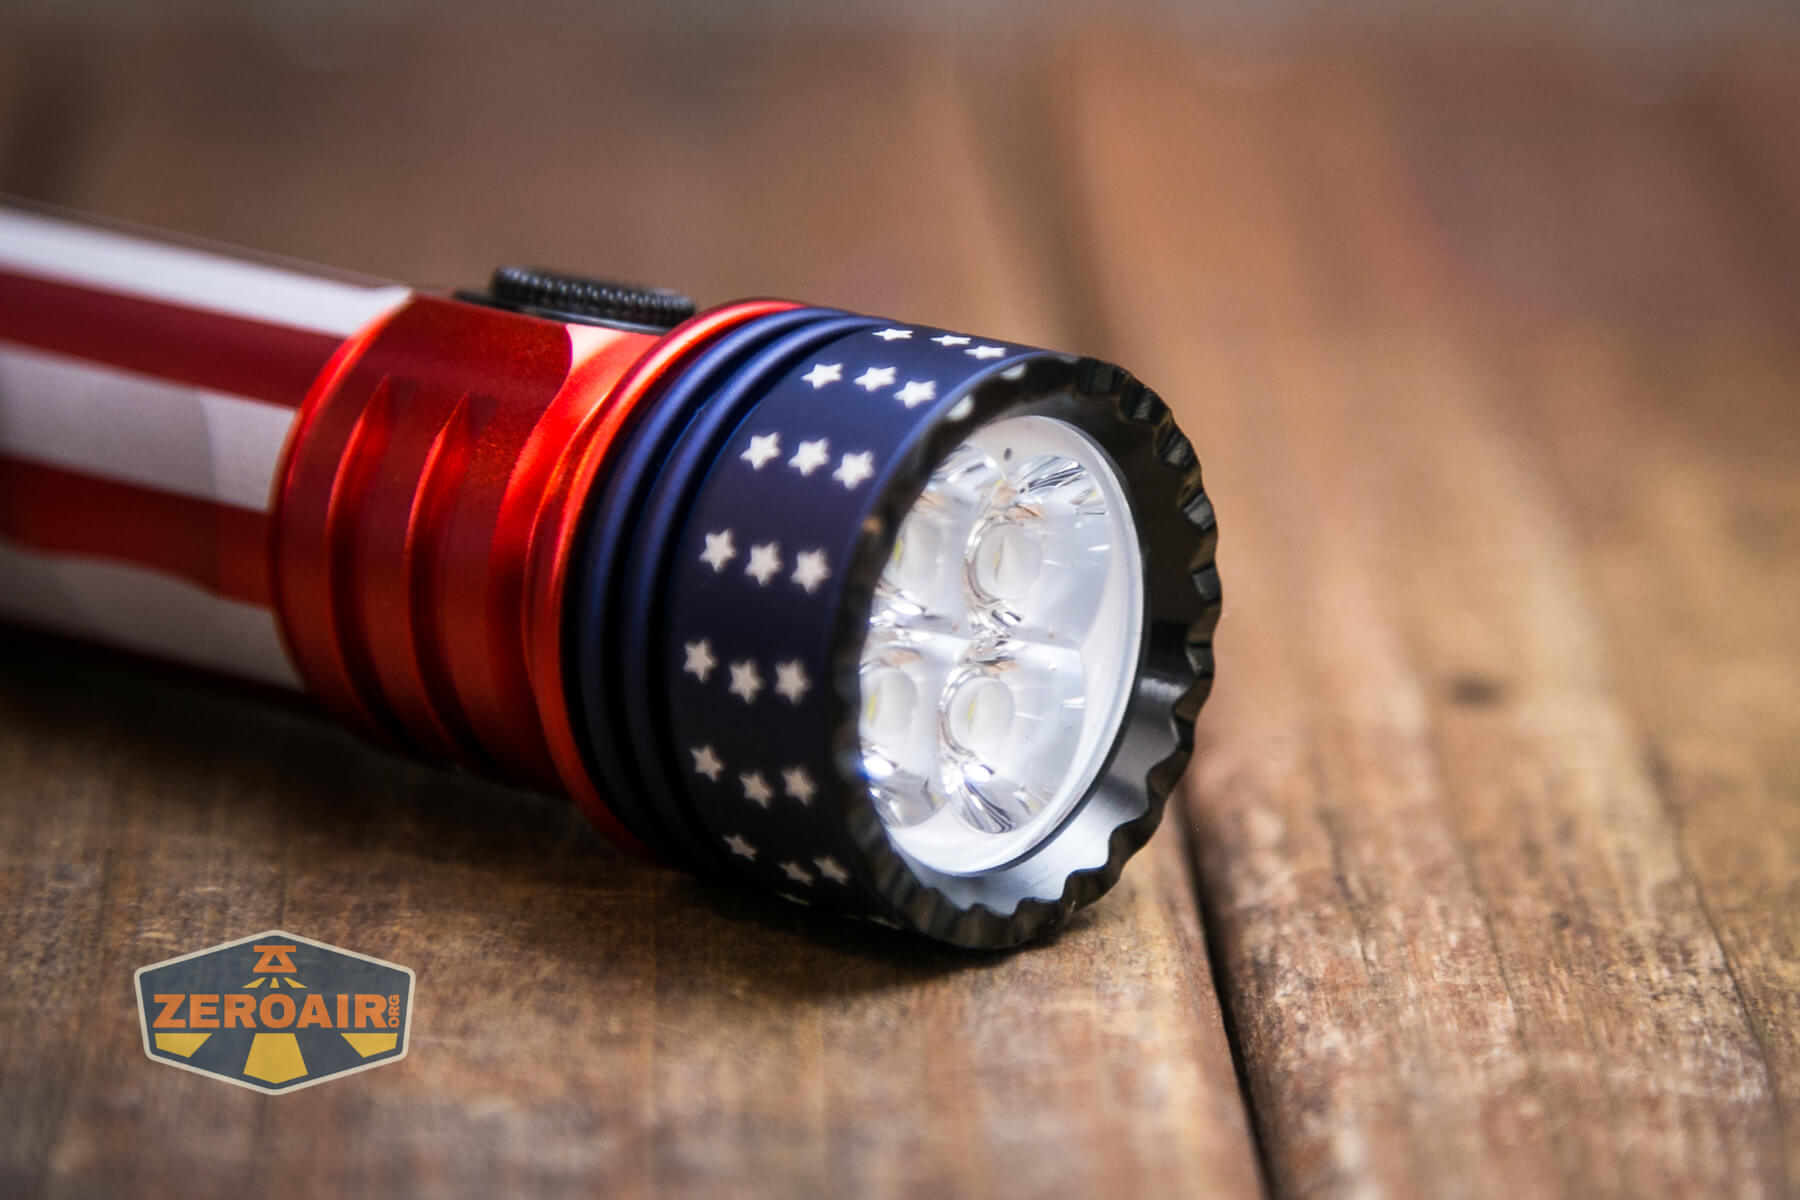
A toothed bezel is used on the front, and that allows a little light to escape when headstanding. The bezel is also very easy to unscrew. When removed, the optic comes right out, revealing the white cup which you can see below. I did not go any deeper than this.
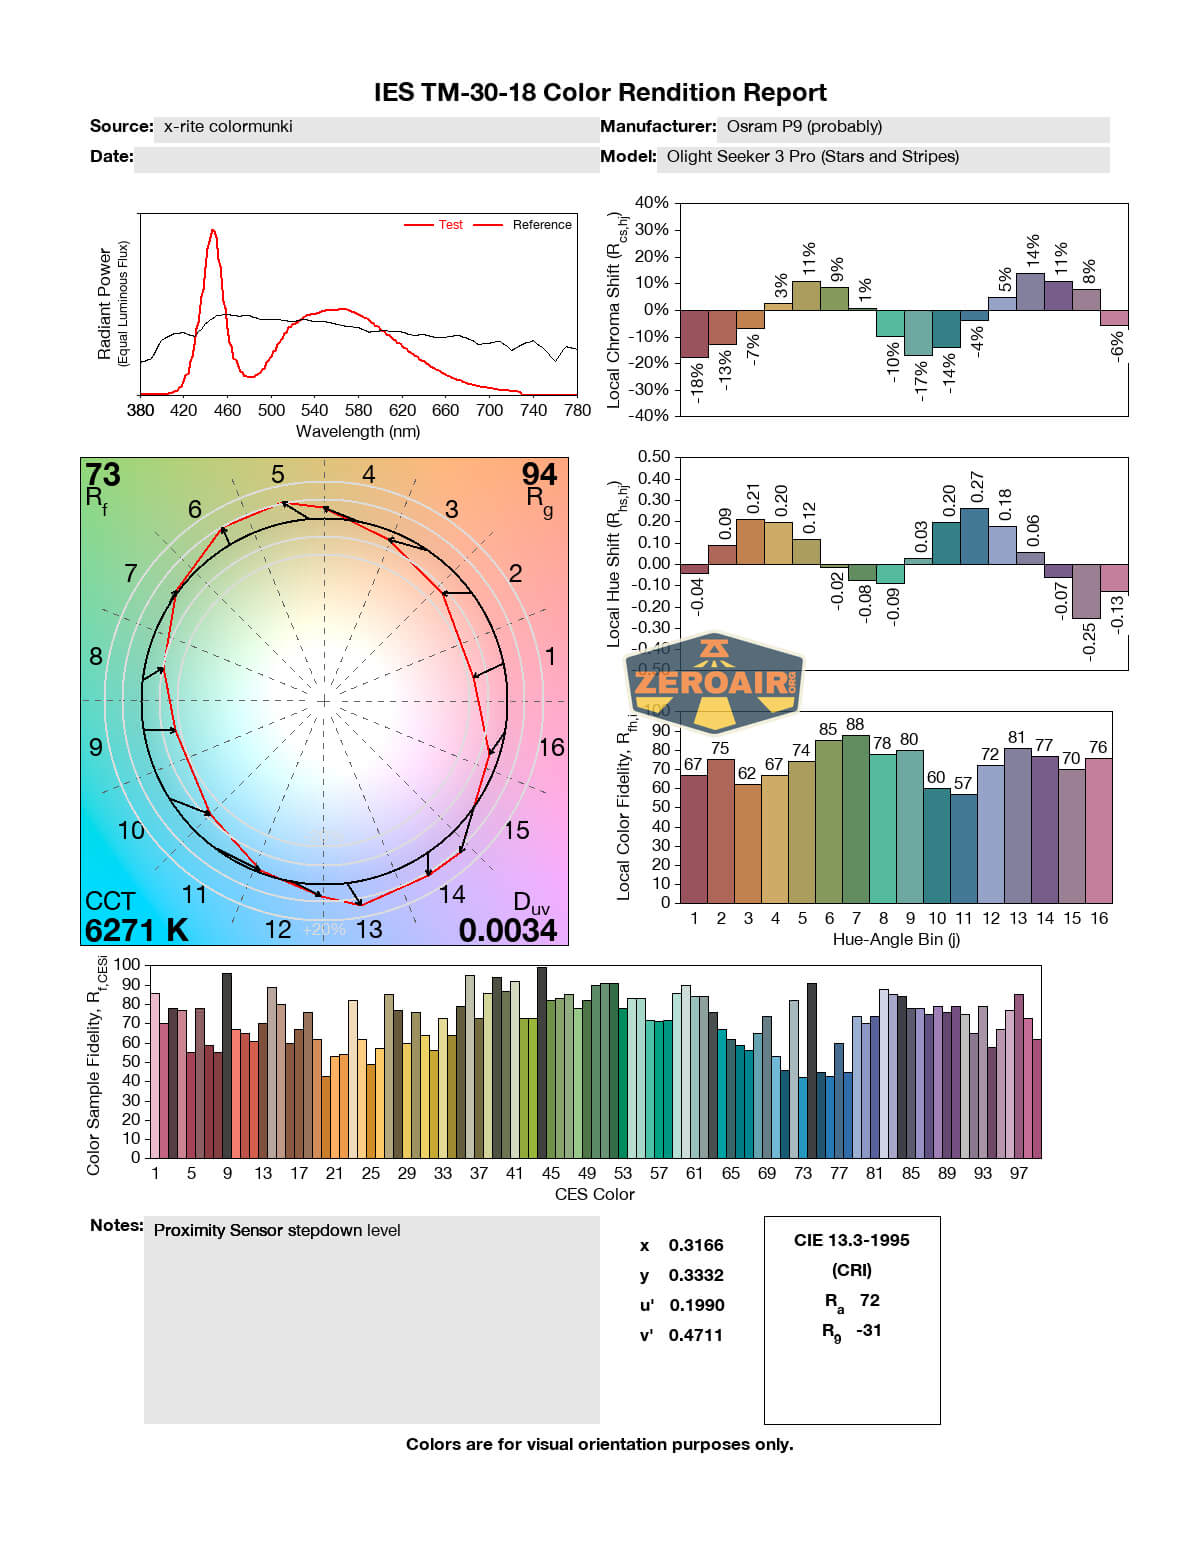
LED Color Report (CRI and CCT)
The CCT ranges from around 5900 to around 6200, which is probably better than you’d have guessed from a high-output light like this. The CRI is unsurprisingly low, at around 71-72.


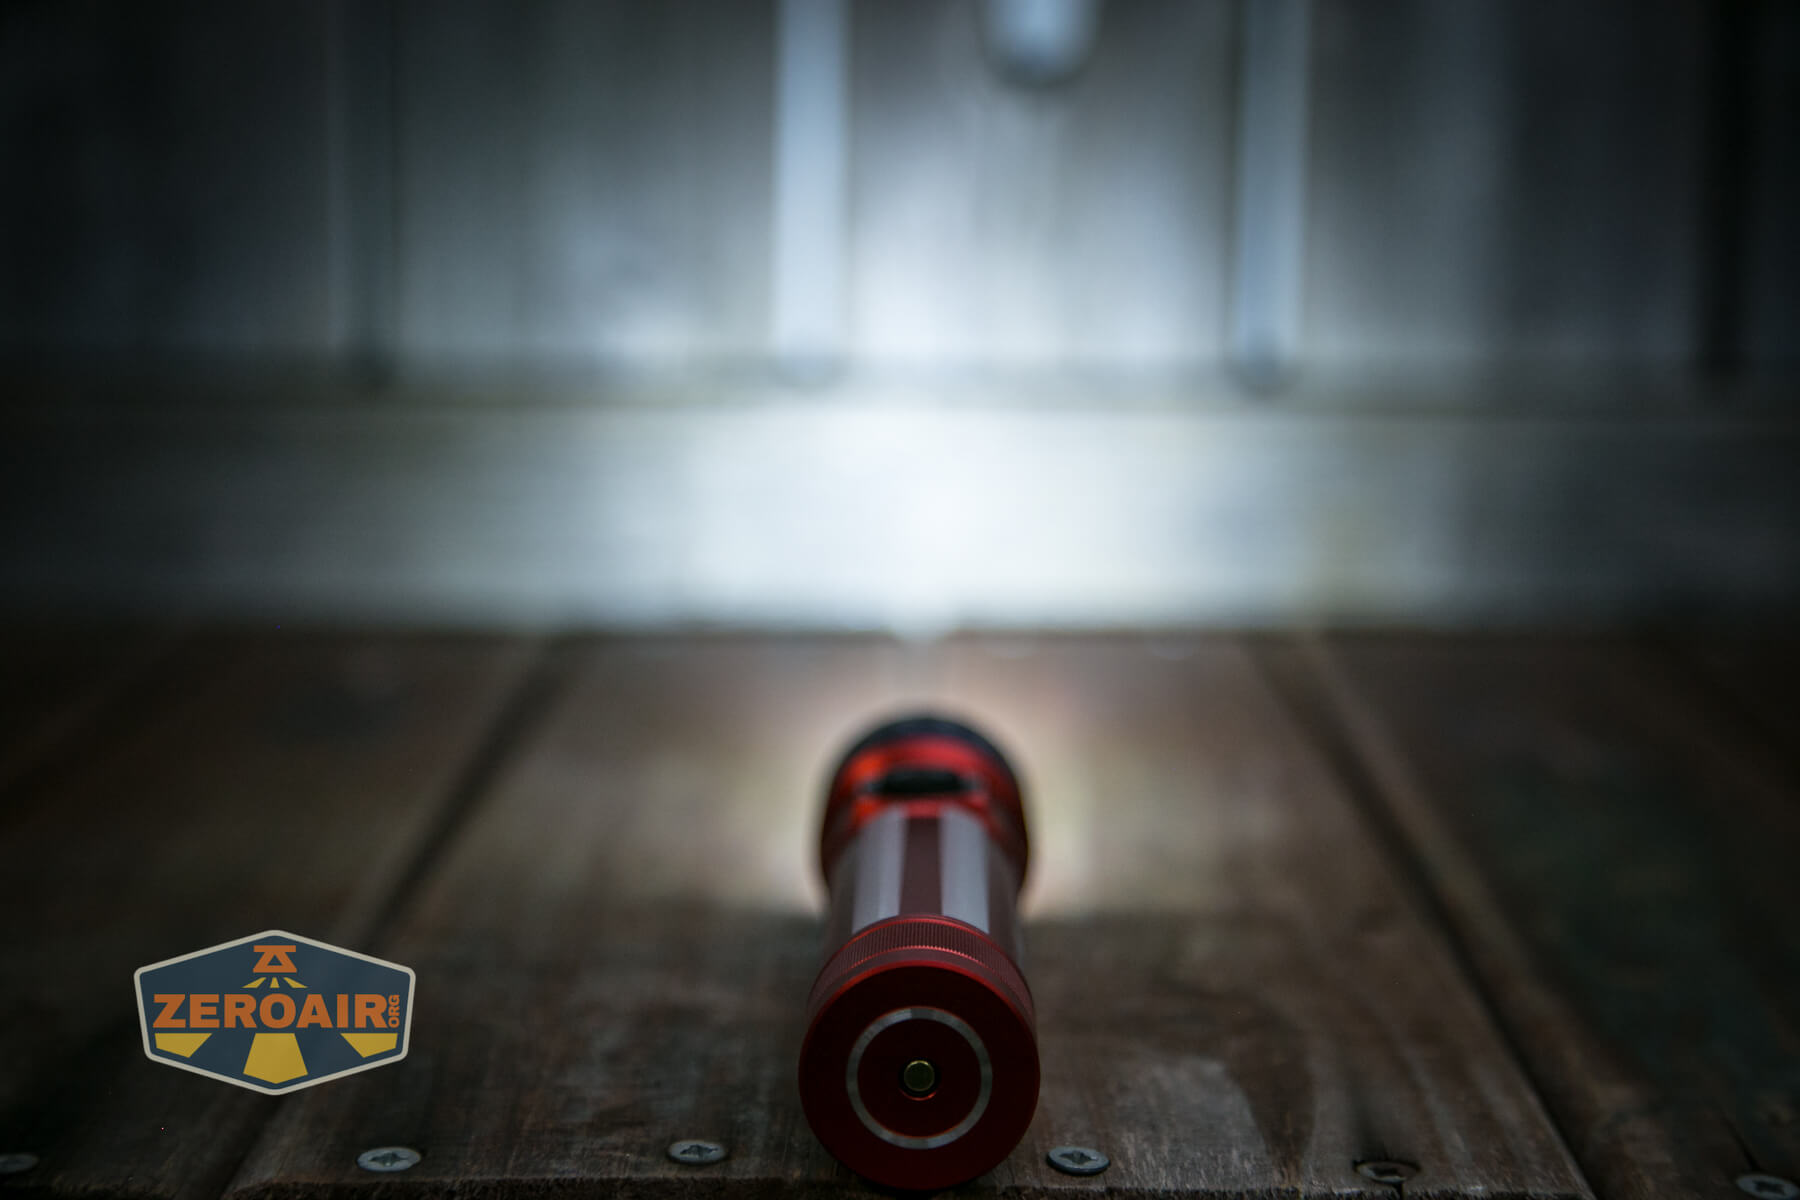
Beamshots
These beamshots always have the following settings: f8, ISO100, 0.3s shutter, and manual 5000K exposure. These photos are taken at floor level, and the beam hits the ceiling around 9 feet away.


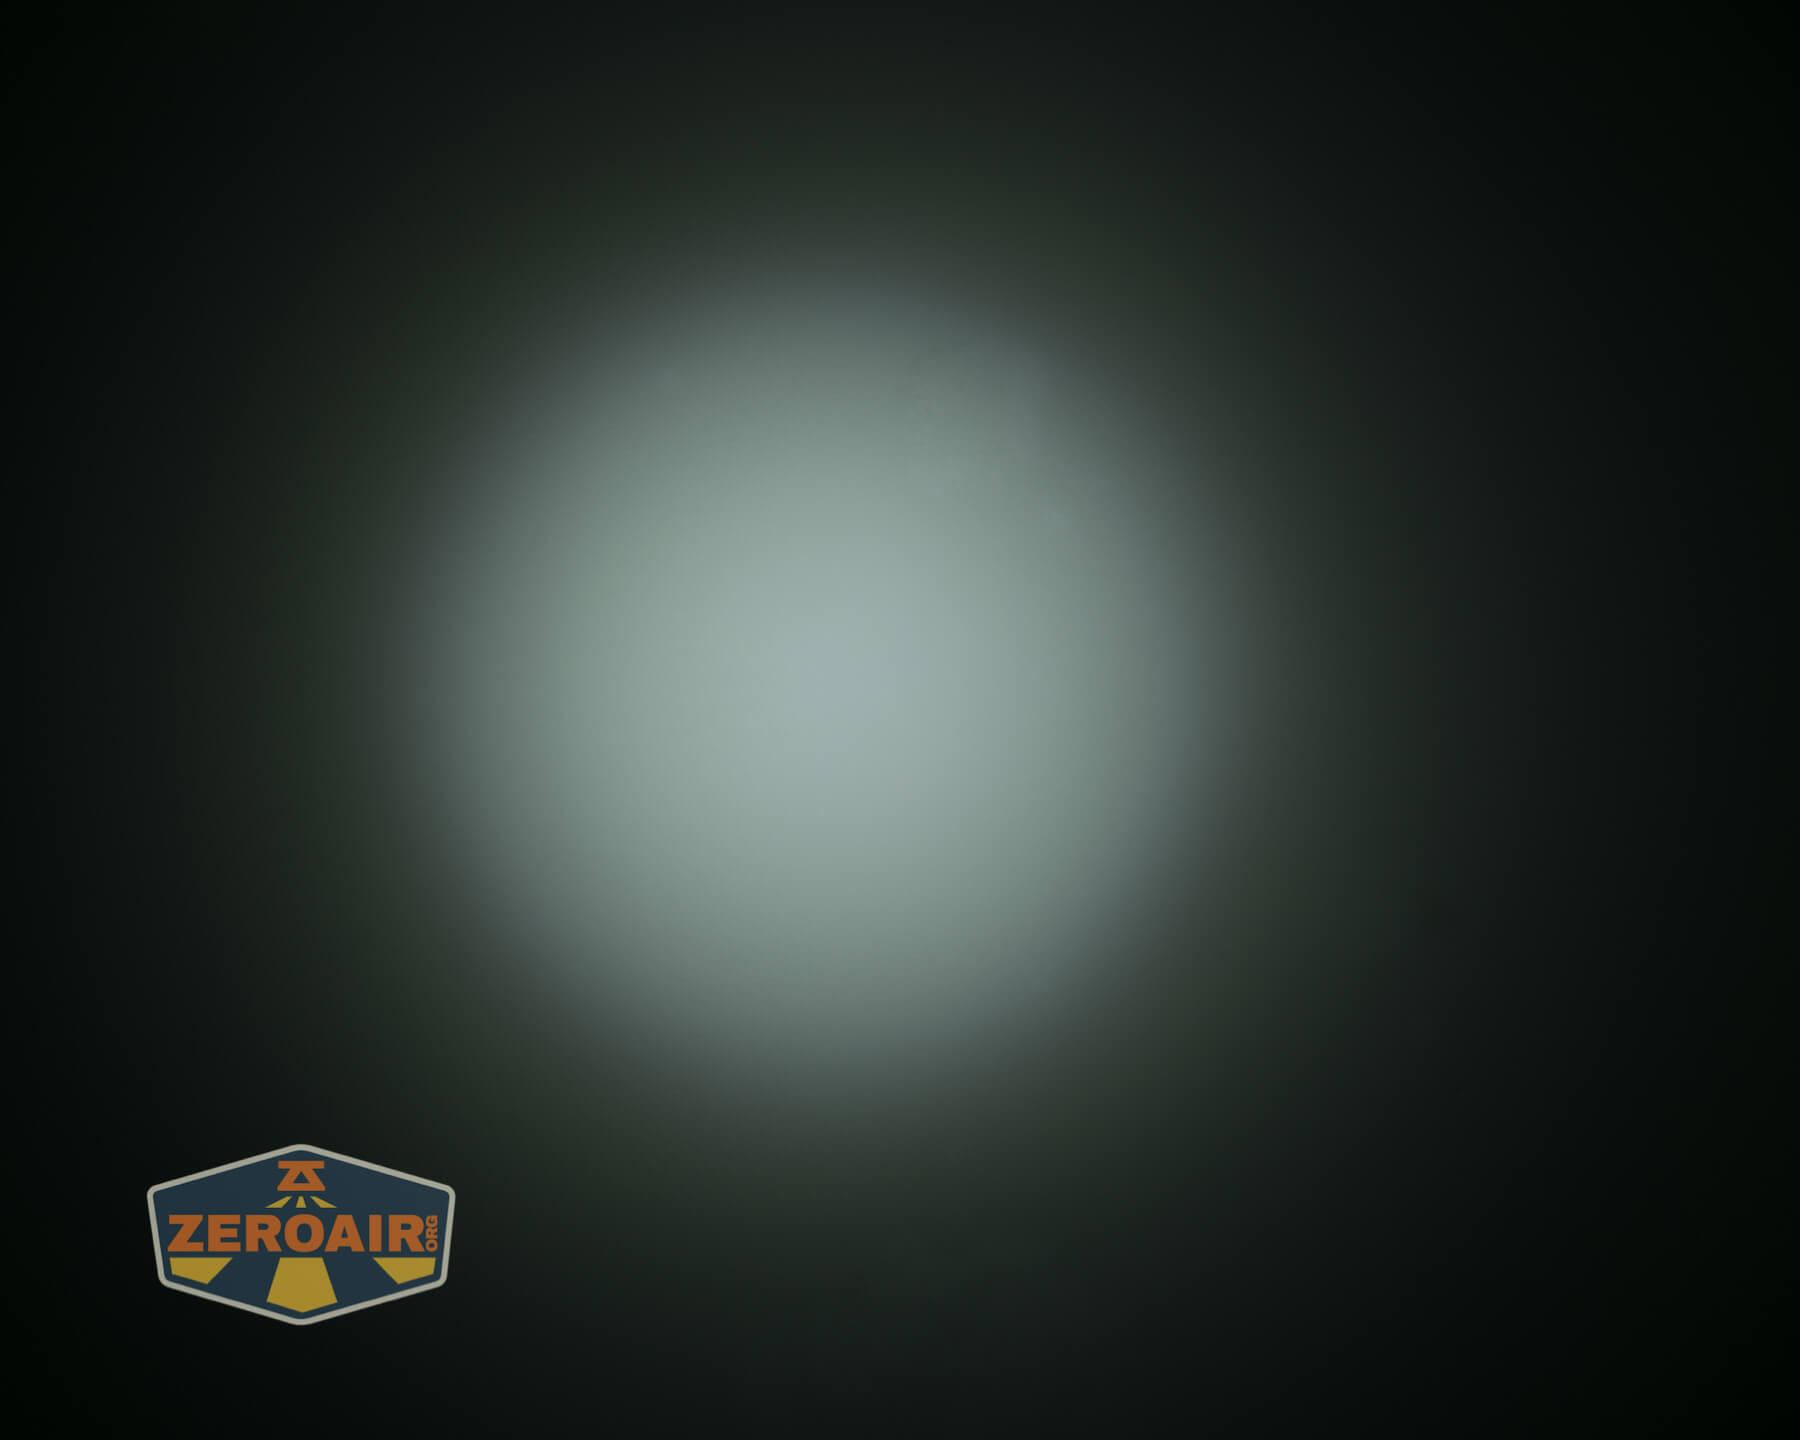


Tint vs BLF-348 (KillzoneFlashlights.com 219b version) (affiliate link)
I keep the test flashlight on the left and the BLF-348 reference flashlight on the right.
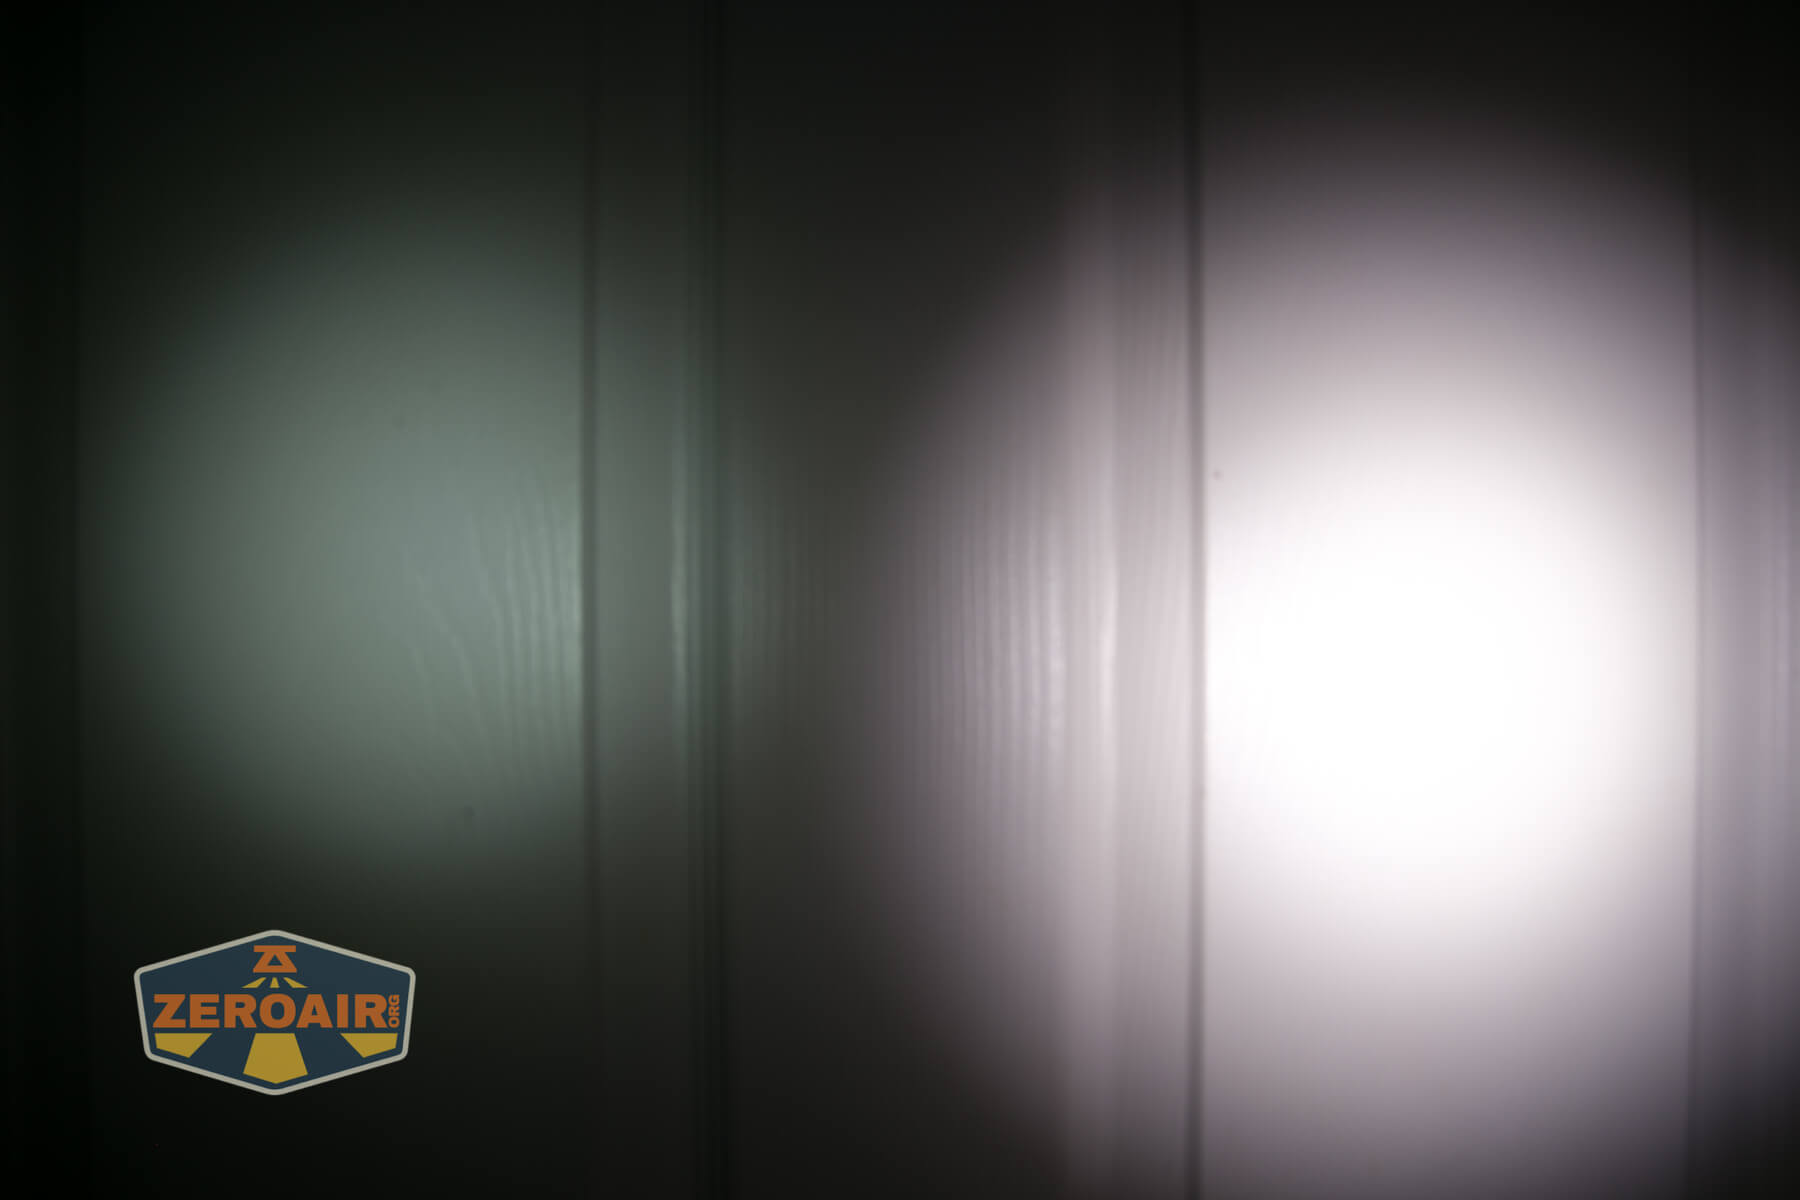
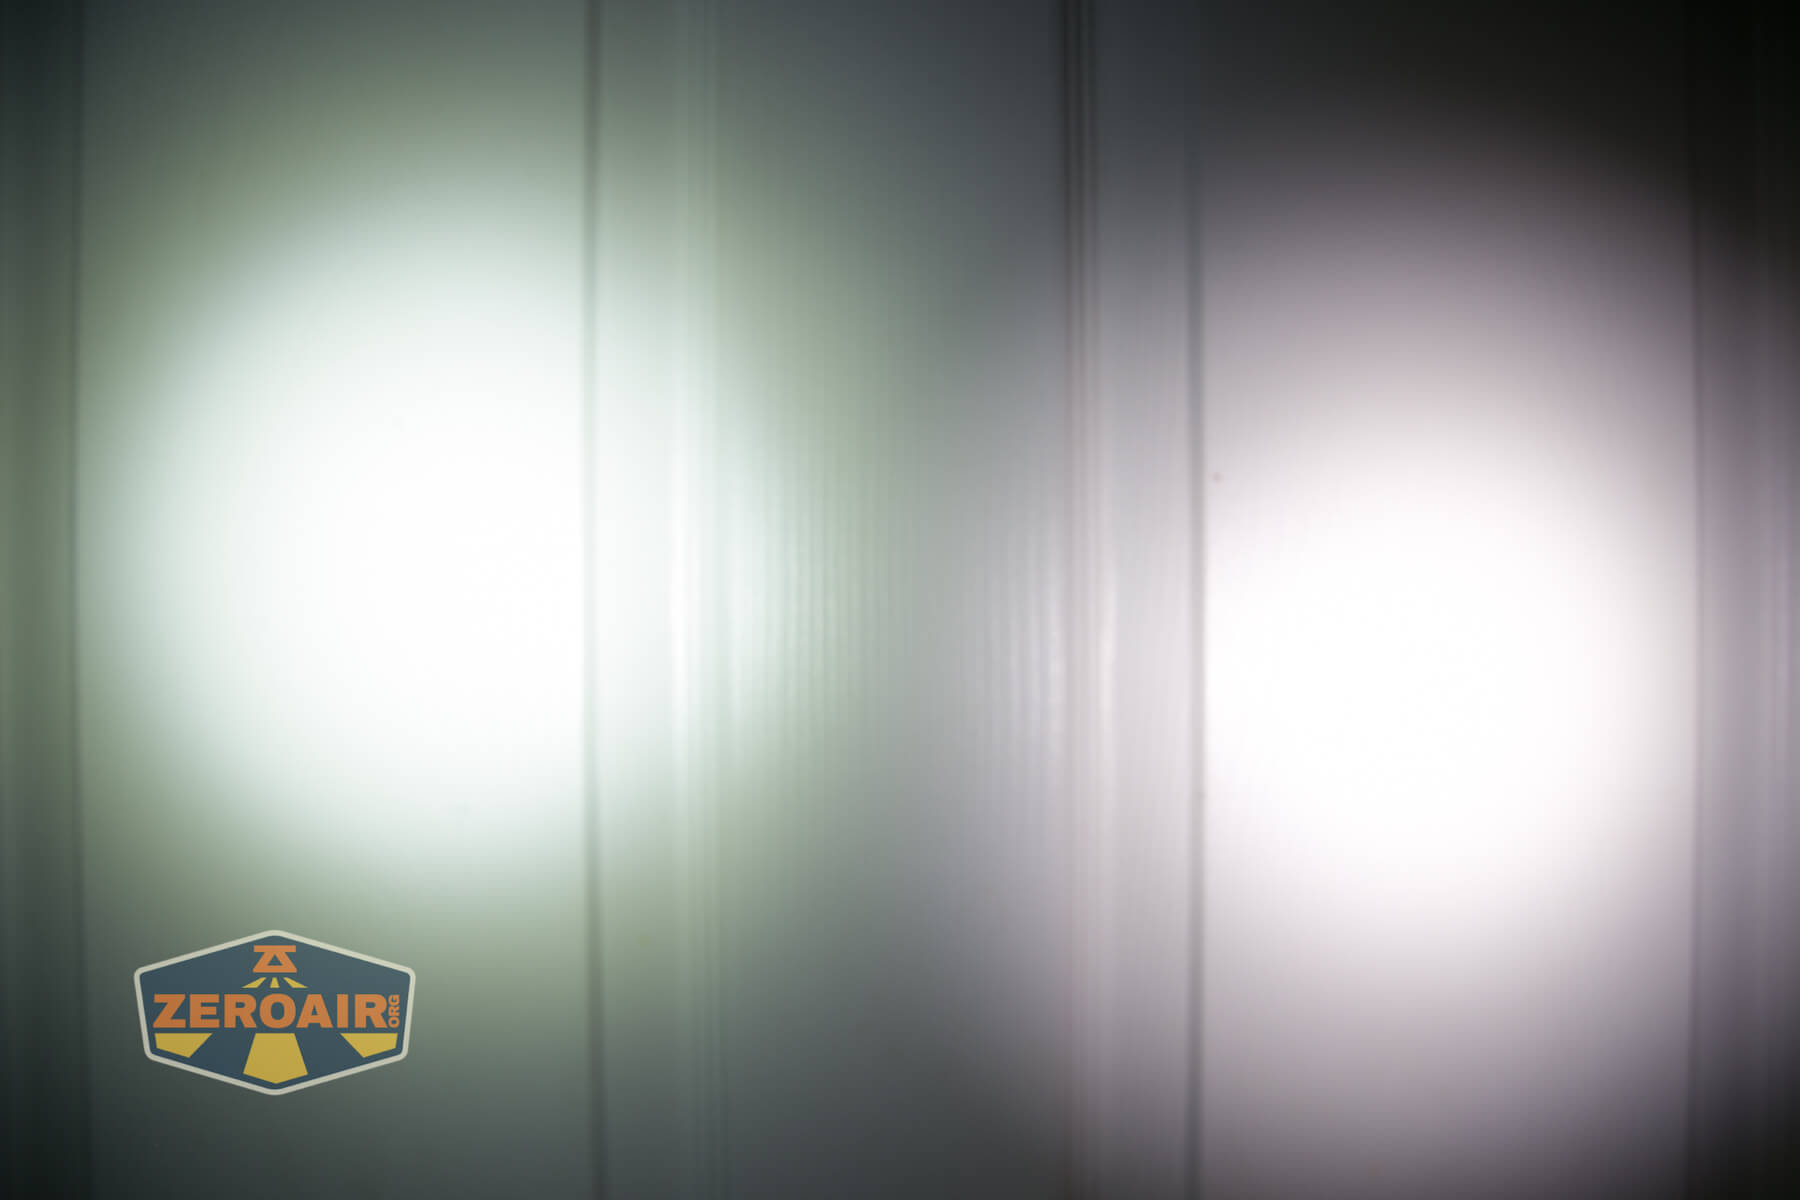
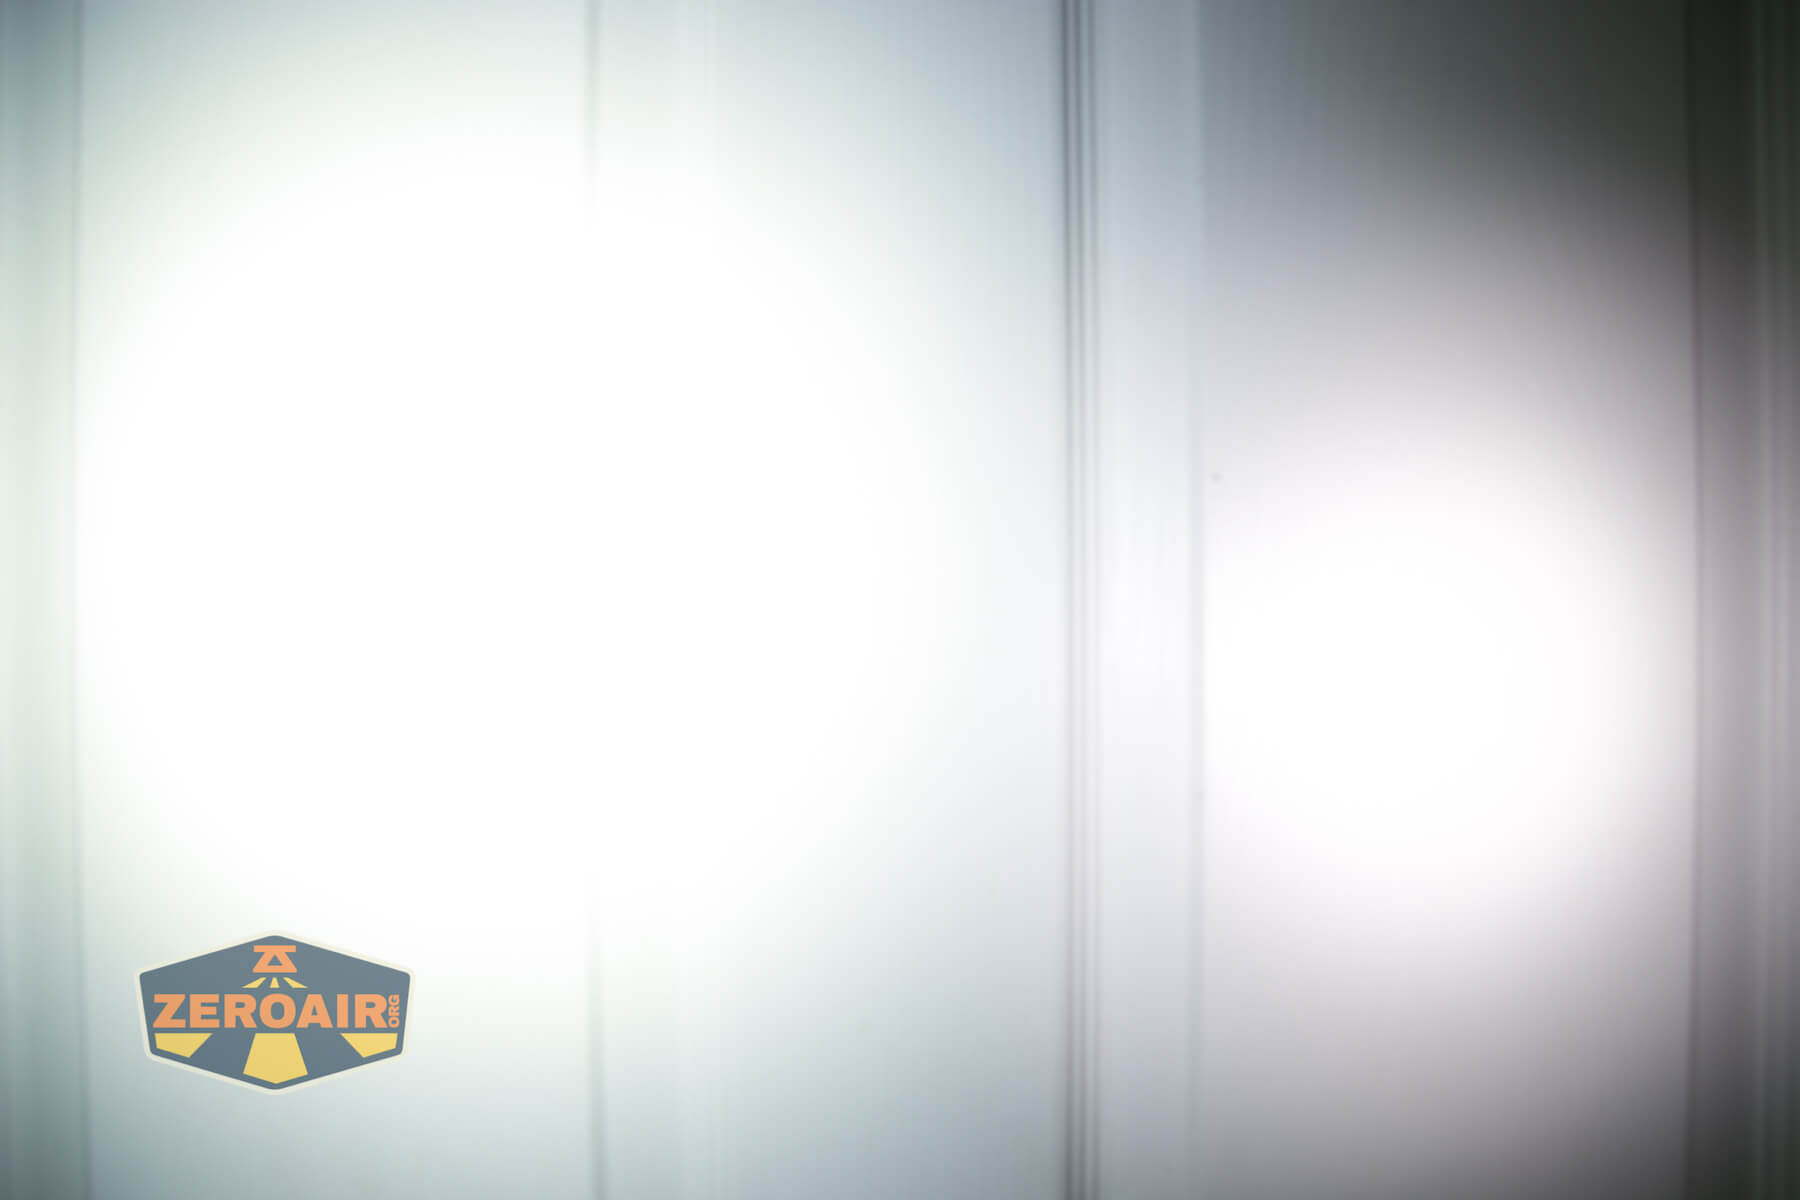


I compare everything to the KillzoneFlashlights.com 219b BLF-348 because it’s inexpensive and has the best tint!
Conclusion
What I like
- Output is just fantastic
- Levels lower than Turbo are extremely stable
- Probably possible to swap emitters on here – the bezel is not press-fit
- Charging works very well at around 2A.
- The rotary dial is great for mid-level mode changes (I would probably not use the rotary by itself, generally though)
- Nylon carry holster is both high quality
- Proximity sensor can be turned off very easily
What I don’t like
- 6000K – but at least the Olight claim is accurate here. So you should be comfortable knowing what you’re getting.
- Proprietary magnetic charging
- Proprietary customized 21700 cell
- There’s a proximity sensor
Notes
- This content originally appeared at zeroair.org. Please visit there for the best experience!
- Please use my Amazon.com referral link to help support zeroair.org!
- Please support me on Patreon! I deeply appreciate your support!
Discover more from ZeroAir Reviews
Subscribe to get the latest posts sent to your email.