
Olight Marauder 3 Flashlight Review
The Olight Marauder 3 has an industry-first capacitive unlock! It still offers massive output, very intense throw, USB-C charging, and other great new features!
Official Specs and Features
Here’s a referral link to the Olight Marauder 3 product page.
Versions
There’s really just one version of the Marauder 3, in the sense that all the body colors have the same emitters. There are three body colors, though – Blue, Black, and Orange (seen here).
Price
The Olight Marauder 3 is available now (through this referral link) for $369.99.
What’s Included
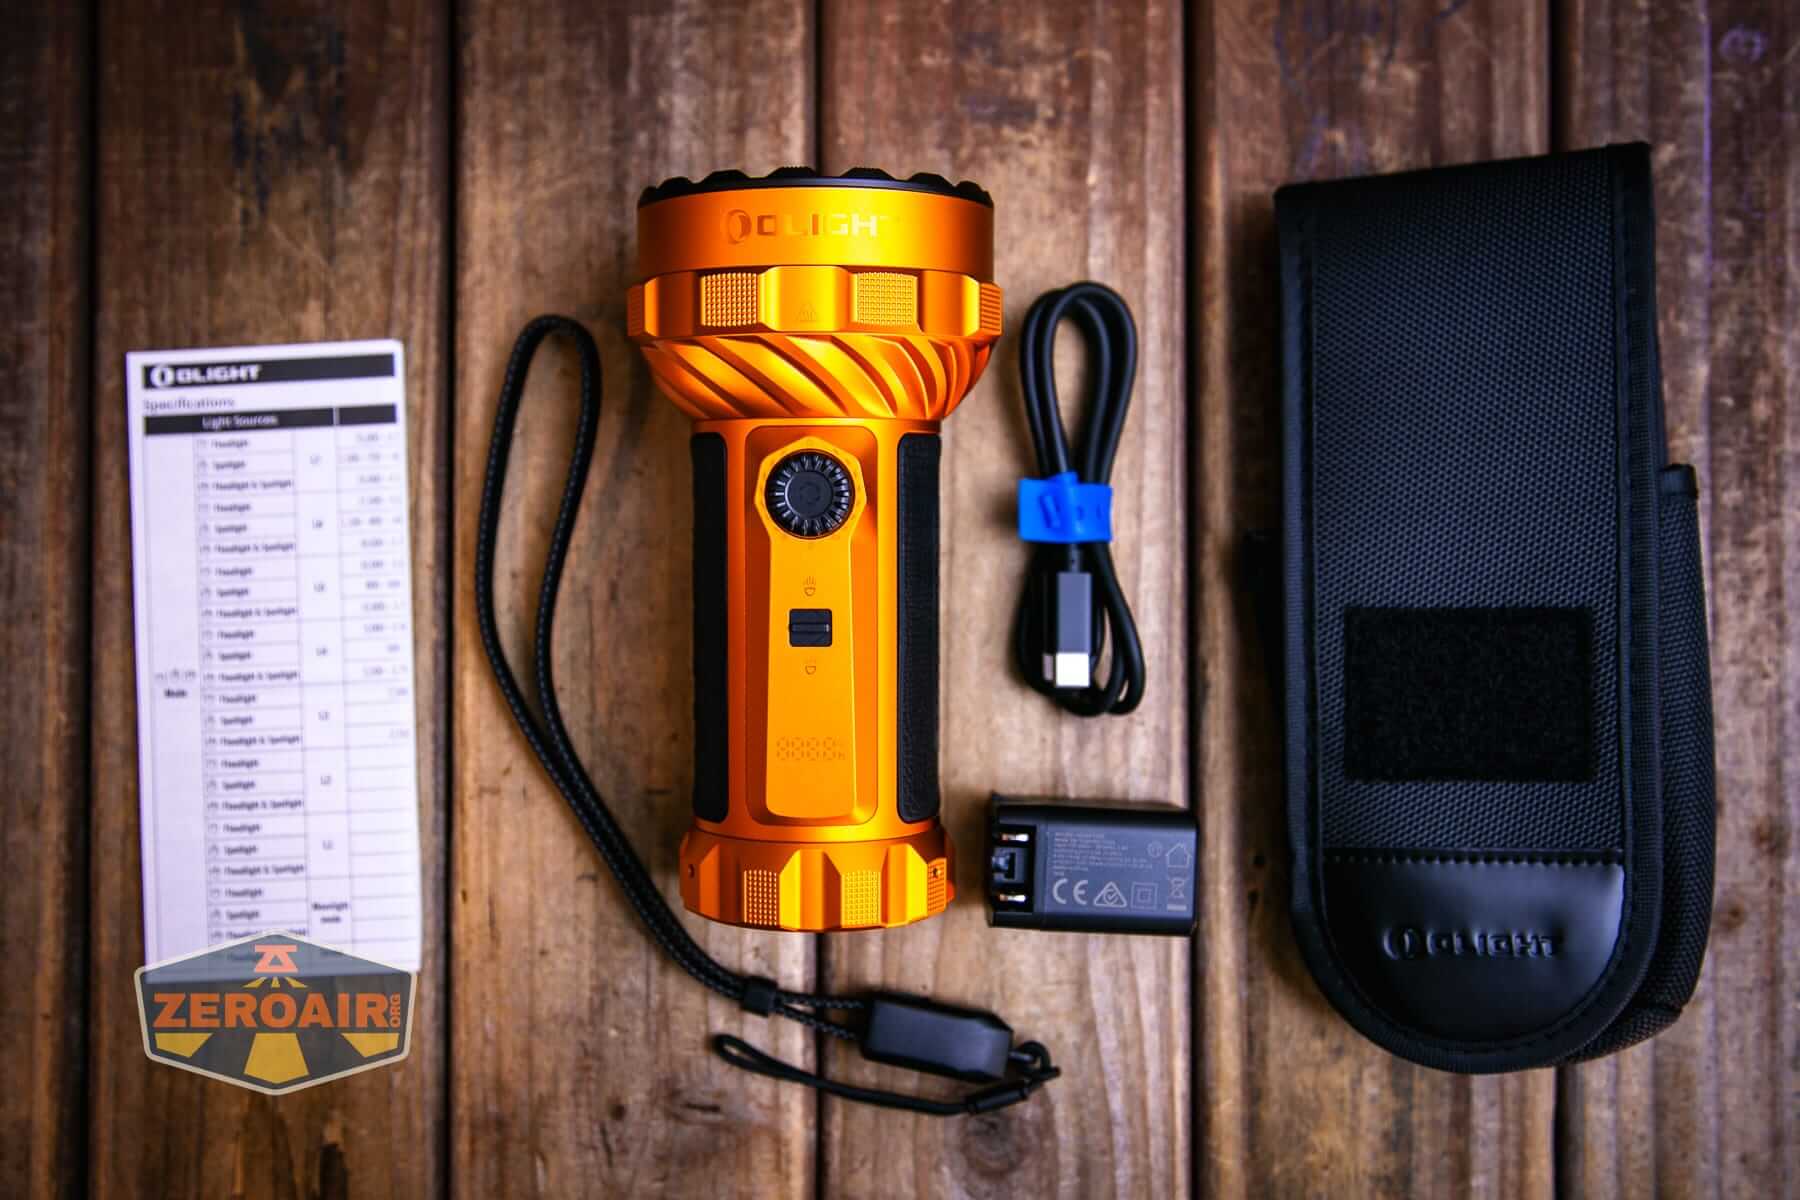
- Olight Marauder 3
- Charge cable (USB-C to USB-C)
- Lanyard (charging cable)
- Wall wart
- Holster
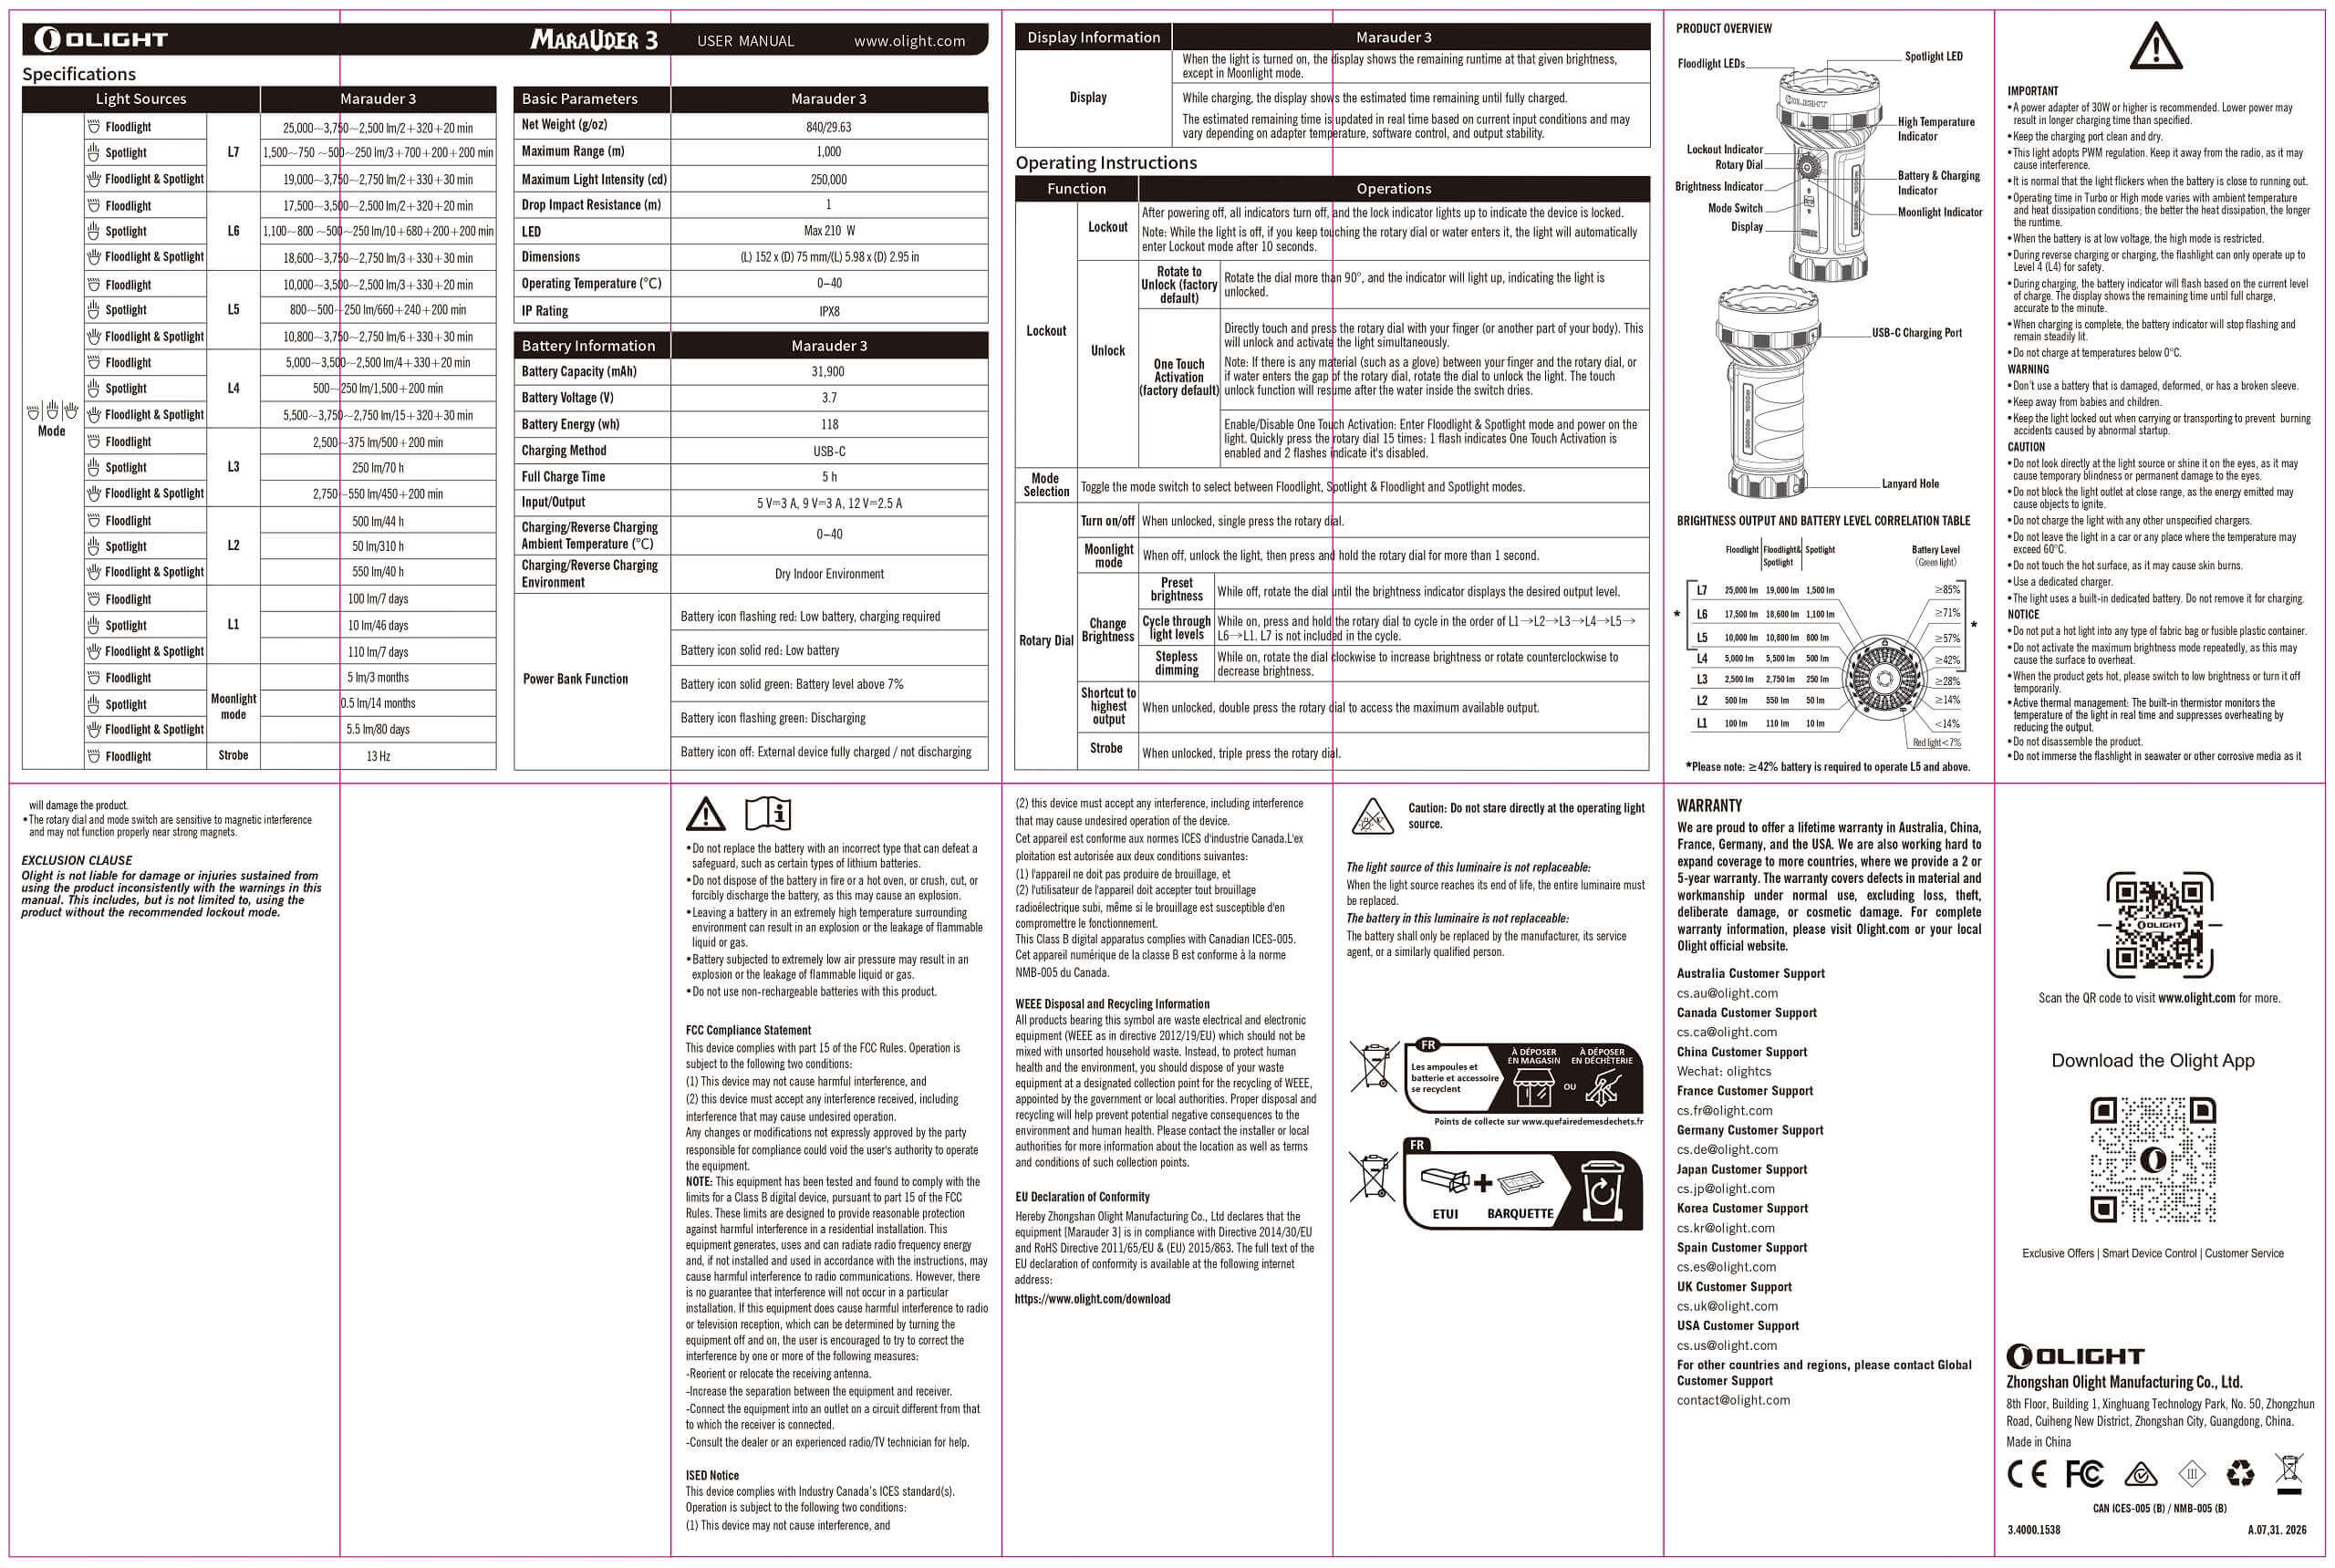
- Manual
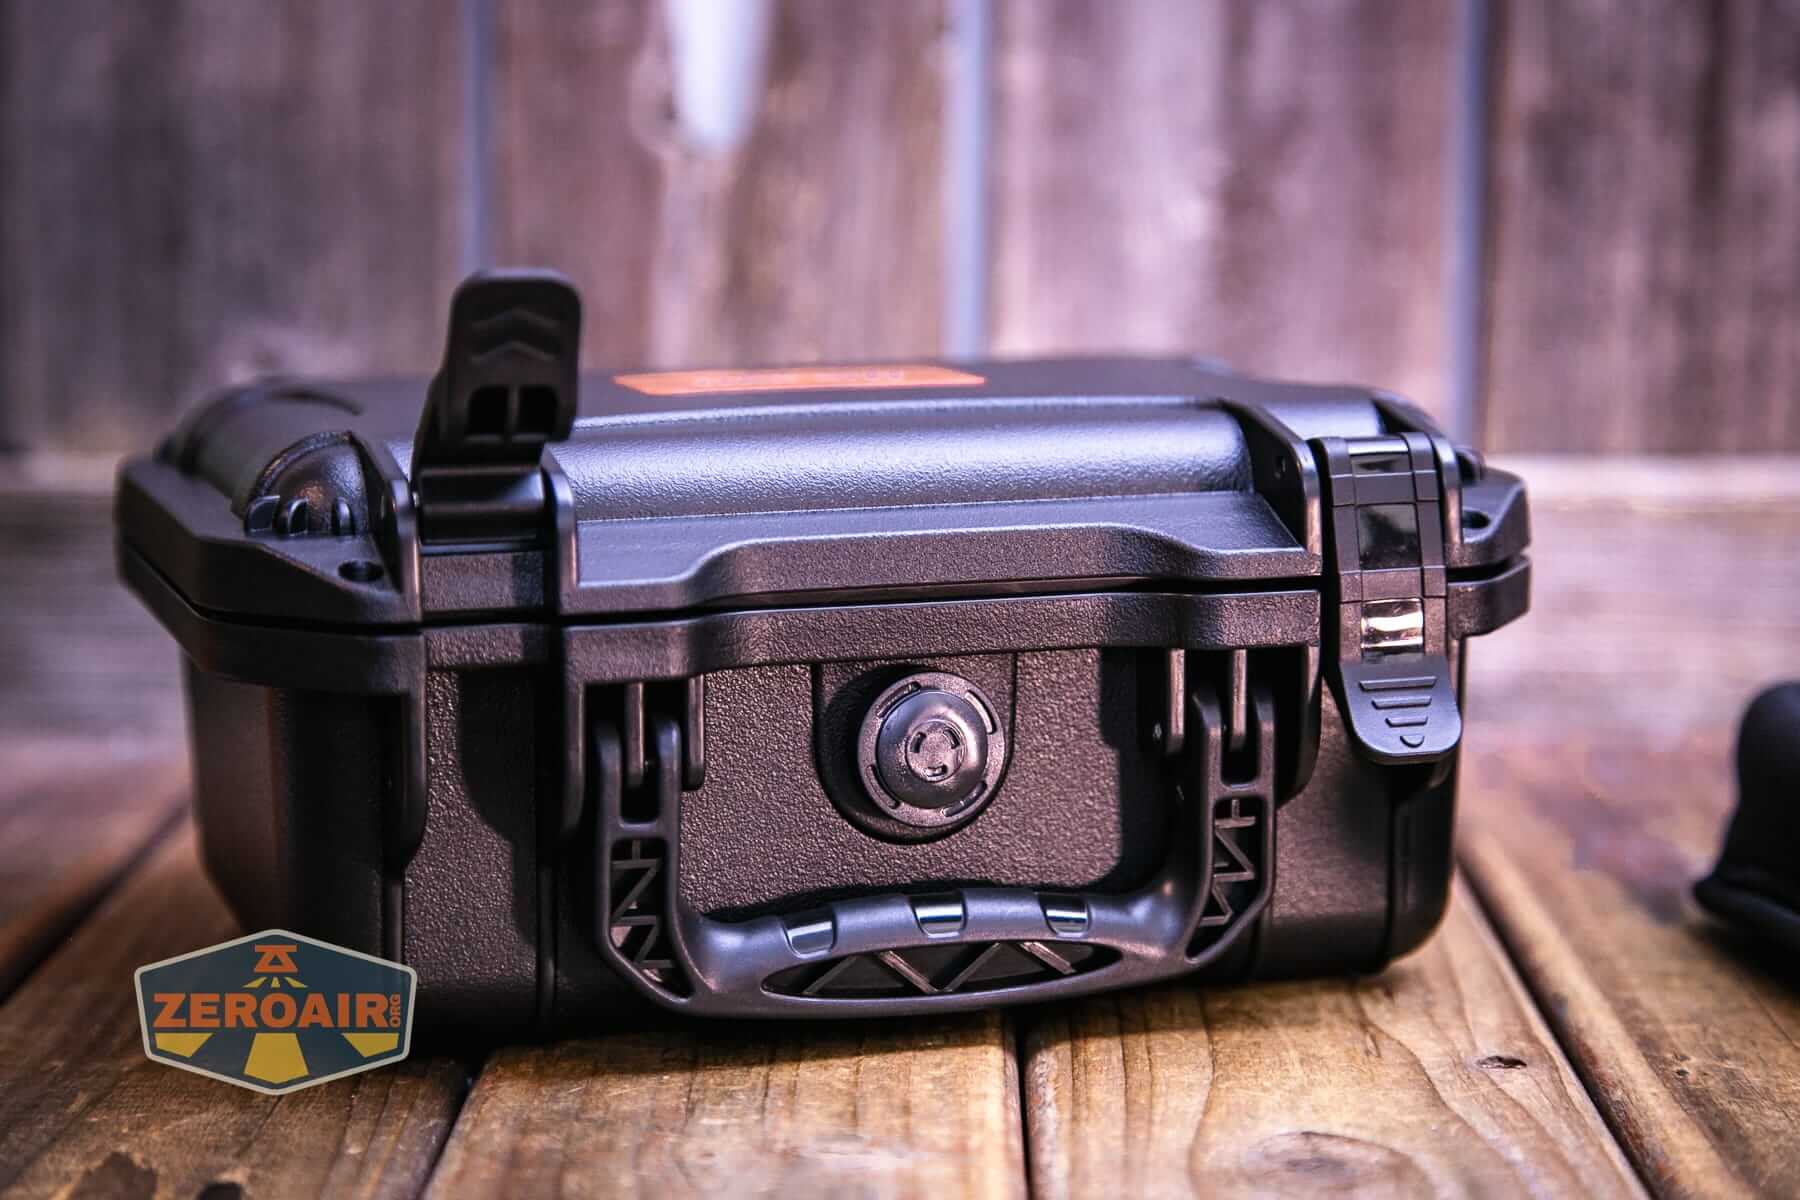
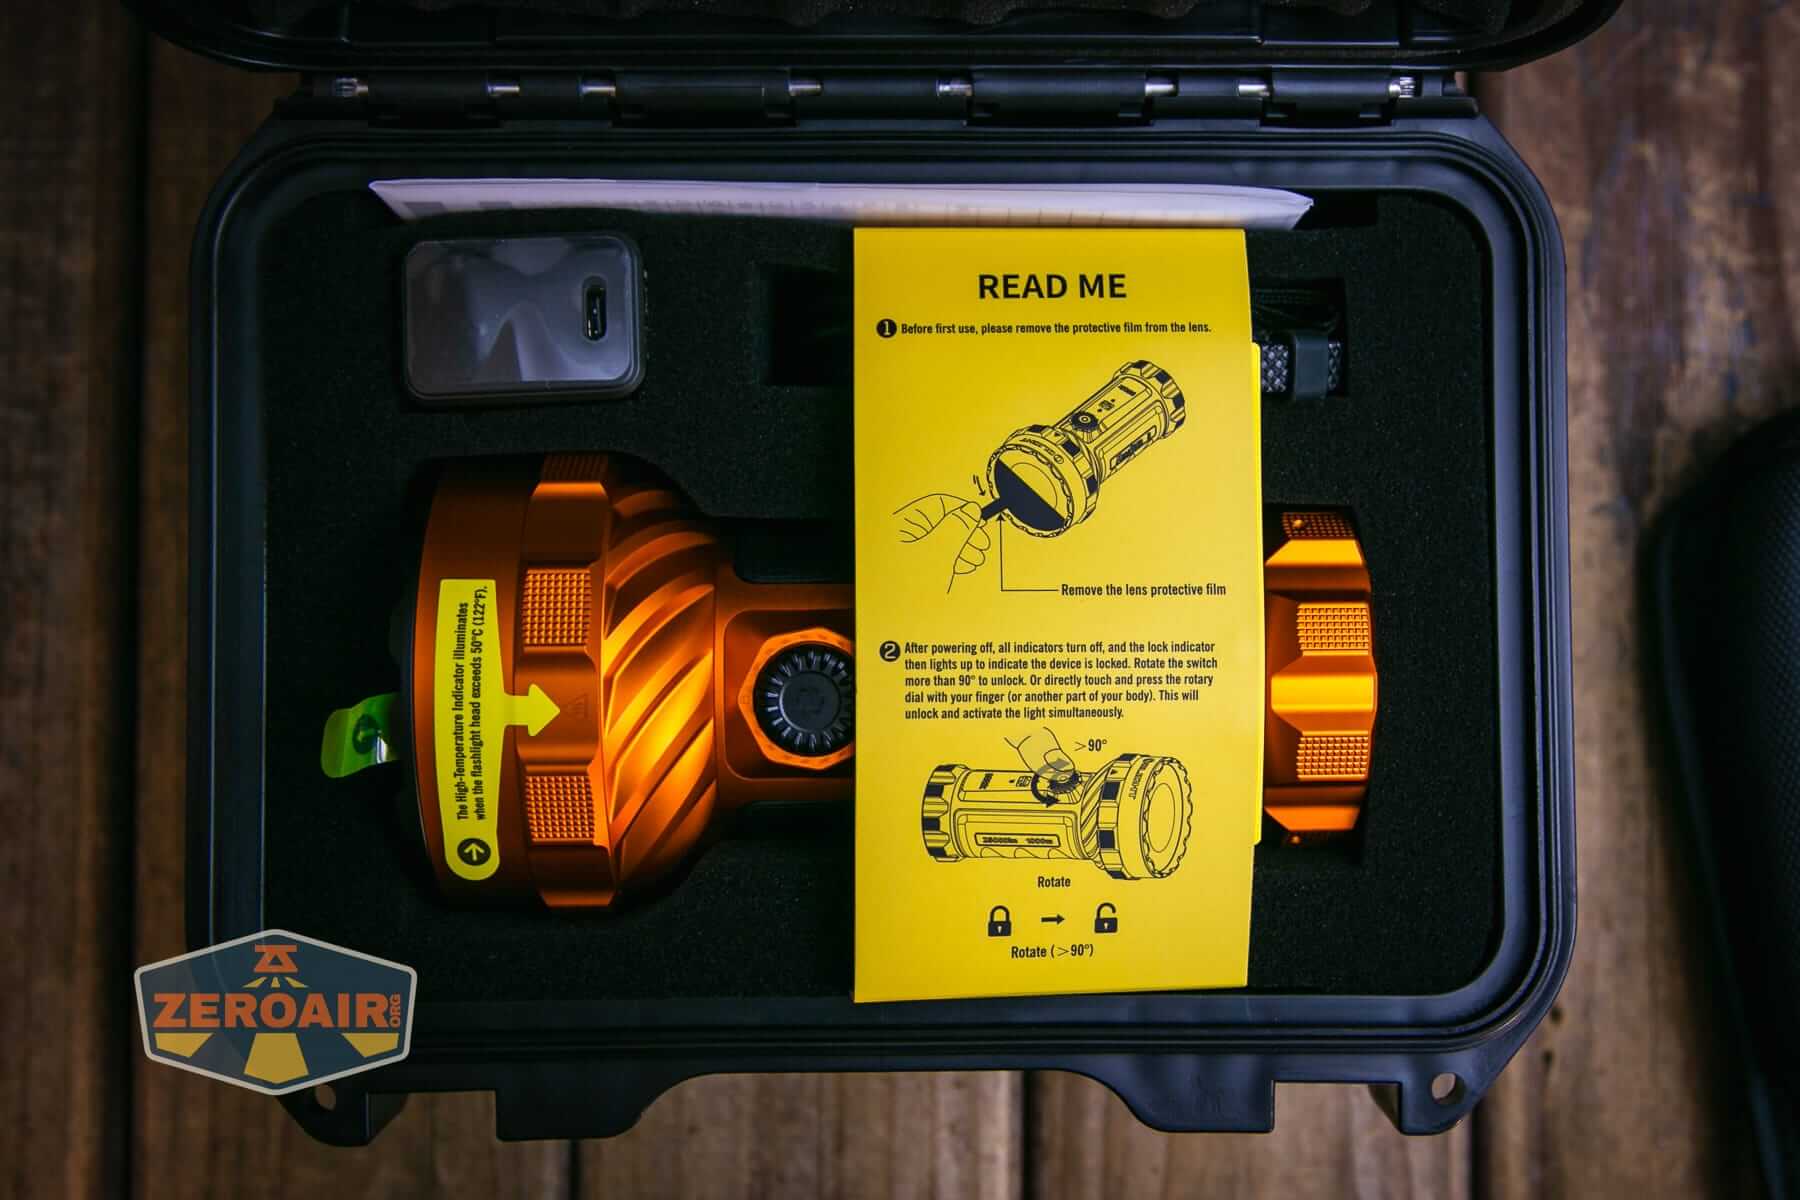
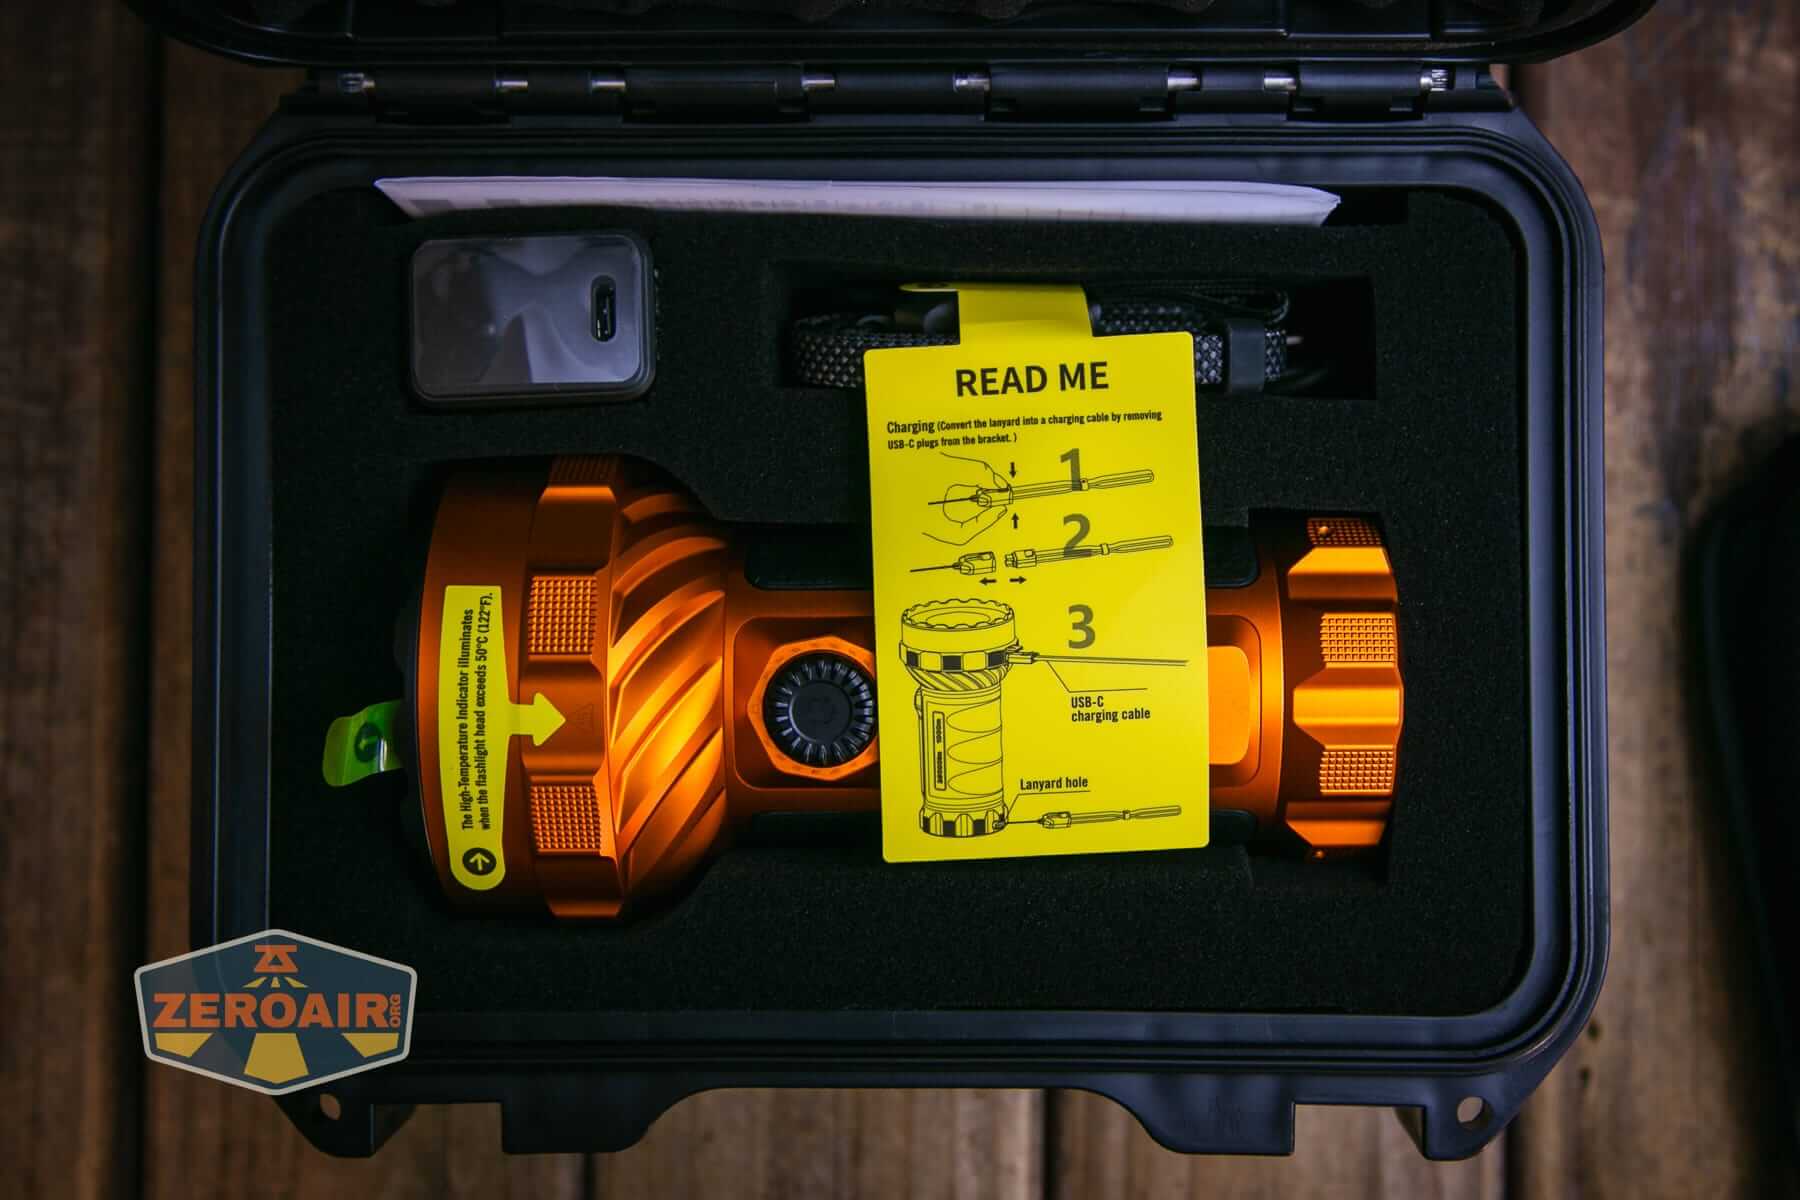
Package and Manual
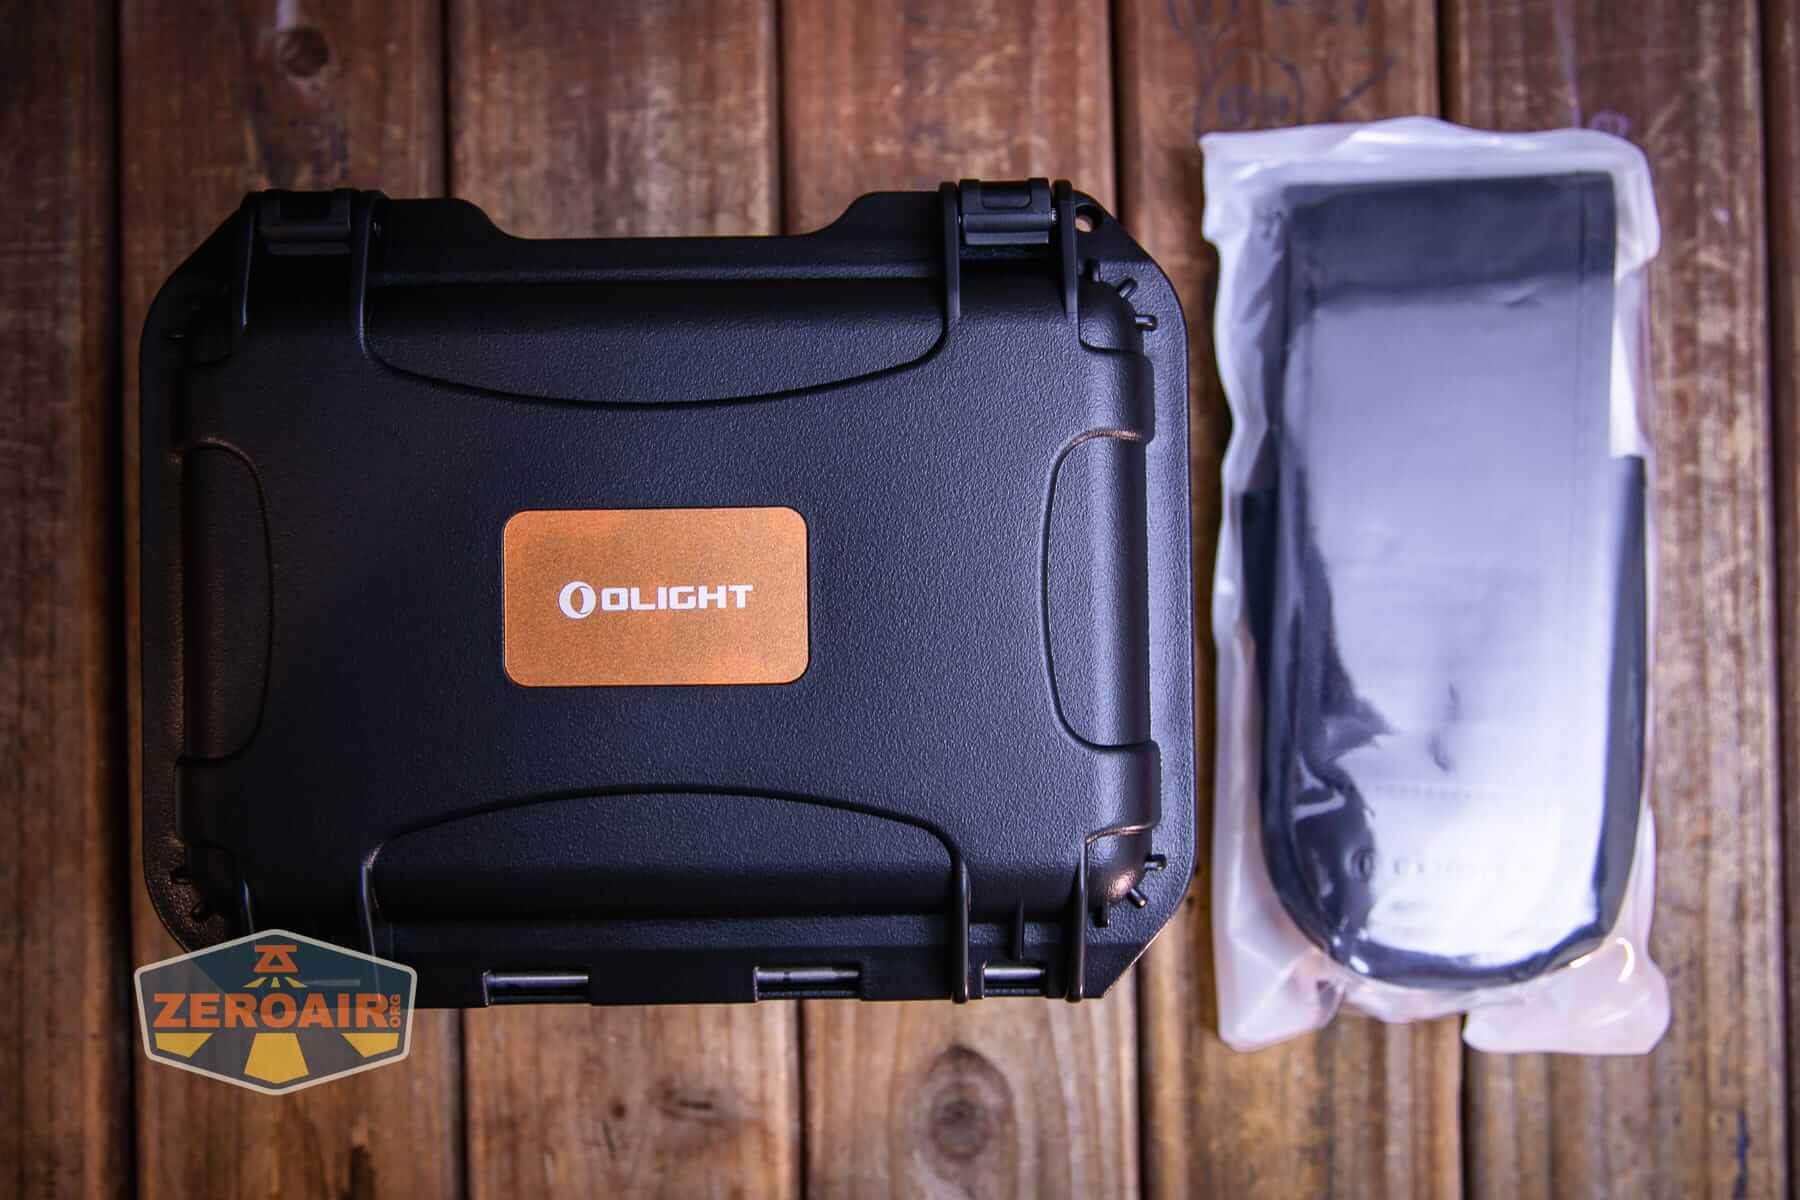
The holster ships in a separate package!
Build Quality and Disassembly
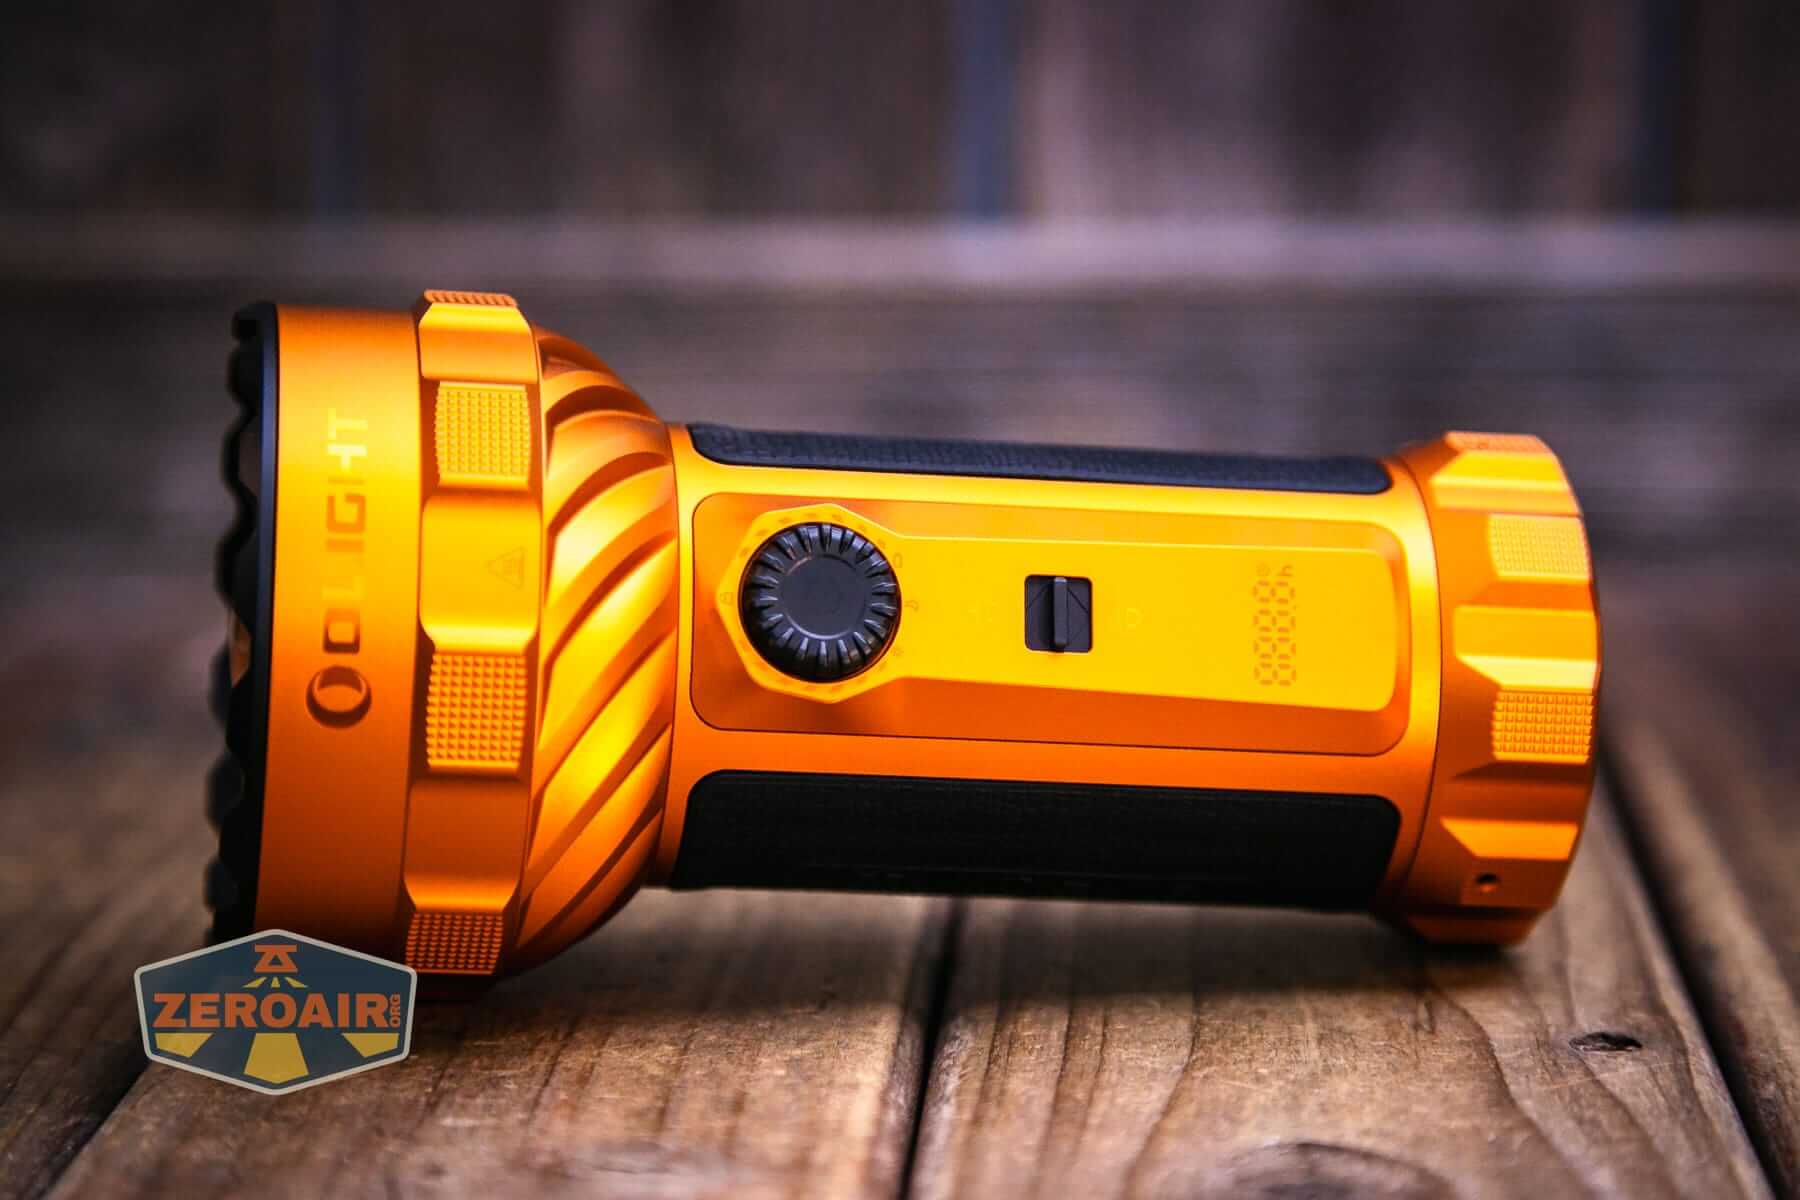
The Olight Marauder 3 is like the “2” in so many ways. It’s still a hefty little chunk of a light! The weight makes it feel like a high-quality item.
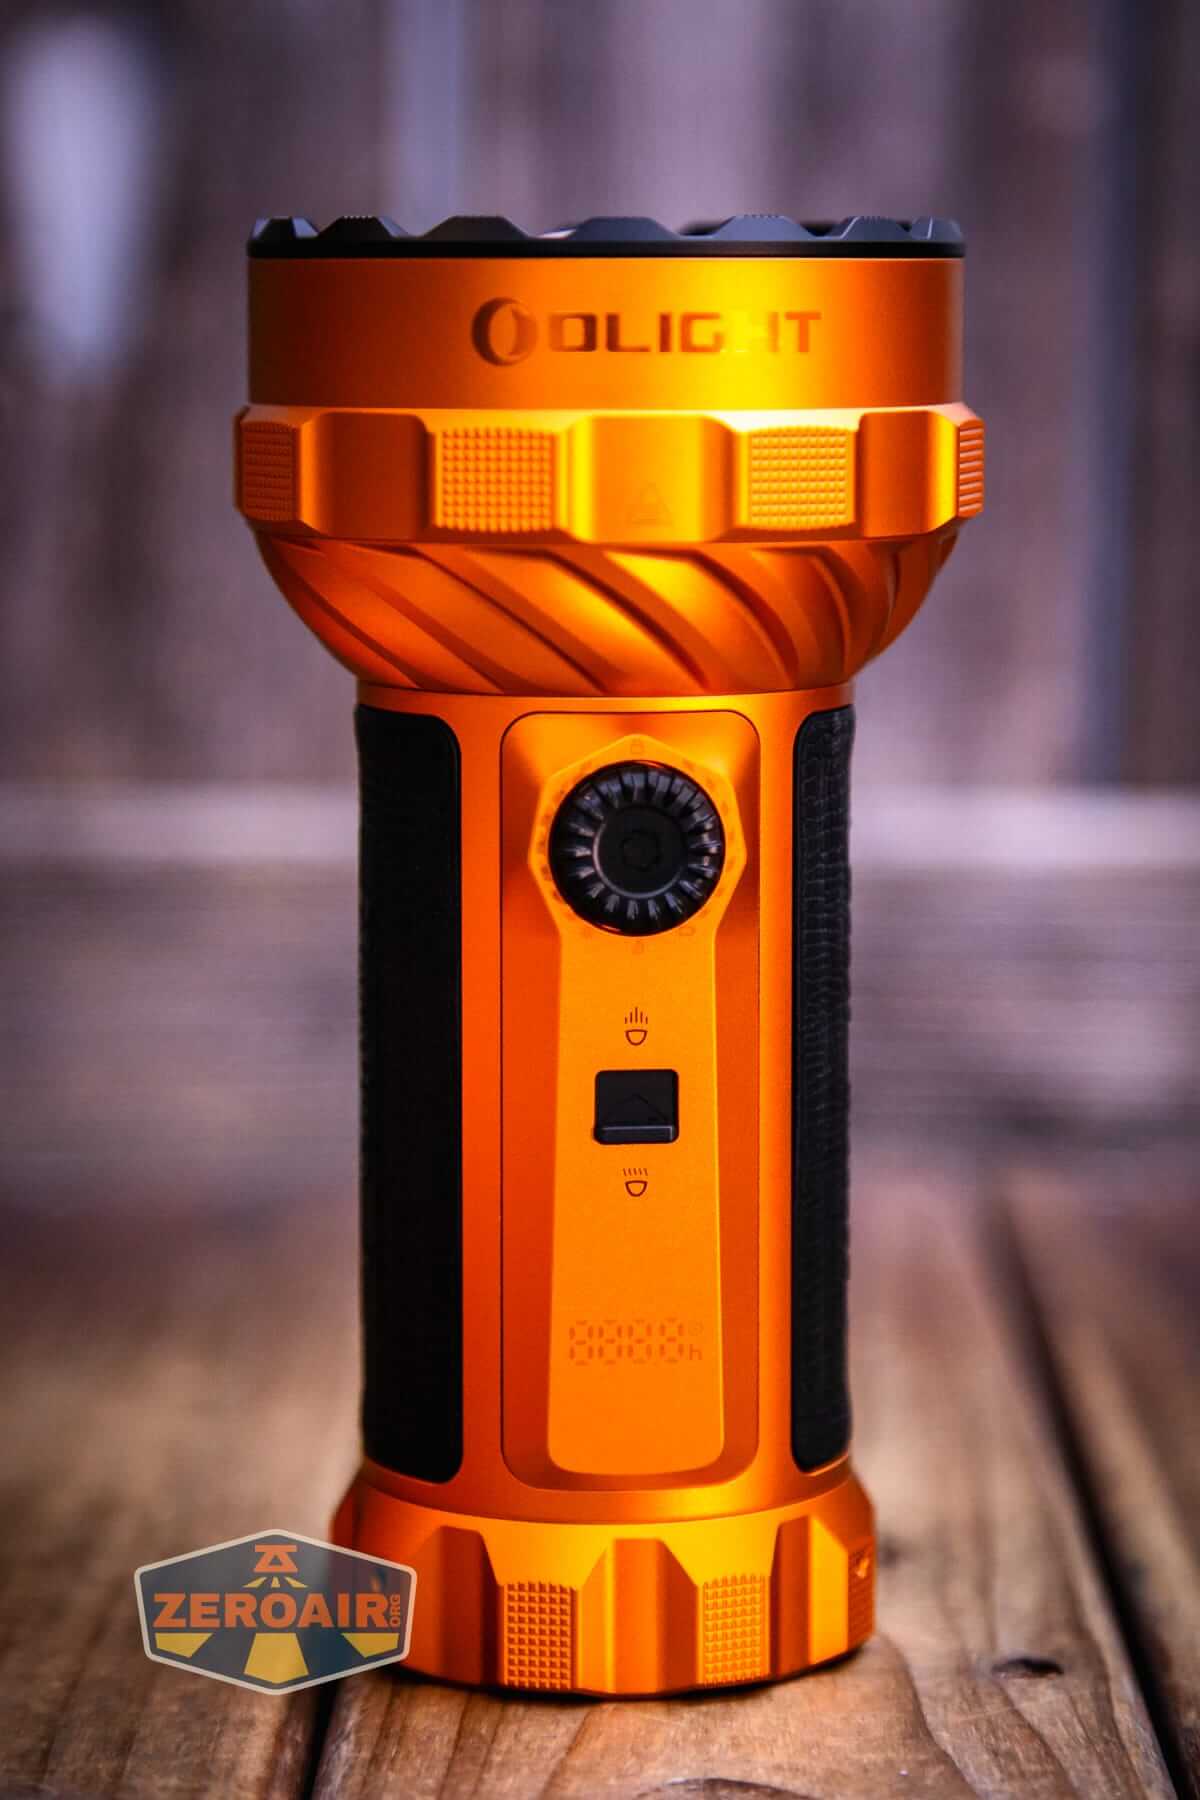
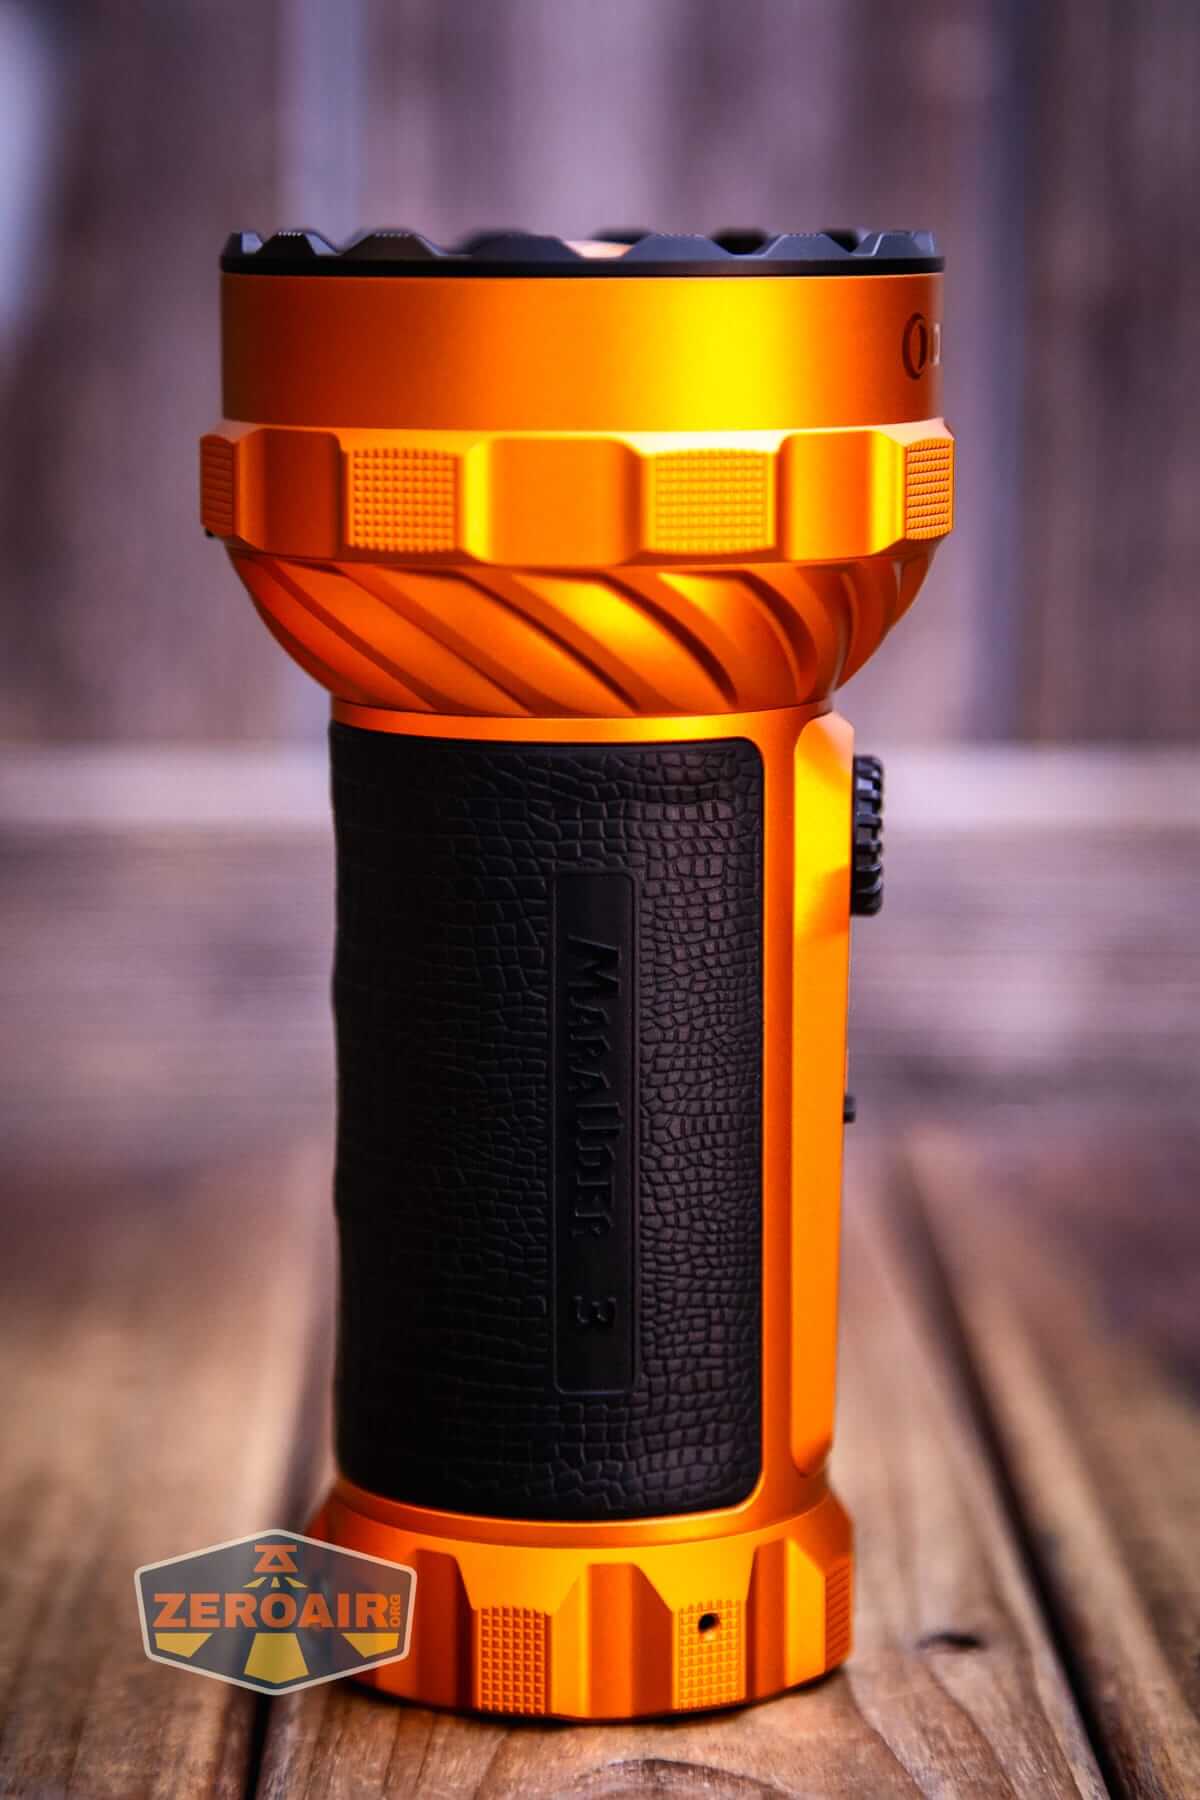
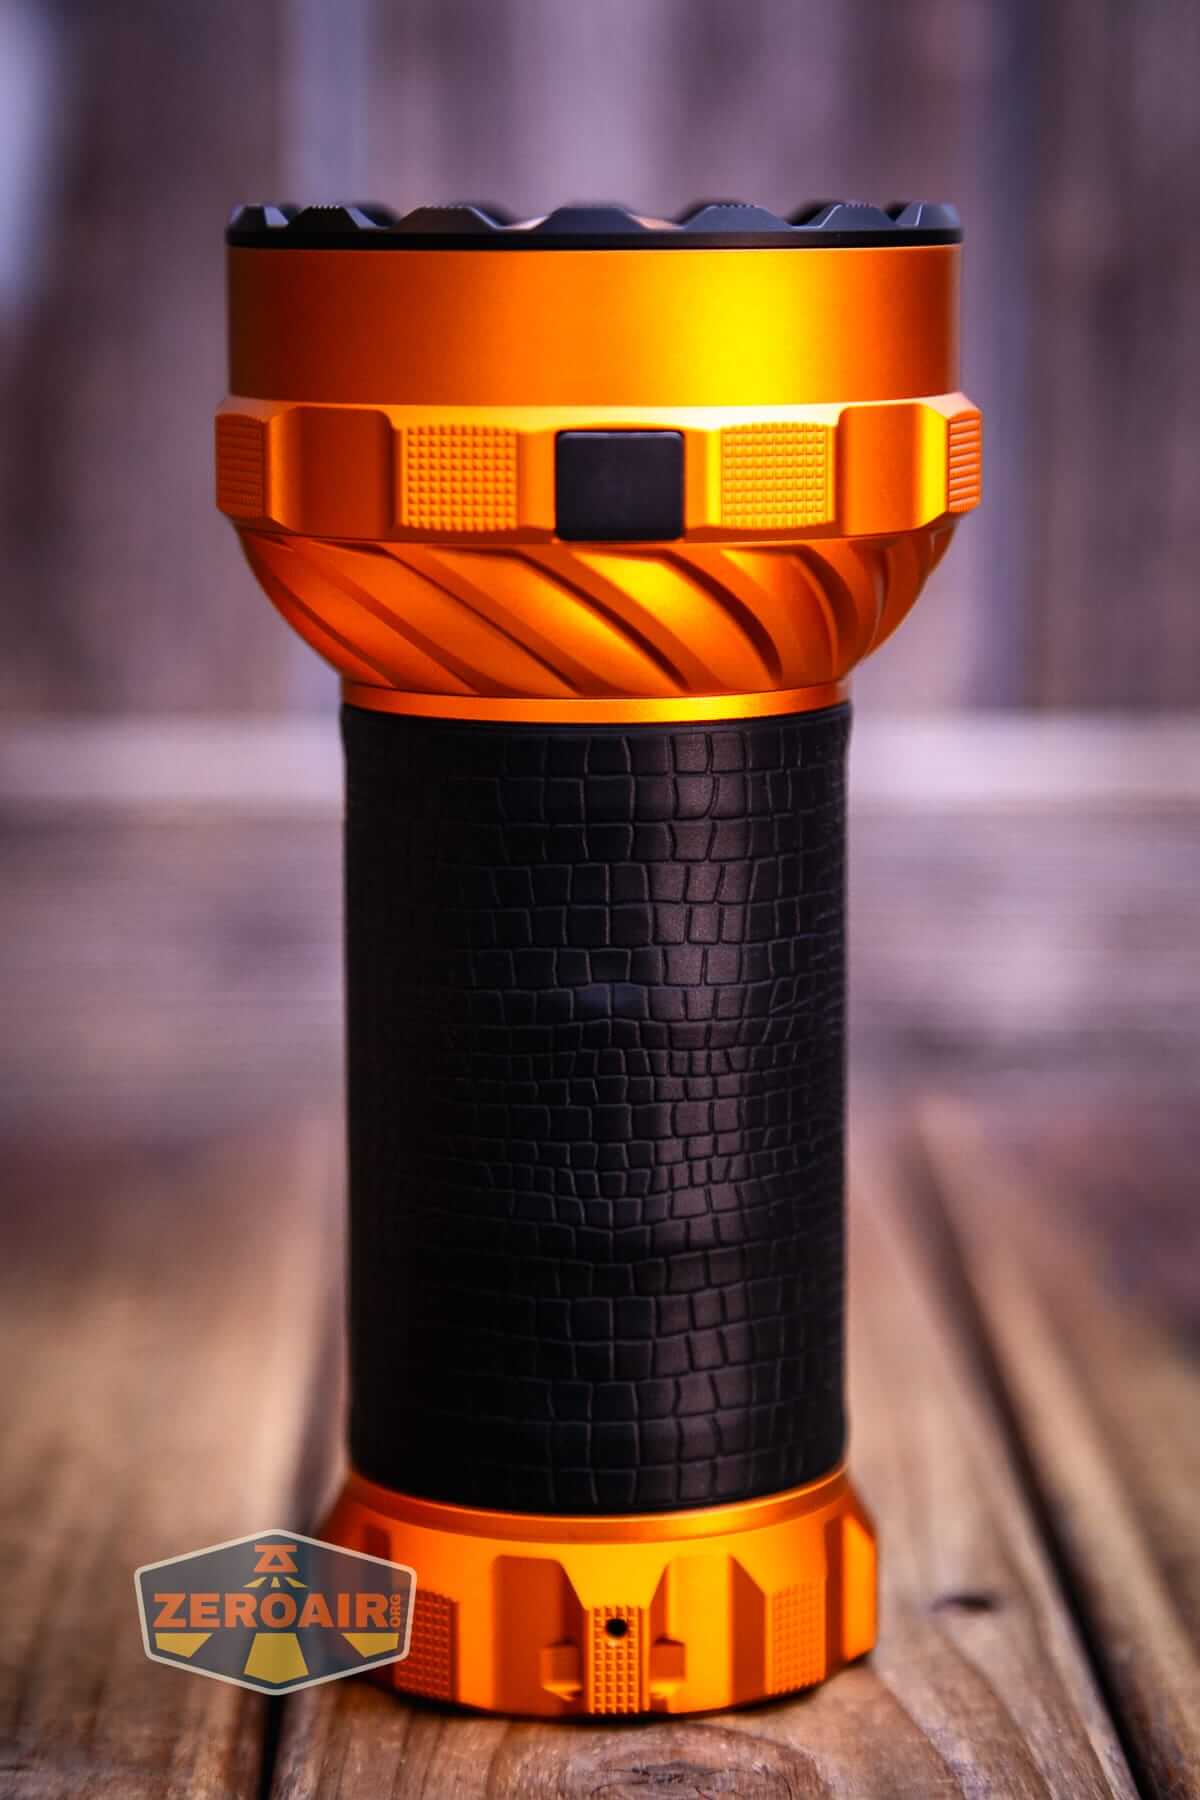
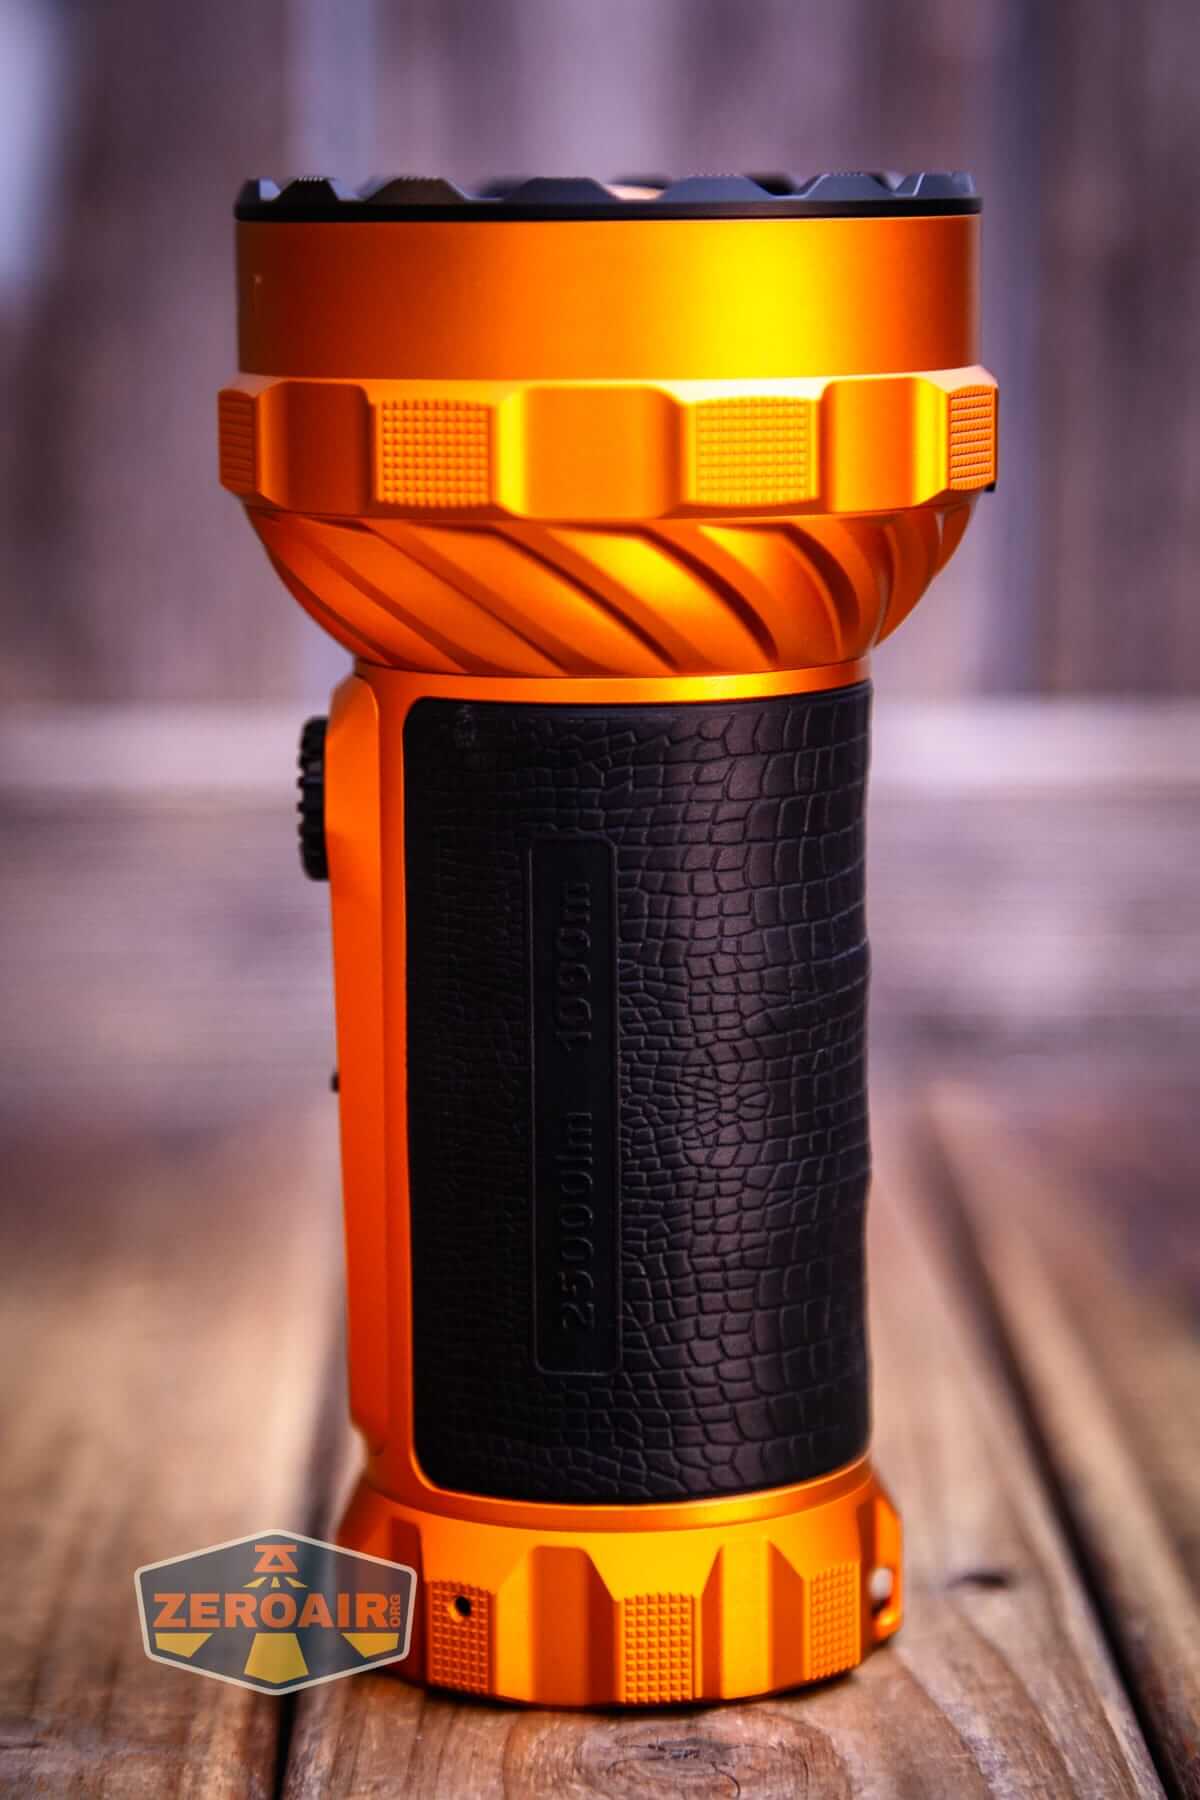
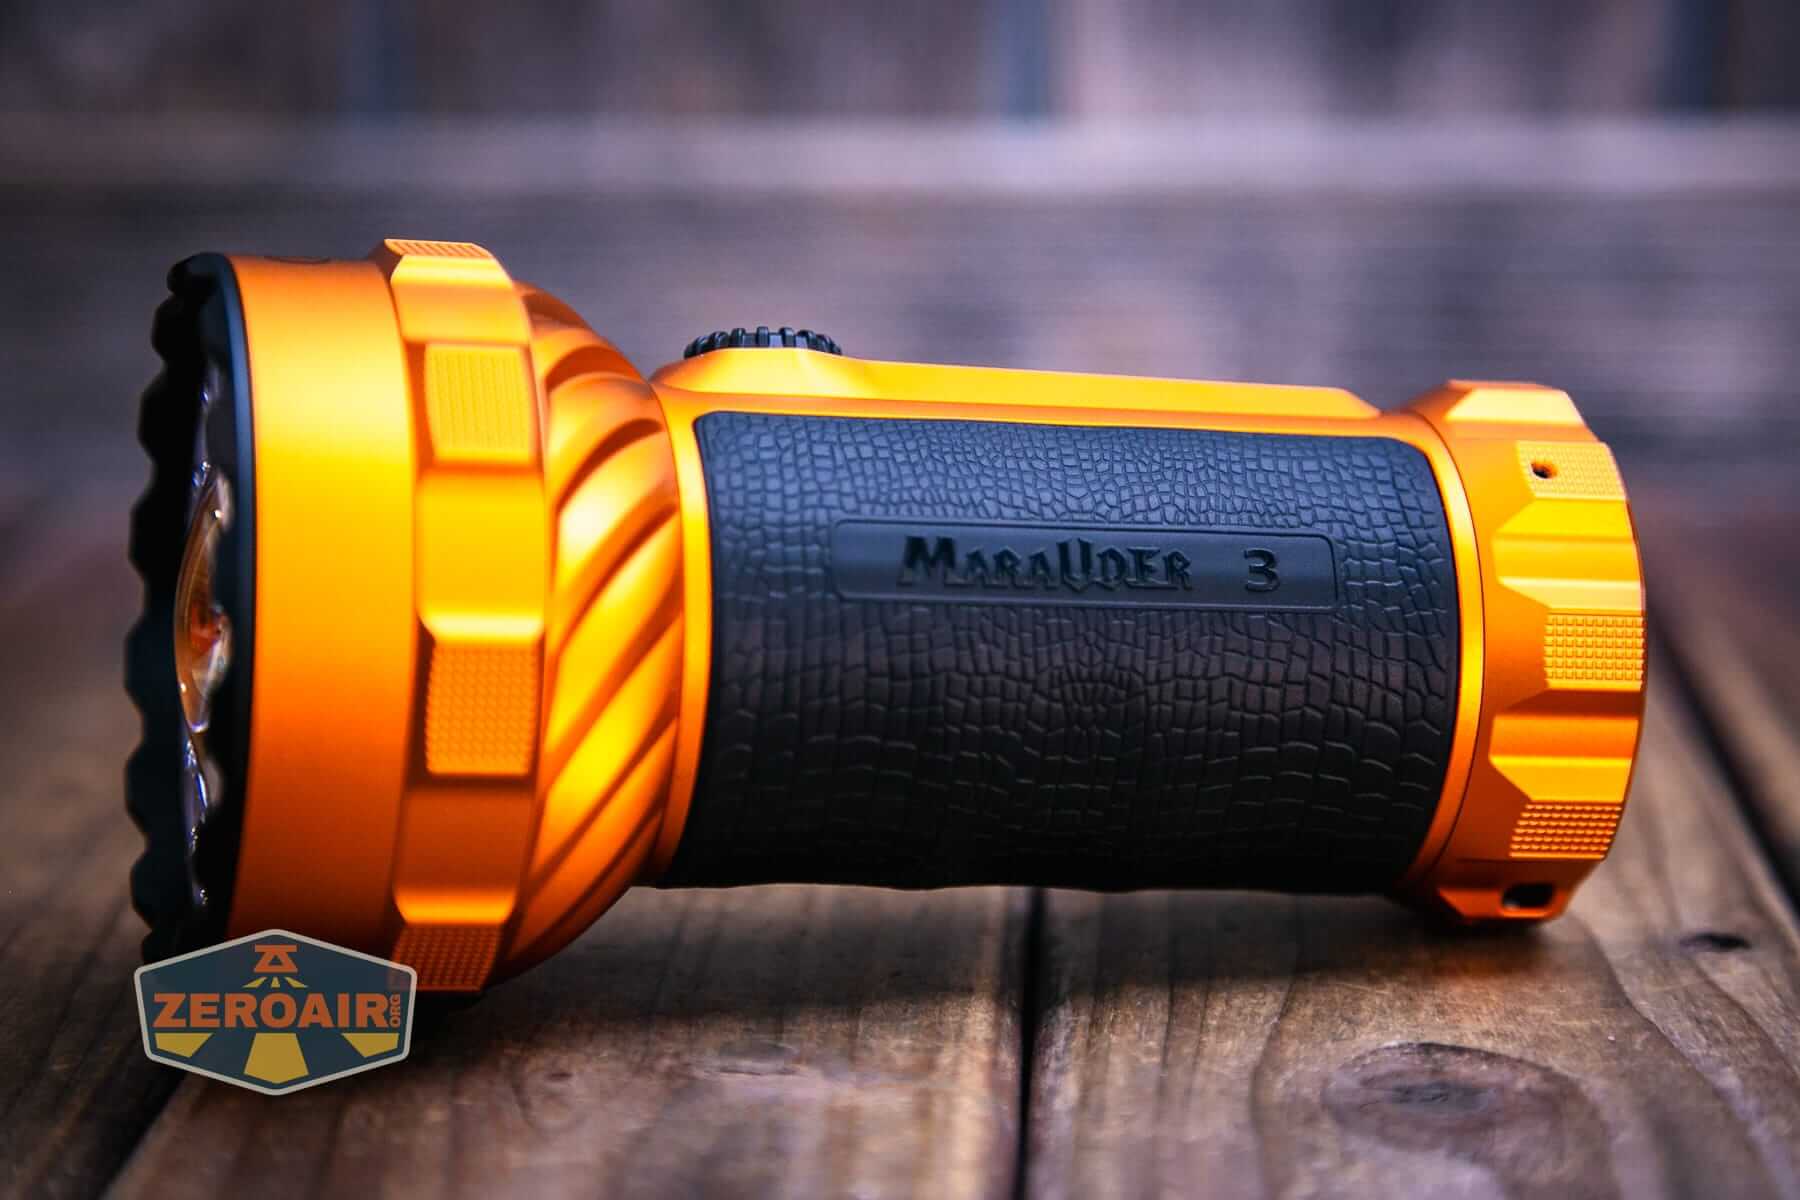
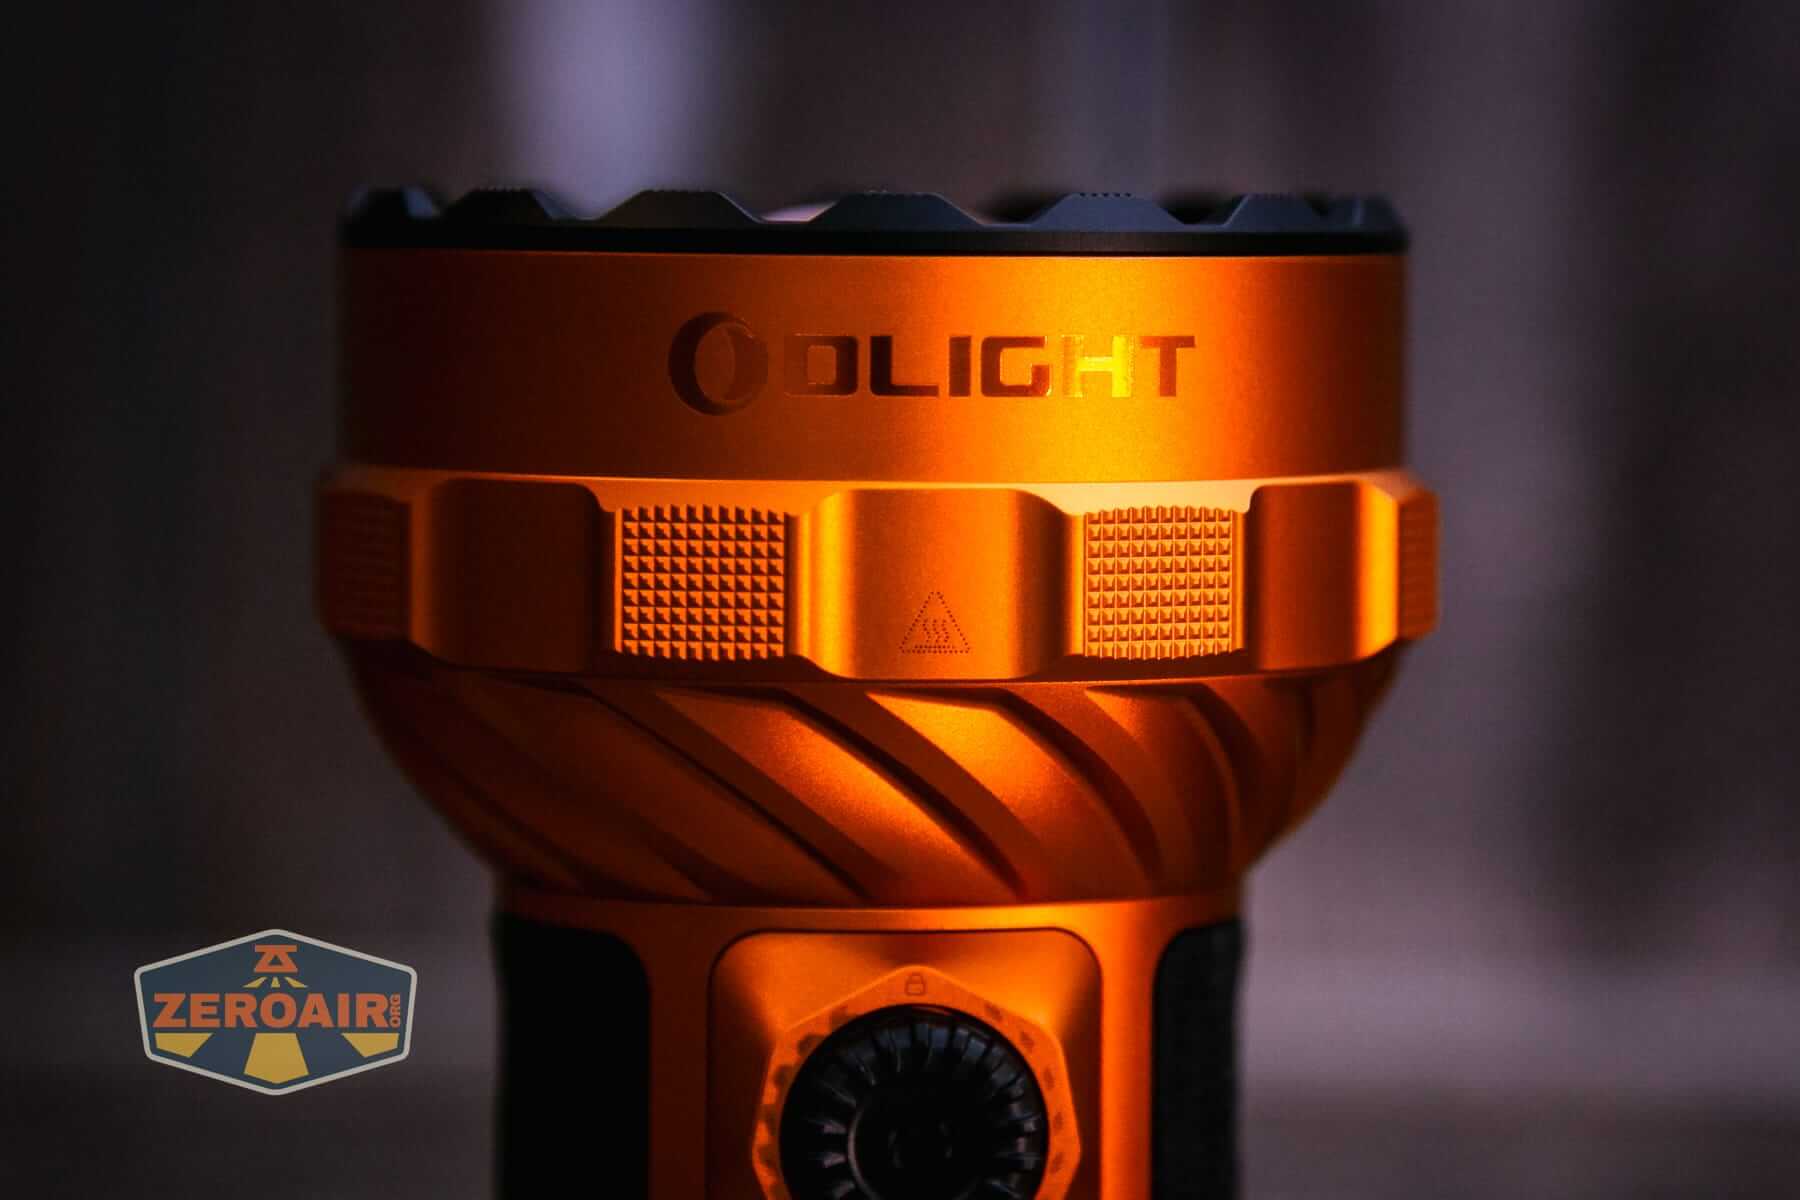
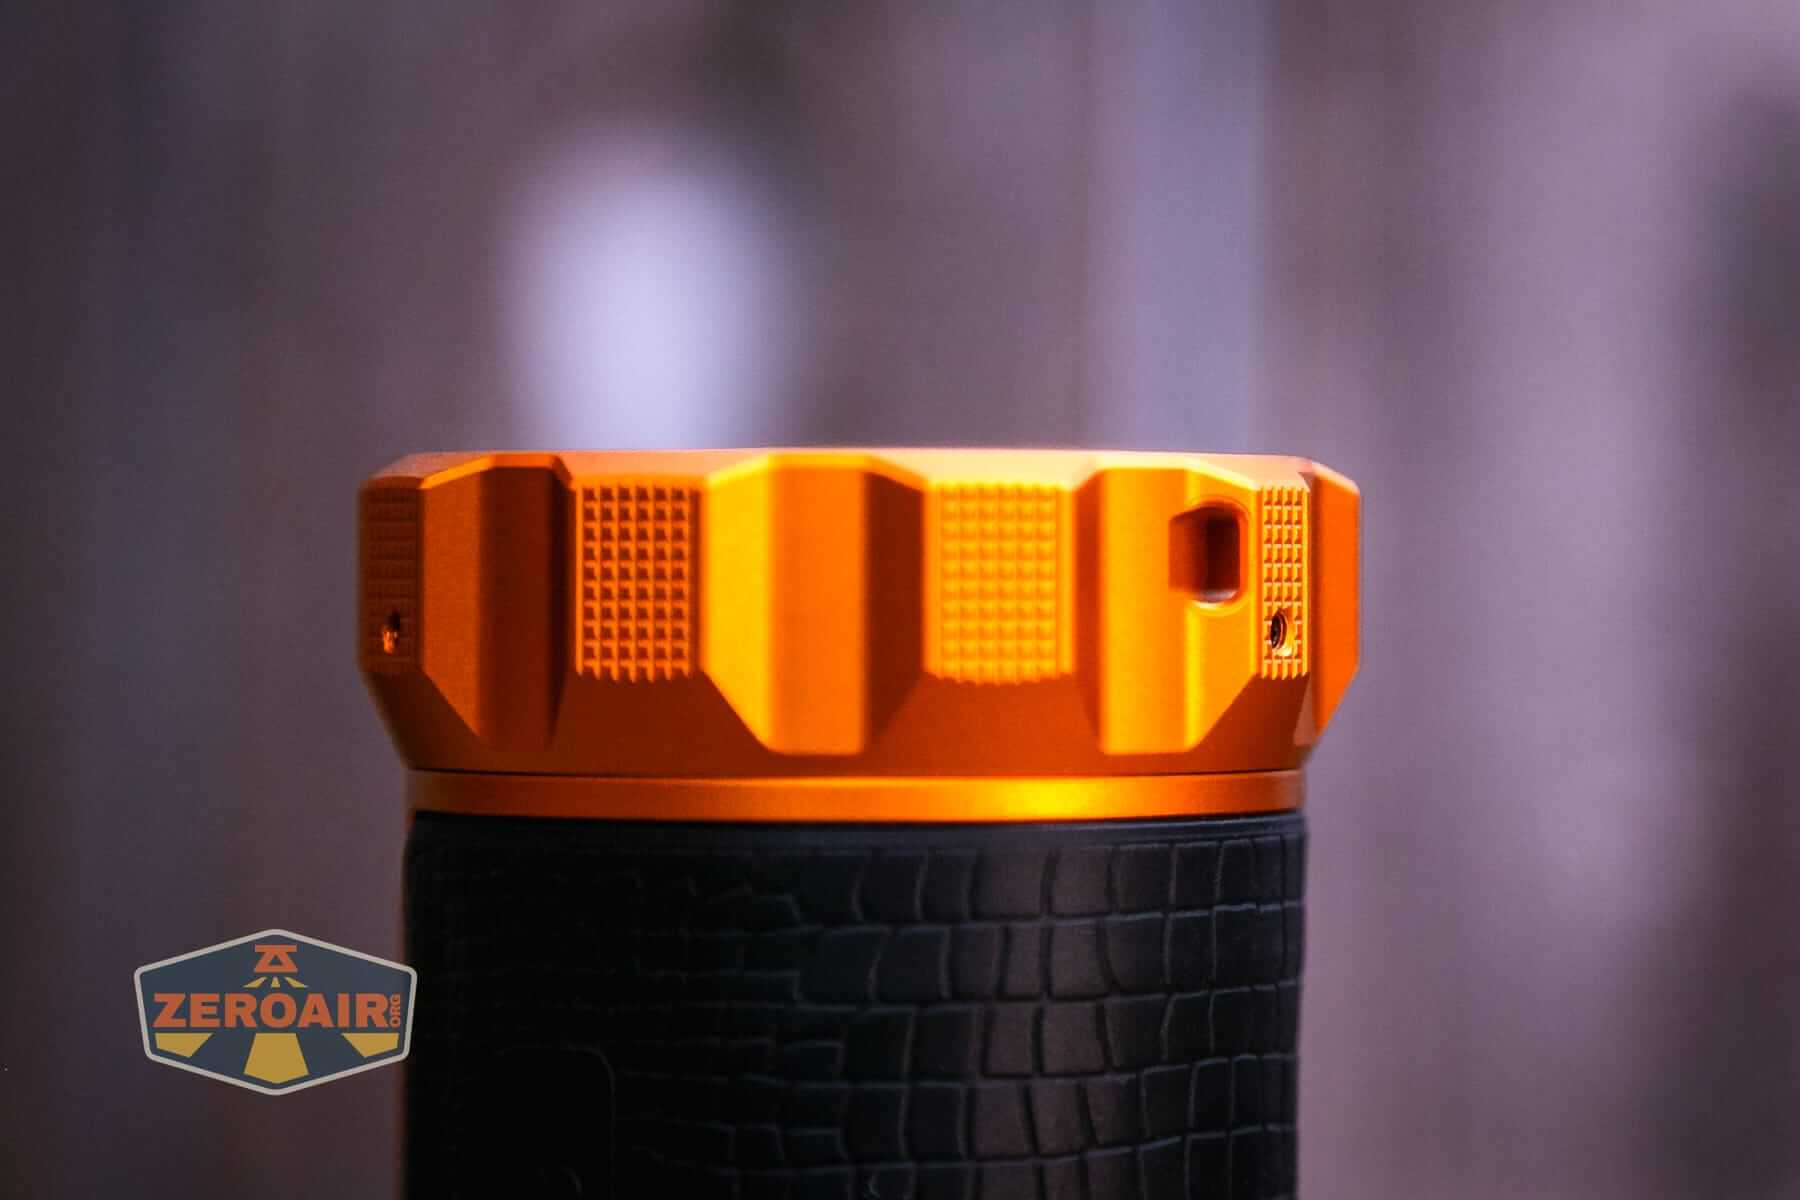
Atop the Olight Marauder 3 is a strike bezel (unchanged from the previous version). The grip area is also largely unchanged, and provides grip not through means of knurling, but by a soft grip area.
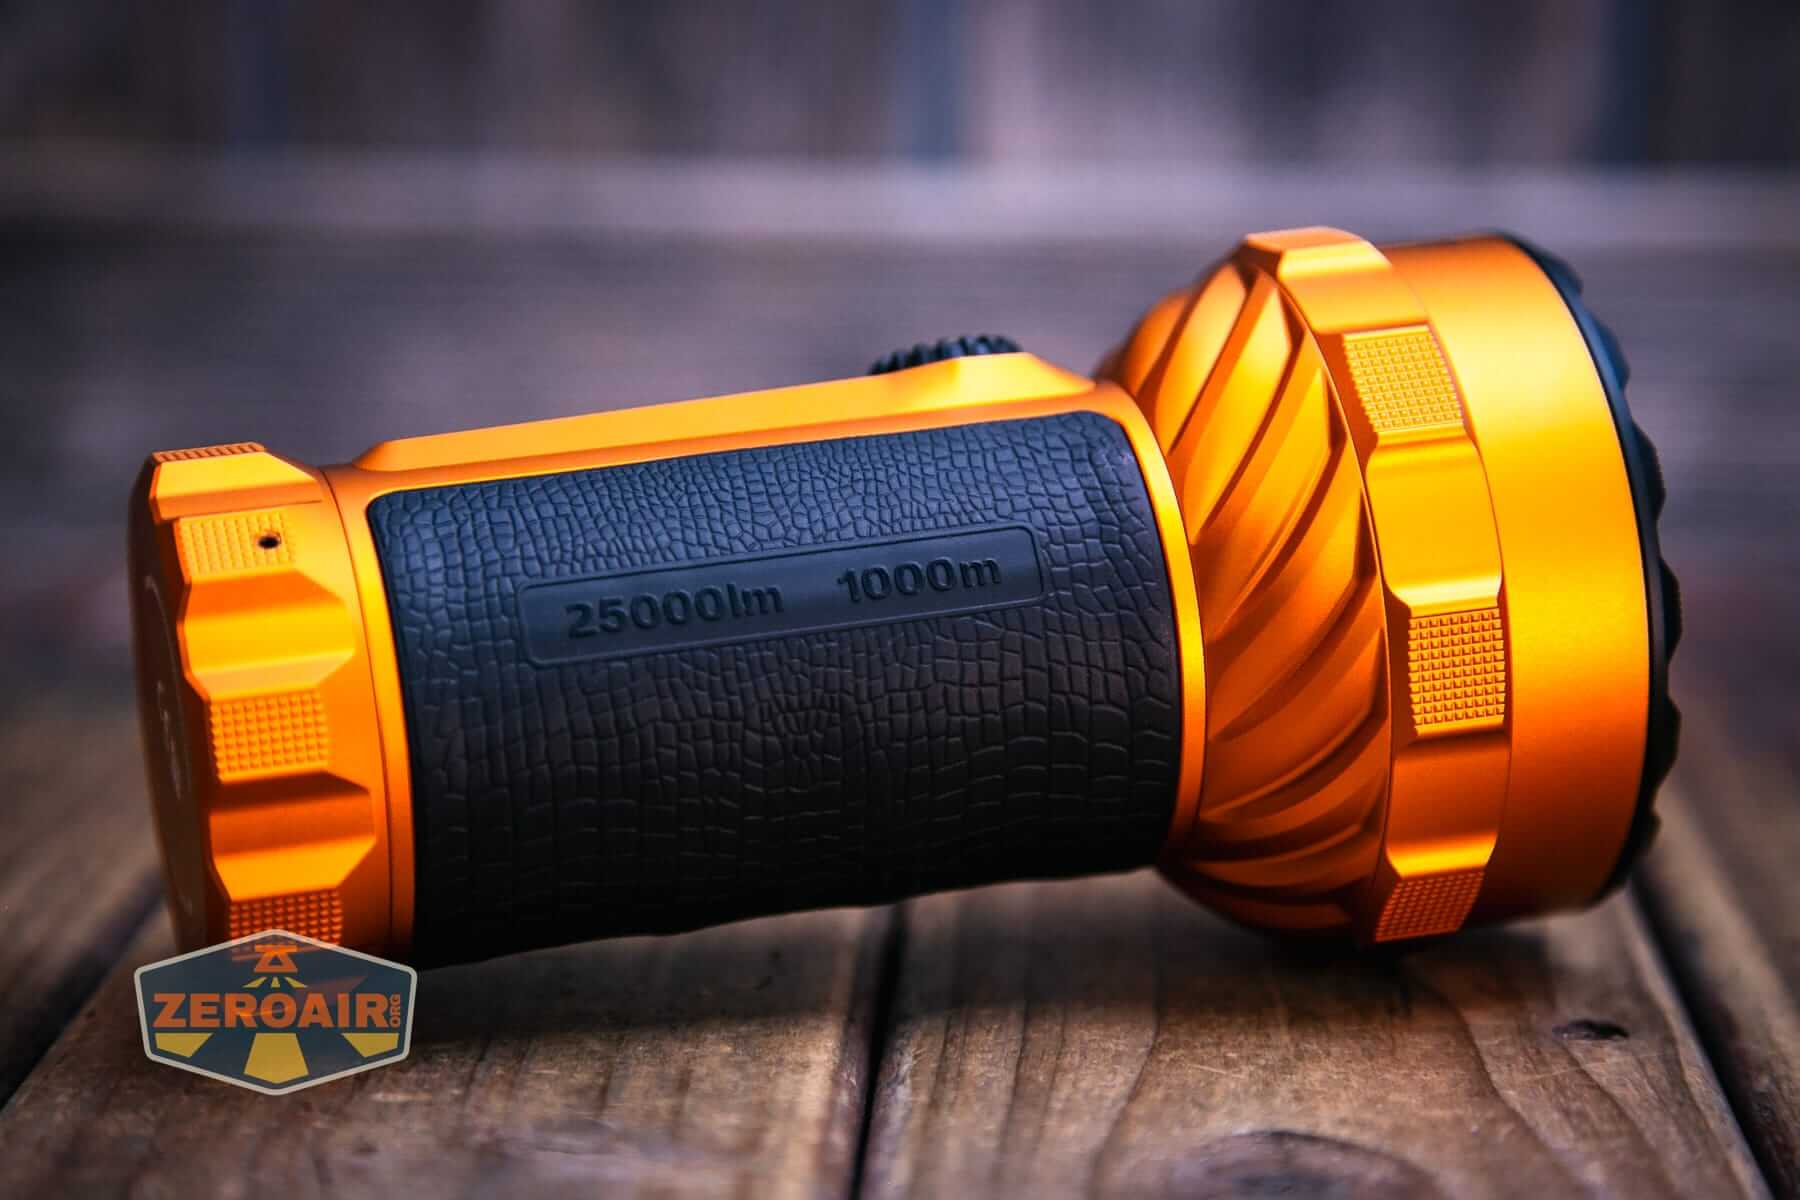
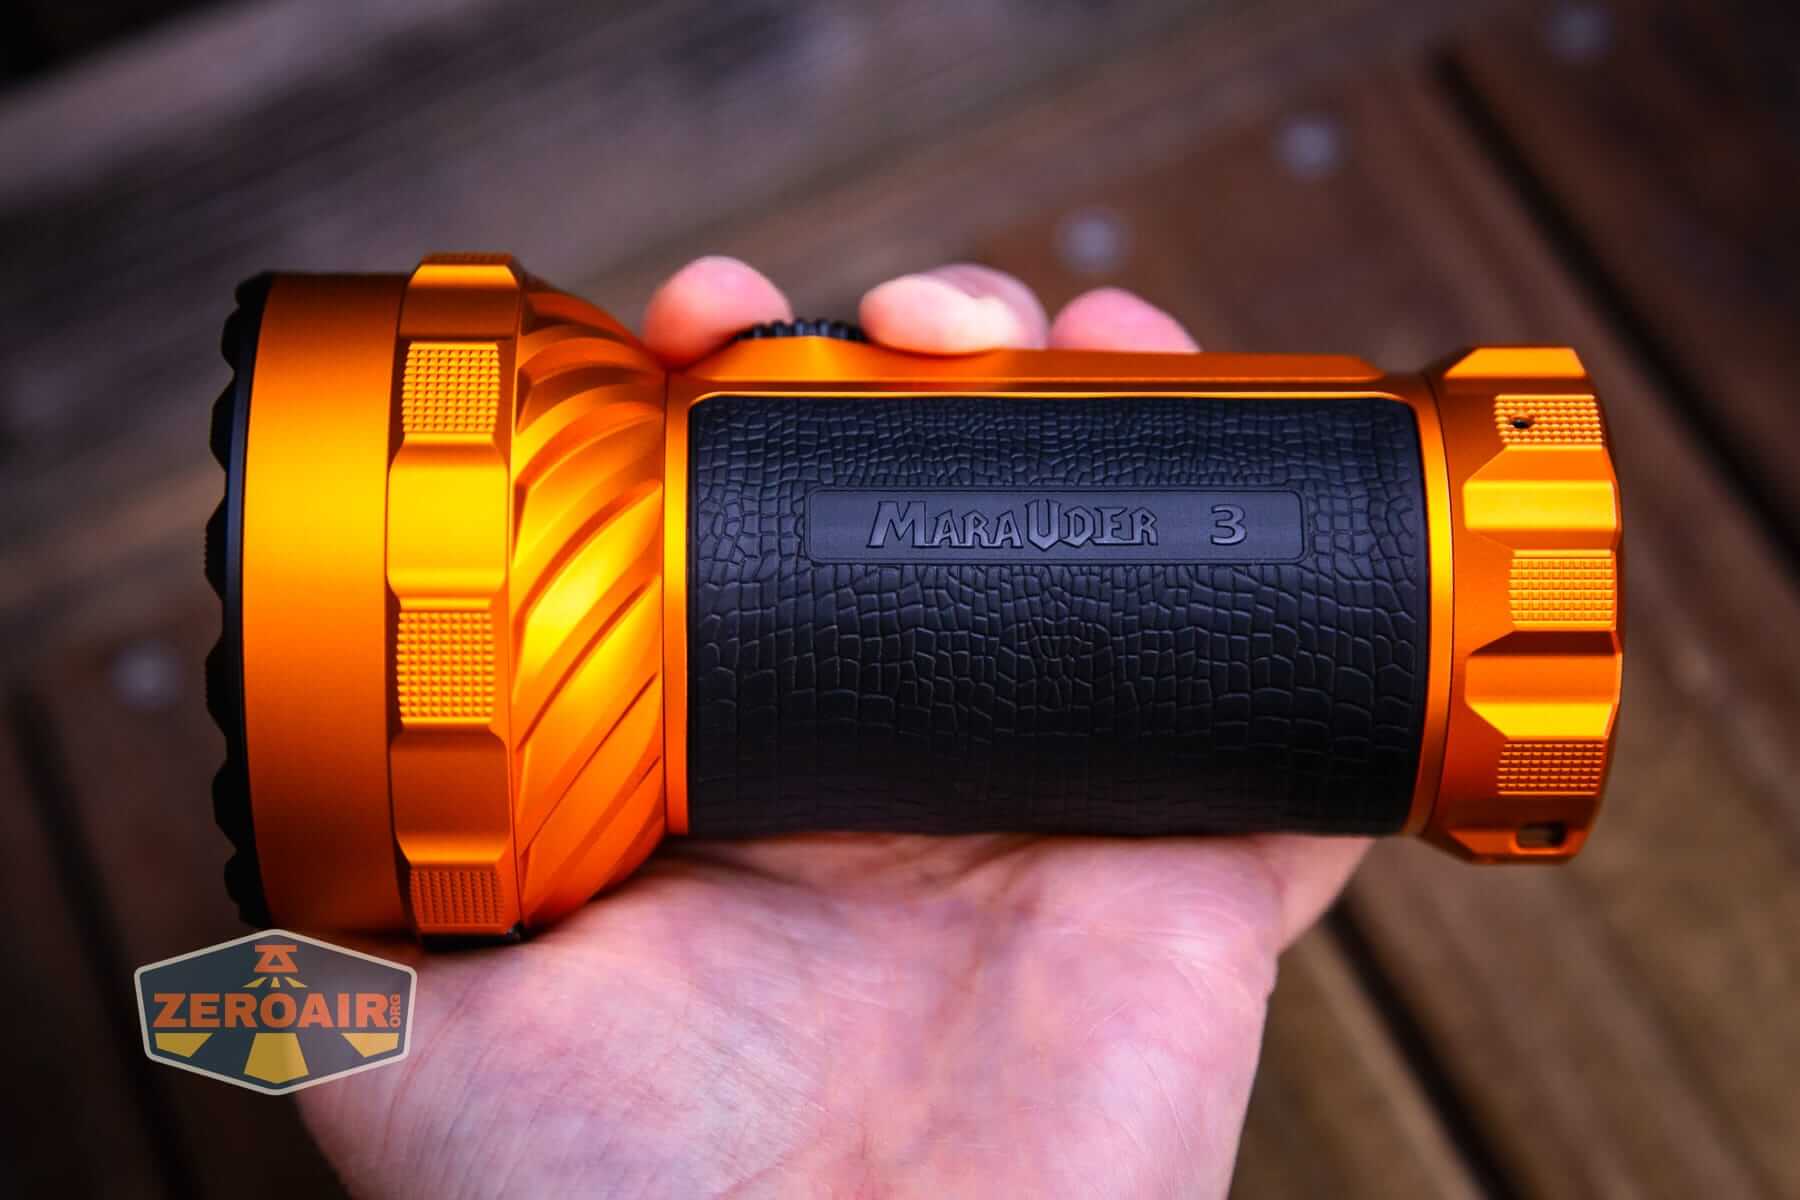
Both sides have text imprinted.
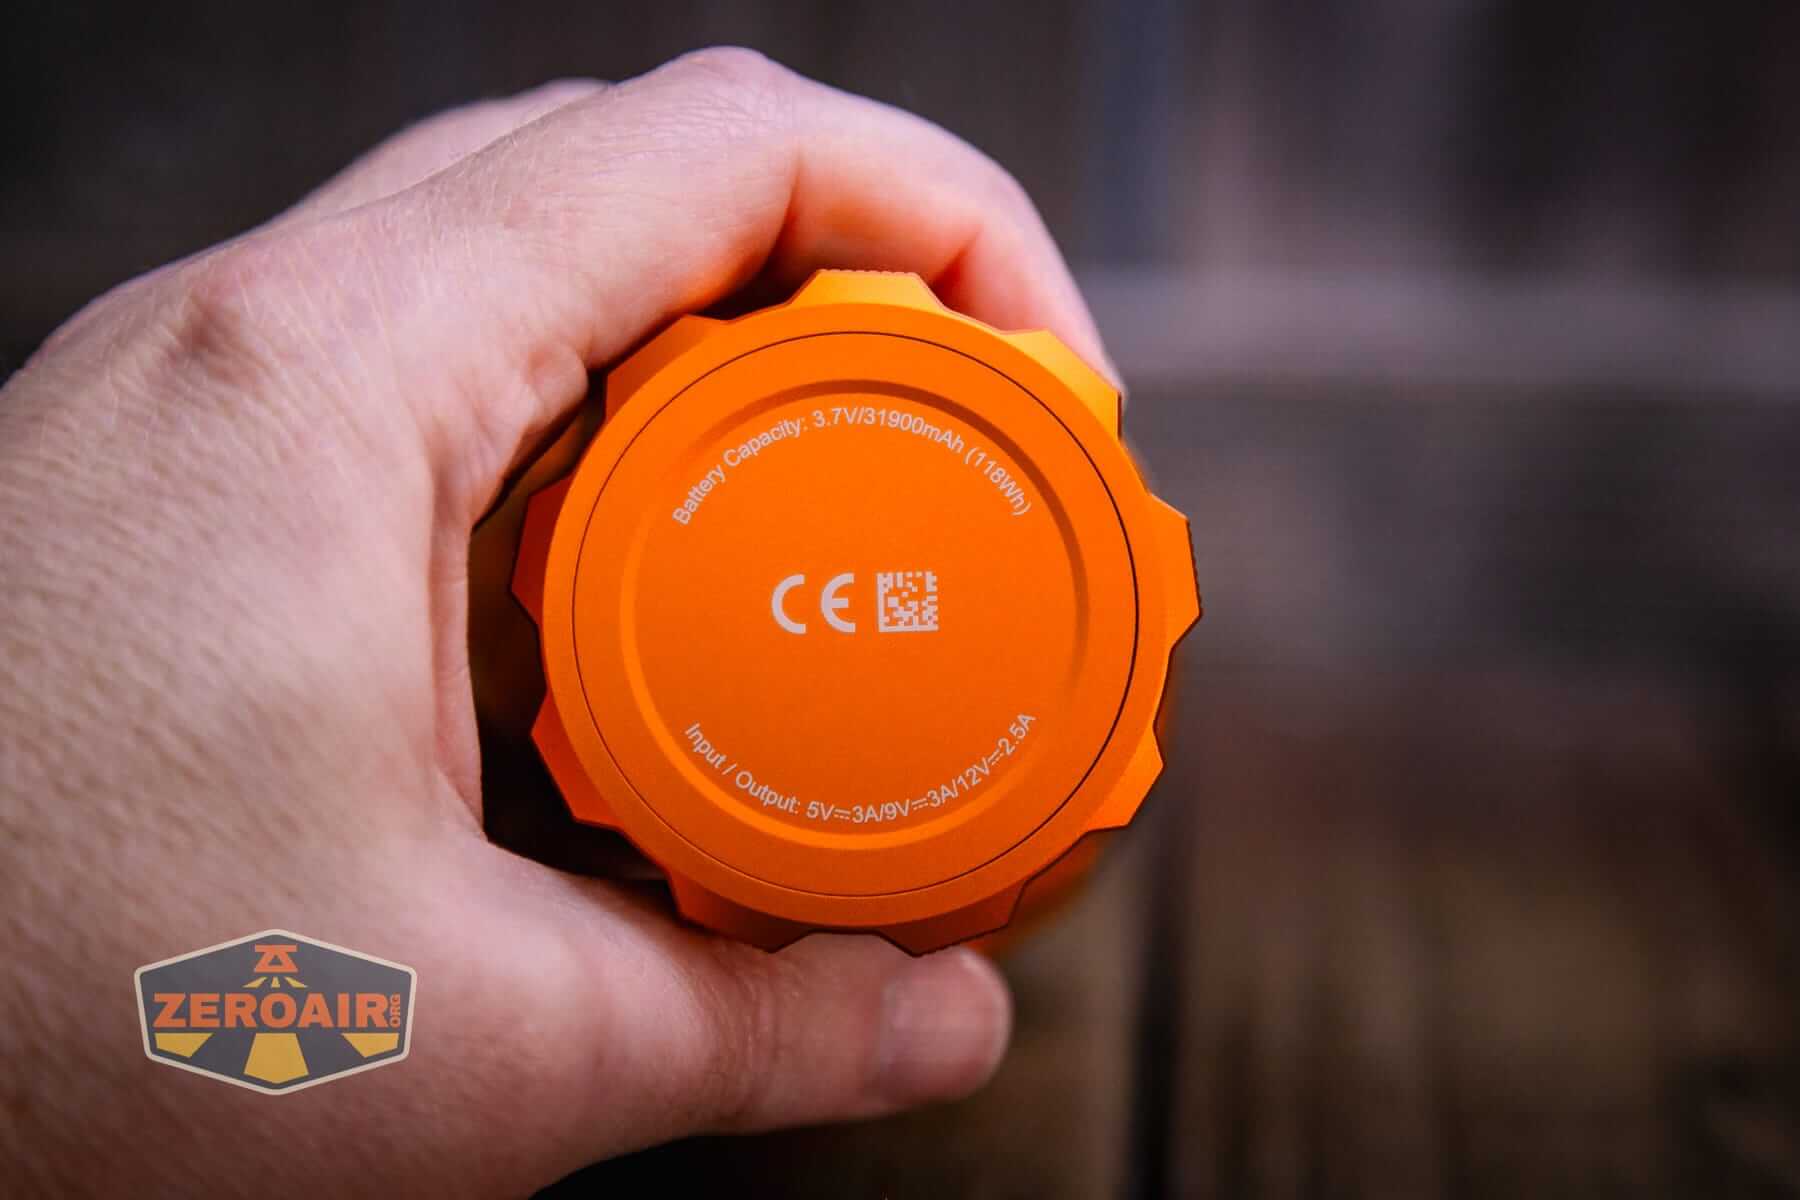
Unlike the previous version, the tailcap has no charging port (the charging port is elsewhere!) The old way was neat, but removing that aperture charging port is progress!
I didn’t capture it in any photos, but this subtle “hot” icon actually lights up red when the light is hot!
Size and Comps
Weight: 29.63 oz (840 g) (Battery Included)
Length: 5.98 in (152 mm)
Head Diameter: 2.95 in (75 mm)
Body Diameter: 2.05 in (52 mm)
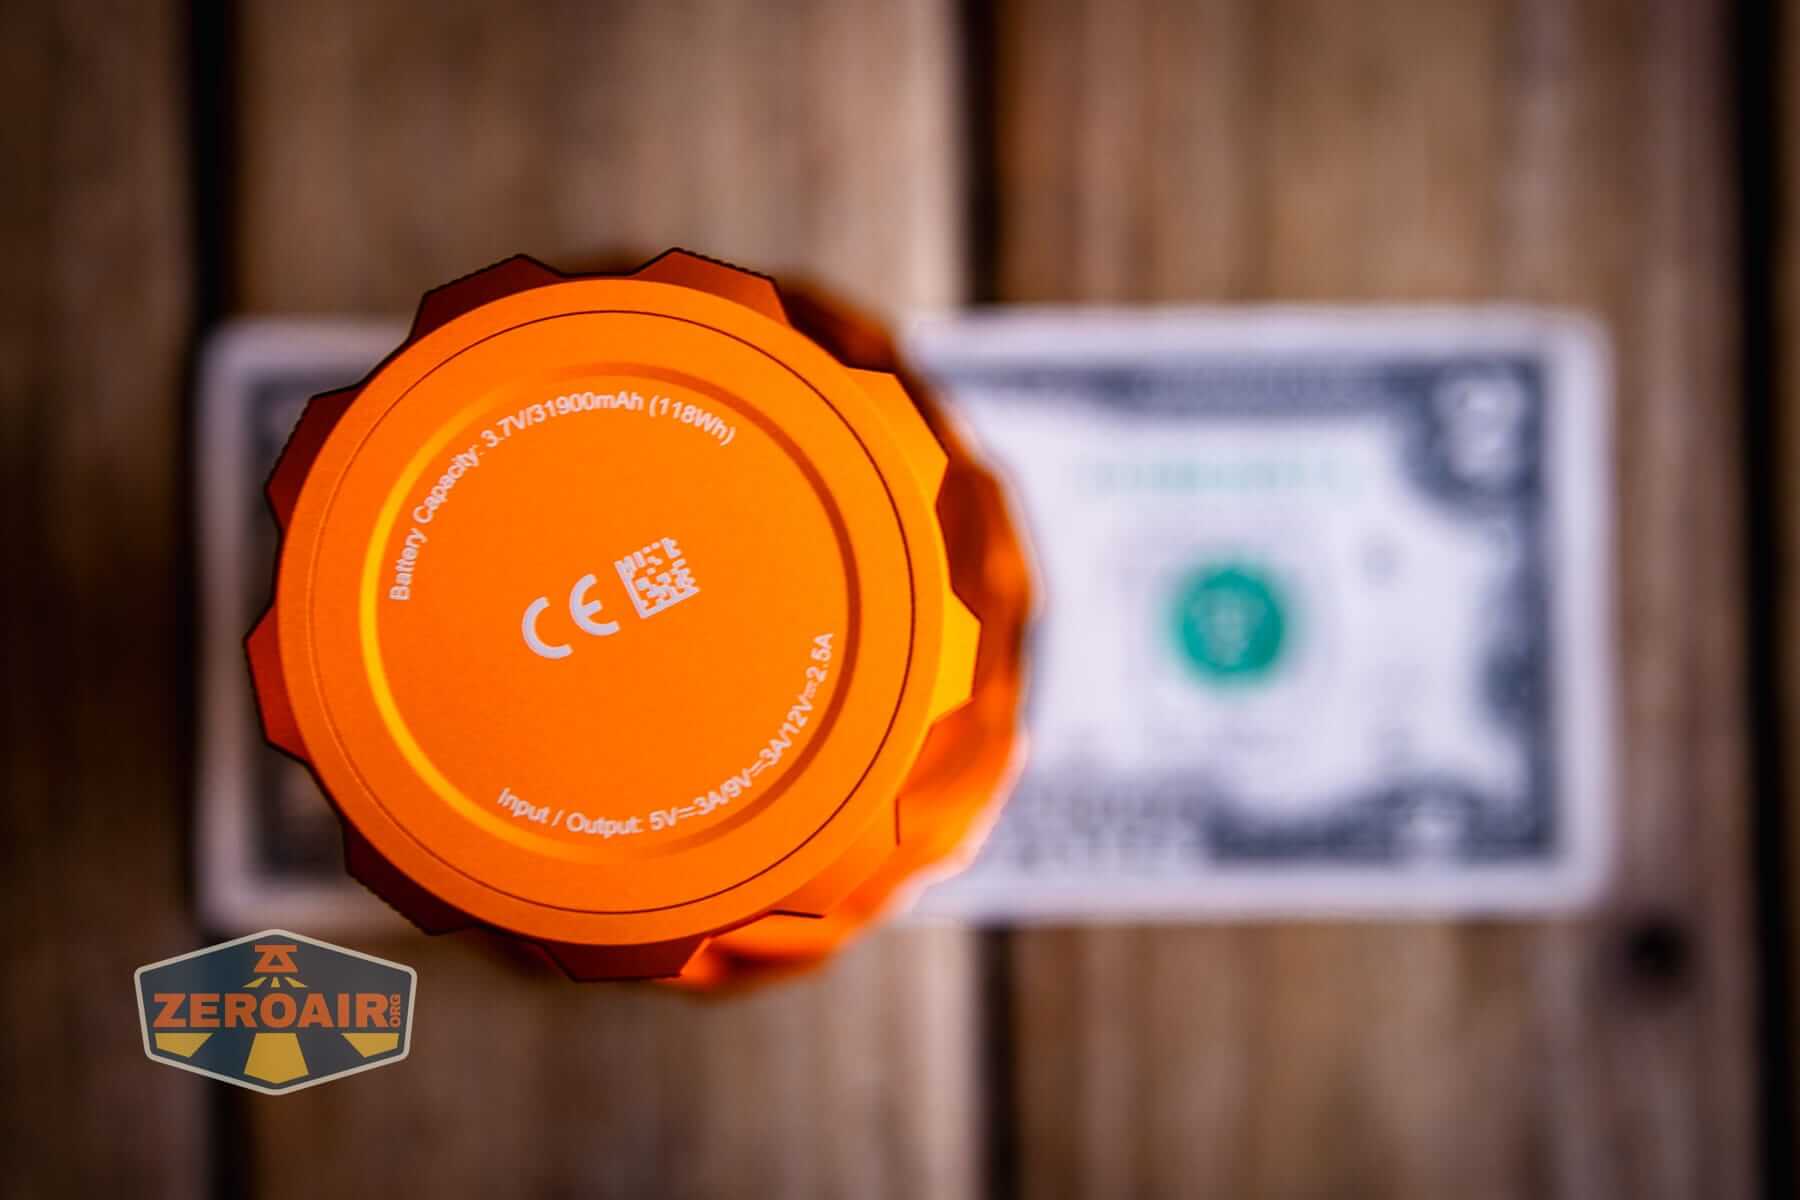
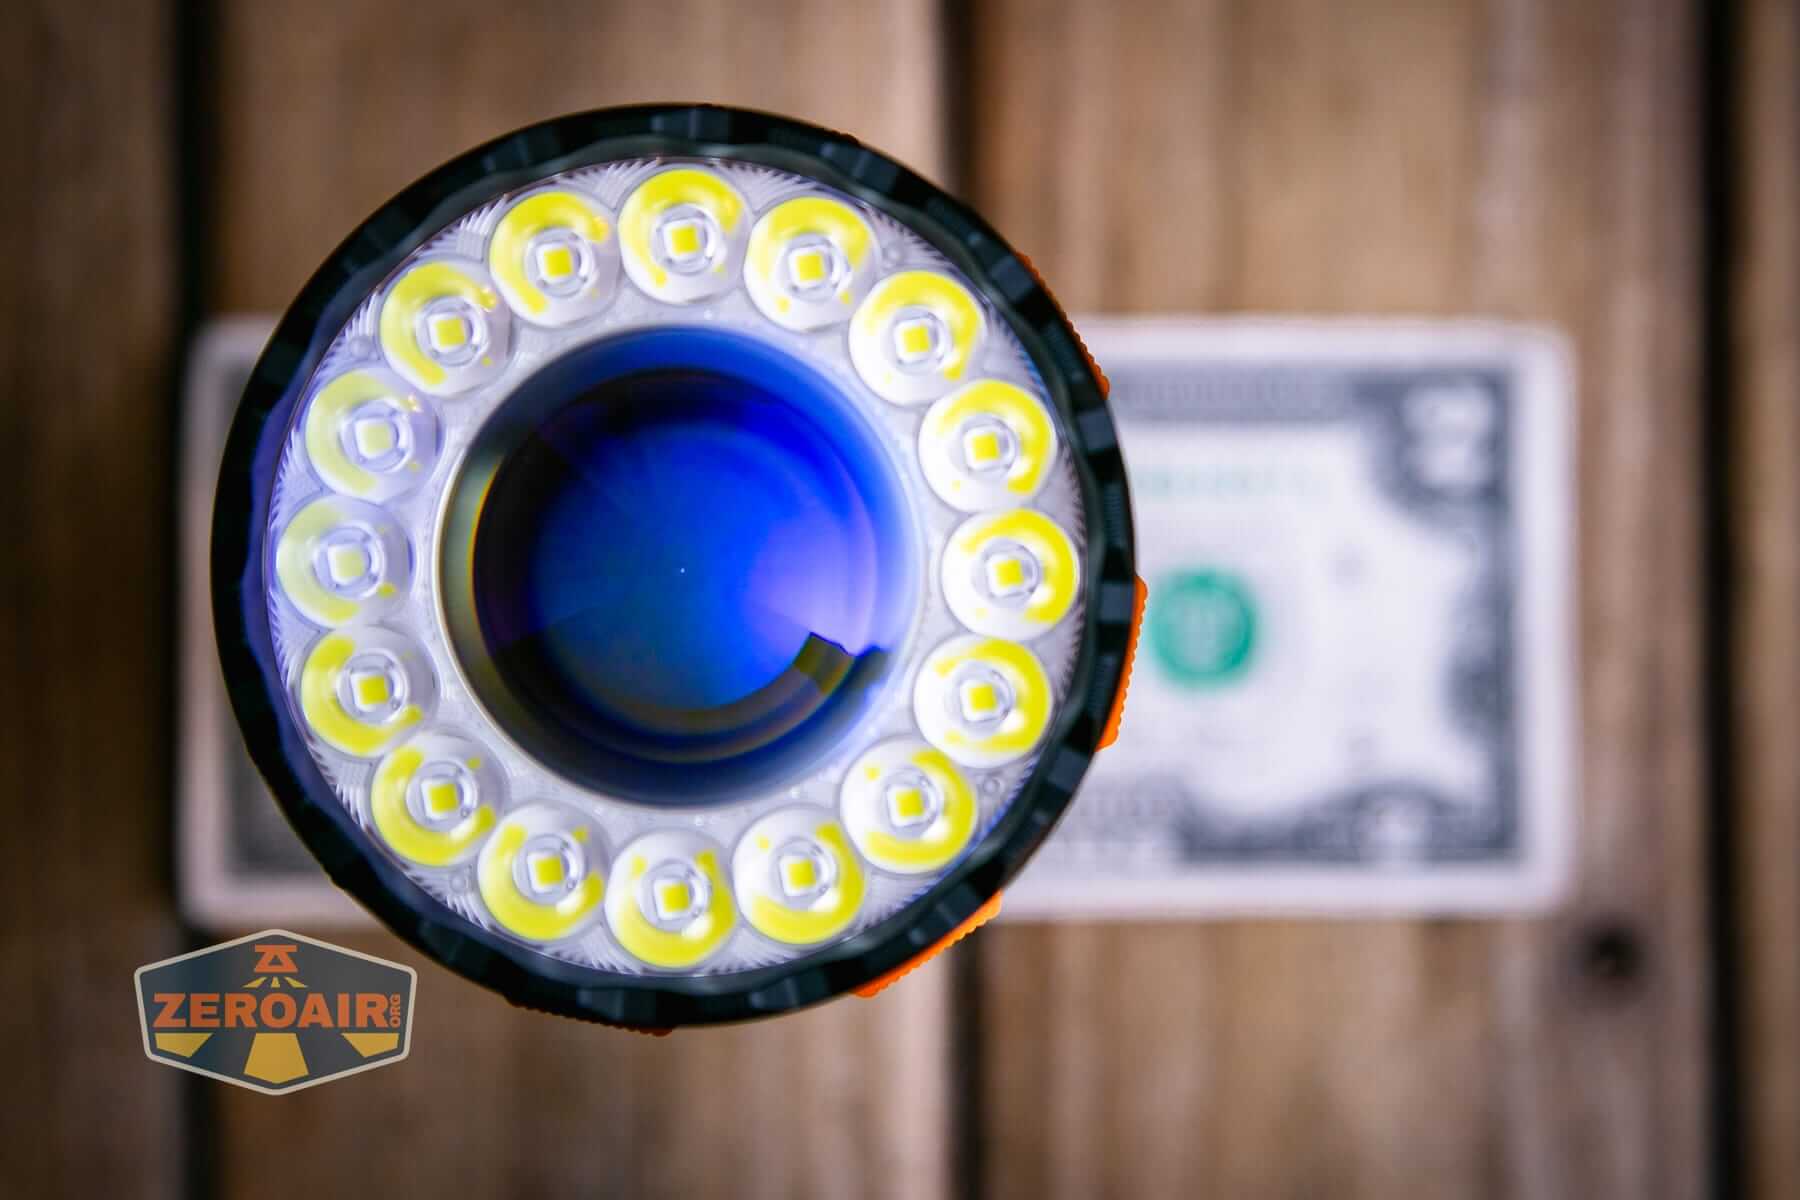
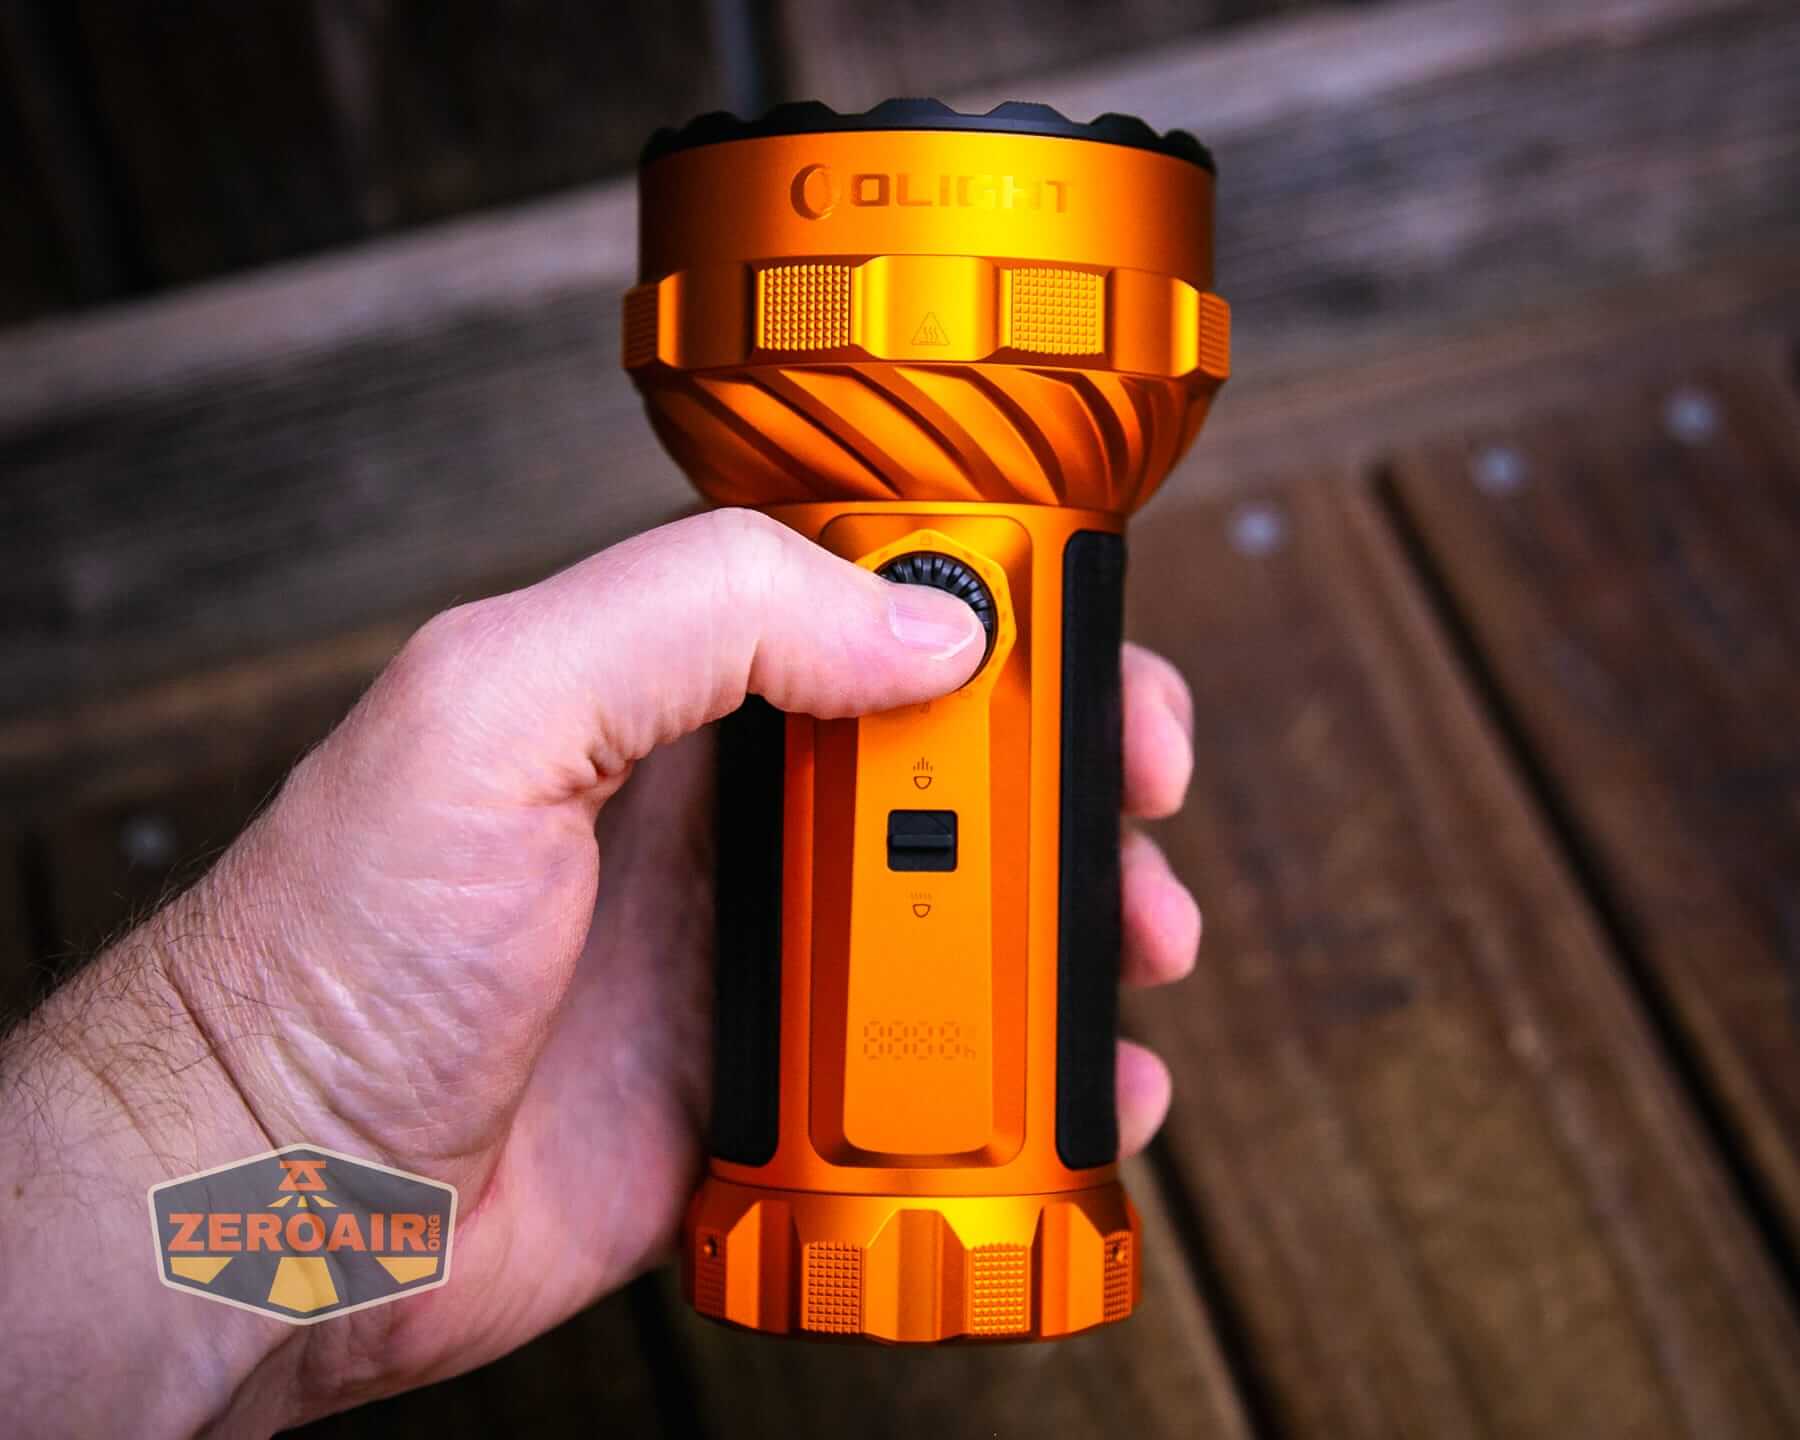
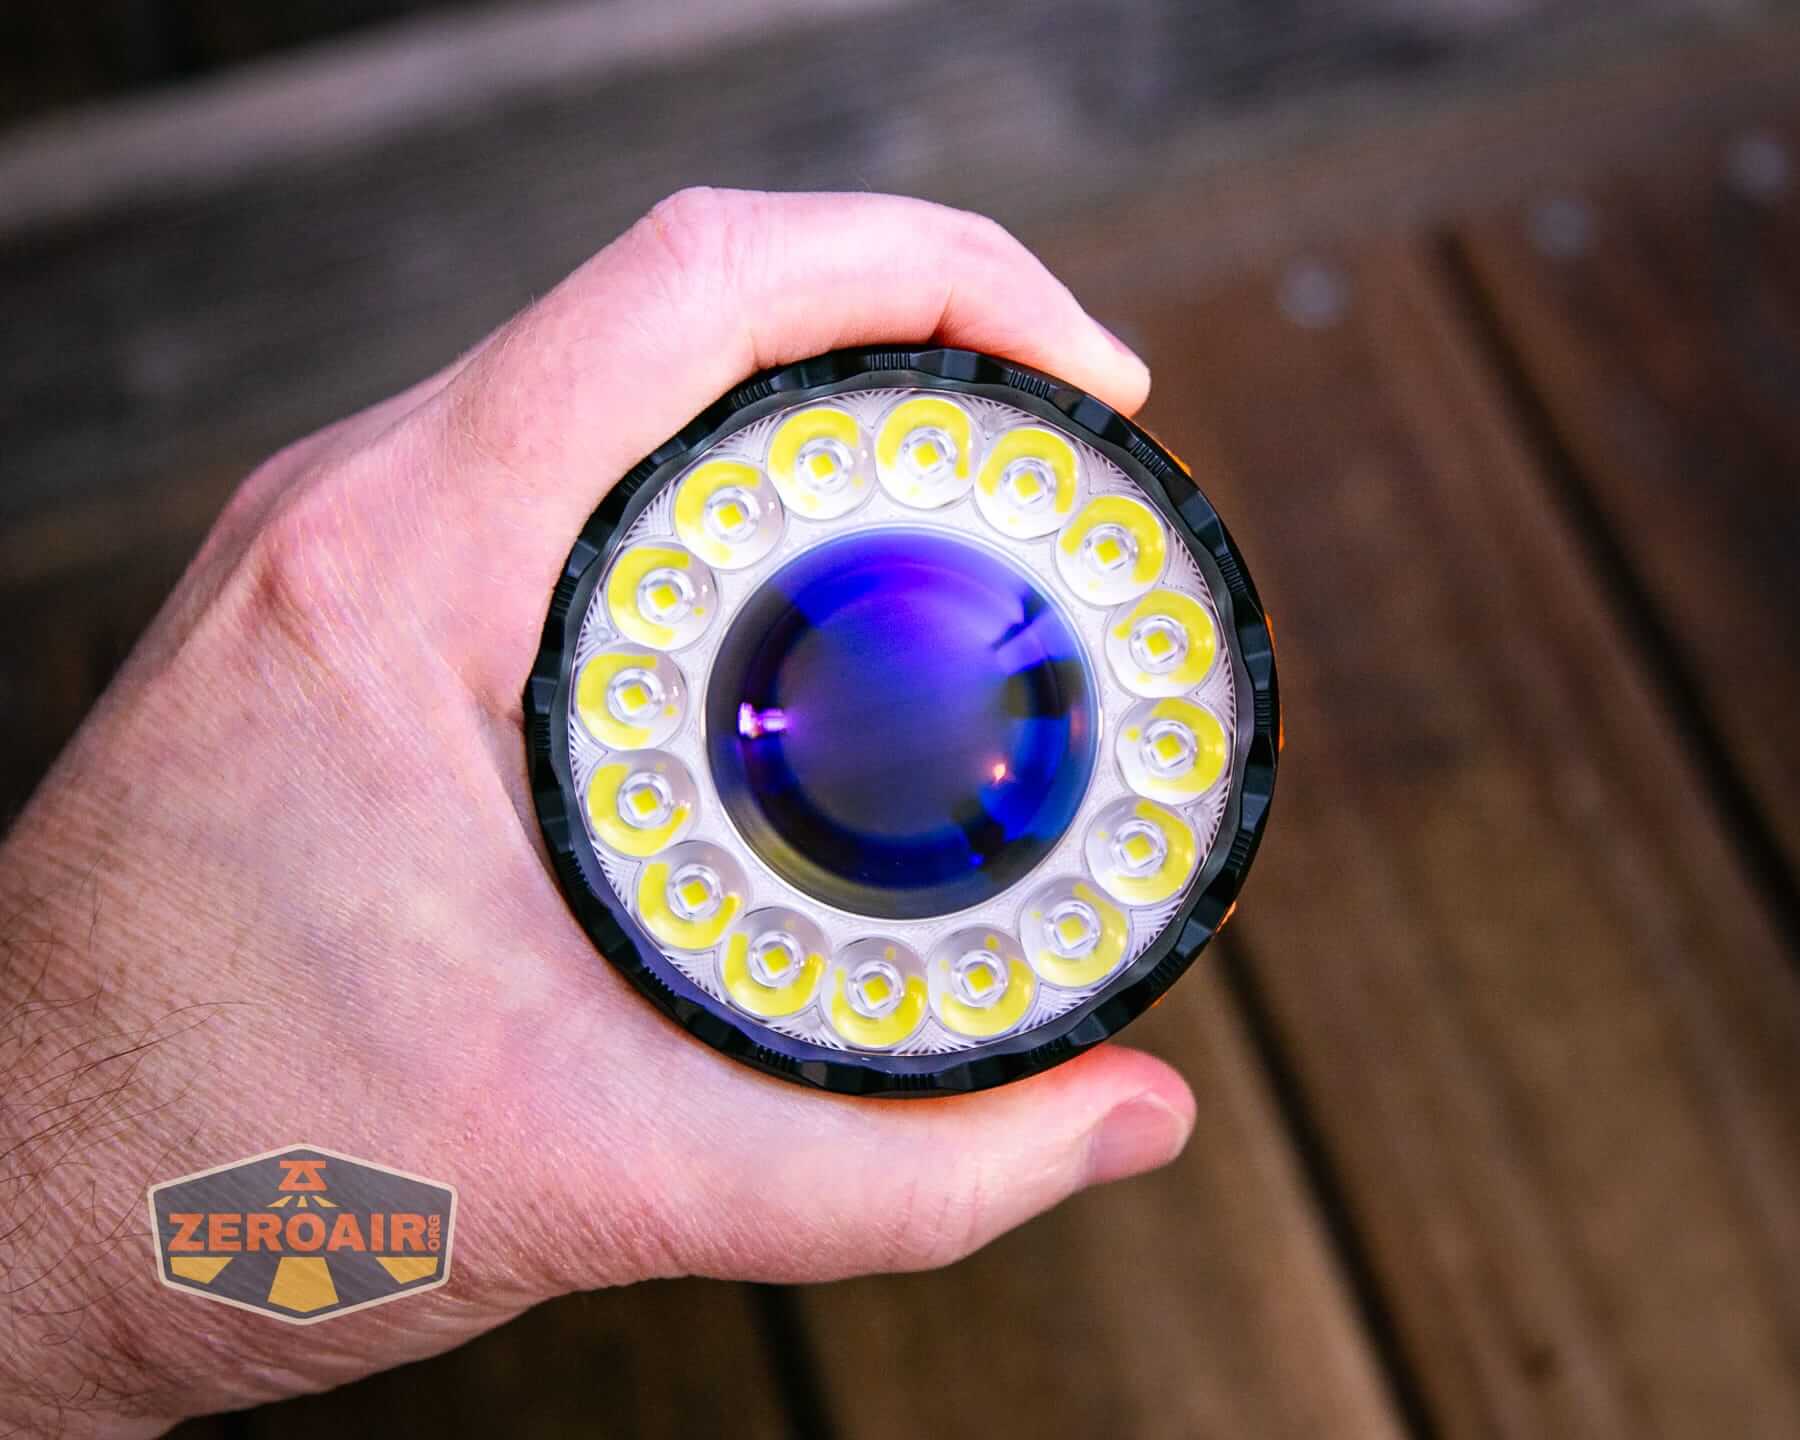
Here’s the light in hand:
Here’s the test light with the venerable Convoy S2+. This is a brass version, which is a good bit heavier than aluminum, but has the same dimensions: 24mm in diameter by 117.5mm in length.
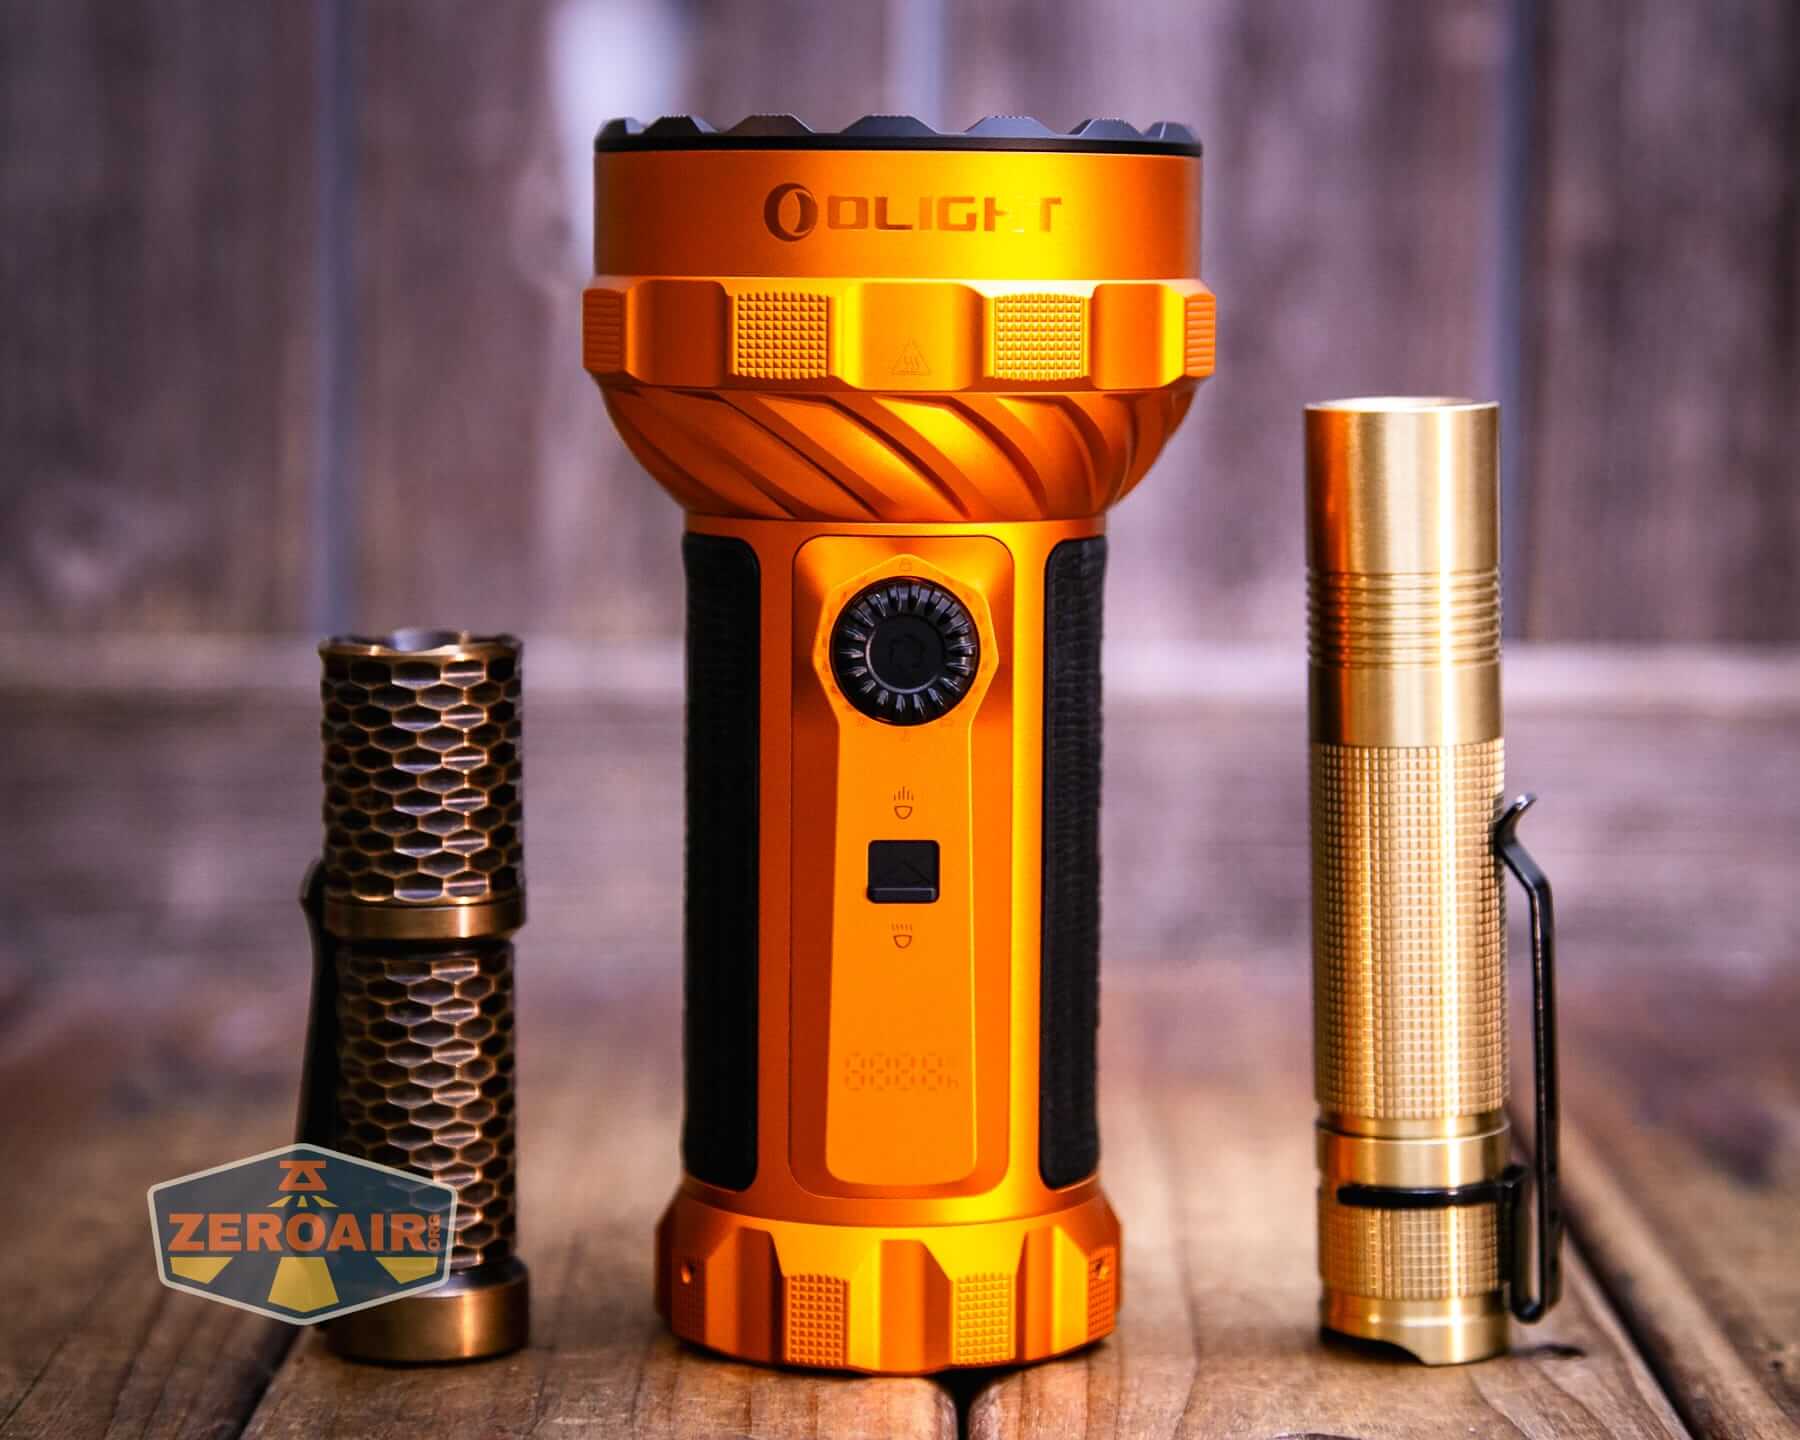
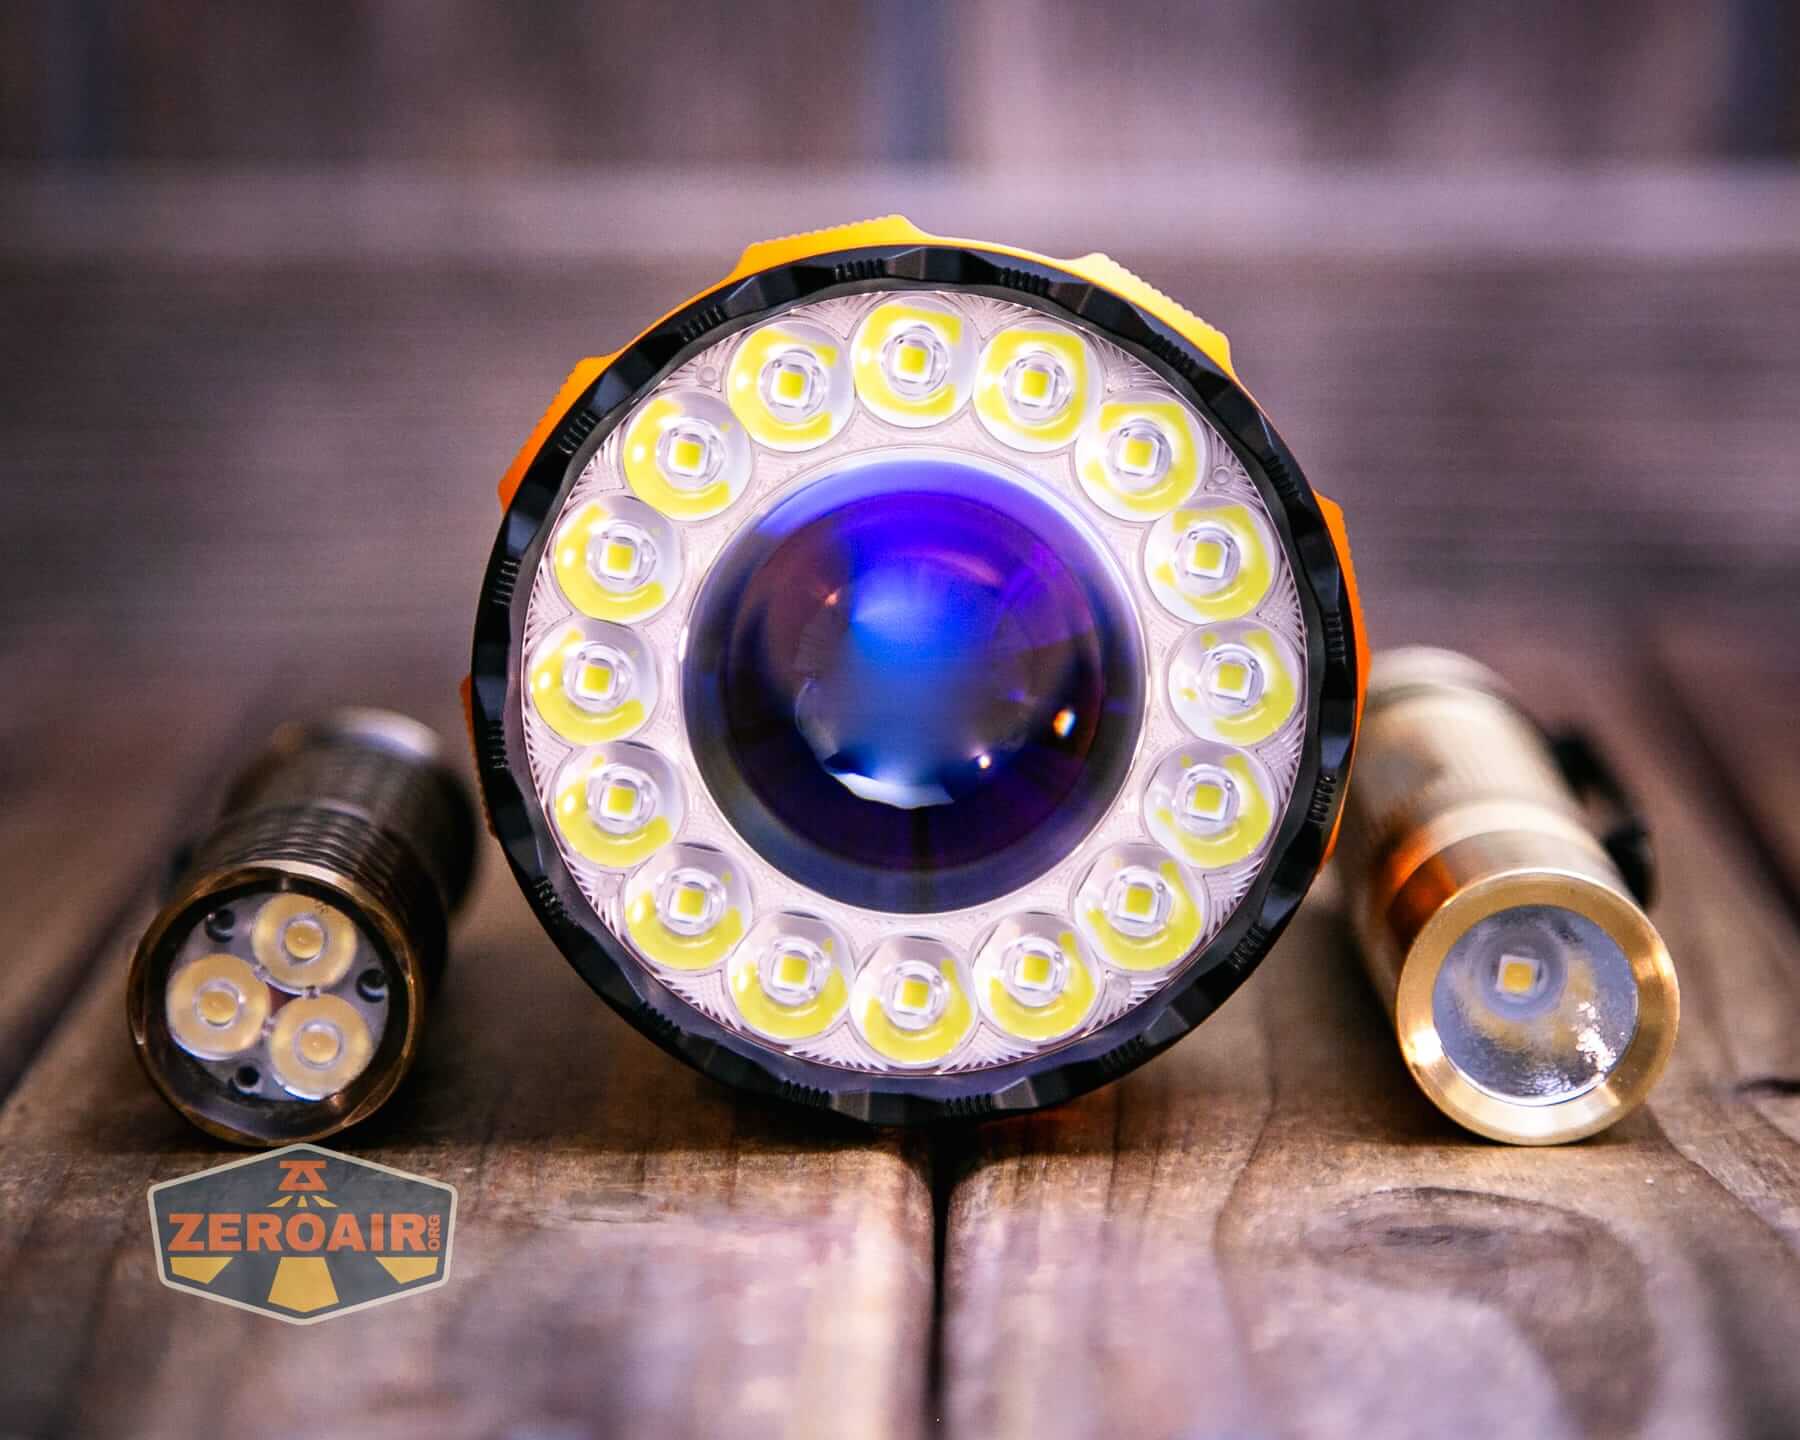
Also in the photo above, my Standard Reference Material (SRM) flashlight is the Hanko Machine Works Trident, an 18350 light. While I have not reviewed or tested the Gunner Grip version seen here, I have tested a Hanko Machine Works Trident Total Tesseract in brass. I love the Trident, and it’s a striking contrast to the inexpensive Convoy S2+, another great SRM.
Retention and Carry
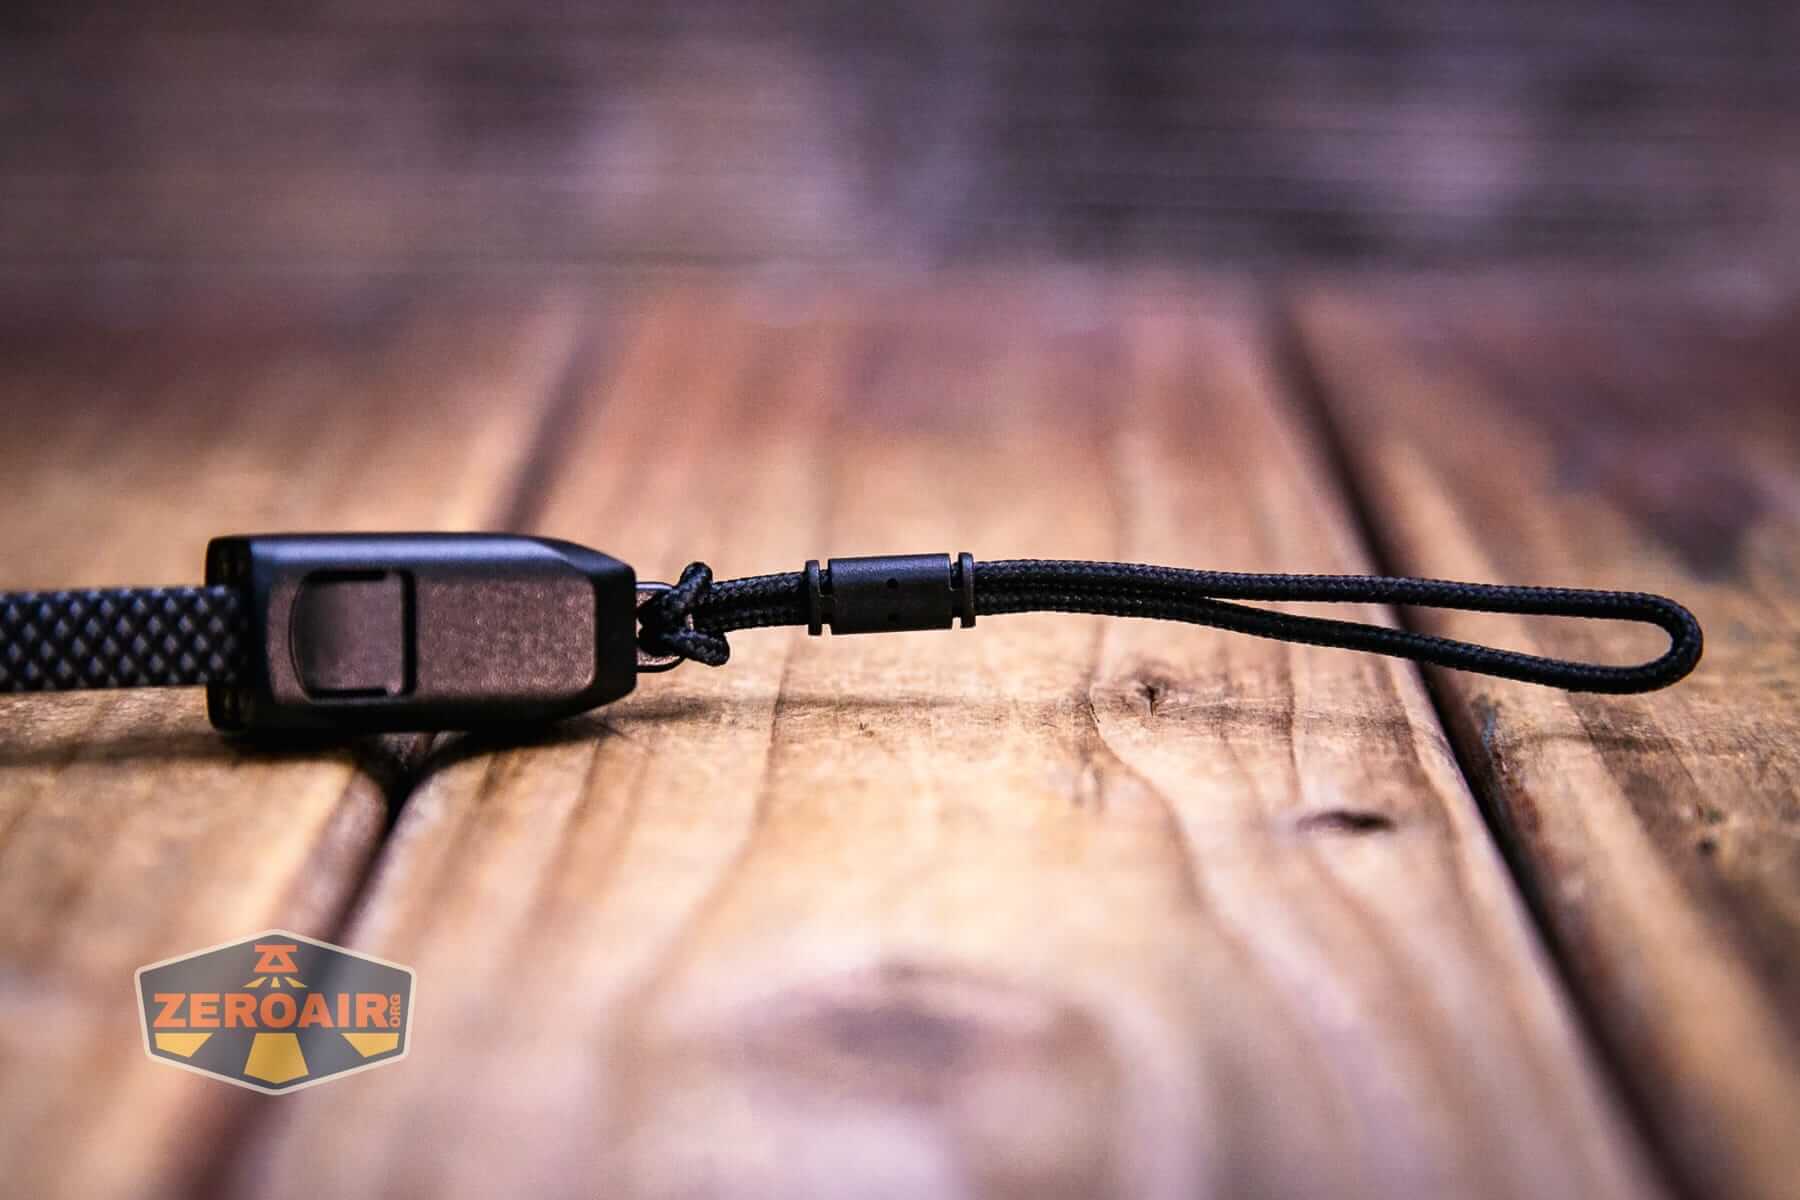
Primarily, you’ll be carrying this light by means of the lanyard, which attaches through this loop in the tail end of the light.
The lanyard is very sturdy, and hides a secret!
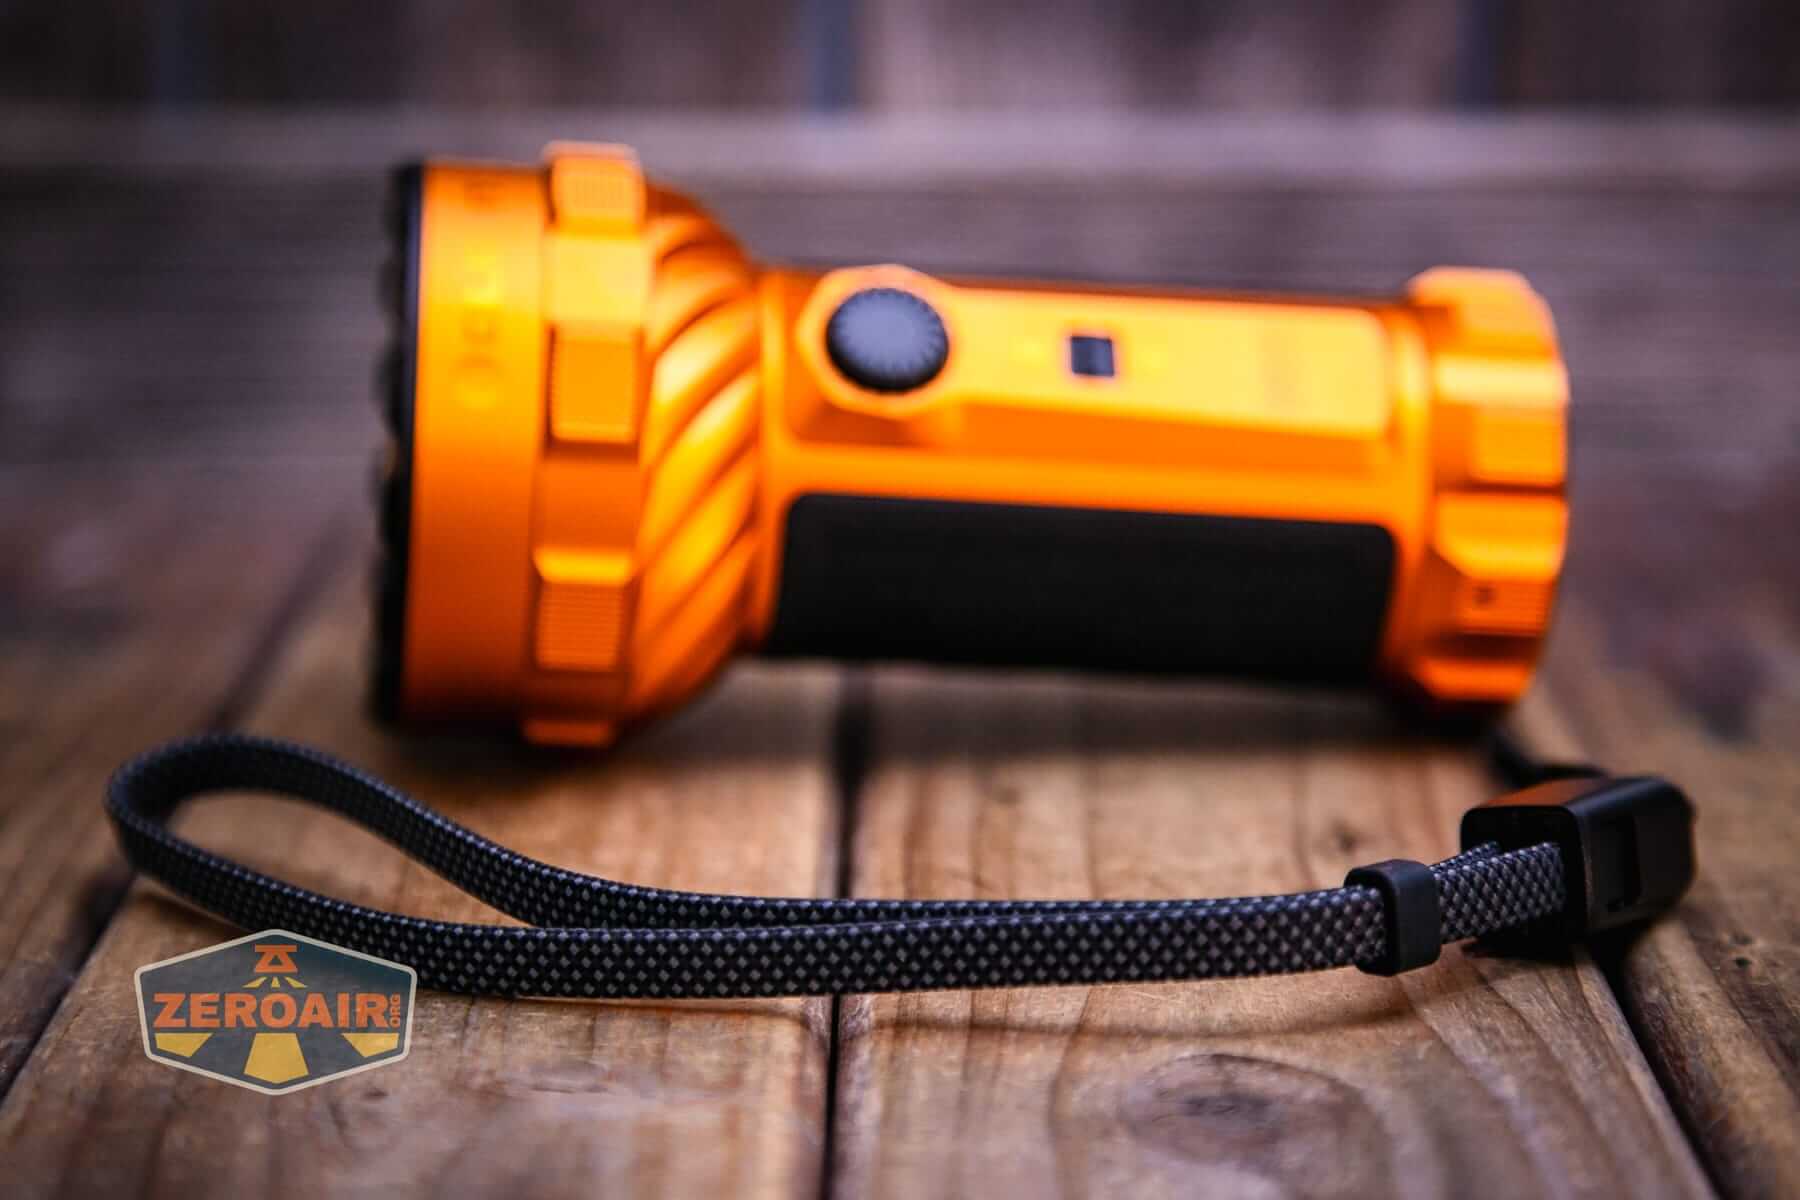
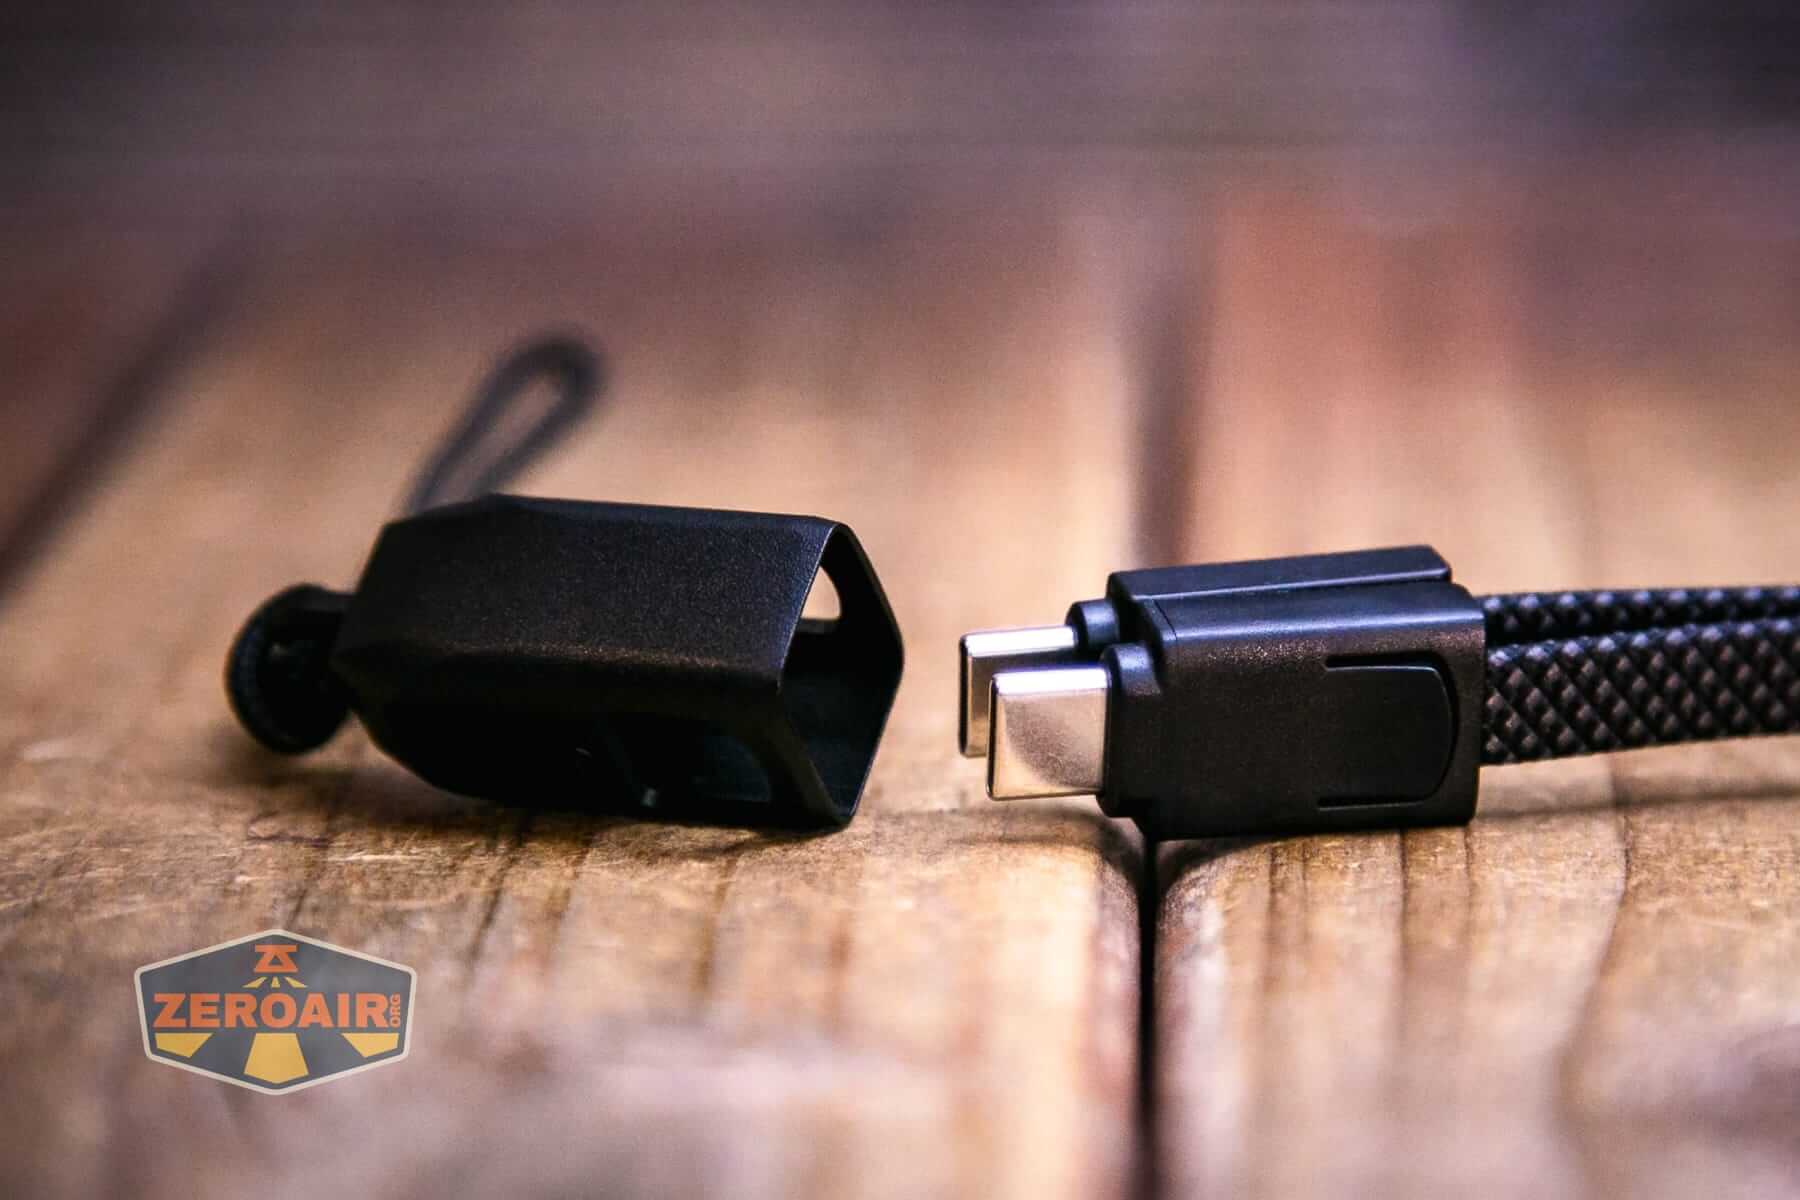
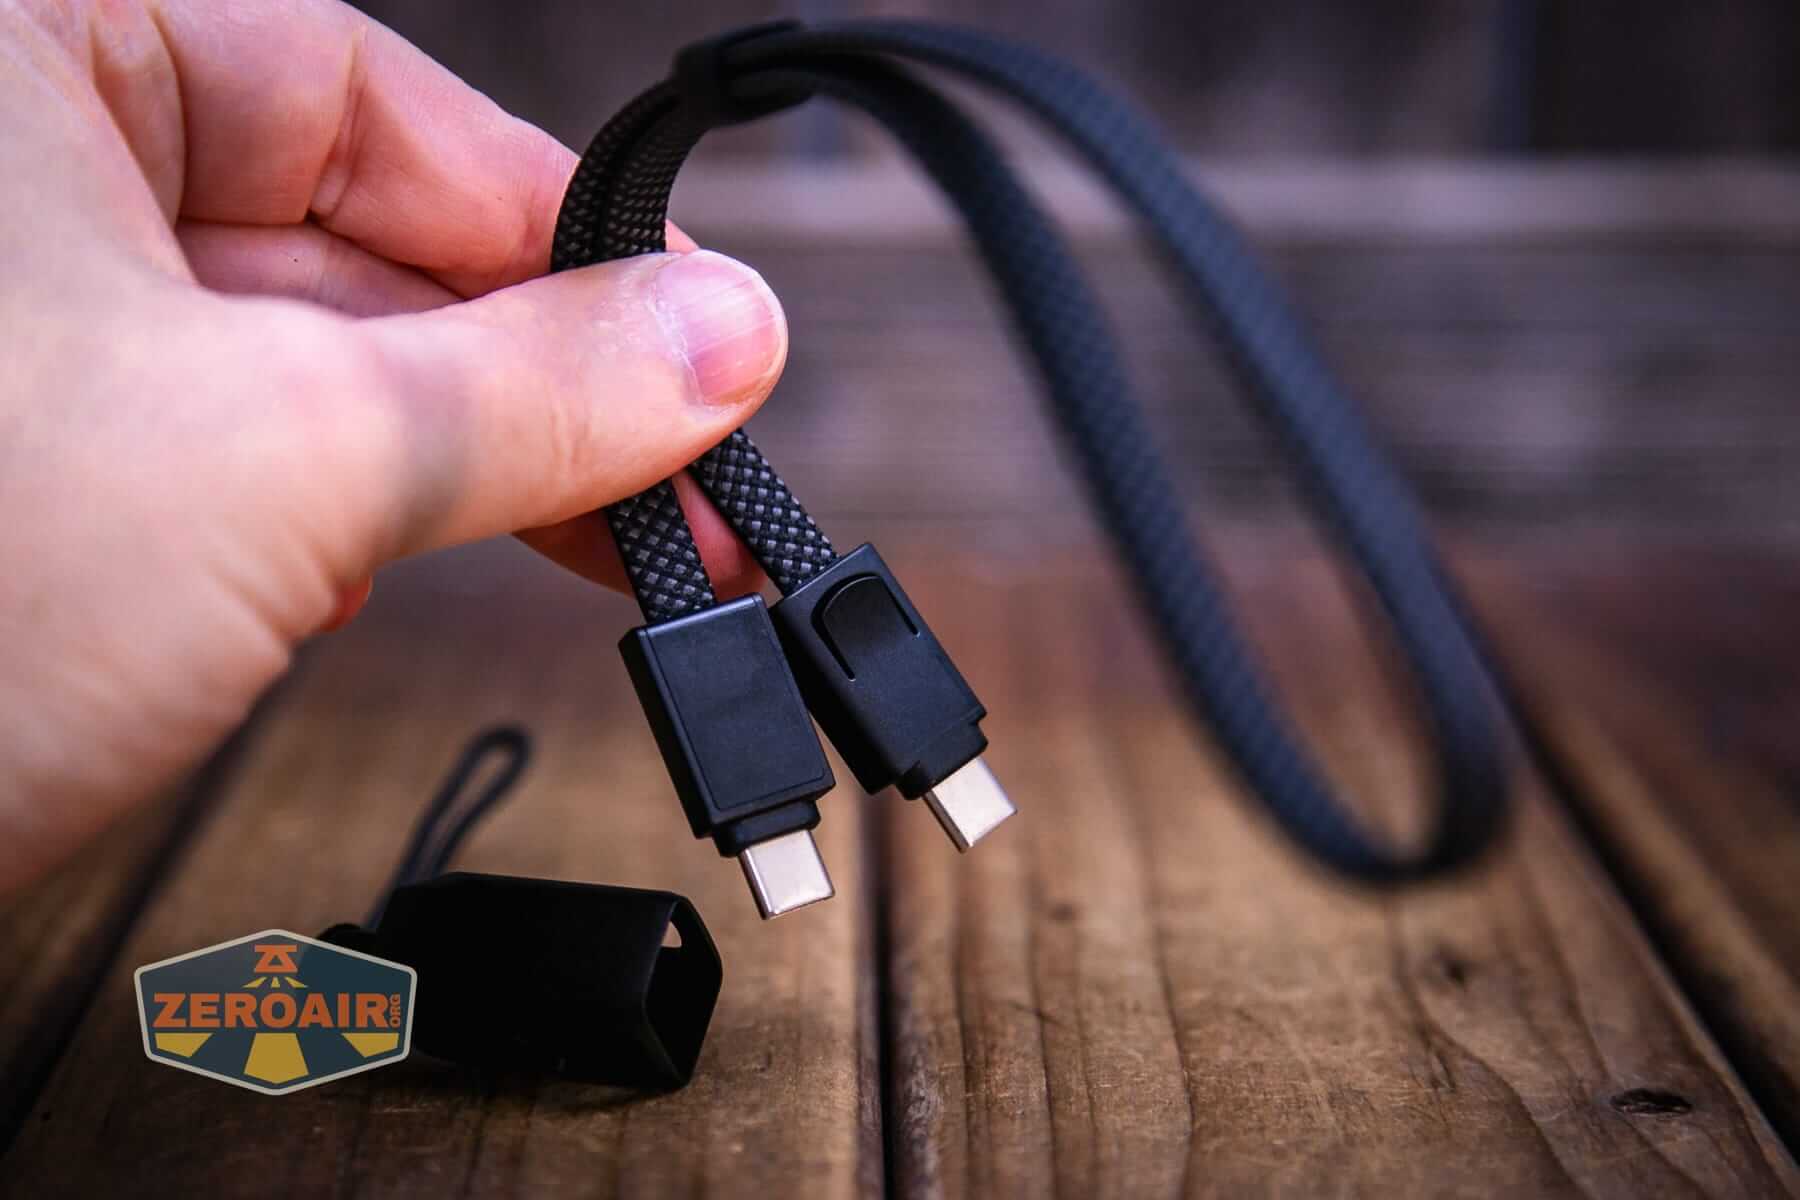
If you squeeze the little cap, you’ll reveal that this lanyard is actually a C to C charging cable!
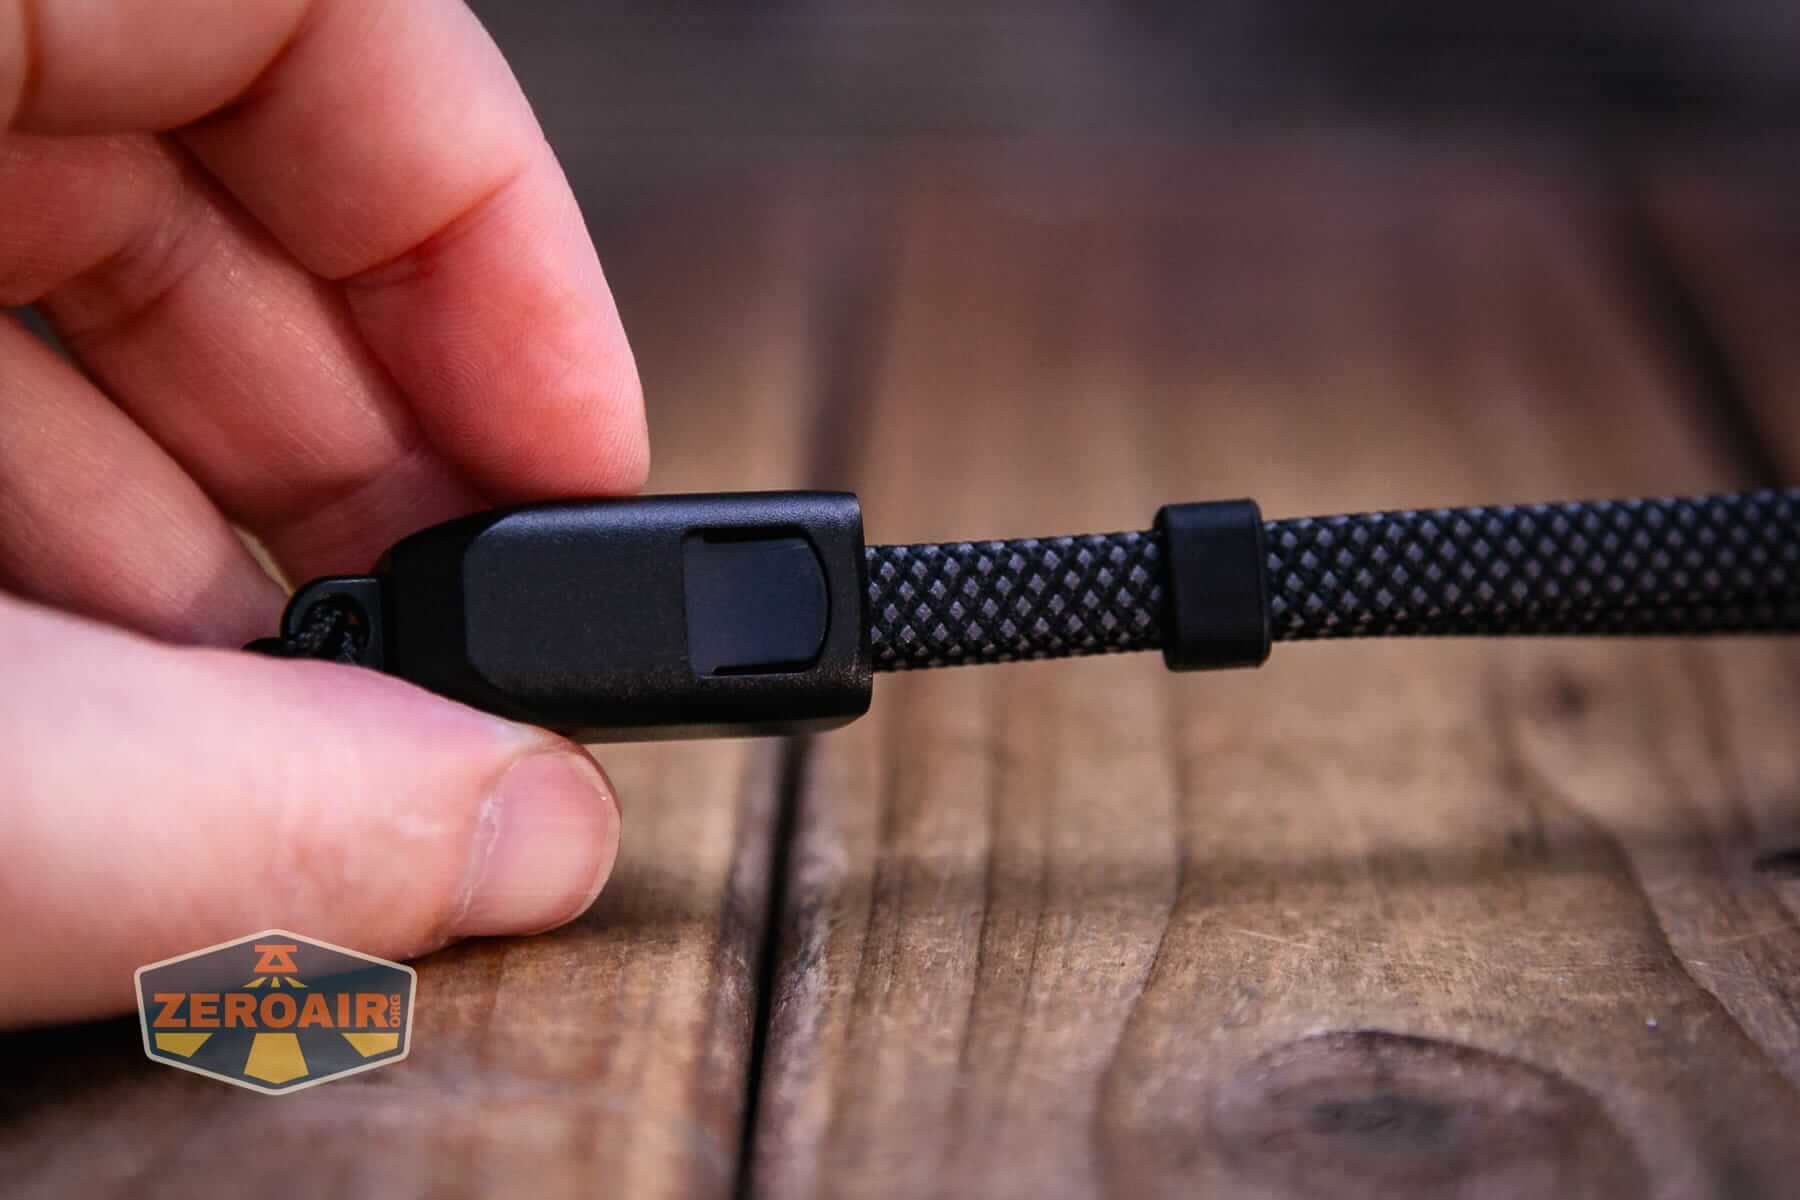
It’s not the first time we’ve seen this, but it’s still a nice feature. I tugged on this vigorously and the little cap is secure.
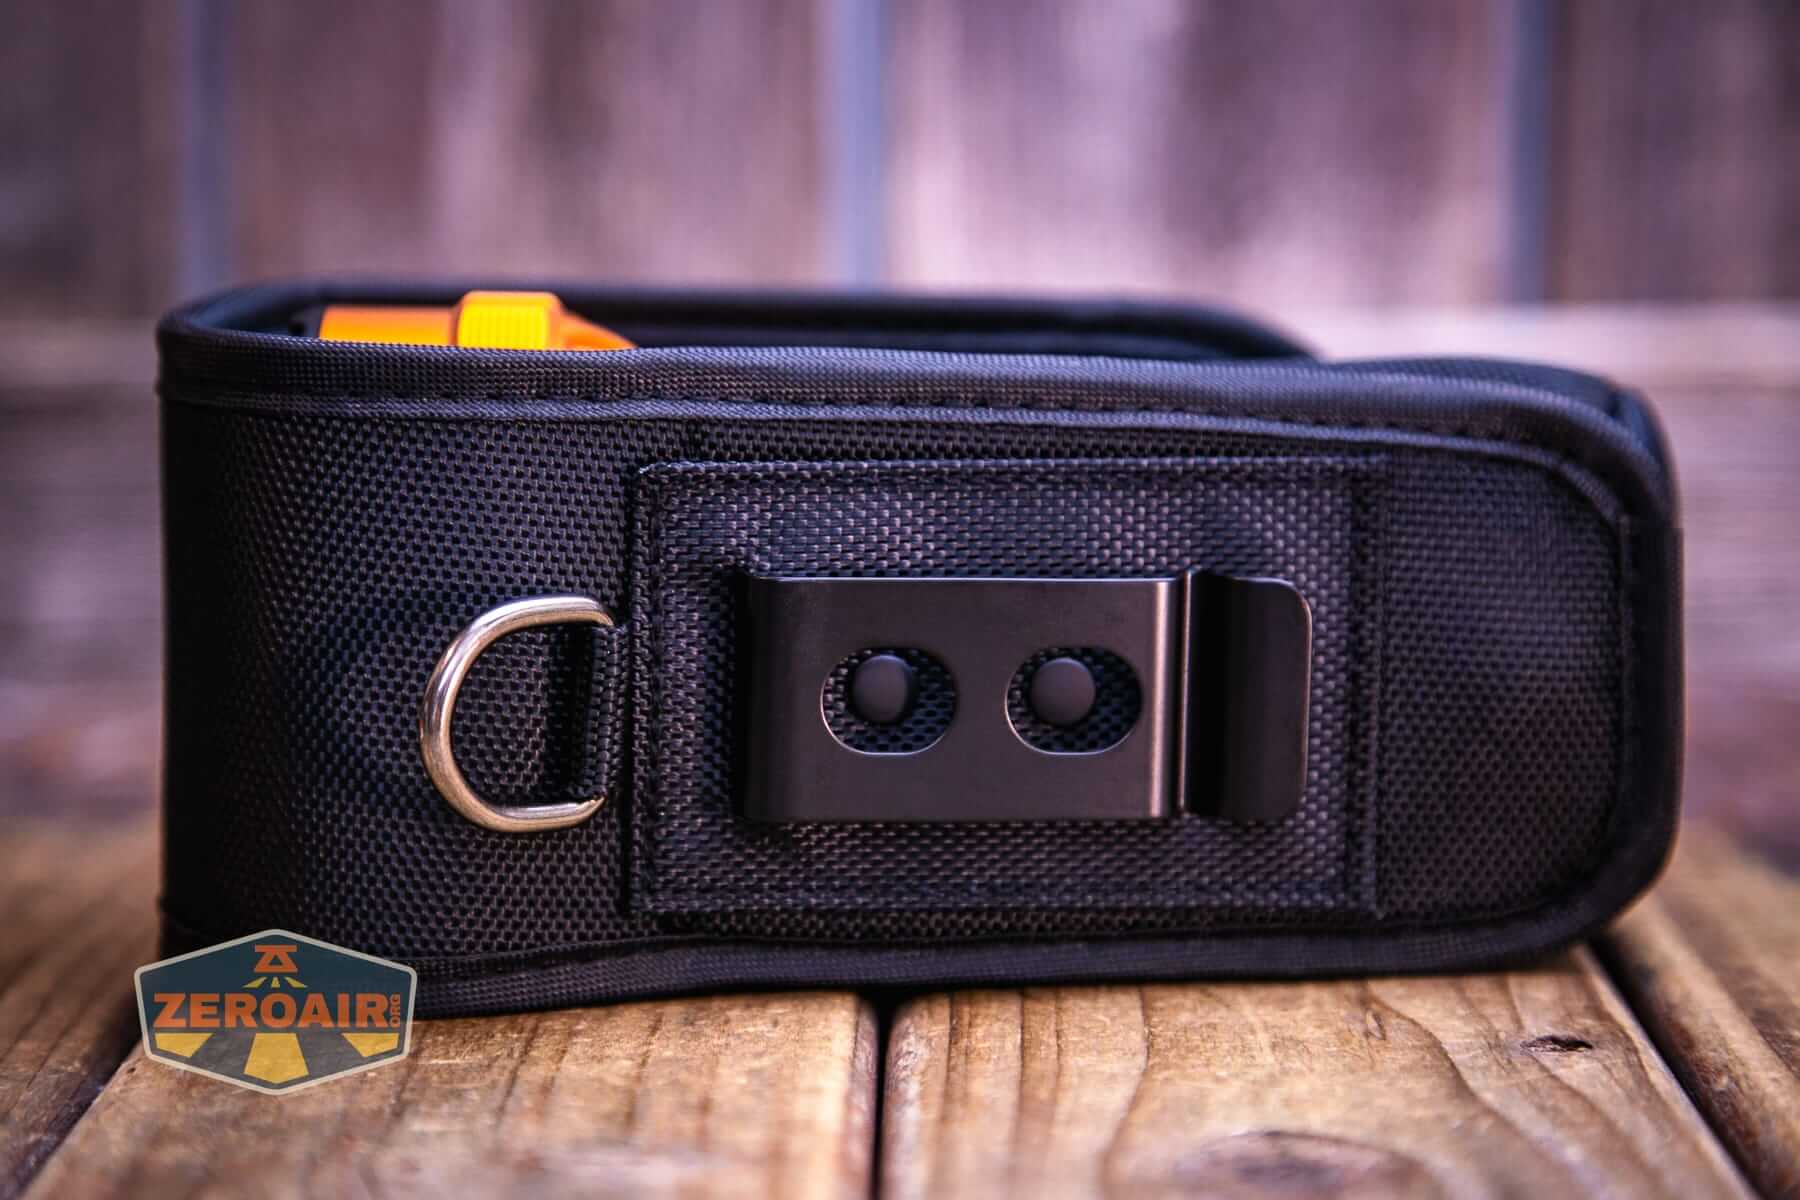
A holster is included too. It’s for carry only. The light should not be used while in this holster!
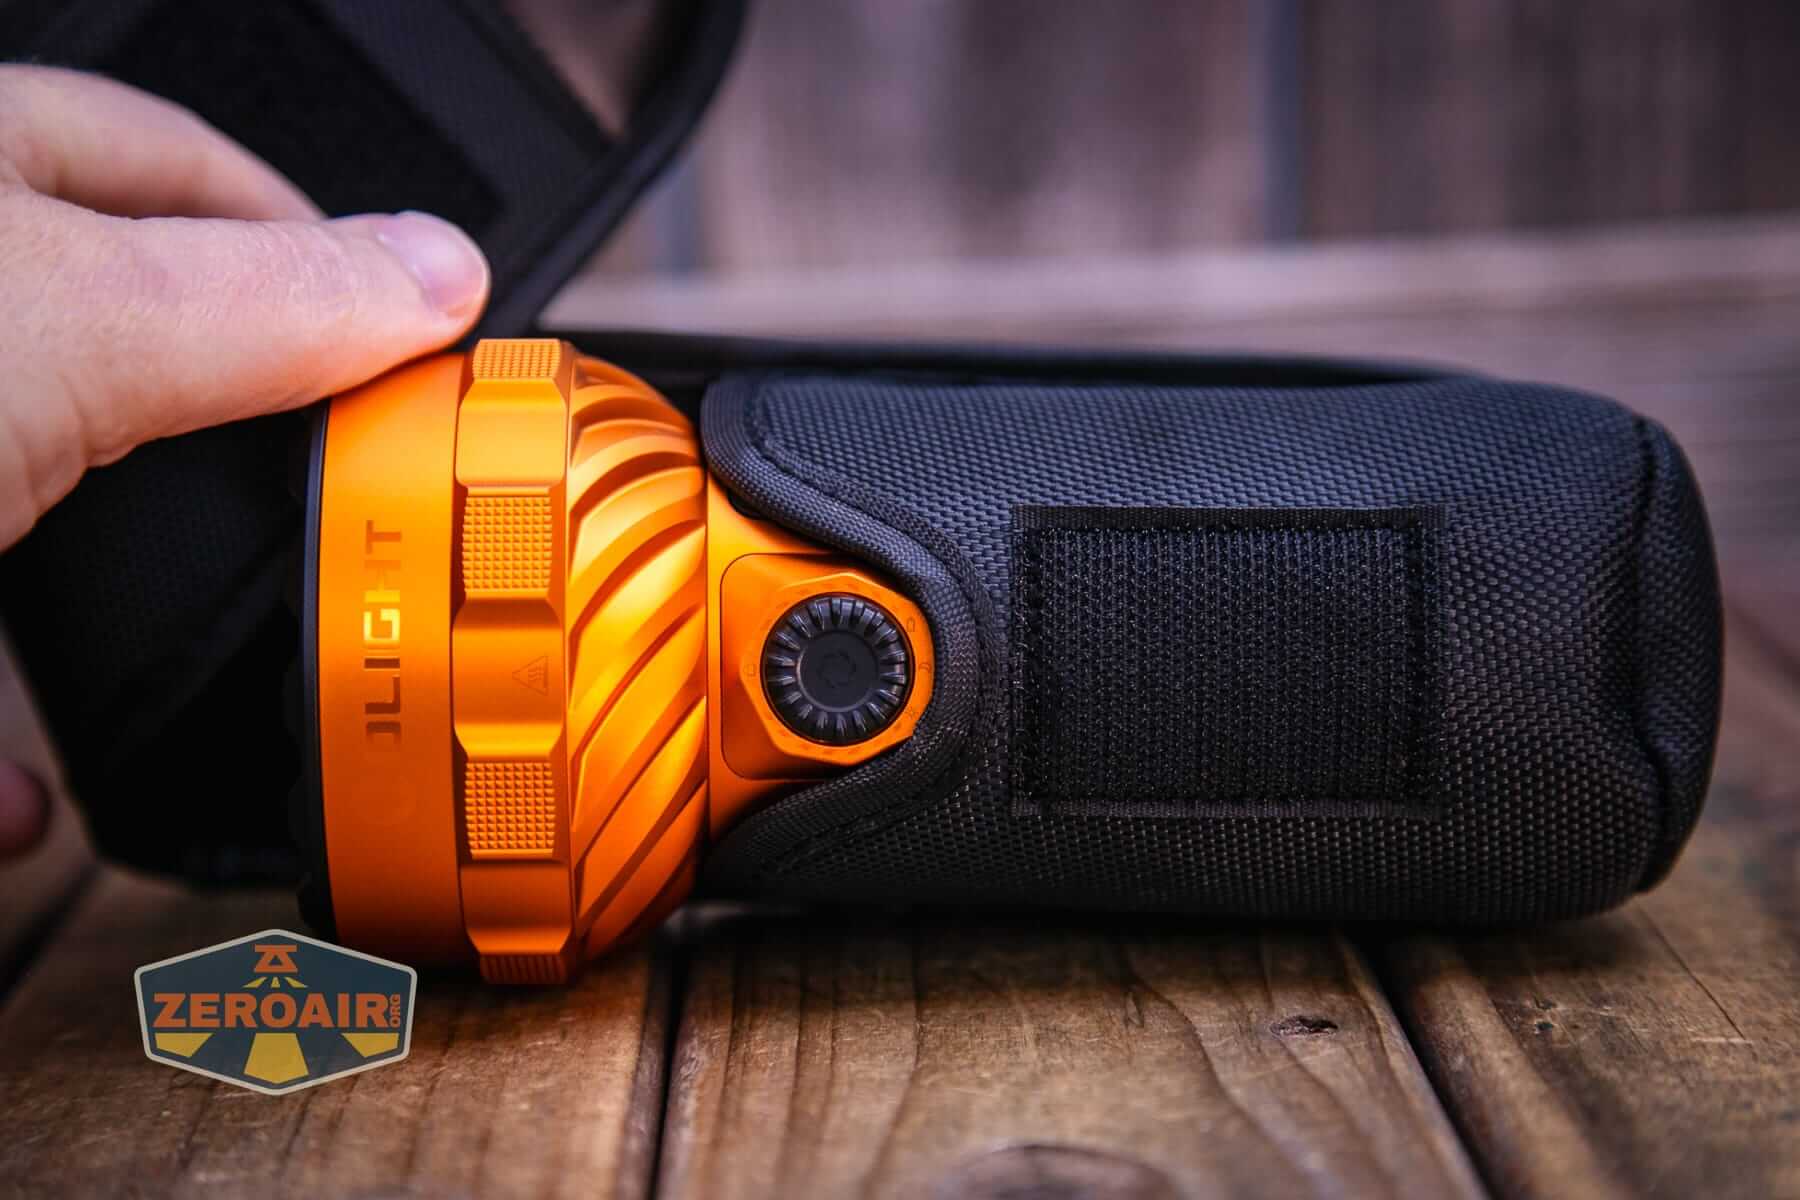
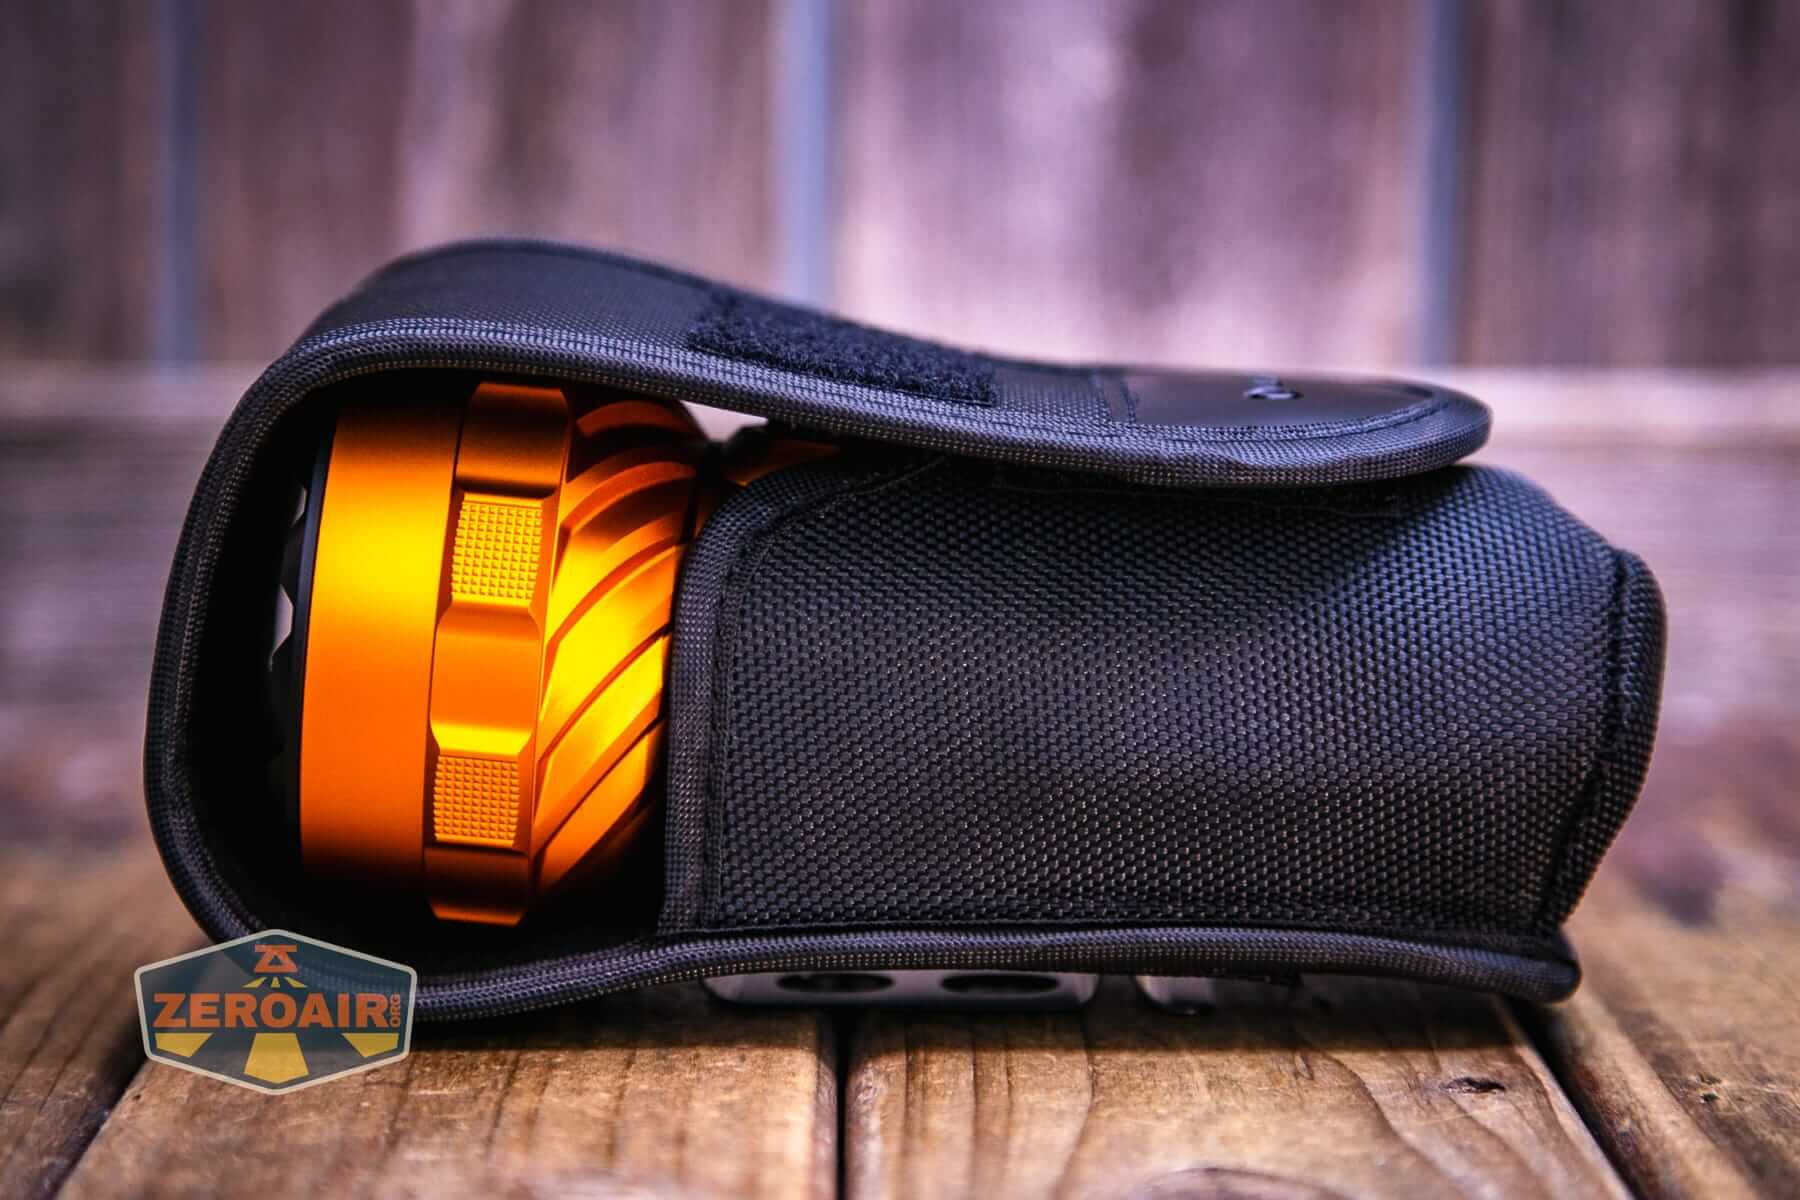
It’s more of a belt or bag holster, since the clip here is metal!
Power and Runtime
The Olight Marauder 3 has a built-in 31,900mAh battery. It’s not field-swappable, nor has Olight disclosed how to exchange the battery (period).
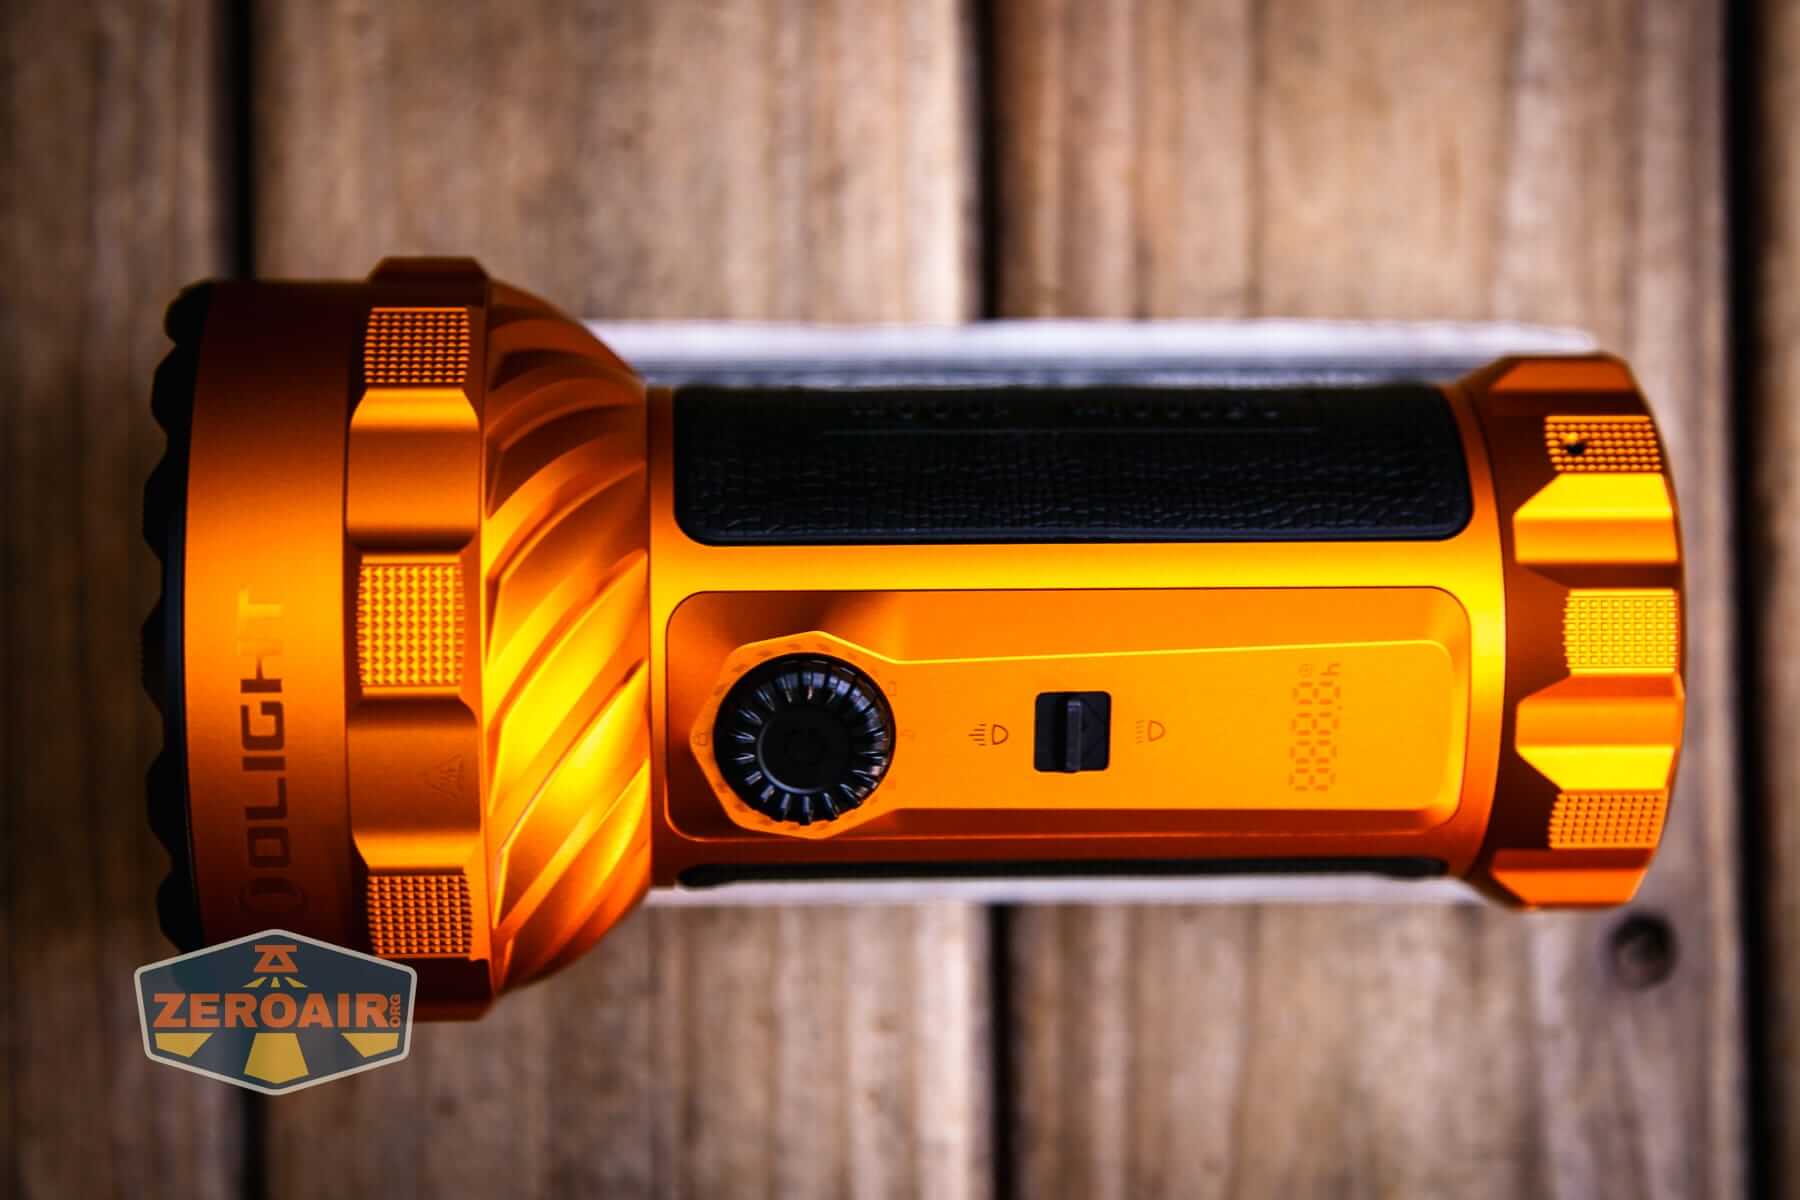
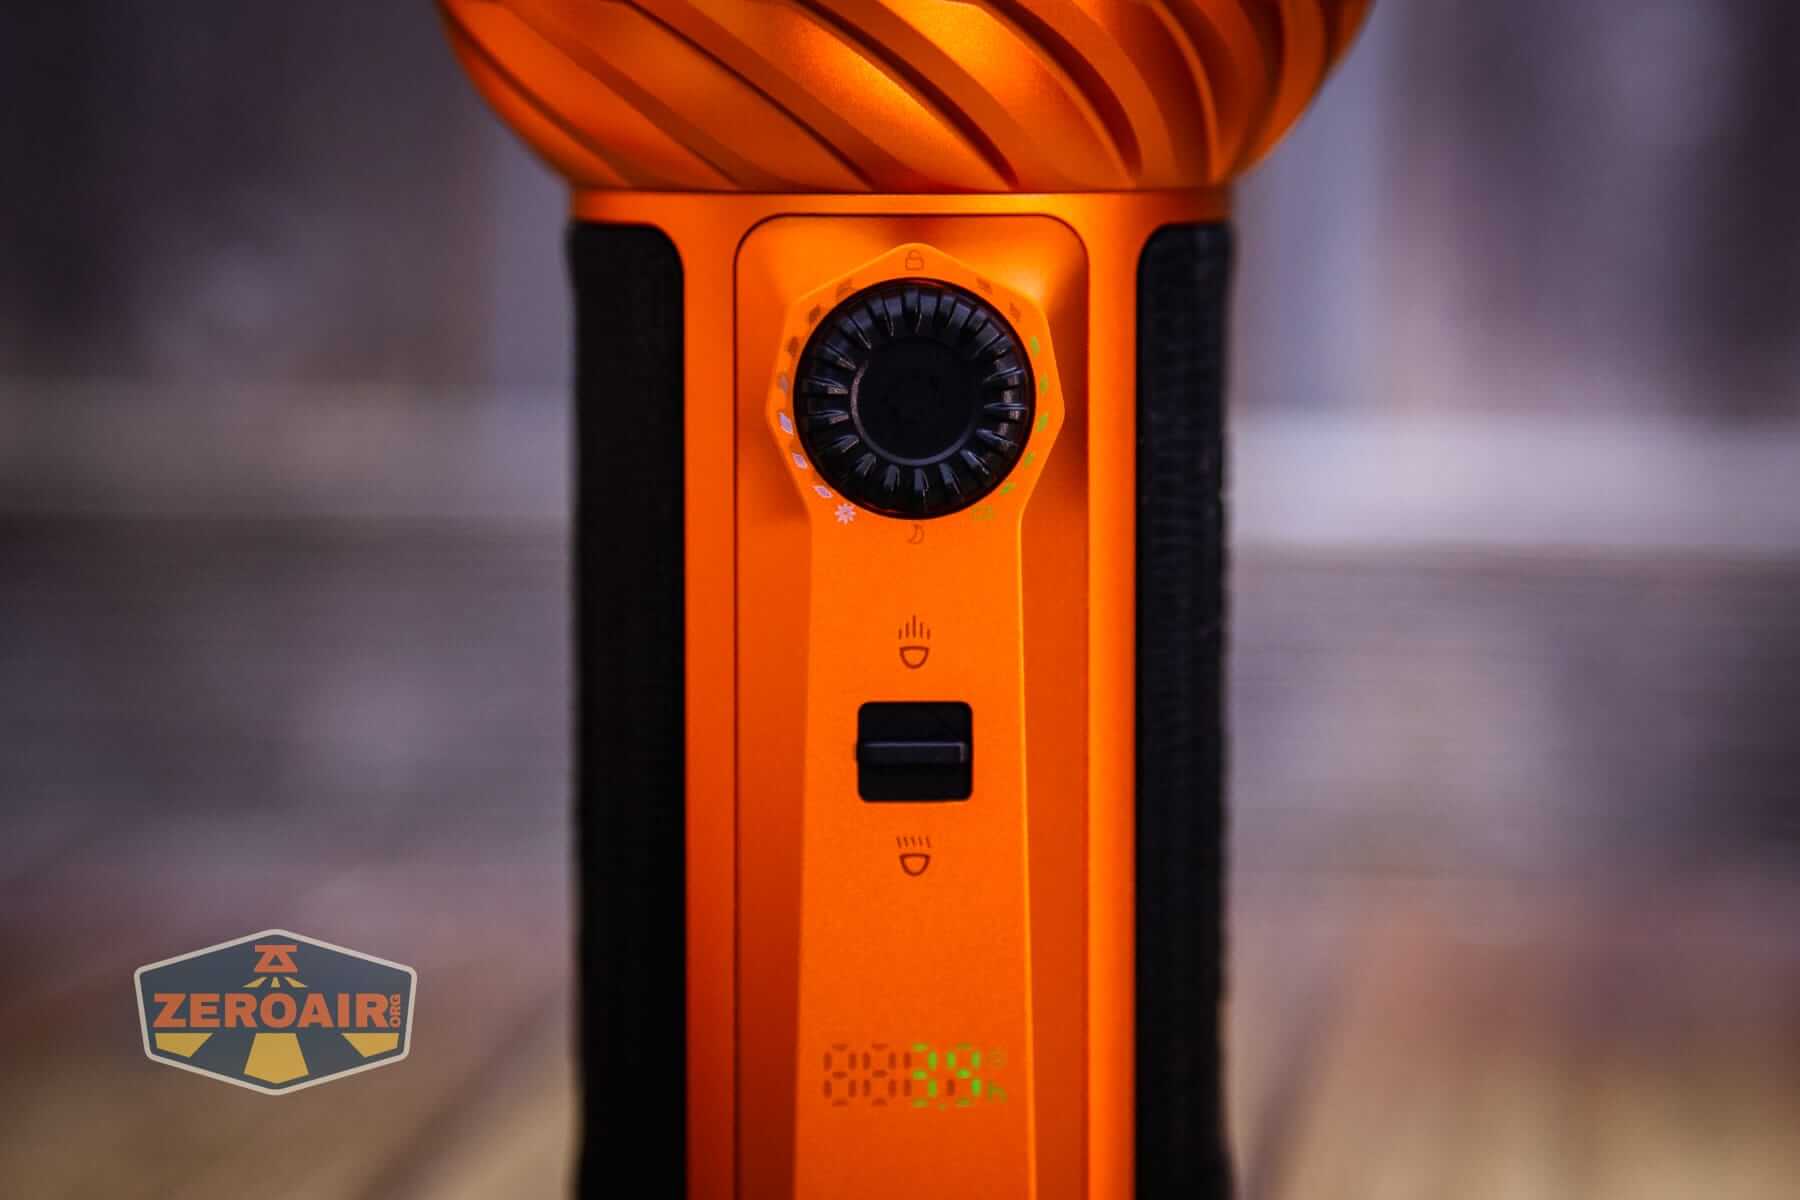
One neat power feature of the Olight Marauder 3 is the runtime indicator! When the light is on, this little display briefly tells how long the light should run at the present level.
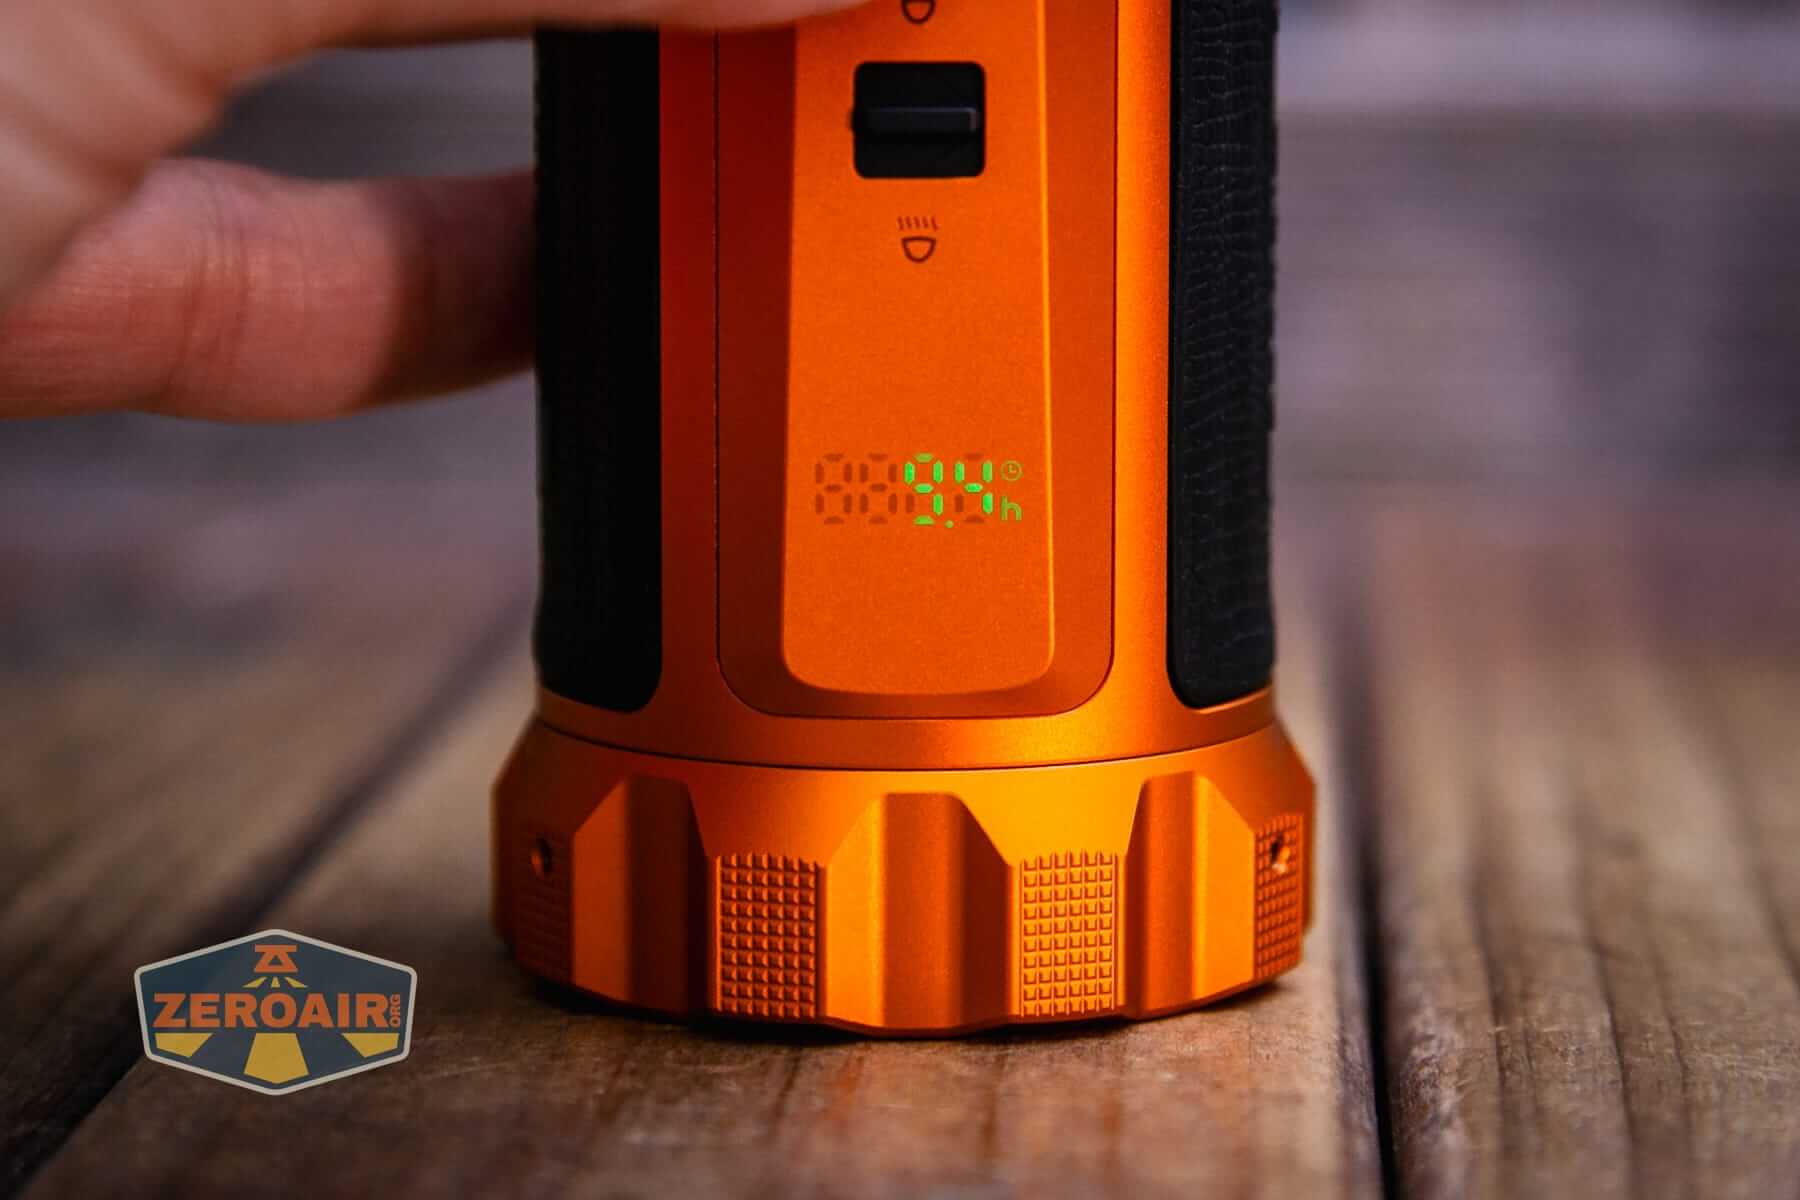
Surrounding the switch is also an indicator for how much battery is left (without respect to the mode).
And I don’t want to understate this – the neatness of this little runtime estimator. It’s flush with the body of the light. I can’t feel it at all. I have no idea how this is done, as I didn’t know aluminum could be transparent. But it’s extraordinarily subtle!
The Olight Marauder 3 doesn’t (exactly) have discrete modes, so I just tested all 3 highest options. (I did count about 29 output levels on the rotary dial, though.)
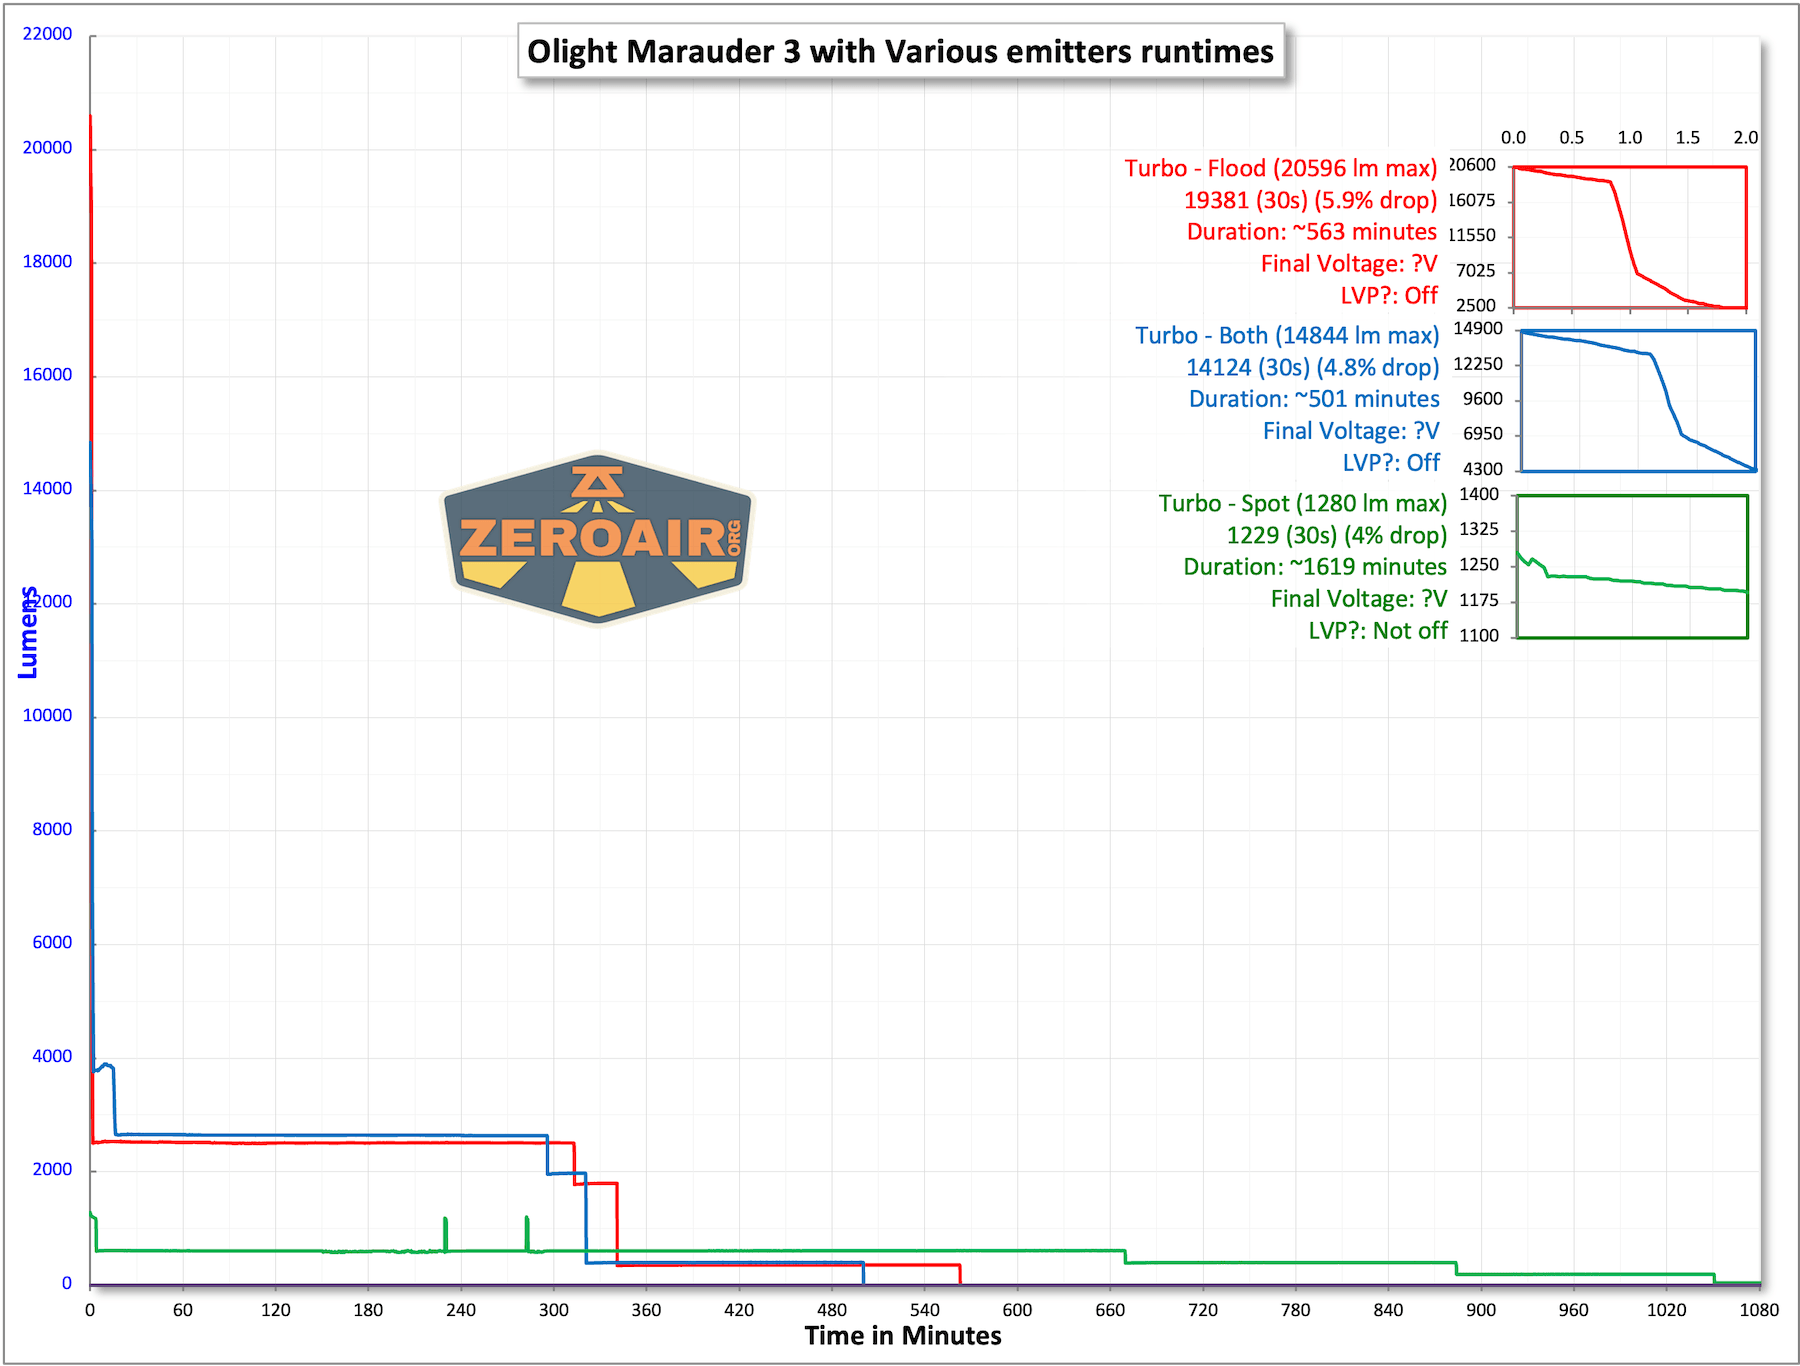
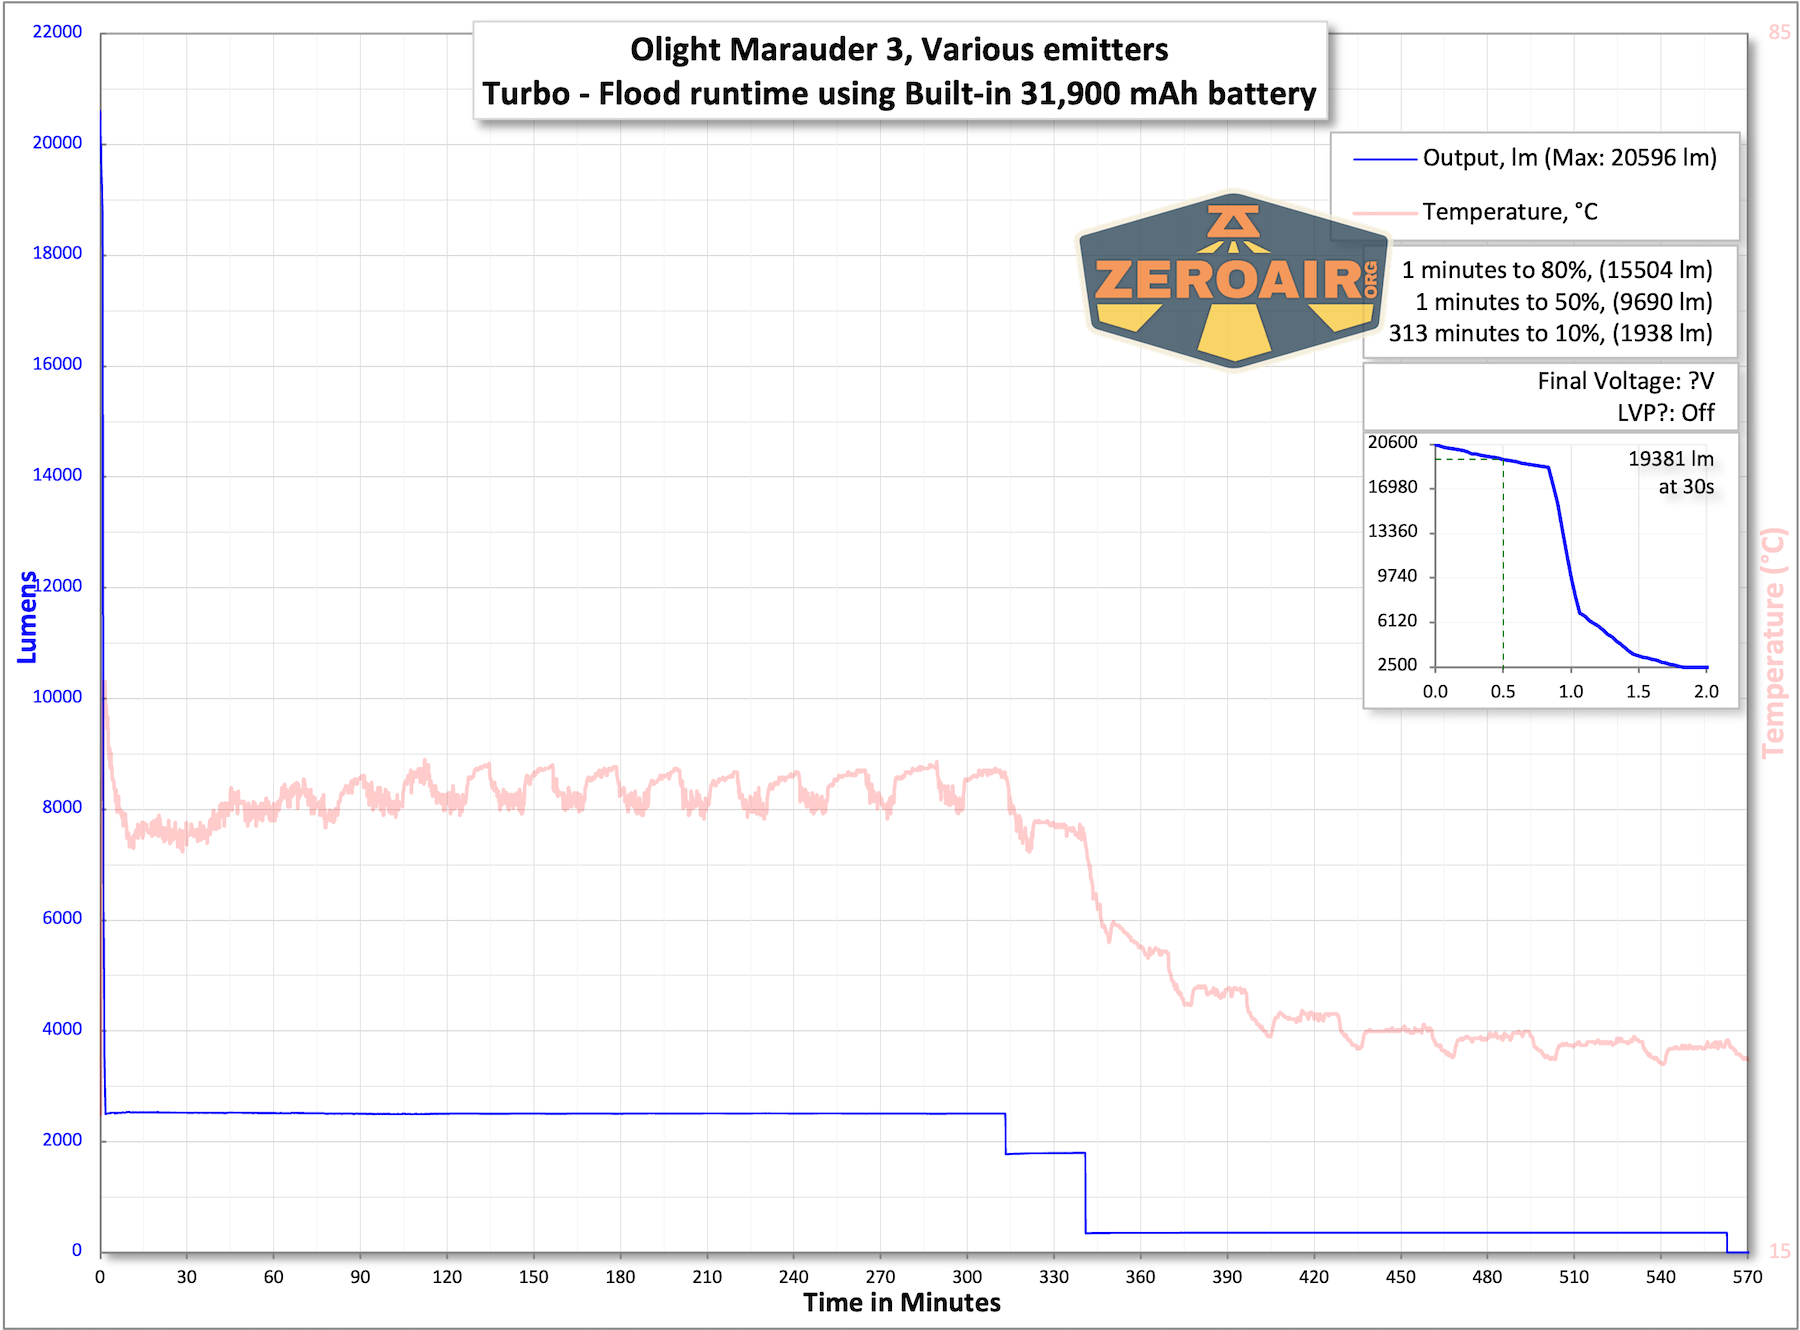
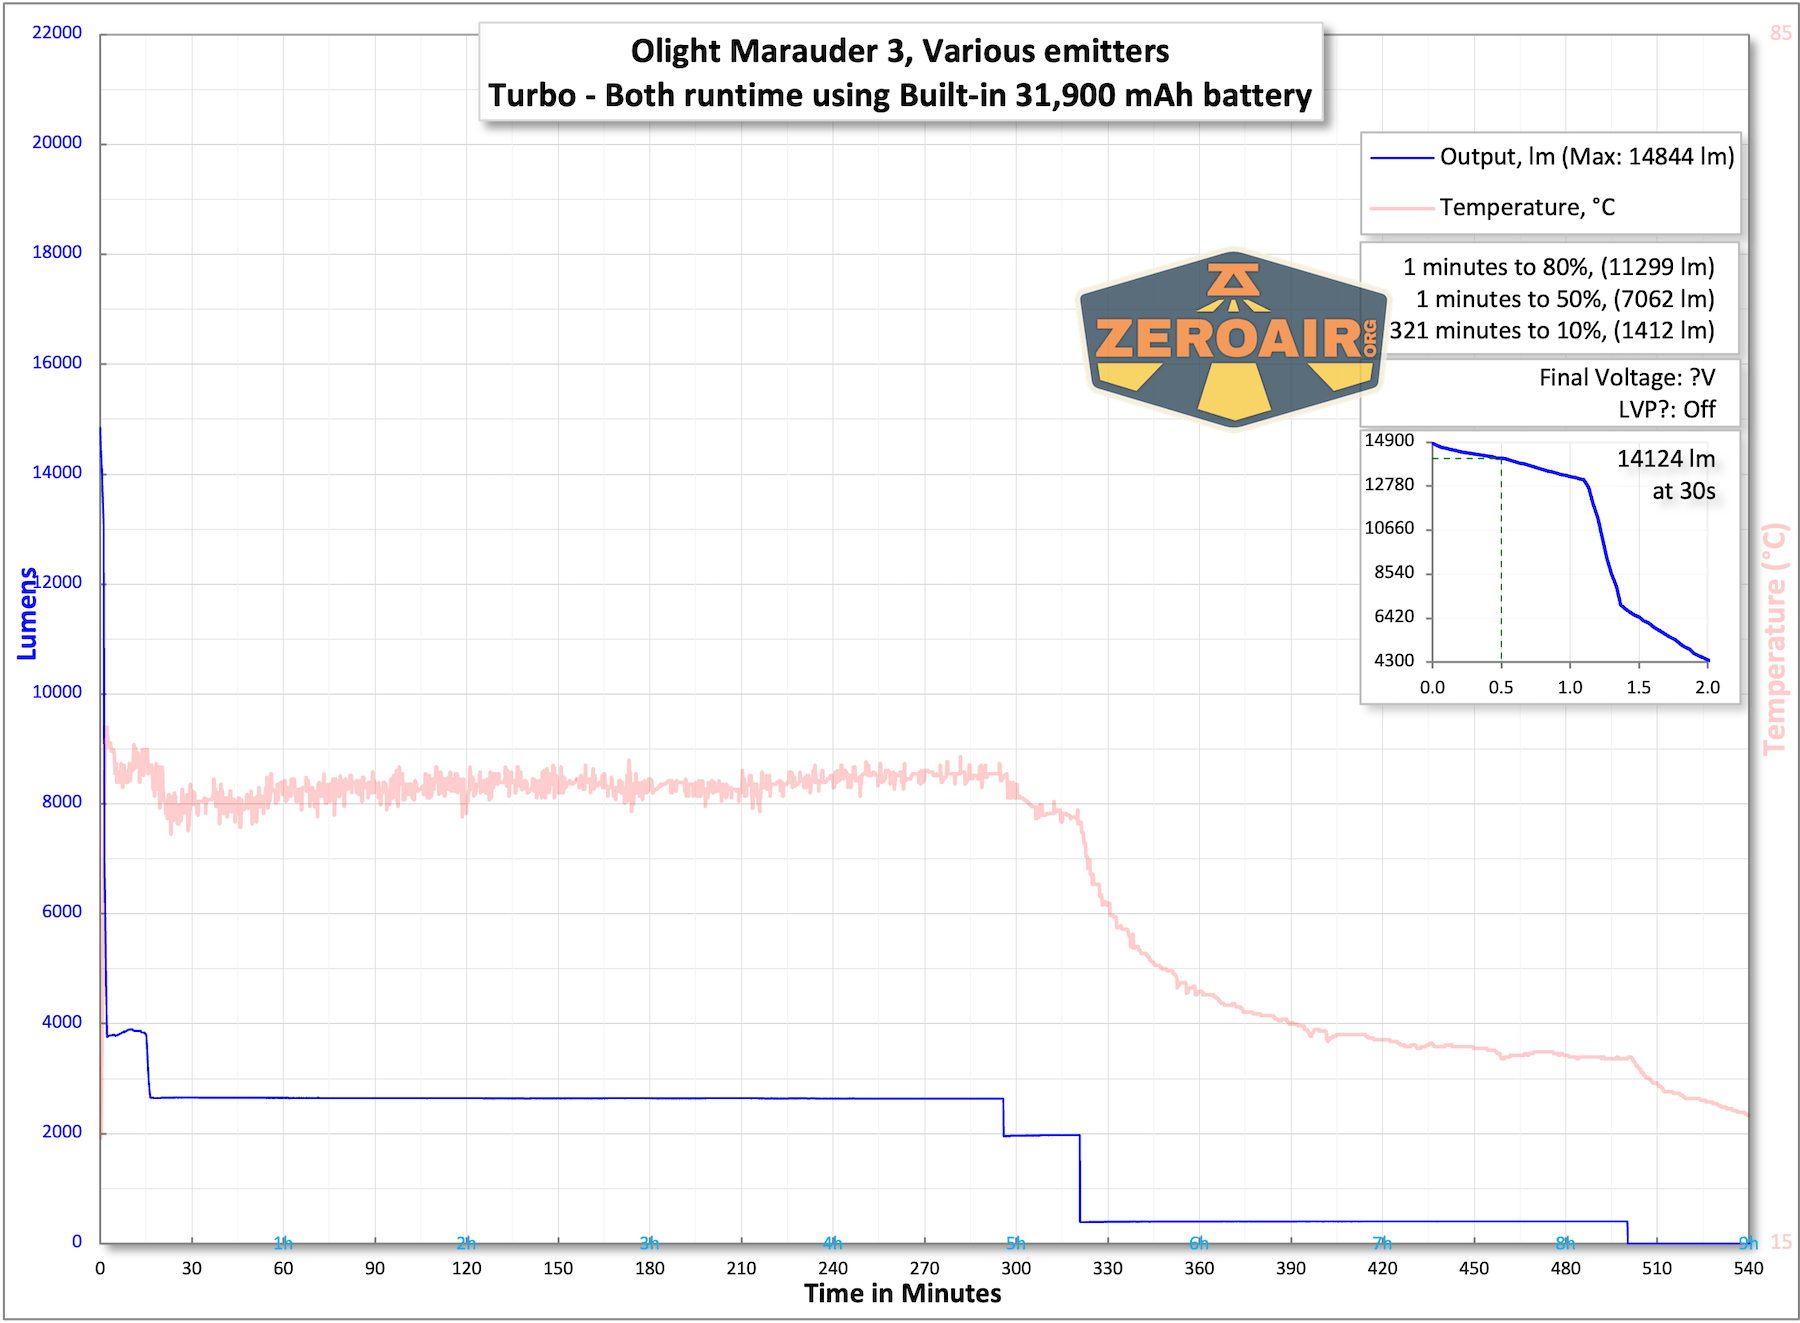
Somewhere along the way on this spotlight test, I noted the stepdown (and that the test might really last forever), so I double-clicked to turbo again (and did this twice). (about 240 and 300 minutes).
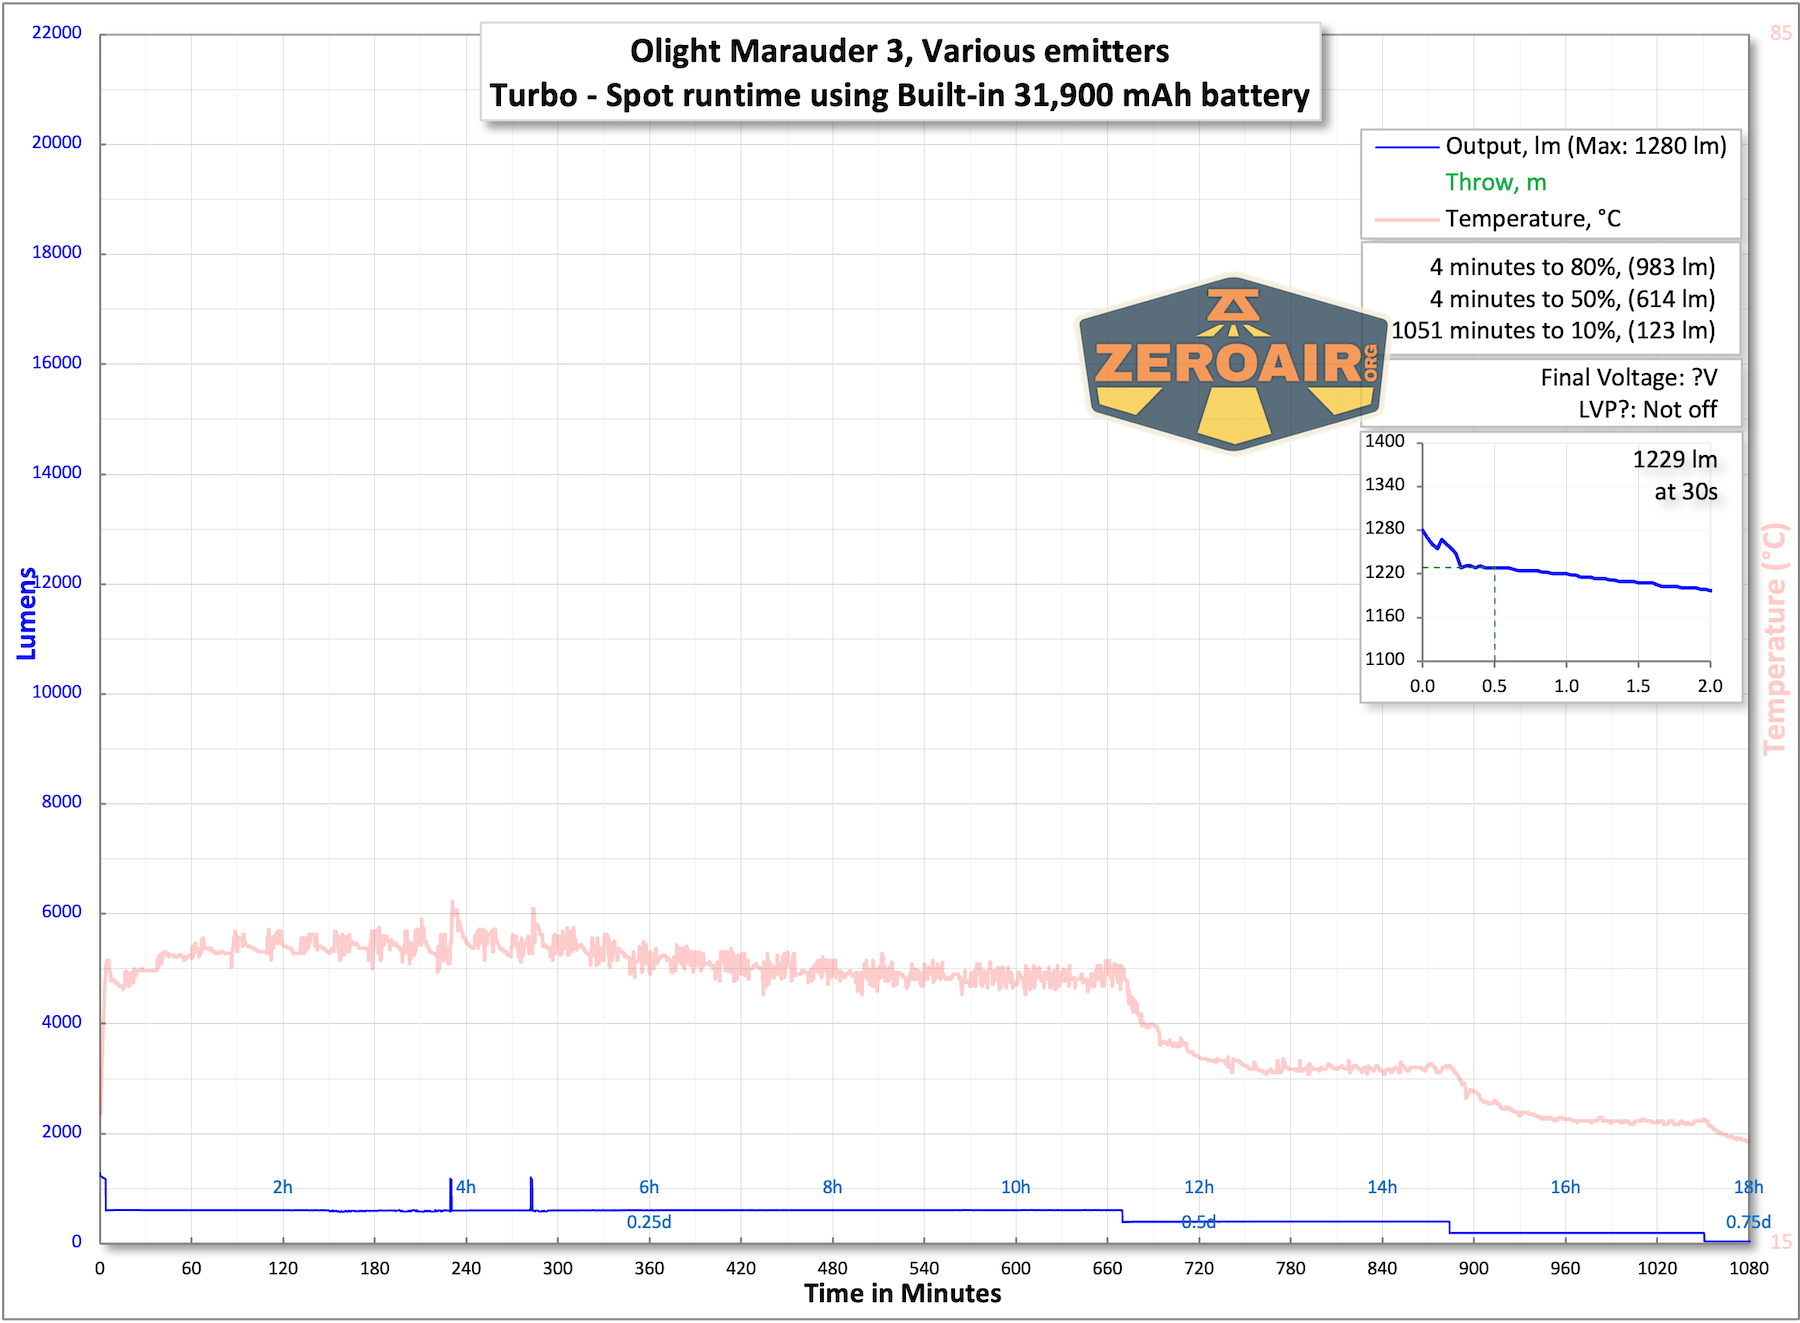
The temperature lines in these charts are included as general context, not precise measurements. The values represent the range (min to max) during testing, but should not be taken as exact readings. A temperature sensor is not always attached to the bezel (or even the hottest spot, assuming that could be defined). Even with ideal placement, too many variables affect temperature to definitively state a specific max value.
Charging
The Olight Marauder 3 has onboard charging. This is a USB-C port in the head, and it has a little flip-up cover similar to what we’ve been seeing lately on Olights like the Oclip and ArkPro Ultras.
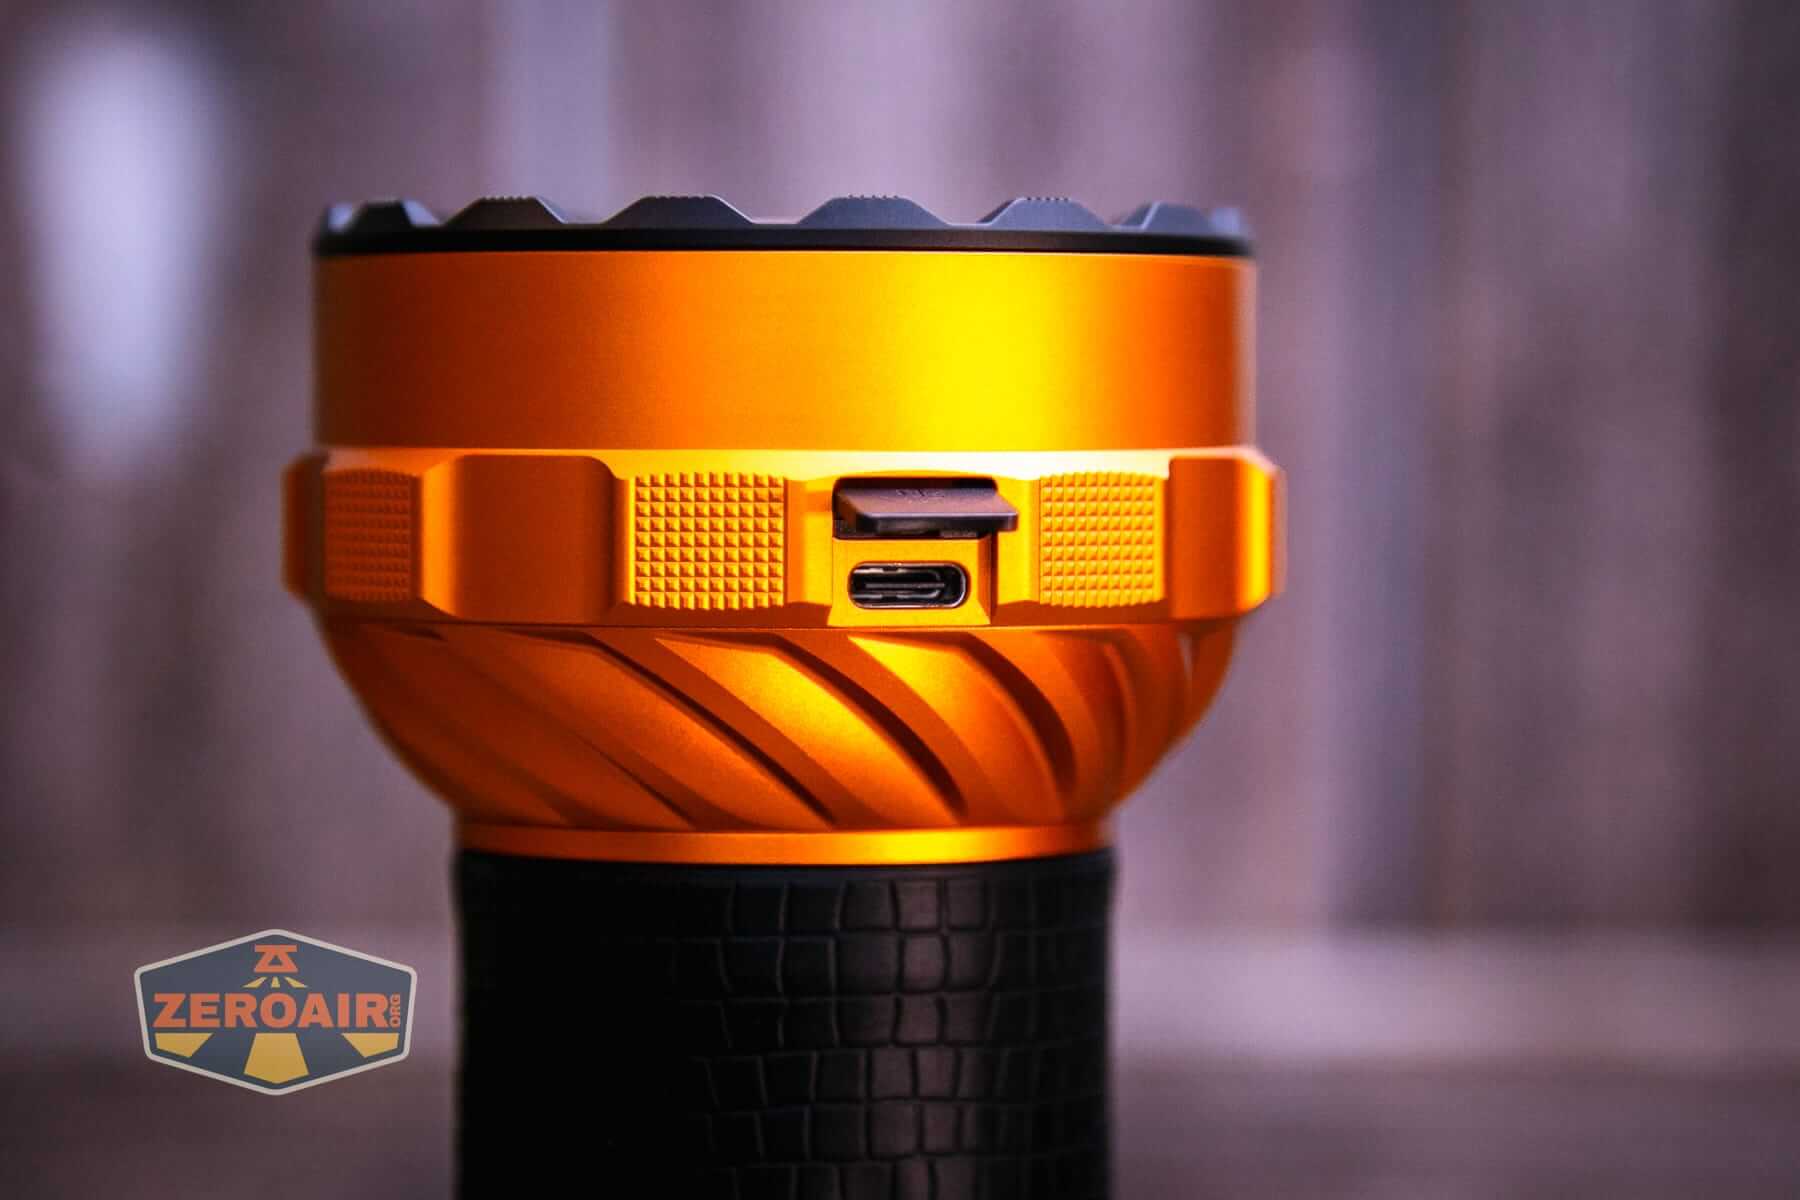
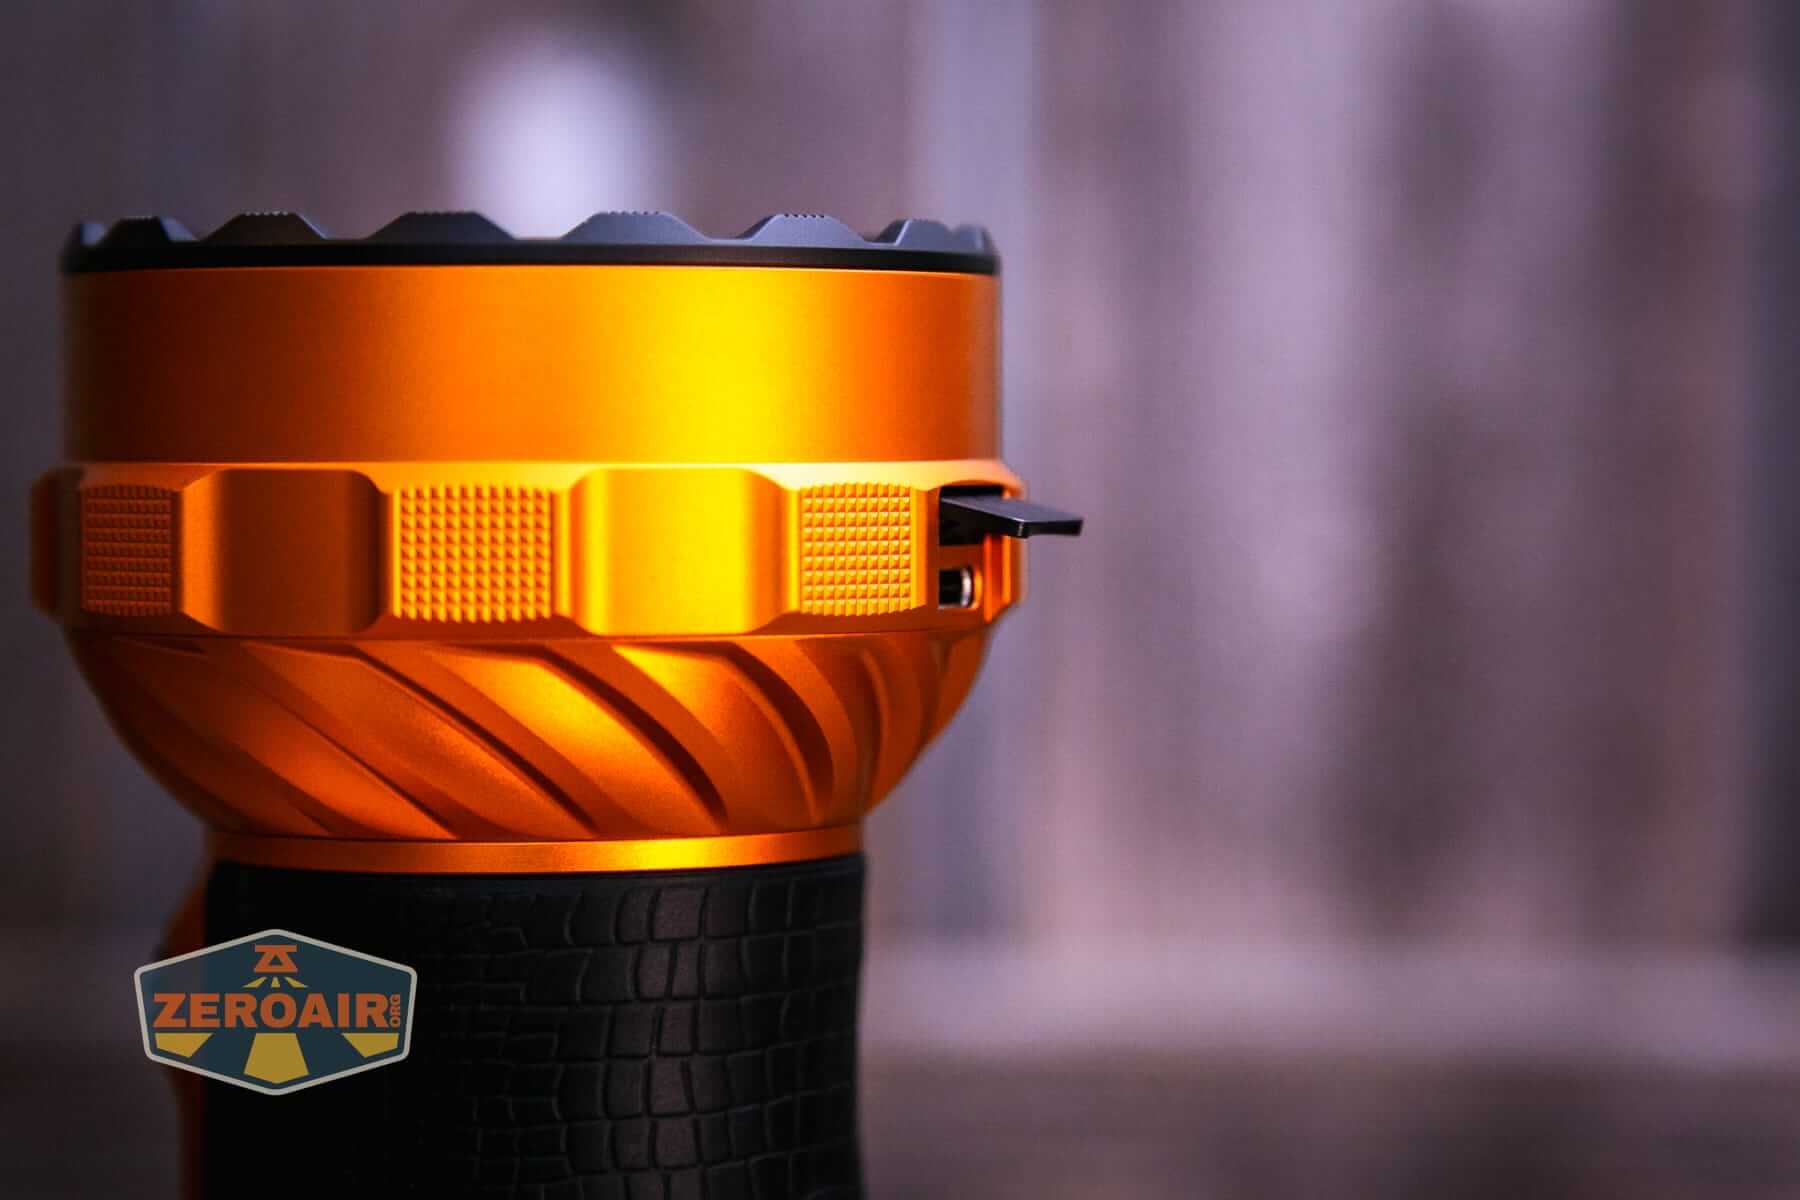
Olight includes two charging cables. The one seen below is a very common C to C cable. The other was mentioned above and doubles as a lanyard.
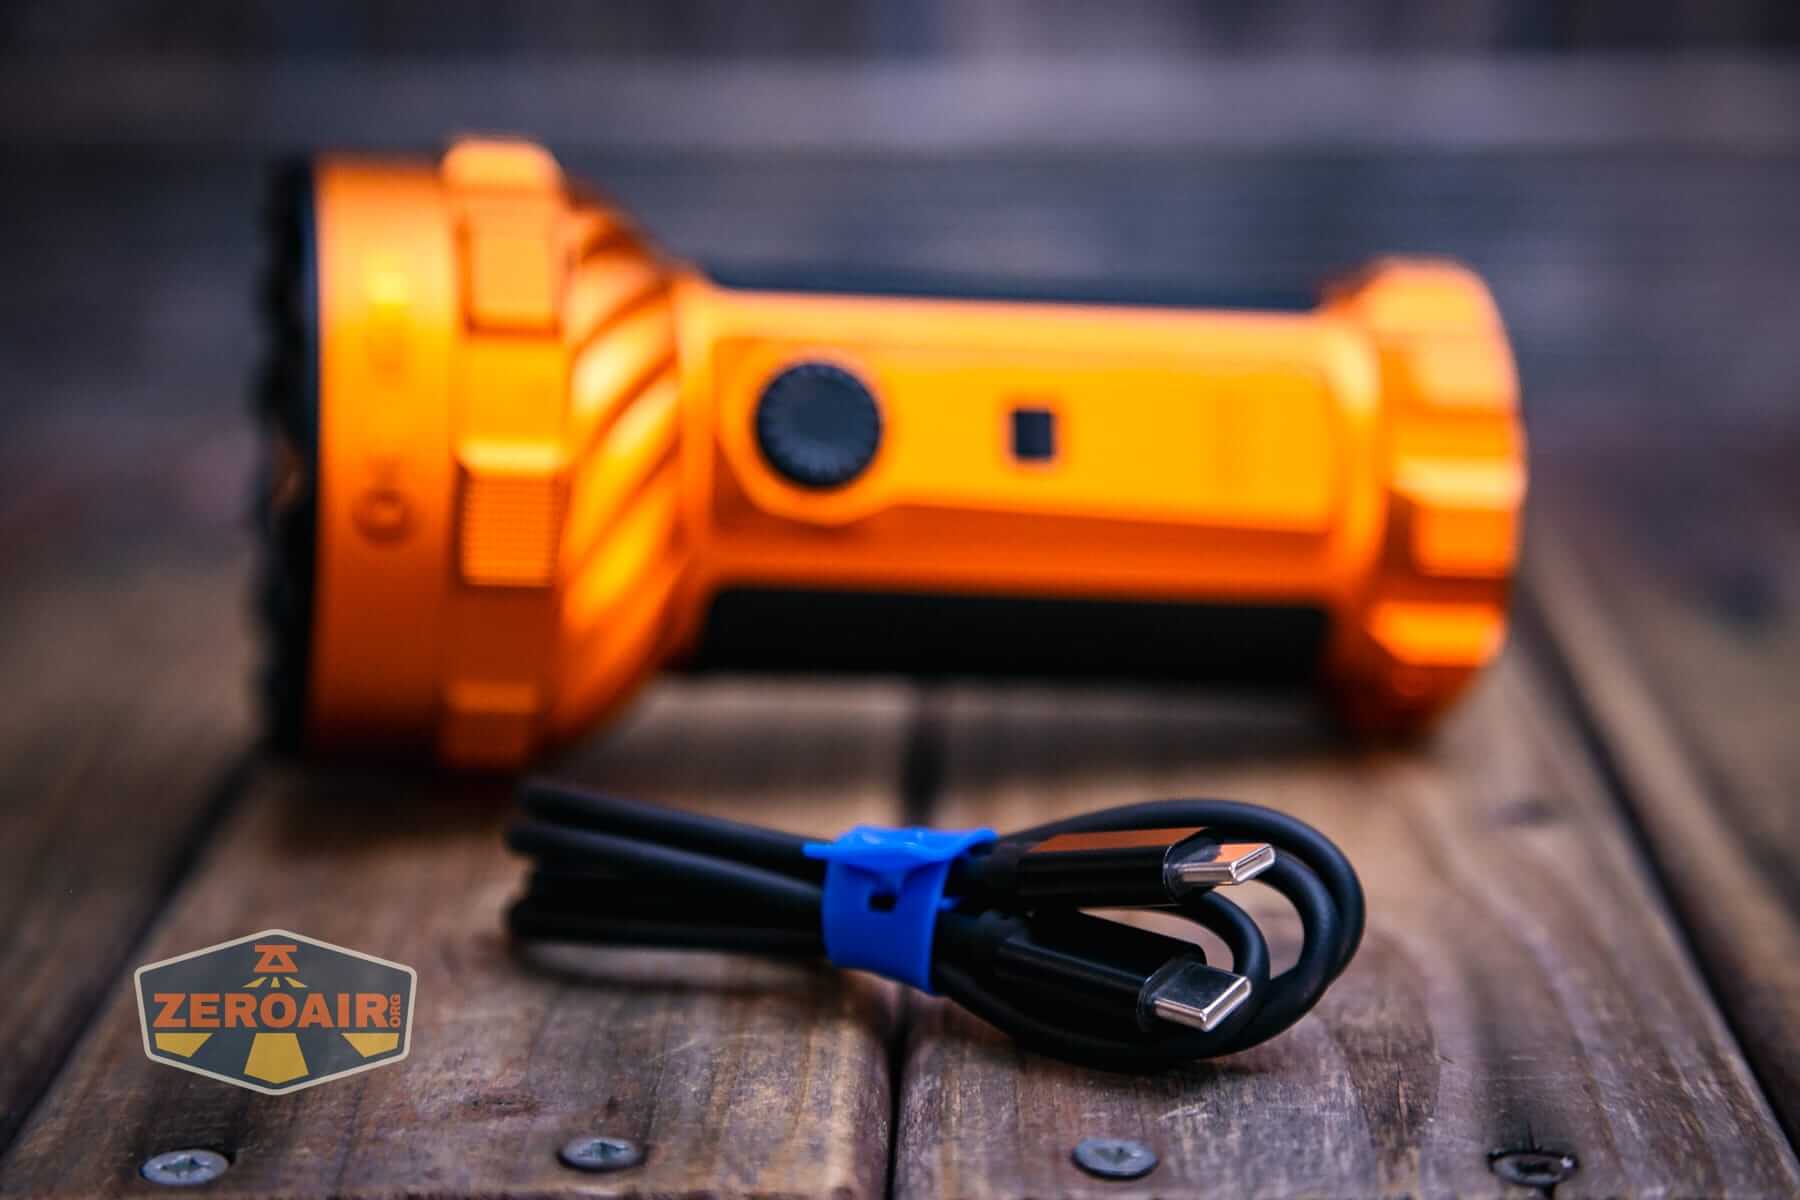
The lanyard is a robust, if short, C to C cable.
Olight includes a wall wart, too. The Marauder 3 can charge at 12V, so this wall wart is suitable for quick charging.
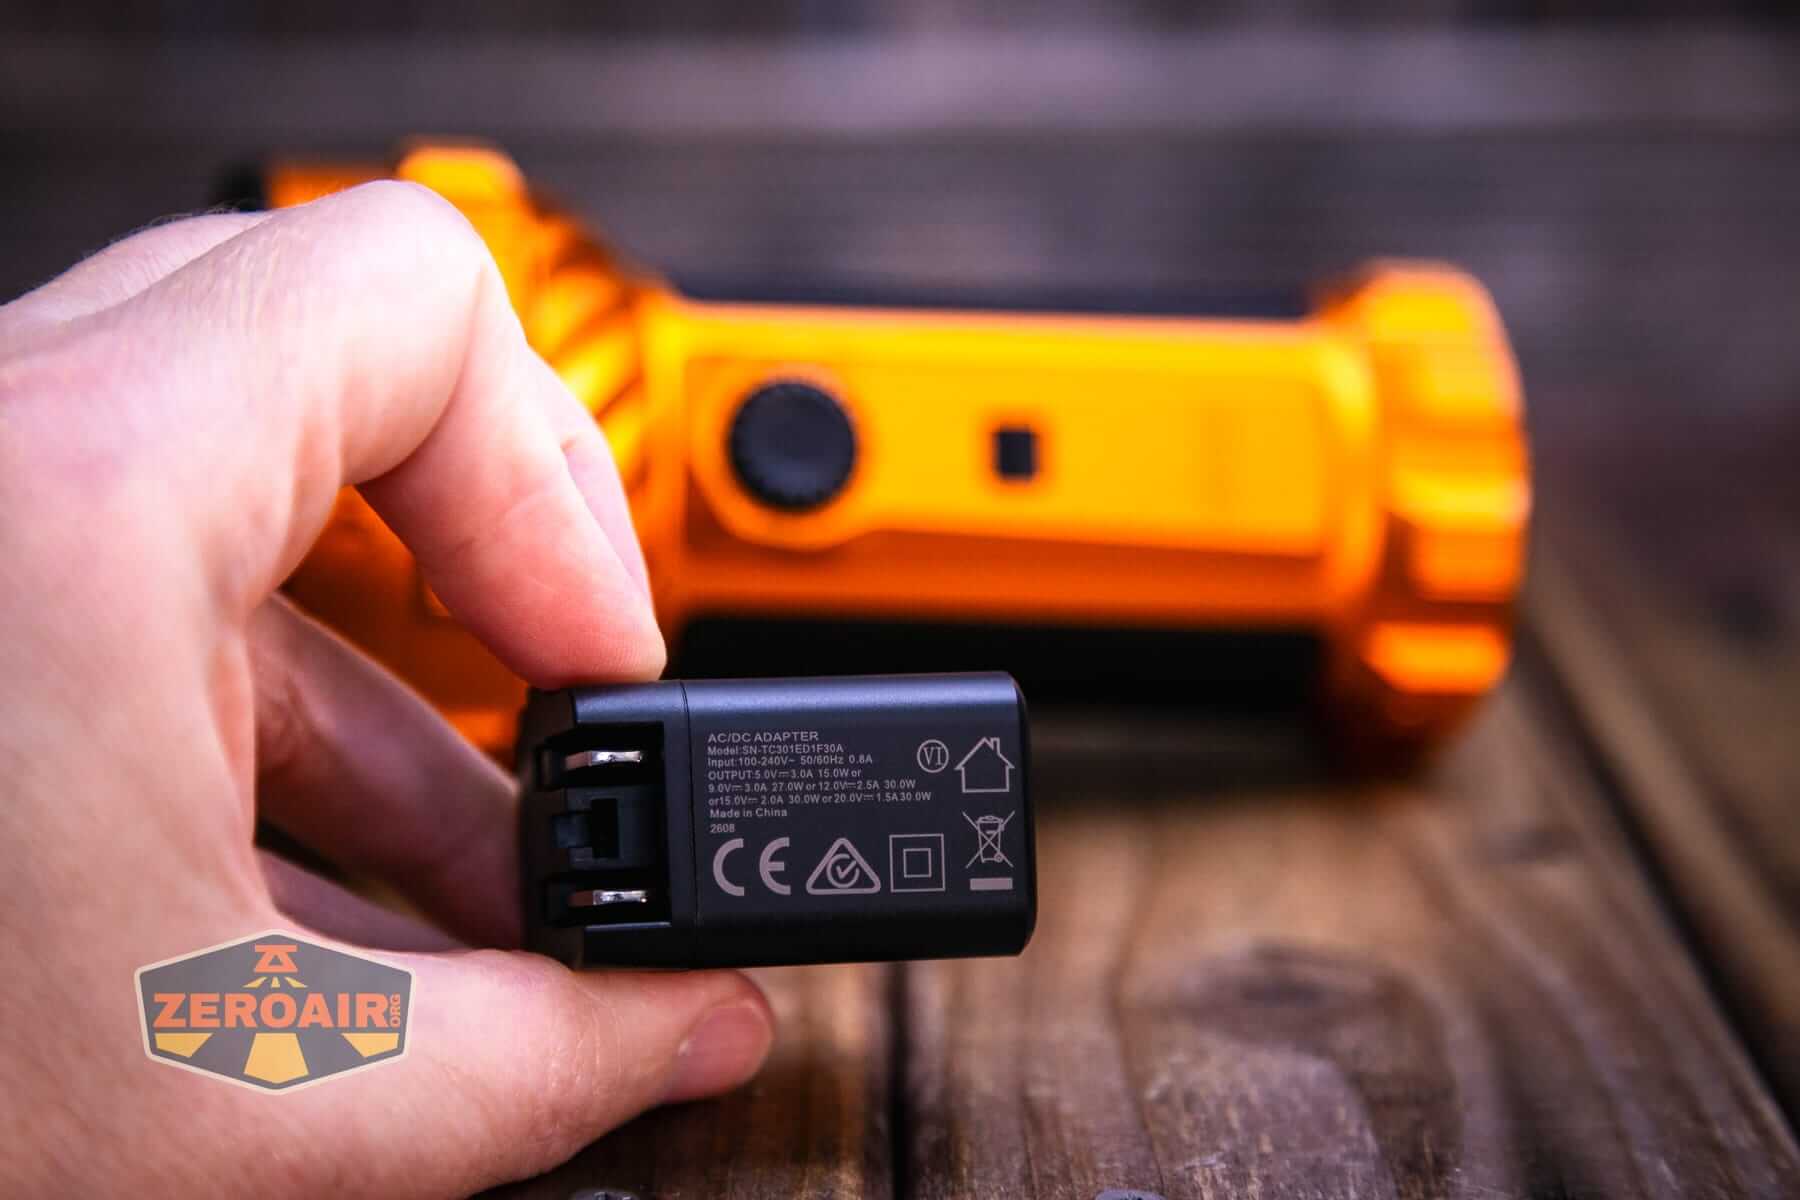
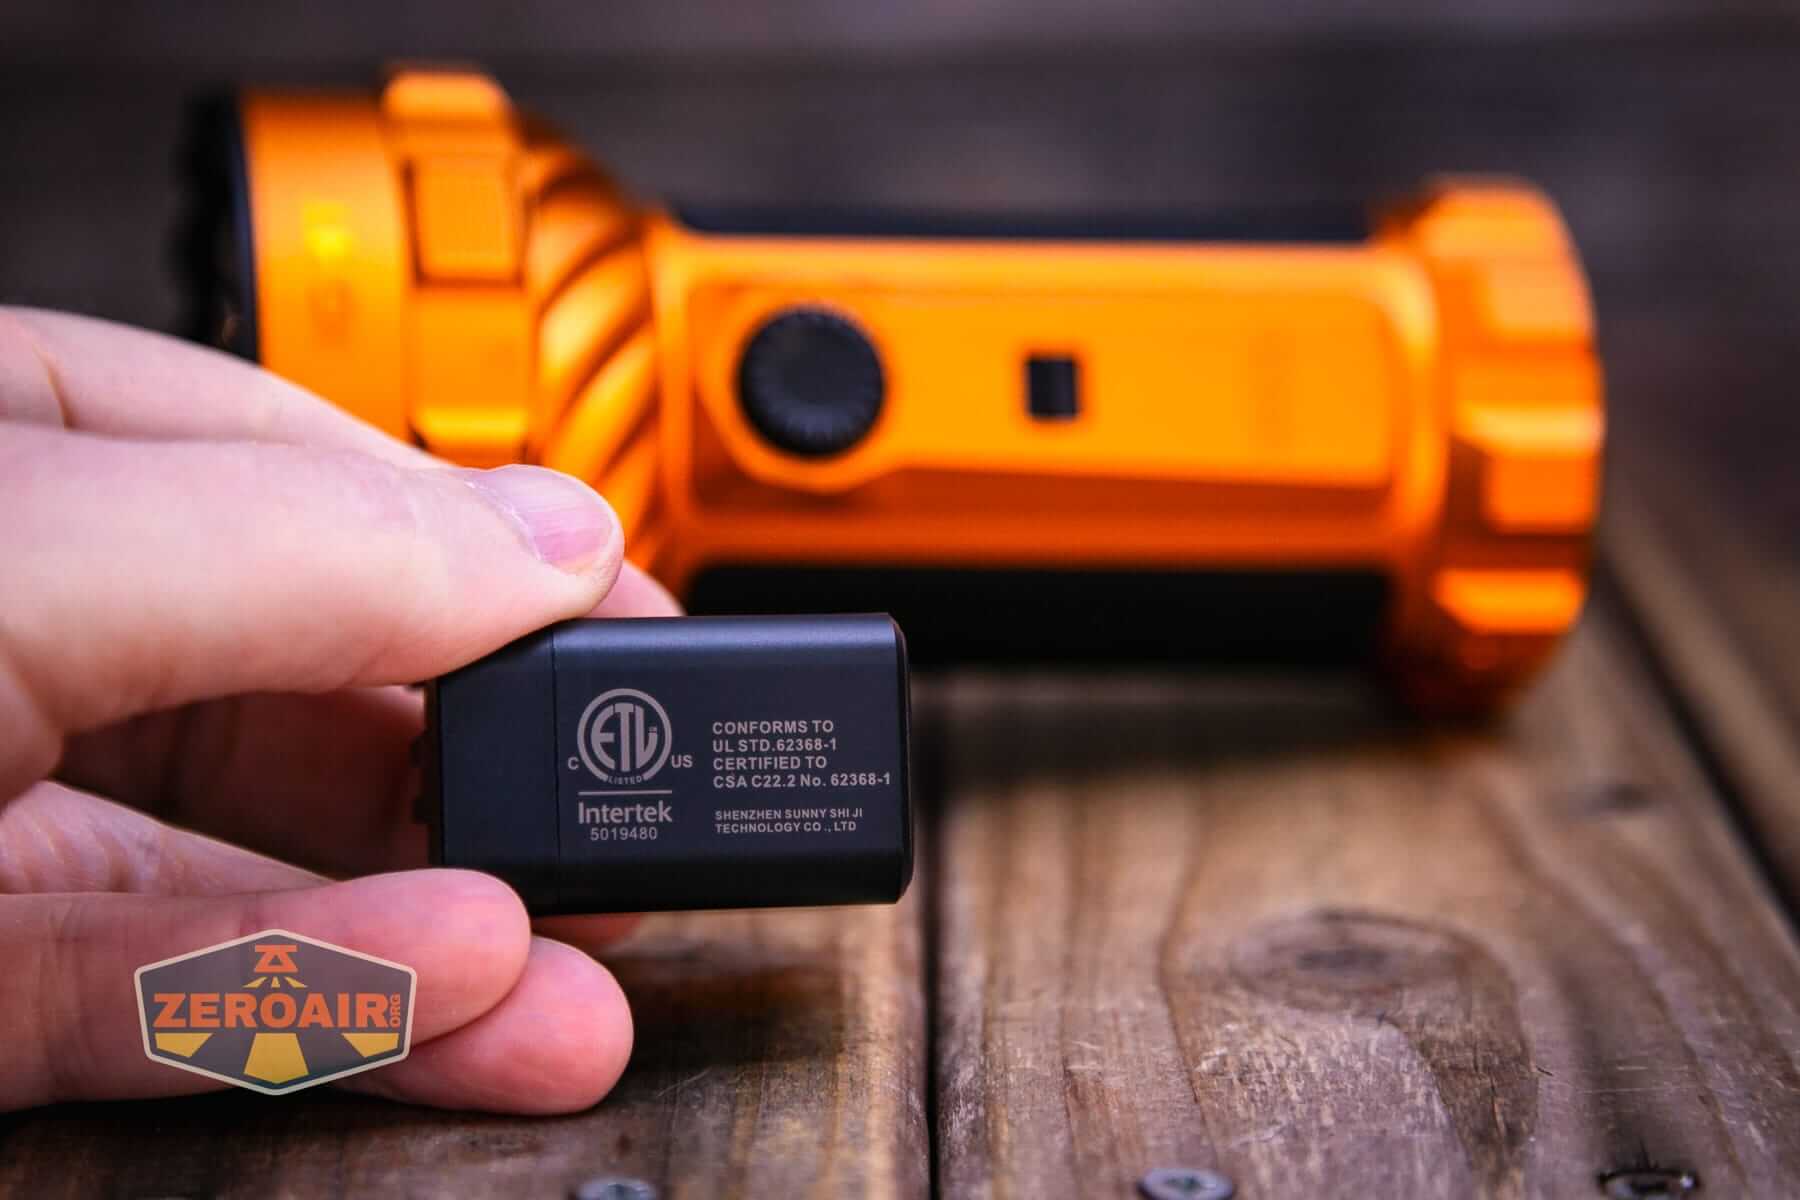
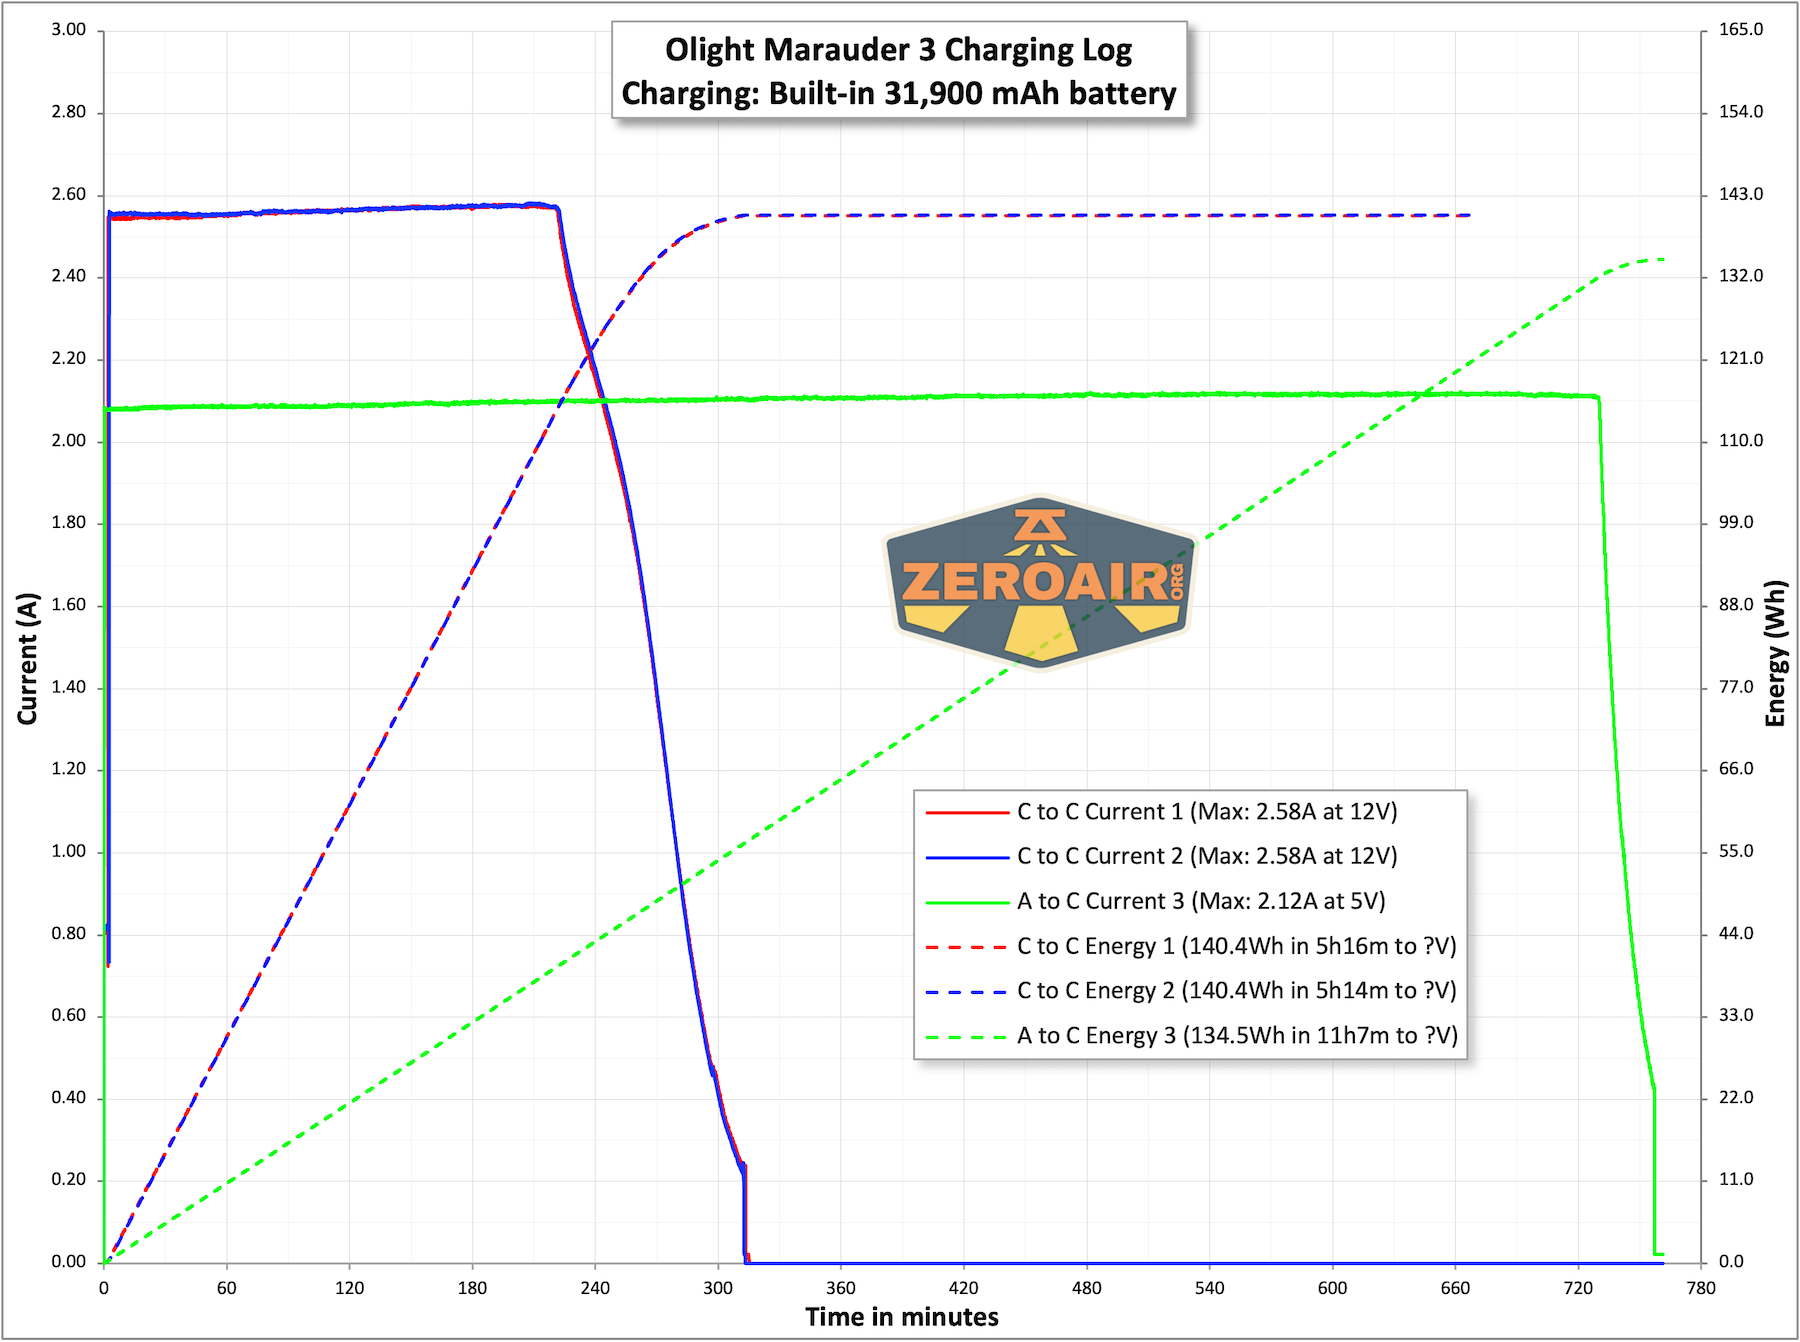
Charging via C to C and A to C both work just fine. This is a big battery (nearly 32Ah), so you’d expect charging to take a while. At 12V, it’s not so bad (5ish hours). Five volts from USB-A is slower, at around 11 hours.
While charging, the little display under the mode selector switch displays the estimated time until charging is complete.
Powerbank
The USB-C charging port can also be used as a powerbank! With the built-in battery having a 31,900mAh capacity, this should charge your cell phone at least a few times! I may test this later if I can get my setup to run!
Pulse Width Modulation
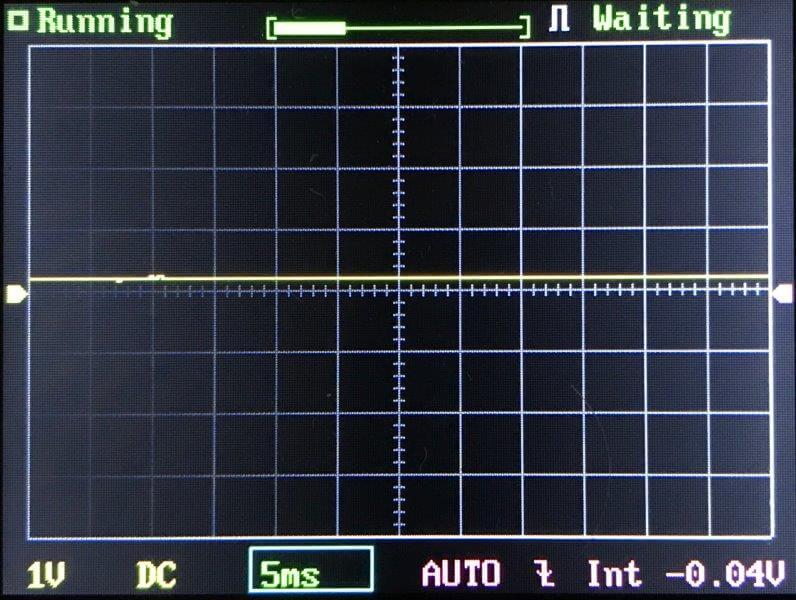
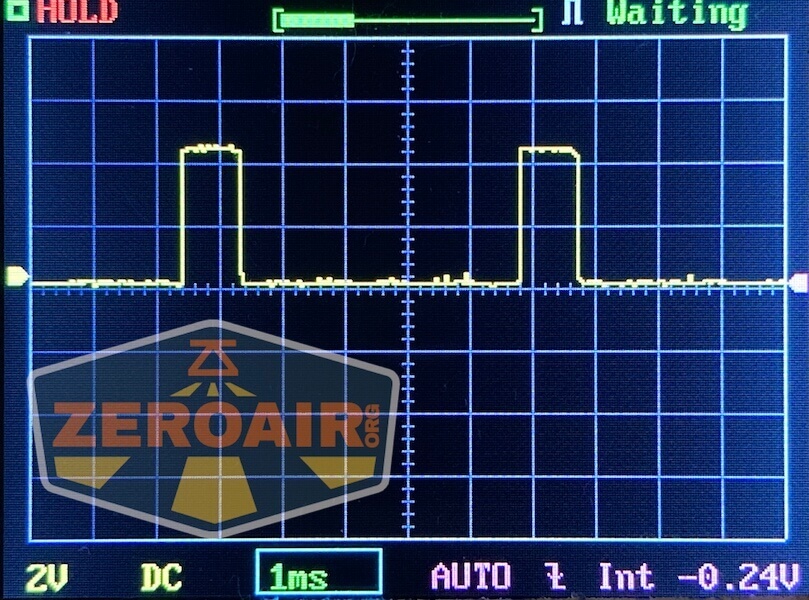
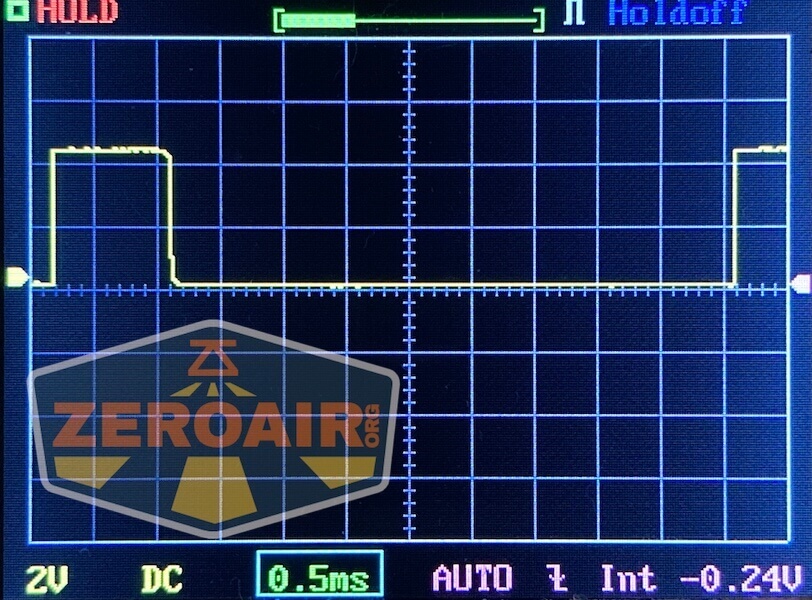
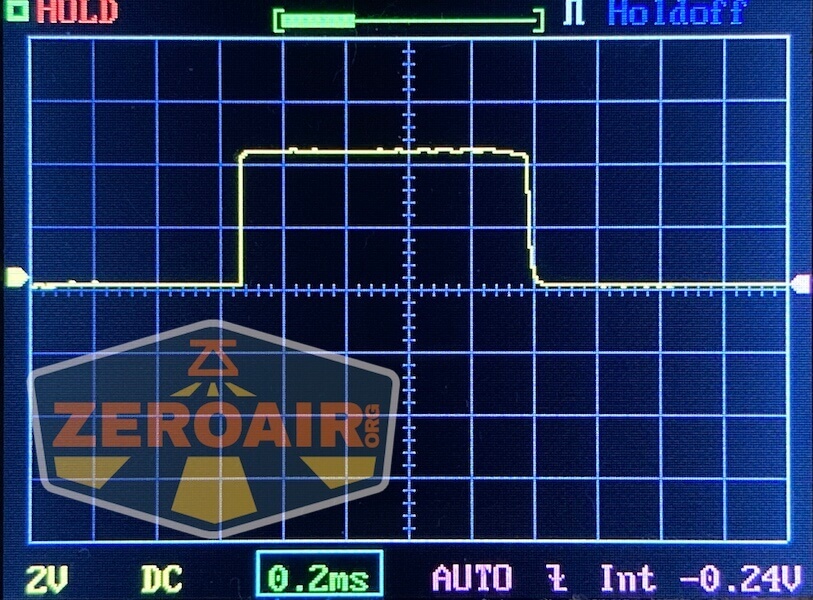
Click here to see a “baseline” – a chart with almost no light hitting the sensor.
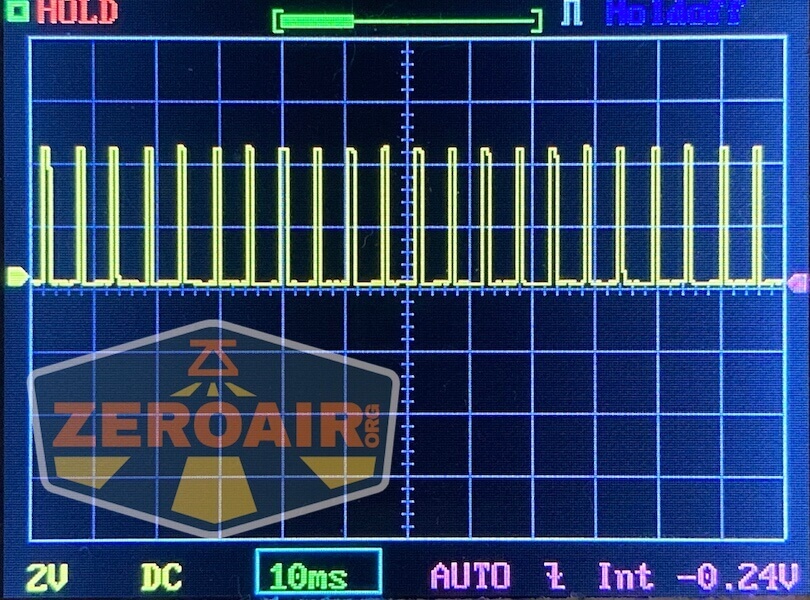
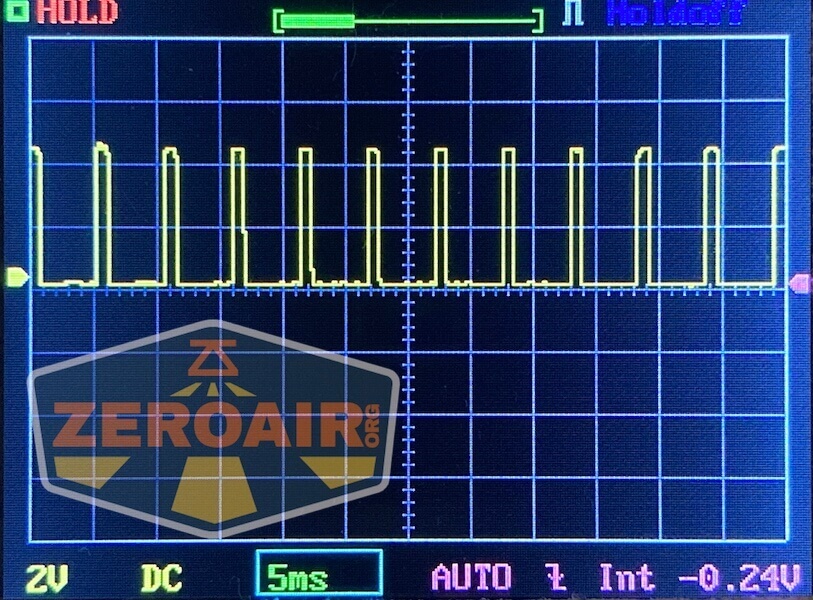
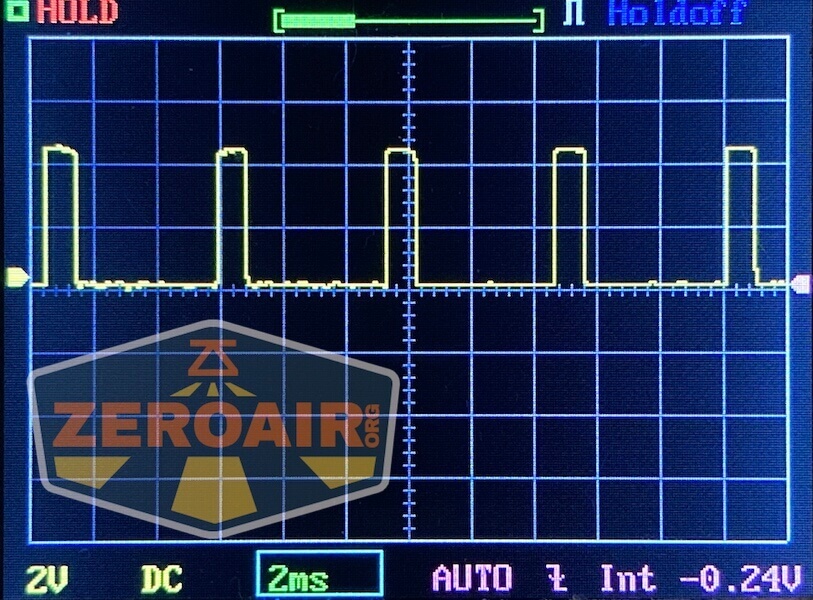
Then there’s the Ultrafire WF-602C flashlight, which has some of the worst PWM I’ve seen. It’s so bad that I used a post about it to explain PWM! Here are multiple timescales (10ms, 5ms, 2ms, 1ms, 0.5ms, 0.2ms) to make comparing this “worst” PWM light to the test light easier. That post also explains why I didn’t test the WF-602C at the usual 50us scale.
User Interface and Operation
There are two switches on the Olight Marauder 3. First is this rotary switch.
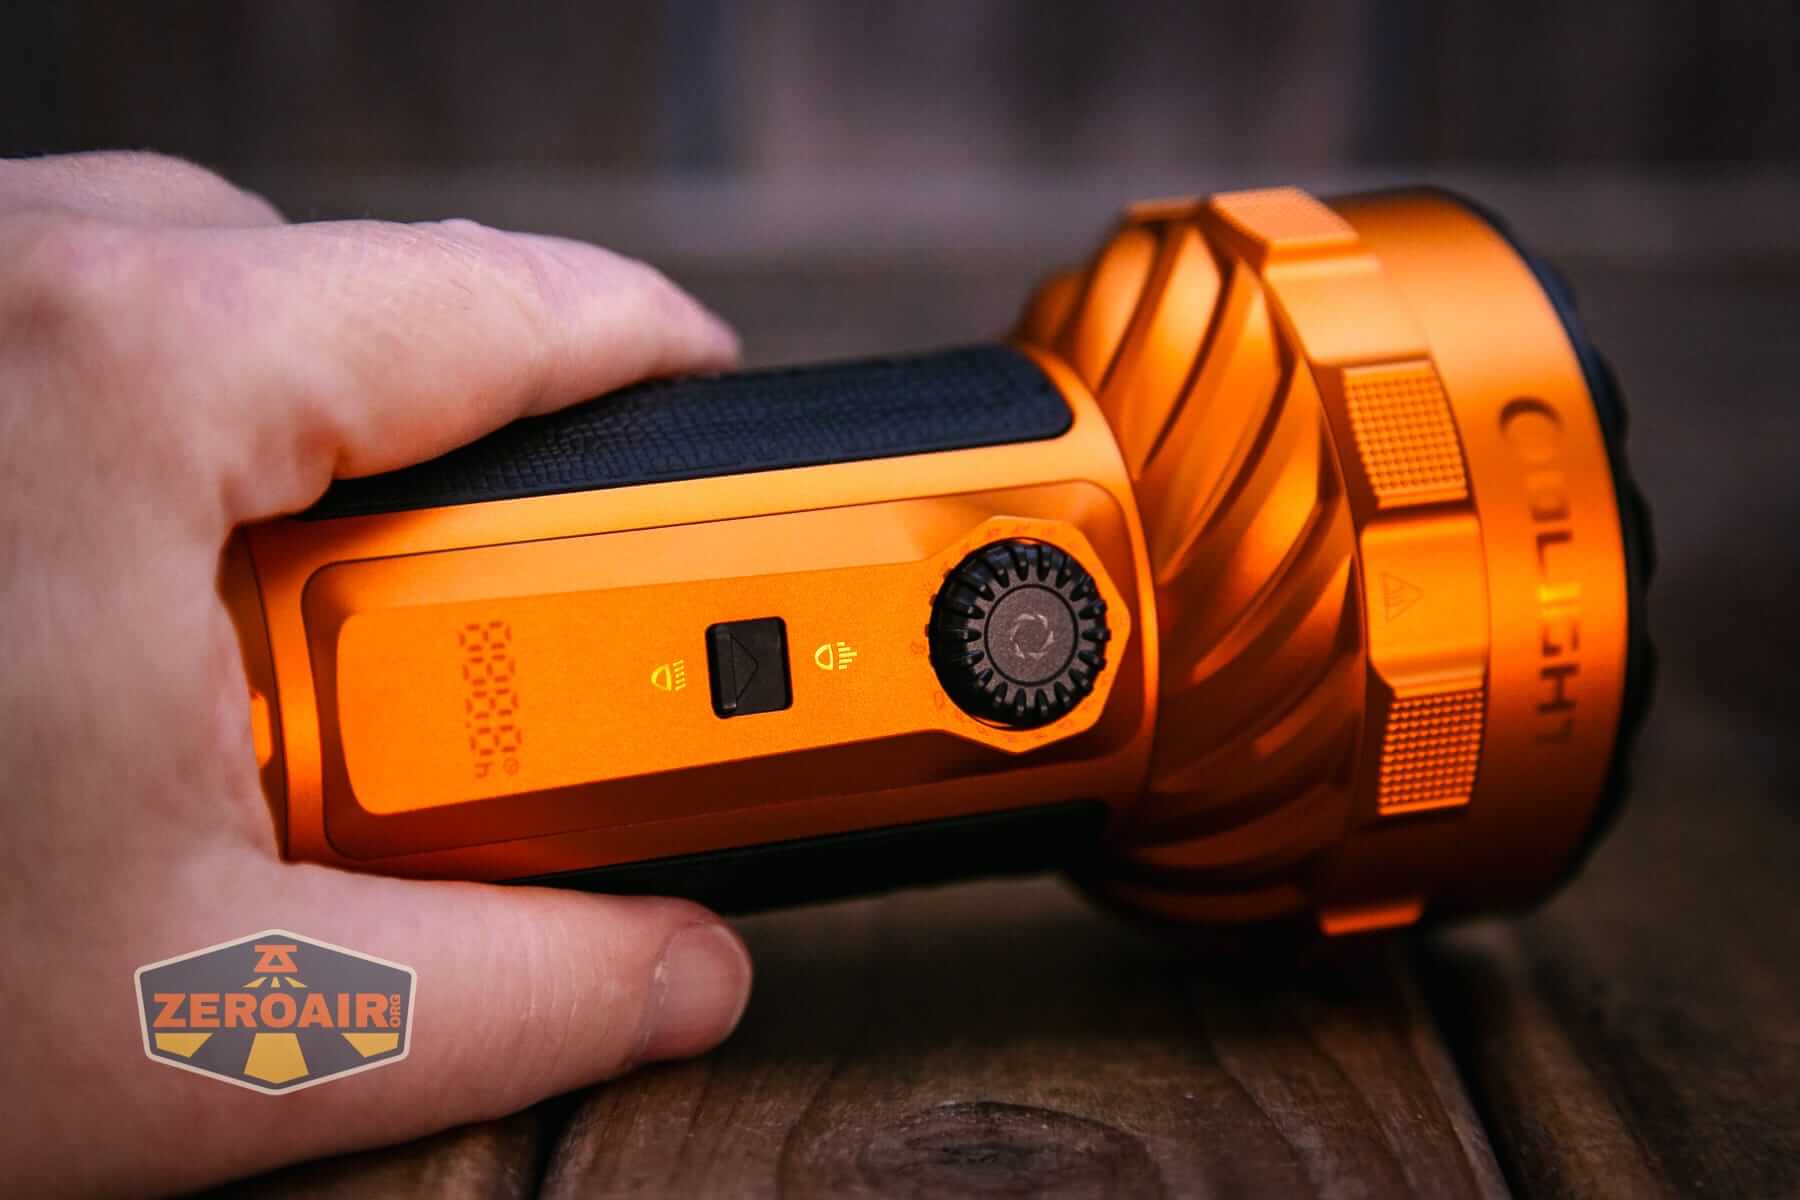
Not only does this switch serve as a dial, but it’s also clicky. There’s a fair bit of action on it, too. Travel is around 1.5- 2 mm.
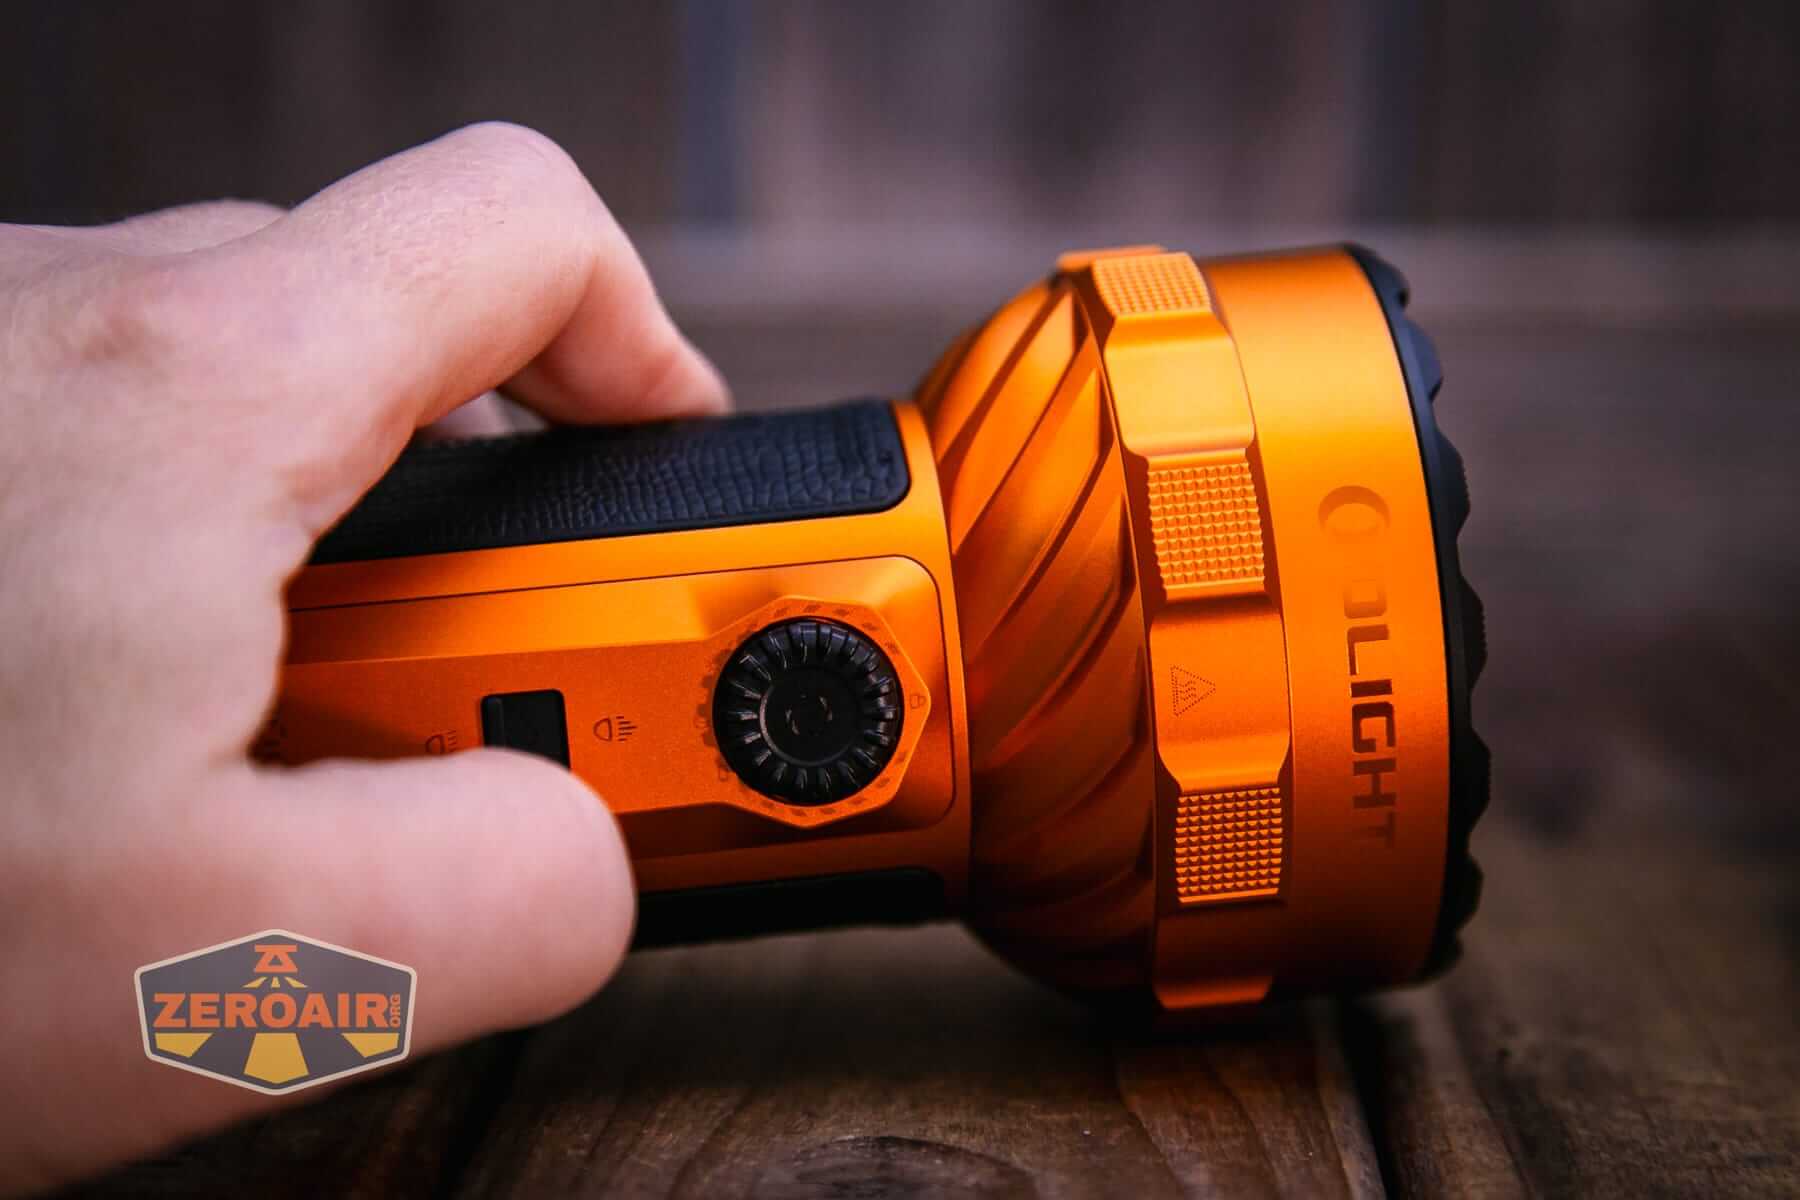
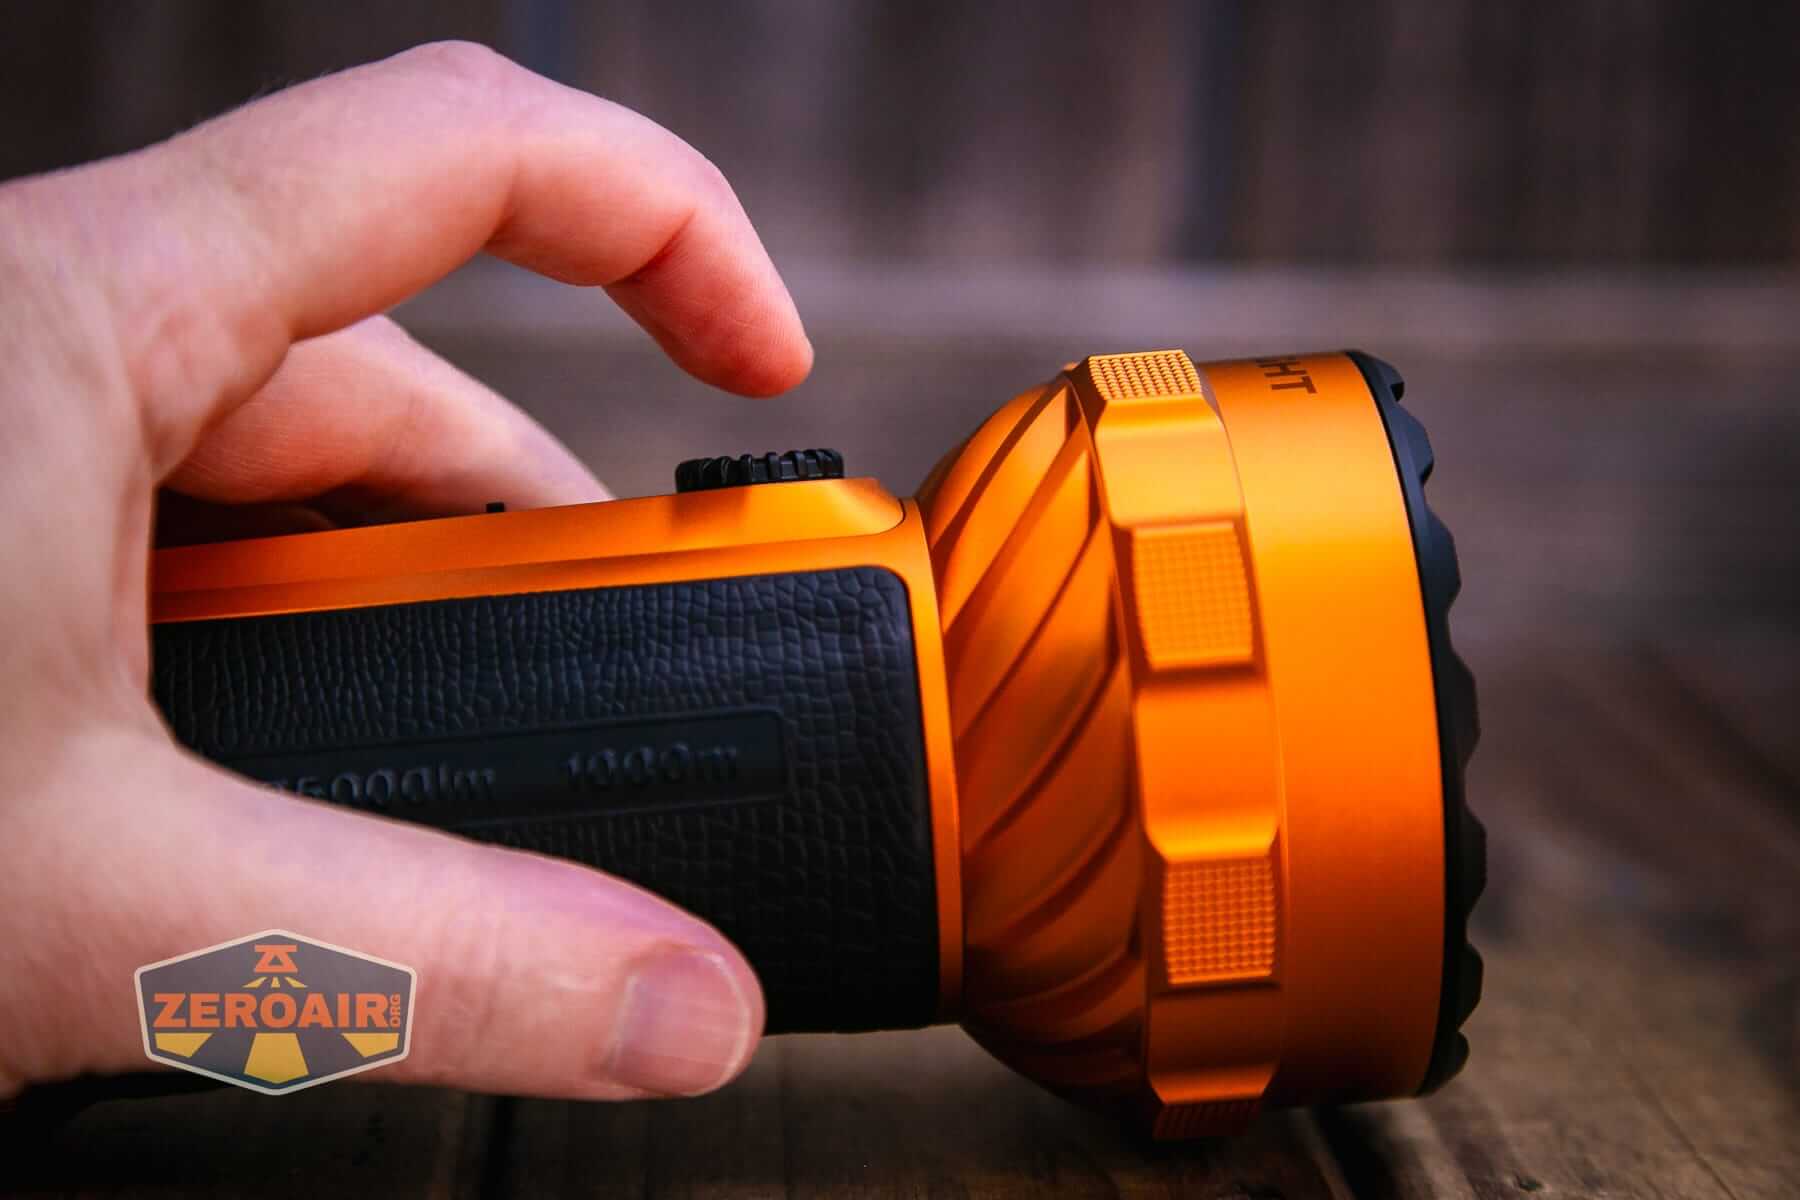
When actuated, the indicators light up to show battery level (right side) and mode (left side).
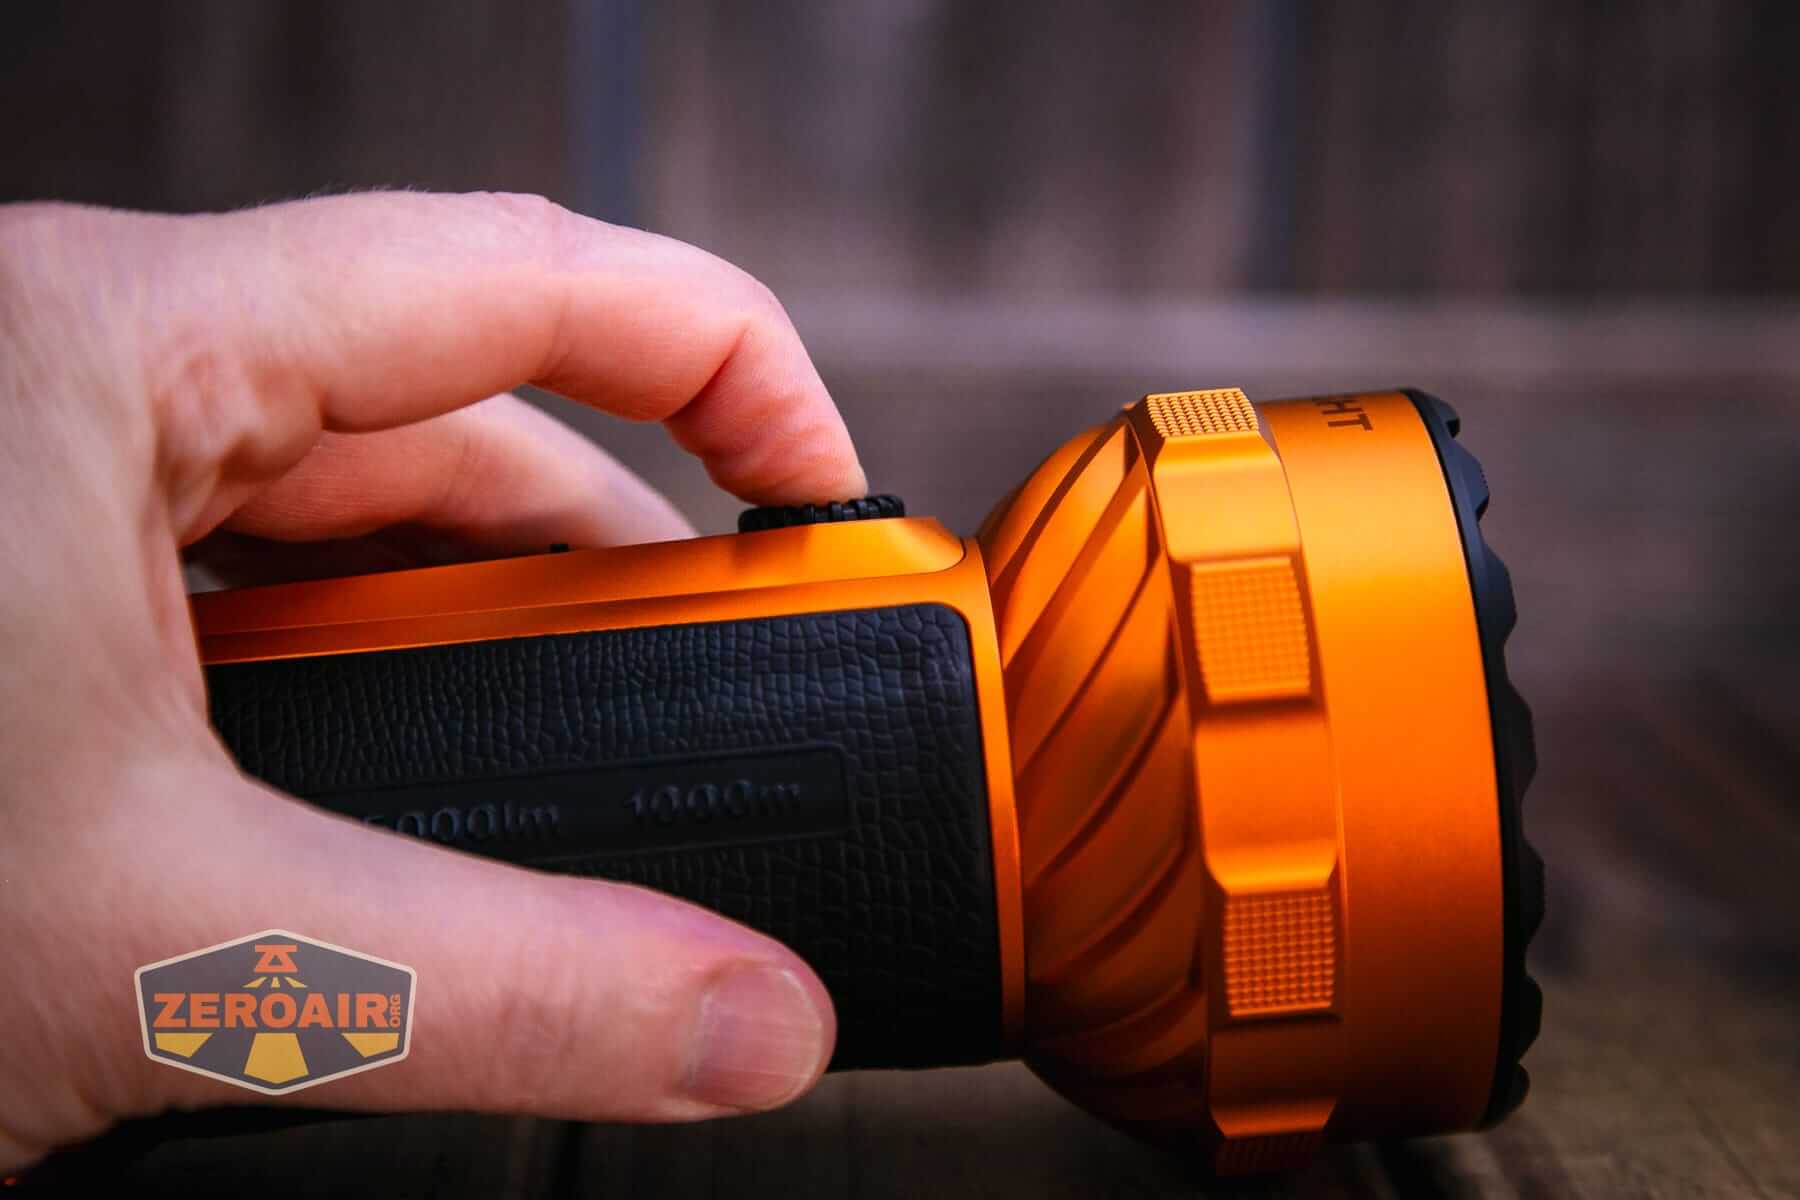
There’s a second switch, too. It’s this little toggle, which switches between flood, both, and throw. The rotary doesn’t care which way the toggle is; the rotary user interface is the same. On the toggle, “up” or “forward” is the Spot emitter, and “down” or “back” is the flood.
But here’s a neat trick about that rotary dial. It’s capacitive. It’s locked unless you click the switch with your finger (or, I suppose, some sort of skin). For example, if you use a pencil to rotate the dial, then a pencil to click the button, the Olight Marauder 3 will stay locked! It’s very seamless. In fact, before I read the manual and figured it all out, I wondered, “Why does this light work just like I want it to?” It’s because my thumb was unlocking the light without me ever having to think about the light being locked. This is obviously great for carrying the Olight Marauder 3 in a bag or even the holster or wherever. Nothing at all to worry about! This touch unlock can be disabled!! (You’ll want that if you always use gloves, or don’t have any fingers or whatever.)
Here’s a user interface table! In the table below, I’ll presume you’re clicking with your finger and not with a potato or another flashlight or the like. Which is to say, you’ll consider the light unlocked for the purpose of this user interface table!
| State | Action | Result |
|---|---|---|
| Off | Click Rotary Switch | On in previously used level. (Level can not be changed while output is off.) |
| Off | Hold rotary switch >1s | Moonlight |
| On | Rotate Switch Clockwise | Increase output level |
| On | Rotate Switch Counterclockwise | Decrease output level |
| On | Click Rotary Switch | Off |
| Any | Move Toggle Switch | Switch from Flood to Both to Spot (also lights indicators around rotary switch) |
| Unlocked | Double Click Rotary Switch | Level 7 (another double click accesses Level 4) |
| Unlocked | Triple Click Rotary Switch | Strobe |
| On in “Both” output | Click Rotary Switch 15x | Iterate the touch unlock. Blinks once for touch unlock active. Blinks twice for touch unlock inactive. |
LED and Beam
The Olight Marauder 3 uses LEDs and more LEDs for high output. I don’t know what Olight says these are, but the flood uses small TIR optics, and the spot emitter uses a domed glass.
The projector lens does protrude (i.e., the front here is not “flat”); it doesn’t protrude past the bezel. So there’s no harm in placing the light face down on a surface.\
Below, the indicator shows a nearly depleted battery, and a mode so low that it isn’t registered by the mode indicator.
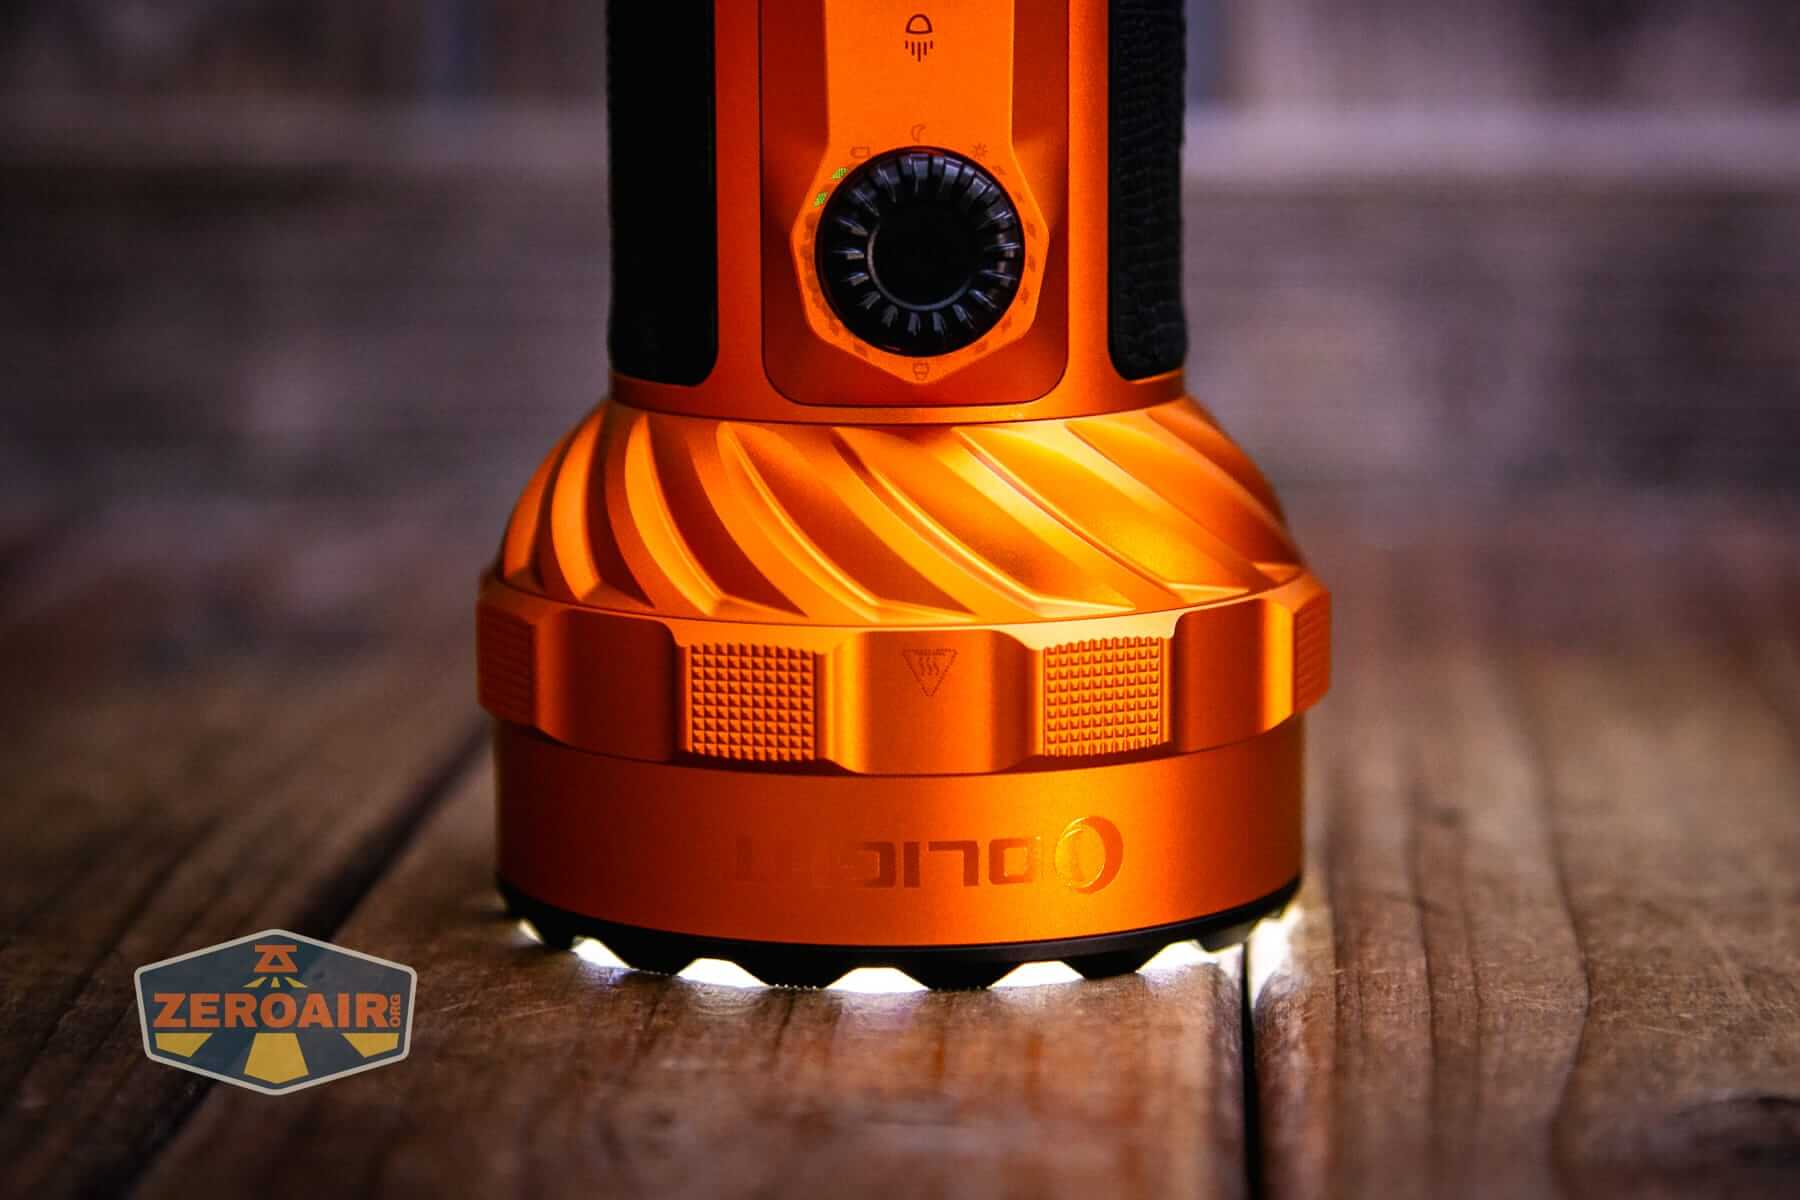
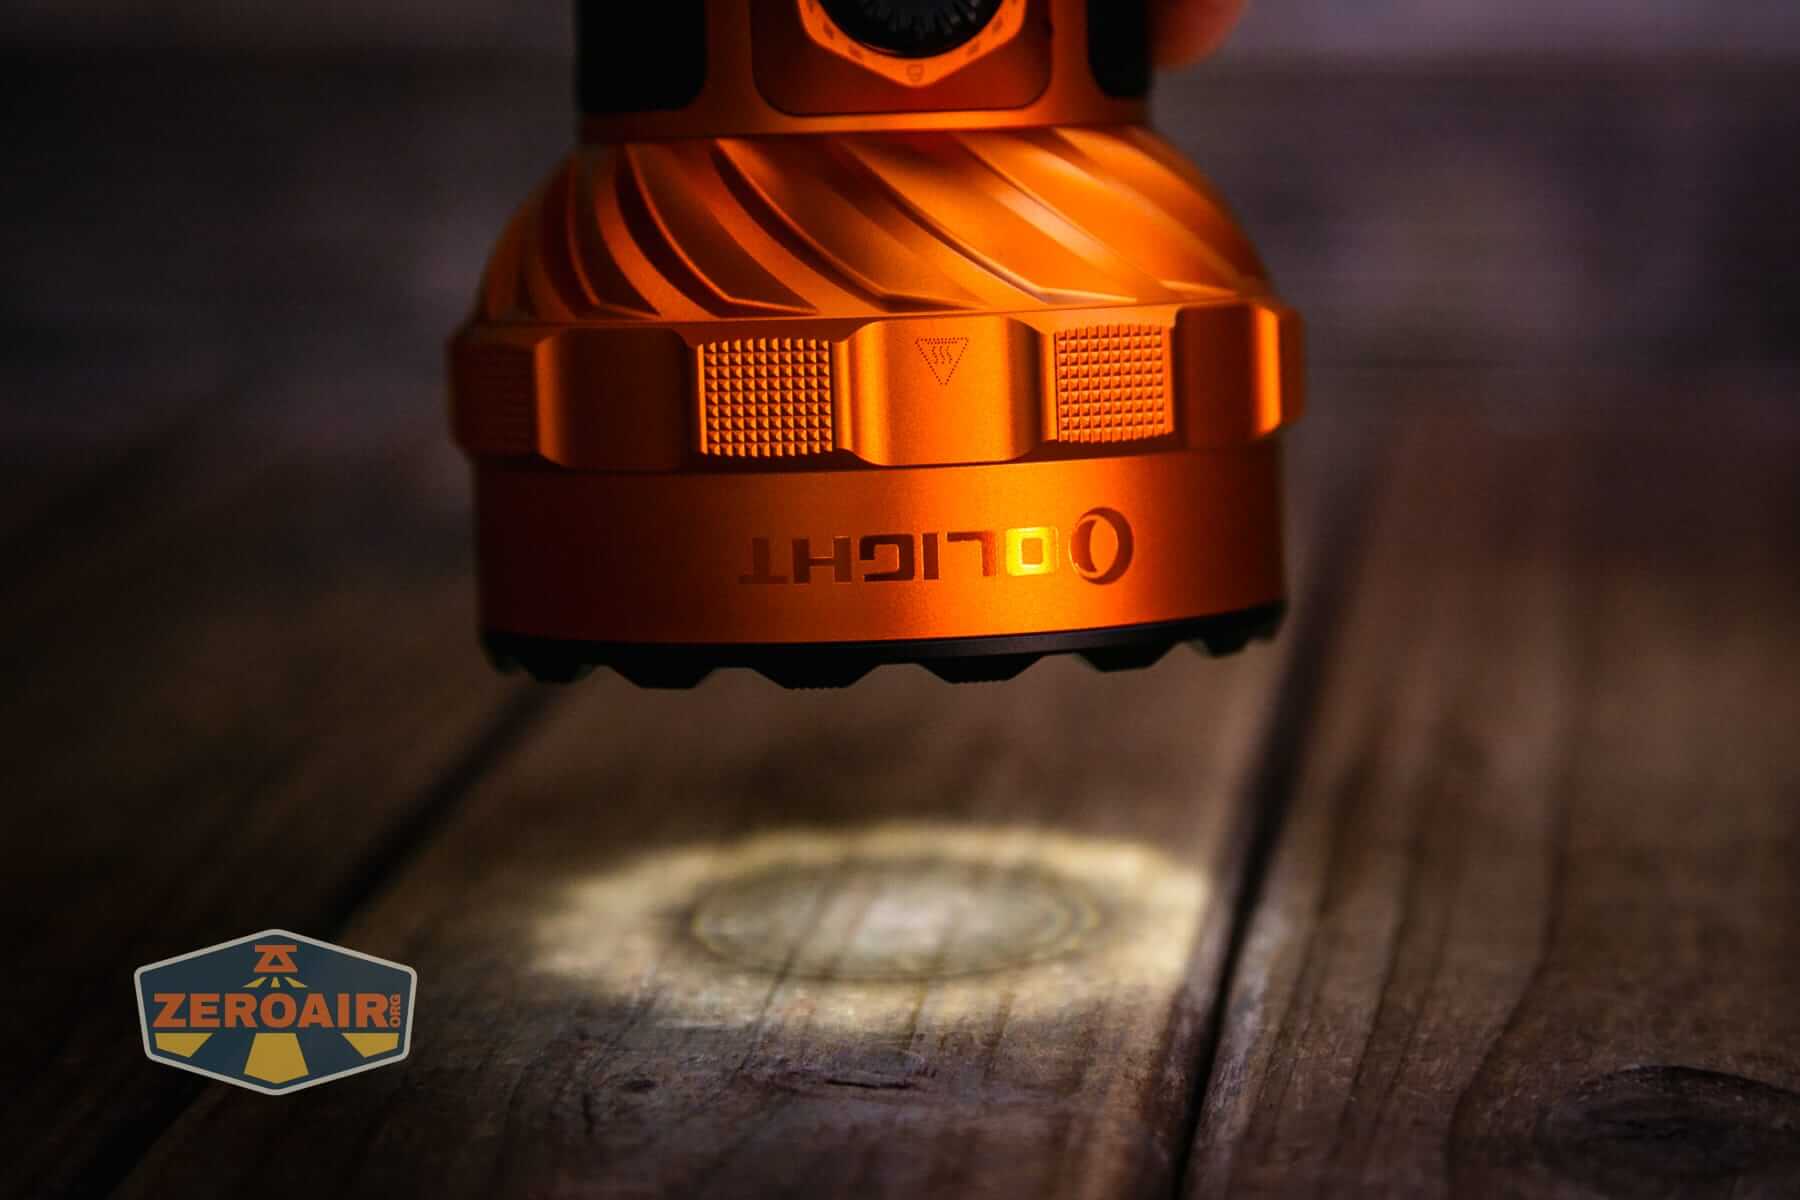
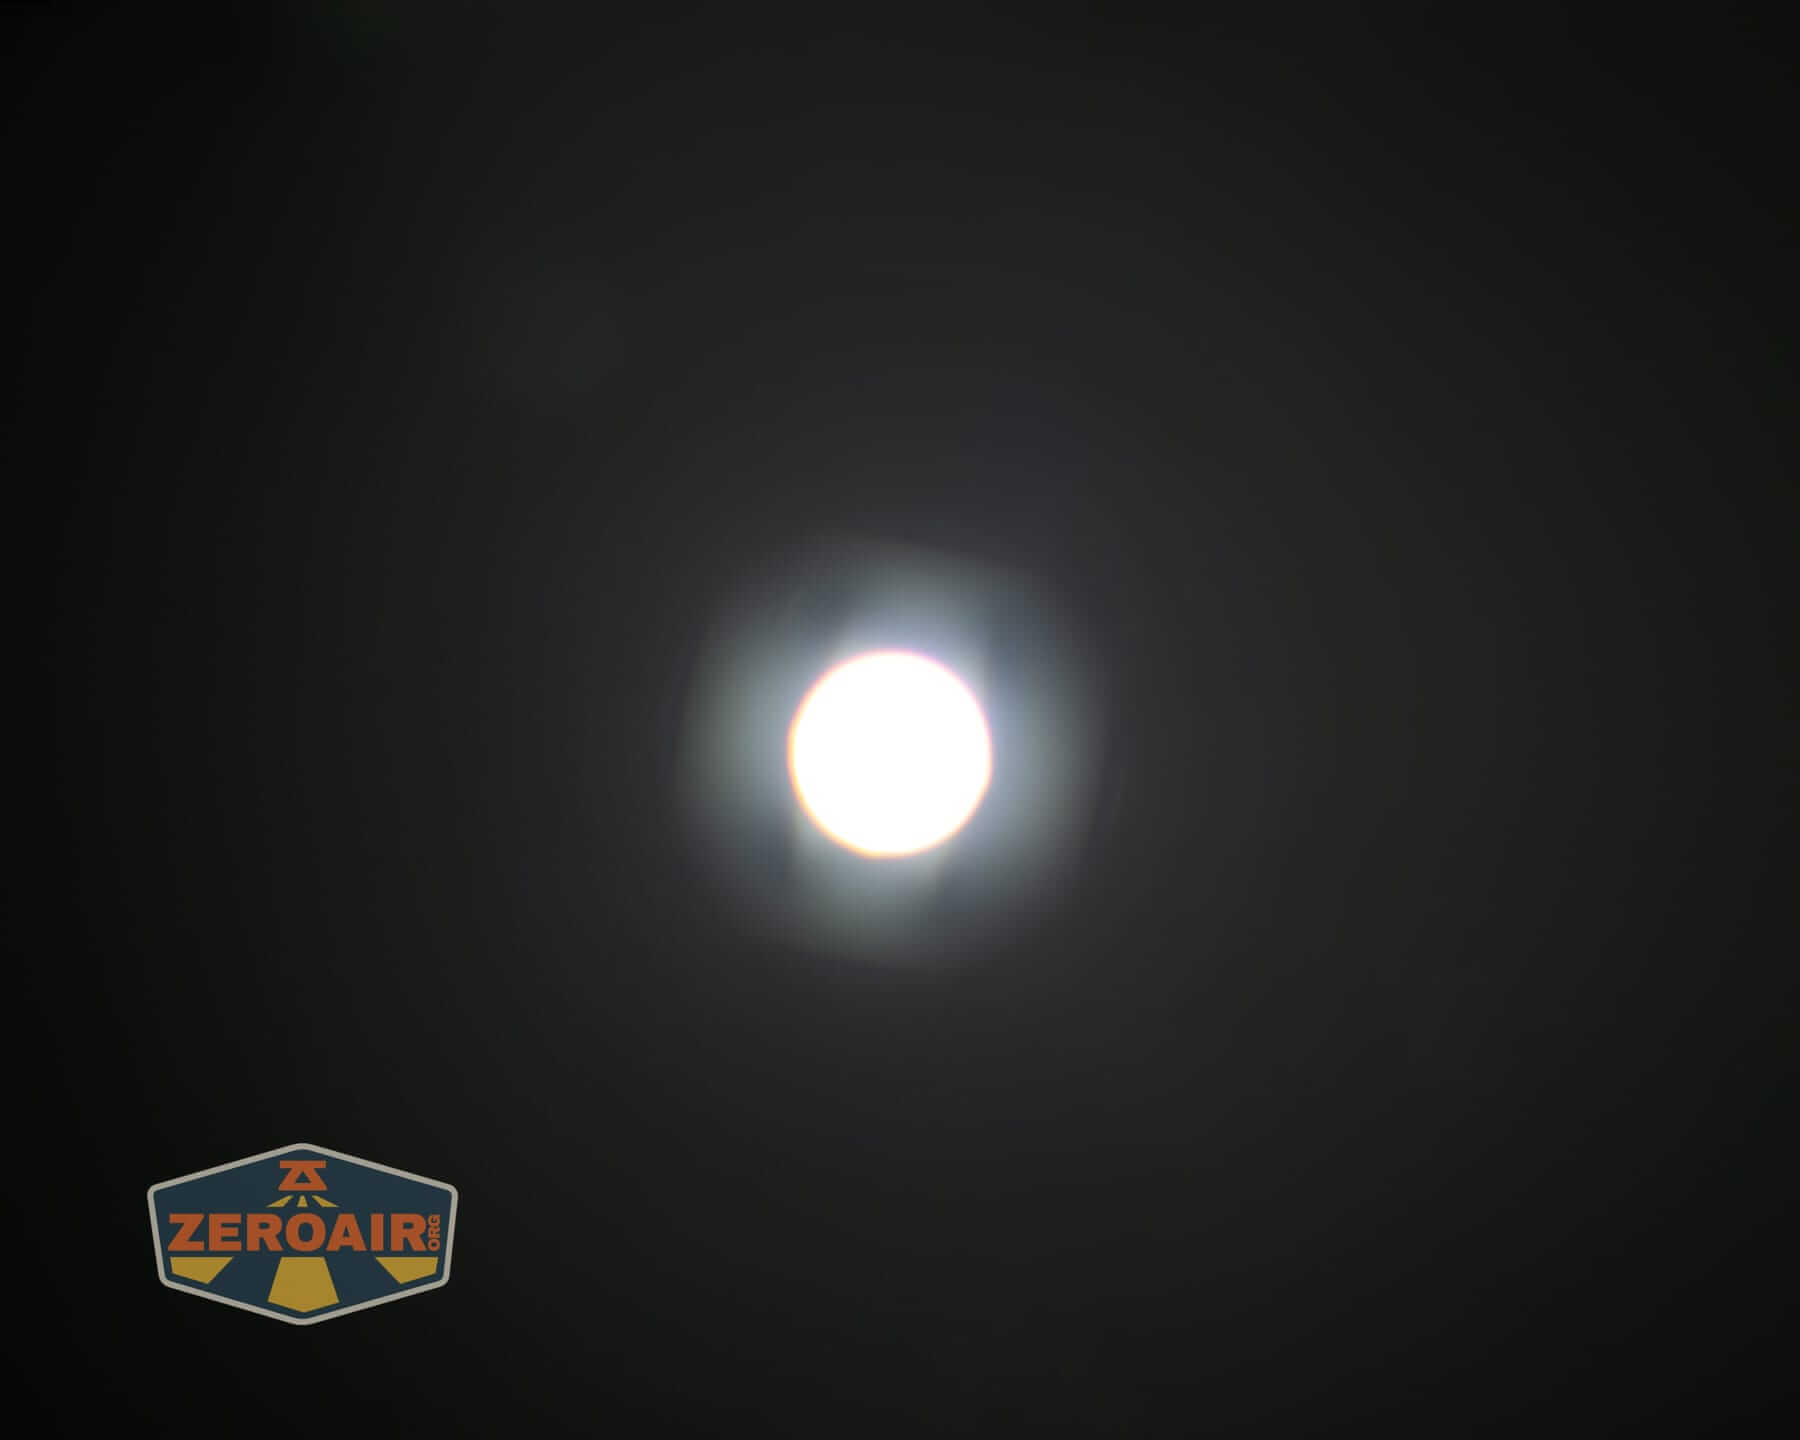
I would say “everything” about the spot emitter setup is better than it was on the “2” version of this light. (I’m not sure it’s “everything.”) But for example, we don’t get the projected emitter shape on this version. (Or technically we probably do, but in this case the emitter shape is round, so it’s a moot point – the beam shape is normal and comfortable.)
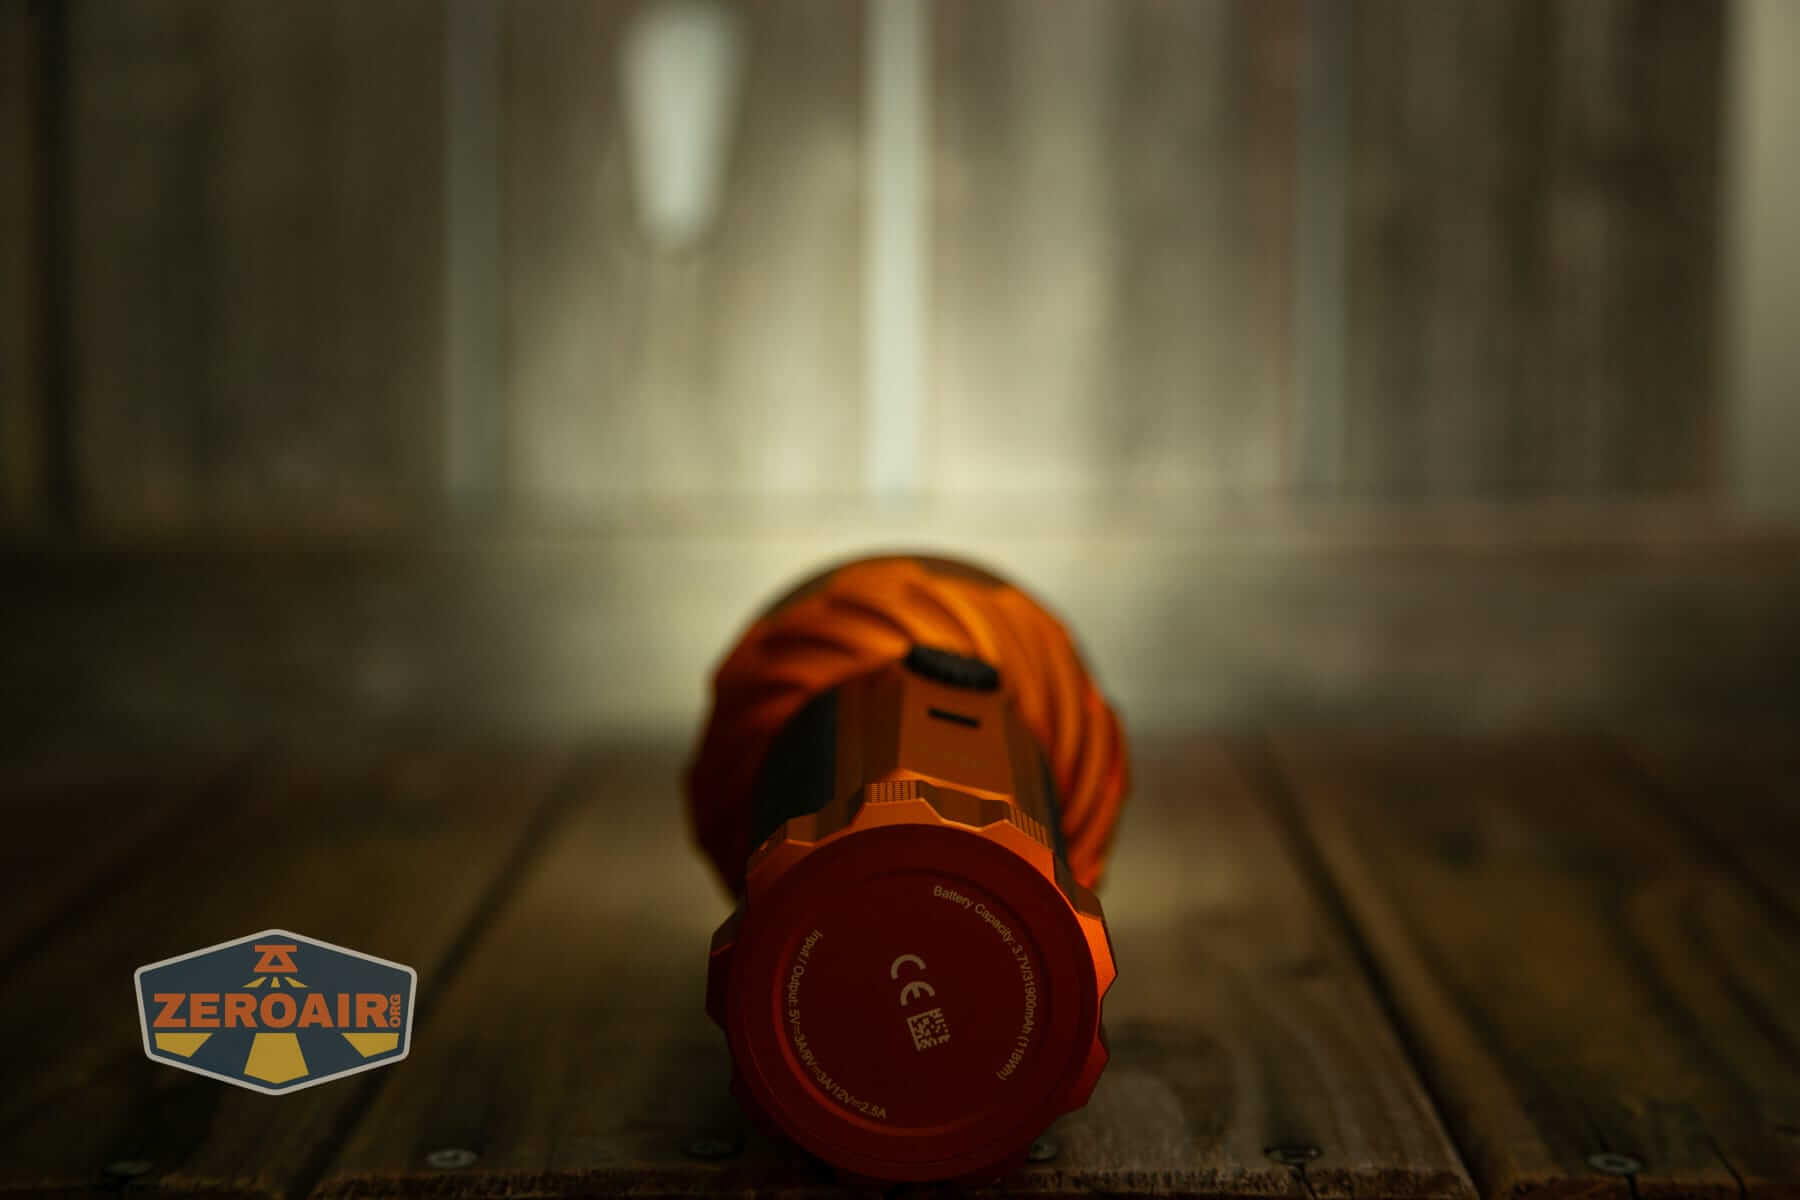
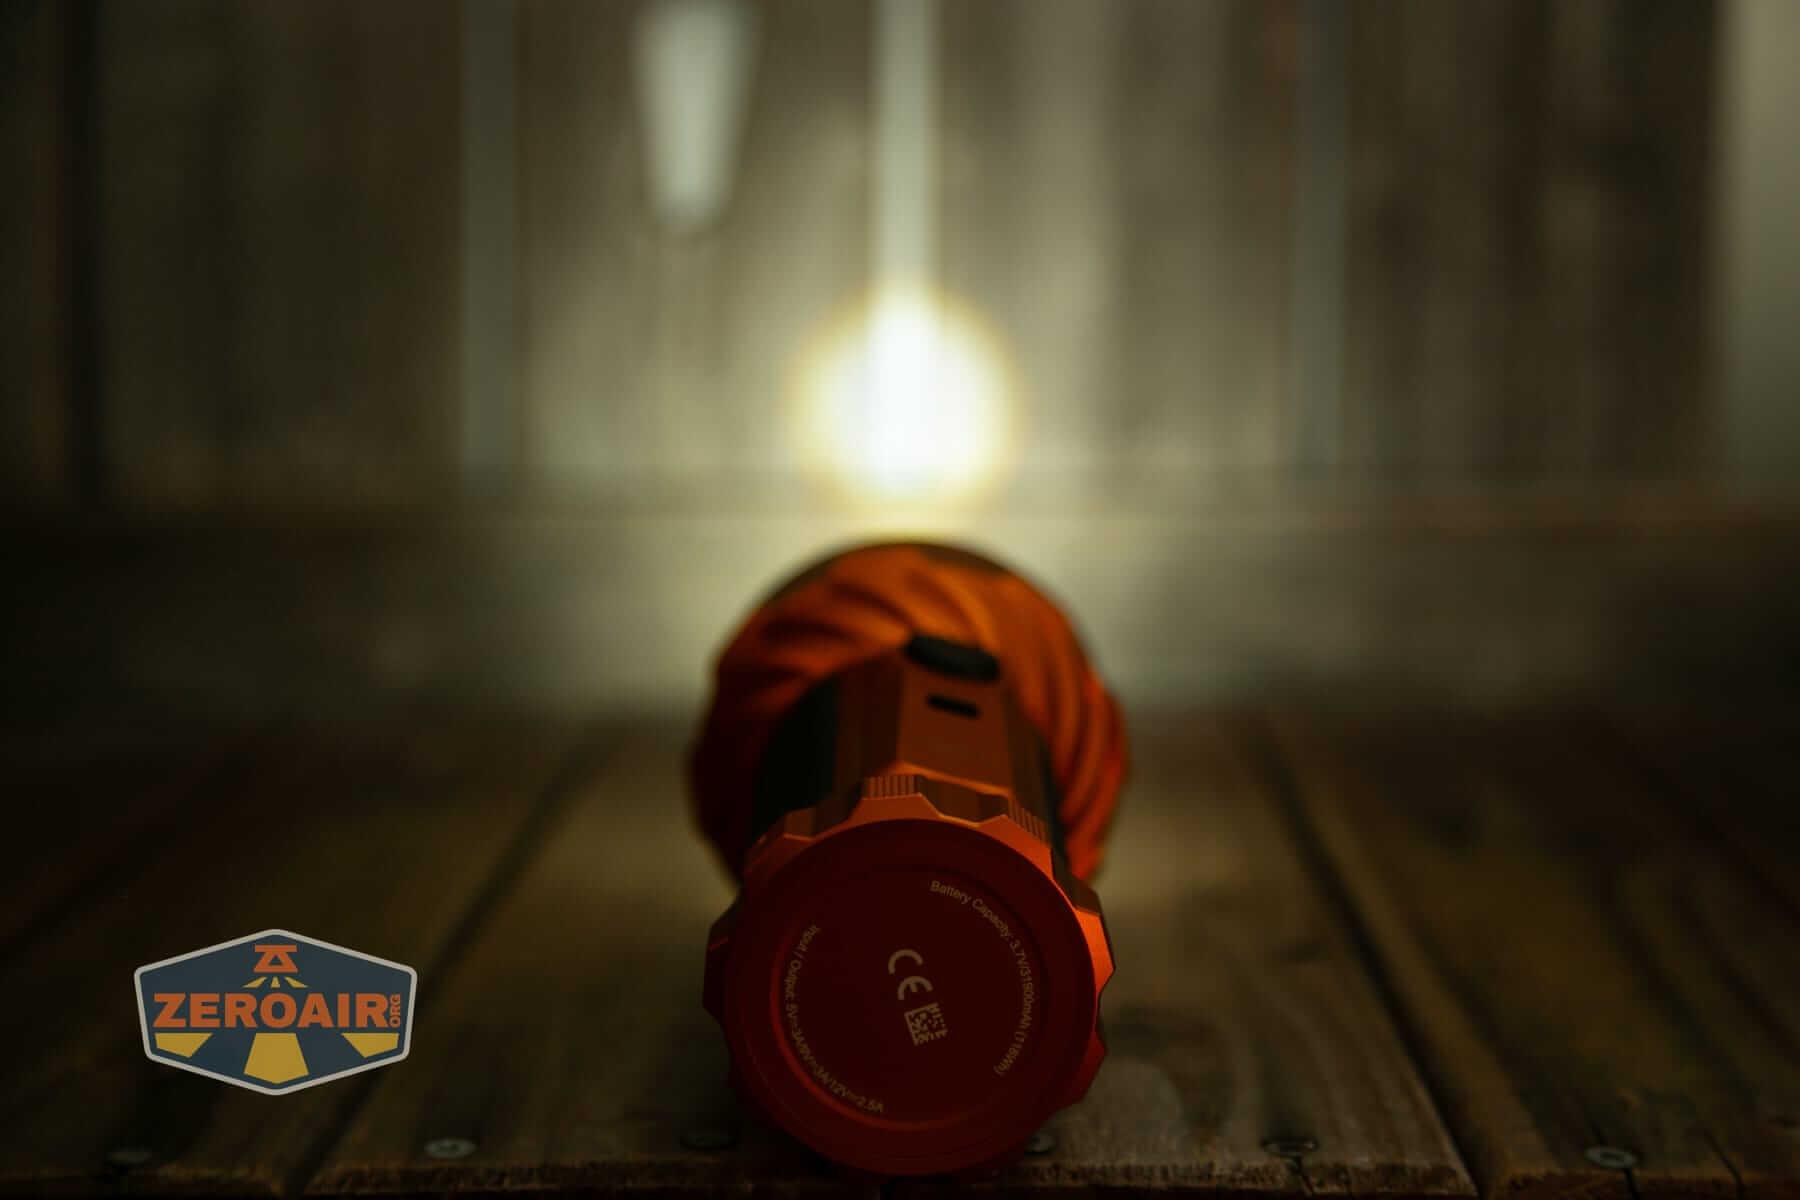
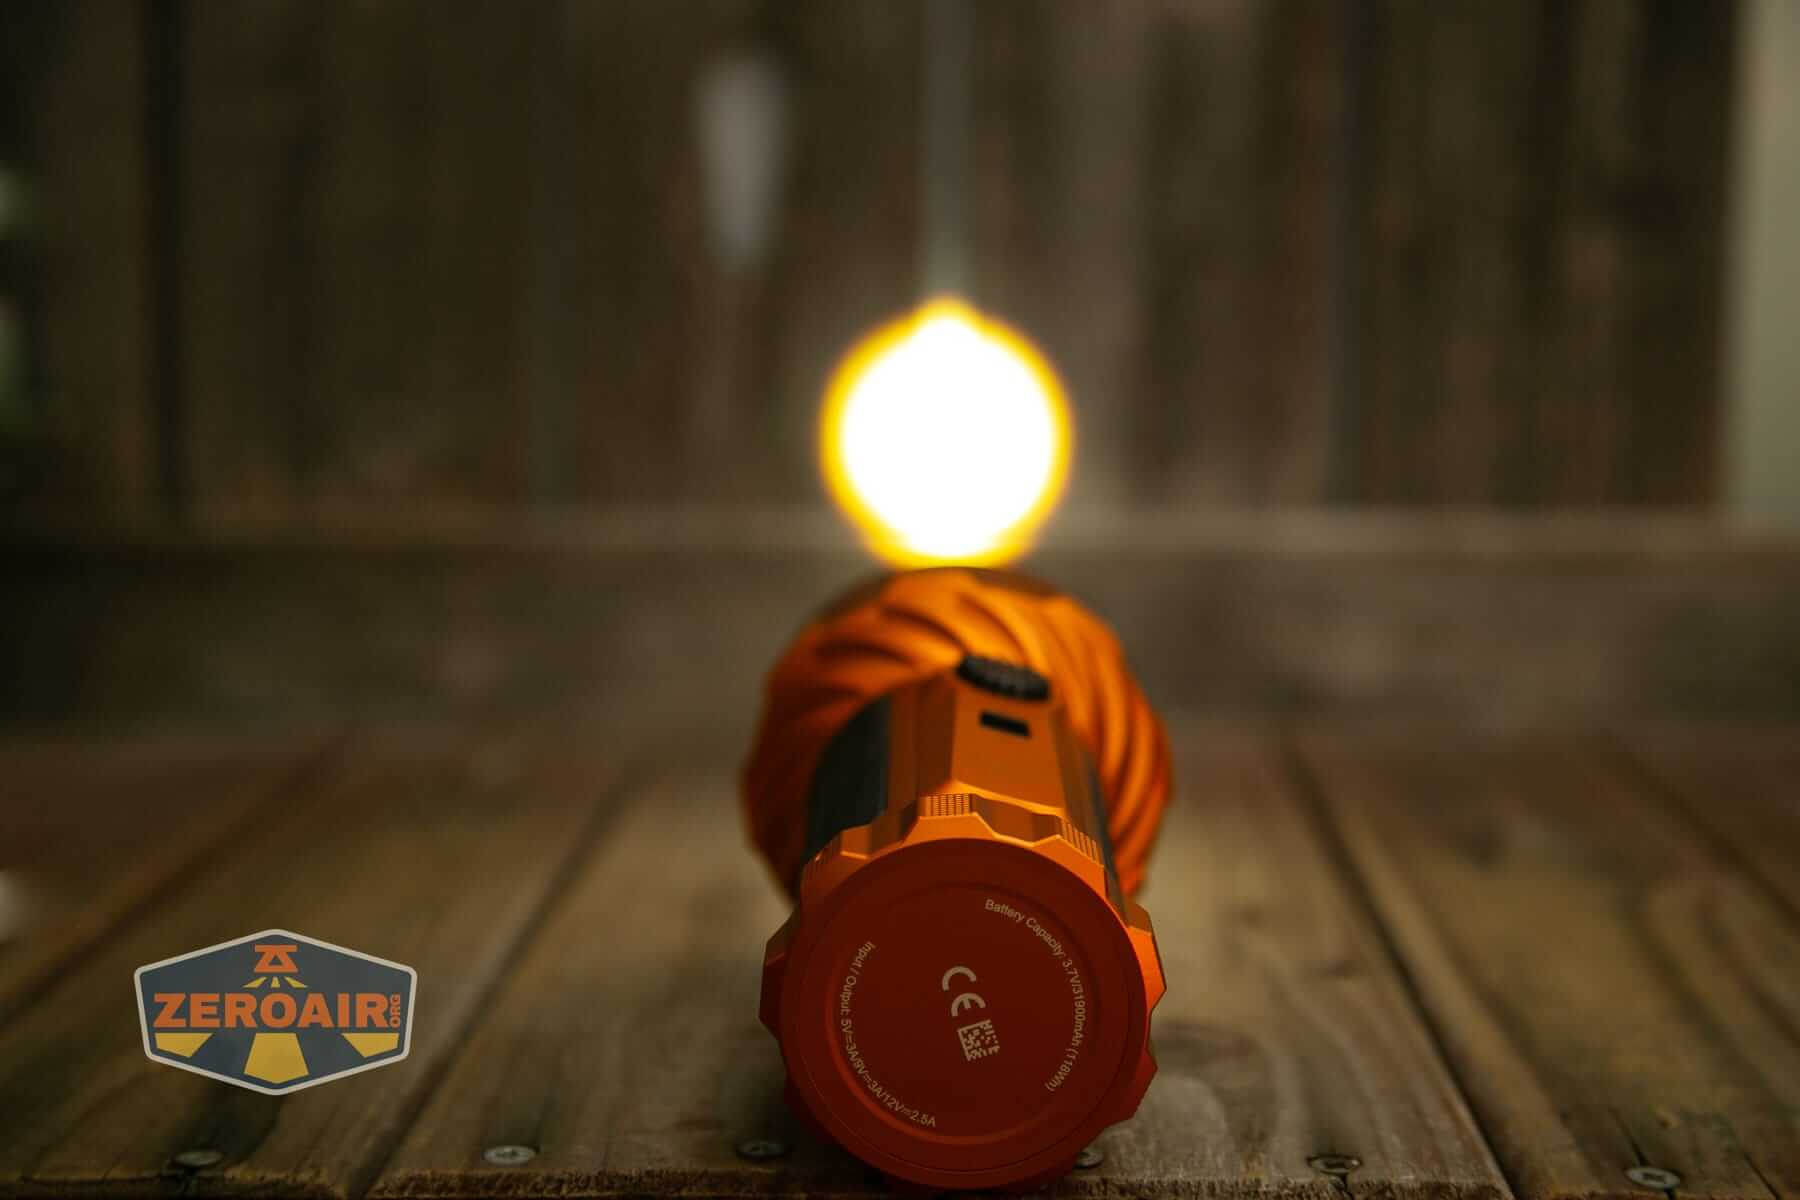
LED Color Report (CRI and CCT)
The spot emitter was too intense for much testing. But we can see that the flood is cool white and low CRI. The spot emitter is cool to very cool white and also low CRI.
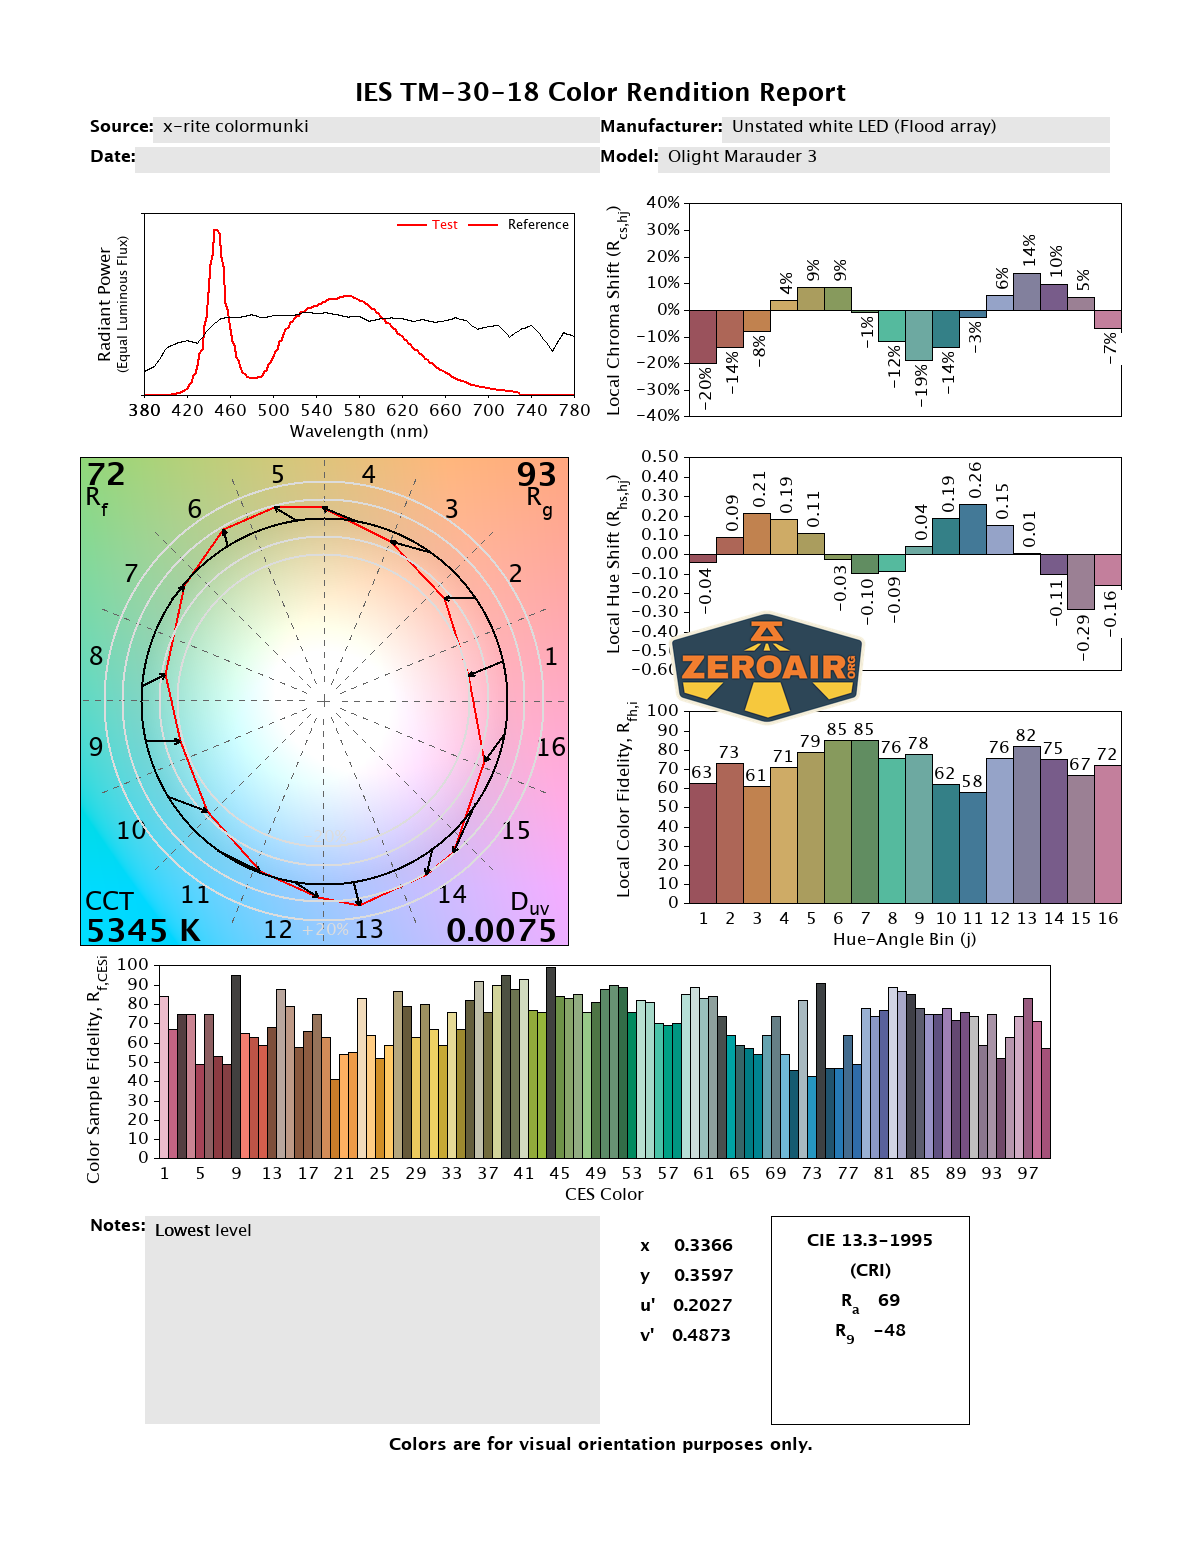
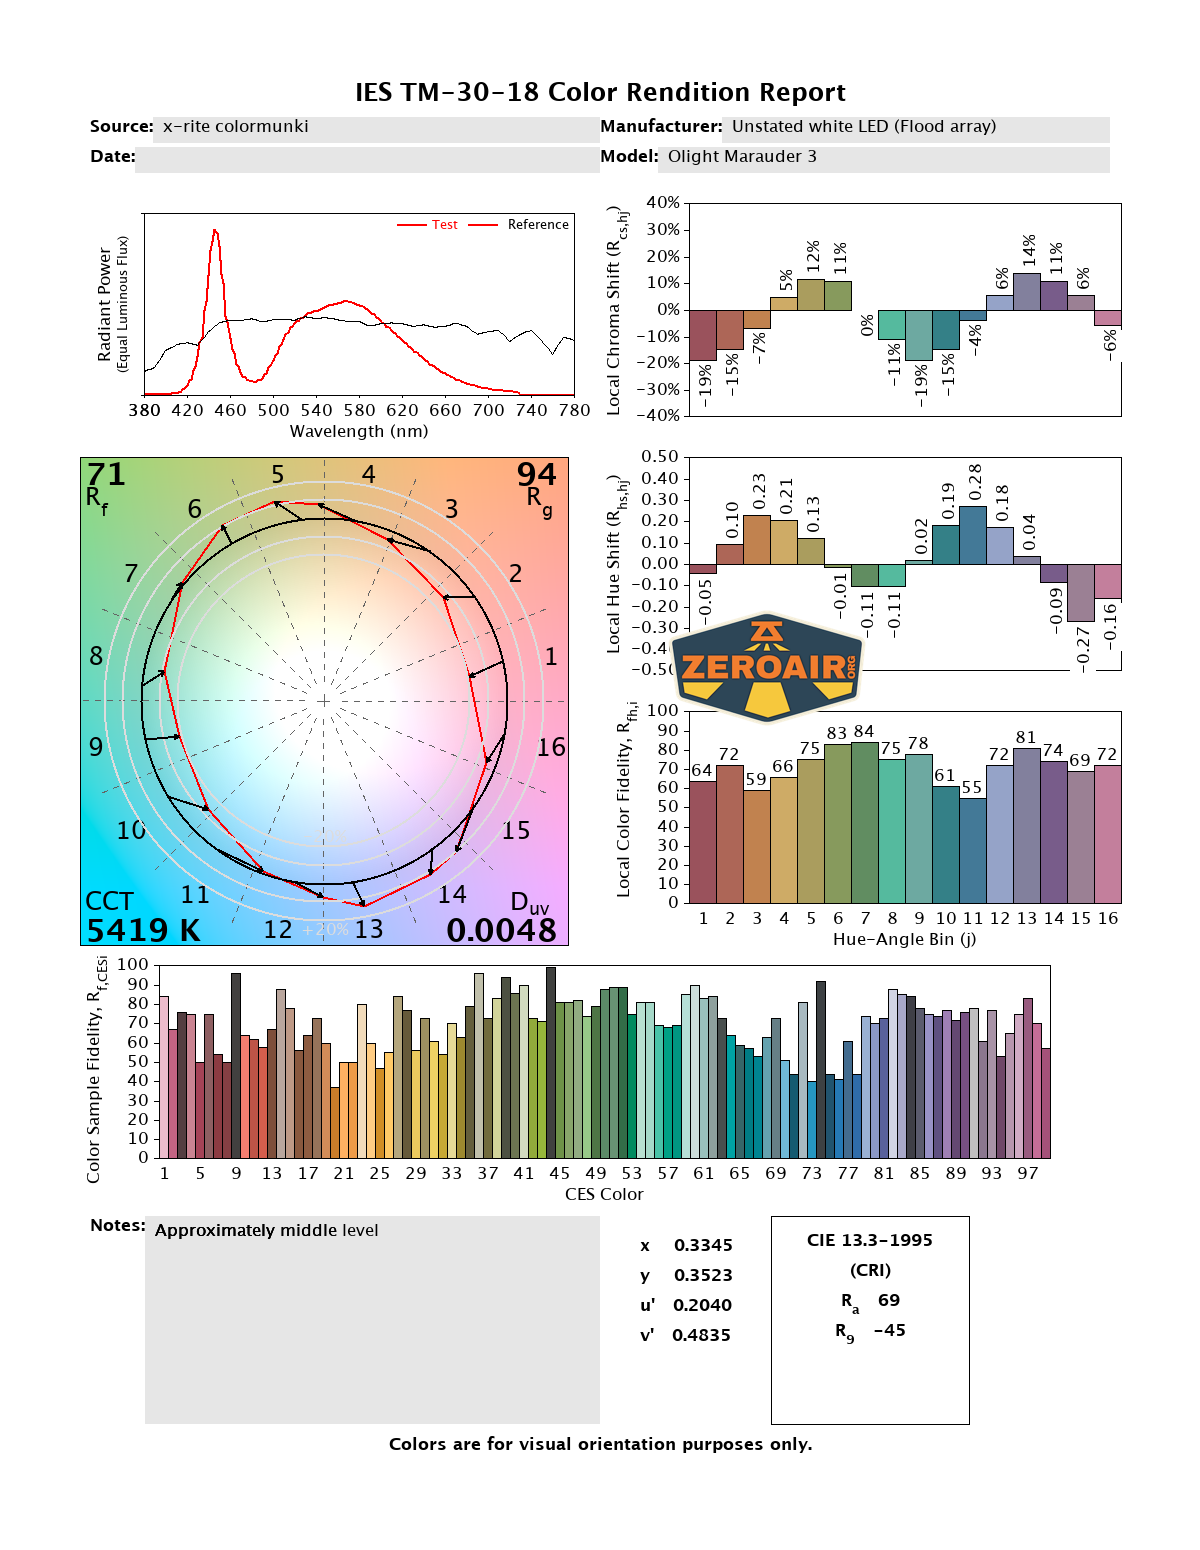
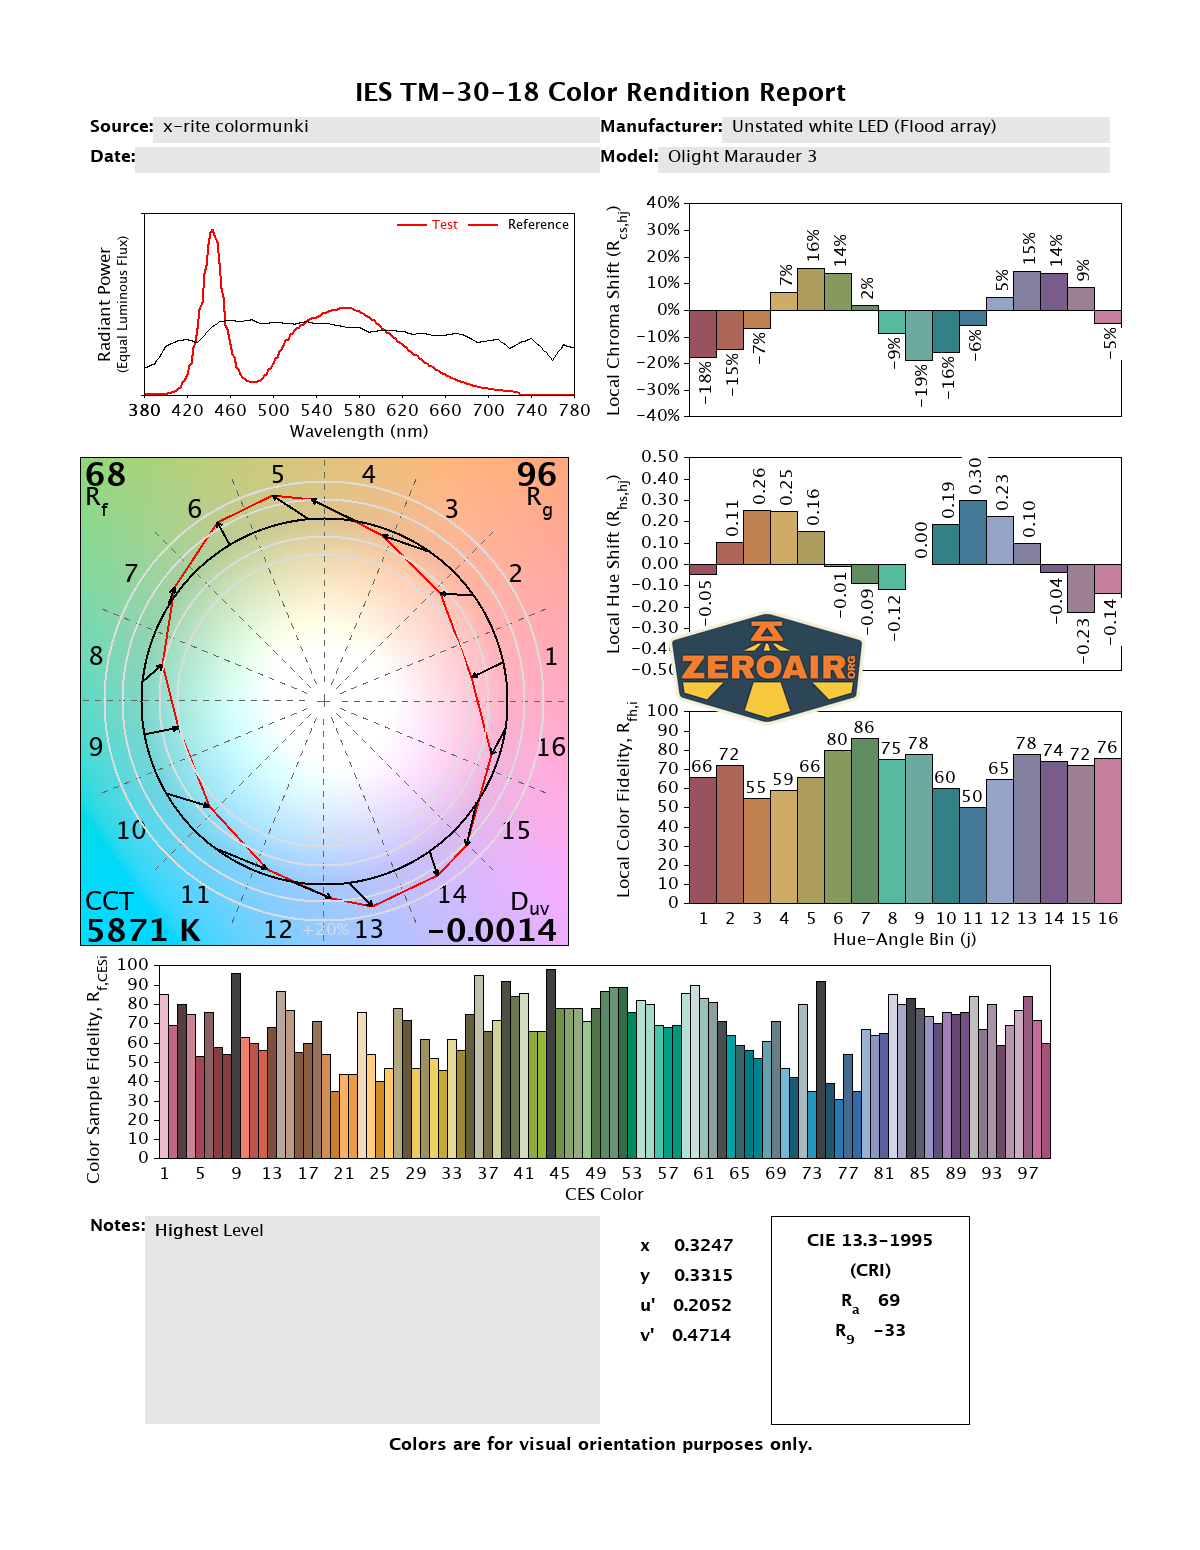
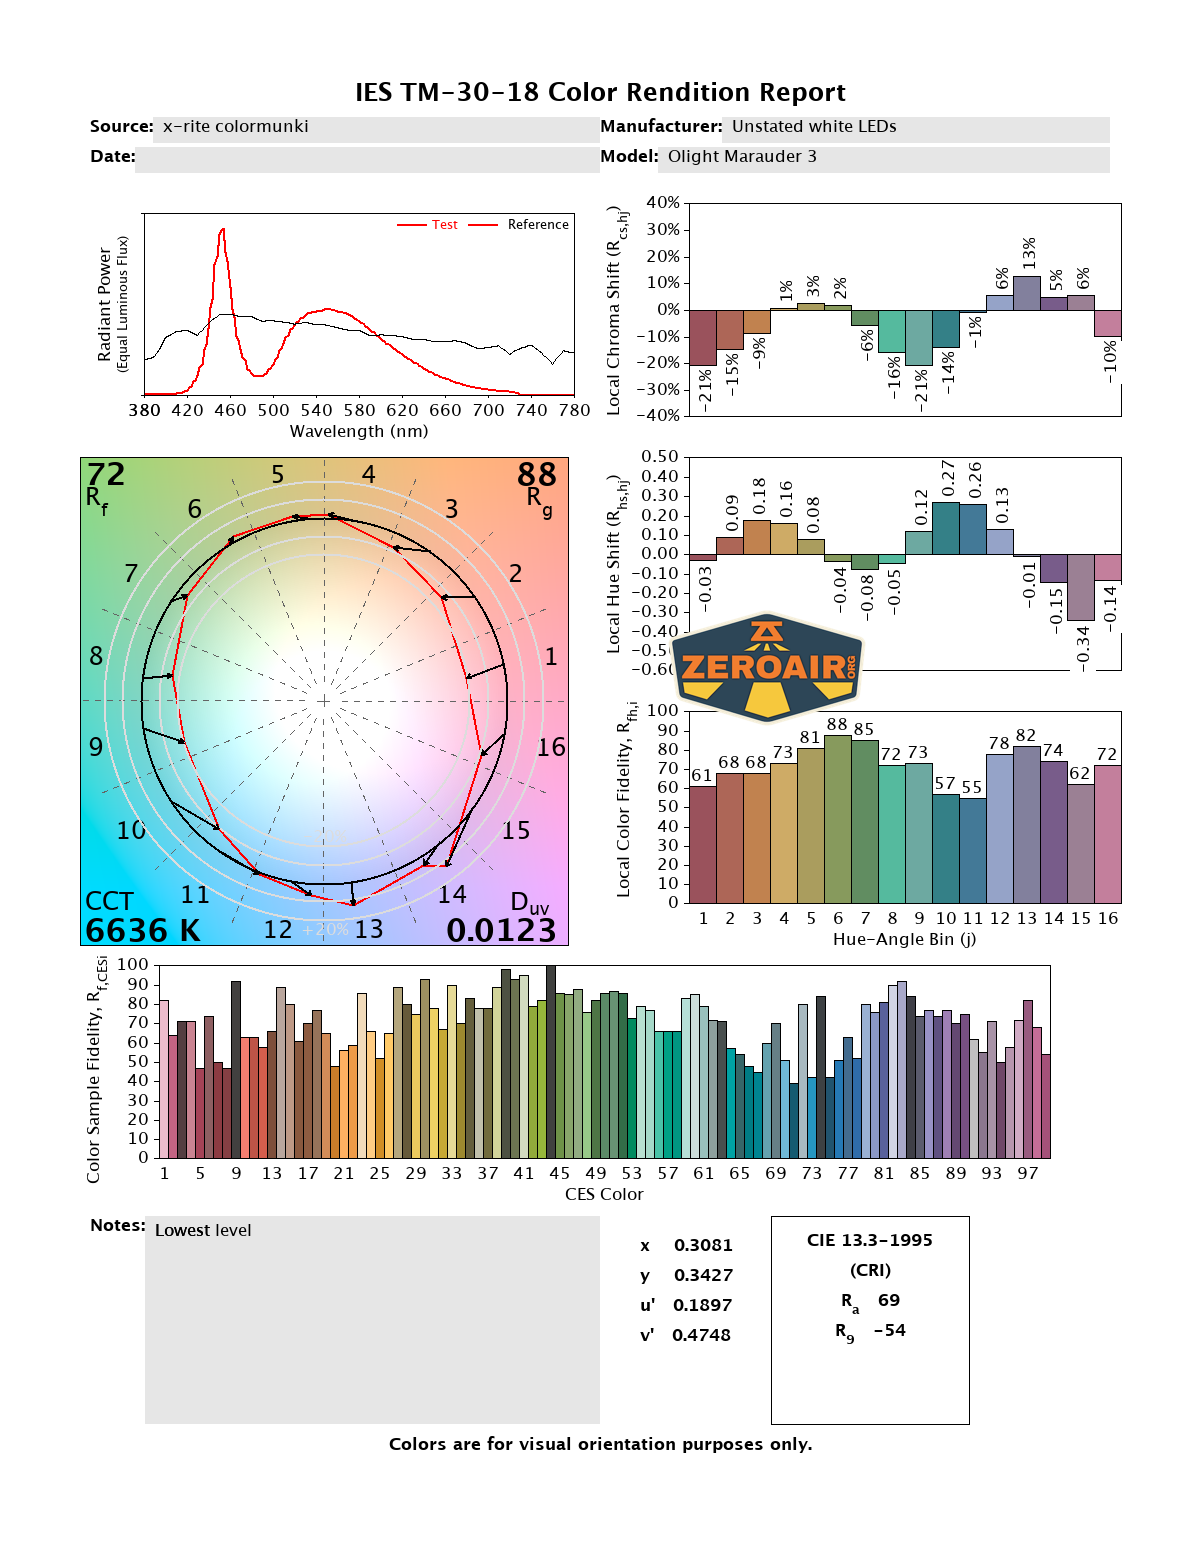
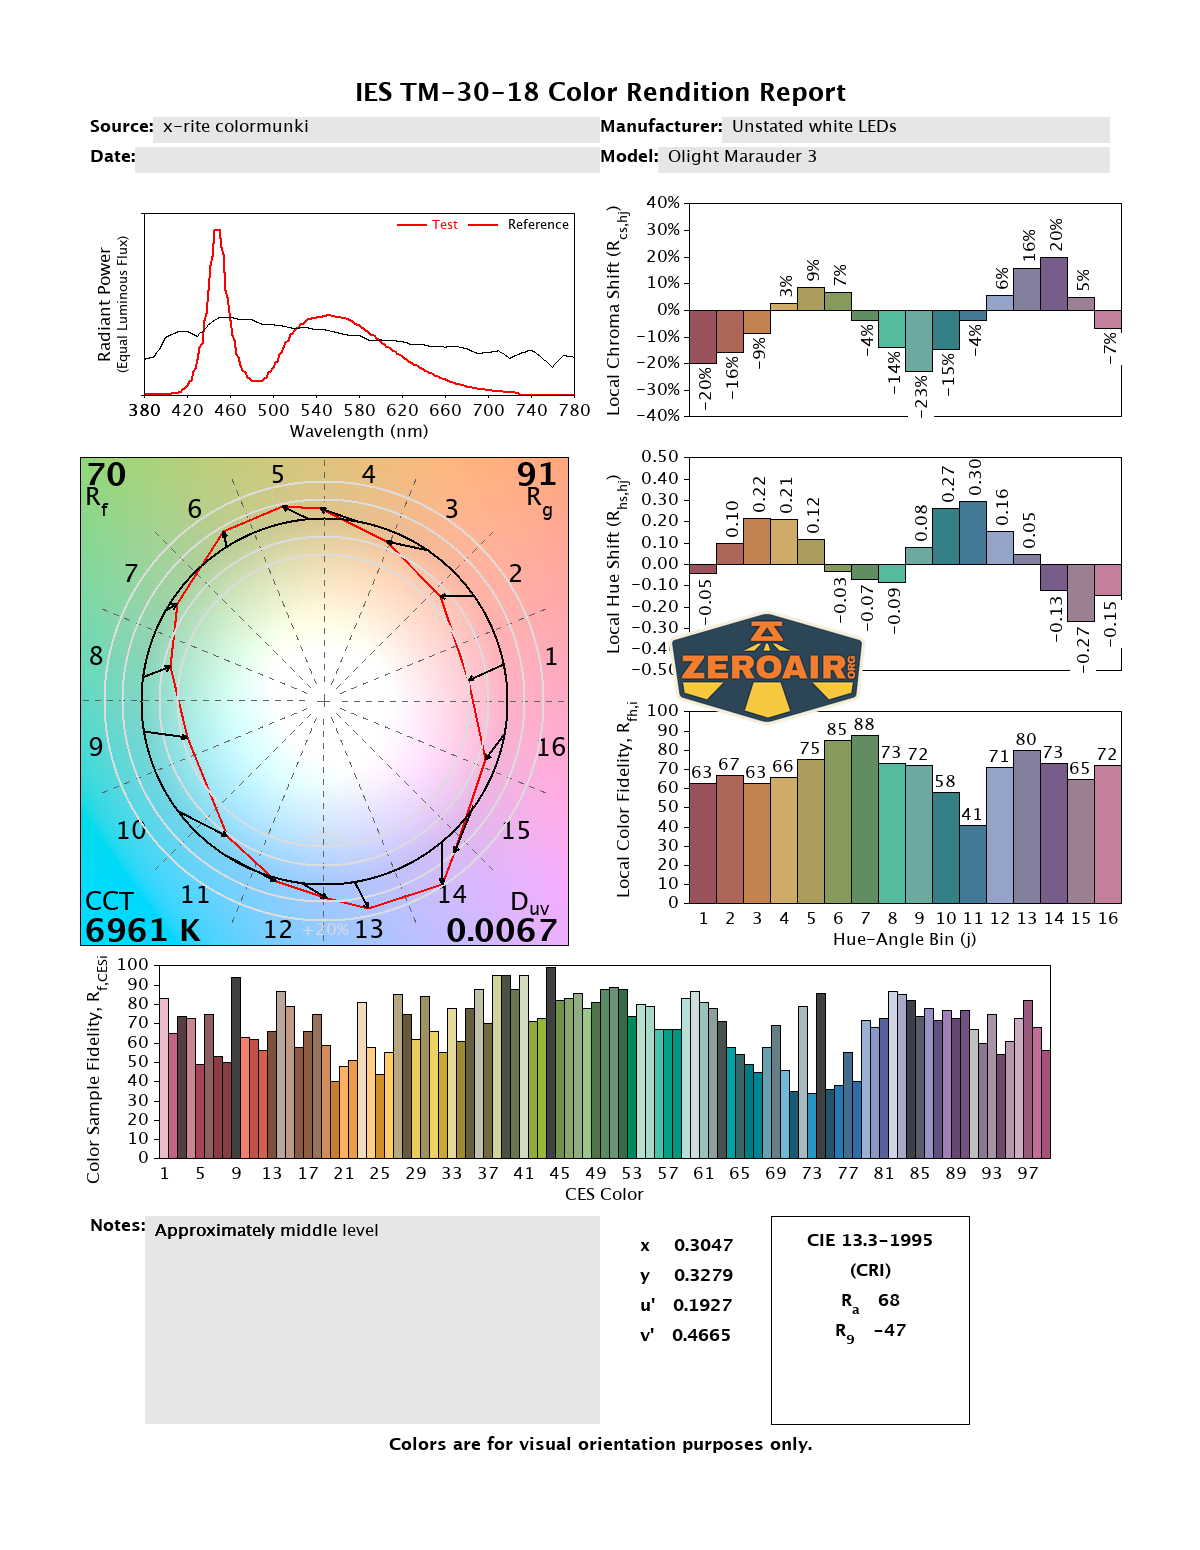
CCT (Correlated Color Temperature) refers to the measurement of the color appearance of light, expressed in Kelvins (K), which indicates whether the light is warm (yellowish) or cool (bluish). A lower CCT (below 3000K) is considered warm light, while a higher CCT (above 5000K) gives cooler, bluish light.
CRI (Color Rendering Index) is a measure of how accurately a light source renders colors in comparison to natural sunlight. Scored on a scale from 0 to 100, higher CRI values indicate that colors appear more true to life and vibrant, similar to how they would look under the sun.
Beamshots
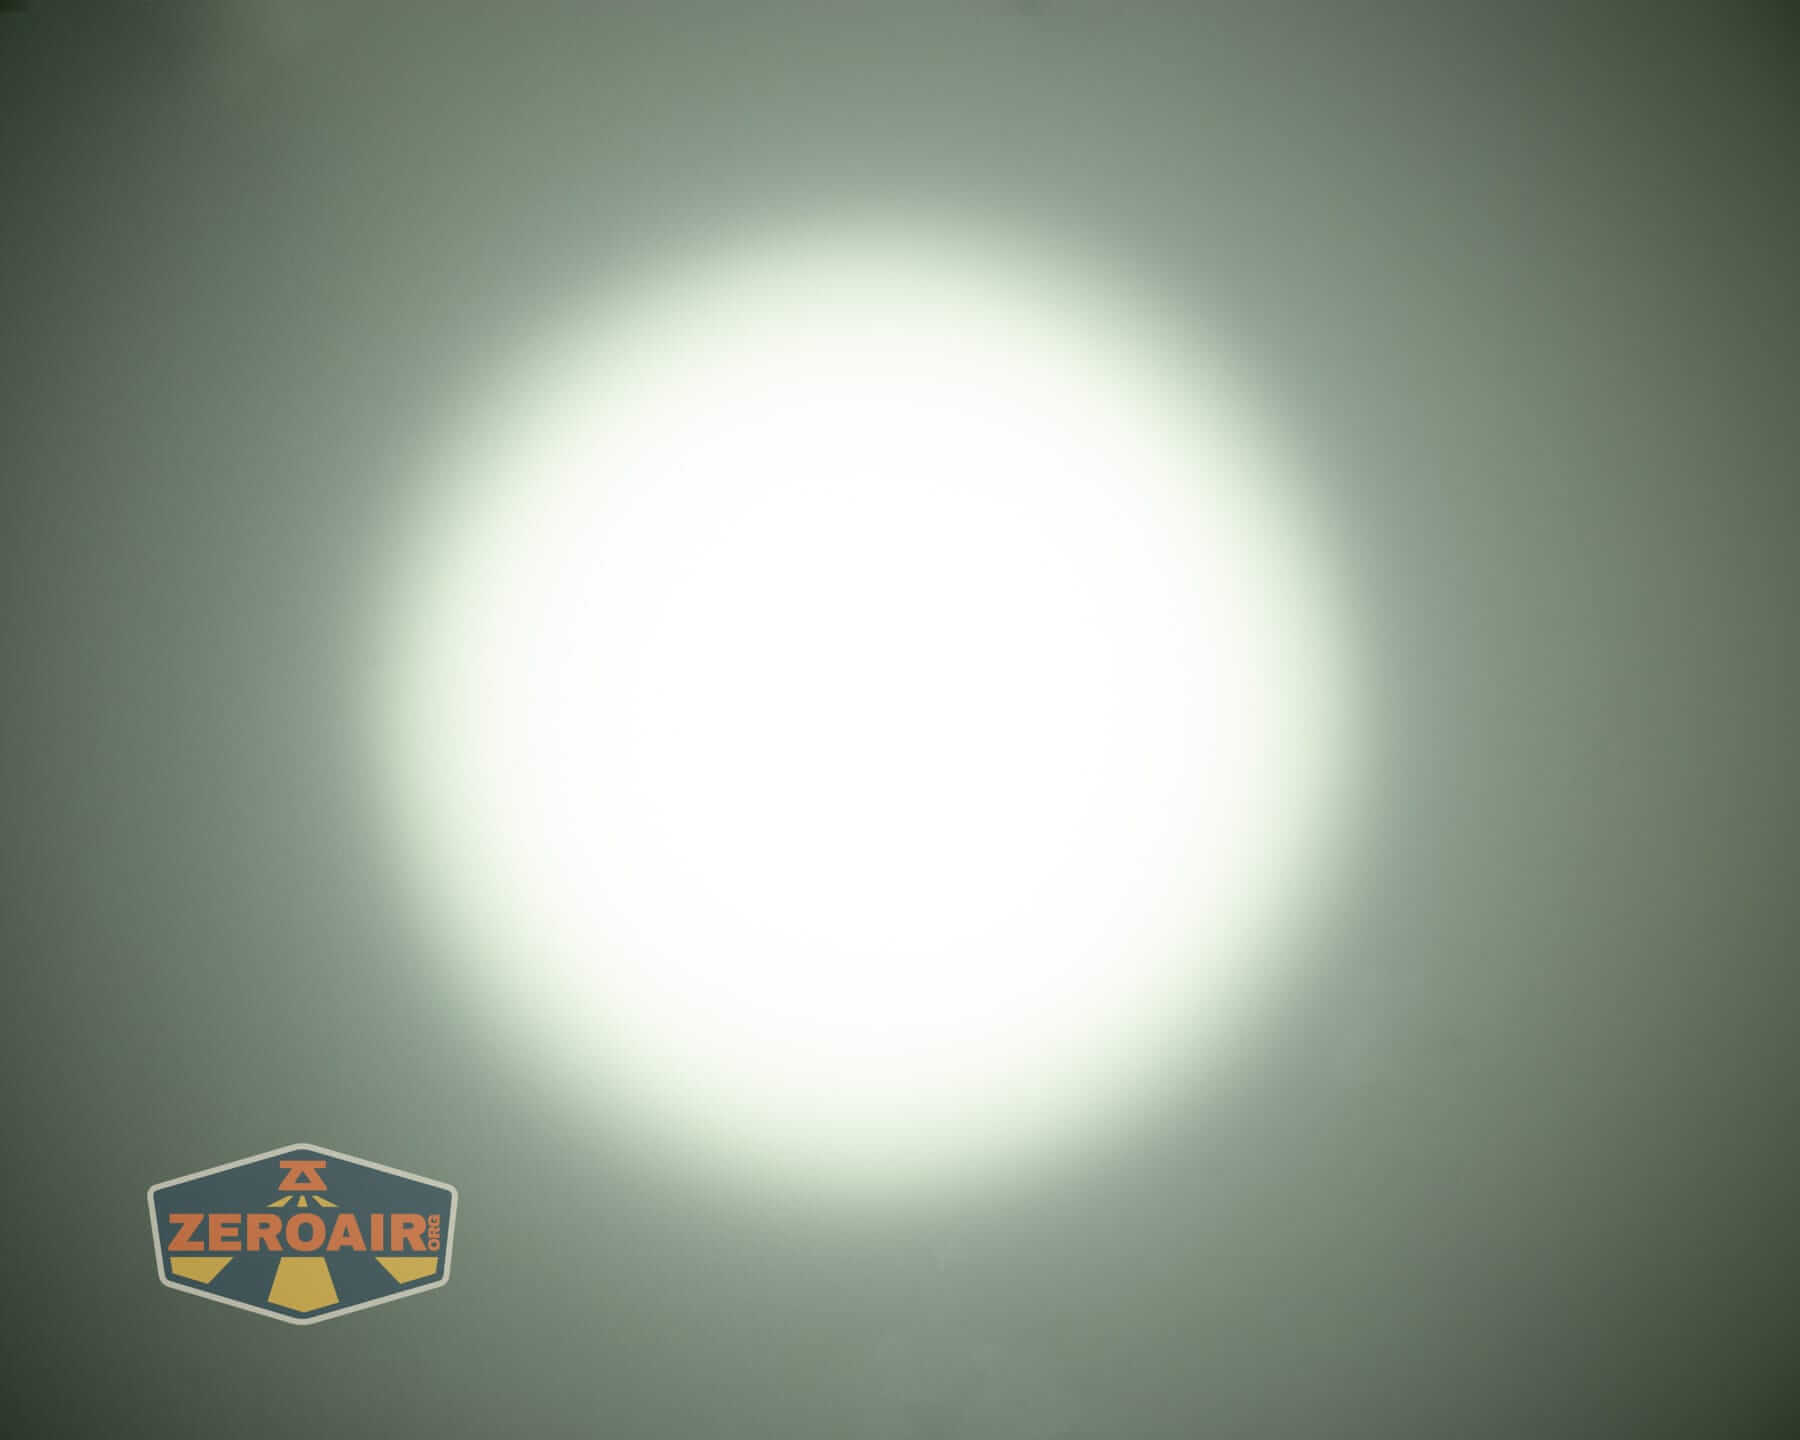
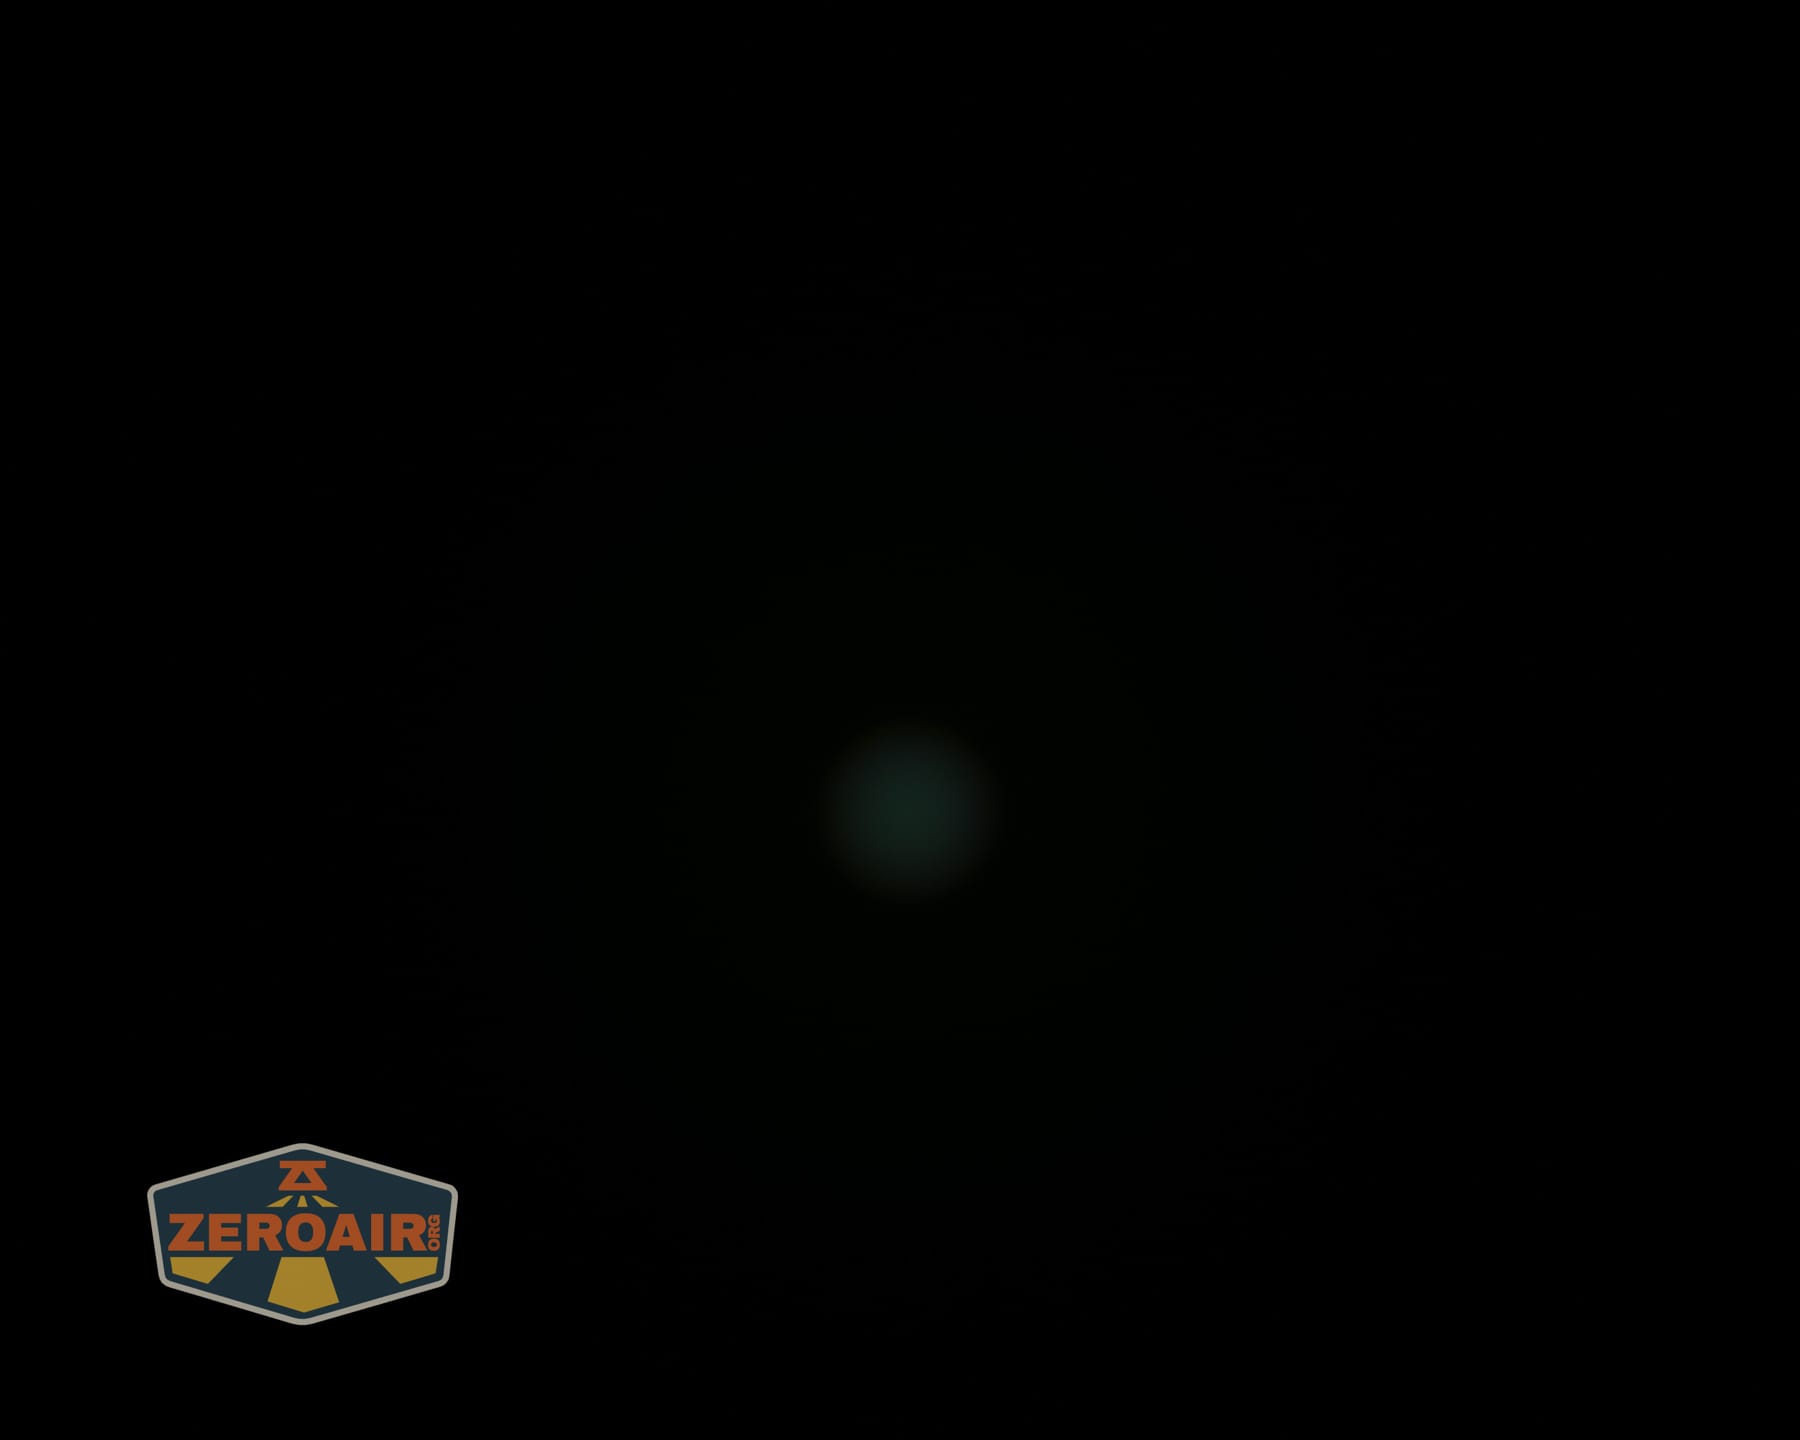
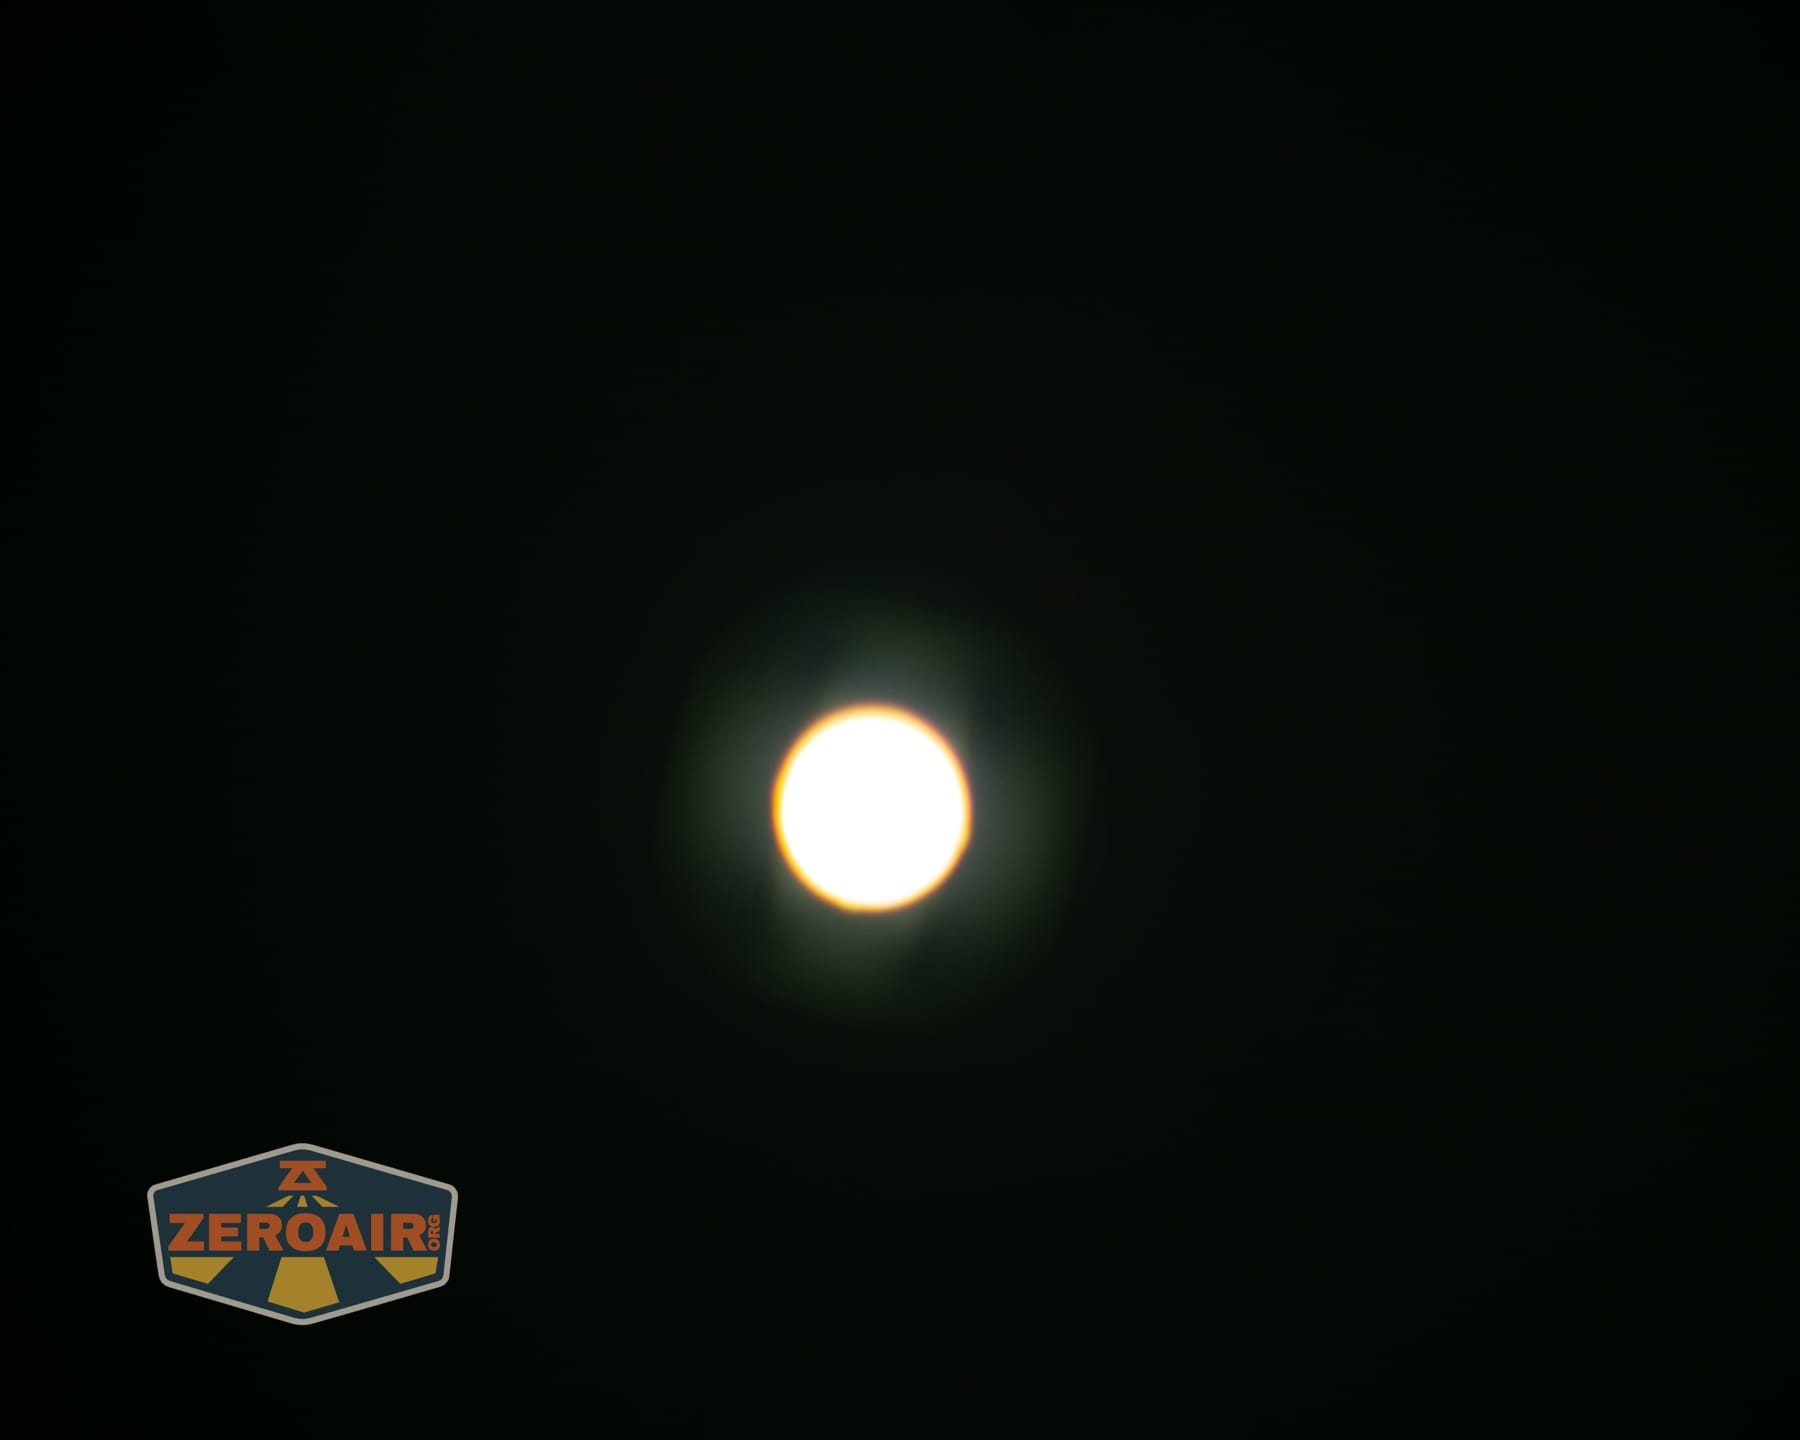
These beamshots always have the following settings: f8, ISO100, 0.3s shutter, and manual 5000K exposure. These photos are taken at floor level, and the beam hits the ceiling around 9 feet away.
I didn’t grab every single output level. I just picked lowest, highest, and “approximately in the middle” for each of the 3 output types.





Tint vs BLF-348 (KillzoneFlashlights.com 219b version) (affiliate link)
I keep the test flashlight on the left and the BLF-348 reference flashlight on the right. These photos are taken around 18 inches from the door.
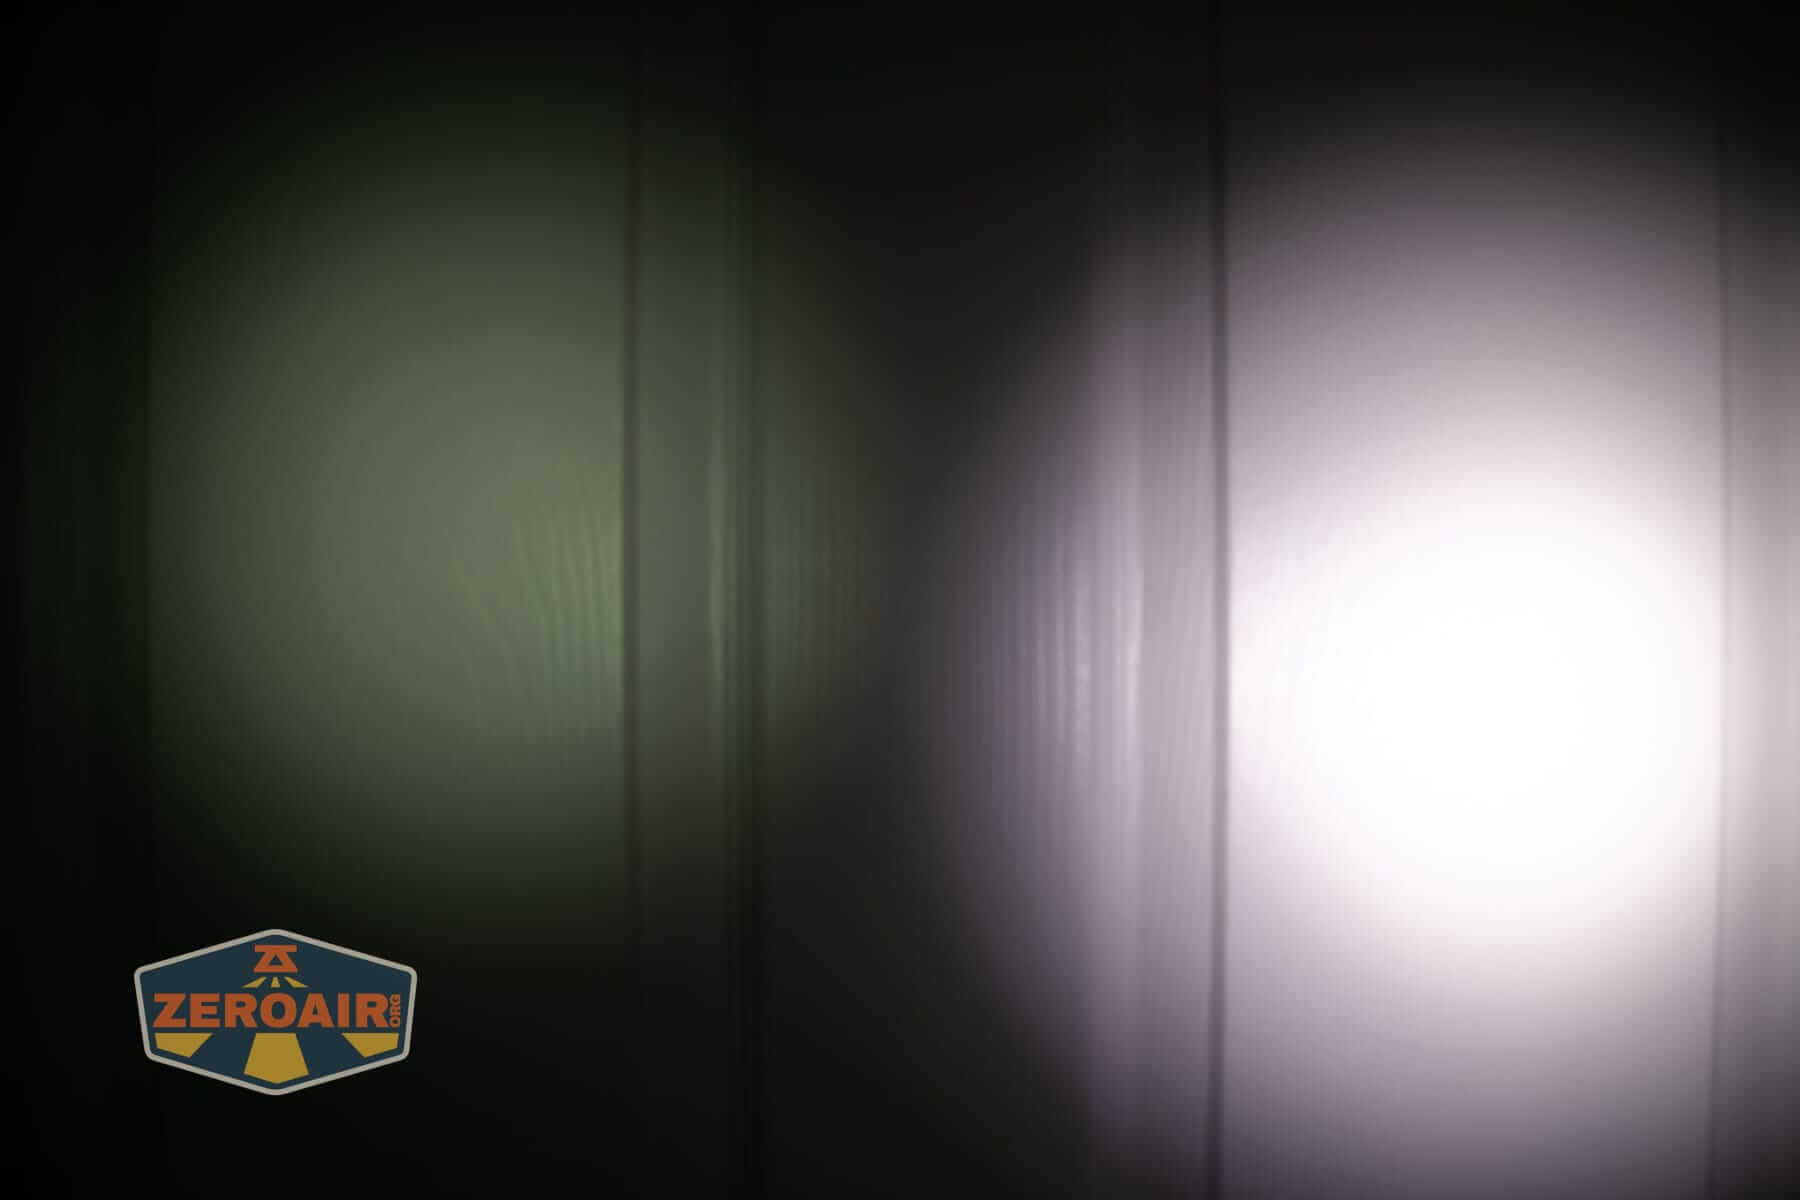


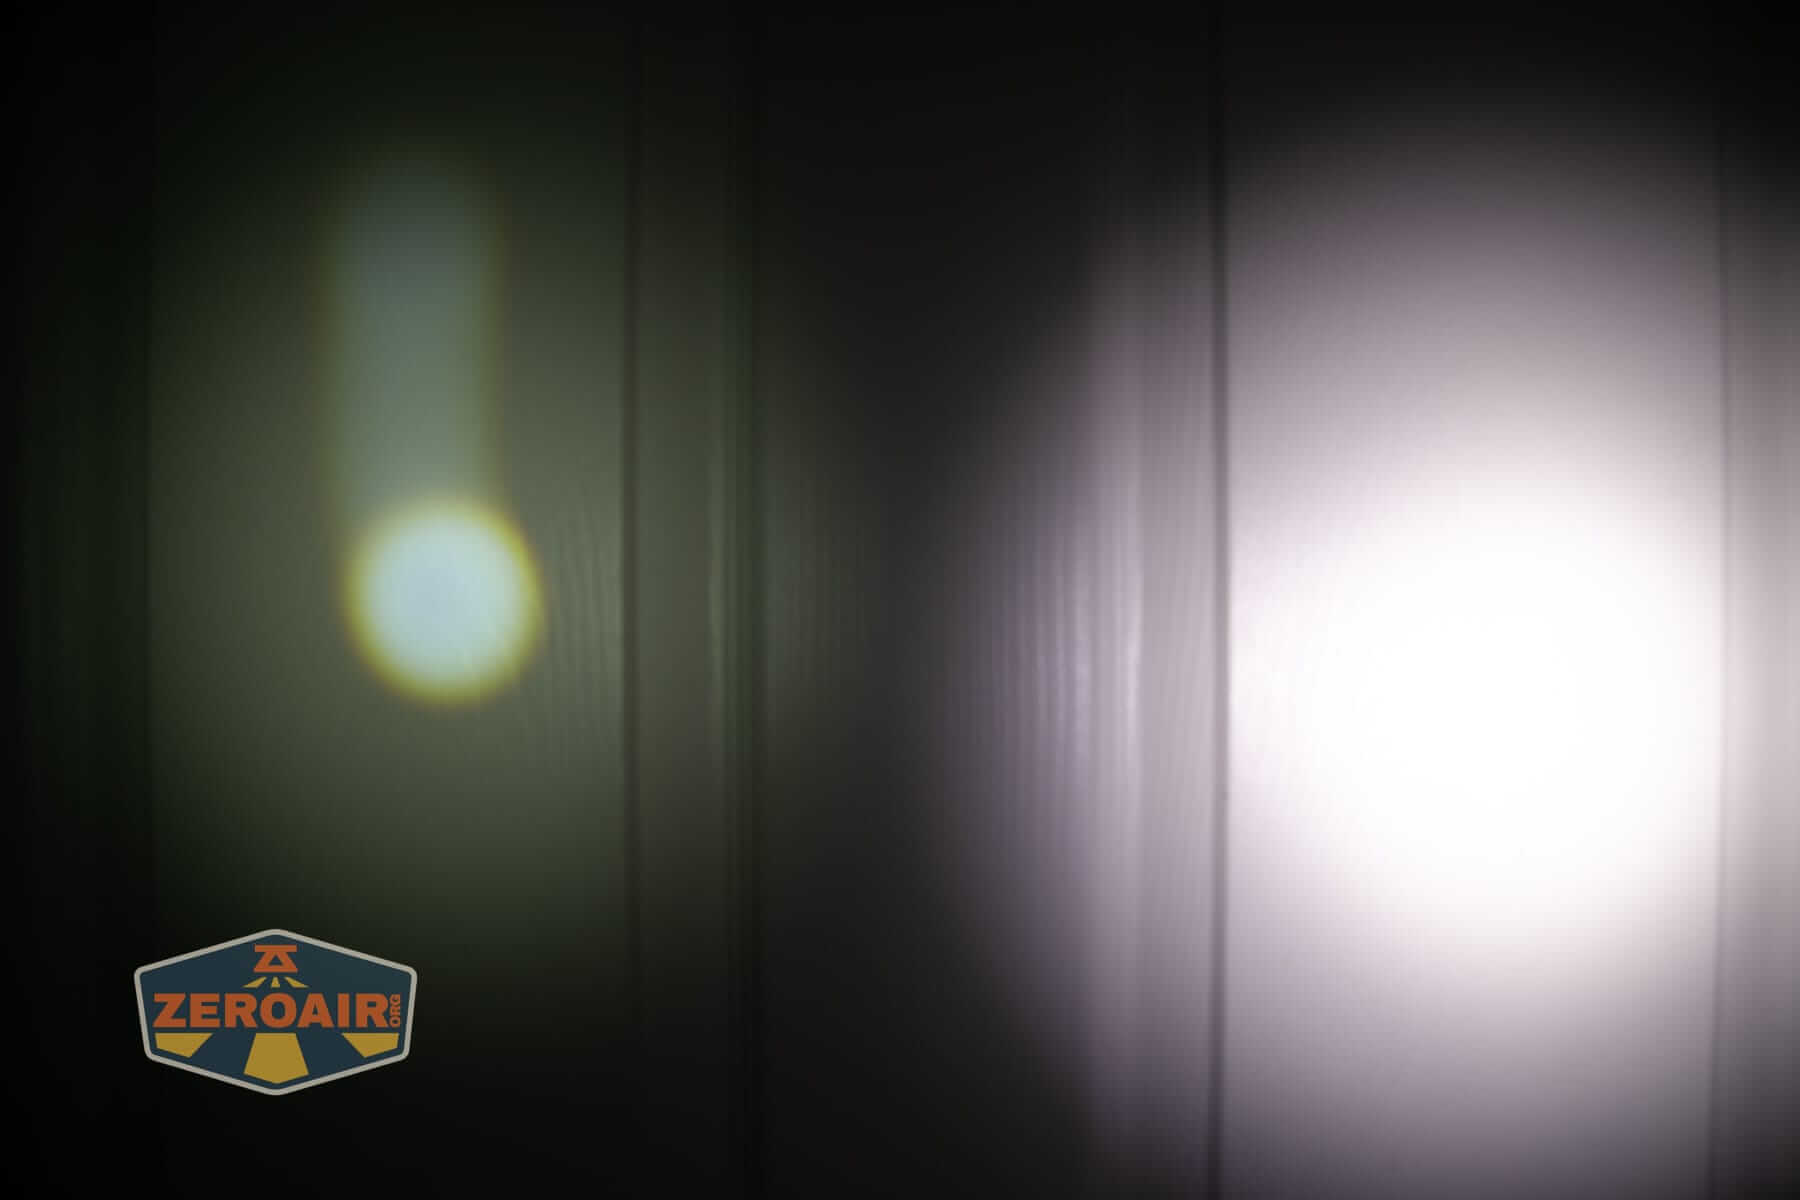


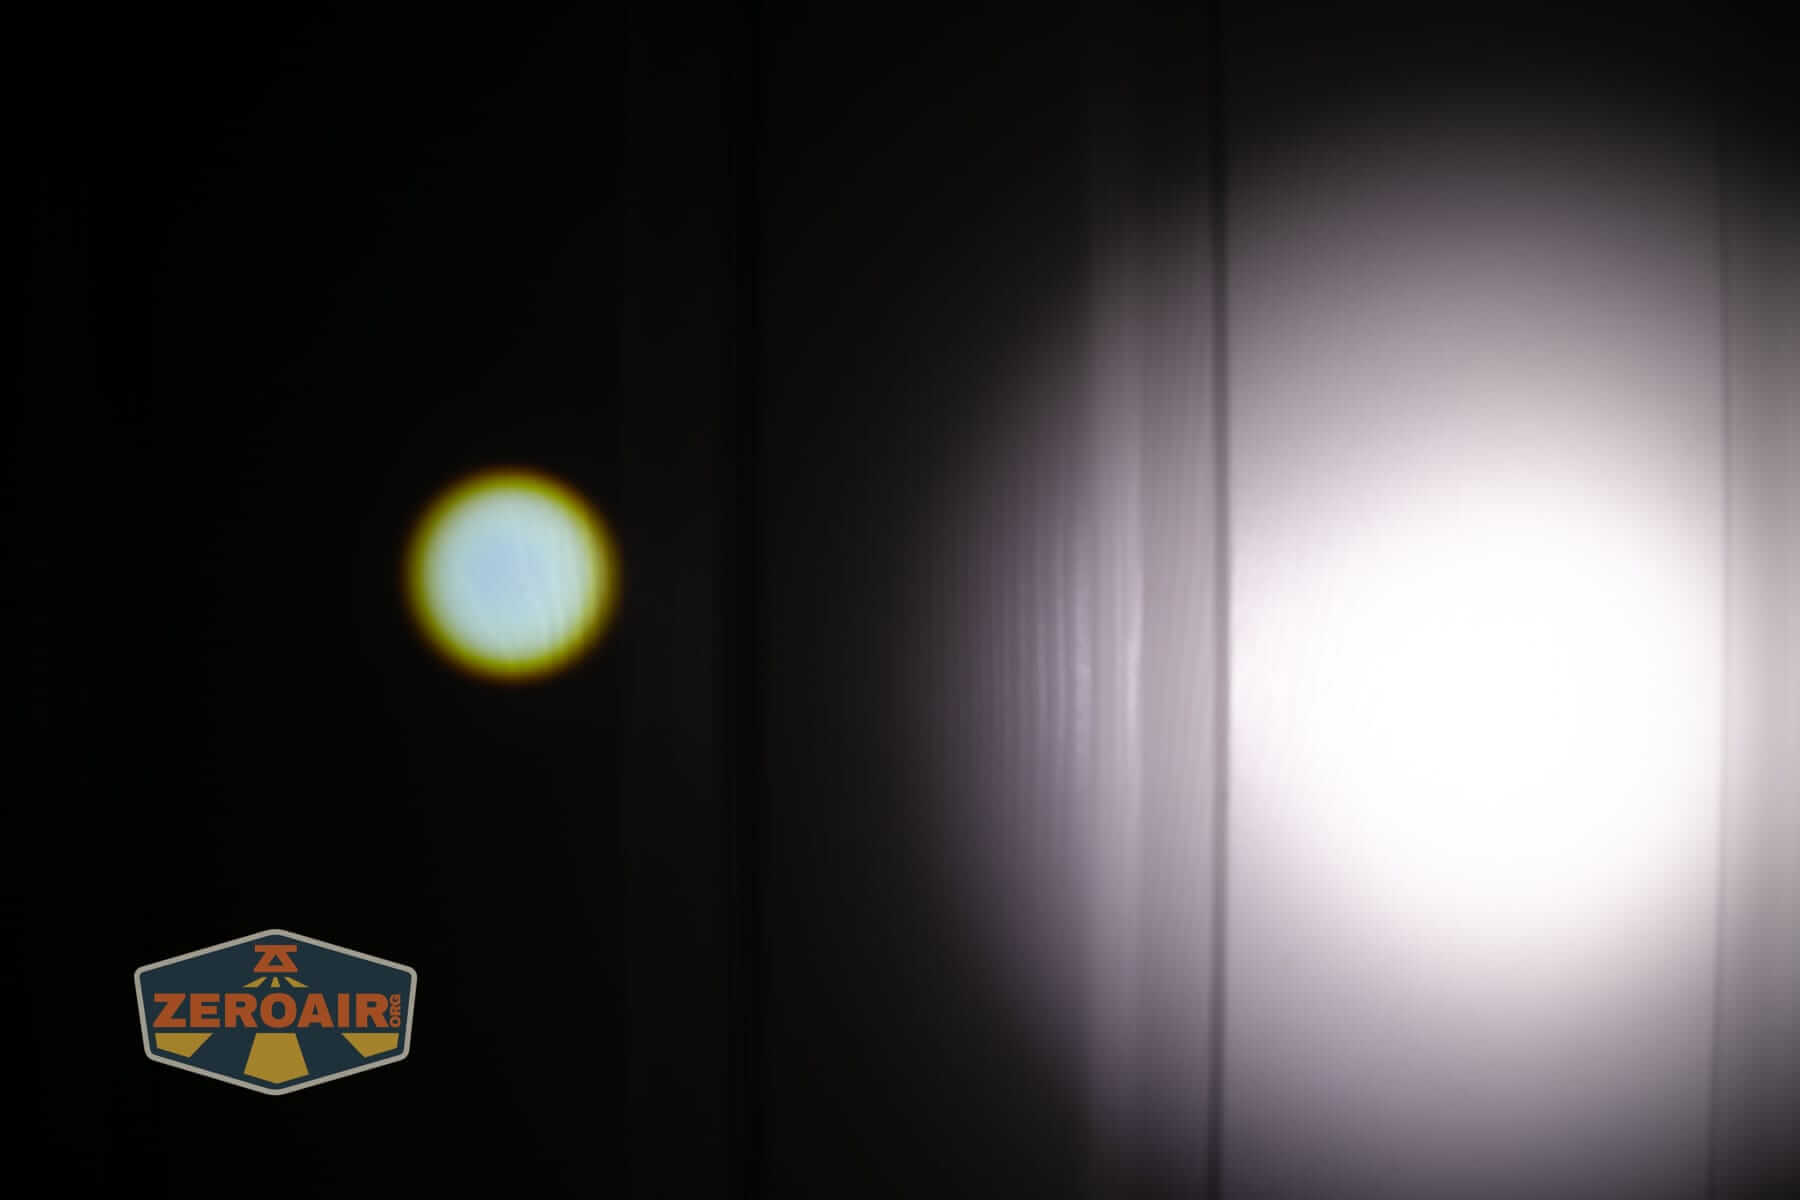


I compare everything to the KillzoneFlashlights.com 219b BLF-348 because it’s inexpensive and has the best tint!
Summary and Conclusion
The Big Table
| Olight Marauder 3 | |
|---|---|
| Emitter: | Unstated white LEDs ((Two types: flood and spot)) |
| Price in USD at publication time: | $369.99 |
| Cell: | Internal |
| Runtime Graphs | |
| LVP? | Probably |
| Switch Type: | E-switch |
| Quiescent Current (mA): | ? |
| On-Board Charging? | Yes |
| Charge Port Type: | USB-C |
| Charge Graph | |
| Power off Charge Port | Yes, runs when plugged in |
| Claimed Lumens (lm) | 25000 |
| Measured Lumens (at 30s) | 19381 (77.5% of claim)^ |
| Claimed Throw (m) | 1000 |
| Candela (Calculated) in cd (at 30s) | 5470lux @ 6.813m = 253901cd |
| Throw (Calculated) (m) | 1007.8 (100.8% of claim)^ |
| Claimed CCT | (Two types: flood and spot) – |
| Measured CCT Range (K) | (Two types: flood and spot) – 5300- >7000 Kelvin |
| Item provided for review by: | Olight |
| All my Olight reviews! | |
^ Measurement disclaimer: Testing flashlights is my hobby. I use hobbyist-level equipment for testing, including some I made myself. Try not to get buried in the details of manufacturer specifications versus measurements recorded here; A certain amount of difference (say, 10 or 15%) is perfectly reasonable.
What I like
- Touch unlock is very neat
- Touch unlock works so well!
- High-quality build
- It’s orange, so it’s superior in every way
- USB-C charging at at least 12V
- Powerbank feature
- Massive throw!!
- Rotary dial is a nice interface for the 7 levels.
- I love this little “hot” icon.
- The runtime meter is pretty neat, too
What I don’t like
- Spot output seems fairly brief at the initial level
- Built-in battery
- Cost
Notes
- This content originally appeared at zeroair.org. Please visit there for the best experience!
- Please use my Amazon.com referral link to help support zeroair.org!
- Please support me on Patreon! I deeply appreciate your support!
Discover more from ZeroAir Reviews
Subscribe to get the latest posts sent to your email.